Home>Home Maintenance>How To Make A Good Drainage Pot For A Plant
Home Maintenance
How To Make A Good Drainage Pot For A Plant
Modified: August 17, 2024
Learn how to make a functional drainage pot for your plants at home with these easy DIY tips and improve your home maintenance skills.
(Many of the links in this article redirect to a specific reviewed product. Your purchase of these products through affiliate links helps to generate commission for Storables.com, at no extra cost. Learn more)
Introduction
Welcome to the world of gardening! Whether you’re a seasoned green thumb or just starting out, one essential aspect of successful plant care is providing proper drainage for your plants. A good drainage pot plays a crucial role in preventing waterlogged soil and ensuring healthy root development. In this article, we will guide you through the process of creating a high-quality drainage pot for your plants.
Having a well-draining pot is vital because it allows excess water to escape, preventing the roots from becoming waterlogged or developing root rot. By establishing an effective drainage system, you can provide a safe and suitable environment for your plants to thrive.
Creating a good drainage pot doesn’t have to be complicated or expensive. In fact, you can easily make one using common materials found in your home or garden. Not only will this save you money, but it will also give you the satisfaction of creating something functional with your own hands.
In the following steps, we will outline the materials you’ll need and guide you through the process of making a reliable drainage pot for your plants. Let’s get started!
Key Takeaways:
- Proper drainage is crucial for plant health. Choose a suitable pot, add drainage holes, rocks, charcoal, and moss, and use high-quality soil to create an optimal environment for your plants to thrive.
- By following simple steps, you can create a healthy drainage pot for your plants. This ensures proper water flow, prevents root rot, and promotes vibrant and flourishing foliage. Happy gardening!
Materials needed
Before you begin creating your drainage pot, gather the following materials:
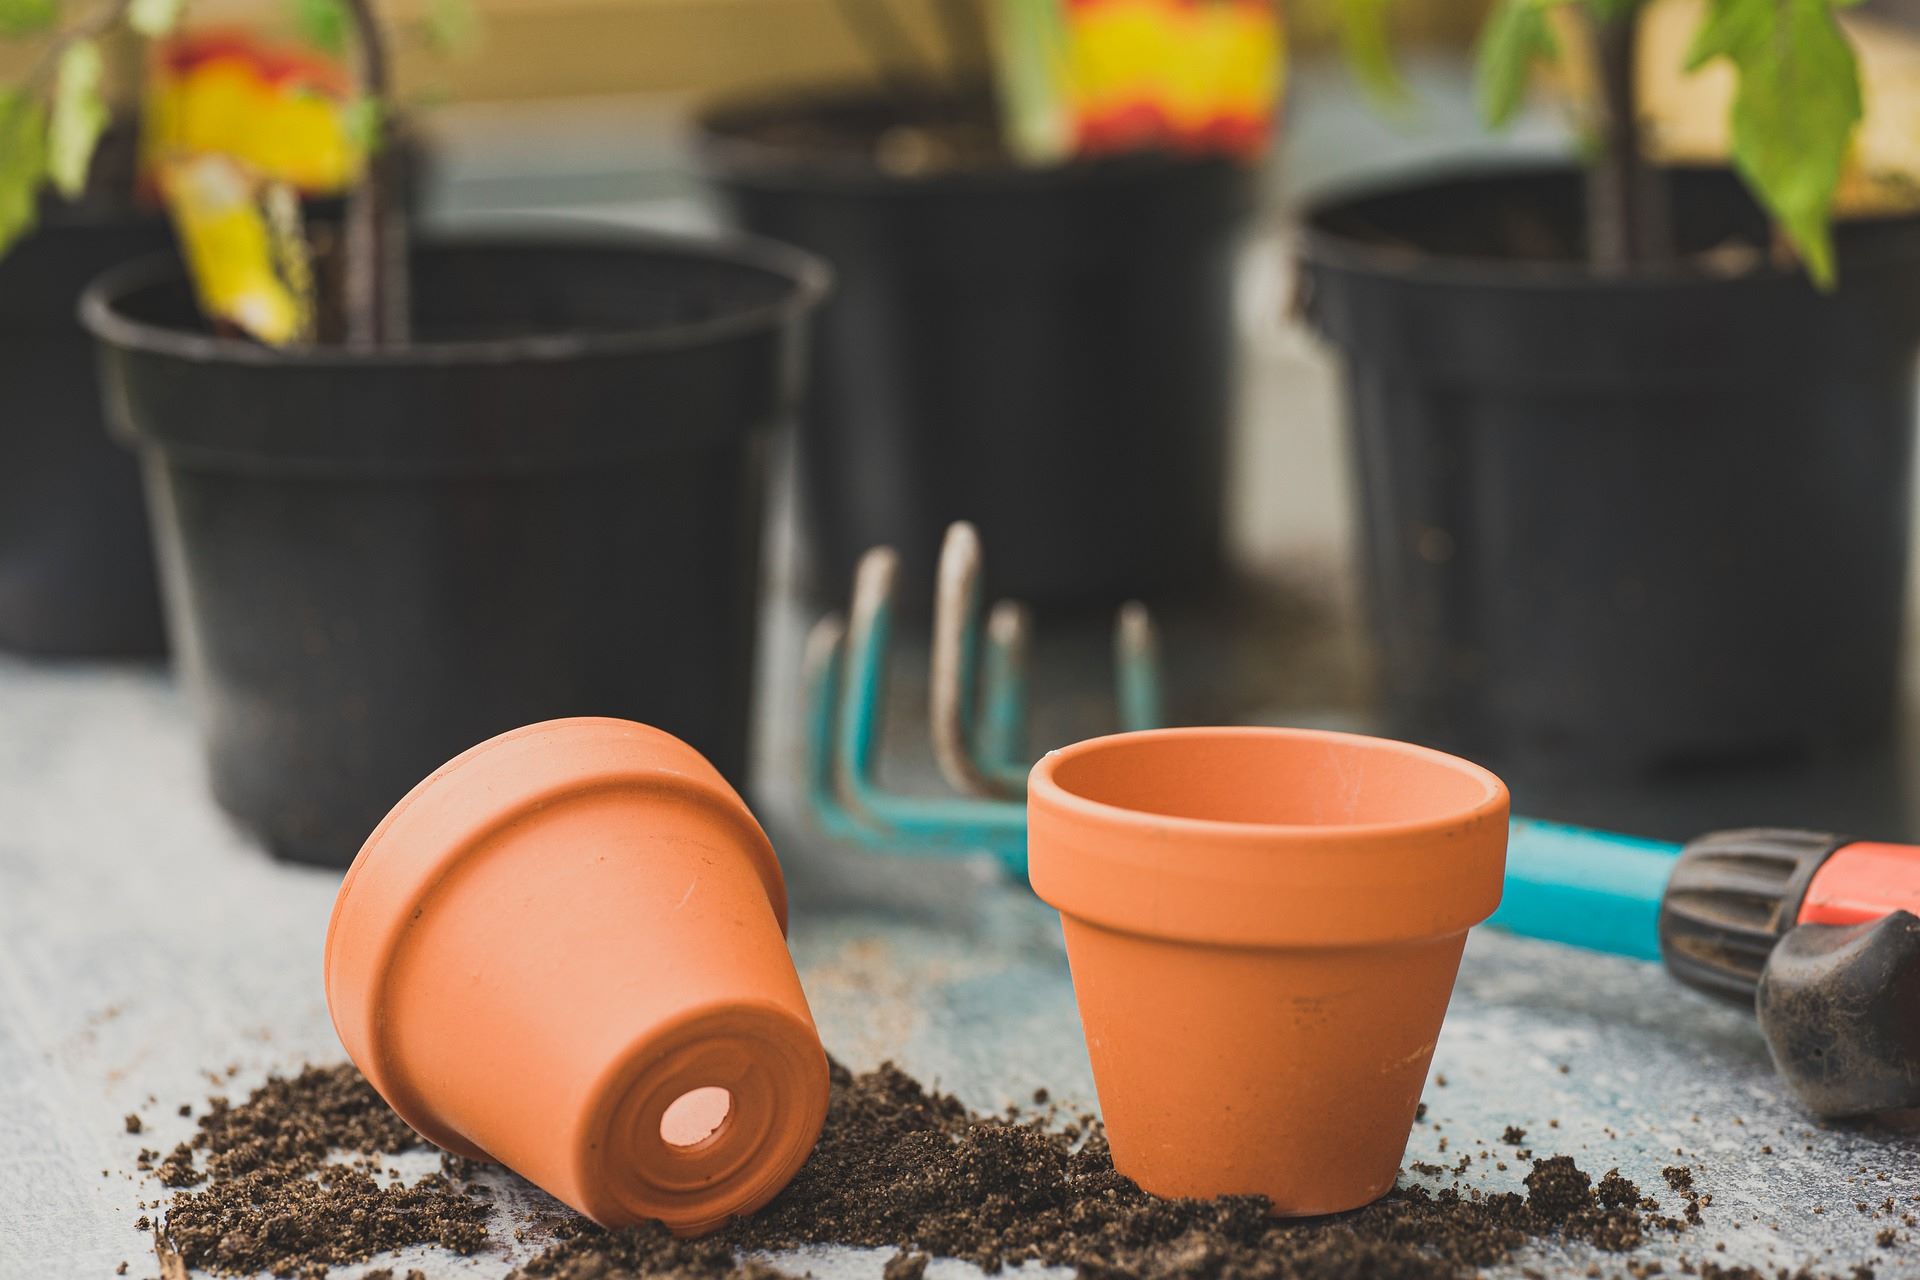
- A suitable pot: Choose a pot that is the appropriate size for your plant. Make sure it has drainage holes or the ability to create them.
- Drill with a masonry bit: If your chosen pot doesn’t have drainage holes, you’ll need a drill and a masonry bit to create them.
- Pieces of broken pottery or stones: These will be used to create a layer at the bottom of the pot to assist with drainage.
- Activated charcoal: This is an optional but beneficial material that helps absorb excess moisture and remove impurities.
- Sphagnum moss: Sphagnum moss is used to create a barrier between the potting soil and the drainage layer, preventing soil from washing away.
- Potting soil: Choose a high-quality potting soil that is suitable for the type of plant you will be potting.
- Your chosen plant: Select a plant that is suitable for the conditions in which it will be placed, considering factors such as light, temperature, and humidity.
Now that you have gathered all the necessary materials, you are ready to proceed with creating your drainage pot. Remember to clean and sterilize your pot before beginning the process to ensure a healthy environment for your plant.
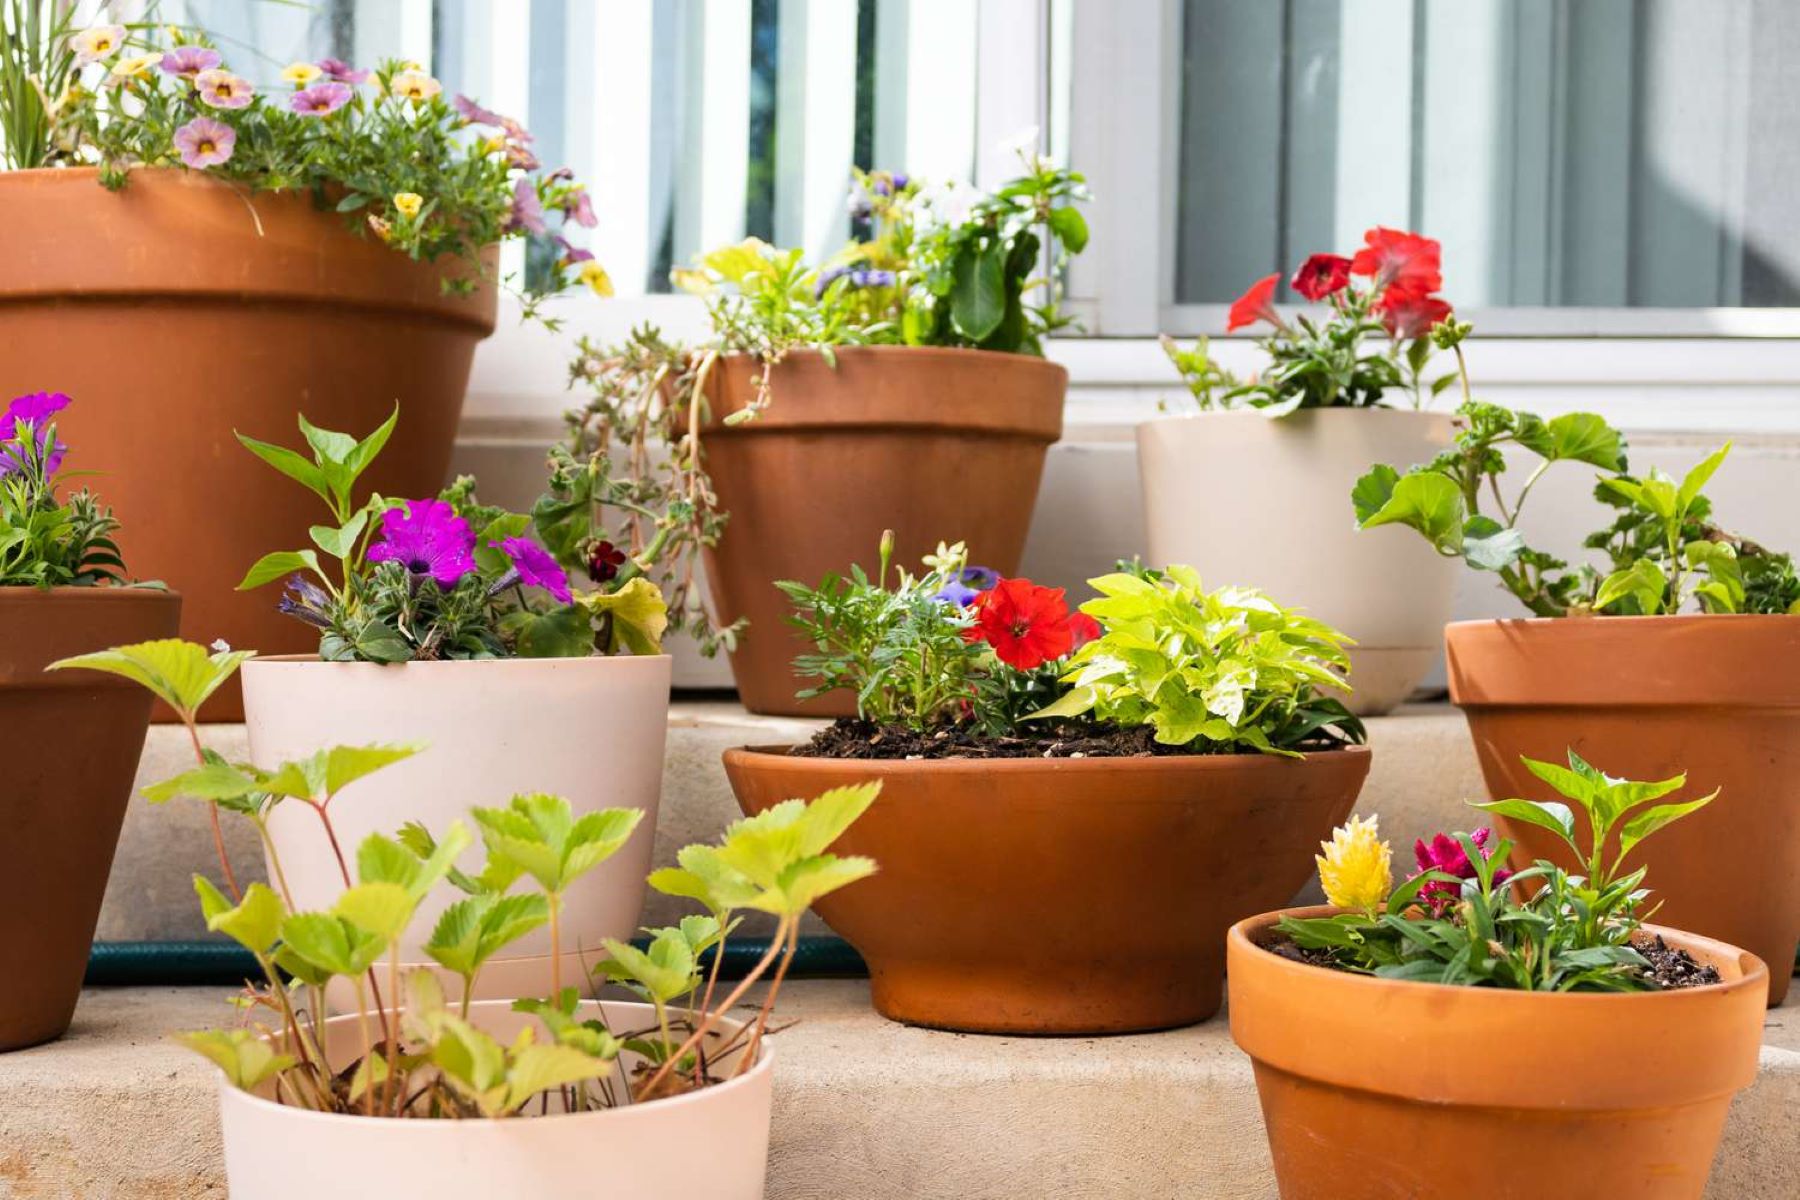
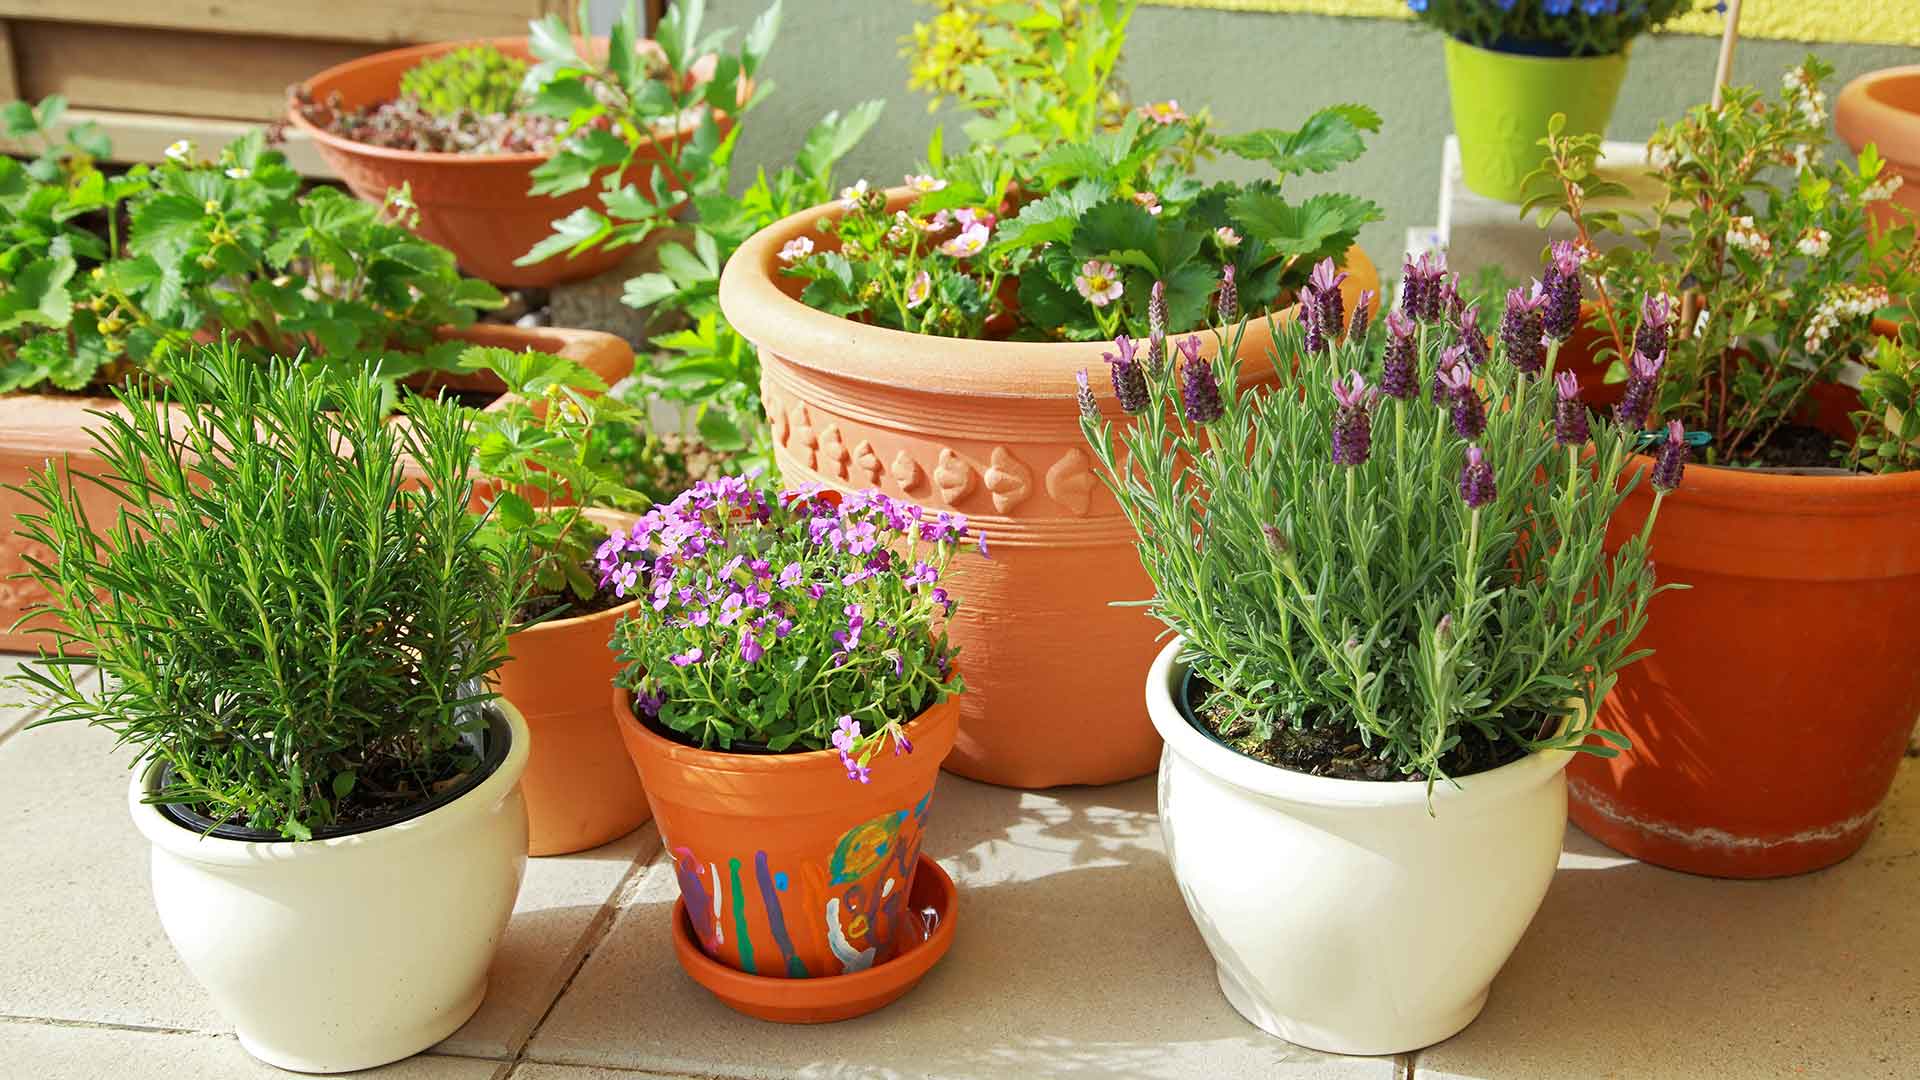
Step 1: Choosing the right pot
The first step in creating a good drainage pot is to choose the right pot for your plant. When selecting a pot, consider the size and material.
Size: The pot should be appropriate for the size of your plant. As a general rule, the pot should be slightly larger than the root ball of the plant. This allows room for growth while preventing the plant from becoming overwhelmed by excess soil.
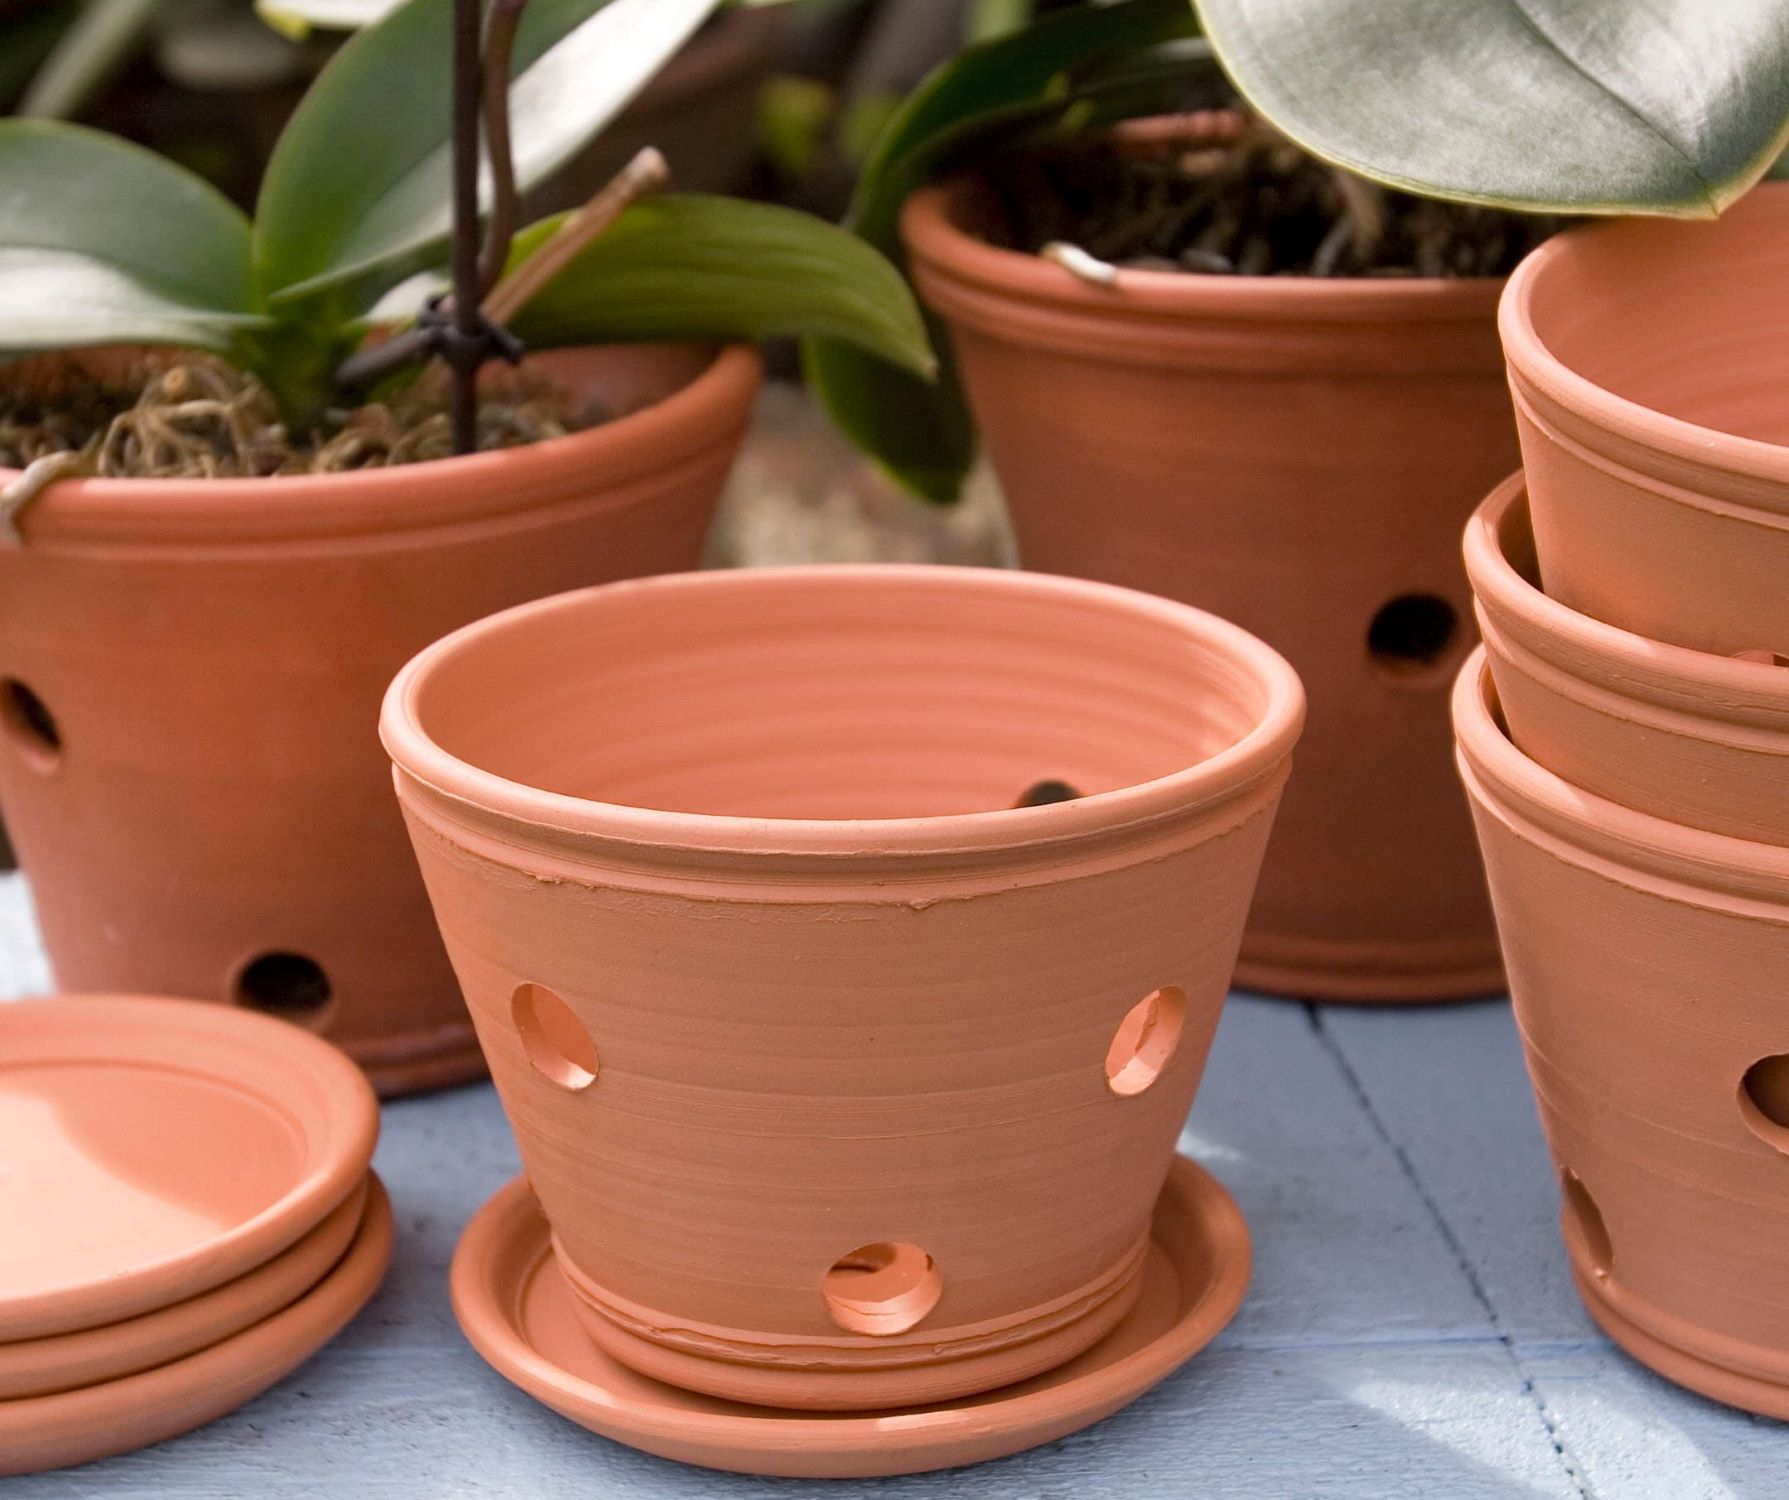
Material: The material of the pot is also important. For good drainage, choose a pot made of porous materials such as terracotta or clay. These materials naturally allow water to evaporate through the sides, helping to prevent waterlogging. Plastic pots are less porous and may require additional drainage holes to be added.
Additionally, ensure that the pot has drainage holes at the bottom. These holes allow excess water to escape, preventing the soil from becoming waterlogged. If you choose a pot without drainage holes, you can drill them yourself using a masonry bit and a drill.
When selecting a pot, remember to consider the aesthetic aspect as well. Choose a pot that complements your plant’s style and your overall home decor.
By choosing the right pot, you are providing a solid foundation for creating an effective drainage system for your plant. Now that you have selected the perfect pot, let’s move on to the next step of preparing the drainage holes.
Step 2: Preparing the drainage holes
Once you have chosen the right pot for your plant, the next step is to prepare the drainage holes. If your pot doesn’t already have drainage holes, you can easily create them using a drill and a masonry bit.
Here’s how you can prepare the drainage holes:
- Choose the appropriate size drill bit: Select a drill bit size that is suitable for the drainage holes you need. Keep in mind that larger pots may require larger holes to ensure proper drainage.
- Mark the spot: Determine the desired location for the drainage holes and mark them on the bottom of the pot. Space out the holes evenly to ensure even water distribution.
- Drill the holes: Place the pot on a stable surface and position the drill bit over the marked spots. Apply gentle pressure and start drilling at a slow speed. Ensure that you maintain a steady hand and drill straight down to prevent cracking or damaging the pot.
- Clean the holes: Once you have drilled the holes, use a damp cloth or sponge to clean away any debris or leftover soil. This will ensure that the drainage holes are clear and free from any obstructions.
After preparing the drainage holes, check that they are large enough to allow sufficient water to escape but not too large that the potting soil falls through. At this stage, you have successfully created a way for excess water to drain from the pot.
Now that you have prepared the drainage holes, it’s time to move on to the next step, which involves adding a layer of rocks or gravel to improve drainage.
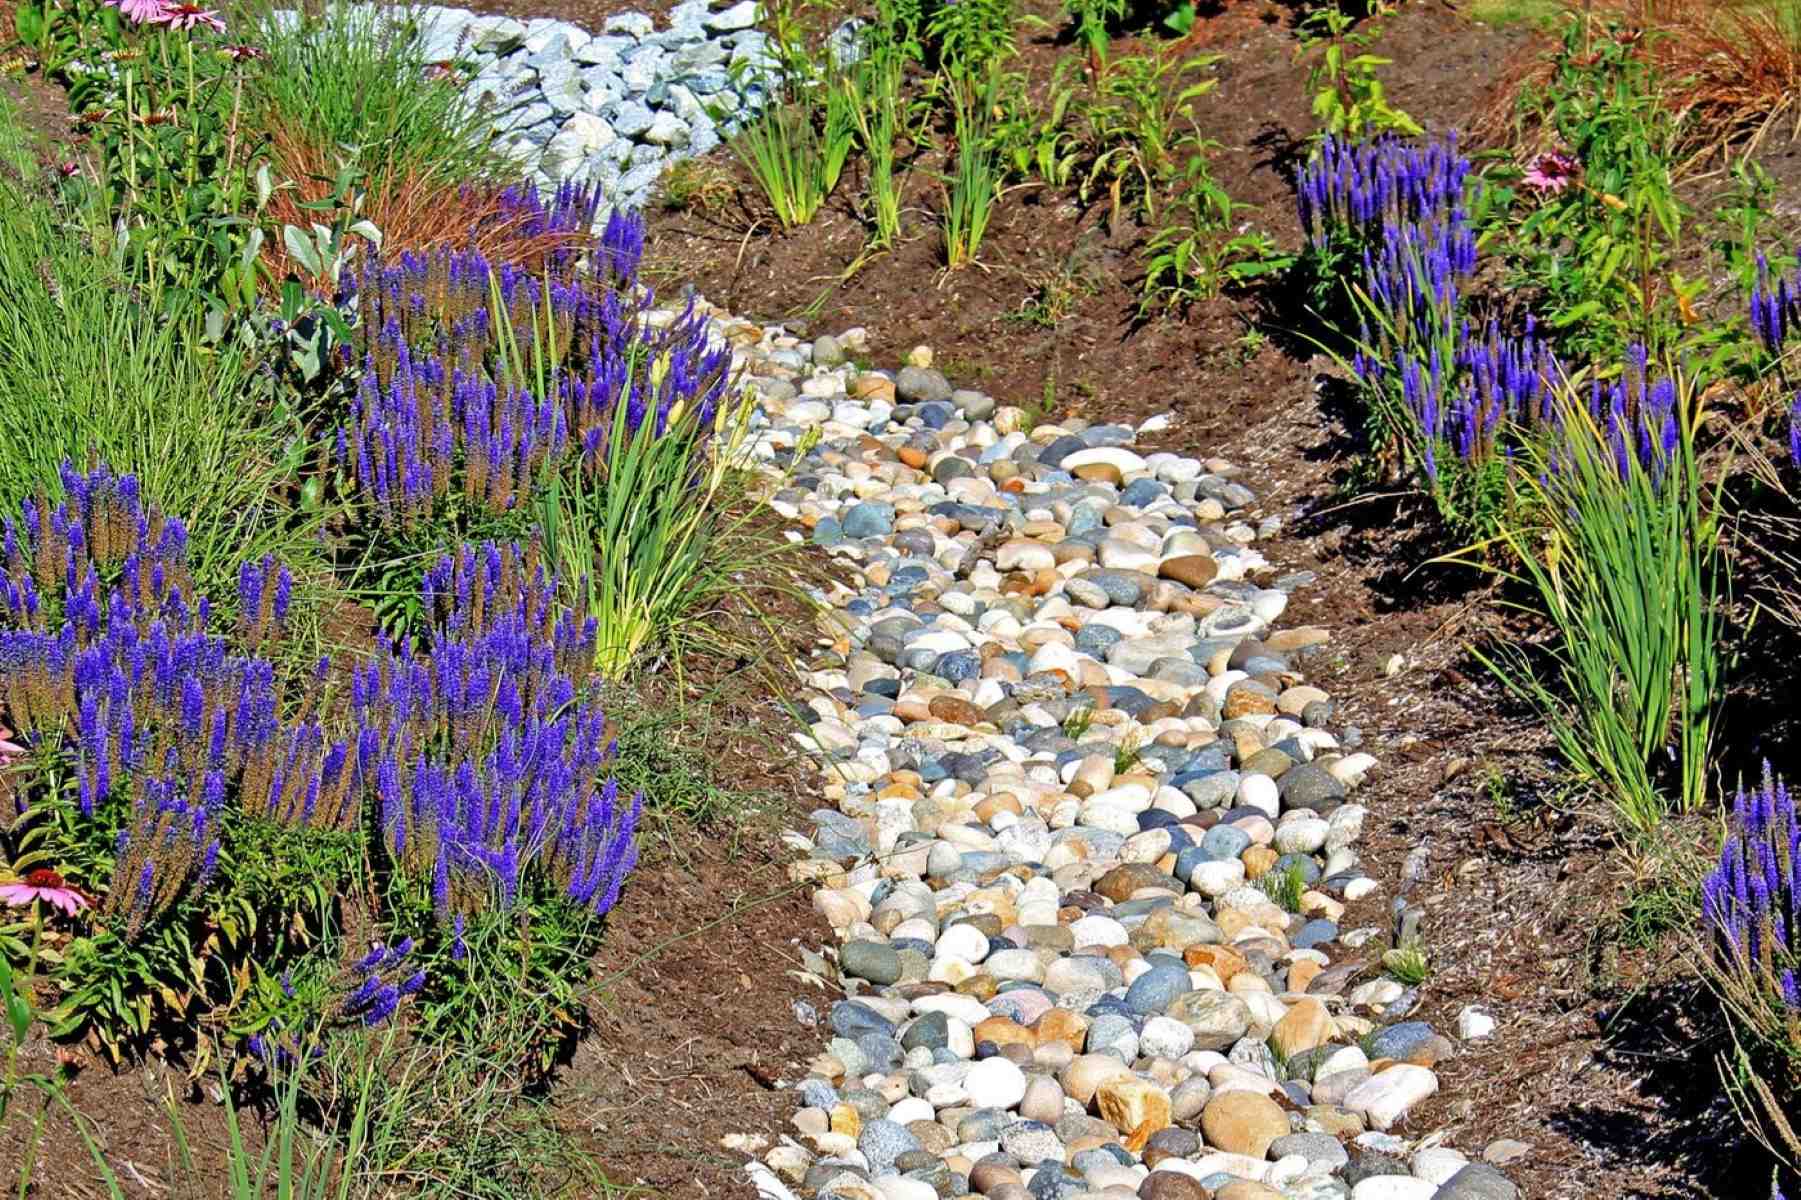
Step 3: Adding a layer of rocks or gravel
To improve drainage and prevent waterlogging, it’s important to add a layer of rocks or gravel at the bottom of the pot. This layer will create a space for excess water to collect and help prevent the roots from sitting in standing water.
Here’s how you can add a layer of rocks or gravel:
- Choose the right material: Select rocks or gravel that are small enough to allow water to easily pass through. Avoid using large stones or pebbles that could obstruct drainage.
- Cover the bottom of the pot: Pour a layer of rocks or gravel onto the bottom of the pot to a depth of about one to two inches. Spread the material evenly, ensuring that it covers the entire base of the pot.
- Level the layer: Use your fingers or a small tool to gently level the layer of rocks or gravel. This will help create an even surface for the next layers.
The layer of rocks or gravel acts as a drainage layer, allowing excess water to collect at the bottom of the pot while keeping the roots elevated. This prevents the roots from sitting in water for extended periods, which can lead to root rot and other moisture-related issues.
By adding this layer, you are creating a barrier between the potting soil and the water drainage, ensuring proper water flow and improving the overall health of your plant. Now that you have added the drainage layer, let’s move on to the next step of adding activated charcoal.
To make a good drainage pot for a plant, use a container with drainage holes at the bottom to allow excess water to escape. This will help prevent waterlogging and root rot.
Read more: What To Plant In A Pot Without Drainage
Step 4: Adding a layer of activated charcoal
Adding a layer of activated charcoal to your drainage pot is an optional but beneficial step. Activated charcoal helps absorb excess moisture, removes impurities, and prevents odors from building up in the potting soil.
Here’s how you can add a layer of activated charcoal:
- Select activated charcoal: Choose activated charcoal that is specifically intended for gardening. You can usually find activated charcoal at garden centers or online.
- Sprinkle a thin layer: Sprinkle a thin layer of activated charcoal directly on top of the rocks or gravel layer in the pot. The layer should be about half an inch to an inch thick, depending on the size of your pot.
- Spread evenly: Use your fingers or a small tool to spread the activated charcoal evenly across the surface, ensuring that it covers the entire area of the pot.
The activated charcoal acts as a natural filter, helping to remove any impurities or toxins from the water that flows through the drainage system. Additionally, it helps balance moisture levels within the pot, preventing the roots from becoming excessively wet.
While this step is optional, adding a layer of activated charcoal can greatly contribute to the overall health and vitality of your plants. Now that you have added the activated charcoal layer, let’s move on to the next step of adding sphagnum moss.
Step 5: Adding a layer of sphagnum moss
Adding a layer of sphagnum moss to your drainage pot serves multiple purposes. It helps create a barrier between the potting soil and the drainage layer, preventing soil from washing away while still allowing water to pass through. Additionally, sphagnum moss contributes to moisture retention, aiding in maintaining proper hydration for your plant.
Here’s how you can add a layer of sphagnum moss:
- Choose high-quality sphagnum moss: Opt for fresh, live sphagnum moss, which can be found at garden centers or specialty plant stores. Ensure that it is free from any signs of decay or mold.
- Soak the sphagnum moss: Thoroughly dampen the sphagnum moss by placing it in a container of water. Allow it to soak for a few minutes until it becomes moist and pliable.
- Squeeze out the excess water: Gently squeeze out any excess water from the sphagnum moss, ensuring that it is damp but not dripping wet.
- Place a layer of sphagnum moss: Spread a layer of the damp sphagnum moss over the activated charcoal layer. Make sure to cover the entire surface of the potting soil, leaving no gaps.
The sphagnum moss acts as a natural sponge, helping to retain moisture in the potting soil and preventing it from drying out too quickly. It also serves as a barrier, preventing the soil from falling into the drainage layer while still allowing water to pass through freely.
By adding this layer of sphagnum moss, you are creating an optimal environment for your plant’s roots, ensuring sufficient hydration and preventing soil erosion. Now that you have added the sphagnum moss layer, it’s time to move on to the next step of filling the pot with potting soil.
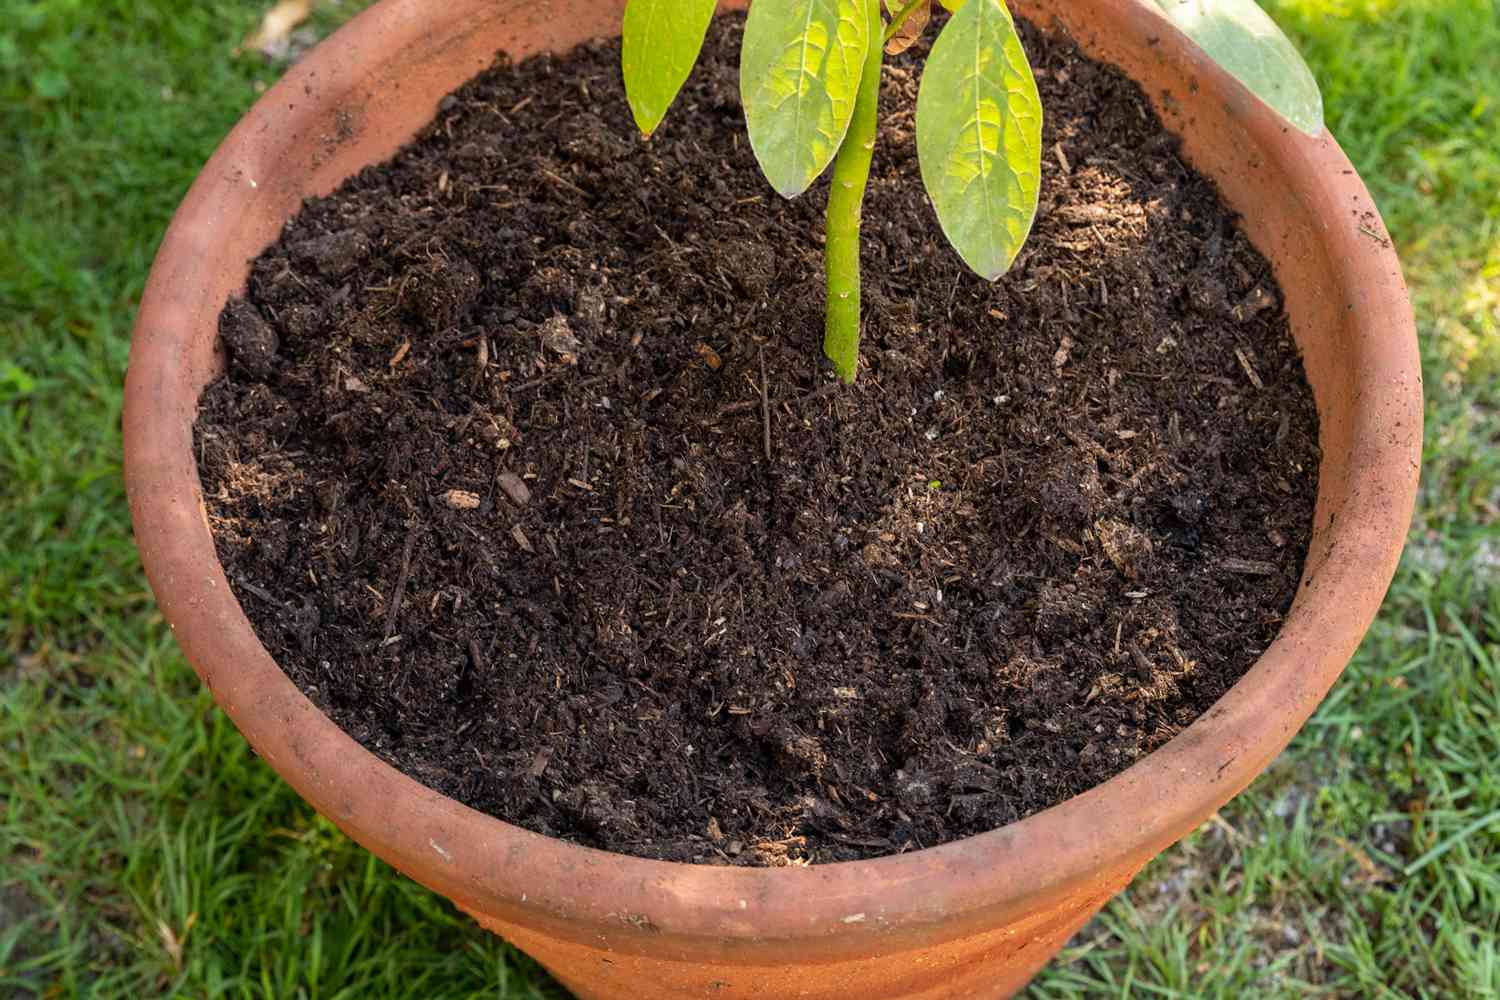
Step 6: Filling the pot with potting soil
Now that you have prepared the drainage layers in your pot, it’s time to fill it with high-quality potting soil. The choice of potting soil is crucial as it provides essential nutrients and a well-balanced medium for your plant’s roots to grow and thrive.
Here’s how you can fill the pot with potting soil:
- Select the appropriate potting soil: Choose a well-draining potting soil that is specific to the type of plant you will be potting. Look for a mix that is lightweight and moisture-retentive, ensuring adequate drainage while still providing moisture for your plant.
- Fill the pot halfway: Start by adding enough potting soil to fill the pot halfway. Gently press down the soil to eliminate any air pockets and create a firm but not compacted layer.
- Remove the plant from its container: Carefully remove the plant from its nursery container, ensuring not to damage or disturb the roots. Lightly tease out any tangled or circling roots, encouraging them to spread outwards.
- Place the plant in the pot: Position the plant in the center of the pot, ensuring that it sits at the same depth as it was in its previous container. The top of the root ball should be level with the top of the potting soil.
- Fill the remaining space with soil: Gradually fill the remaining space around the plant with potting soil. Gently pat the soil to remove any air pockets, ensuring that the plant is well-supported.
While filling the pot with potting soil, be attentive not to overfill it. Leave a small gap at the top to allow for watering and prevent water from overflowing.
Using high-quality potting soil guarantees that your plant receives the necessary nutrients and drainage while promoting healthy root growth. Now that you have filled the pot with potting soil, let’s move on to the final step of planting your chosen plant.
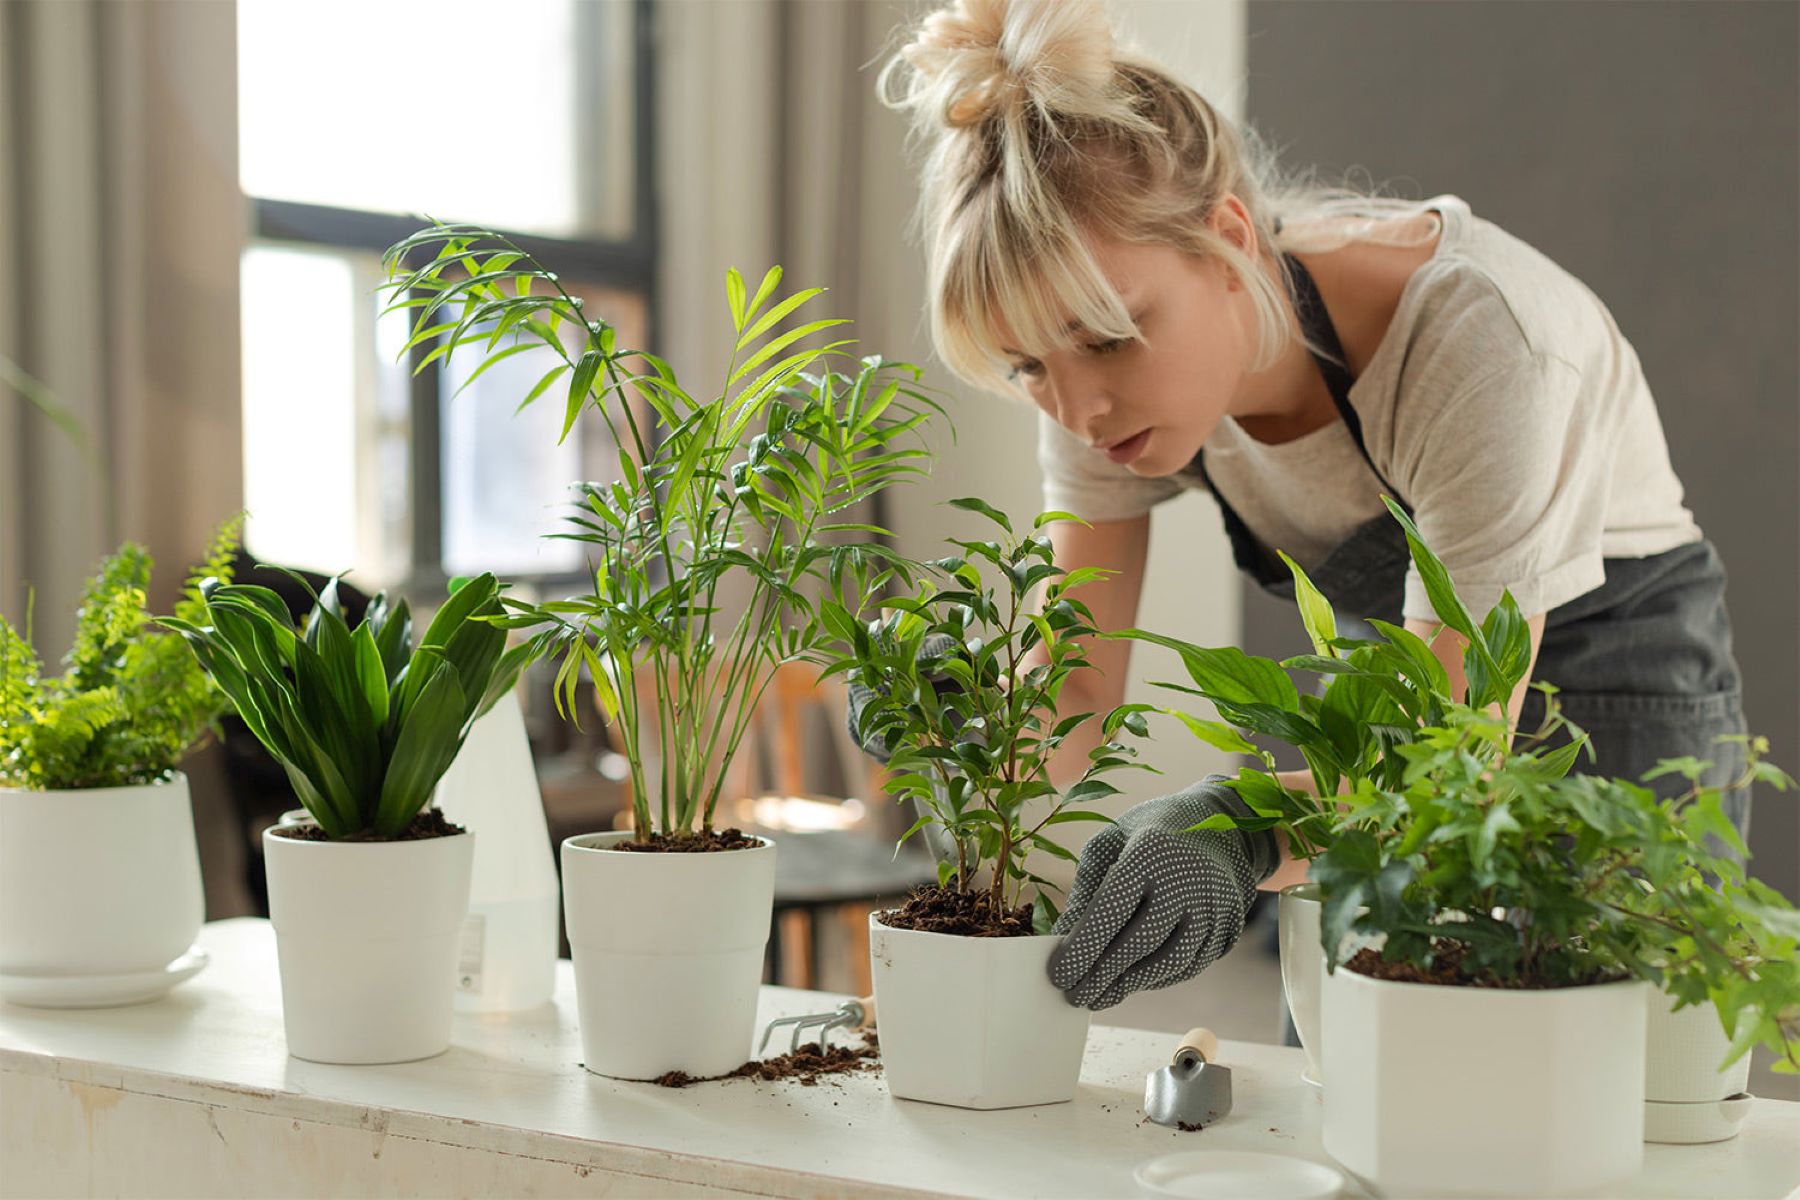
Step 7: Planting your plant
Now that your pot is prepared with the necessary drainage layers and potting soil, it’s time to plant your chosen plant. Proper planting ensures that your plant gets off to a good start and establishes a strong root system for growth and longevity.
Here’s how you can plant your plant:
- Make a hole in the soil: Create a hole in the center of the potting soil that is slightly larger than the root ball of your plant. This will provide enough space for the roots to spread out.
- Place the plant in the hole: Carefully place the plant into the hole, ensuring that the top of the root ball is level with or slightly above the potting soil’s surface.
- Backfill with soil: Gently backfill the hole with additional potting soil, making sure to cover the roots completely. Press the soil lightly around the plant to secure it in place.
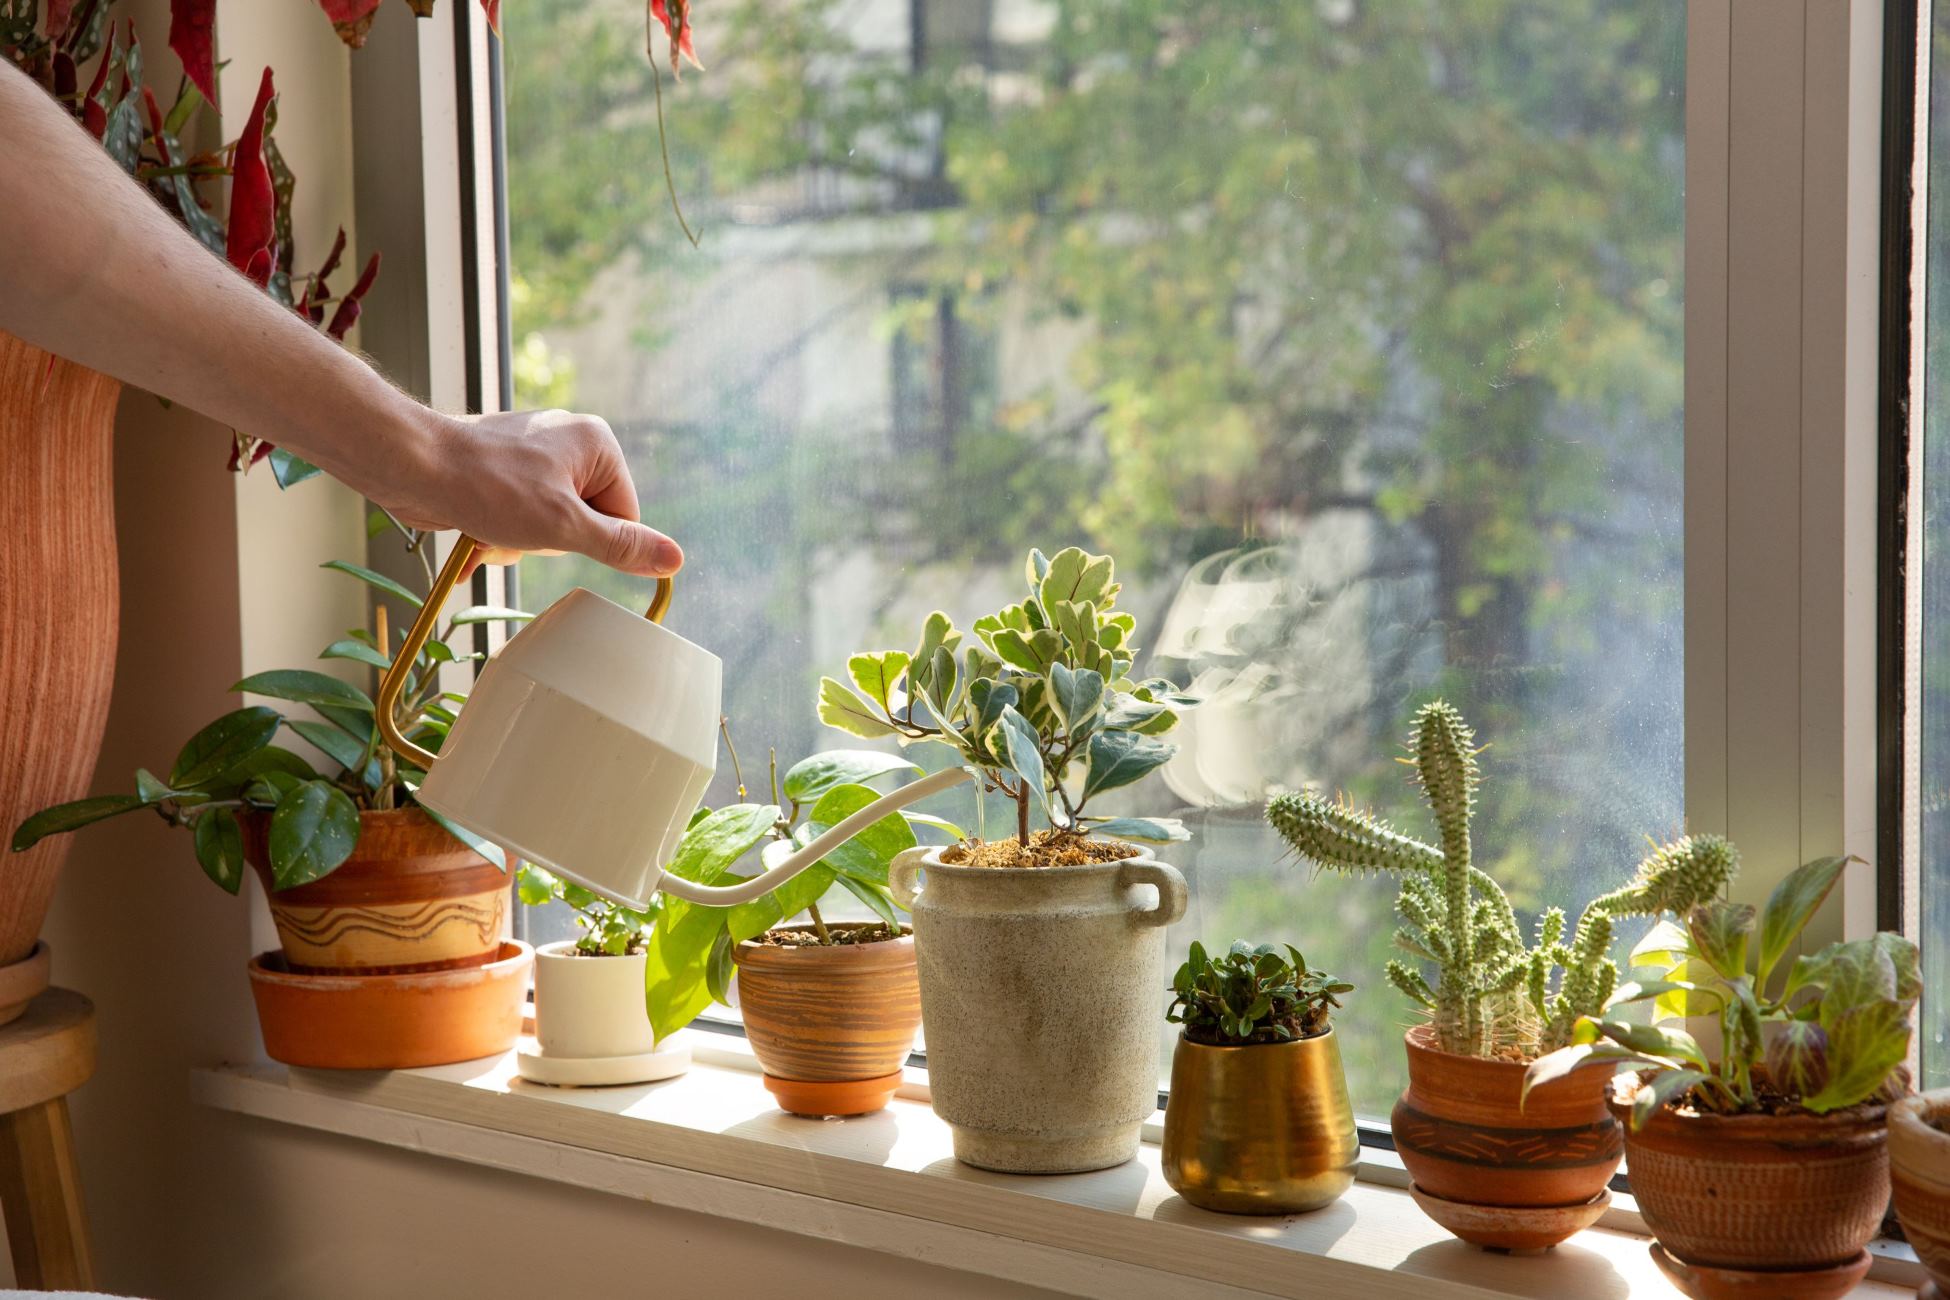
- Water thoroughly: After planting, give your newly potted plant a thorough watering. This will help settle the soil around the roots and ensure proper hydration.
- Place in an appropriate location: Position your potted plant in a suitable location based on its light requirements, temperature preferences, and humidity needs. This will ensure optimal growth and thrive.
Remember to follow the specific care instructions for your chosen plant regarding watering, fertilizing, and sunlight exposure. Regularly monitor the moisture level of the soil, allowing it to dry slightly between waterings to prevent overwatering.
By properly planting your chosen plant in the well-prepared drainage pot, you have provided it with the ideal environment for healthy growth and development. Now, sit back, observe, and enjoy watching your plant flourish!
As a final note, don’t forget to regularly inspect your drainage pot and make any necessary adjustments to maintain an optimal drainage system. This may include clearing any blockages in the drainage holes or replenishing the layers of rocks, charcoal, and sphagnum moss when needed.
Congratulations on creating a good drainage pot for your plant. Happy gardening!
Conclusion
Congratulations! You have successfully learned how to create a good drainage pot for your plants. By following the steps outlined in this guide, you have taken important measures to prevent waterlogged soil, promote healthy root development, and create an optimal environment for your plant to thrive.
Remember, proper drainage is essential for the overall health and well-being of your plants. It helps prevent root rot, fungus growth, and other moisture-related issues that can harm your plant’s growth and vitality. By ensuring adequate drainage, you are providing the necessary oxygen and moisture balance that plants need to flourish.
Throughout this guide, you have learned the importance of choosing the right pot, preparing drainage holes, adding layers of rocks or gravel, activated charcoal, and sphagnum moss. Each step contributes to creating an effective drainage system that allows excess water to escape while retaining essential moisture for your plants.
Additionally, the process of planting your chosen plant in the well-prepared drainage pot ensures proper root establishment and sets the stage for successful growth. Remember to continue taking care of your plant by providing the appropriate amount of water, sunlight, and nutrients it needs.
By incorporating these practices into your plant care routine, you will create an environment where your plants can thrive, leading to healthier and more vibrant foliage. Regular maintenance and monitoring of your drainage pot will help keep your plants happy and flourishing for years to come.
So go ahead, exercise your newfound knowledge, and create a collection of beautifully potted plants with excellent drainage. Enjoy the rewards of your efforts as you witness your plants growing, blooming, and bringing color and life to your home or garden.
Happy gardening!
Frequently Asked Questions about How To Make A Good Drainage Pot For A Plant
Was this page helpful?
At Storables.com, we guarantee accurate and reliable information. Our content, validated by Expert Board Contributors, is crafted following stringent Editorial Policies. We're committed to providing you with well-researched, expert-backed insights for all your informational needs.

0 thoughts on “How To Make A Good Drainage Pot For A Plant”