Home>Home Maintenance>How To Use Rocks For Plant Drainage
Home Maintenance
How To Use Rocks For Plant Drainage
Modified: March 7, 2024
Learn how to use rocks for plant drainage in your home maintenance routine. Improve the health of your plants with this simple and effective technique.
(Many of the links in this article redirect to a specific reviewed product. Your purchase of these products through affiliate links helps to generate commission for Storables.com, at no extra cost. Learn more)
Introduction
Welcome to our comprehensive guide on using rocks for plant drainage. Whether you are a seasoned gardener or just starting your green thumb journey, understanding the importance of proper plant drainage is essential for the health and longevity of your plants. In this article, we will explore the different types of rocks that are suitable for plant drainage, explain how to prepare your pot for optimal drainage, and provide you with valuable tips on watering and maintaining your plants.
Proper plant drainage plays a crucial role in preventing root rot and maintaining the overall health of your plants. When excess water accumulates in the soil, it can deprive the roots of oxygen and lead to the development of fungal diseases. Rocks are an excellent natural tool that can help enhance drainage by creating air pockets in the soil, allowing excess water to flow away from the roots.
Now that we understand the significance of plant drainage, let’s dive into the types of rocks that can be used and how to incorporate them effectively into your plant pot.
Key Takeaways:
- Proper plant drainage is crucial for healthy plants. Using rocks in pots creates air pockets, prevents waterlogging, and promotes optimal growing conditions.
- Choose suitable rocks like pea gravel and river rocks for plant drainage. Prepare the pot with a drainage layer, add rocks, and plant with care for thriving plants.
Read more: What Kind Of Plants To Plant For Drainage
Understanding the Importance of Plant Drainage
Plant drainage is vital for the health and well-being of your plants. It involves the proper removal of excess water from the soil, preventing it from pooling around the plant’s roots. Adequate drainage ensures that the plant’s root system receives an adequate supply of oxygen and nutrients, promoting healthy growth and preventing root rot.
When water accumulates in the soil, it can displace oxygen, creating anaerobic conditions that are detrimental to plant roots. In addition to oxygen deprivation, excess moisture can lead to the proliferation of harmful bacteria and fungi, which often cause root diseases.
By using rocks for plant drainage, you can create air pockets in the soil. These air pockets allow excess water to escape, preventing waterlogged conditions and providing the roots with the necessary oxygen they need to thrive. Additionally, rocks act as a barrier, keeping the roots from sitting directly in moist soil, which can lead to root rot.
Without proper drainage, plants can suffer from a variety of issues, including yellowing leaves, stunted growth, and even death. By implementing effective drainage techniques, you can provide your plants with the optimal growing conditions they need to flourish.
In the next section, we will explore the types of rocks that are suitable for plant drainage and how to prepare your pot for optimal drainage.
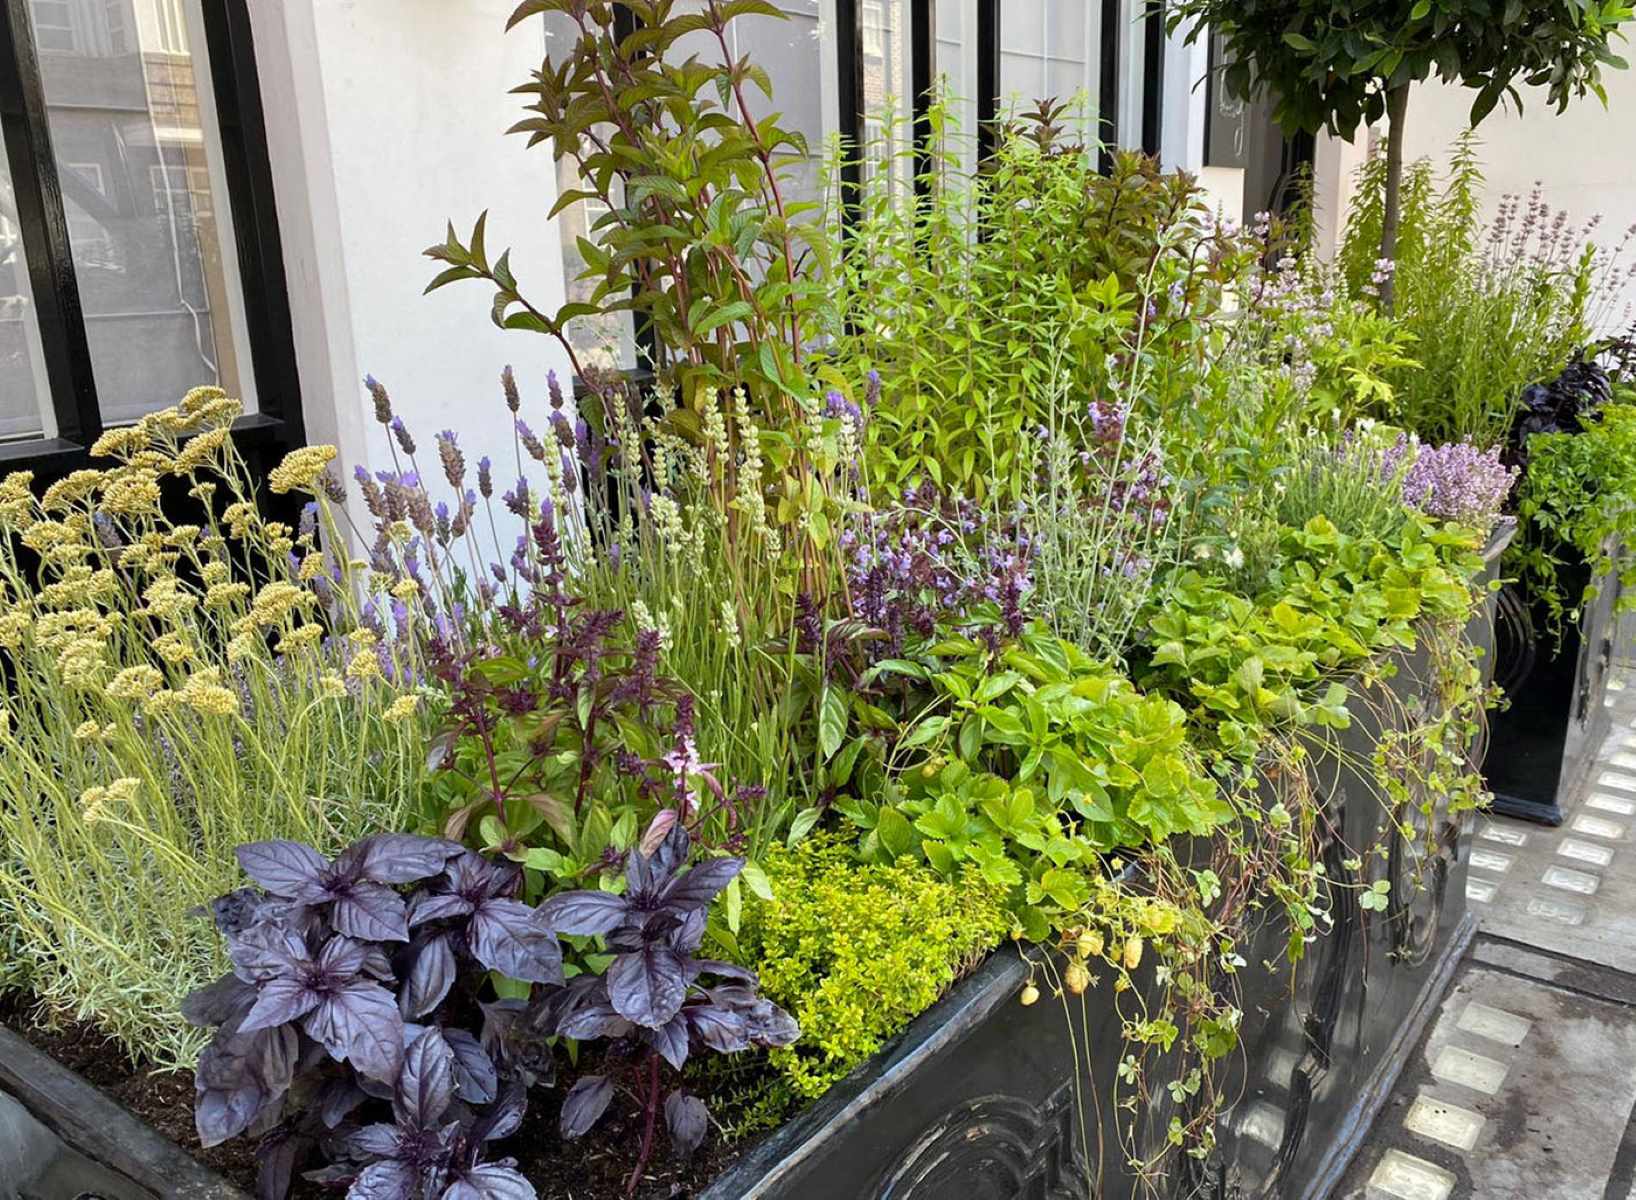
Types of Rocks Suitable for Plant Drainage
When it comes to choosing rocks for plant drainage, it’s important to select those that allow water to flow freely. Here are some of the commonly used rocks that are suitable for this purpose:
- Pea Gravel: Pea gravel is a popular choice for plant drainage due to its small size and excellent permeability. It allows water to pass through quickly, preventing waterlogging and ensuring proper oxygen exchange for the roots.
- Perlite: While technically not a rock, perlite is a lightweight volcanic glass that is often used in potting mixes to improve drainage. Its porous nature allows excess water to escape, keeping the soil well-drained and preventing compaction.
- Pumice: Pumice is another volcanic rock known for its excellent drainage capabilities. Its airy texture helps create air pockets in the soil, allowing excess water to drain away while still providing adequate moisture retention for the plant roots.
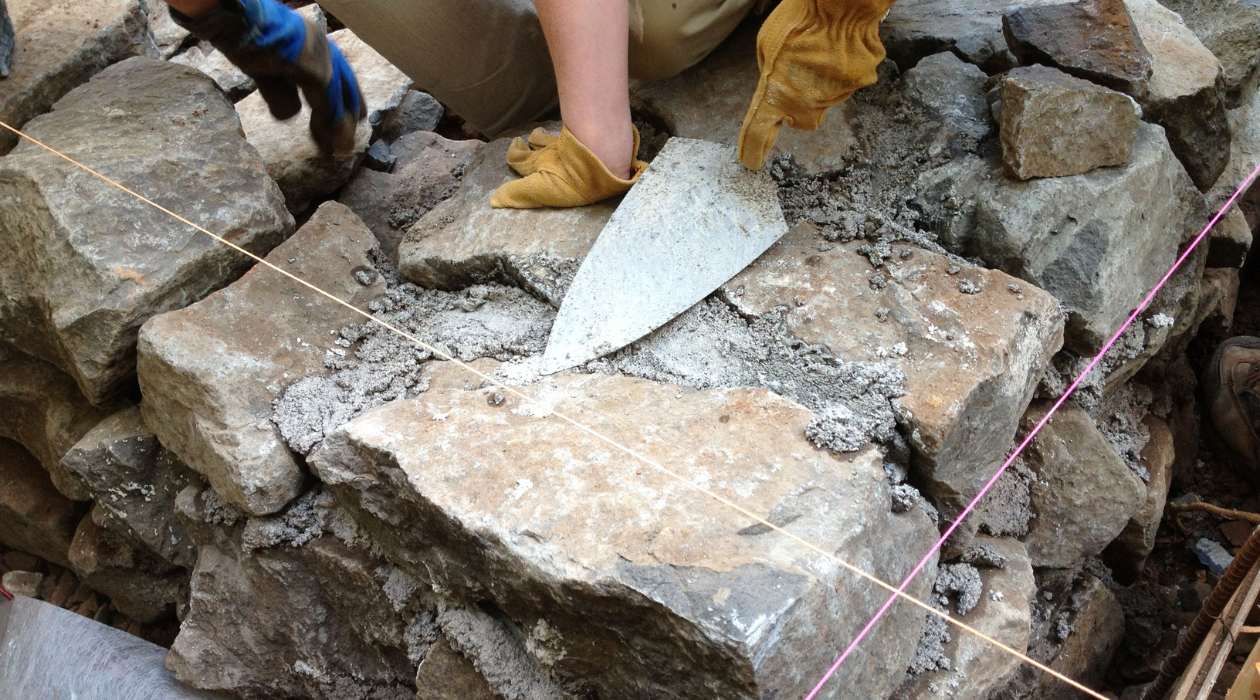
- Crushed Stone: Crushed stone, with its sharp edges and varying sizes, provides excellent drainage properties. It promotes water movement and prevents water from pooling around the roots. However, it’s important to choose crushed stone that does not contain limestone, as it can raise the soil’s pH levels.
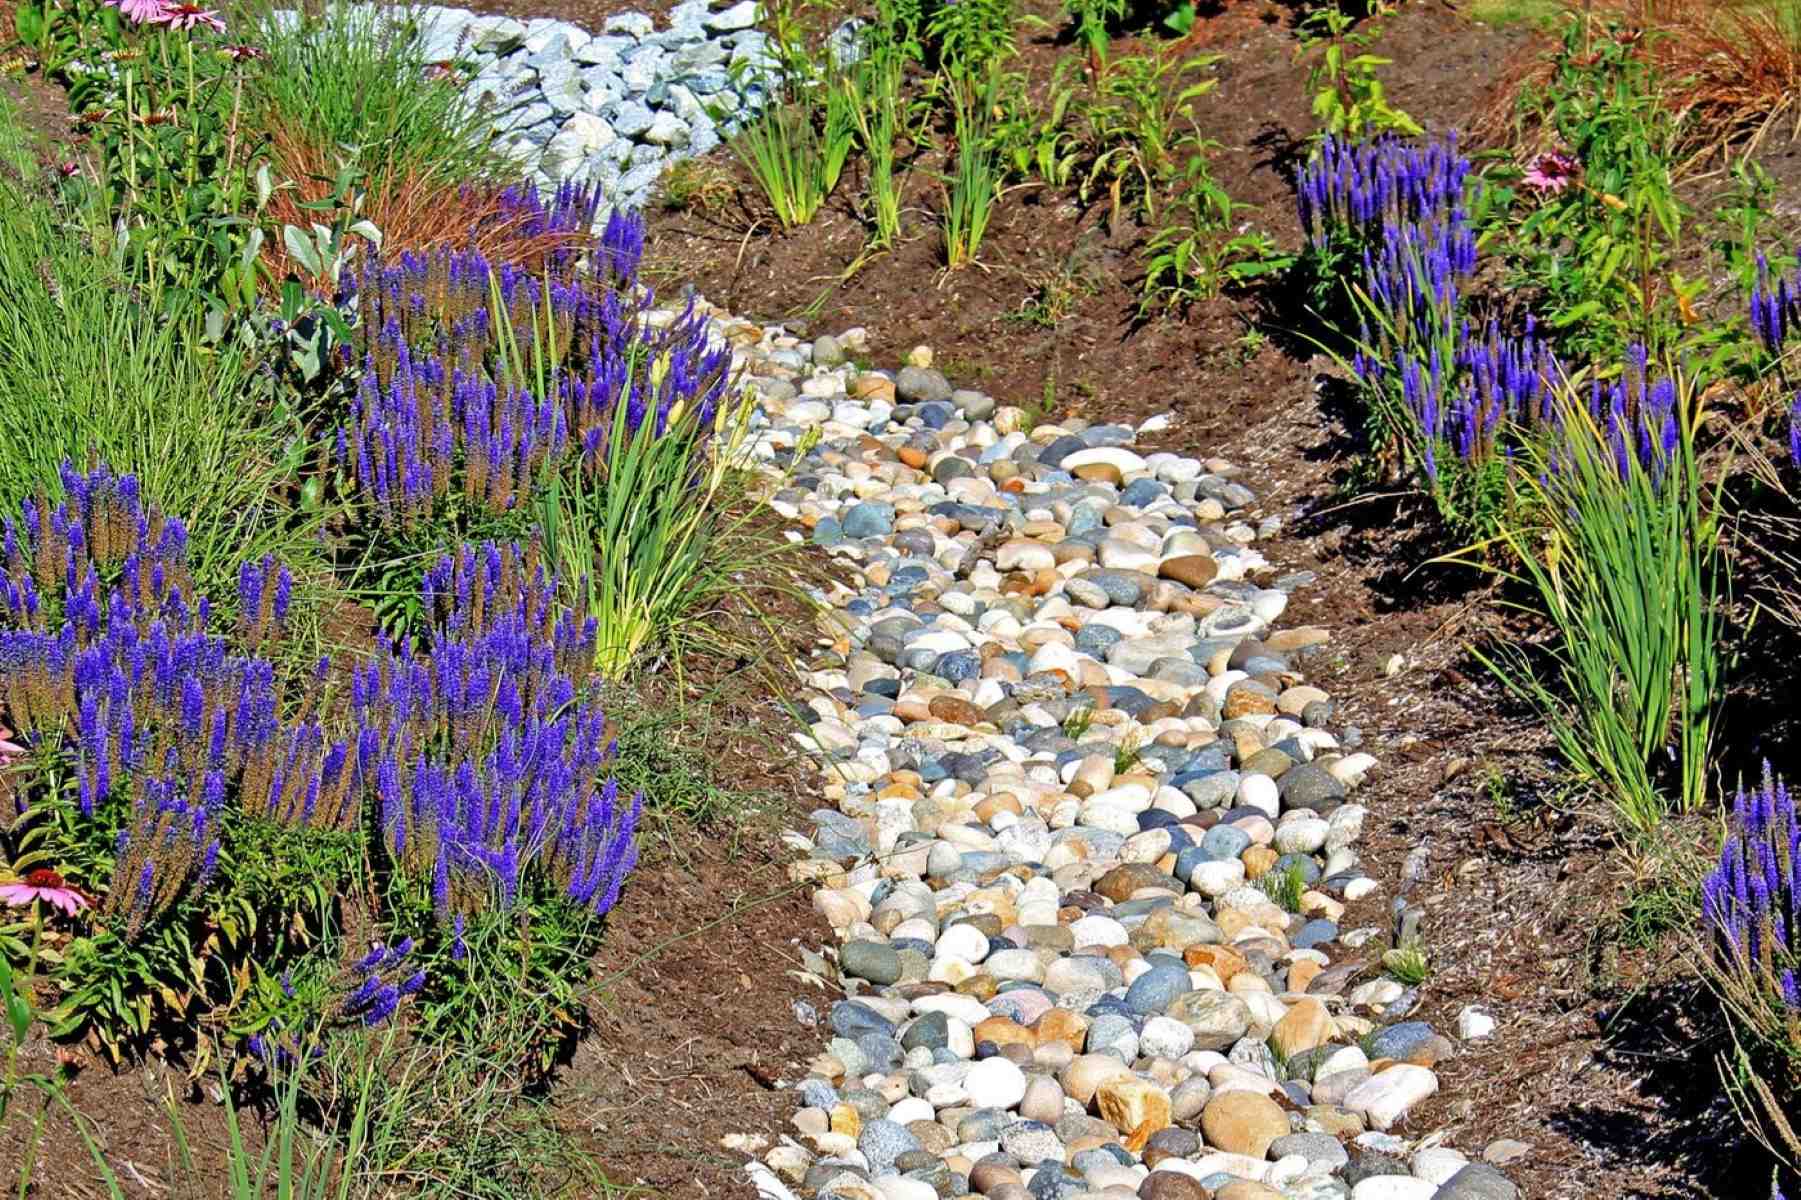
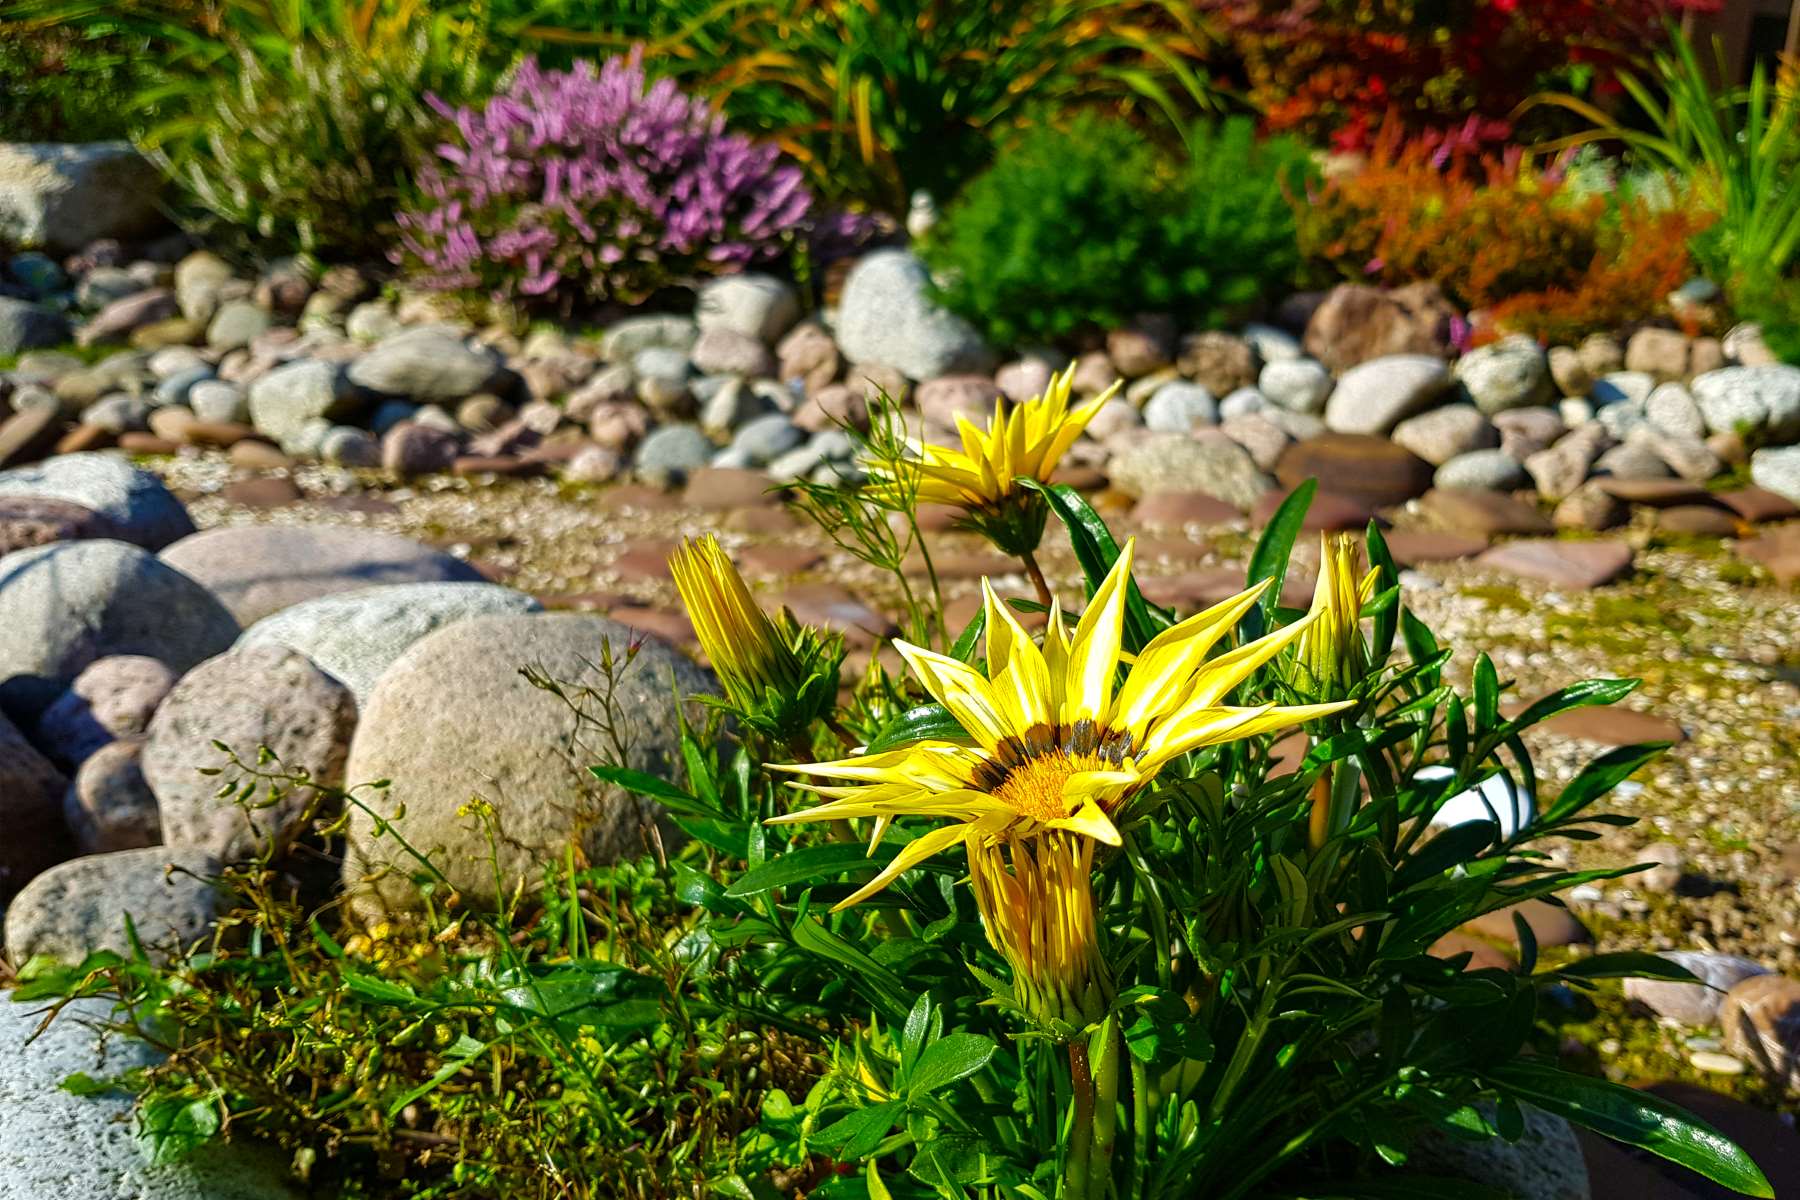
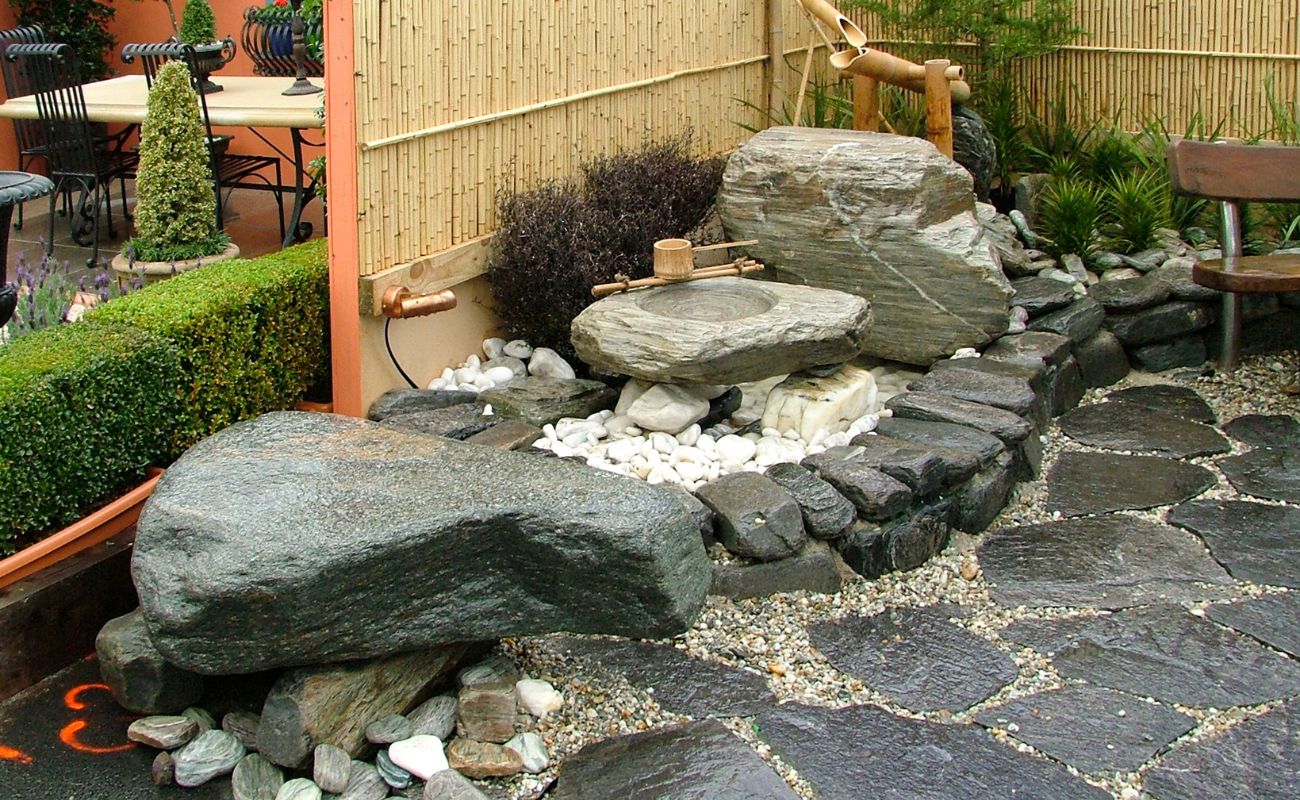
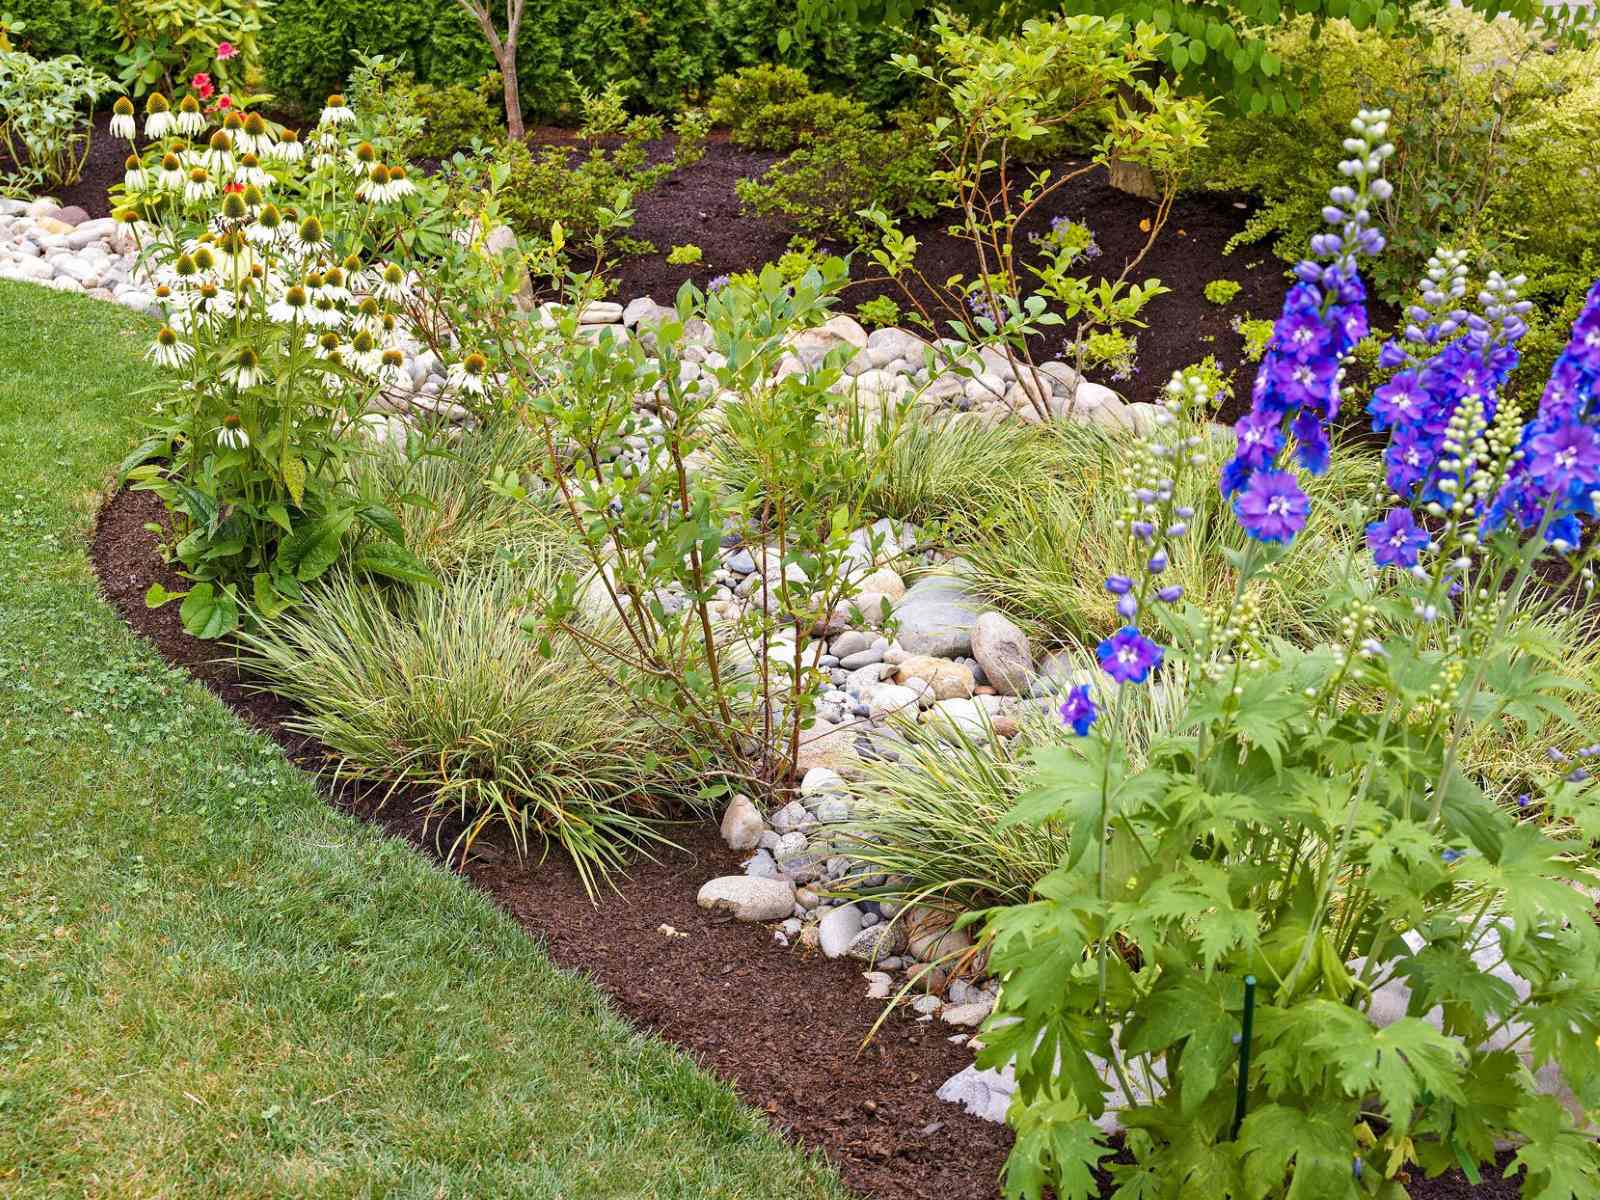
- River Rocks: River rocks, with their smooth and rounded texture, are not only aesthetically pleasing but also conducive to good drainage. The gaps between the rocks allow water to flow freely, preventing waterlogging.
When selecting rocks for plant drainage, ensure that they are free of any chemicals or contaminants that can harm your plants. It’s always a good idea to wash the rocks thoroughly before using them to remove any debris or dust.
Now that we have explored the types of rocks suitable for plant drainage, let’s move on to the next step: preparing the pot for optimal drainage.
Preparing the Pot for Proper Drainage
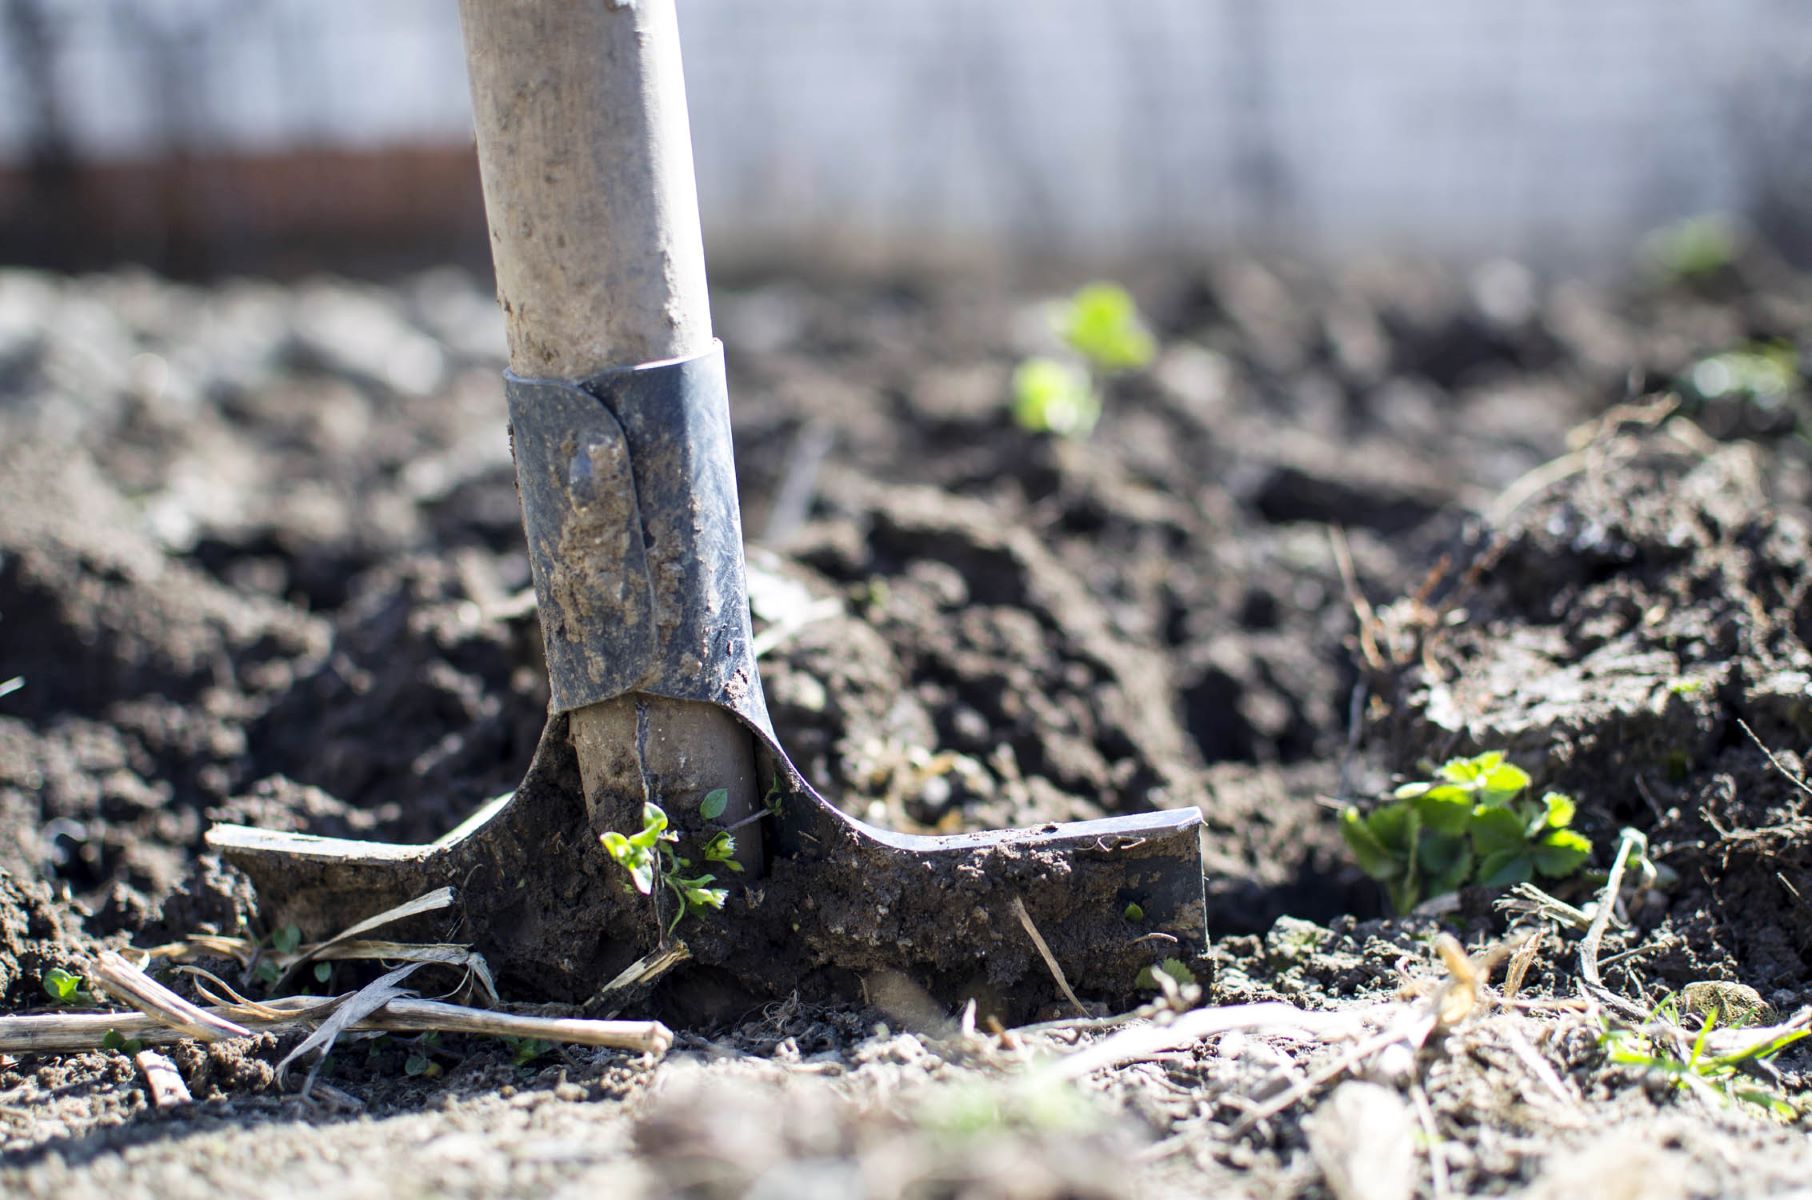
Proper drainage starts with preparing the pot before you even add the rocks. Here are the steps to ensure optimal drainage:
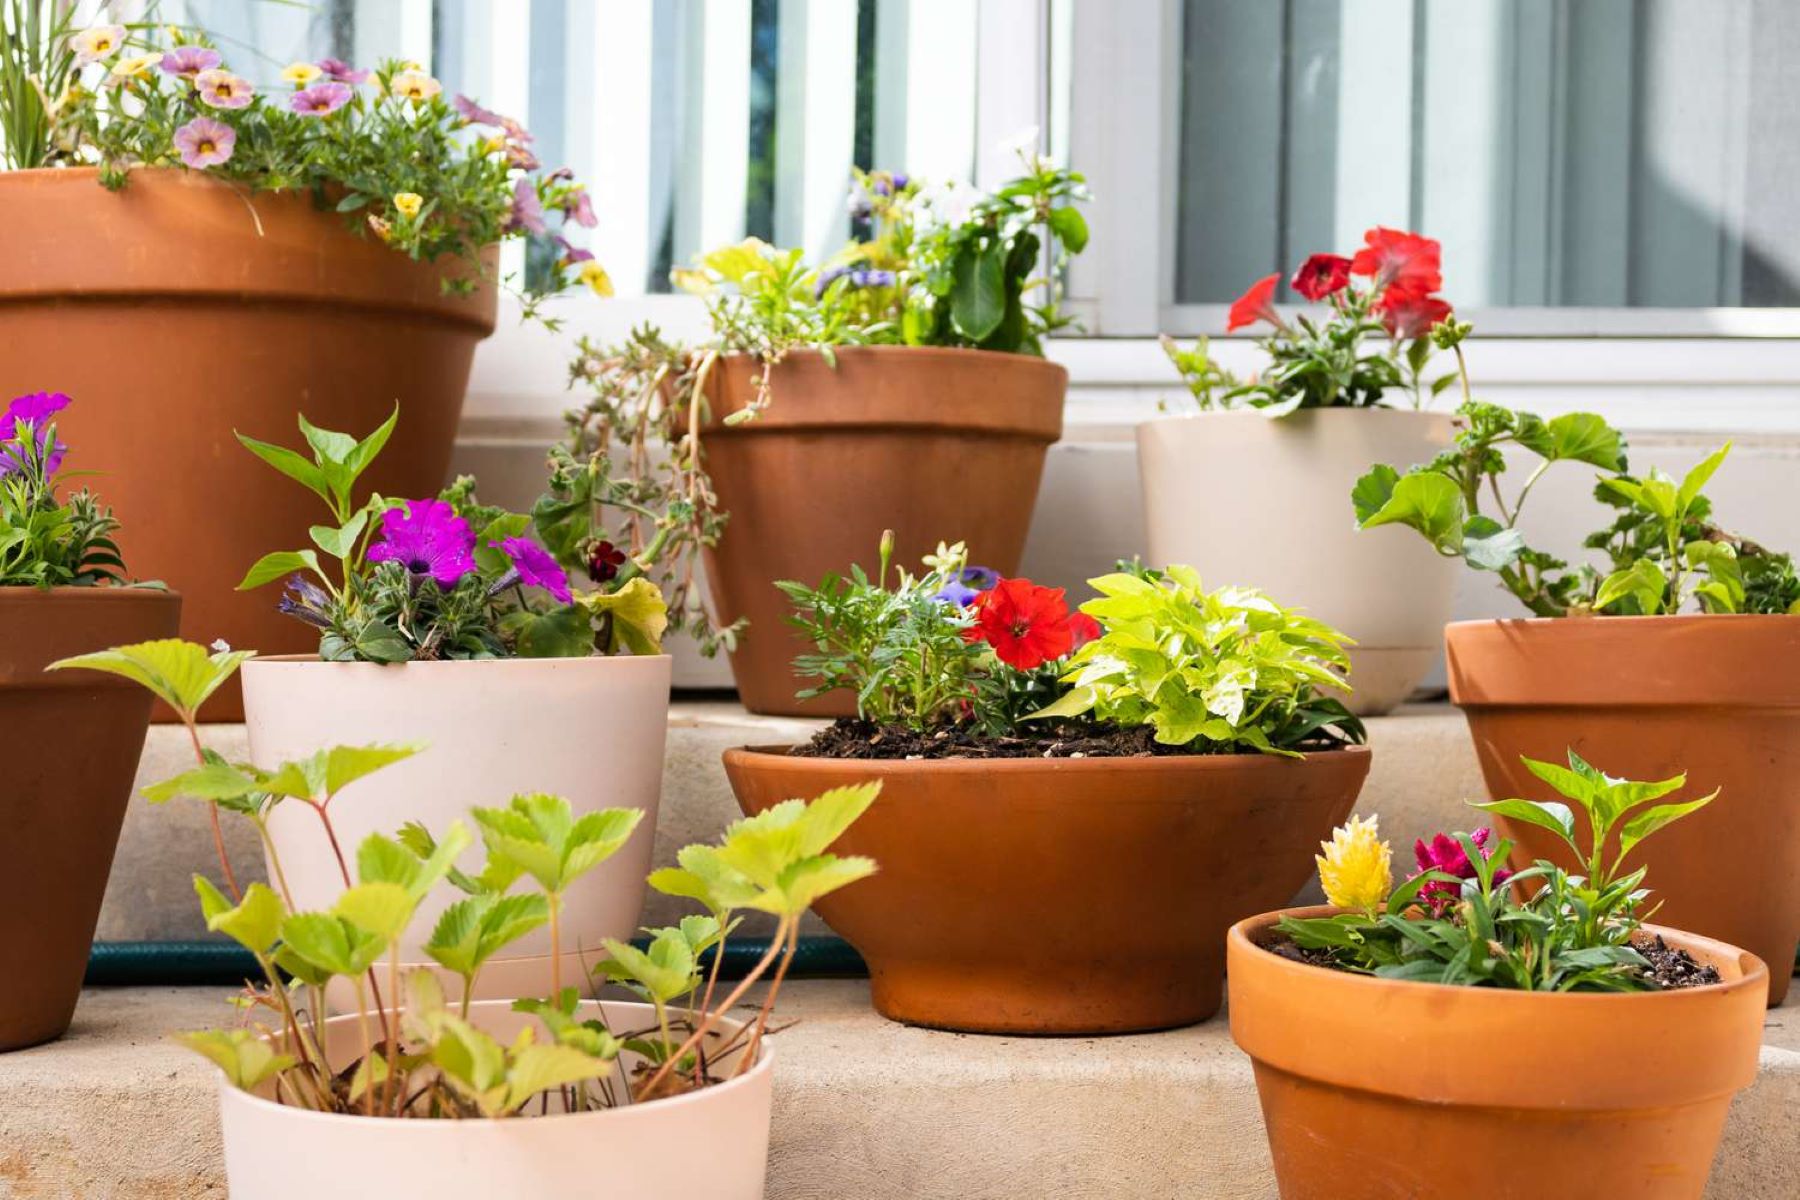
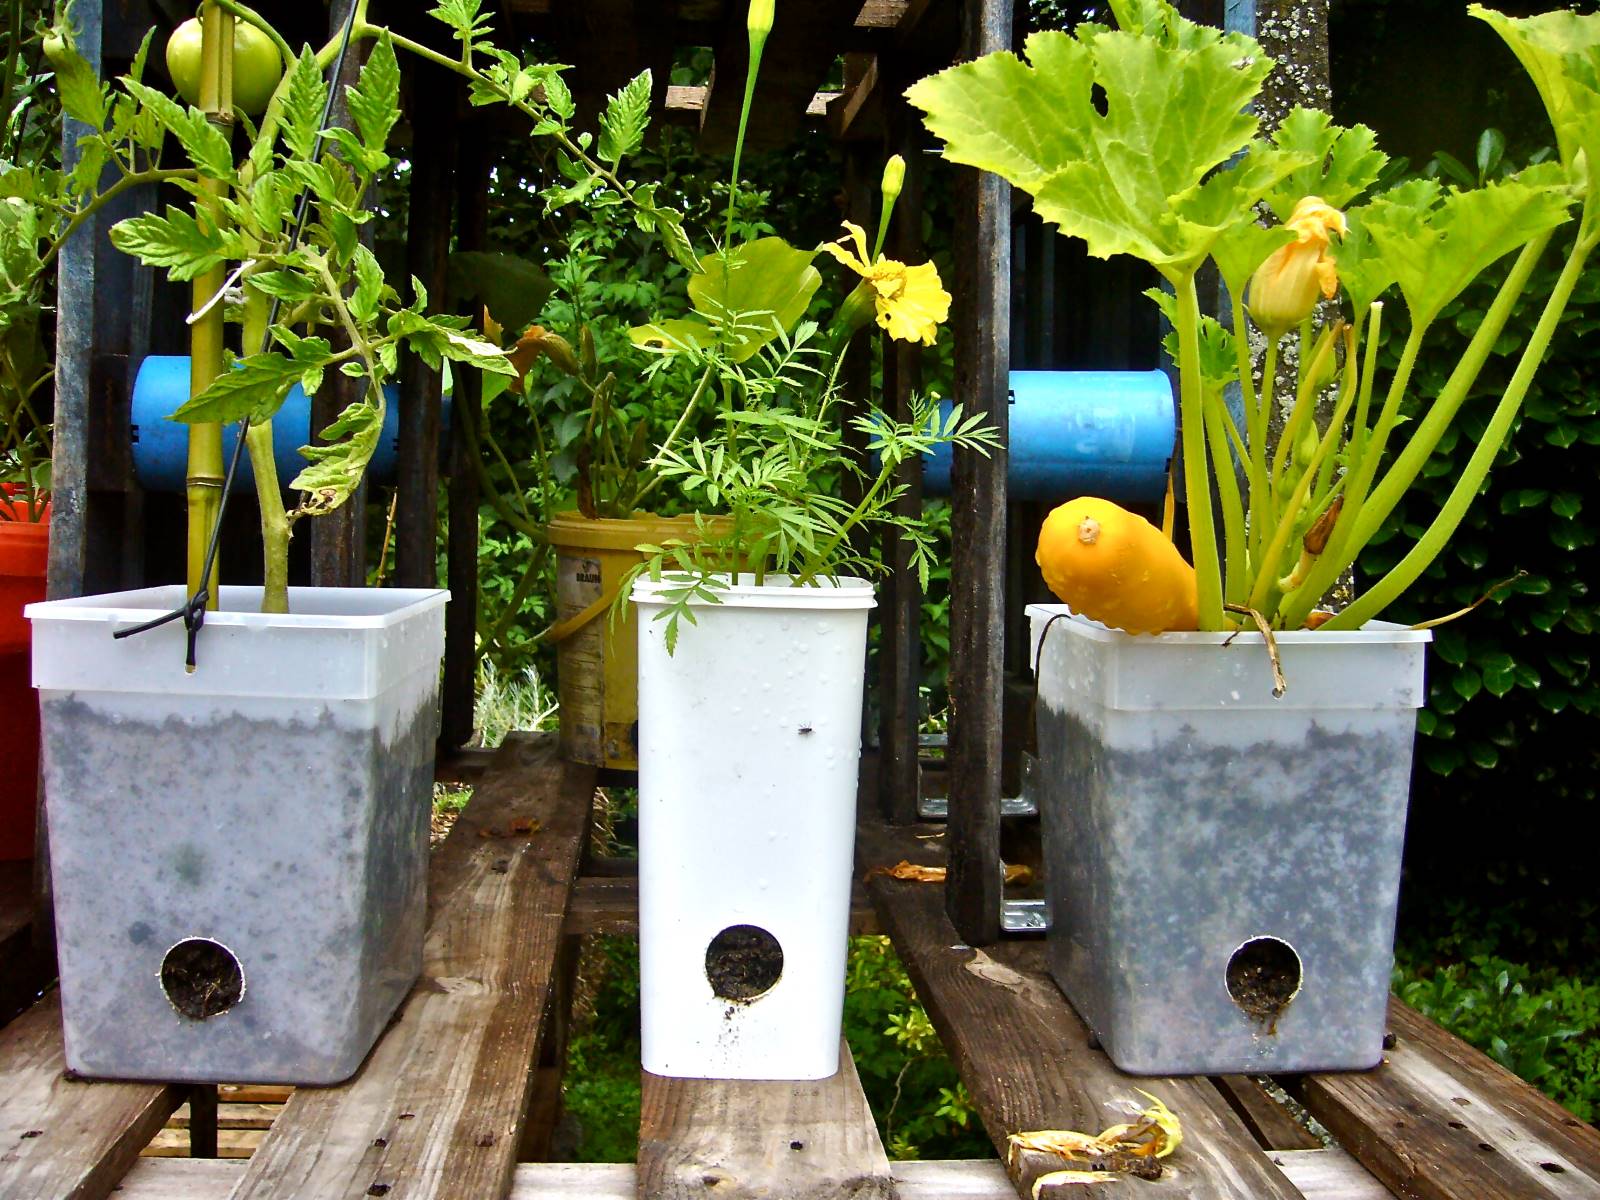
- Choose the Right Pot: Select a pot with drainage holes in the bottom. These holes allow excess water to escape and prevent waterlogging. Avoid using pots without drainage holes, as they can result in stagnant water and potential root rot.
- Place a Saucer or Tray: To catch the water that drains through the holes, place a saucer or tray beneath the pot. This prevents water from pooling on your surfaces while still allowing the pot to drain freely.
- Use a Potting Mix: Fill the pot with a well-draining potting mix that is appropriate for your specific plant’s needs. Avoid using garden soil, as it can be too dense and hinder drainage. A high-quality potting mix will provide the ideal balance of moisture and aeration for your plants.
- Prepare the Drainage Layer: Before adding the rocks, create a drainage layer at the bottom of the pot. This layer will help prevent the rocks from blocking the drainage holes and ensure proper water flow. Add a layer of coarse material such as broken pottery shards, gravel, or a synthetic drainage mat.
Once you have prepared the pot with the necessary drainage layer, you can now proceed to add the rocks to further enhance the drainage.
In the next section, we will delve into the process of layering rocks at the bottom of the plant pot.
When using rocks for plant drainage, layer them at the bottom of the pot before adding soil. This will help prevent water from pooling at the bottom and causing root rot.
Layering Rocks at the Bottom of the Plant Pot
Now that you have prepared the pot with a drainage layer, it’s time to layer rocks at the bottom of the plant pot. Follow these steps to ensure proper rock placement:
- Choose the Right Size: Select rocks that are small to medium-sized, ensuring that they fit comfortably at the bottom of the pot without obstructing the drainage holes. Avoid using large rocks that can impede water flow.
- Add a Layer of Rocks: Pour a layer of rocks evenly over the drainage layer, covering the entire bottom surface of the pot. Aim for a depth of about 1-2 inches, depending on the size of the pot. This layer will act as a reservoir, allowing excess water to collect away from the plant roots.
- Avoid Overpacking: Ensure that you don’t pack the rocks tightly, as this can hinder water flow. Leave some space between the rocks to allow for adequate drainage.
- Gently Tap and Adjust: After adding the rocks, gently tap the pot on a solid surface to settle them evenly. You can also use your fingers to adjust and distribute the rocks as needed.
Layering rocks at the bottom of the plant pot helps create air pockets and allows excess water to drain freely. This prevents the roots from becoming waterlogged and promotes healthy plant growth.
With the rocks properly layered, you can now proceed to add potting soil and plant your desired plant in the pot.
In the next section, we will discuss the process of adding potting soil and planting the plant.
Read more: What Helps With Plant Drainage
Adding Potting Soil and Planting the Plant
Once you have layered the rocks at the bottom of the plant pot, it’s time to add potting soil and plant your desired plant. Follow these steps to ensure successful planting:
- Choose the Right Potting Soil: Select a high-quality potting soil that is suitable for the specific needs of your plant. Potting soil is specifically formulated to provide the right balance of nutrients, moisture, and aeration for plants.
- Add Potting Soil: Fill the pot with potting soil, leaving enough space to accommodate the root ball of your plant. Gently press down on the soil to create a firm and stable base for the plant.
- Prepare the Plant: If your plant is in a temporary container, carefully remove it while being gentle with the roots. Gently loosen the root ball with your fingers to encourage healthy root growth.
- Position the Plant: Place the plant in the center of the pot, ensuring that the top of the root ball is level with or slightly above the rim of the pot. This will allow for proper watering without the risk of water overflow.
- Fill in with Soil: Fill the remaining space around the root ball with potting soil, gently firming it around the plant to provide stability. Avoid compacting the soil too densely, as this can hinder water drainage and root growth.
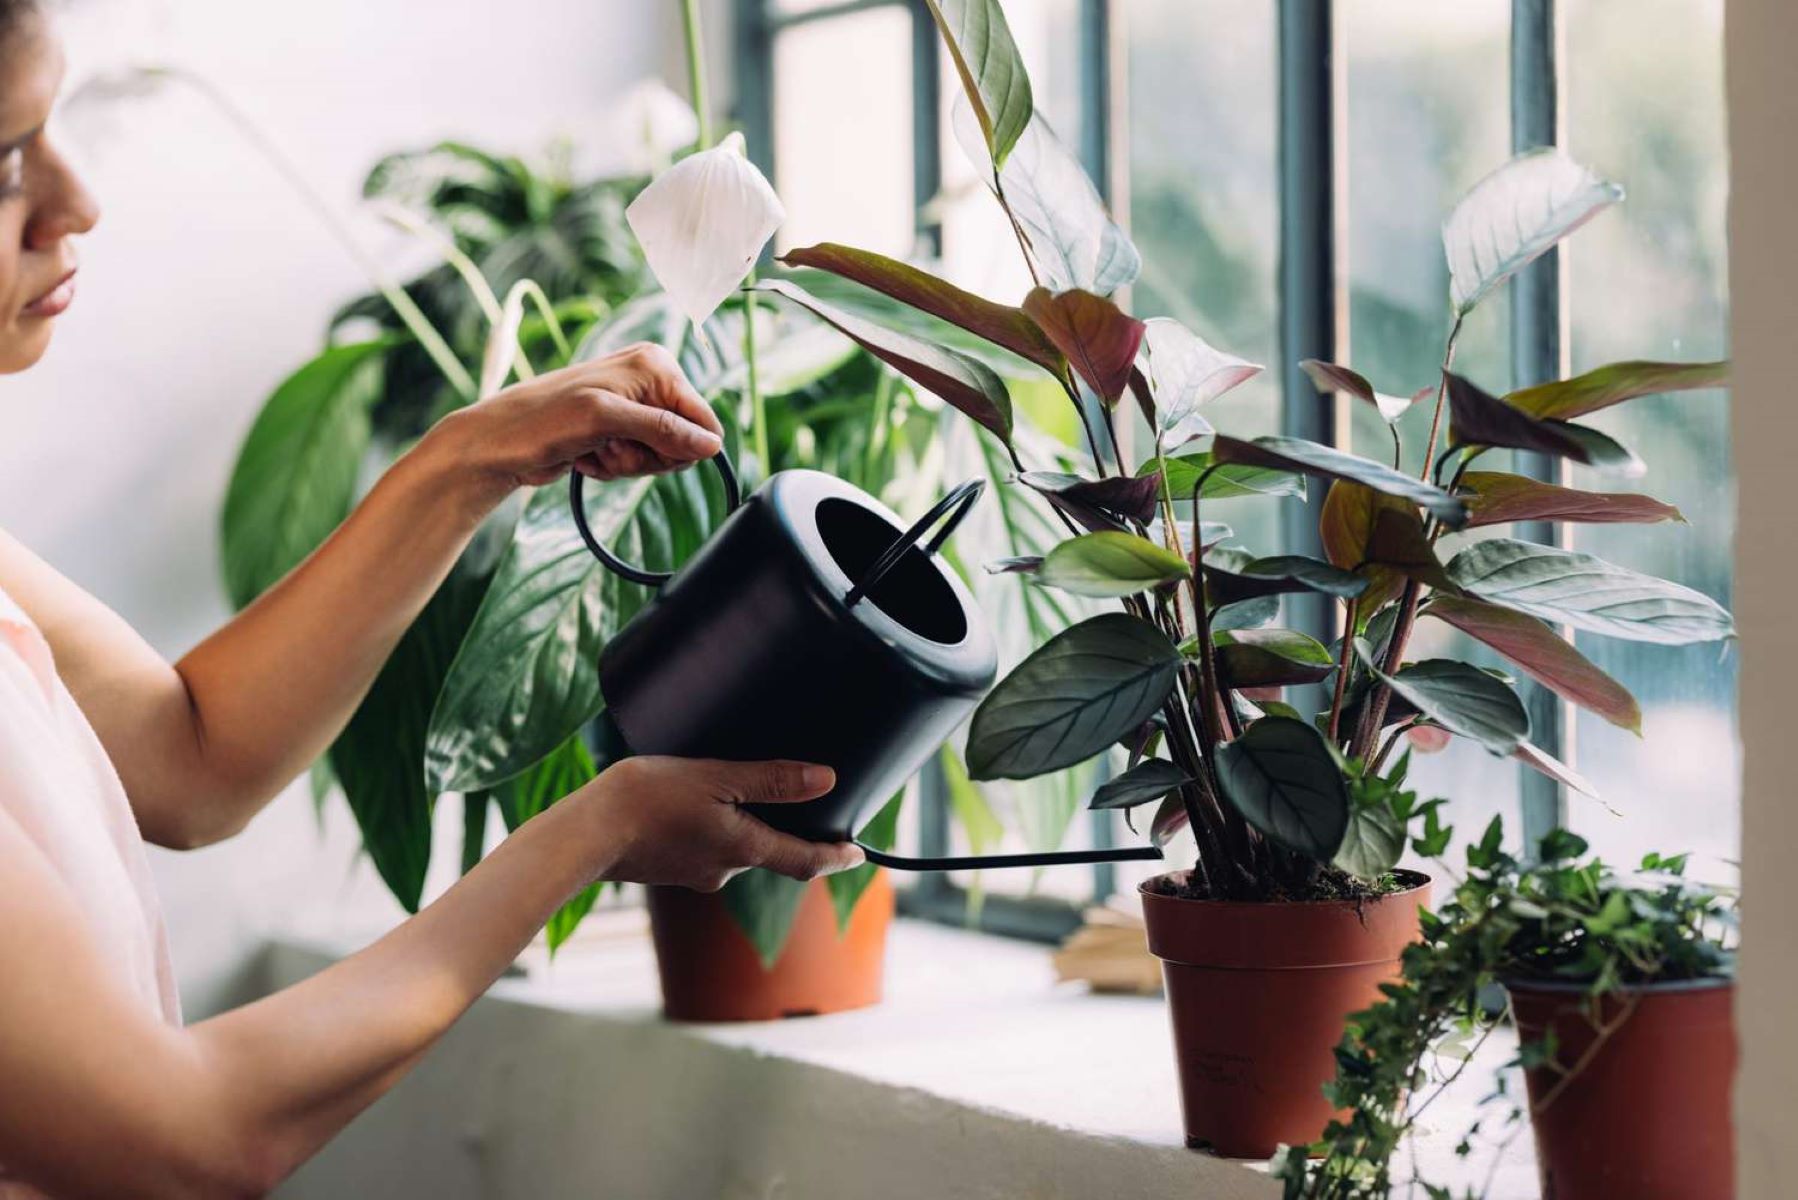
- Water the Plant: After planting, water the plant thoroughly to settle the soil and ensure good root-to-soil contact. Allow any excess water to drain out through the rocks and drainage holes.
By using rocks for drainage and providing a well-balanced potting mix, you are creating an ideal environment for your plant to thrive. The rocks will help prevent waterlogged conditions, while the potting soil will provide the necessary nutrients and support for healthy growth.
In the next section, we will provide you with valuable watering and maintenance tips for plants with rock drainage.
Watering and Maintenance Tips for Plants with Rock Drainage
Proper watering and maintenance are essential for plants with rock drainage. Follow these tips to ensure the health and longevity of your plants:
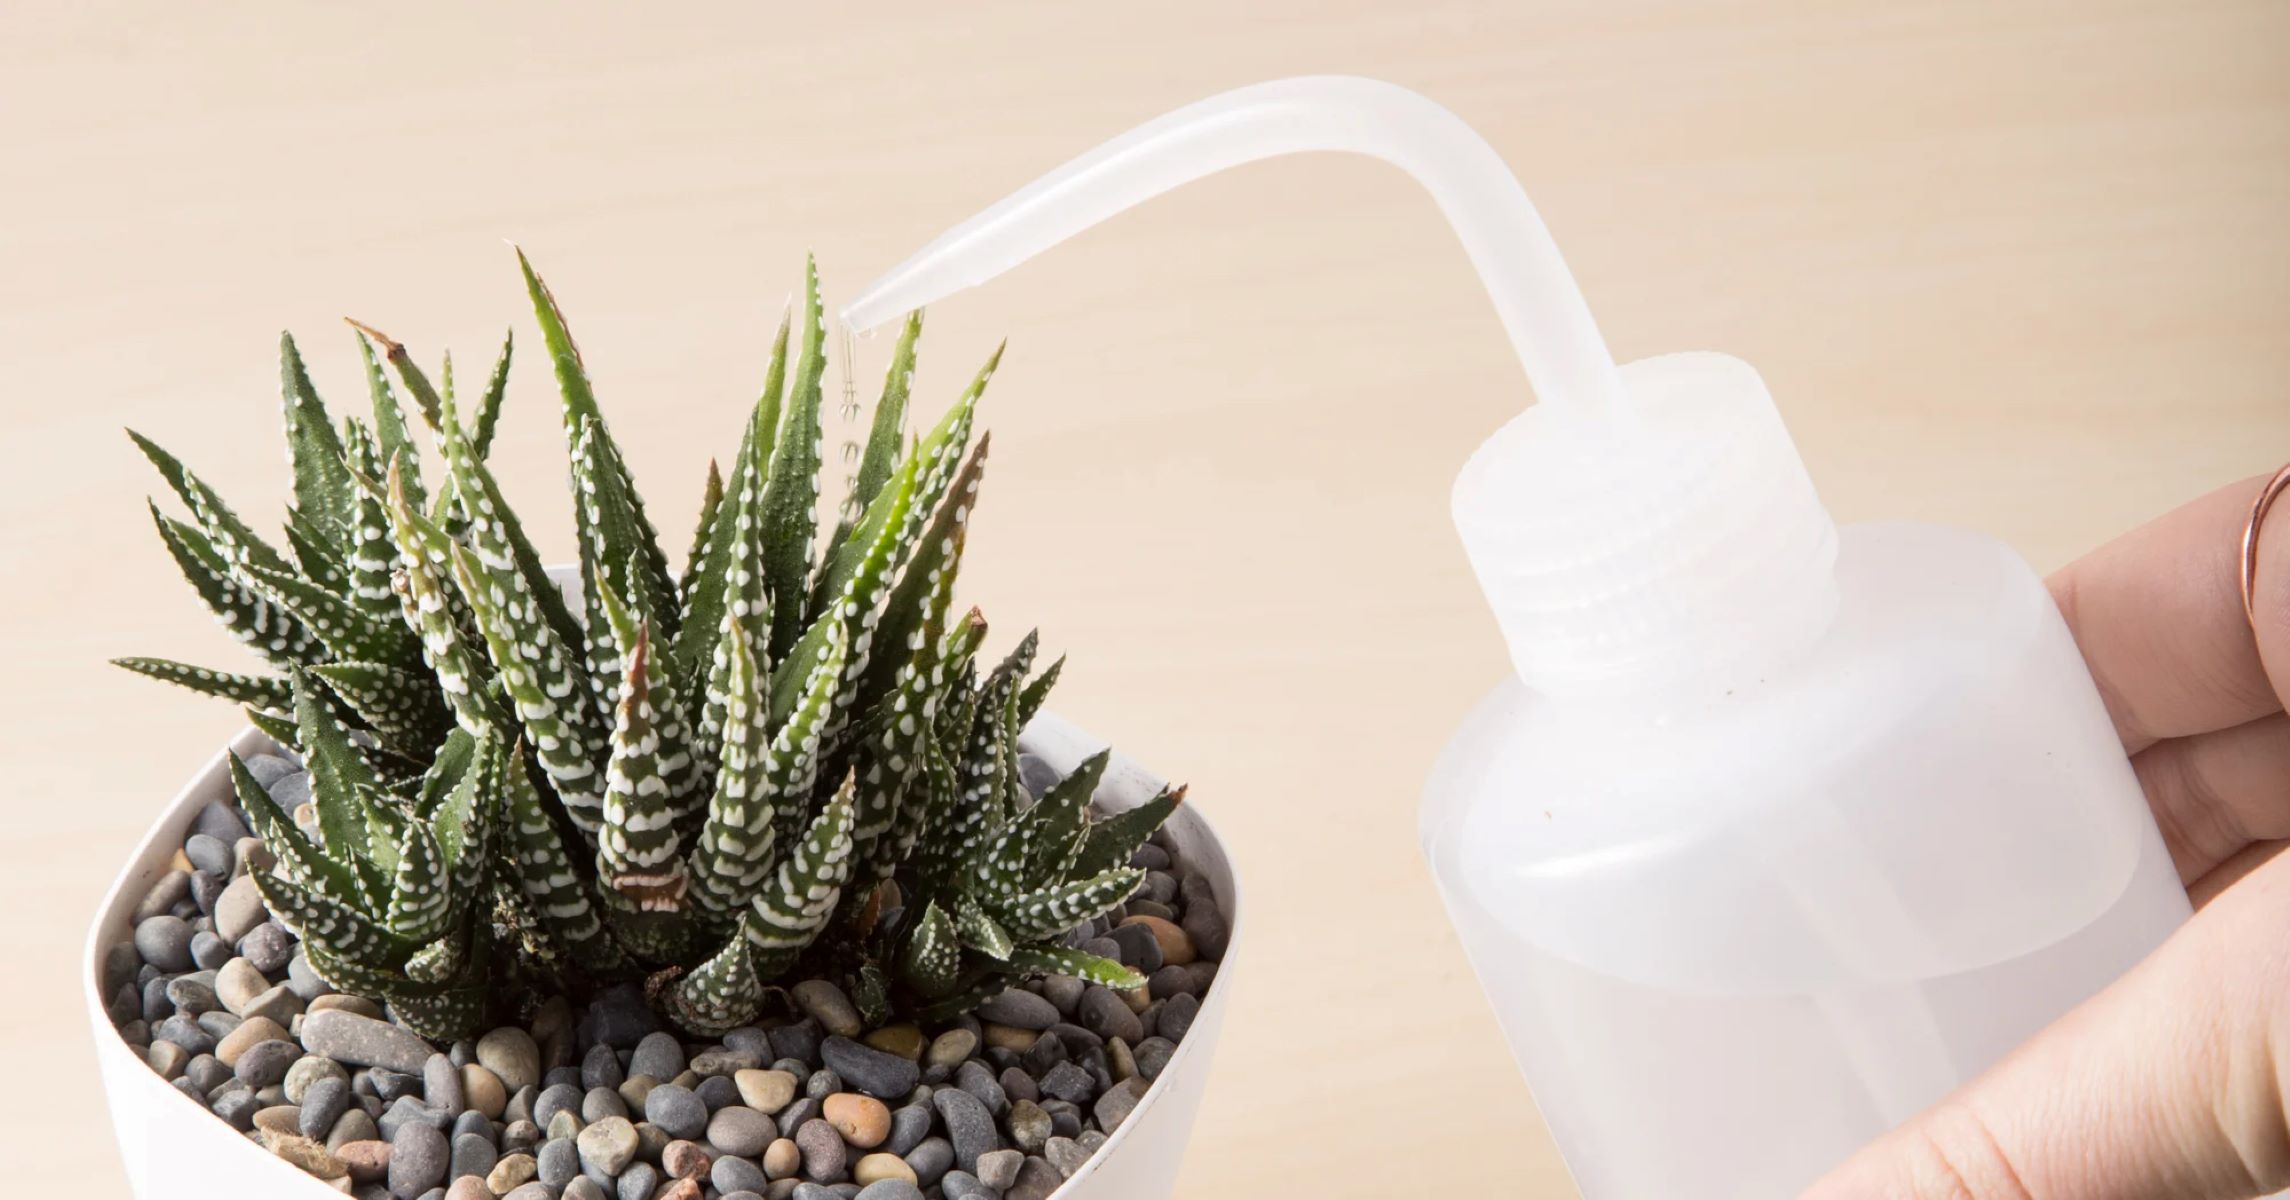
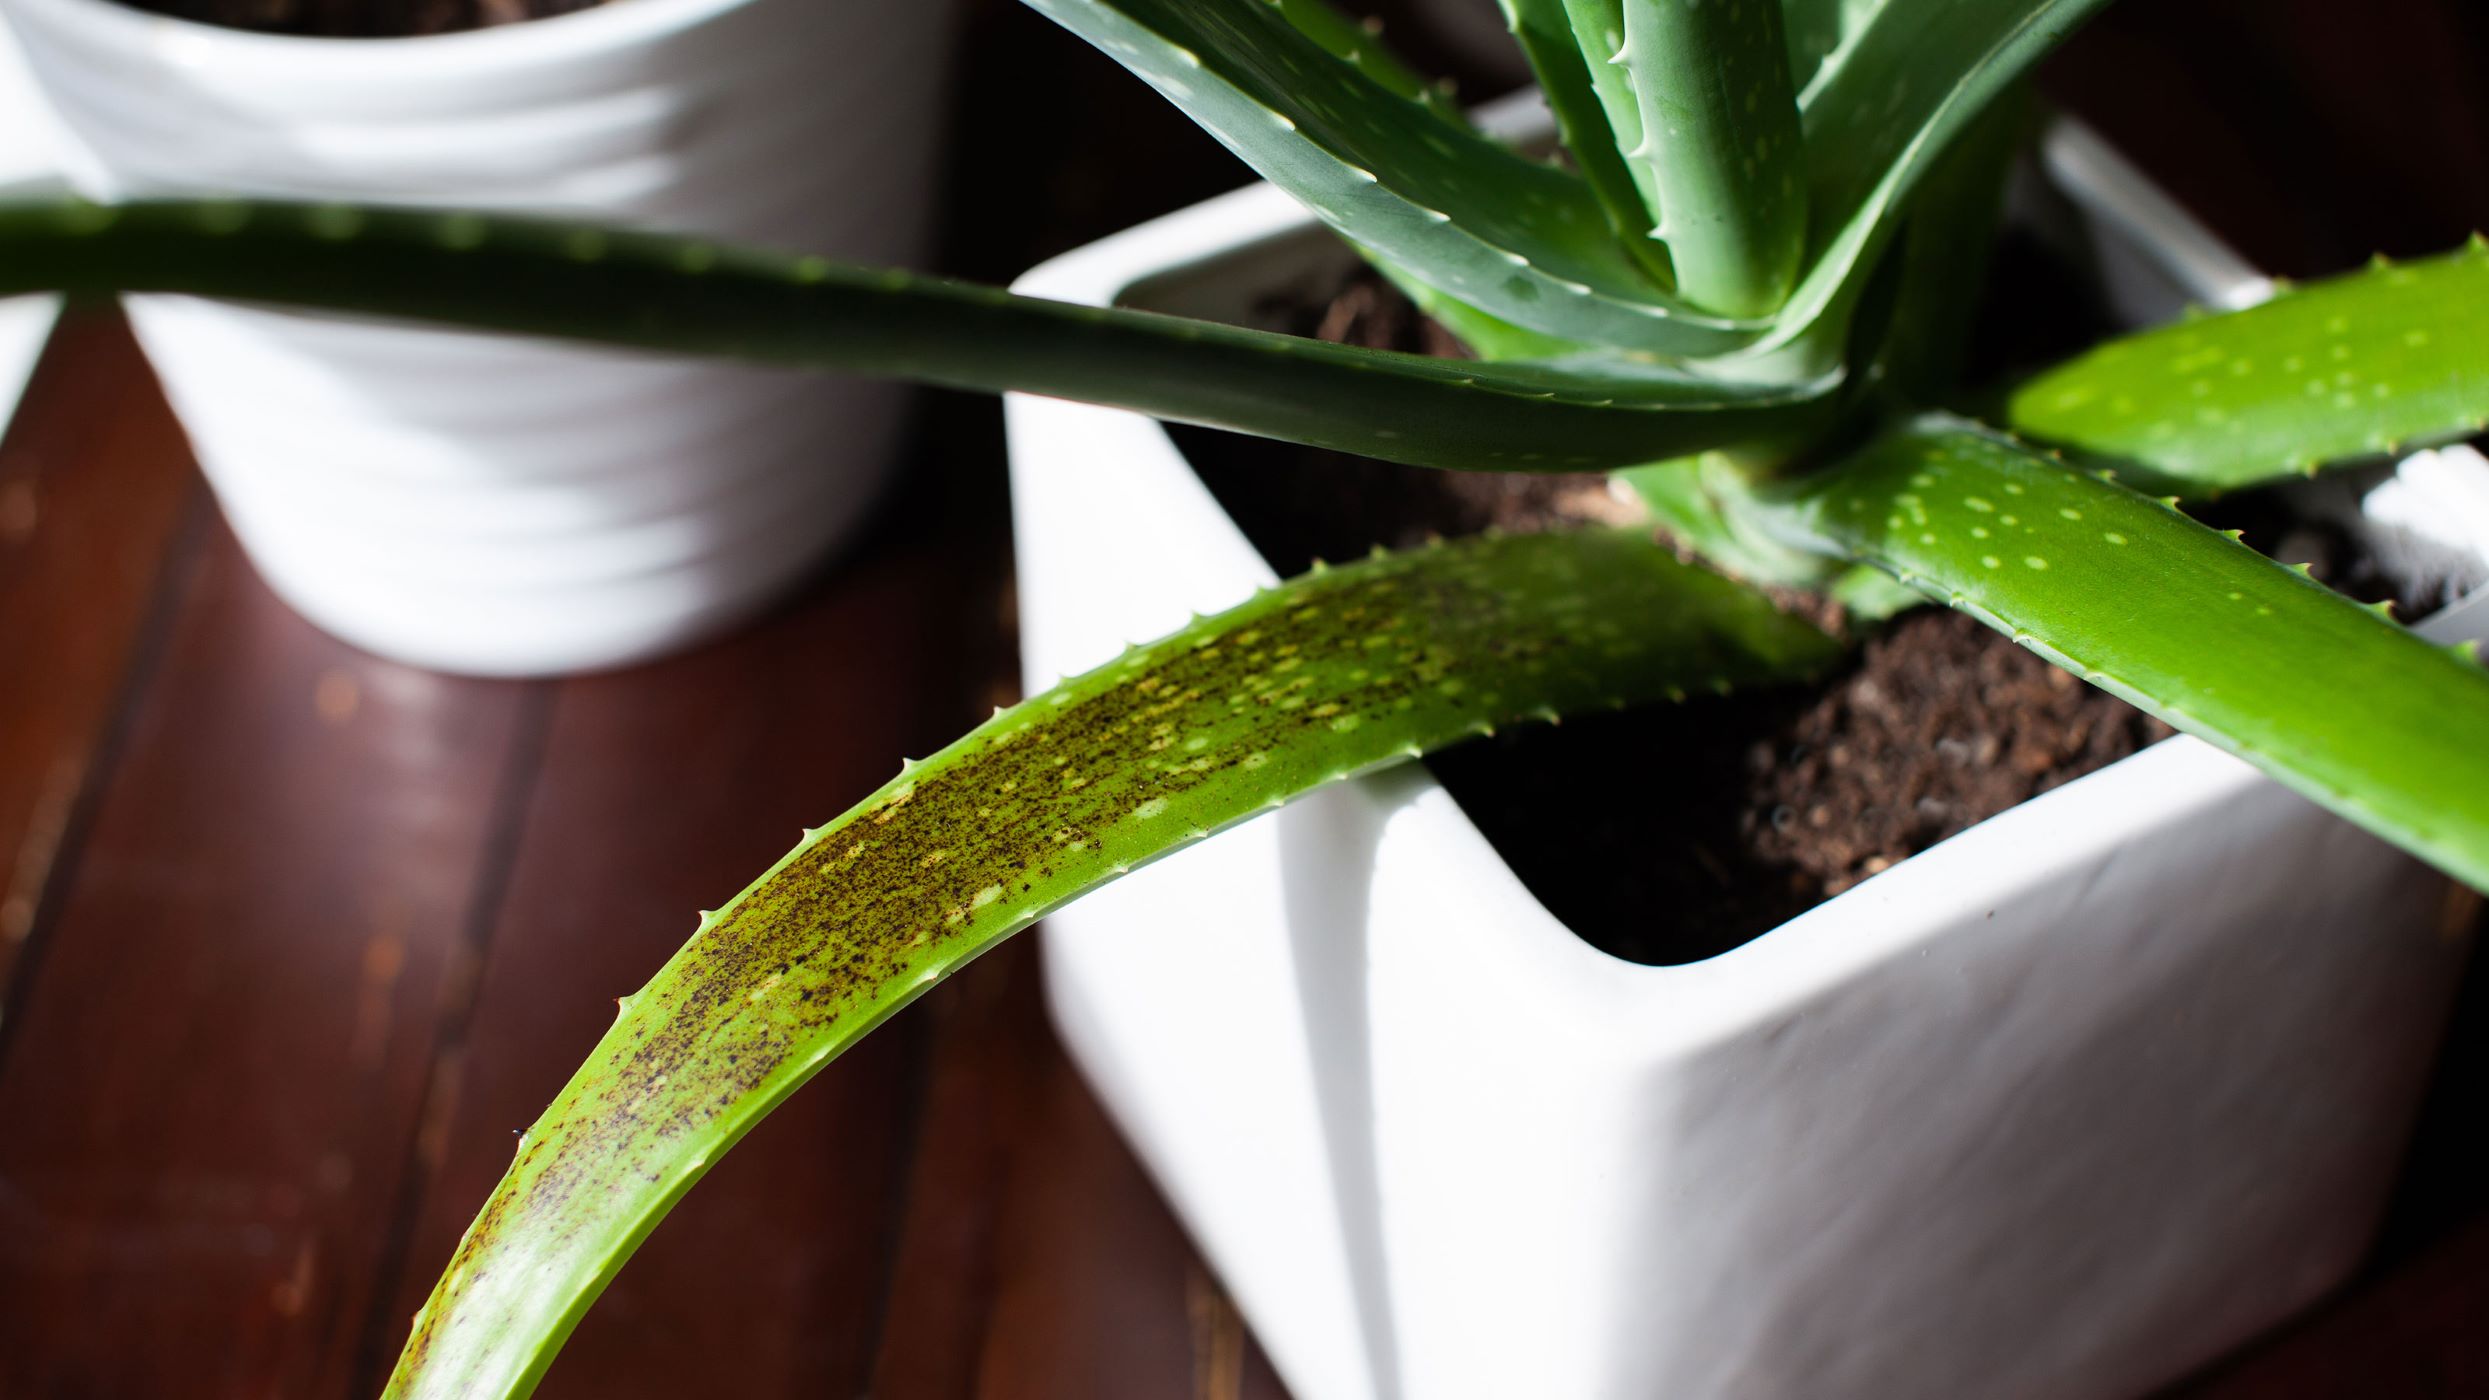
- Monitor Soil Moisture: Regularly check the soil moisture level by inserting your finger into the soil. Water your plants when the top inch of soil feels dry. Avoid overwatering, as this can lead to root rot.
- Watering Techniques: When watering, do so thoroughly until you see water draining out through the rocks and drainage holes. This helps flush out any excess salts and ensures proper hydration for the plant roots.
- Allow for Proper Drainage: After watering, allow the excess water to fully drain away. Empty the saucer or tray beneath the pot to prevent the roots from sitting in standing water. This is especially important for plants that are sensitive to moisture, such as succulents.
- Observe Plant Needs: Different plants have varying watering requirements. Take into consideration the specific needs of your plant and adjust your watering routine accordingly. Some plants prefer slightly drier conditions, while others thrive in moist soil.
- Regular Maintenance: Conduct routine maintenance tasks such as removing dead leaves or trimming overgrown branches. This not only improves the overall appearance of the plant but also prevents the accumulation of debris that can hinder water drainage.
- Keep an Eye on Drainage: Periodically check the drainage holes and rocks to ensure they are clean and free from any blockages. If you notice any debris or buildup, gently rinse the rocks and clear the drainage holes to maintain optimal water flow.
- Adjust as Needed: If you find that your plants are not thriving despite proper drainage, evaluate their overall health. Certain plants may require adjustments to their watering or light conditions to ensure their continued well-being.
By adhering to these watering and maintenance tips, you will provide your plants with the necessary care and support they need to thrive in a rock drainage system.
As we wrap up this article, remember that proper plant drainage is crucial for healthy root development and overall plant growth. By utilizing rocks effectively, you can create an optimal environment for your plants to flourish.
Happy gardening!
Conclusion
Cultivating healthy and thriving plants requires more than just sunlight and water. Adequate plant drainage is a critical factor in ensuring the longevity and vitality of your plants. By using rocks for plant drainage, you can create an optimal environment that allows excess water to escape and provides essential oxygen to the roots.
In this comprehensive guide, we discussed the importance of plant drainage and explored the different types of rocks suitable for this purpose. We also provided step-by-step instructions on preparing the pot for proper drainage, layering rocks at the bottom of the plant pot, adding potting soil, and planting your desired plant.
To further enhance the health of your plants, we shared valuable watering and maintenance tips for plants with rock drainage. Remember to monitor soil moisture, water your plants thoroughly but avoid overwatering, and conduct regular maintenance tasks to ensure proper drainage and overall plant health.
By understanding the significance of plant drainage and implementing effective techniques, you can create an environment that promotes healthy root development, prevents root rot, and allows your plants to thrive. So go ahead and utilize rocks for plant drainage, and watch your plants flourish with vitality and beauty.
Happy gardening!
Frequently Asked Questions about How To Use Rocks For Plant Drainage
Was this page helpful?
At Storables.com, we guarantee accurate and reliable information. Our content, validated by Expert Board Contributors, is crafted following stringent Editorial Policies. We're committed to providing you with well-researched, expert-backed insights for all your informational needs.


0 thoughts on “How To Use Rocks For Plant Drainage”