Home>Home Maintenance>How To Create Drainage In A Pot For Indoor Plant
Home Maintenance
How To Create Drainage In A Pot For Indoor Plant
Modified: March 7, 2024
Learn how to create proper drainage in your indoor plant pots for effective home maintenance. Discover practical tips and techniques for preventing waterlogging and promoting healthy indoor plants.
(Many of the links in this article redirect to a specific reviewed product. Your purchase of these products through affiliate links helps to generate commission for Storables.com, at no extra cost. Learn more)
Introduction
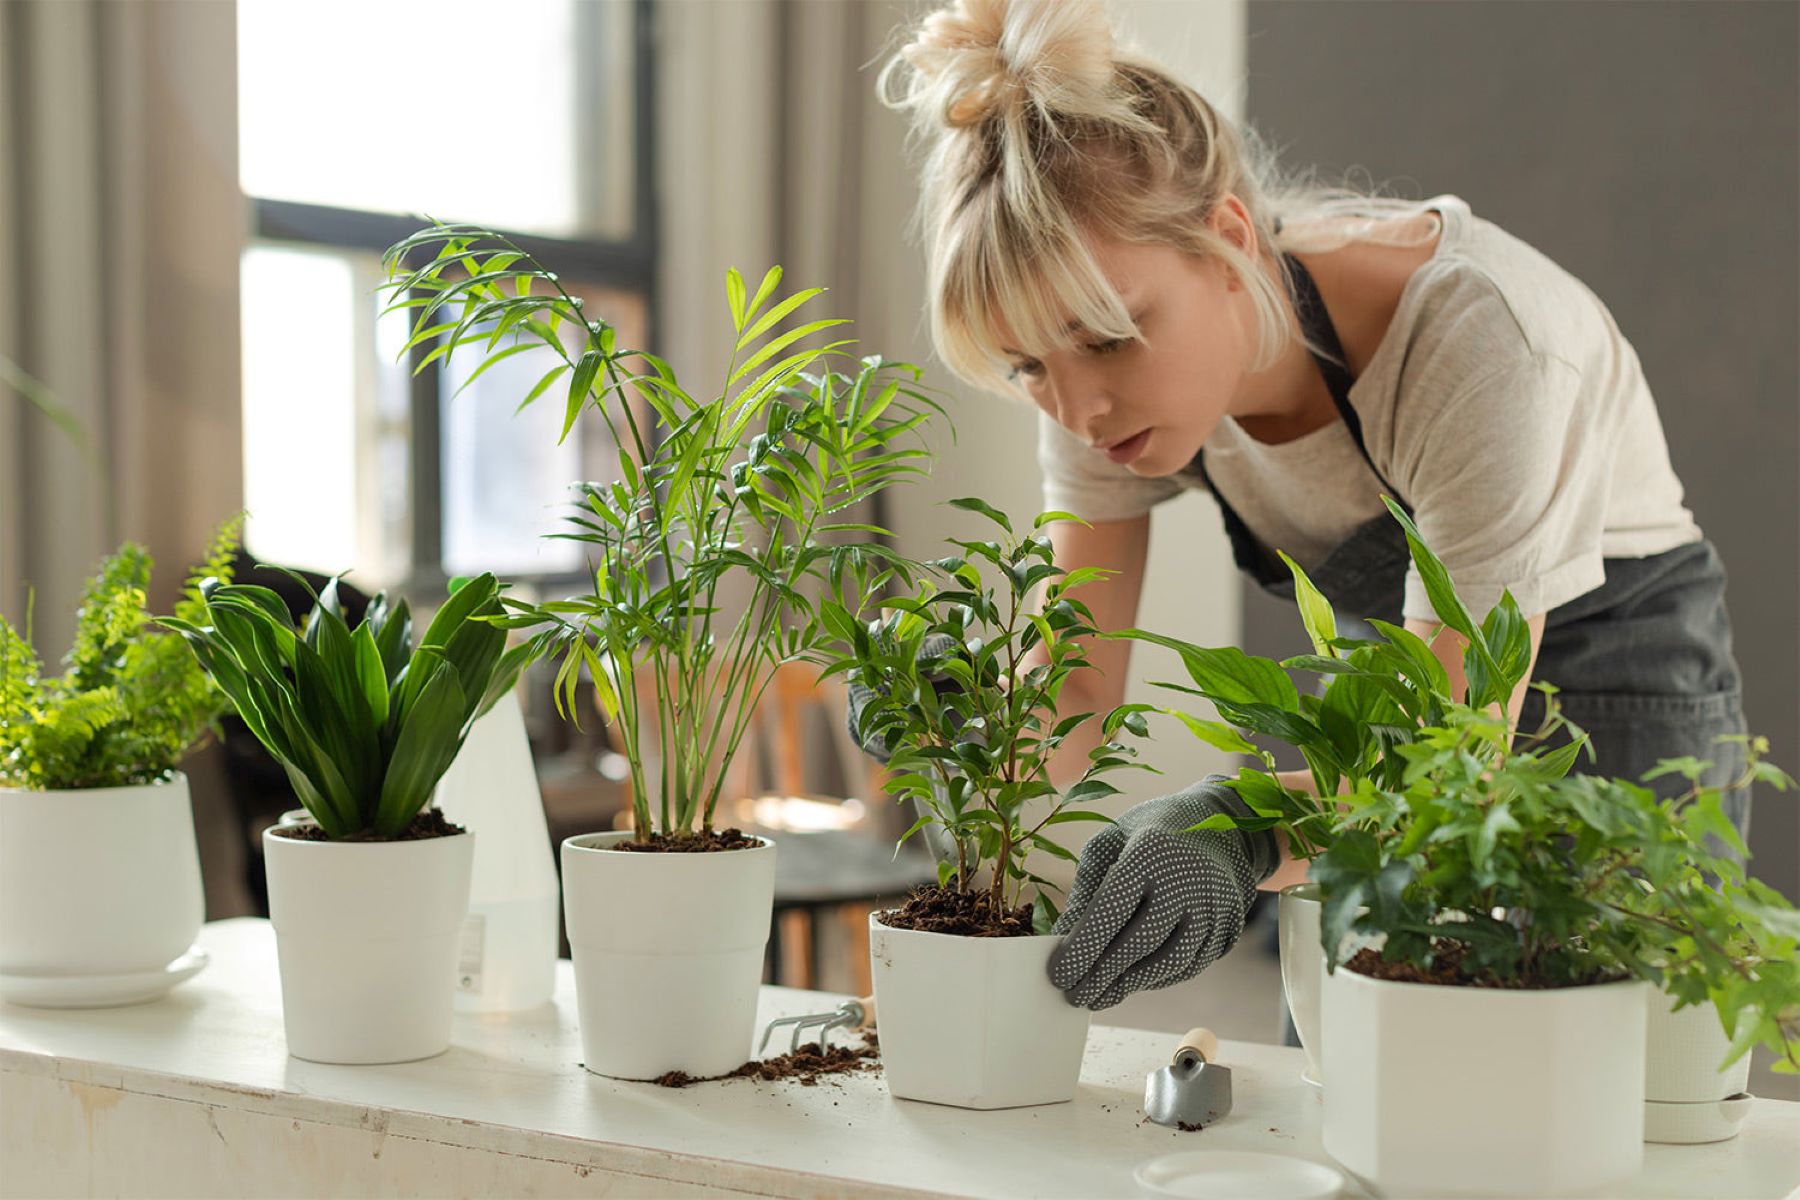
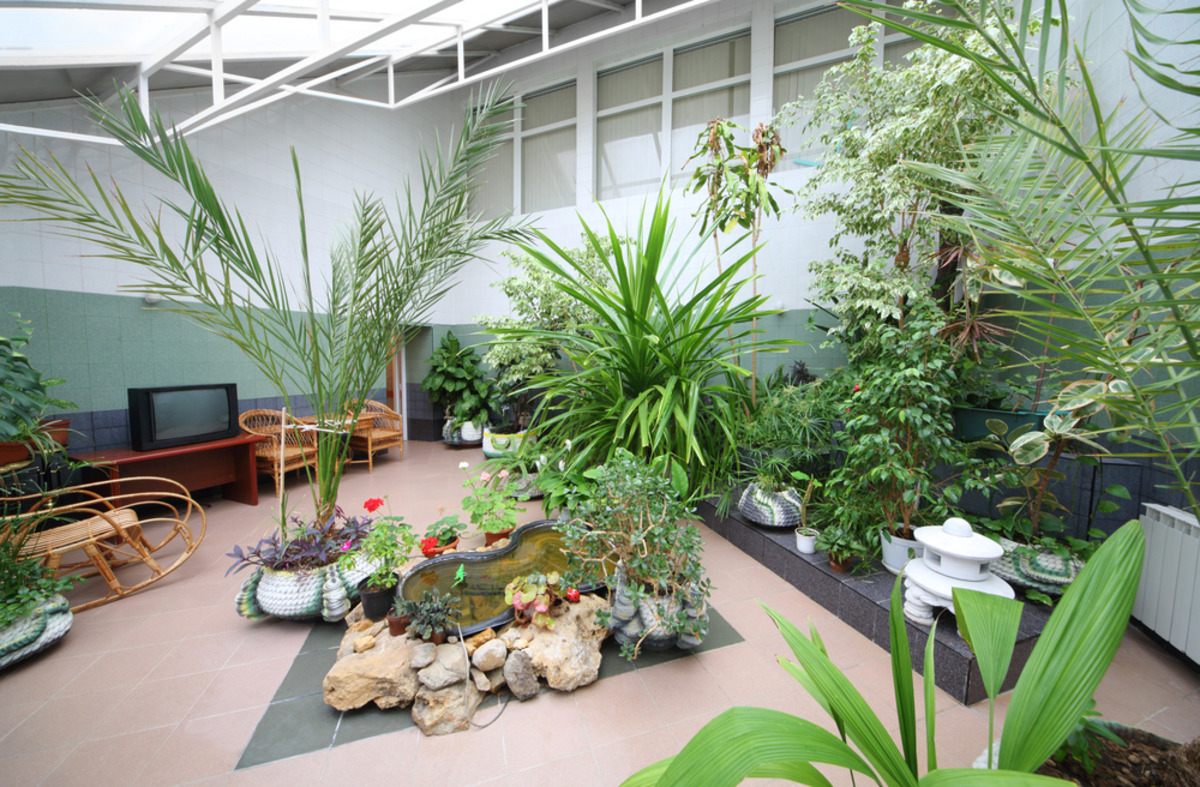
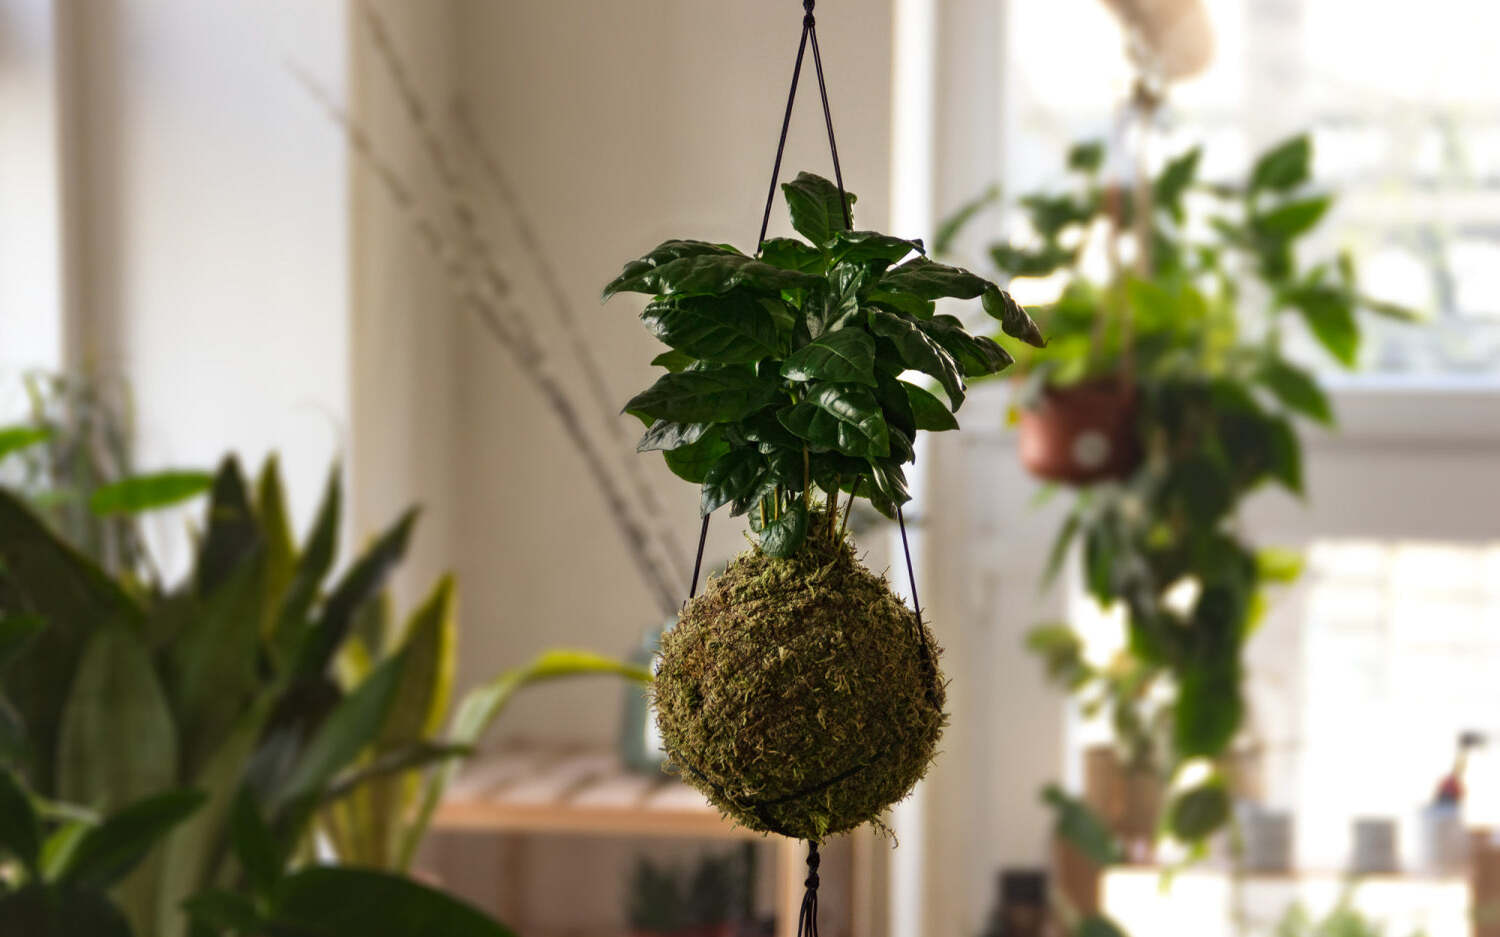
Welcome to the world of indoor gardening! If you’re a plant lover like me, you probably have a collection of beautiful indoor plants adorning your living space. However, to ensure the health and longevity of your indoor plants, proper drainage is essential.
Indoor plants are typically grown in pots or containers, and without proper drainage, excess water can accumulate, leading to root rot, fungal diseases, and even plant death. Creating drainage in a pot is a simple yet vital step in maintaining the overall health of your indoor plants.
In this guide, we will walk you through the process of creating effective drainage in your pots for indoor plants. By following these steps, you’ll be able to provide your plants with the ideal growing conditions they need to thrive.
Key Takeaways:
- Proper drainage is crucial for indoor plants to prevent root rot and fungal diseases. Choose the right pot, well-draining soil, and add drainage materials to create a healthy environment for your plants to thrive.
- Monitor moisture levels, troubleshoot common drainage issues, and water your plants correctly to maintain their health. With the right care and attention, your indoor plants will flourish in their well-drained pots.
Tools and Materials Needed
Before we begin creating drainage in your pots, let’s gather the necessary tools and materials. Here’s what you’ll need:
- A pot or container – Choose a pot that has drainage holes or can be modified to have them.
- Potting soil – Opt for a well-draining potting mix specifically formulated for indoor plants.
- Drainage materials – Options include gravel, pebbles, perlite, or horticultural charcoal.
- A drill or hammer and nail – If your pot doesn’t have drainage holes, you’ll need to create them.
- A watering can or spray bottle – You’ll need these to water your plants.
- A saucer or tray – This will catch excess water drainage.
Having these tools and materials handy will make the process of creating drainage in your pots much smoother.
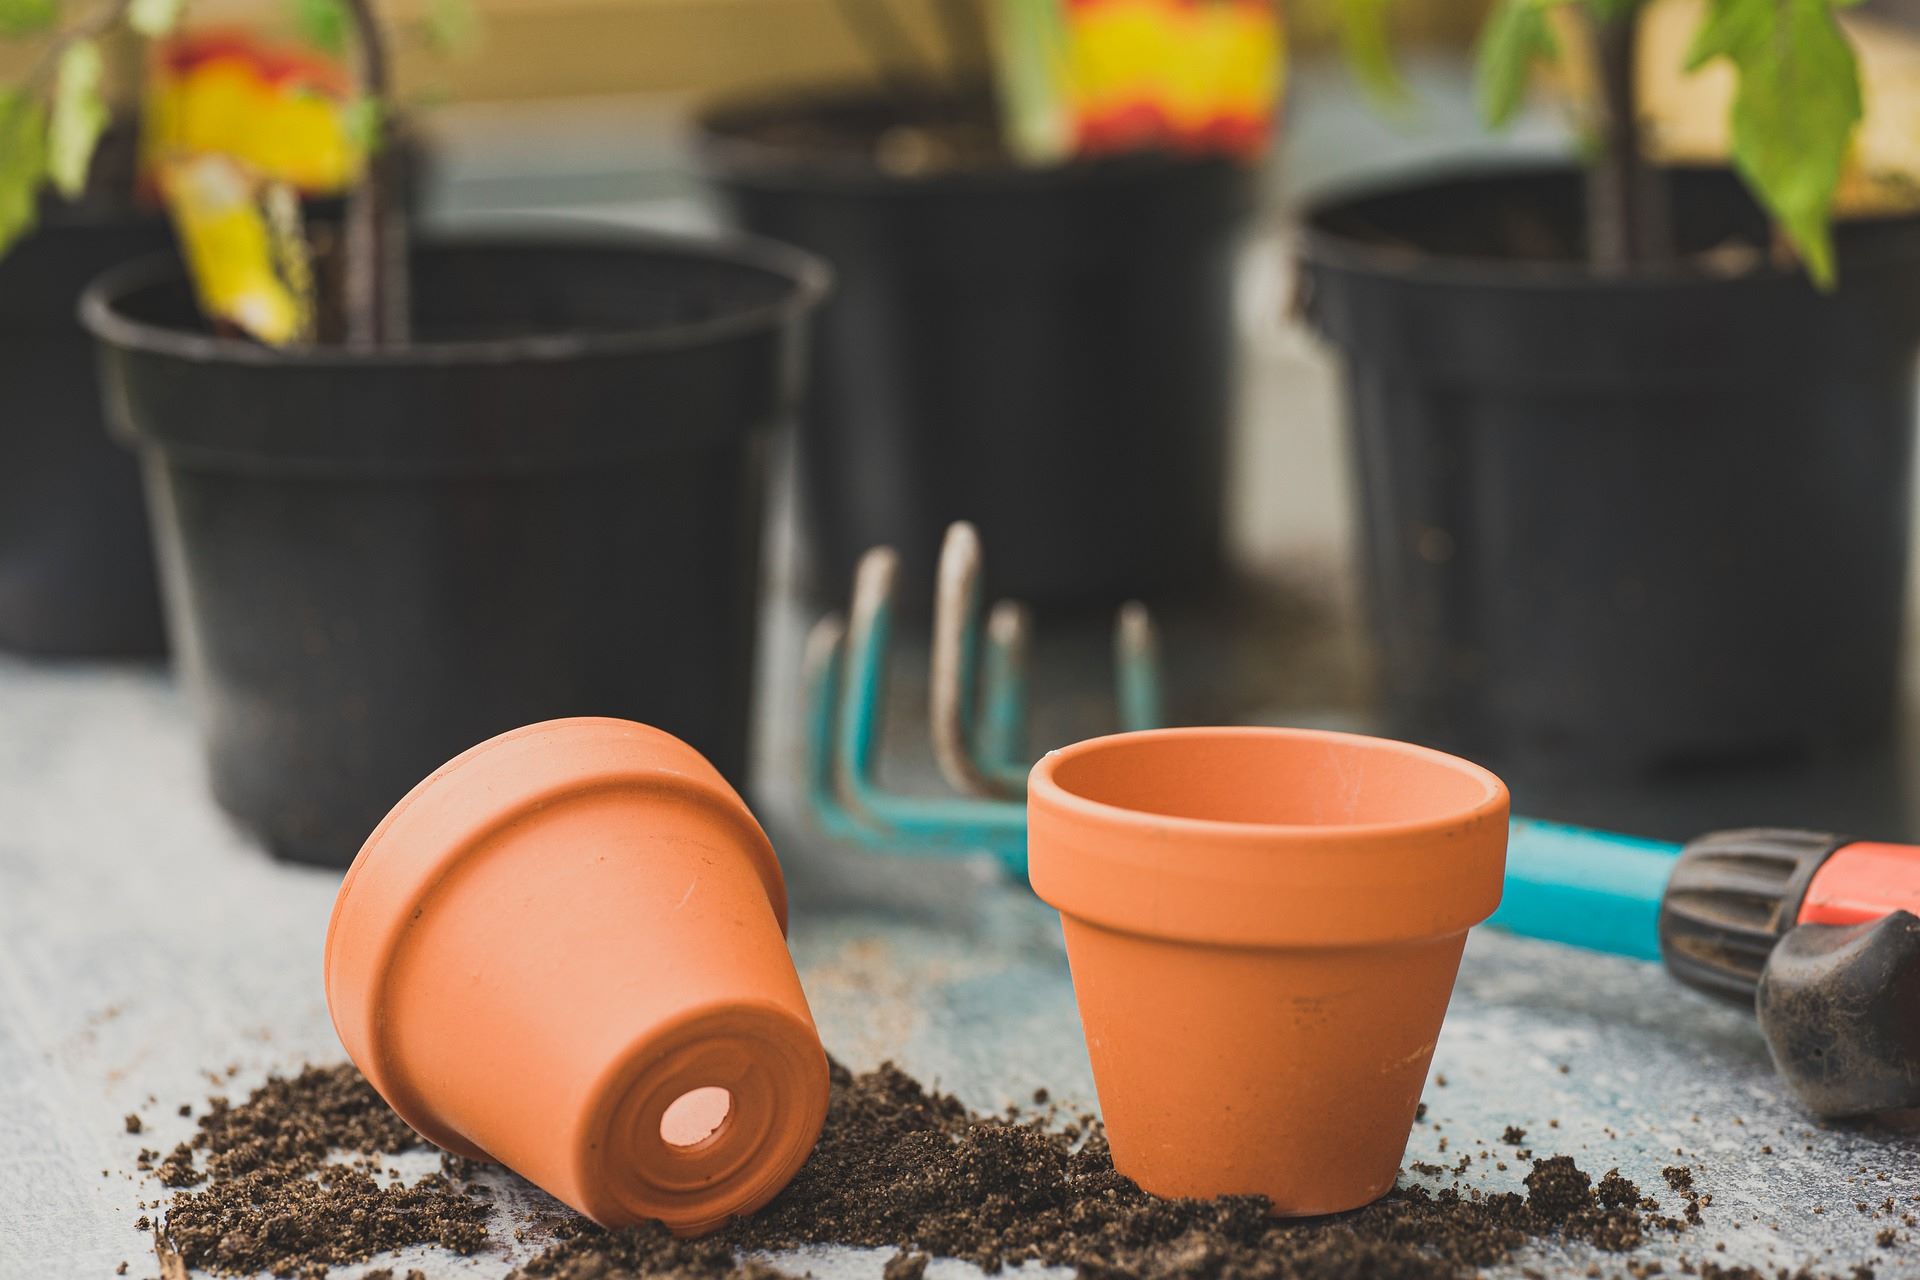
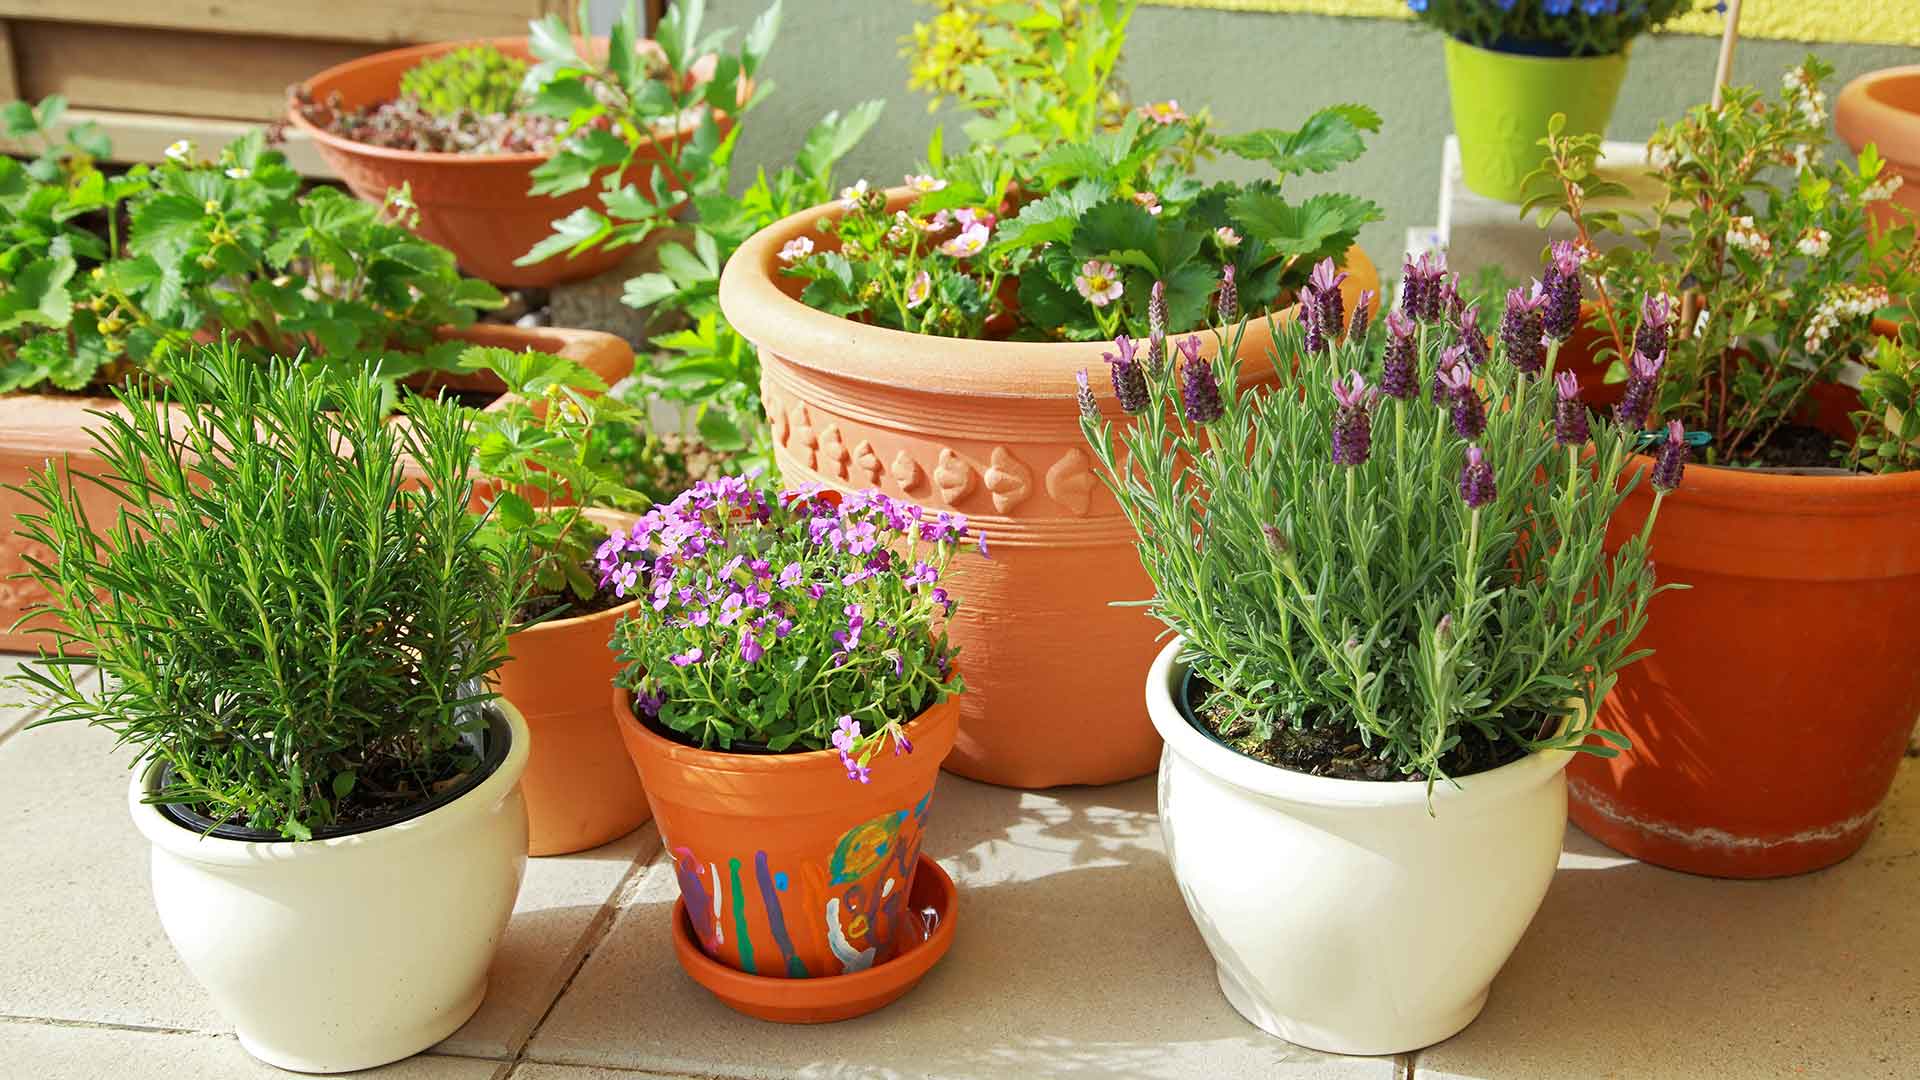
Step 1: Choosing the Right Pot
The first step in creating drainage in a pot for indoor plants is choosing the right container. Here are a few considerations:
- Size: Choose a pot that is appropriate for the size of your plant. It should have enough room to accommodate the roots and allow for growth.
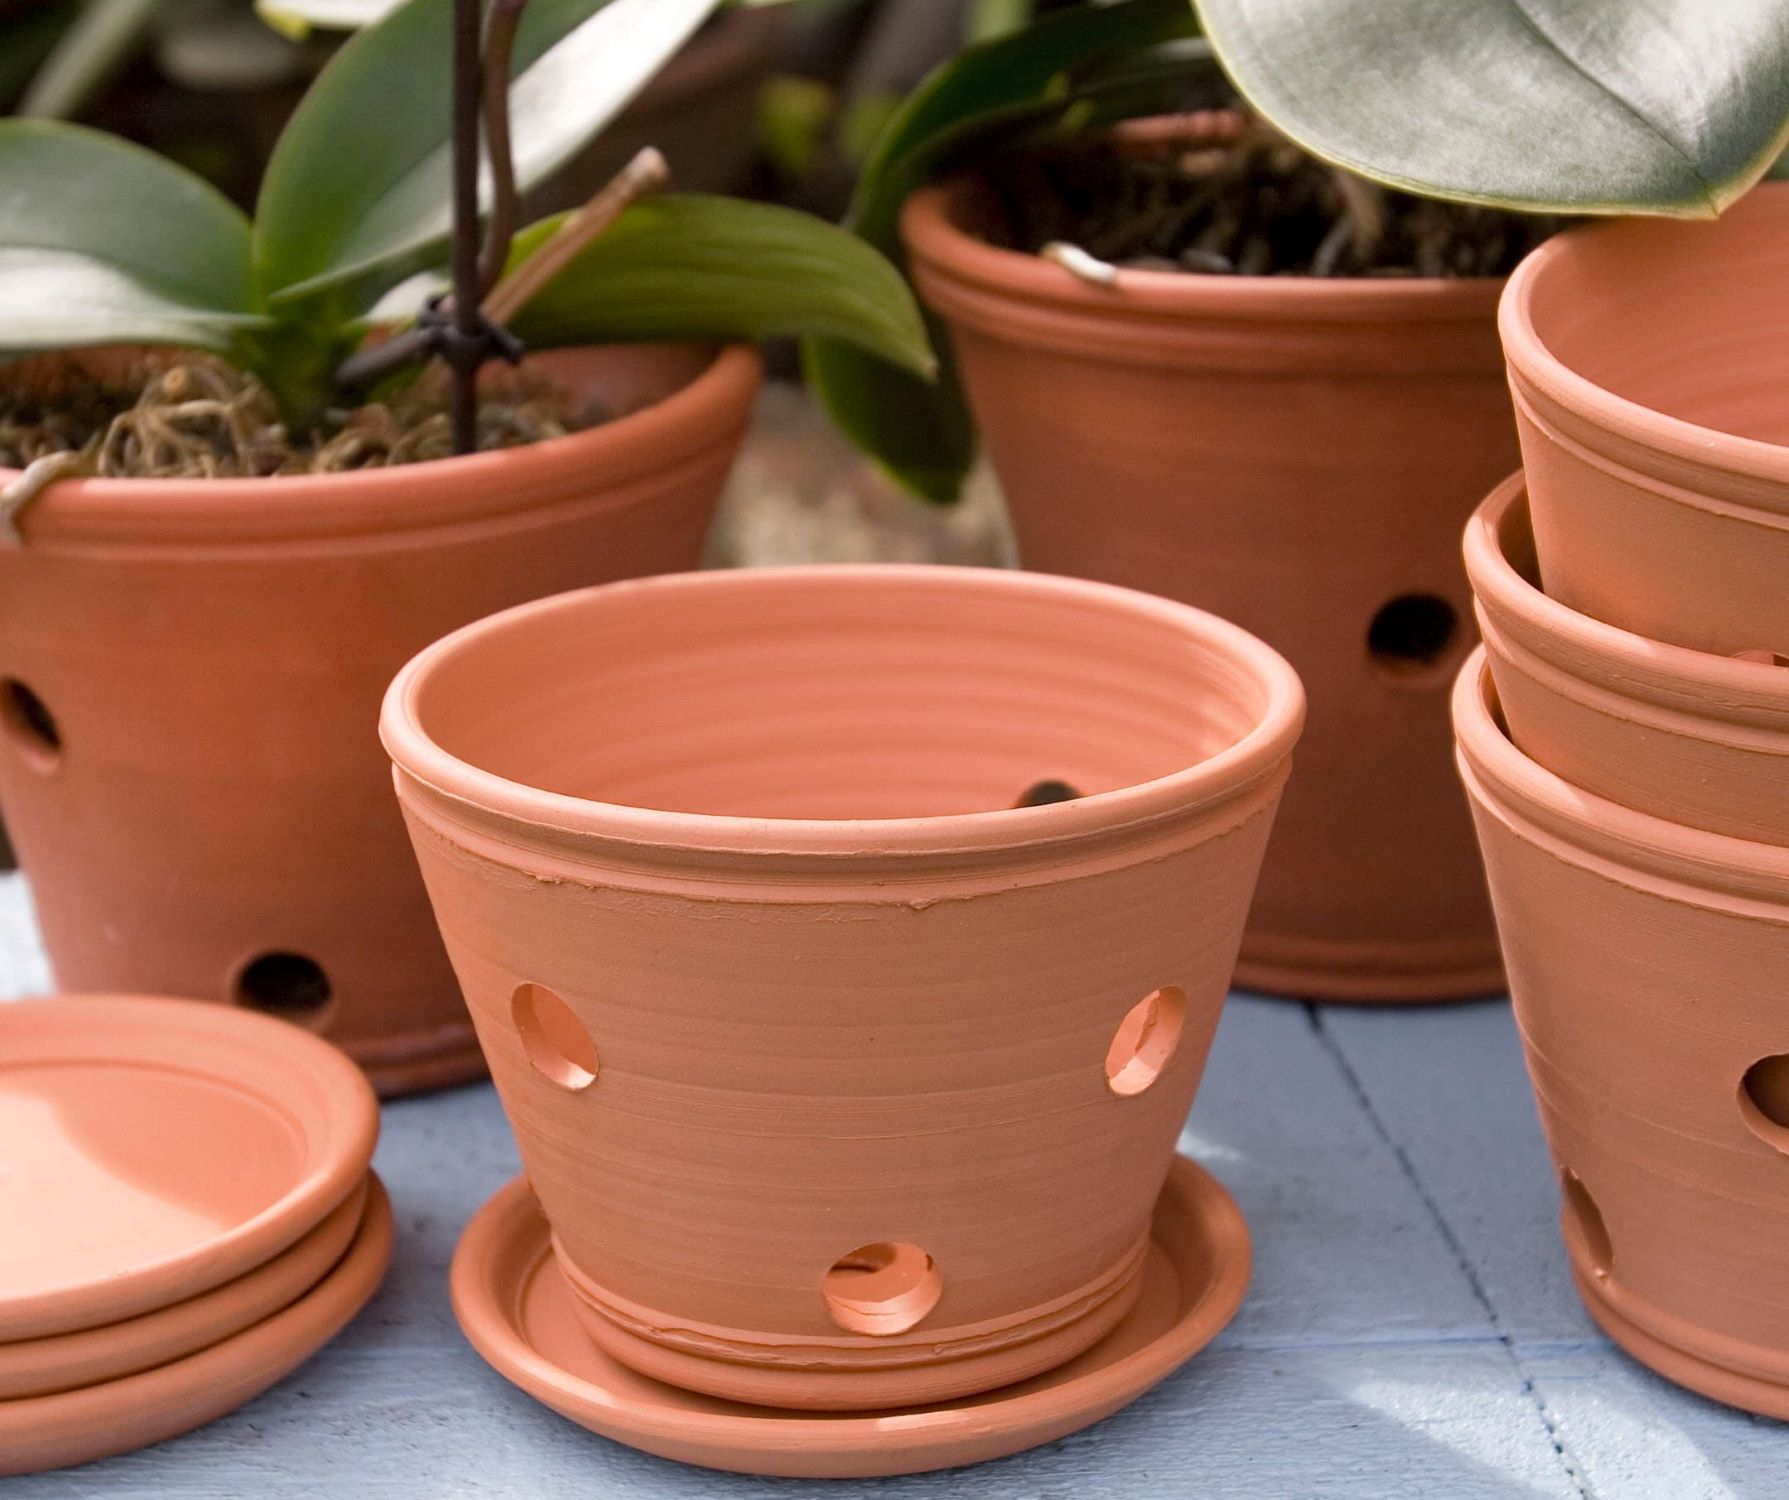
- Material: Select a pot made of a porous material, such as terracotta or clay. These materials allow for better airflow and moisture management.
- Drainage Holes: Look for pots that already have drainage holes. These allow excess water to escape, preventing waterlogging. If the pot you choose doesn’t have drainage holes, you can create them yourself later (we’ll discuss this in a later step).
Choosing the right pot is crucial because it sets the foundation for optimal drainage. It ensures that water can flow freely through the potting soil, preventing water from pooling and causing root rot.
Once you have selected the appropriate pot, move on to the next step.
Step 2: Selecting the Appropriate Potting Soil
Choosing the right potting soil is essential for creating proper drainage in a pot for indoor plants. The type of soil you use can greatly affect the water-holding capacity and aeration of the root zone. Here are a few factors to consider:
- Well-draining mix: Opt for a potting mix specifically formulated for indoor plants. These mixes typically contain a blend of ingredients like peat moss, perlite, and vermiculite, which provide good drainage while retaining some moisture.
- Avoid heavy soils: Stay away from heavy garden soils or dense soil mixes, as they tend to retain water for longer periods, leading to poor drainage and root suffocation.
- Consider amendments: If you have a particularly dense potting mix, you can add materials like perlite or coarse sand to improve drainage. These amendments help create air pockets within the soil, allowing excess water to flow freely.
Remember that the goal here is to strike a balance between moisture retention and drainage. The potting soil should be able to hold enough moisture for the plant roots to absorb but also allow excess water to drain out.
Once you have selected the appropriate potting soil, you’re ready to move on to the next step.
Step 3: Adding Drainage Materials
In this step, we will add drainage materials to further enhance the drainage capabilities of the potting soil. These materials help create air pockets and prevent the soil from becoming compacted over time. Here are some common drainage materials you can use:
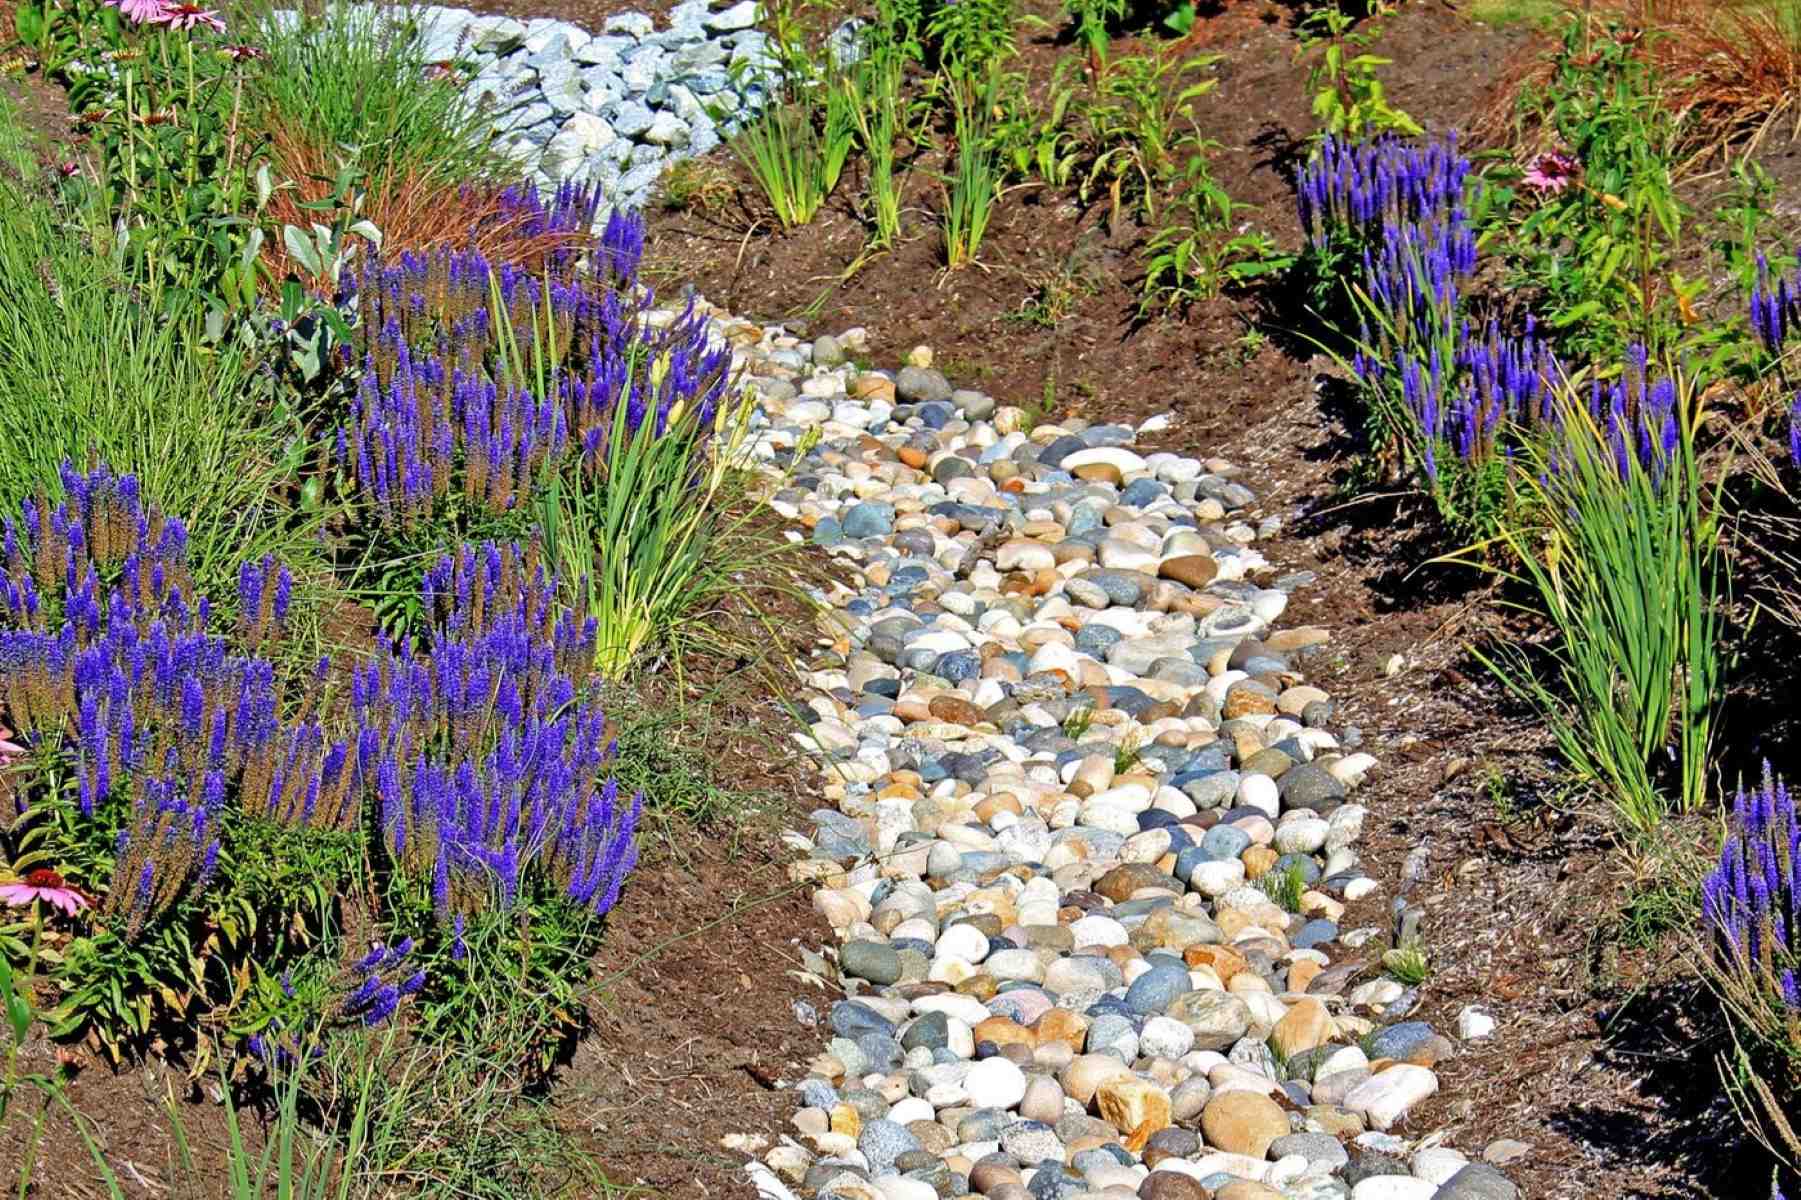
- Gravel or Pebbles: Adding a layer of small rocks or pebbles at the bottom of the pot can facilitate water drainage. This layer acts as a barrier, preventing the potting soil from getting clogged in the drainage holes.
- Perlite: Perlite is a lightweight volcanic material that helps improve aeration and drainage. It can be mixed into the potting soil or added as a layer at the bottom of the pot.
- Horticultural Charcoal: Horticultural charcoal not only aids in drainage but also helps absorb excess moisture and prevent odors. It can be added as a layer on top of the drainage materials.
When adding drainage materials, ensure that they take up only around 10-20% of the pot’s total volume. This allows for sufficient space for the roots to grow and the potting soil to retain moisture.
By incorporating these drainage materials, you create a well-draining environment for your indoor plants, reducing the risk of waterlogged roots and promoting healthy growth.
Once you’ve added the drainage materials, move on to the next step to learn how to create drainage holes.
To create drainage in a pot for an indoor plant, place a layer of small rocks or pebbles at the bottom before adding soil. This will help prevent water from pooling at the bottom of the pot and causing root rot.
Read more: What To Plant In A Pot Without Drainage
Step 4: Creating Drainage Holes
If your pot doesn’t already have drainage holes, it’s crucial to create them to ensure proper drainage. Here’s how you can do it:
- Option 1: Using a drill: If your pot is made of materials like plastic, ceramic, or metal, you can use a drill with a small drill bit to create drainage holes. Choose a drill bit suitable for the size of the hole you desire and slowly drill through the bottom of the pot. Be gentle to avoid cracking or damaging the pot.
- Option 2: Hammer and nail: If your pot is made of clay or ceramic, you can use a hammer and nail to create drainage holes. Simply position the nail on the desired spot and gently tap it with the hammer until it pierces through the pot’s bottom.
Ensure that you create an adequate number of drainage holes depending on the size of your pot. Having multiple holes will allow for better water flow and prevent water from pooling at the bottom of the pot.
If you’re concerned about soil escaping through the drainage holes, you can place a small piece of mesh or a coffee filter over the holes before adding the potting soil. This will prevent the soil from washing out while still allowing water to drain freely.
Once you’ve created the drainage holes, you’re ready to move on to the next step and learn about proper watering techniques.
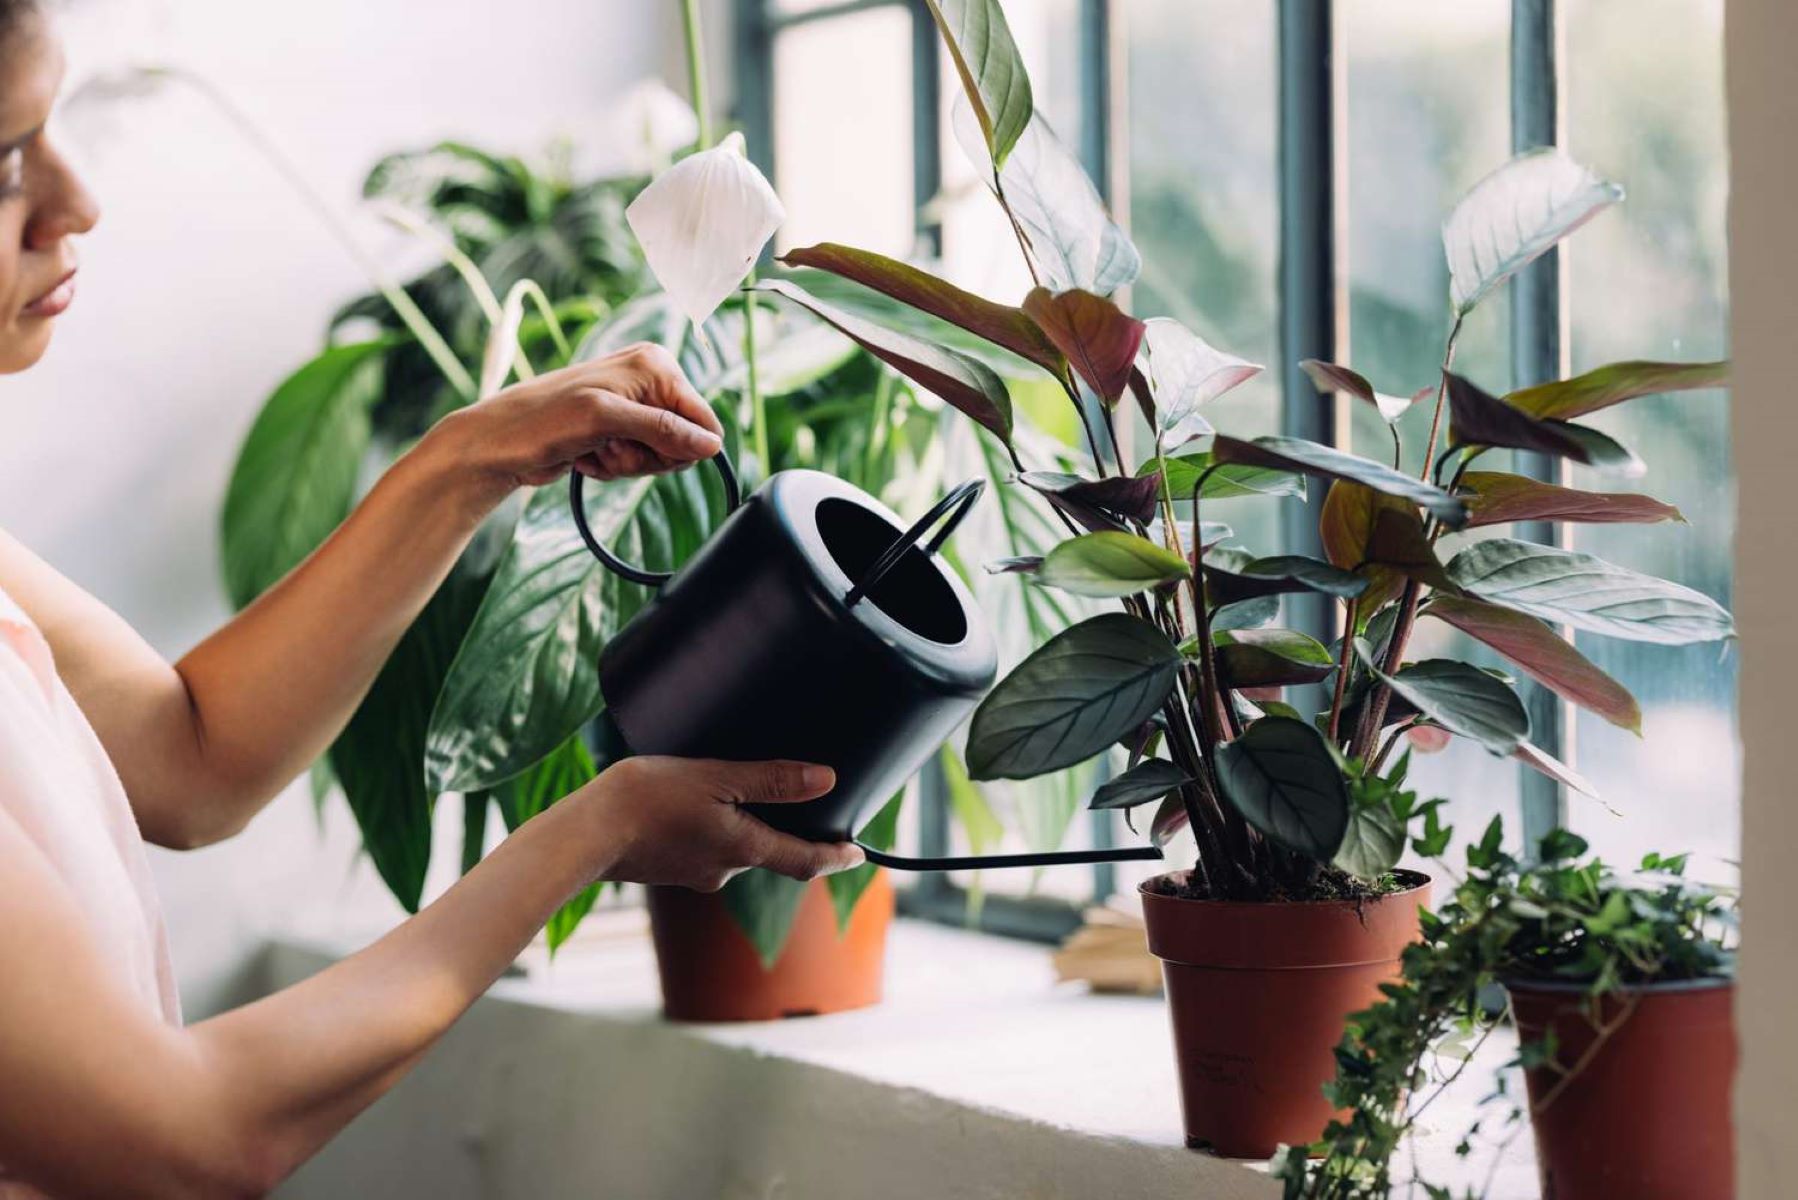
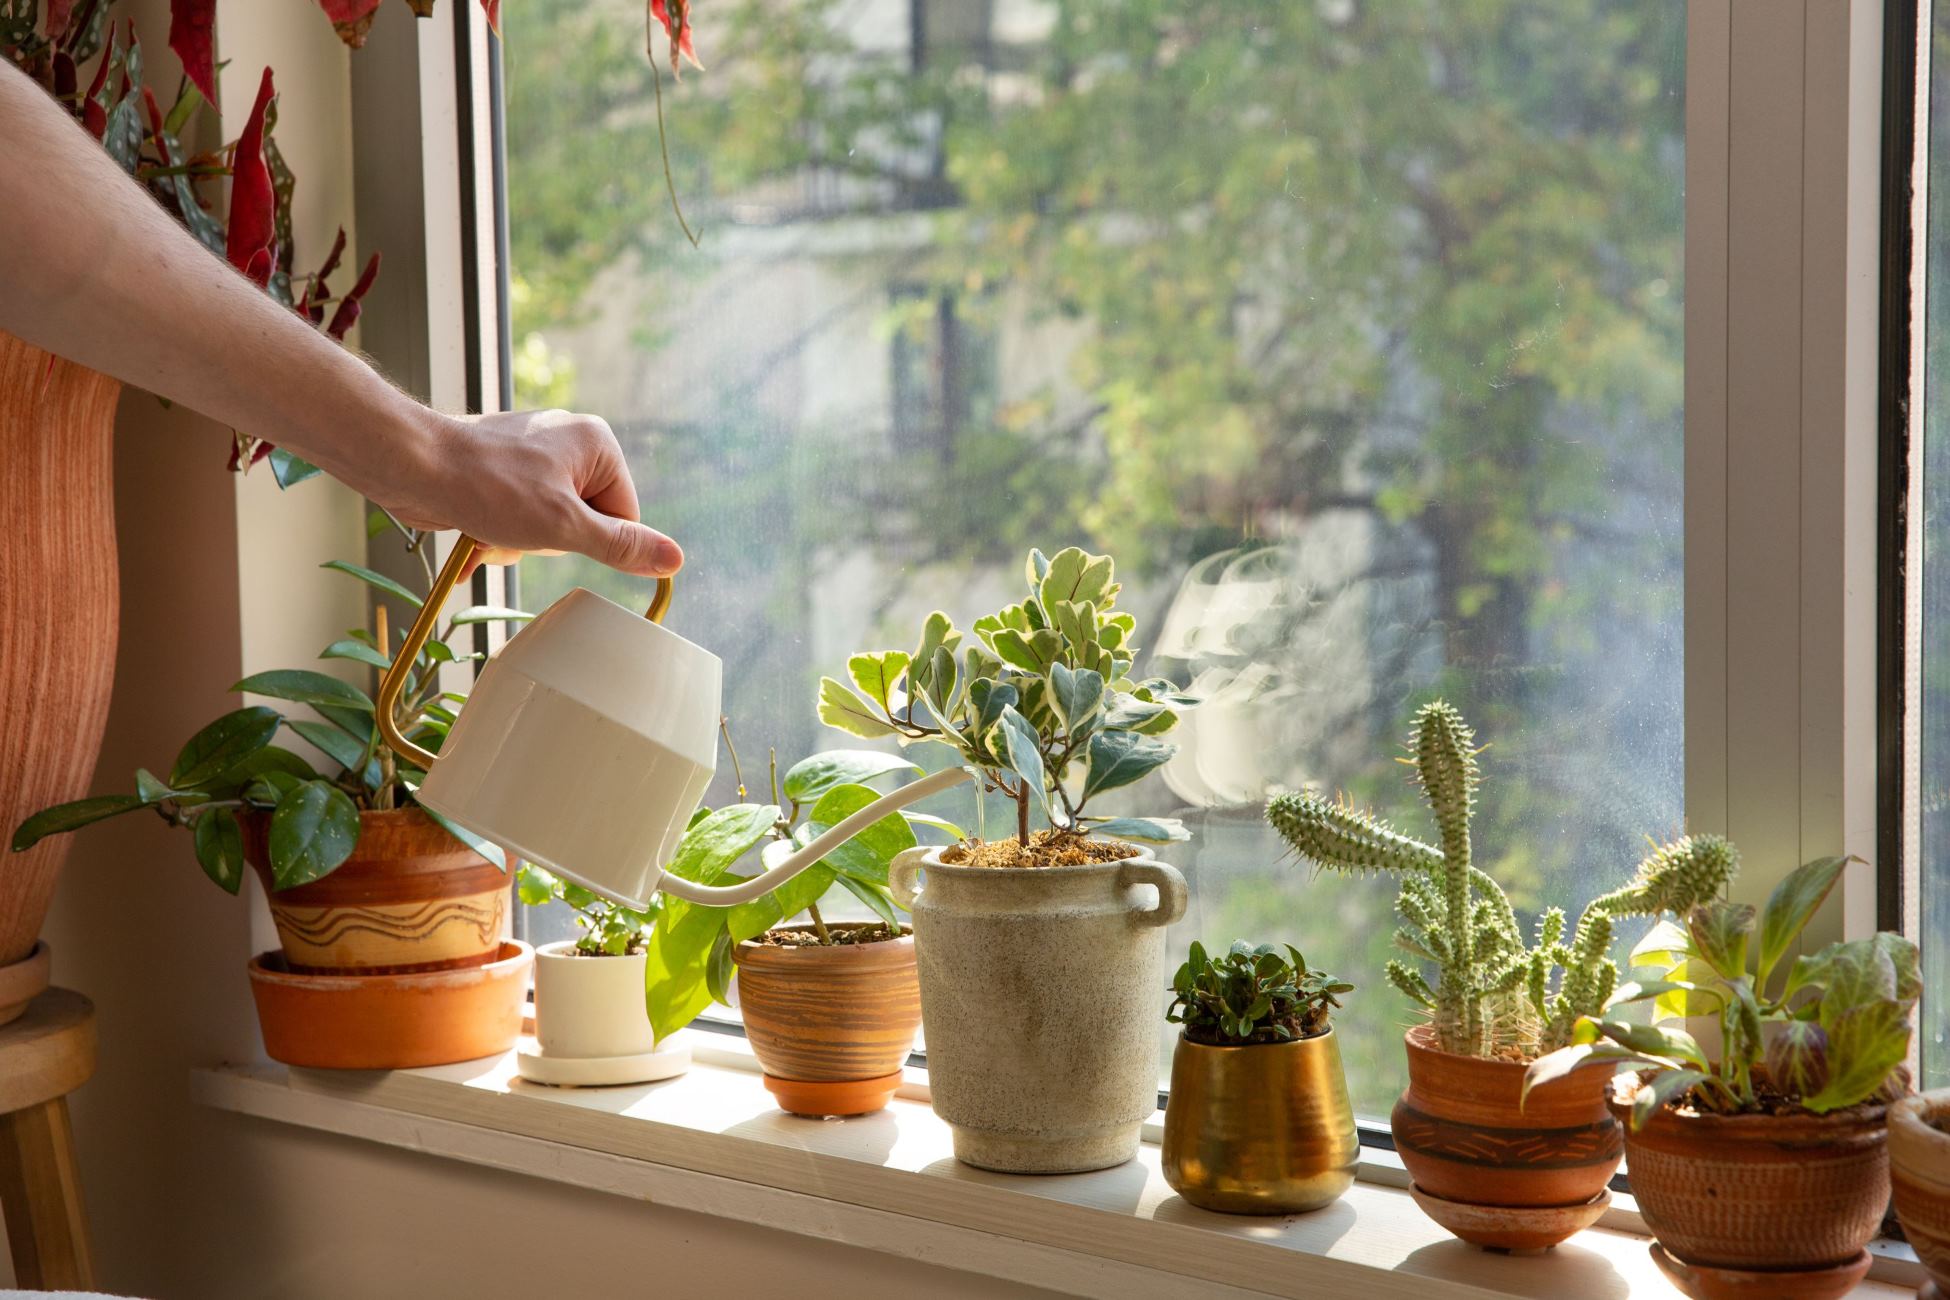
Step 5: Proper Watering Techniques
Watering your indoor plants correctly is essential to maintain proper moisture levels and prevent overwatering. Here are some tips for watering your plants:
- Check the soil moisture: Before watering, always check the moisture level of the potting soil. Insert your finger about an inch into the soil. If it feels moist, wait a little longer before watering. If it feels dry, it’s time to water.
- Water thoroughly: When watering, make sure to water the plant thoroughly until water seeps out of the drainage holes. This ensures that the entire root ball is properly hydrated.
- Avoid waterlogging: Never allow the pot to sit in standing water, as this can lead to root rot. Always empty the drainage tray or saucer after watering to prevent excess moisture accumulation.
- Follow a watering schedule: Create a watering schedule based on the water needs of your specific plants. Some plants prefer slightly drier conditions, while others require more frequent watering. Observe your plants and adjust your watering routine accordingly.
- Consider the environment: Factors like temperature, humidity levels, and sunlight intensity can affect how quickly the potting soil dries out. Take these factors into account when determining your watering frequency.
Remember that it’s better to underwater than overwater your indoor plants. Most indoor plants can tolerate slight drying out between watering sessions, but constant waterlogged conditions can be detrimental to their health.
Now that you’ve learned about proper watering techniques, let’s move on to the next step of monitoring moisture levels.
Step 6: Monitor Moisture Levels
Monitoring the moisture levels in the potting soil is crucial for maintaining the overall health of your indoor plants. Here’s how you can effectively monitor the moisture levels:
- Finger test: Periodically check the moisture content of the potting soil by inserting your finger about an inch into the soil. If it feels dry, it’s time to water. If it feels moist, hold off on watering for a bit longer.
- Moisture meters: Invest in a moisture meter, a handy tool that measures the moisture level in the soil. Simply insert the probe into the soil and check the reading. This can provide more accurate information about the moisture content and help you make informed watering decisions.
- Weight of the pot: Another way to gauge the moisture level is by lifting the pot. When the soil is dry, the pot will be lighter, and as it becomes moist, the pot will become heavier. This method may require some experience and familiarity with your specific plants.
Monitoring the moisture levels allows you to adjust your watering routine accordingly. It helps prevent both underwatering and overwatering, ensuring that your indoor plants receive the optimal amount of moisture for healthy growth.
Now that you know how to monitor moisture levels, let’s address common drainage issues in the next step.
Step 7: Troubleshooting Common Drainage Issues
Even with proper drainage measures in place, you may encounter some common drainage issues with your indoor plants. Here are a few troubleshooting tips to address these problems:
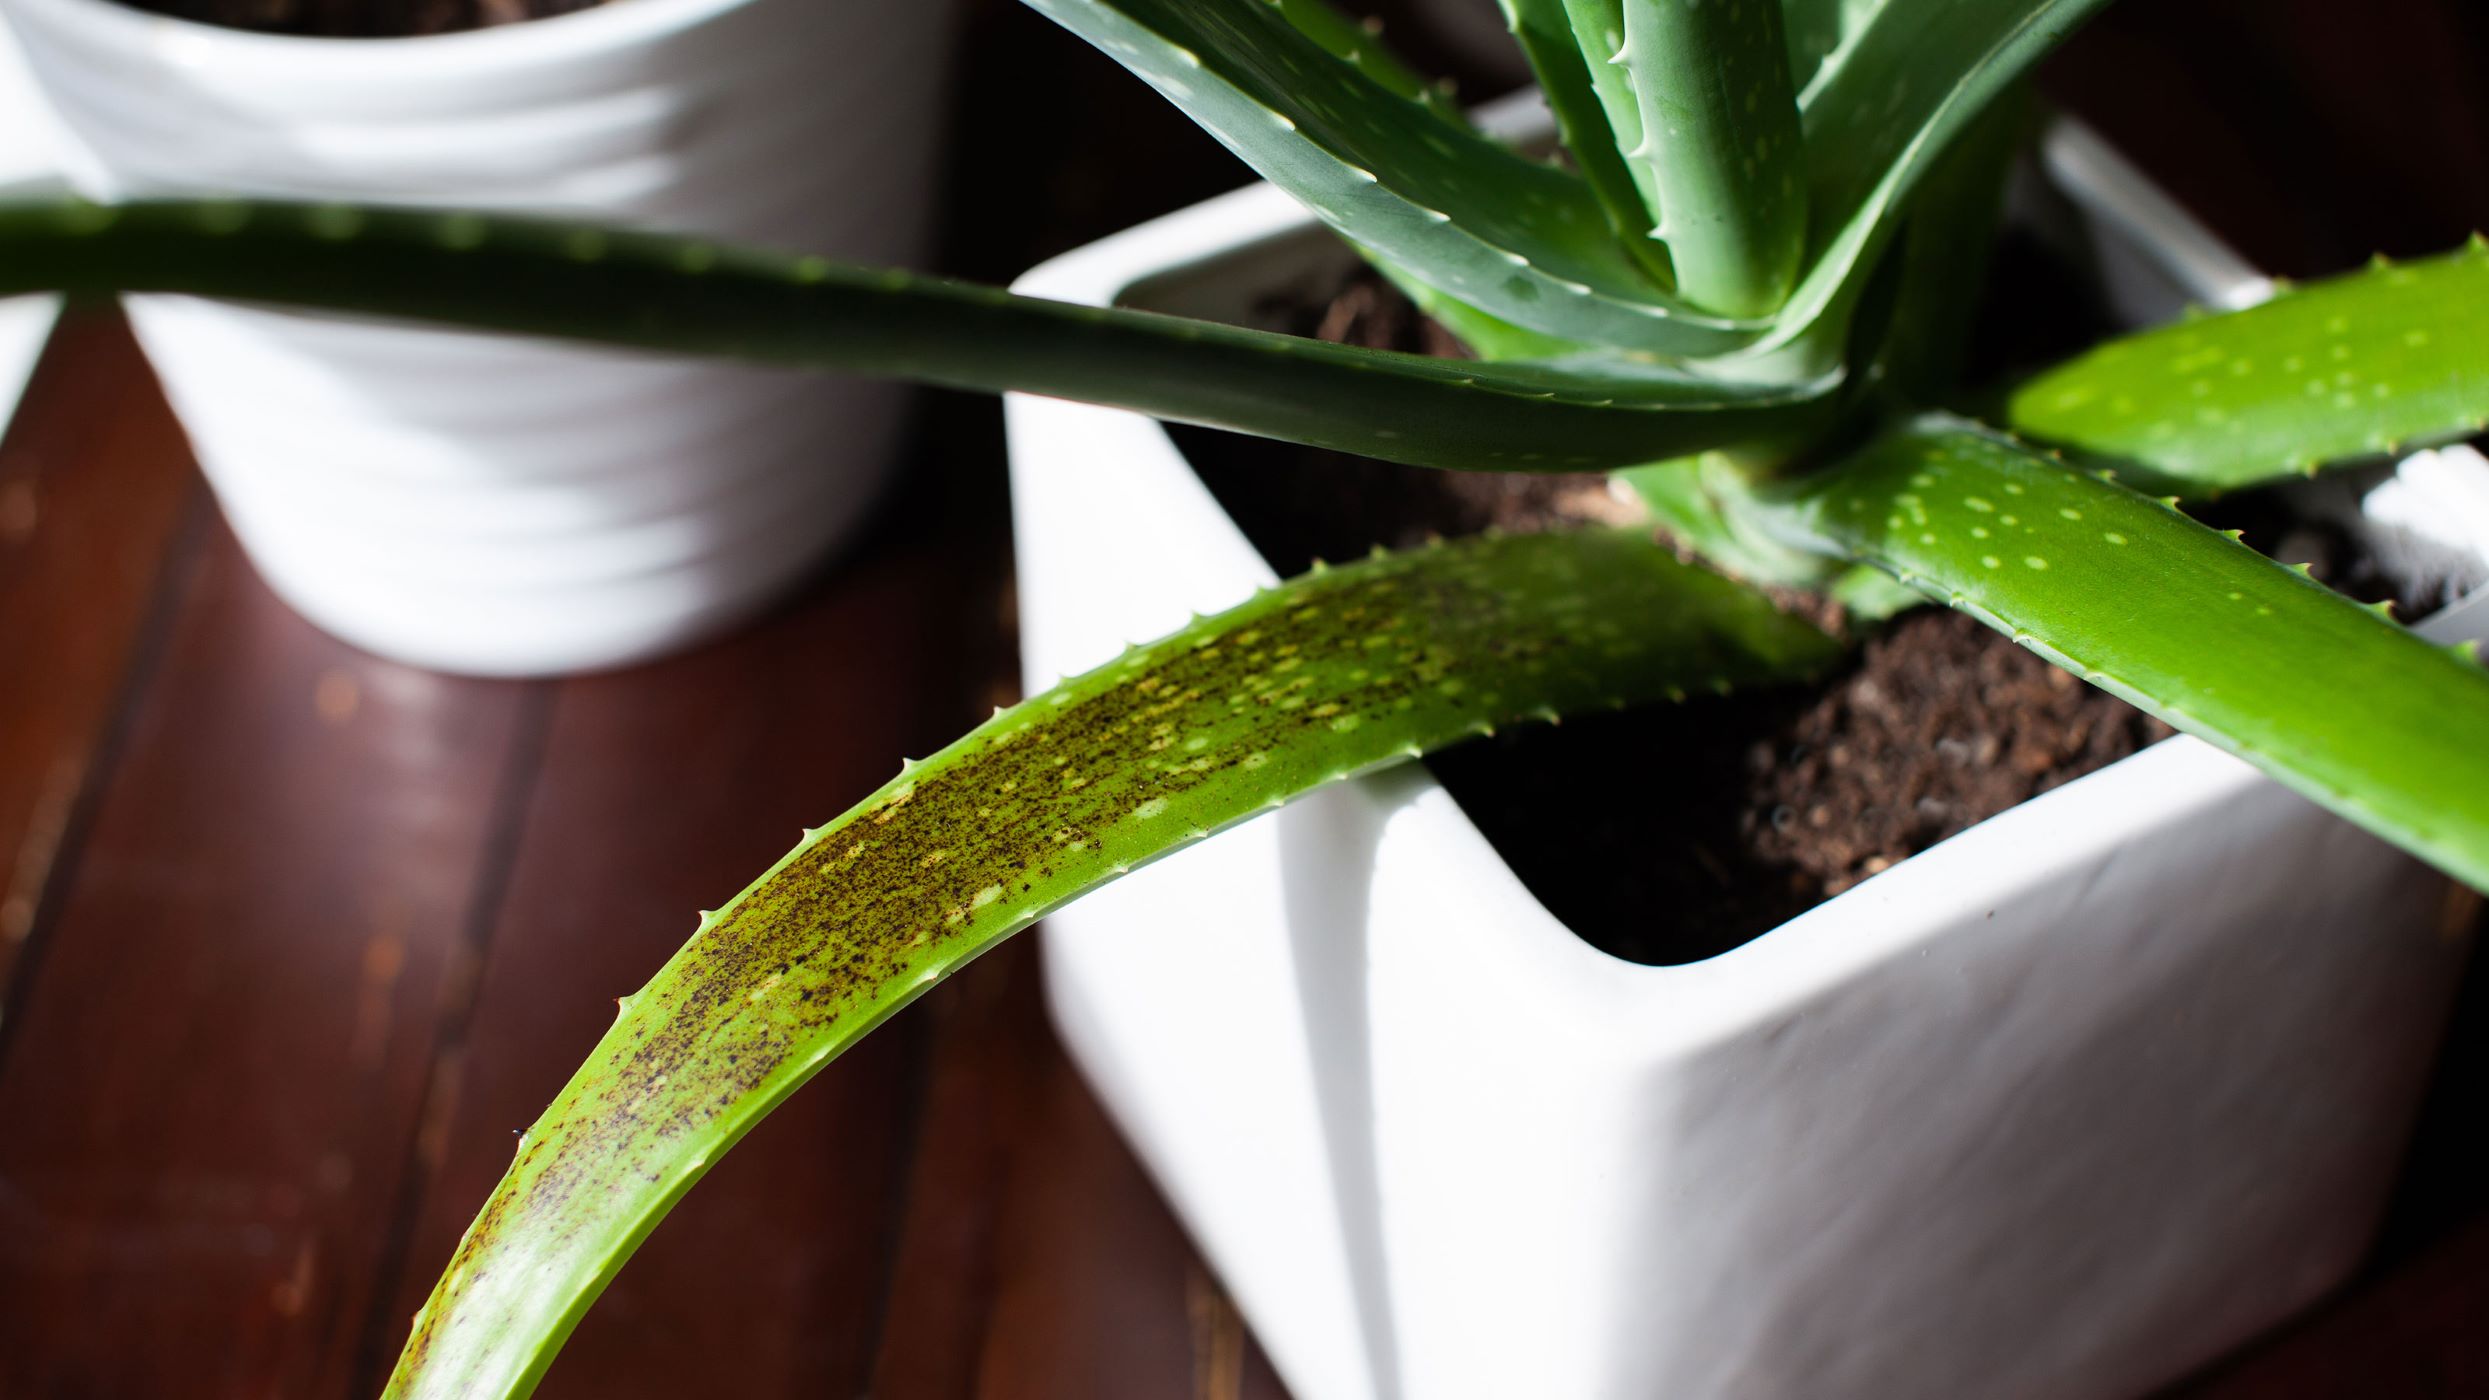
- Waterlogging: If you notice waterlogging in the pot or consistently wet soil, it’s a sign of poor drainage. Check if the drainage holes are clear and not blocked by roots or debris. Adjust your watering frequency or add more drainage materials to improve water flow.
- Root rot: Root rot is often caused by overwatering and stagnant water. To combat root rot, carefully remove the affected plant from the pot, trim off any soft or rotting roots, and repot it with fresh well-draining soil. Adjust your watering habits to prevent future occurrences.
- Uneven moisture distribution: Sometimes, water may distribute unevenly within the pot, resulting in certain areas remaining too dry or too wet. To address this, consider soaking the pot in a tray of water to allow the soil to absorb moisture evenly. Alternatively, gently mix the soil around to ensure balanced moisture distribution.
- Soil compaction: Over time, the potting soil may become compacted, hindering proper drainage. Periodically loosen the soil by gently poking it with a chopstick or a fork to promote better aeration and water flow.
By troubleshooting these common drainage issues, you can ensure that your indoor plants have a healthy and thriving environment to grow in.
Congratulations! You have now successfully learned how to create drainage in a pot for indoor plants.
Read more: How To Make A Good Drainage Pot For A Plant
Conclusion
Congratulations on completing the journey of creating drainage in a pot for your indoor plants! By following the steps outlined in this guide, you have set a strong foundation for the health and longevity of your plants.
Proper drainage is essential for maintaining optimal moisture levels in your pots and preventing water-related issues like root rot. With the right pot, well-draining potting soil, and the addition of drainage materials, you have created an environment that promotes healthy plant growth.
Remember to employ proper watering techniques and monitor the moisture levels regularly. This will ensure that you are providing your plants with just the right amount of moisture they need for their specific needs.
In case you encounter any drainage issues, utilize the troubleshooting tips provided to address the problem and maintain a healthy root system.
Now, armed with your newfound knowledge, go forth and continue to care for your indoor plants. Enjoy the beauty and benefits they bring to your living space while knowing that you have created the perfect drainage system to support their growth.
Happy gardening!
Frequently Asked Questions about How To Create Drainage In A Pot For Indoor Plant
Was this page helpful?
At Storables.com, we guarantee accurate and reliable information. Our content, validated by Expert Board Contributors, is crafted following stringent Editorial Policies. We're committed to providing you with well-researched, expert-backed insights for all your informational needs.

0 thoughts on “How To Create Drainage In A Pot For Indoor Plant”