Home>Home Maintenance>How To Plant A Tree In Poor Drainage
Home Maintenance
How To Plant A Tree In Poor Drainage
Modified: March 7, 2024
Learn how to plant a tree in poor drainage areas with our expert home maintenance tips. Improve the health and longevity of your trees in any soil condition.
(Many of the links in this article redirect to a specific reviewed product. Your purchase of these products through affiliate links helps to generate commission for Storables.com, at no extra cost. Learn more)
Introduction
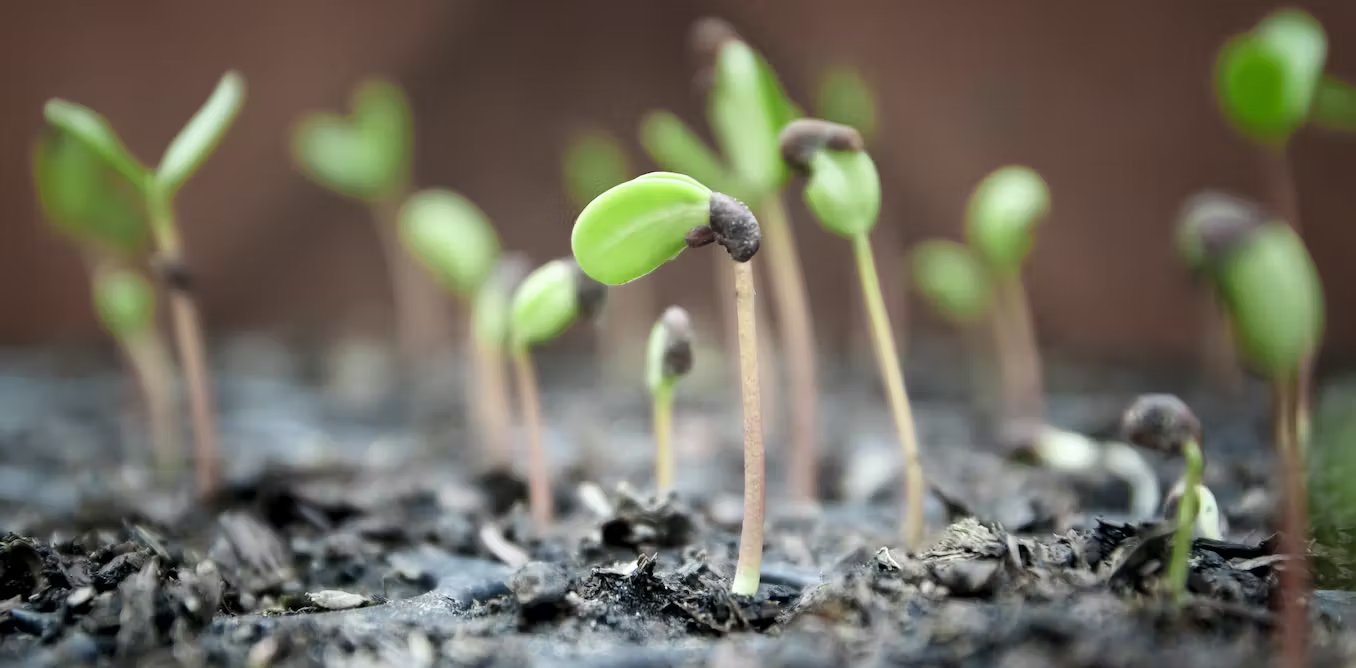
Planting a tree can be a rewarding and beneficial addition to your home, but what happens when you have poor drainage? Improper drainage can lead to root rot, stunted growth, and ultimately the demise of your newly planted tree. However, with the right knowledge and preparation, you can successfully plant a tree in an area with poor drainage and provide a healthy environment for it to thrive.
In this guide, we will explore the challenges of poor drainage and provide you with step-by-step instructions on how to plant a tree in such conditions. We will also share some tips on choosing the right trees for poor drainage and provide solutions to improve the drainage in the planting hole.
By following these guidelines, you can ensure that your tree will have the best possible chance of survival and flourish in an otherwise challenging environment.
Key Takeaways:
- Choose tree species like willows, bald cypress, red maple, river birch, and swamp white oak for areas with poor drainage to ensure the tree’s survival and growth.
- Prepare the planting site, dig the right-sized hole, improve drainage, and provide proper care to successfully plant and maintain a tree in an area with poor drainage.
Understanding Poor Drainage
Poor drainage occurs when water fails to effectively drain away from the planting site, resulting in waterlogged soil. This can happen for various reasons, such as heavy clay soil composition, compacted soil, or a high water table. It is important to understand the underlying causes of poor drainage to address them effectively.
One common cause of poor drainage is heavy clay soil. Clay soil has small particles that compact tightly, preventing water from being absorbed and drained away. This leads to water pooling on the surface and around the roots of plants, causing suffocation and root rot. Another factor affecting drainage is compacted soil. When soil becomes compacted, such as from heavy foot traffic or construction machinery, it becomes dense and compressed, restricting water movement.
Additionally, a high water table can contribute to poor drainage. A high water table refers to the level of the groundwater that is close to the surface. It can saturate the soil, preventing proper drainage and causing a waterlogged environment for plants.
Identifying poor drainage is relatively easy. Look for signs such as standing water on the surface, slow drainage after heavy rainfall, or the presence of water-loving plants thriving in the area. Understanding the reasons behind poor drainage will help you make informed decisions when planting trees in these conditions.
Choosing the Right Trees for Poor Drainage
When it comes to planting trees in areas with poor drainage, selecting the right tree species is crucial. Some trees are naturally better adapted to tolerate wet soils and poor drainage, while others may suffer and eventually die in these conditions.
Here are some tree species that are known to fare well in areas with poor drainage:
- Willows (Salix spp.): Willows are highly adaptable and can tolerate a wide range of soil conditions, including poor drainage. They have a fibrous root system that can handle waterlogged soil.
- Bald Cypress (Taxodium distichum): This deciduous conifer is well-suited to wet environments and can even grow in standing water. It has unique aerial roots known as “knees” that help it obtain oxygen in waterlogged soil.
- Red Maple (Acer rubrum): Red maples are exceptionally adaptable and can thrive in a variety of soil conditions, including wet areas. They are known for their vibrant fall foliage.
- River Birch (Betula nigra): River birch trees are tolerant of wet soil and can withstand periodic flooding. They have an attractive peeling bark that adds visual interest to the landscape.
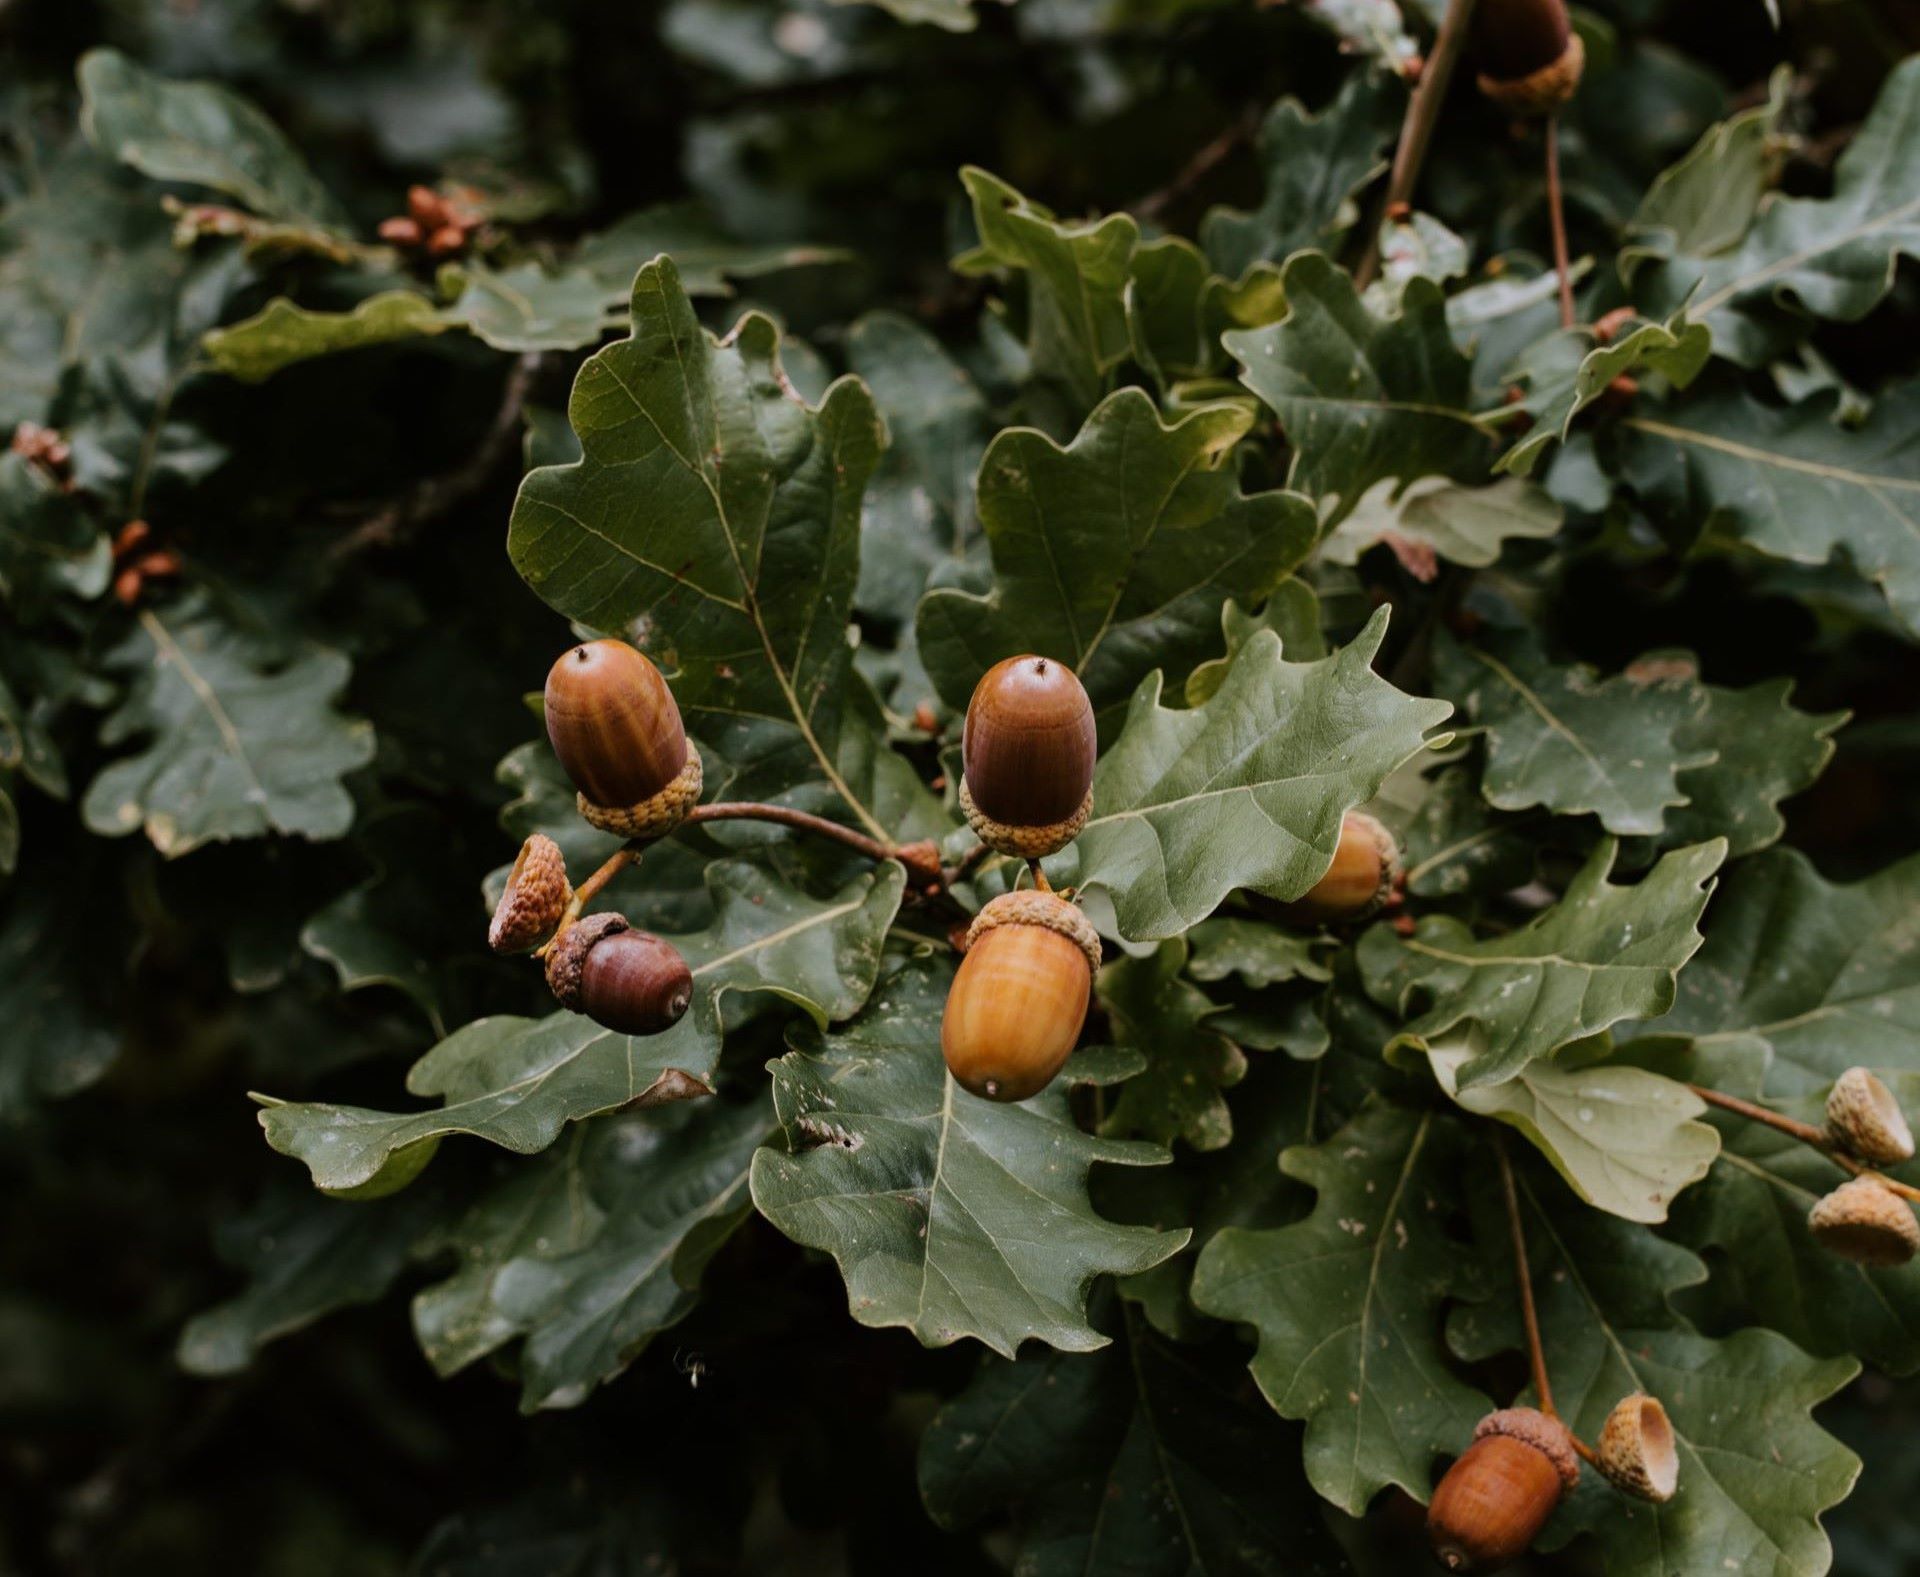
- Swamp White Oak (Quercus bicolor): As the name suggests, this oak species is well-suited for wet areas and has a high tolerance for poorly drained soils.
It is important to research and select tree species that are specifically described as being tolerant of wet or poorly drained soils. Consulting with local nurseries or arborists can provide valuable insights into the best tree species for your specific region and site conditions.
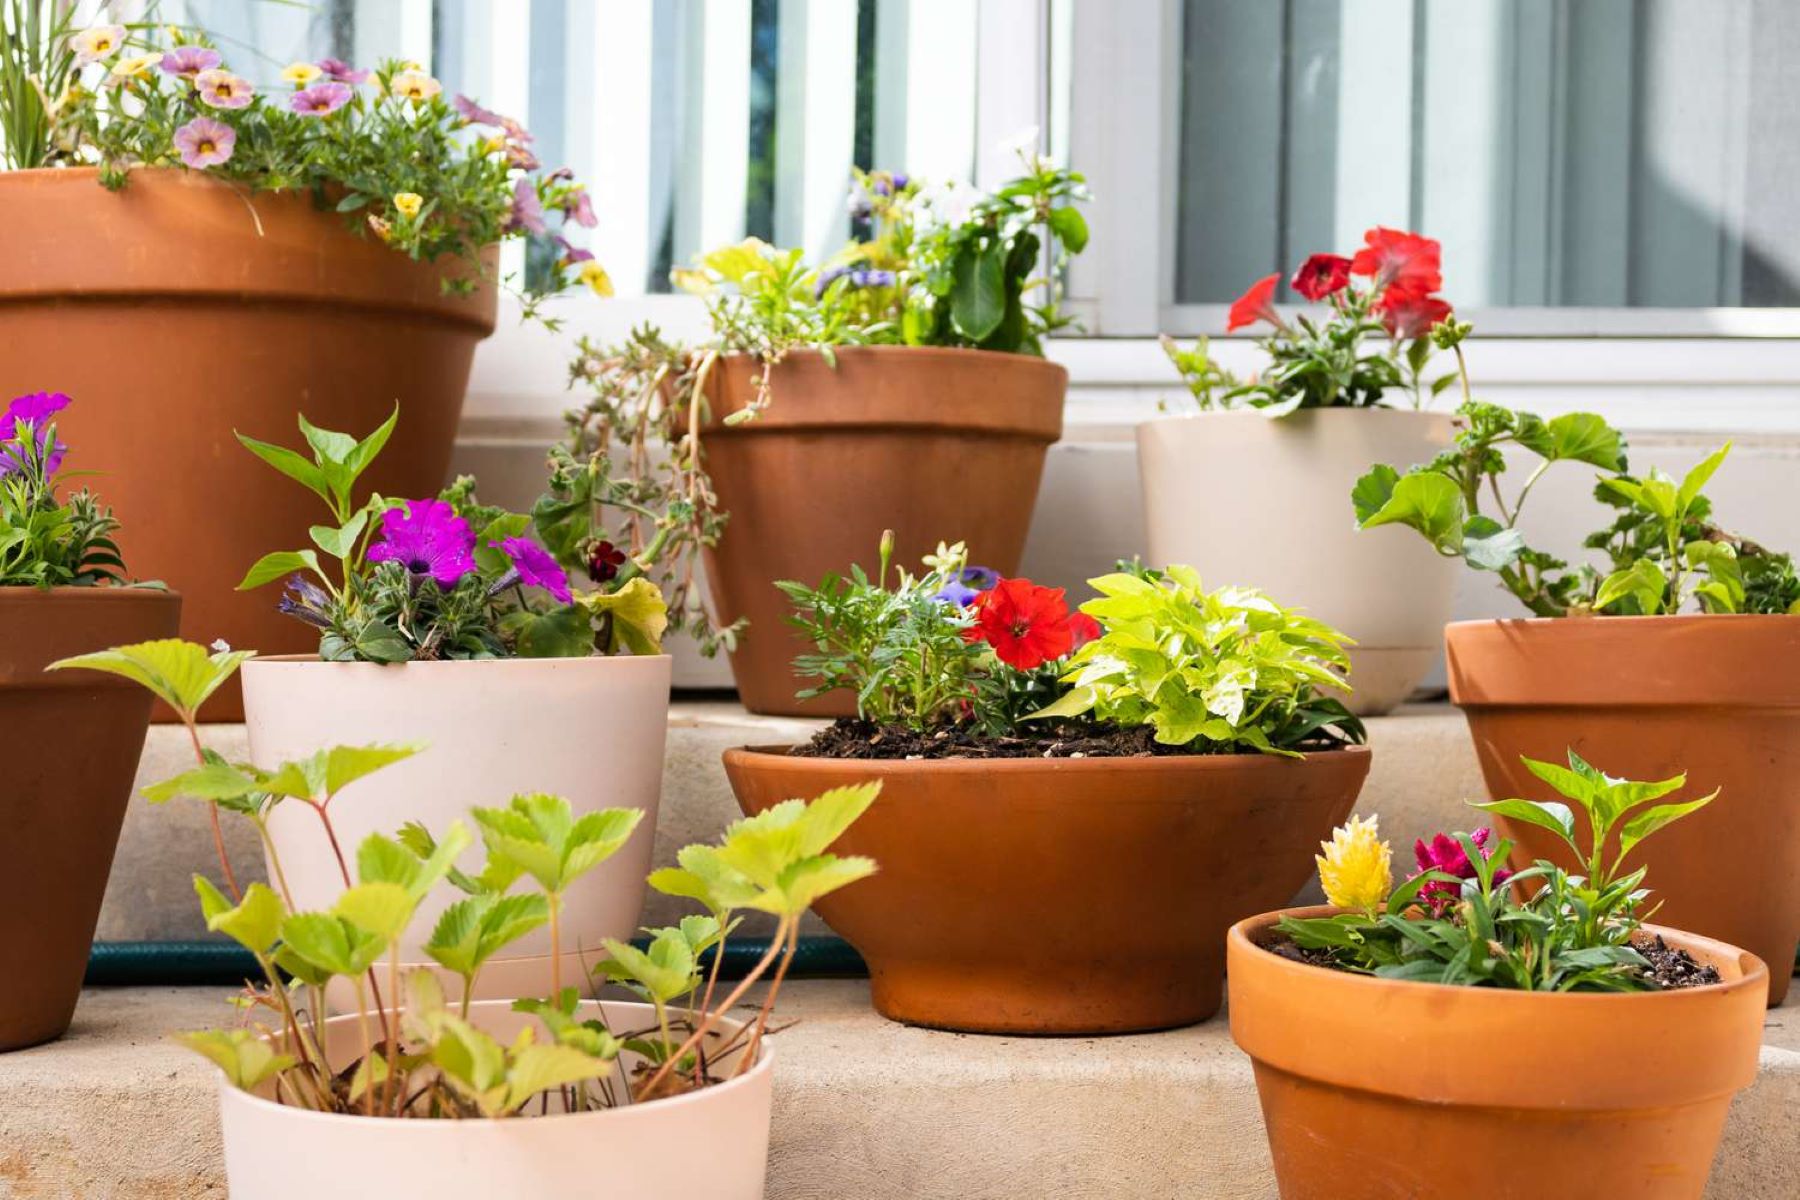
Once you have identified suitable tree species, consider other factors such as the tree’s mature size, growth rate, and overall landscaping goals. This will help ensure that the tree is not only capable of surviving in poor drainage conditions but also meets your aesthetic preferences and space requirements.
Preparing the Planting Site
Before planting a tree in an area with poor drainage, it is important to prepare the planting site appropriately. Proper preparation will help improve the drainage and provide the best conditions for the tree to establish and thrive.
Follow these steps to prepare the planting site:
- Assess the drainage: Evaluate the current drainage conditions of the site. If there is standing water or consistently wet soil, it may be necessary to consider implementing drainage solutions, such as installing French drains or redirecting water flow.
- Choose a suitable location: Select a planting location that is elevated or on a slope, if possible. This will help facilitate water drainage away from the roots.
- Clear the area: Remove any existing vegetation, weeds, or debris from the planting site. This will prevent competition for nutrients and allow the tree to establish its root system more effectively.
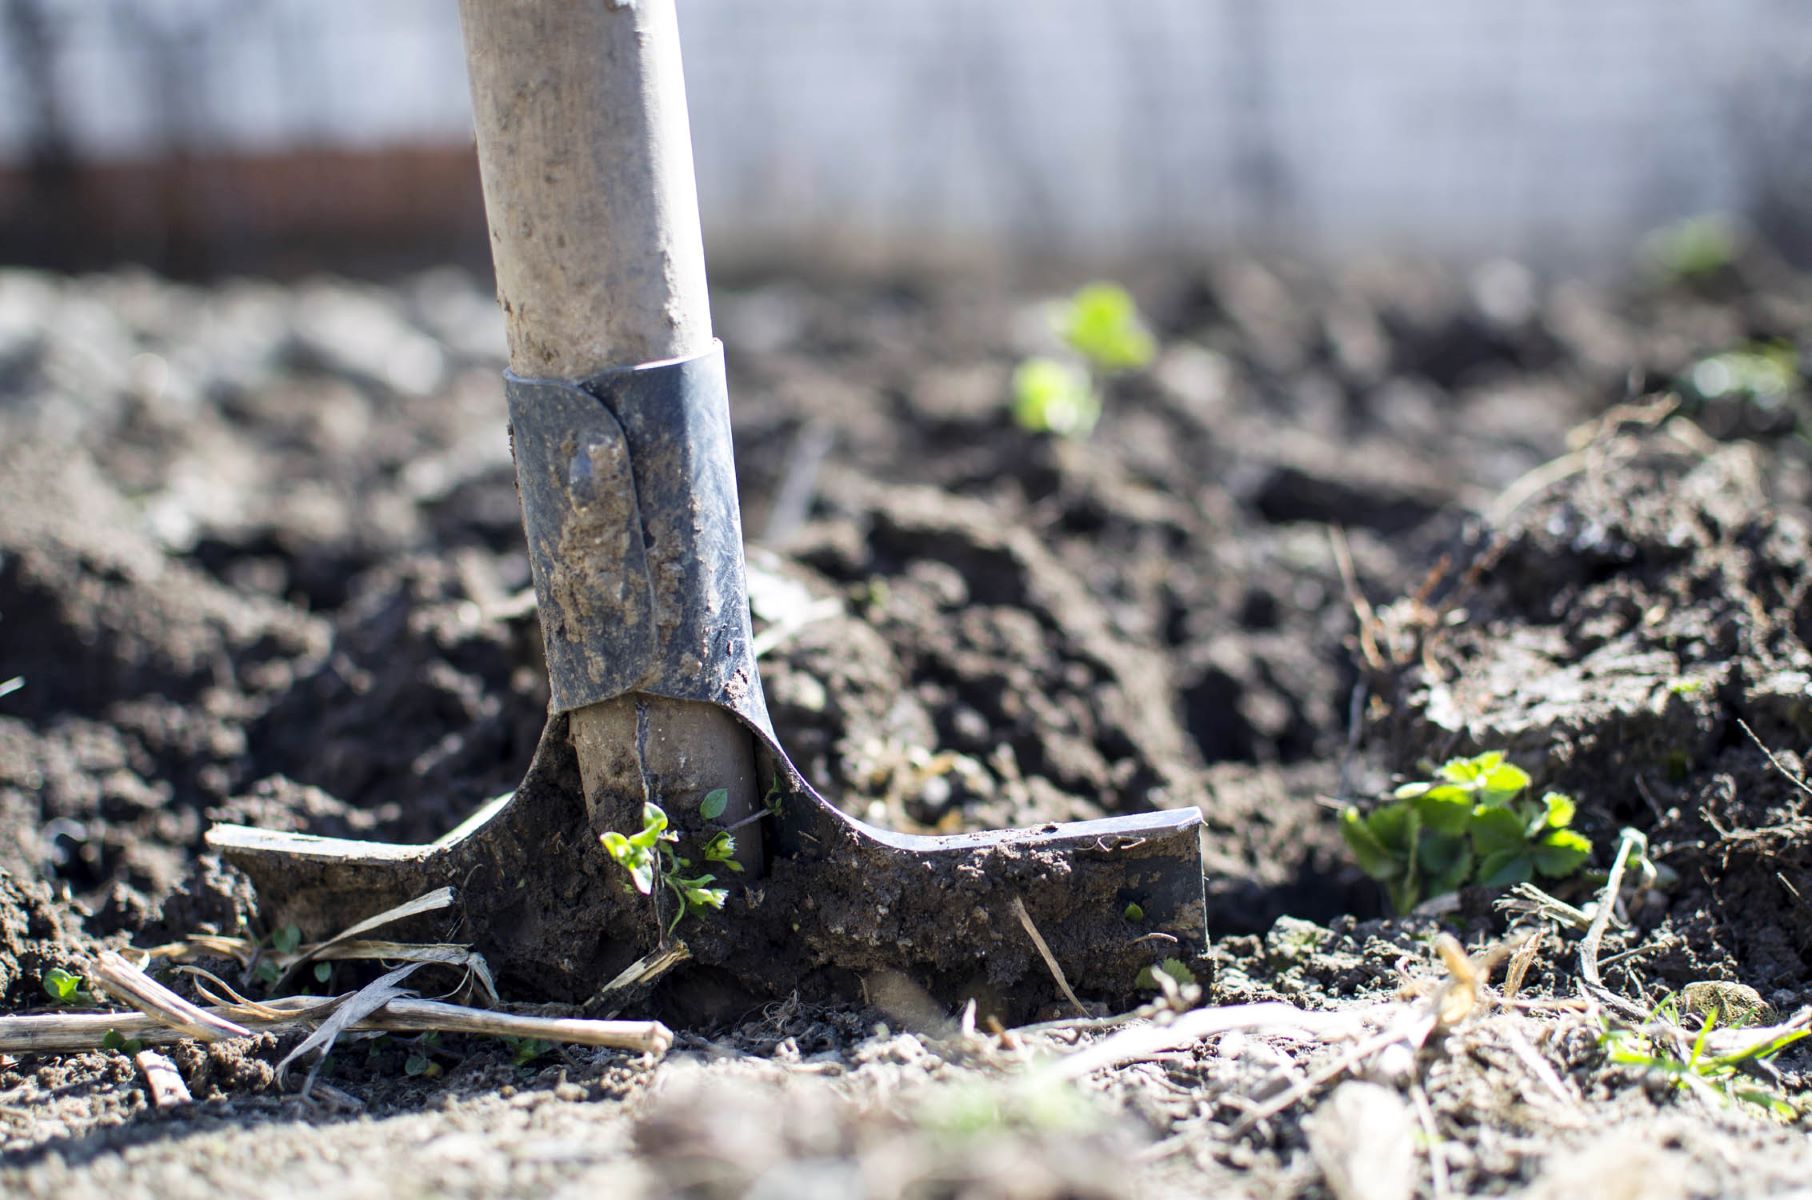
- Loosen the soil: Break up compacted soil by using a garden fork or a tiller, making sure to loosen it to a depth of at least 12 inches. This will improve soil structure and allow for better water movement.
- Amend the soil: Incorporate organic matter, such as compost or well-rotted manure, into the soil. This will help improve drainage and provide essential nutrients for the tree’s growth.
By taking the time to properly prepare the planting site, you are creating optimal conditions for the tree to establish a healthy root system and withstand the challenges of poor drainage.
Digging the Planting Hole
Once the planting site is prepared, the next step is to dig the planting hole. The size and depth of the hole play a crucial role in promoting healthy root development and improving drainage.
Follow these guidelines when digging the planting hole:
- Size of the hole: The width of the planting hole should be two to three times the width of the tree’s root ball or container. This provides ample space for the roots to spread out and establish in the surrounding soil.
- Depth of the hole: The depth of the hole should be equal to the height of the root ball or container. It is essential not to plant the tree too deep, as this can lead to water pooling around the roots.
- Shape of the hole: Dig the hole with sloping sides rather than a straight-sided hole. This helps prevent the roots from becoming trapped in the smooth walls of the hole, allowing them to expand and grow into the surrounding soil.
- Break up the soil: Use a shovel or garden fork to loosen the soil at the bottom of the hole. This will help improve water infiltration and drainage.
It is important to note that when planting in poorly drained areas, it may be beneficial to create a slight mound or raised bed within the planting hole. This helps elevate the tree’s root system above the saturated soil, further improving drainage.
Properly digging the planting hole sets the foundation for a healthy tree and ensures that the roots have enough space to establish and expand in the surrounding soil.
When planting a tree in poor drainage, consider creating a raised bed or mound to improve water flow. This will help prevent waterlogging and promote healthy root growth.
Improving Drainage in the Planting Hole
When planting a tree in an area with poor drainage, it is essential to take measures to improve the drainage within the planting hole. This will create a better environment for the roots and help prevent waterlogging and root rot.
Here are some steps you can take to improve drainage in the planting hole:
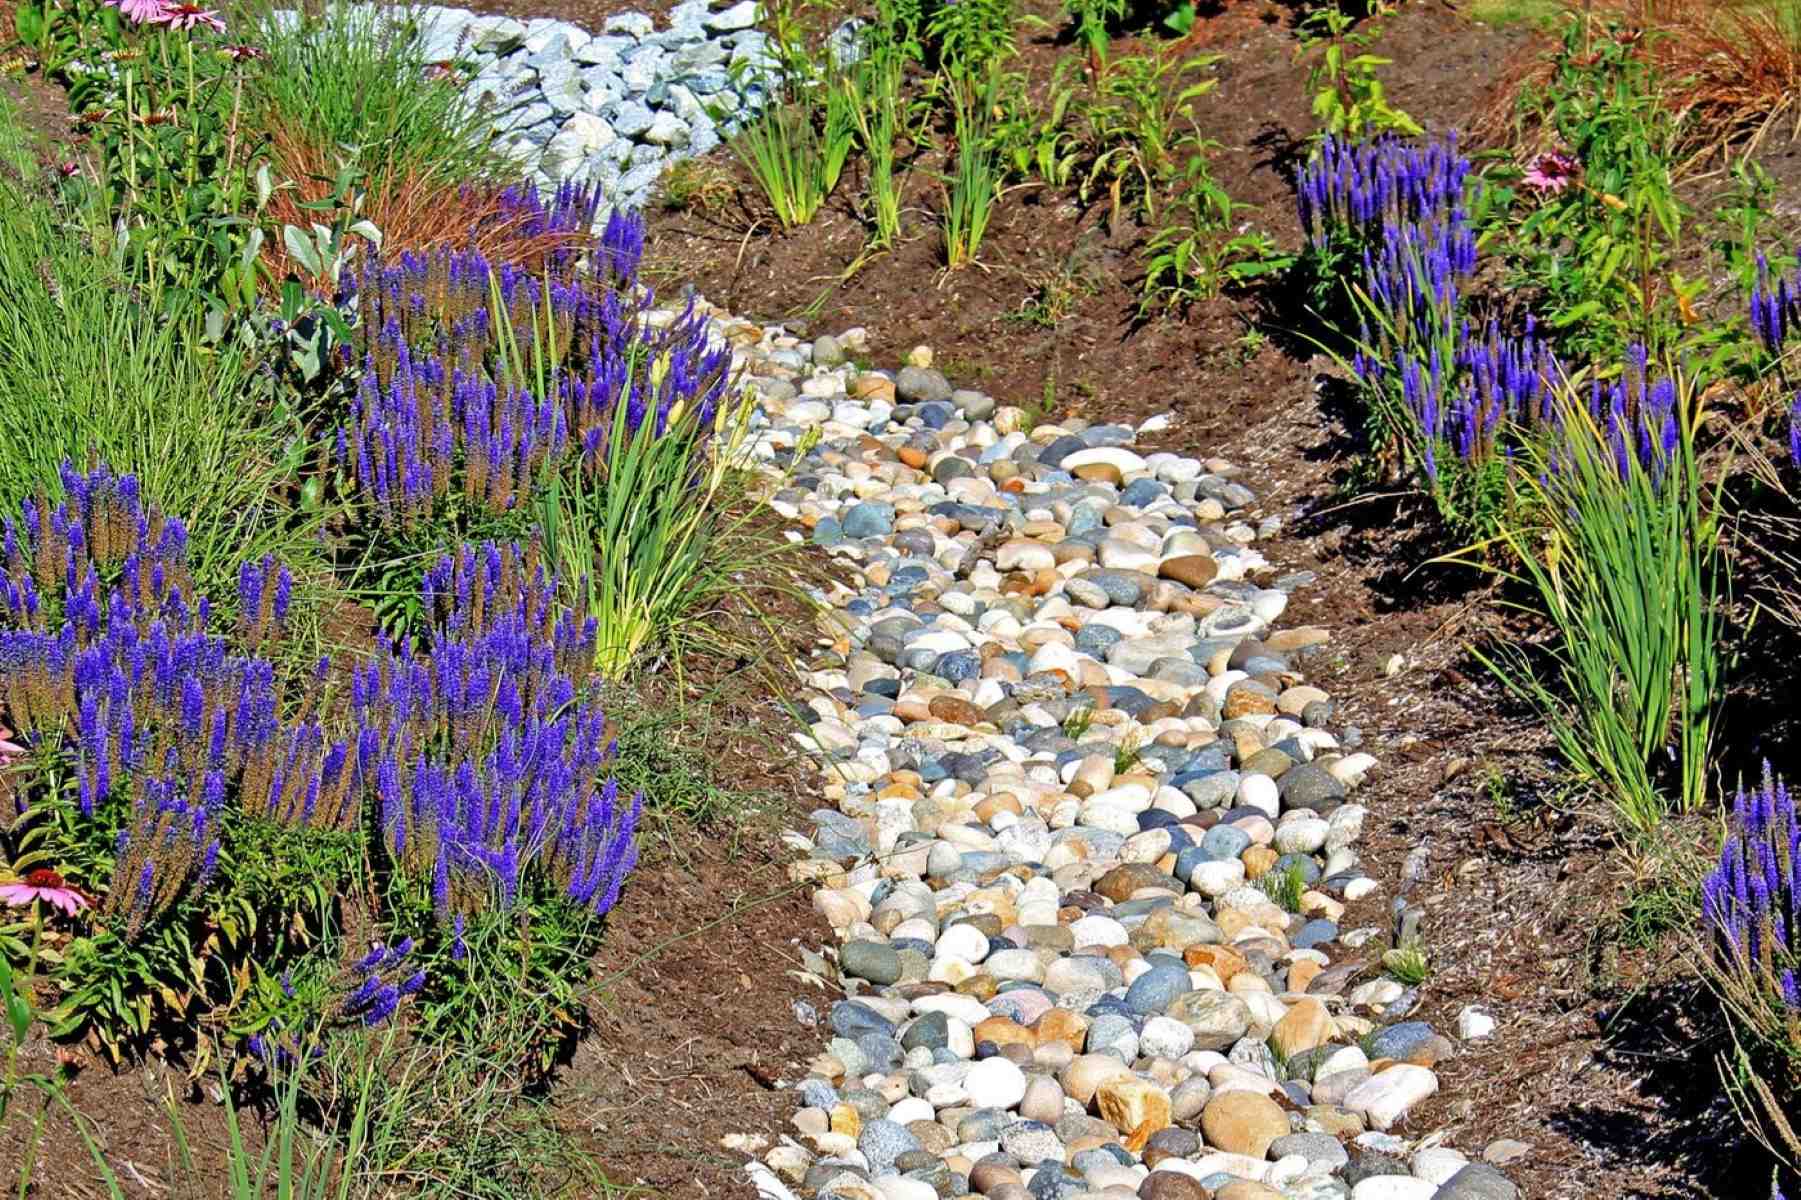
- Add drainage materials: Place a layer of drainage materials, such as gravel or small rocks, at the bottom of the planting hole. This layer allows excess water to drain away from the tree’s roots.
- Use porous backfill: Use a mixture of the excavated soil and organic matter, such as compost or peat moss, to fill the planting hole. This creates a more porous and well-drained planting medium for the roots.
- Create a planting mound: If the area has significant drainage issues, consider creating a raised mound within the planting hole. This elevated area helps further improve drainage by providing a higher planting surface for the tree.
- Ensure proper slope: When backfilling the soil, slope the surface away from the trunk of the tree. This allows water to flow away from the base of the tree, reducing the risk of water accumulation.
By implementing these techniques, you can help create a more favorable planting environment for your tree, allowing excess water to drain away and reducing the risk of waterlogged soil.
Remember to adjust the specific methods based on your particular site conditions and the type of tree you are planting. Consulting with a local arborist or nursery can provide valuable insights into the most effective drainage improvement techniques for your specific situation.
Planting the Tree
Now that the planting site and hole have been prepared, it’s time to plant the tree in the area with poor drainage. Proper planting techniques will ensure the tree’s successful establishment and growth.
Follow these steps to plant the tree:
- Remove the tree from its container: If the tree is in a container, gently slide it out, being careful not to damage the roots. If the tree has a root ball, remove any burlap or twine that may be wrapped around it. It’s vital to handle the tree with care to avoid causing unnecessary stress to the roots.
- Inspect the roots: Examine the tree’s roots to check for any damaged or circling roots. If you notice any, gently prune them to encourage healthy root growth.
- Place the tree in the hole: Position the tree in the planting hole, making sure it is centered and straight. The top of the root ball or container should be level with or slightly above the surrounding soil level.
- Backfill the hole: Begin filling the hole with the soil mixture prepared earlier, gently tamping it down to eliminate air pockets. Take care not to over-compact the soil, as this can hinder root growth and drainage.
- Water the tree: After the hole is filled, thoroughly water the tree to help settle the soil and ensure adequate moisture for the roots. This initial watering is crucial to provide hydration and promote root establishment.
During the planting process, it’s important to handle the tree with care and avoid excessive disturbance to the roots. This will minimize stress on the tree and improve its chances of adapting to the poor drainage conditions.
Additionally, be mindful of the tree’s specific requirements for sun exposure, watering, and any additional care instructions to ensure its long-term health and survival.
Backfilling and Mulching
After planting the tree, the next step is backfilling the hole and applying mulch. These additional measures help create a favorable environment for the tree’s growth and improve its resilience to poor drainage conditions.
Follow these guidelines for backfilling and mulching:
- Backfill the hole: Continue adding the soil mixture to the hole, ensuring that it is evenly distributed around the roots. Gently firm the soil to eliminate any air pockets.
- Create a mulch ring: Form a mulch ring around the base of the tree, extending a few inches beyond the edge of the planting hole. The mulch layer should be around 2-4 inches thick.
- Choose the right mulch: Select an organic mulch, such as shredded bark or wood chips. Avoid using plastic mulch or rocks, as they can hinder water infiltration and drainage.
- Apply the mulch: Spread the mulch evenly within the ring, making sure to keep it a few inches away from the trunk of the tree. Mulch acts as a protective layer, helping to retain soil moisture, regulate soil temperature, and prevent weed growth.
- Reapply mulch as needed: Over time, the mulch layer may break down or become compacted. Check the mulch regularly and replenish it as necessary to maintain the desired thickness.
Mulching not only helps improve drainage by preventing excess water from pooling around the tree’s base, but it also aids in suppressing weed growth and providing insulation to the roots.
Remember to monitor the mulch layer throughout the year, especially during periods of heavy rainfall, to ensure it’s functioning effectively and not causing excessive moisture retention.
Watering and Care
Proper watering and care are essential for the health and growth of a tree planted in an area with poor drainage. Adequate moisture, along with other maintenance practices, will help the tree thrive despite the challenging conditions.
Follow these guidelines for watering and care:
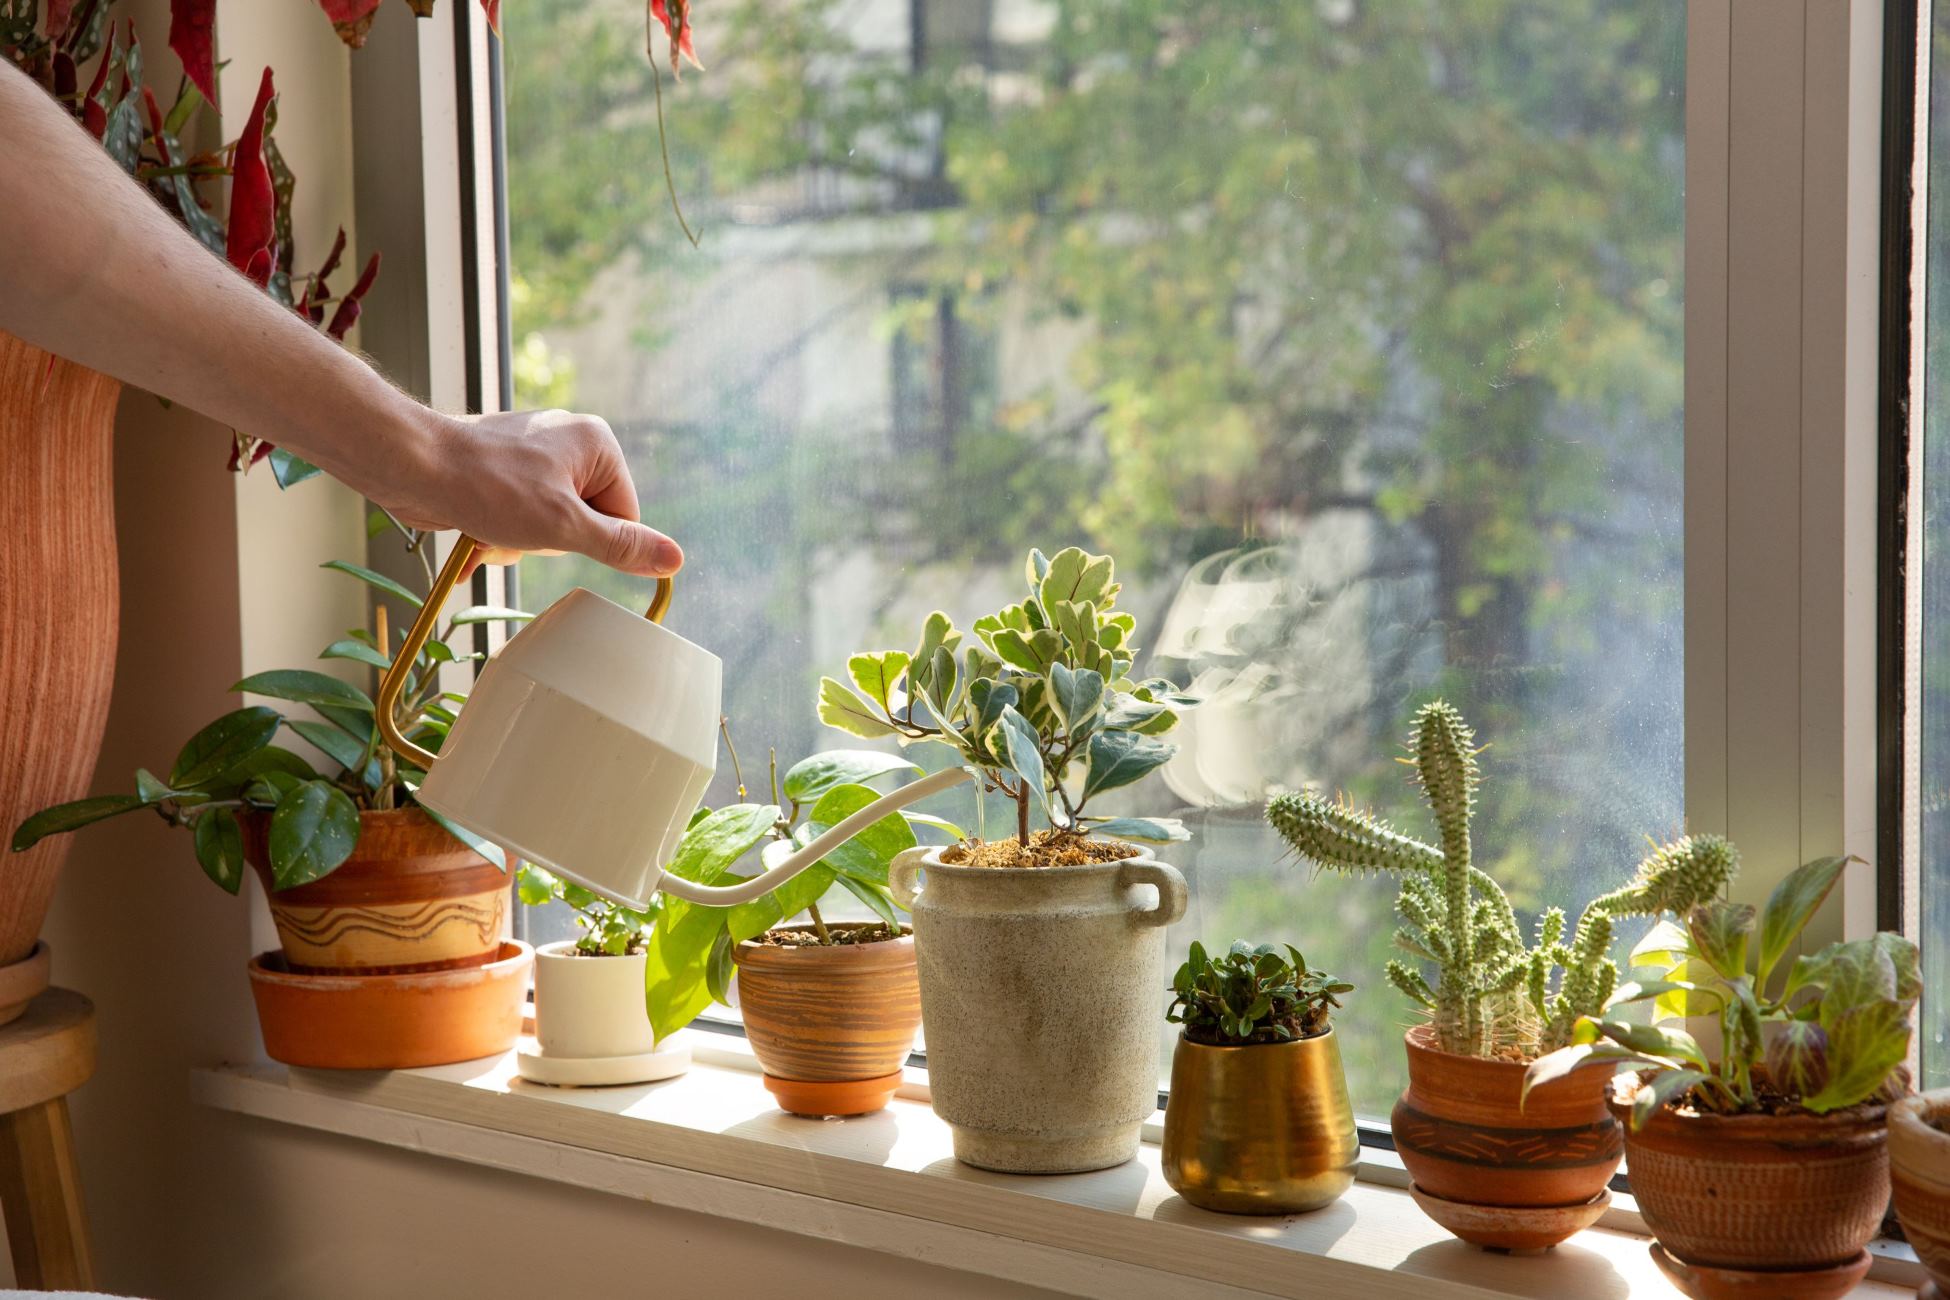
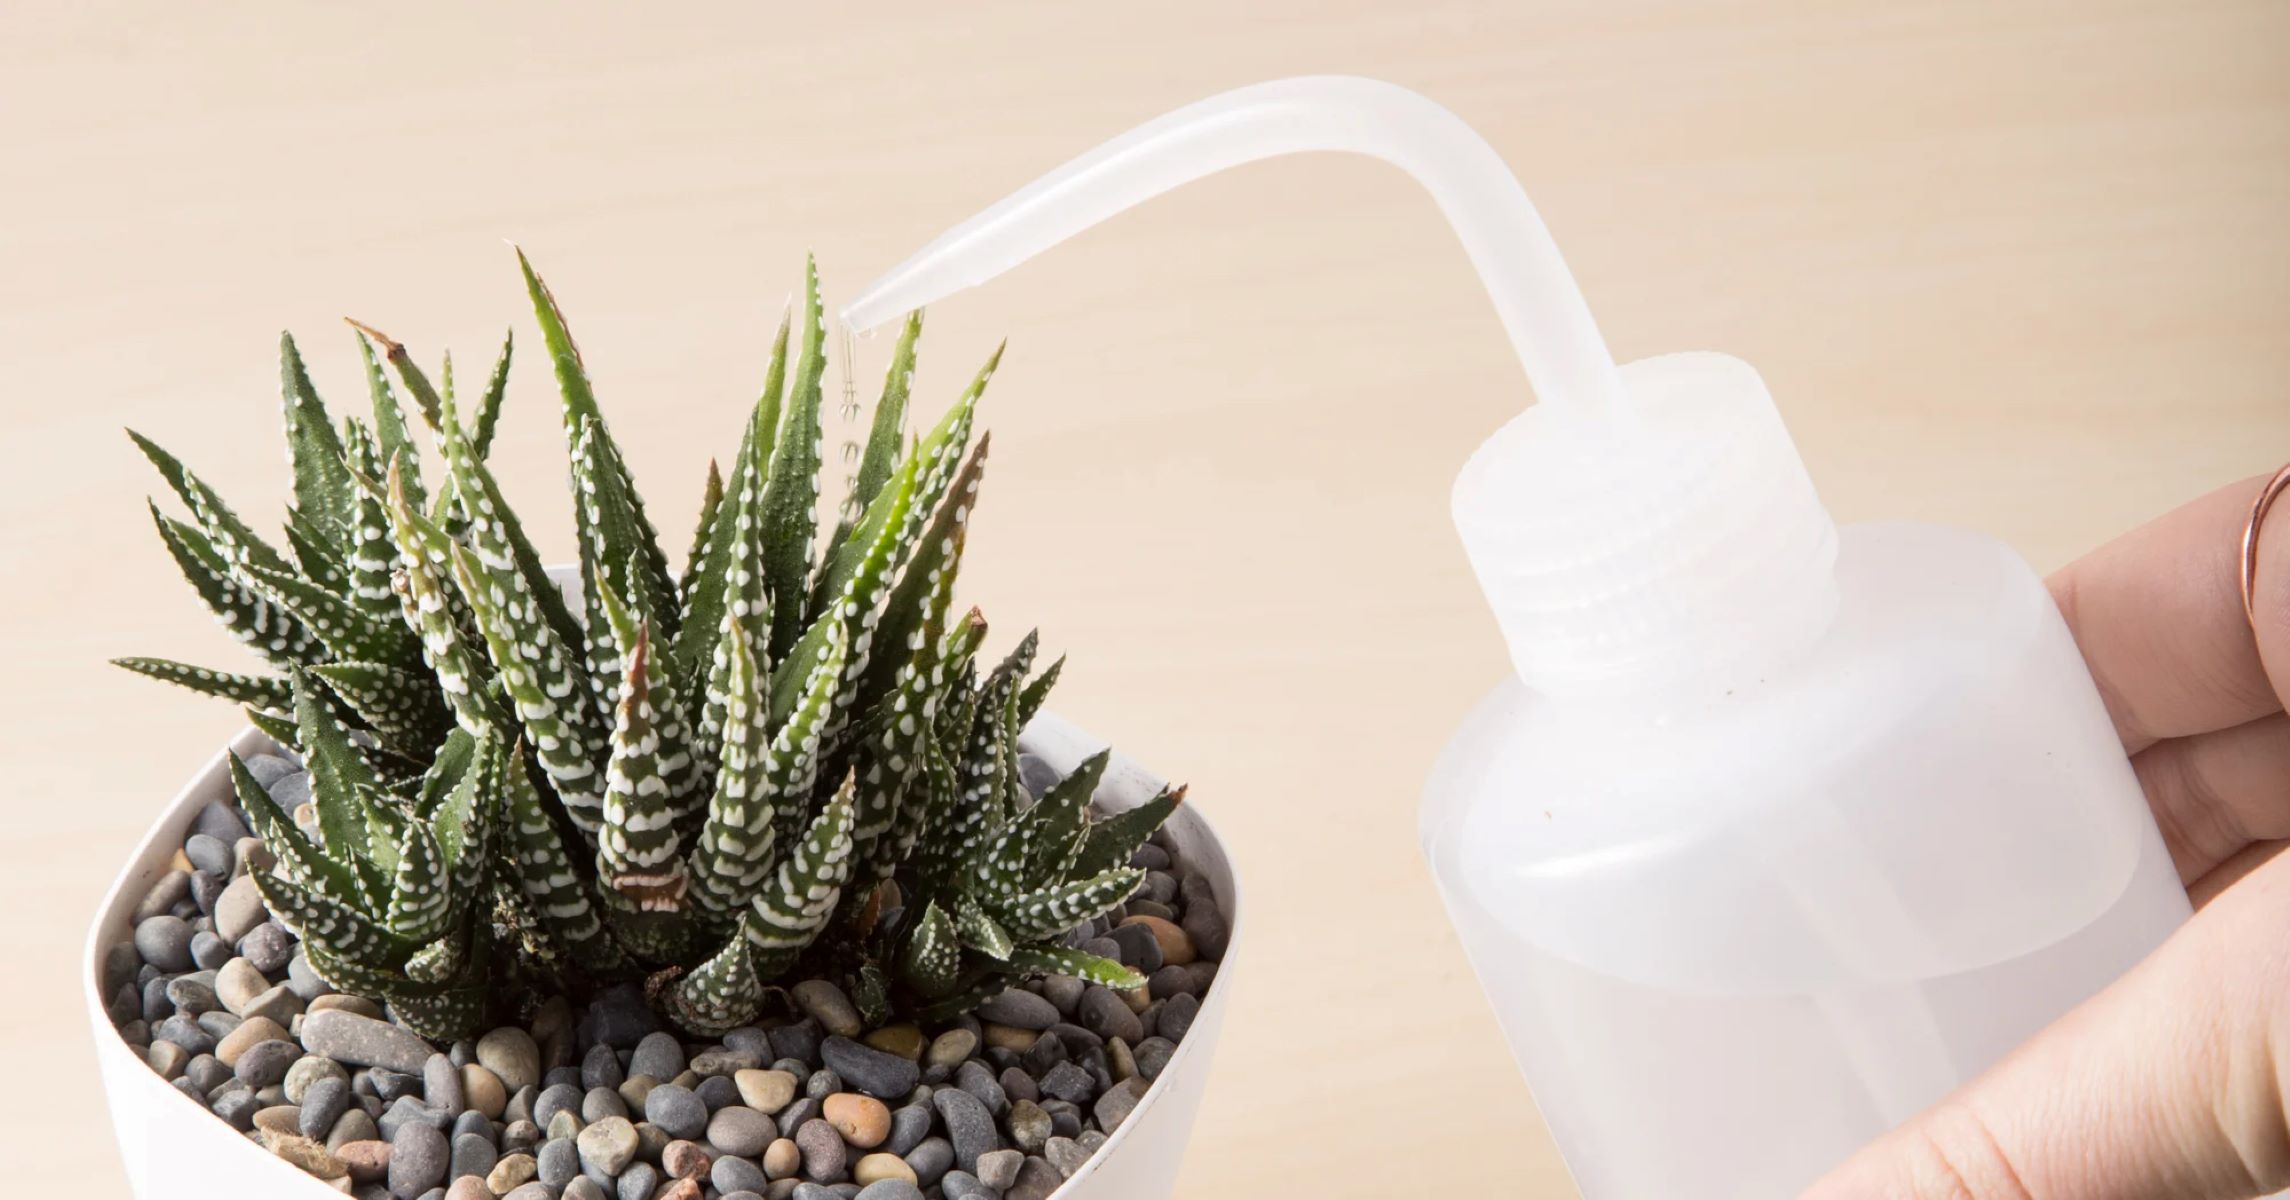
- Watering: Water the tree deeply and regularly, especially during the first year after planting. Aim to provide approximately 1 inch of water per week, either through rainfall or supplemental irrigation. However, be cautious not to overwater, as this can contribute to waterlogging and root rot.
- Monitor soil moisture: Check the soil moisture regularly by probing the soil with your finger or using a moisture meter. This will help determine if the tree needs additional watering. Ideally, the soil should be moist but not saturated.
- Provide adequate drainage: Continuously monitor the drainage in the planting site. If excessive water is accumulating around the tree’s base, consider installing drainage systems, such as French drains or swales, to redirect water away from the area.
- Maintain appropriate pruning: Regularly inspect the tree for any dead, diseased, or damaged branches. Prune them promptly to promote airflow and prevent the spread of disease or insect infestations.
- Apply appropriate fertilization: Consider applying a slow-release, balanced fertilizer according to the specific needs of the tree species. However, it’s important not to over-fertilize, as this can lead to excess growth and weaken the tree’s structural integrity.
- Monitor for signs of stress or disease: Keep an eye out for any signs of stress, such as wilting, yellowing leaves, or unusual growth patterns. If you notice any concerning symptoms, consult with a local arborist to diagnose and treat any potential issues.
By providing proper watering and care, you can help the tree adjust to the poor drainage conditions, strengthen its resilience against potential challenges, and ensure its long-term vitality.
Remember to tailor the watering and care practices to the specific tree species and your local climate to optimize their effectiveness.
Read more: What Kind Of Plants To Plant For Drainage
Conclusion
In conclusion, planting a tree in an area with poor drainage may present challenges, but with the right knowledge and techniques, it can still be successful. Understanding the causes of poor drainage and selecting suitable tree species that can tolerate such conditions are vital steps in ensuring the tree’s survival and growth.
Proper preparation of the planting site, including assessing the drainage, choosing a suitable location, and amending the soil, sets the stage for a healthy tree. Digging the planting hole with the appropriate size and shape, and improving drainage within the hole through the use of drainage materials and porous backfill, further promotes good soil drainage.
When it comes to planting the tree, it is important to handle it with care, inspect the roots, and properly position it in the hole. Backfilling the hole and applying a layer of mulch around the base of the tree help improve drainage and provide favorable conditions for the tree’s root system.
After planting, adequate watering and care are essential for the tree’s well-being. Regular monitoring of soil moisture, providing appropriate drainage, pruning, fertilization, and vigilance for signs of stress or disease are important aspects of tree maintenance in areas with poor drainage.
By following these guidelines and taking the necessary precautions, you can successfully plant and care for a tree in an area with poor drainage. Remember to adapt the techniques and practices to suit the specific needs of the tree species and your local climate.
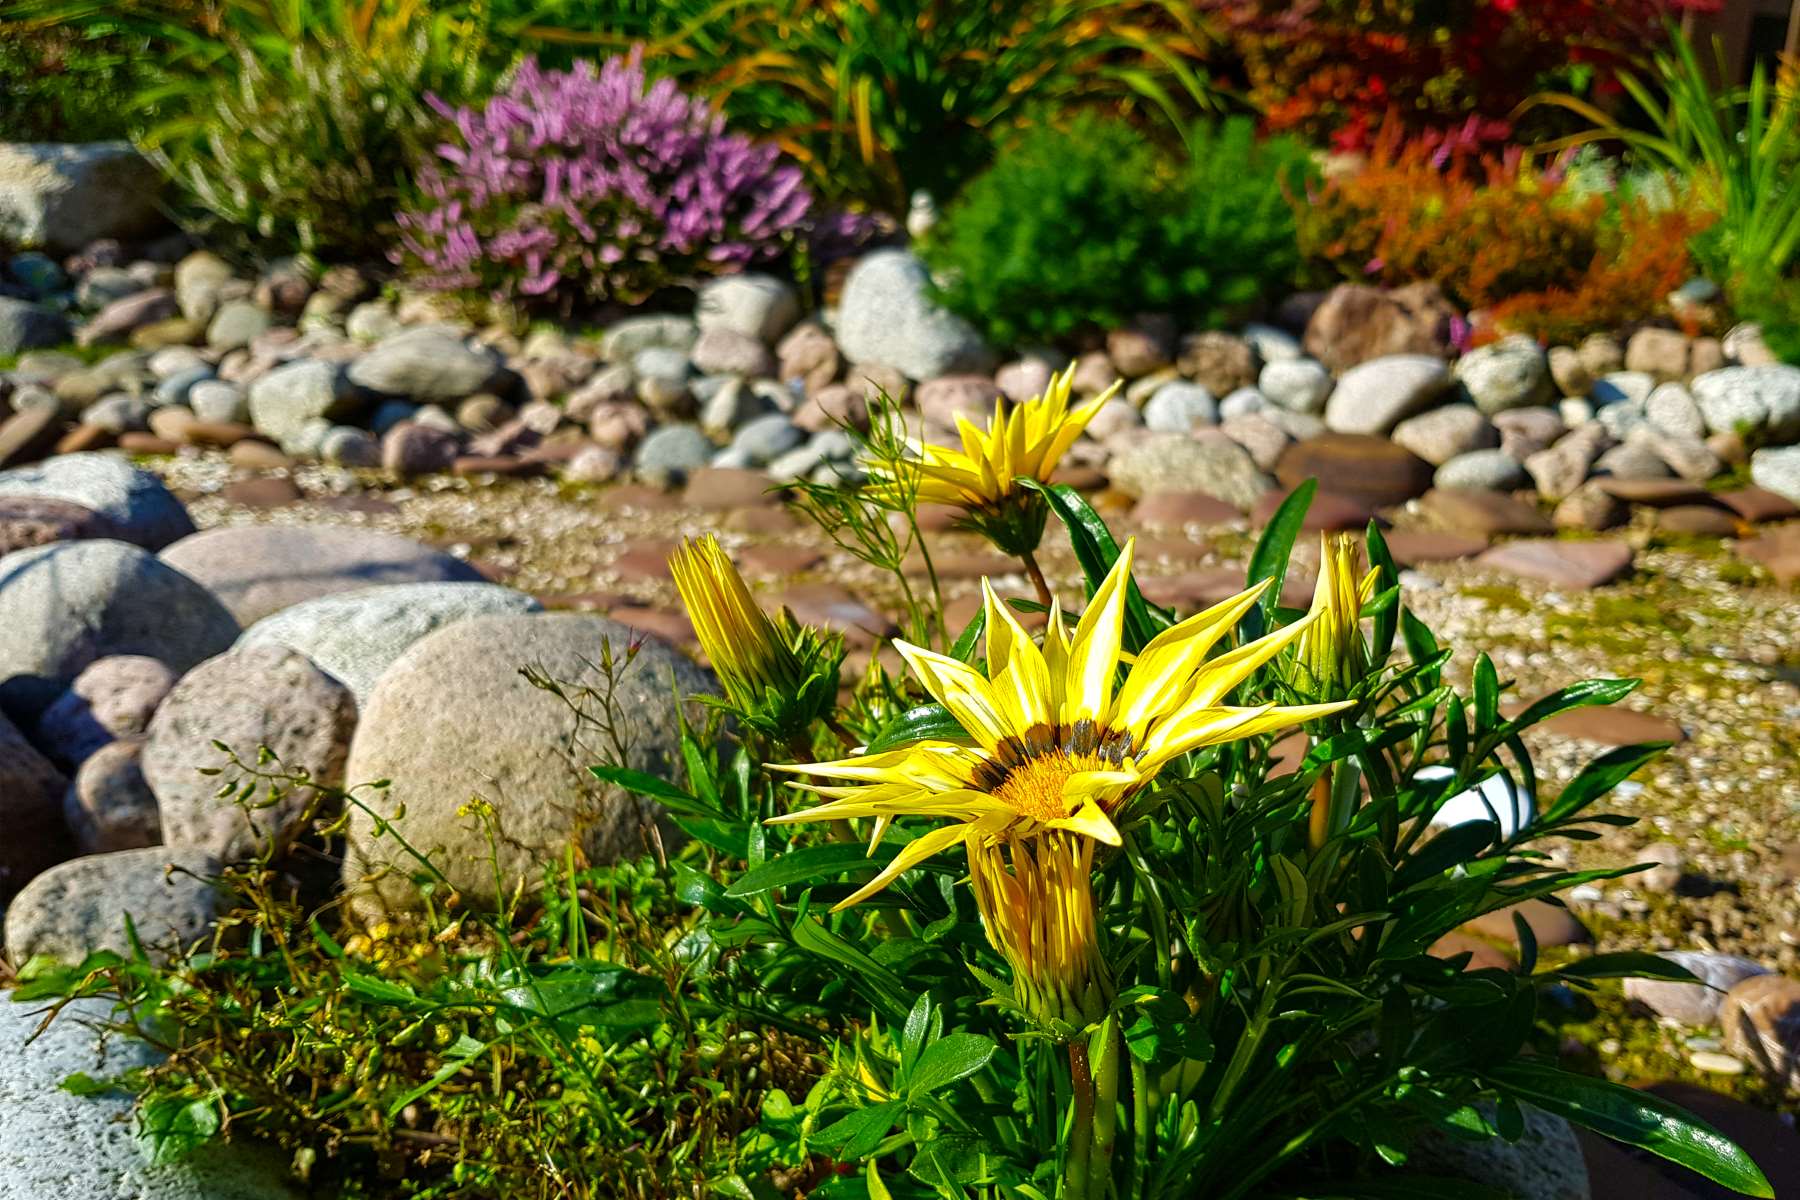
Planting a tree in challenging soil conditions not only adds beauty to your home but also contributes to the environment. The tree will provide shade, improve air quality, and potentially increase property value. With patience, proper planning, and the right approach, you can create a thriving landscape even in areas with poor drainage.
Frequently Asked Questions about How To Plant A Tree In Poor Drainage
Was this page helpful?
At Storables.com, we guarantee accurate and reliable information. Our content, validated by Expert Board Contributors, is crafted following stringent Editorial Policies. We're committed to providing you with well-researched, expert-backed insights for all your informational needs.


0 thoughts on “How To Plant A Tree In Poor Drainage”