Home>Home Maintenance>How To Raise An Air Conditioner Unit
Home Maintenance
How To Raise An Air Conditioner Unit
Modified: March 7, 2024
Learn the essential steps for raising an air conditioner unit in your home. Keep your unit in top shape with proper home maintenance practices.
(Many of the links in this article redirect to a specific reviewed product. Your purchase of these products through affiliate links helps to generate commission for Storables.com, at no extra cost. Learn more)
Introduction
Welcome to this comprehensive guide on how to raise an air conditioner unit. If you’re facing issues with improper airflow, drainage problems, or potential damage from ground-level obstructions, raising your air conditioner unit can be an effective solution. By elevating the unit, you can improve its performance and extend its lifespan.
In this article, we will walk you through a step-by-step process to help you raise your air conditioner unit safely and effectively. From choosing the right location to testing the unit, we’ve got you covered.
Before we delve into the details, it’s important to understand the advantages of raising your air conditioner unit. Elevating the unit helps improve airflow, preventing debris and obstructions from blocking the intake vents. Additionally, raising the unit can minimize the risk of water damage and corrosion caused by pooling water.
Now, let’s get started with the first step: choosing the right location for your raised air conditioner unit.
Key Takeaways:
- Elevating your air conditioner unit can improve airflow, prevent water damage, and extend its lifespan. Follow the step-by-step guide to safely raise and secure your unit for optimal performance.
- Choosing the right location, preparing the mounting area, and testing the unit are crucial steps in raising your air conditioner. Prioritize safety and seek professional help for electrical work if needed.
Step 1: Choosing the Right Location
When it comes to raising your air conditioner unit, selecting the ideal location is crucial. Here are a few factors to consider:
- Adequate Space: Look for an area that offers enough space to accommodate the raised unit. Make sure there is ample room for proper airflow and maintenance.
- Accessibility: Choose a location that allows easy access for routine cleaning and servicing. Avoid placing the unit in a spot that is obstructed by other objects or structures.
- Sun Exposure: Consider sunlight exposure when deciding where to raise your air conditioner unit. Avoid areas that receive excessive direct sunlight, as it can affect the unit’s efficiency.
- Proximity to Obstructions: Keep the unit away from obstructions such as trees, shrubs, and buildings. This will prevent debris from accumulating around the unit and obstructing the airflow.
- Level Ground: Ensure that the chosen location has a level surface. This will help in the proper installation and functioning of the raised unit.
Take your time to assess these factors and select the most suitable location for your raised air conditioner unit. Once you have finalized the location, proceed to the next step: preparing the mounting area.
Step 2: Preparing the Mounting Area
Before you can raise your air conditioner unit, it’s important to prepare the mounting area properly. Follow these steps to ensure a smooth and secure installation:
- Clean the Area: Remove any debris, dirt, or obstructions from the chosen location. A clean surface will provide a solid foundation for mounting the unit.
- Level the Ground: Use a level to ensure that the ground is perfectly level. Uneven surfaces can cause stability issues once the unit is raised.
- Lay a Concrete Pad: If the ground is not suitable for mounting, consider laying a concrete pad as a stable base. Make sure the pad is slightly larger than the dimensions of the unit to provide ample support.
- Check for Adequate Drainage: Ensure that there is proper drainage in the area to prevent water accumulation. Water should flow away from the unit to avoid any potential damage.
- Secure the Area: If necessary, install stakes or braces to secure the area and prevent shifting or settling of the ground over time.
By following these steps, you will create a solid, stable, and well-prepared mounting area for your raised air conditioner unit. Once the mounting area is ready, move on to the next step: installing the mounting brackets.
Step 3: Installing the Mounting Brackets
Now that you have prepared the mounting area, it’s time to install the brackets that will hold your raised air conditioner unit securely in place. Follow these steps to install the mounting brackets:
- Measure and Mark: Begin by measuring and marking the appropriate height for the brackets on the wall or surface. This height will depend on the clearance required for airflow and maintenance.
- Attach the Brackets: Using a drill and the appropriate screws or bolts, securely attach the mounting brackets to the marked locations. Make sure the brackets are level and properly aligned.
- Check Stability: Once the brackets are installed, give them a gentle shake to ensure they are firmly anchored. They should be stable and able to support the weight of the raised air conditioner unit.
- Tighten and Test: Double-check that all screws or bolts are tightened properly to provide maximum stability. Test the brackets’ stability again, ensuring they can hold the weight without any shifting or movement.
By following these steps, you will successfully install the mounting brackets for your raised air conditioner unit. With the brackets securely in place, you are now ready to move on to the next step: lifting and attaching the unit to the brackets.
When raising an air conditioner unit, make sure to use a sturdy platform or concrete pad to elevate it off the ground. This will help prevent damage from flooding and improve airflow.
Step 4: Lifting and Securely Attaching the Unit to the Brackets
With the mounting brackets in place, it’s time to lift and securely attach your air conditioner unit to them. Follow these steps to ensure a safe and successful installation:
- Gather Equipment and Assistance: Before attempting to lift the unit, gather the necessary equipment, such as a sturdy ladder and proper lifting straps. It’s also recommended to have someone assist you during this process.
- Position the Unit: Position the air conditioner unit carefully, aligning it with the mounting brackets. Make sure the unit is centered and level on the brackets before proceeding.
- Attach the Unit: With the help of your assistant, lift the unit and place it onto the mounting brackets. Align the unit’s mounting holes with the holes on the brackets.
- Secure with Screws or Bolts: Using the appropriate screws or bolts, securely attach the unit to the mounting brackets. Start by hand-tightening the screws and then use a wrench to ensure they are properly tightened.
- Test Stability: Gently shake the unit to check its stability. It should be securely attached to the mounting brackets and should not move or wobble.
- Double-Check Alignment: Verify that the unit is still properly aligned and centered on the mounting brackets. Any misalignment now can lead to performance issues and potential damage in the long run.
By following these steps, you will safely lift and securely attach your air conditioner unit to the mounting brackets. Once the unit is securely in place, we can move on to the next step: connecting the electrical wiring.
Read more: How To Winterize An Air Conditioner
Step 5: Connecting the Electrical Wiring
Now that you have successfully raised and securely attached your air conditioner unit, it’s time to connect the electrical wiring. Properly connecting the electrical components is essential to ensure the safe and efficient operation of your unit. Follow these steps to connect the electrical wiring:
- Turn off the Power: Before working with any electrical components, make sure to turn off the power to the air conditioner unit at the circuit breaker or main electrical panel. This step is essential to prevent any potential electrical hazards.
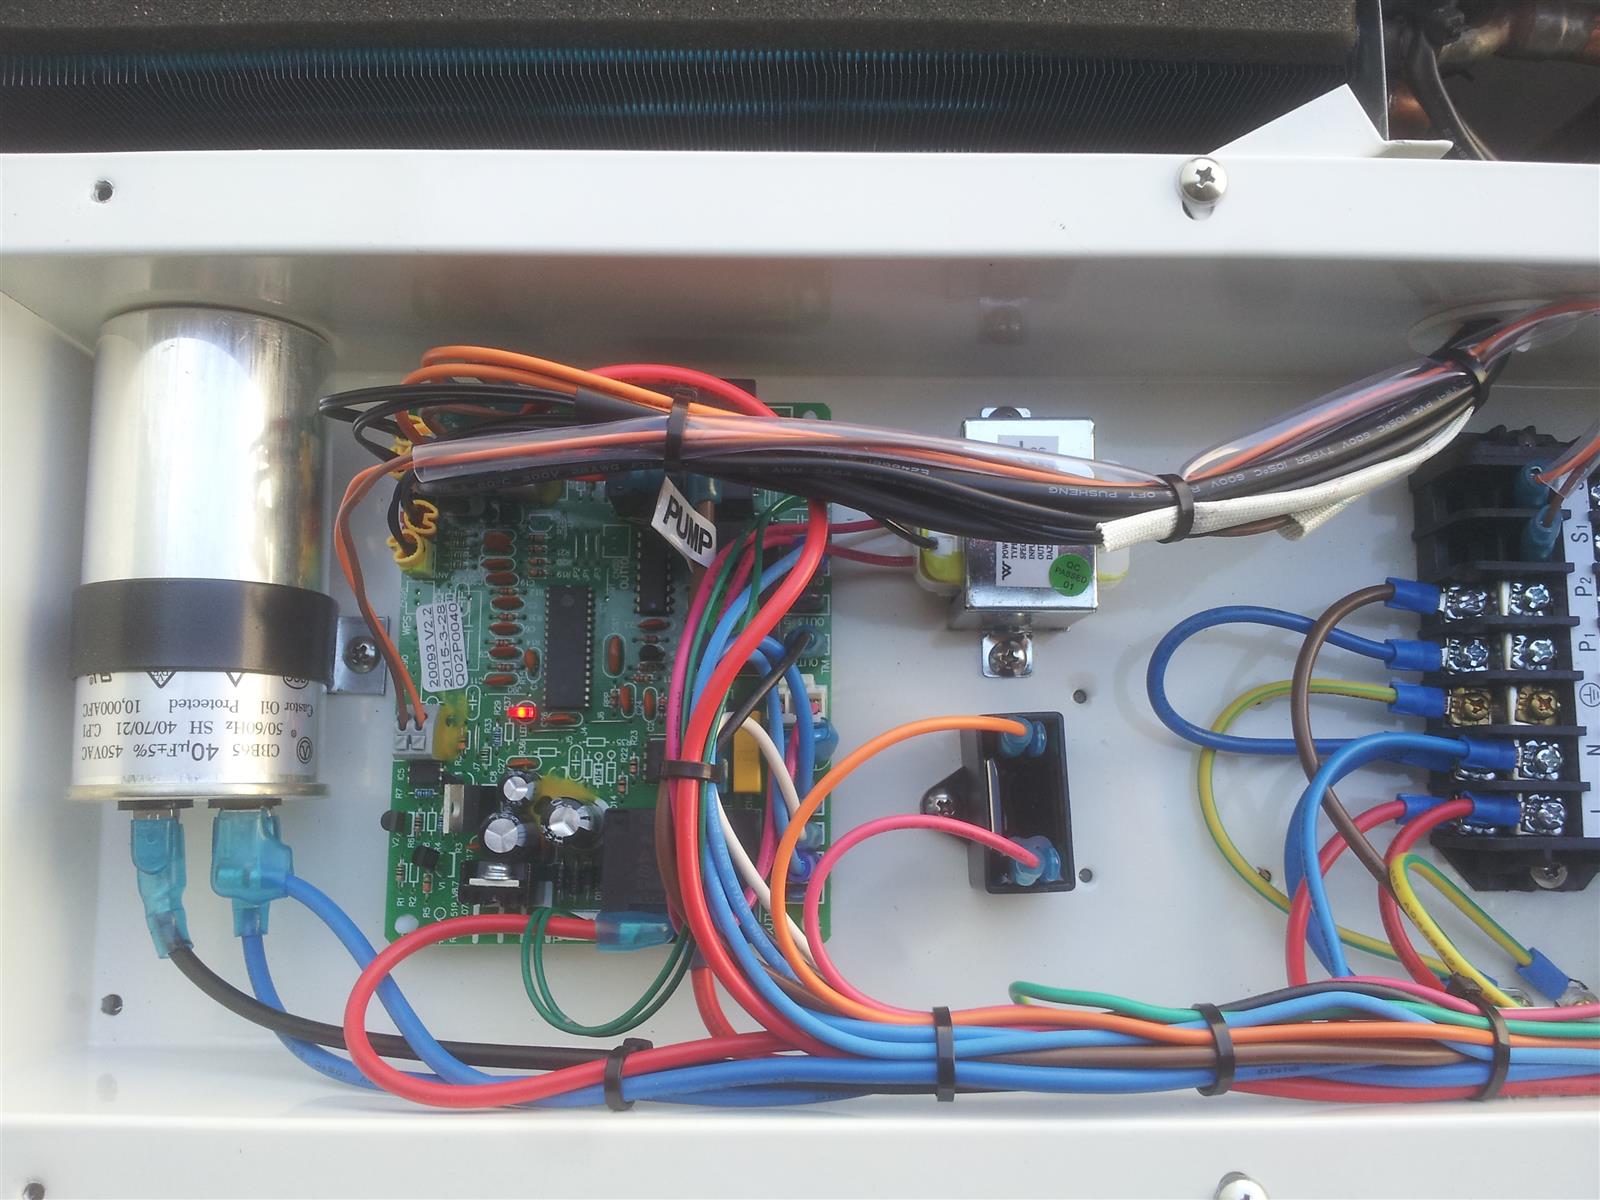
- Remove the Access Panel: Locate the access panel on the outside of the unit and carefully remove it. This will give you access to the electrical wiring and control components.
- Identify the Wiring Connections: Inside the unit, you will find various wiring connections. Take note of their colors and labels to ensure proper connection.
- Strip the Wires: Strip the outer insulation of the wires using wire strippers, exposing a small portion of the inner copper wires. Take care to strip just enough to make proper connections without damaging the wires.
- Make the Connections: Connect the corresponding wires based on their colors and labels. Typically, the black wire connects to the black wire, the white wire connects to the white wire, and the ground wire connects to the green or copper wire.
- Secure the Connections: After making the connections, use wire nuts or approved electrical connectors to securely fasten the wires together. Make sure the connections are tight and there is no exposed wiring.
- Replace the Access Panel: Once all the electrical connections are made and secured, carefully replace the access panel on the unit, ensuring it is properly aligned and securely fastened.
Remember, if you are not confident in your electrical wiring skills, it is best to seek the assistance of a qualified electrician to ensure a safe and compliant installation.
With the electrical wiring connected, we are now ready for the final step: testing the unit and adjusting the settings.
Step 6: Testing the Unit and Adjusting the Settings
Congratulations on successfully raising and connecting your air conditioner unit! Now it’s time to test the unit and make necessary adjustments to ensure optimal performance. Follow these steps to test and adjust the unit:
- Turn on the Power: Restore power to the unit by turning on the circuit breaker or main electrical panel. This will supply power to the air conditioner.
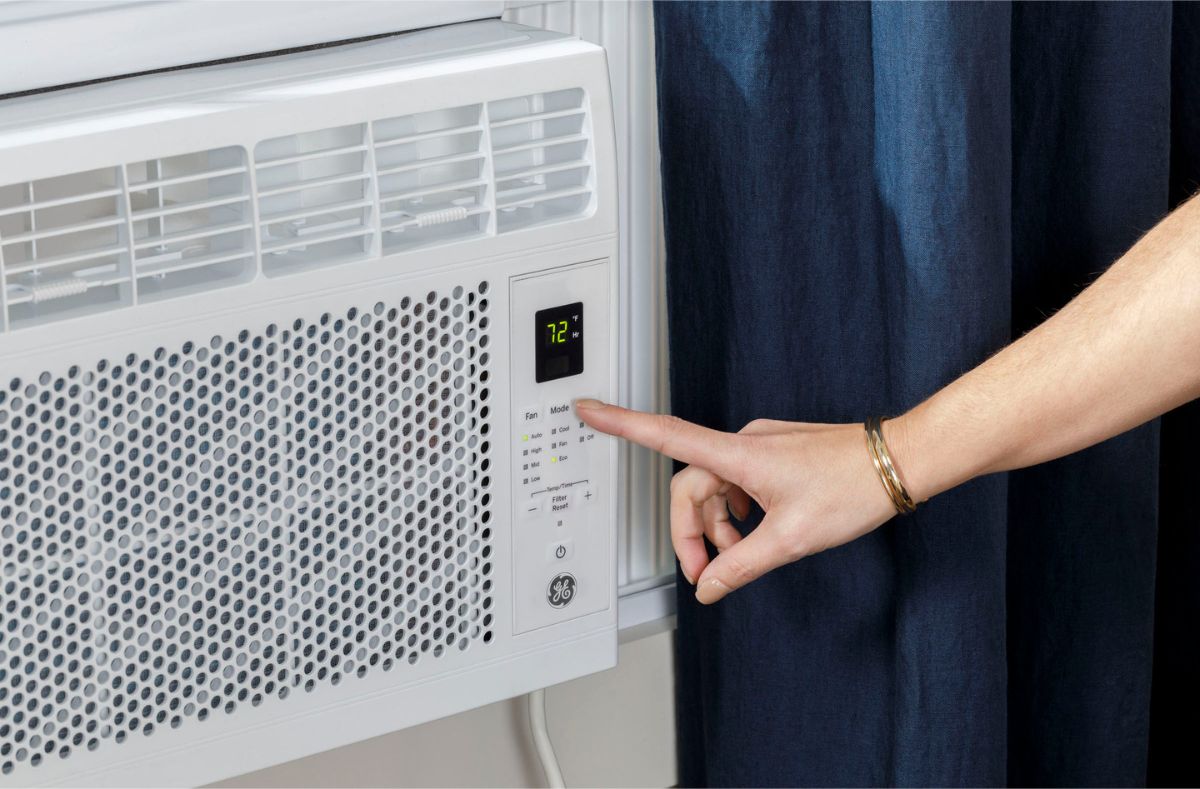
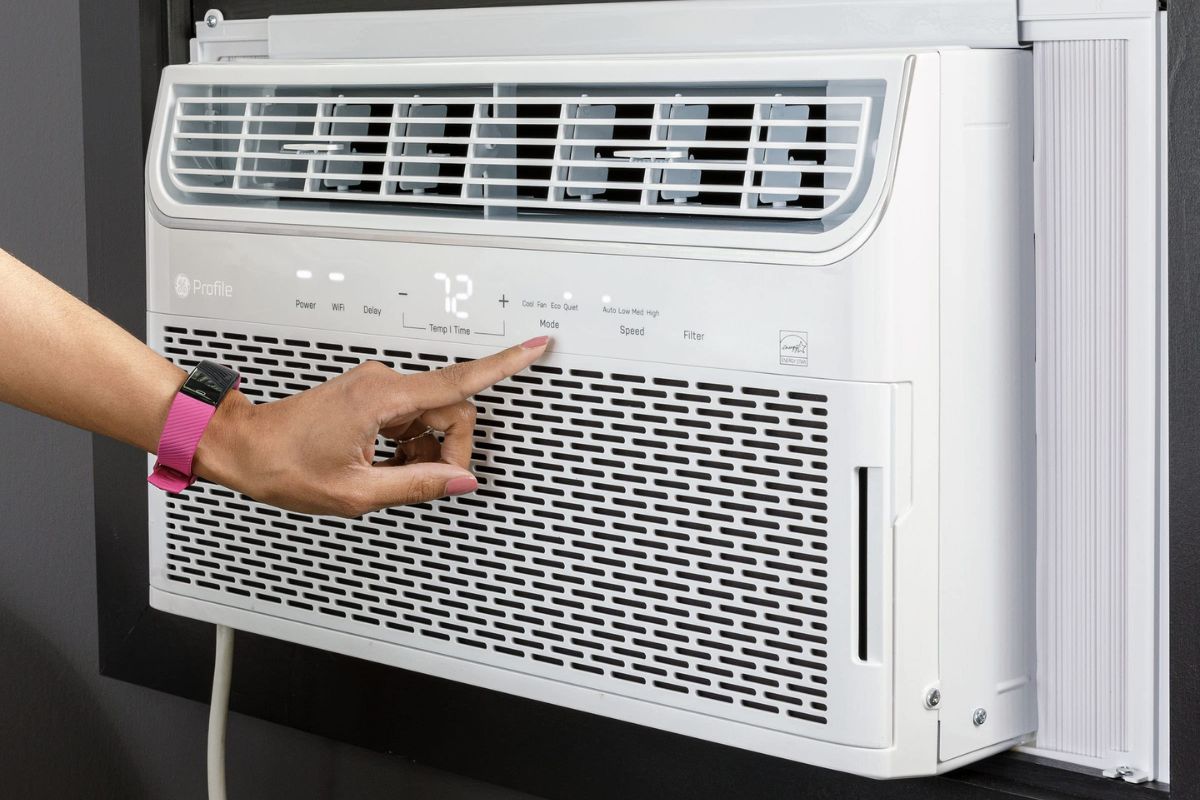
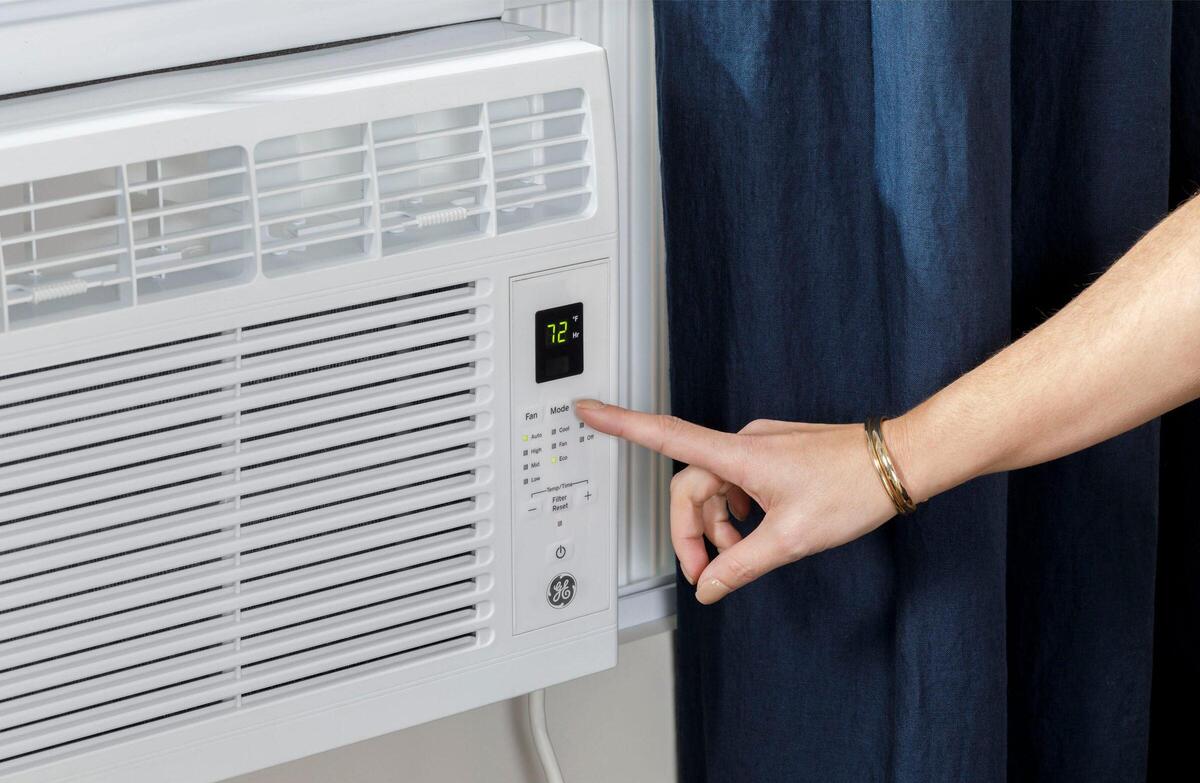
- Set the Thermostat: Adjust the thermostat settings to the desired temperature. Start with a lower setting and gradually increase it to test the unit’s cooling capabilities.
- Listen for Proper Operation: As the unit starts running, listen for any unusual or excessive noise. A properly functioning air conditioner should operate quietly without any unusual sounds.
- Check Airflow: Feel the airflow from the vents to ensure it is strong and consistent. If you notice weak airflow, double-check that there are no obstructions and that the vents are fully open.
- Monitor Cooling: Monitor the temperature in the room to ensure that the air conditioner is effectively cooling the space. If you notice insufficient cooling, it may indicate a problem with the unit or improper installation.
- Inspect for Leaks: Check for any signs of refrigerant leaks around the unit or on the connecting pipes. If you detect a leak, it is important to address it promptly to prevent further damage.
- Make Necessary Adjustments: Based on your observations during the testing phase, you may need to make adjustments to the thermostat settings or airflow direction to achieve optimal comfort and performance.
By carefully testing and adjusting the unit, you can ensure that your raised air conditioner is functioning properly and effectively cooling your space. Don’t hesitate to seek professional assistance if you encounter any issues or concerns during this process.
With the unit tested and adjusted, you have successfully completed the process of raising your air conditioner unit. Enjoy the benefits of improved airflow, reduced risk of water damage, and extended lifespan of your air conditioner unit!
Thank you for following this comprehensive guide. Stay cool and comfortable!
Conclusion
Raising an air conditioner unit is a worthwhile investment that can significantly improve its performance and longevity. By following the step-by-step process outlined in this guide, you have learned how to choose the right location, prepare the mounting area, install the mounting brackets, lift and securely attach the unit, connect the electrical wiring, test the unit, and make necessary adjustments. With these tasks completed, you can enjoy the benefits of a raised air conditioner unit.
Remember, choosing the right location is crucial to ensure proper airflow, accessibility, and protection from obstructions. Preparing the mounting area involves cleaning the area, leveling the ground, and ensuring adequate drainage. Installing the mounting brackets provides stability and a secure base for the unit. Lifting and attaching the unit require caution and the assistance of another person to ensure a safe installation. Connecting the electrical wiring should be done carefully, following proper procedures and ensuring all connections are secure. Finally, testing the unit and adjusting the settings allow you to fine-tune its performance and ensure optimal cooling for your space.
By raising your air conditioner unit, you can prevent airflow obstructions, minimize the risk of water damage, and extend the life of your unit. It is important to always prioritize safety and, if necessary, seek professional assistance for any complex electrical work or if you lack confidence in performing certain tasks.
We hope this guide has provided you with valuable insights and guidance on raising an air conditioner unit. Enjoy the benefits of improved airflow and a more efficient cooling system, and stay cool and comfortable throughout the seasons!
Frequently Asked Questions about How To Raise An Air Conditioner Unit
Was this page helpful?
At Storables.com, we guarantee accurate and reliable information. Our content, validated by Expert Board Contributors, is crafted following stringent Editorial Policies. We're committed to providing you with well-researched, expert-backed insights for all your informational needs.