Home>Home Maintenance>How To Refill An Air Conditioner

Home Maintenance
How To Refill An Air Conditioner
Modified: March 7, 2024
Learn how to refill your air conditioner with this easy step-by-step guide for home maintenance. Keep your home cool and comfortable all summer long!
(Many of the links in this article redirect to a specific reviewed product. Your purchase of these products through affiliate links helps to generate commission for Storables.com, at no extra cost. Learn more)
Introduction
Welcome to the ultimate guide on how to refill an air conditioner. If you’re experiencing a decline in cooling performance or notice that your air conditioner isn’t blowing cold air, it may be in need of a refrigerant recharge. Refilling your air conditioner is a task that can save you time and money, as well as enhance the comfort of your home. In this comprehensive article, we’ll walk you through the step-by-step process of replenishing the refrigerant in your air conditioning system.
But before we dive into the details, it’s important to highlight the significance of safety precautions during this procedure. Working with an air conditioning system requires caution and knowledge. It is recommended to wear protective gloves, goggles, and a dust mask to avoid any potential skin, eye, or respiratory irritations. Additionally, ensure that you are familiar with the manufacturer’s instructions and guidelines specific to your air conditioner model.
Now, without further ado, let’s get started on how to effectively refill your air conditioner, restoring its cooling capabilities and ensuring your home remains comfortable during those hot summer months.
Key Takeaways:
- Safety first! Before refilling your air conditioner, always wear protective gear, work in a well-ventilated area, and follow manufacturer’s instructions to avoid accidents and ensure a smooth and secure procedure.
- Keep it cool! After refilling your air conditioner, test the system, monitor for leaks, and seek professional help if needed. Regular maintenance ensures optimal performance and a comfortable home environment.
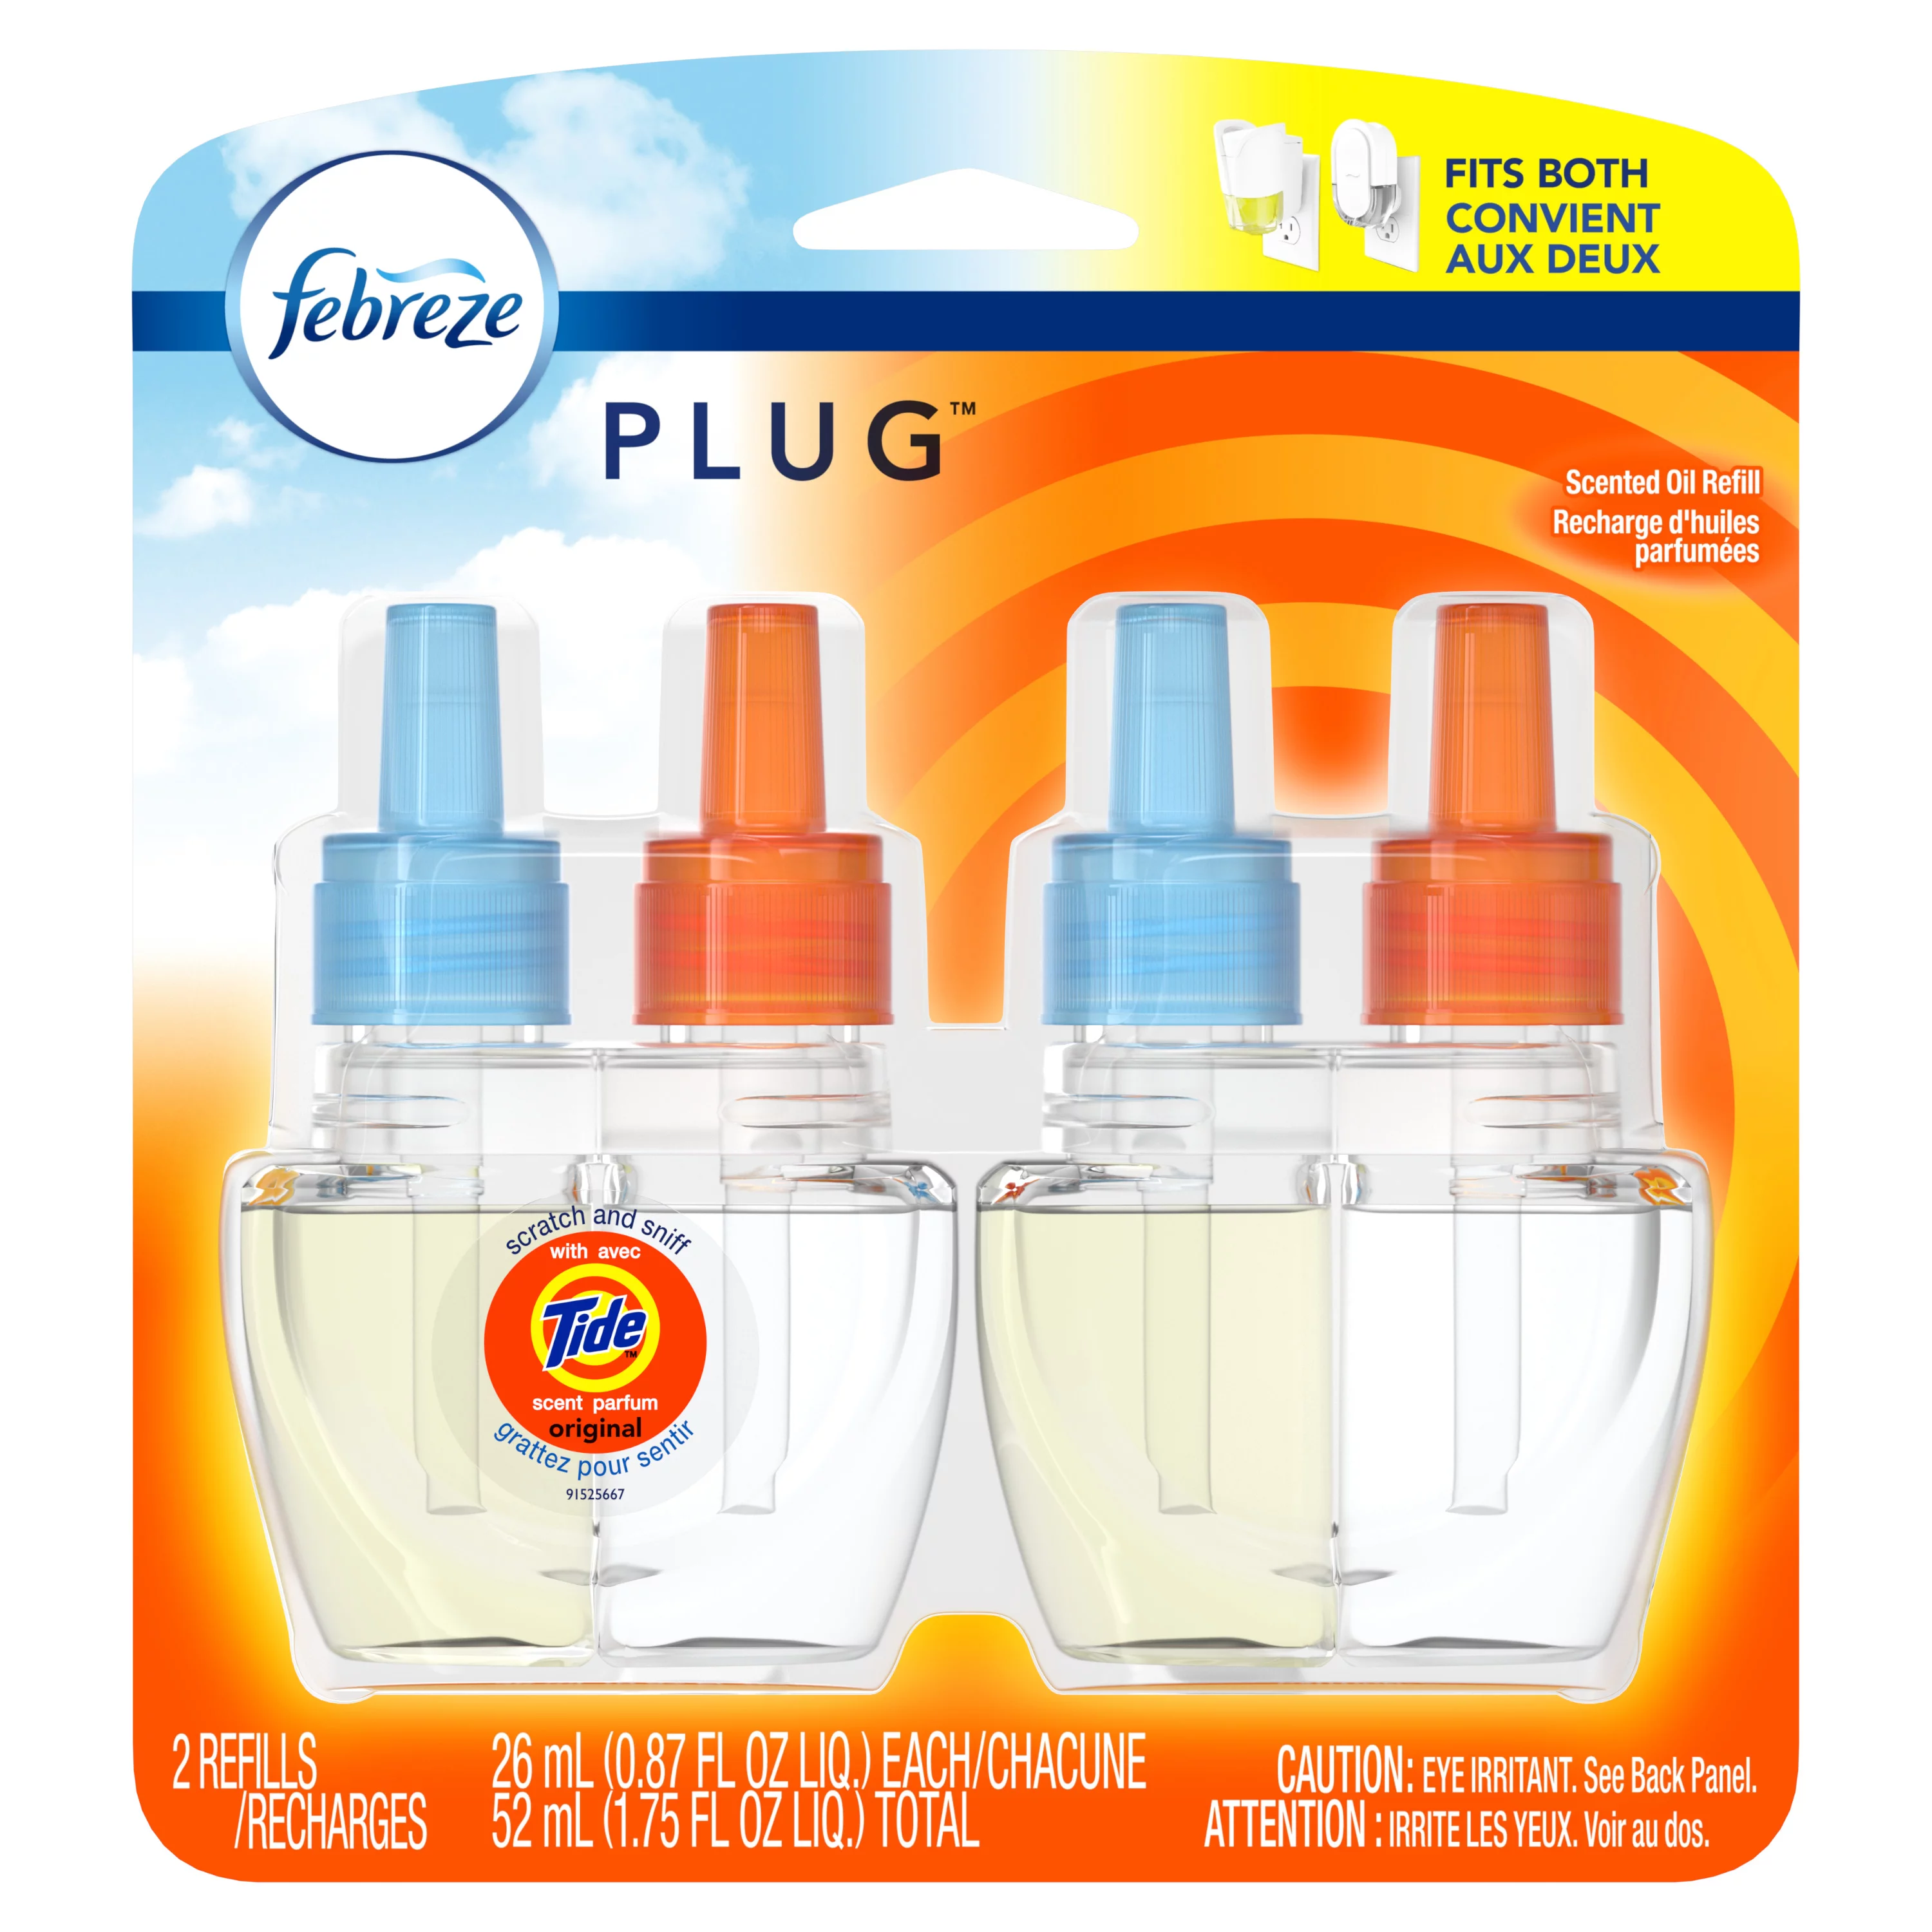
Read more: How To Refill A Febreze Air Freshener
Safety Precautions
Before beginning the process of refilling your air conditioner, it’s crucial to prioritize safety. By following these safety precautions, you can minimize the risk of accidents and ensure a smooth and secure procedure.
- Turn off the power: Before working on your air conditioner, make sure to turn off the power supply to the unit. This will prevent any electrical shock or accidents while you’re handling the refrigerant and other components.
- Wear protective gear: It’s essential to wear the appropriate protective gear to prevent any potential harm. Put on safety glasses or goggles to protect your eyes from any debris or chemicals. Wear gloves to shield your hands from the refrigerant and other sharp objects. Additionally, a dust mask can help filter out any airborne particles during the process.
- Work in a well-ventilated area: Ensure that the area where you’ll be working on the air conditioner is well-ventilated. This will help dissipate any fumes or gases that may be released during the refilling process. If possible, open windows or doors to improve airflow.
- Read the manufacturer’s instructions: Every air conditioner model has specific instructions and guidelines provided by the manufacturer. Familiarize yourself with these instructions to understand the correct procedure for refilling your particular system. This will help you avoid any mistakes or potential damage.
- Avoid direct contact with the refrigerant: The refrigerant used in air conditioners can cause skin irritation and can be harmful if inhaled. Always avoid direct contact with the refrigerant and make sure to handle it with extreme caution. If accidental contact occurs, immediately rinse the area with water and seek medical attention if necessary.
- Dispose of the refrigerant properly: When handling the refrigerant, it’s important to follow proper disposal procedures. Consult your local regulations or contact a certified HVAC professional to ensure you dispose of the refrigerant safely and in compliance with environmental guidelines.
By adhering to these safety precautions, you can ensure a secure and successful air conditioner refill. Always prioritize your well-being and take the necessary steps to protect yourself and those around you during the process.
Step 1: Gather the Necessary Tools and Materials
Before you begin the process of refilling your air conditioner, it’s important to gather all the necessary tools and materials. Having everything on hand will ensure a smooth and efficient refill. Here’s a list of the essential items you’ll need:
- Refrigerant: Check the manufacturer’s specifications to determine the correct type and amount of refrigerant required for your air conditioner. It’s crucial to use the appropriate refrigerant to maintain optimal performance.
- Recharge Hose: This hose allows you to connect the recharge canister to the air conditioning system. Ensure that the recharge hose is compatible with the refrigerant you’ll be using.
- Recharge Canister: The recharge canister or cylinder contains the refrigerant that you will be adding to the system. Make sure the canister is designed for the specific type of refrigerant you’ll be using.
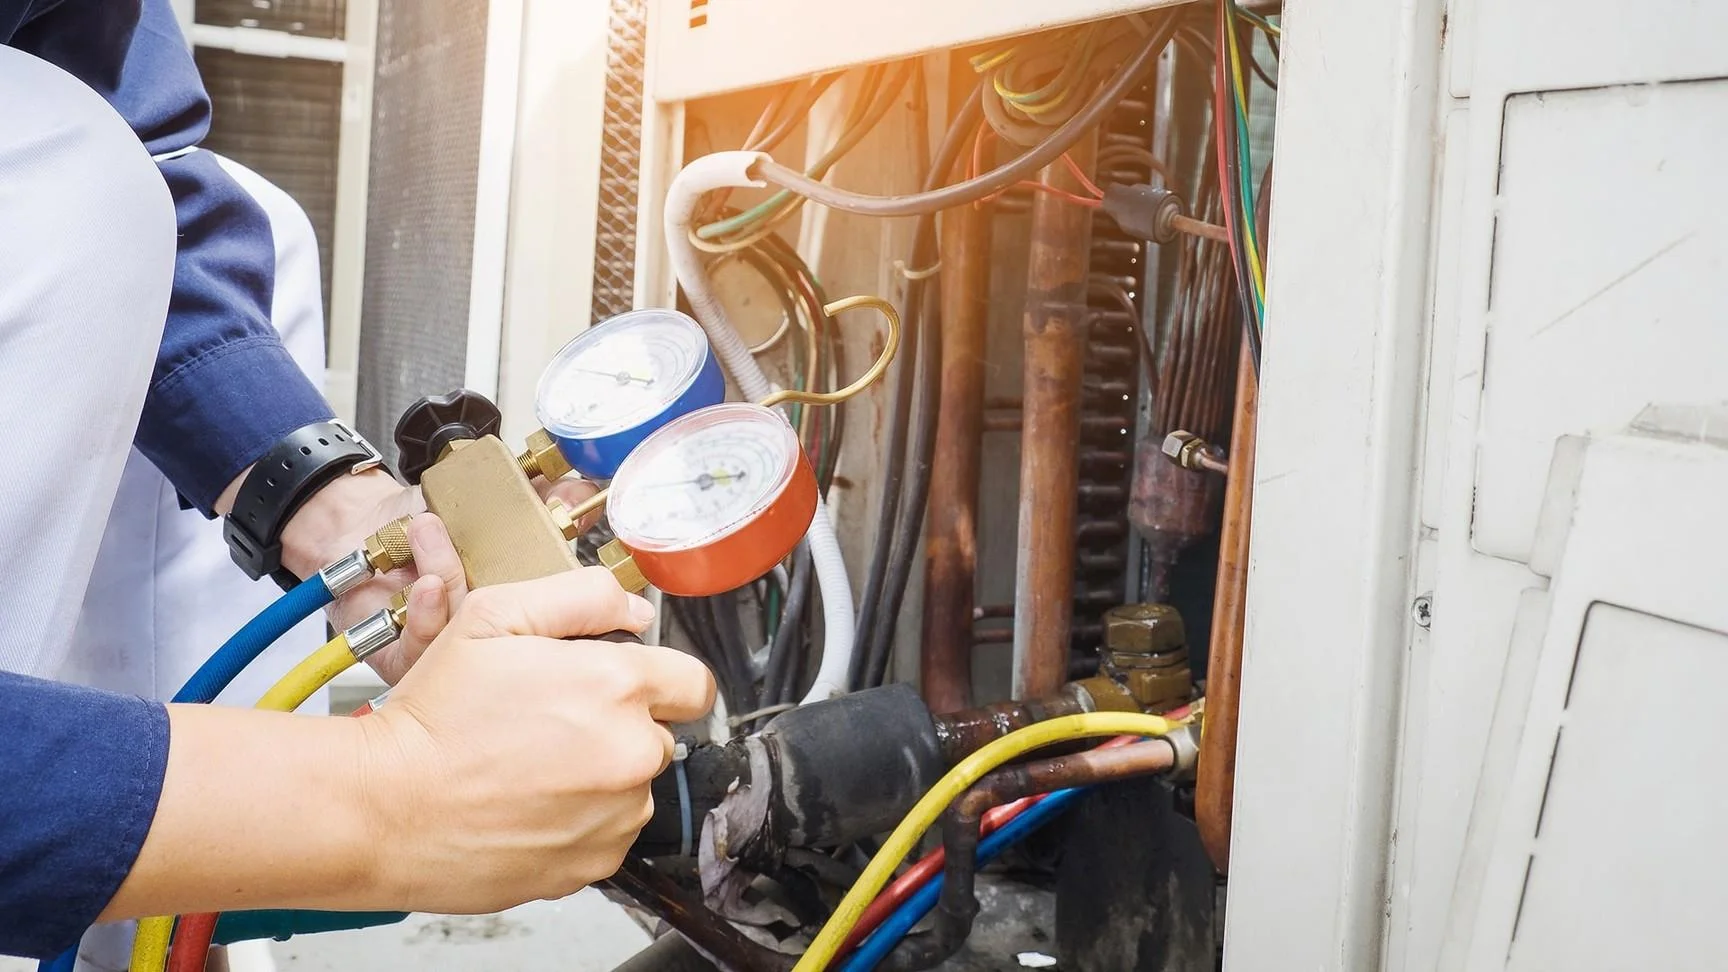
- Pressure Gauge: This tool will help you monitor the pressure levels in the air conditioning system throughout the refill process. It’s essential for ensuring the correct amount of refrigerant is added.
- Protective Gloves: Wear a pair of gloves to protect your hands from coming into direct contact with the refrigerant. This will prevent skin irritation or chemicals from being absorbed.
- Safety Glasses: Protect your eyes by wearing safety glasses or goggles. This will shield your eyes from any debris or potential splashes during the refill process.
- Tool Kit: Have a basic tool kit on hand, including screwdrivers, wrenches, and pliers. These tools may be necessary for removing access panels on the air conditioning system.
- Cleaning Supplies: It’s a good idea to have some cleaning supplies, such as a cloth or mild detergent, available to clean any debris or dirt on the access panels or surrounding areas.
- Owner’s Manual: Keep the owner’s manual for your air conditioning system nearby. It will provide specific instructions and guidelines that are unique to your unit, ensuring a successful refill.
By gathering these tools and materials beforehand, you’ll be well-prepared to tackle the air conditioner refill process. This will help you maintain the efficiency and performance of your unit, ensuring a cool and comfortable home environment.
Step 2: Locate the Low-Pressure Port
Once you have gathered all the necessary tools and materials, the next step is to locate the low-pressure port on your air conditioner. The low-pressure port is where you will connect the recharge hose to add the refrigerant. Follow these steps to locate the low-pressure port:
- Consult the Owner’s Manual: The owner’s manual for your air conditioner should have a diagram or description of the various components and ports. Refer to the manual to find the specific location of the low-pressure port.
- Search Near the Compressor: The compressor is a vital component of the air conditioning system and is usually located outside near the condenser unit. Look for the large metal cylinder-shaped unit, often with cooling fins. The low-pressure port is typically located near the compressor.
- Identify the Service Port Cap: The low-pressure port is usually covered by a protective cap called the service port cap. The cap is often color-coded blue and may have the letter “L” or be labeled “Low.” Look for a small cap that can be removed to expose the port.
- Inspect for Markings: Some air conditioning units may have markings or labels indicating the low-pressure port location. Look for any symbols or text that indicate the low-pressure side of the system.
- Use Online Resources: If you’re unable to find the low-pressure port using the above methods or need additional guidance, you can search for online resources specific to your air conditioner model. There are often forums or tutorial videos available that can provide visual assistance in locating the low-pressure port.
Remember, locating the low-pressure port is a crucial step to ensure a successful air conditioner refill. Take your time to find the port accurately, following the guidelines provided in your owner’s manual or other reliable sources. Once you have located the low-pressure port, you’re ready to move on to the next step and connect the recharge hose.
Step 3: Attach the Recharge Hose to the Low-Pressure Port
With the low-pressure port located, you can now move on to attaching the recharge hose to the port. The recharge hose serves as a connection between the recharge canister and your air conditioning system. Follow these steps to properly attach the recharge hose:
- Inspect the Recharge Hose: Before attaching the hose, ensure that it is free from any damage or leaks. Look for any signs of wear or cracks in the hose. If you notice any issues, it’s important to replace the hose before proceeding with the refill.
- Remove the Service Port Cap: Unscrew or pull off the service port cap from the low-pressure port. Set the cap aside in a safe place as you will need it later to cover the port once the refill is complete.
- Match the Hose Fittings: Examine the fittings on the recharge hose and ensure they match the size and shape of the low-pressure port. The fittings should be compatible and securely attach to the port without any loose connections.
- Slide the Hose onto the Port: Gently push the hose fitting onto the low-pressure port, ensuring a snug and secure fit. Apply slight pressure, but avoid forcing the connection. The hose should slide on smoothly without any resistance.
- Listen for a Click or Locking Mechanism: Some hoses have a locking mechanism that clicks into place when properly attached to the port. Listen for this clicking sound or look for any visual indicators that confirm a secure connection.
- Double-Check the Connection: Once the hose is attached, give it a gentle tug to confirm that it is firmly in place. A loose connection can result in leaks during the refill process, affecting the effectiveness of the recharge.
By following these steps, you can ensure a secure attachment of the recharge hose to the low-pressure port. A proper connection is essential to allow the refrigerant to flow into the air conditioning system smoothly. With the hose correctly attached, you’re now ready to move on to the next step and connect the recharge canister.
Read more: How To Make Plug In Air Freshener Refills
Step 4: Connect the Recharge Canister to the Recharge Hose
Once you have securely attached the recharge hose to the low-pressure port, the next step is to connect the recharge canister to the hose. The recharge canister contains the refrigerant that will be added to your air conditioning system. Follow these steps to connect the recharge canister:
- Check the Canister Compatibility: Ensure that the recharge canister is compatible with the type of refrigerant specified by your air conditioner’s manufacturer. Using an incompatible canister can lead to damage or reduced efficiency.
- Inspect the Canister Valve: Examine the valve on the recharge canister to ensure it is closed tightly. Some canisters have a valve that needs to be punctured in order to release the refrigerant. If this is the case, confirm that the puncturing mechanism is intact.
- Match the Hose Connector: Look for the hose connector on the recharge canister and ensure it matches the fitting on the recharge hose. The two connectors should align properly for a secure connection.
- Attach the Hose to the Canister: Connect the hose to the canister by aligning the fittings and pushing or twisting them together. Apply slight pressure to ensure a tight connection without forcing it.
- Listen for a Click or Locking Mechanism: Some canisters have a locking mechanism that clicks into place when properly attached to the hose. Listen for this clicking sound or look for any visual indicators that confirm a secure connection.
- Double-Check the Connection: After attaching the canister to the hose, give it a gentle tug to verify that it is securely connected. A loose connection can lead to leaks or improper flow of the refrigerant.
By following these steps, you can ensure a proper connection between the recharge canister and the recharge hose. A secure connection is essential to prevent any refrigerant leaks or interruptions during the refill process. With the canister and hose successfully connected, you’re now ready to move on to the next step and open the valve on the recharge canister.
Make sure to use the correct refrigerant for your specific air conditioner model. Always follow the manufacturer’s instructions and safety guidelines when refilling the air conditioner.
Step 5: Open the Valve on the Recharge Canister
With the recharge canister securely connected to the recharge hose, it’s time to open the valve on the canister to initiate the flow of refrigerant into your air conditioning system. Follow these steps to safely open the valve:
- Ensure Proper Canister Positioning: Make sure the recharge canister is in an upright position. Keeping the canister upright ensures that only the gaseous refrigerant, rather than the liquid, enters your air conditioning system.
- Check for Valve Position: Take a moment to locate the valve on the recharge canister. The valve is typically a screw or lever mechanism that can be turned or rotated to control the flow of refrigerant.
- Slowly Open the Valve: Gently turn or rotate the valve in an anti-clockwise direction to open it. Be cautious not to open the valve too quickly, as this can lead to an abrupt surge of refrigerant into the system.
- Monitor the Pressure Gauge: As you open the valve, keep an eye on the pressure gauge attached to the recharge hose. The gauge will display the pressure levels in the air conditioning system, indicating when the proper amount of refrigerant has been added.
- Monitor the Refrigerant Flow: Observe the flow of refrigerant into the air conditioning system. You should see and hear the refrigerant moving through the hose and into the system. If there is no flow or any unusual signs, stop the process and check for any potential issues.
- Control the Recharge Amount: It’s important to avoid overcharging your air conditioning system with refrigerant. Refer to the manufacturer’s specifications for the recommended amount of refrigerant to add. Monitor the pressure gauge to ensure you add the appropriate quantity.
- Keep the Valve Open: Once you have achieved the desired pressure or added the recommended amount of refrigerant, you can keep the valve open for a few moments to ensure that all the refrigerant has entered the system.
By following these steps and opening the valve on the recharge canister properly, you can safely and effectively introduce the refrigerant into your air conditioning system. Keep a close eye on the pressure gauge and the refrigerant flow to ensure a successful recharge. With the valve open, you’re ready to proceed to the next step and monitor the pressure gauge during the refill process.
Step 6: Monitor the Pressure Gauge
As you continue the air conditioner refill process, it’s important to monitor the pressure gauge attached to the recharge hose. The pressure gauge provides crucial information about the pressure levels in your air conditioning system, helping you ensure that the appropriate amount of refrigerant is added. Follow these steps to effectively monitor the pressure gauge:
- Read the Pressure Gauge: Familiarize yourself with how to read the pressure gauge. It typically has a scale that indicates the pressure levels, ranging from low to high. The gauge may also have color-coded indicators to help you gauge the status of the pressure.
- Observe the Pressure Changes: As you open the valve on the recharge canister, observe the pressure gauge for any changes. The gauge reading may initially be at the lower end, but as the refrigerant enters the system, the pressure should start to rise.
- Monitor the Target Pressure: Refer to the manufacturer’s specifications or recommended pressure range for your specific air conditioning system. It is crucial to avoid overcharging the system. Ensure that the pressure stays within the appropriate range by keeping a close eye on the gauge.
- Adjust the Recharge Amount: Based on the pressure gauge reading, you may need to adjust the recharge amount. If the pressure remains too low, you may need to add more refrigerant. Conversely, if the pressure is rising too quickly or is too high, you may need to close the valve on the recharge canister to prevent overcharging.
- Take Note of Pressure Fluctuations: Throughout the refill process, the pressure reading on the gauge may fluctuate. This can be due to various factors, such as external temperature or the cooling cycle of your air conditioning system. Monitor these fluctuations and ensure that the pressure remains within the recommended range.
- Exercise Patience: It’s important to be patient while monitoring the pressure gauge. The refill process may take some time to stabilize, and the pressure can rise gradually. Stay vigilant and make adjustments as necessary, ensuring that the pressure remains at the desired level.
By closely monitoring the pressure gauge, you can ensure that the appropriate amount of refrigerant is added to your air conditioning system. Avoid overcharging or undercharging by adjusting the recharge amount based on the gauge readings. Patience and attention to detail are key during this step of the refill process. With the pressure gauge being monitored, you can proceed to the next step of closing the valve and disconnecting the recharge hose.
Step 7: Close the Valve and Disconnect the Recharge Hose
Once you have successfully monitored the pressure gauge and reached the desired pressure or added the recommended amount of refrigerant, it’s time to close the valve on the recharge canister and safely disconnect the recharge hose. Follow these steps to complete this stage of the air conditioner refill process:
- Inspect the Pressure Gauge: Before proceeding, verify that the pressure on the gauge has stabilized within the recommended range. This indicates that the proper amount of refrigerant has been added to your air conditioning system.
- Close the Valve: Gently turn or rotate the valve on the recharge canister in a clockwise direction to close it. This will stop the flow of refrigerant from the canister into the system. Ensure that the valve is fully closed, but avoid overtightening.
- Monitor the Pressure Gauge: After closing the valve, monitor the pressure gauge for any changes. The pressure reading should remain stable within the desired range. A sudden drop or increase in pressure could indicate a leak or other issues.
- Double-Check the Connection: Once the valve is closed, give the recharge hose a gentle tug to confirm that it is securely connected. Verify that there are no signs of leaks or refrigerant escaping from the connection.
- Disconnect the Recharge Hose: To disconnect the recharge hose from the low-pressure port, hold onto the base of the fitting and twist or pull it away from the port. Apply gentle pressure, ensuring a smooth and controlled disconnection.
- Replace the Service Port Cap: Retrieve the service port cap that was set aside earlier and place it back onto the low-pressure port. Screw or push it firmly to ensure a secure seal. This will protect the port from dust, debris, and potential leaks.
- Inspect the System: Take a moment to visually inspect the air conditioning system and surrounding areas. Look for any signs of refrigerant leaks, oil stains, or damage. If you notice anything out of the ordinary, it’s advisable to consult a professional for further inspection and repair.
By carefully following these steps, you can safely close the valve on the recharge canister, disconnect the recharge hose, and ensure that your air conditioning system is ready for use. The proper completion of this step sets the stage for the next step of double-checking for leaks and conducting a thorough system check. With the valve closed and the hose disconnected, you’re almost done with the air conditioner refill process.
Read more: How To Choose An Air Conditioner
Step 8: Double Check for Leaks
After closing the valve and disconnecting the recharge hose, it’s crucial to double-check for any potential leaks in your air conditioning system. Detecting and addressing leaks promptly can prevent refrigerant loss and ensure the optimal functioning of your system. Follow these steps to perform a thorough leak check:
- Examine Fittings and Connections: Start by visually inspecting all the fittings and connections in the refrigerant lines. Look for any signs of oil stains, refrigerant residue, or wetness around the connections. These can indicate a leak.
- Use a Leak Detection Solution: Apply a few drops of a commercially available leak detection solution or a mixture of dish soap and water to the fittings and connections. Observe for any bubbling or foam formation, as this can indicate a leak. Pay close attention to areas with suspected leaks.
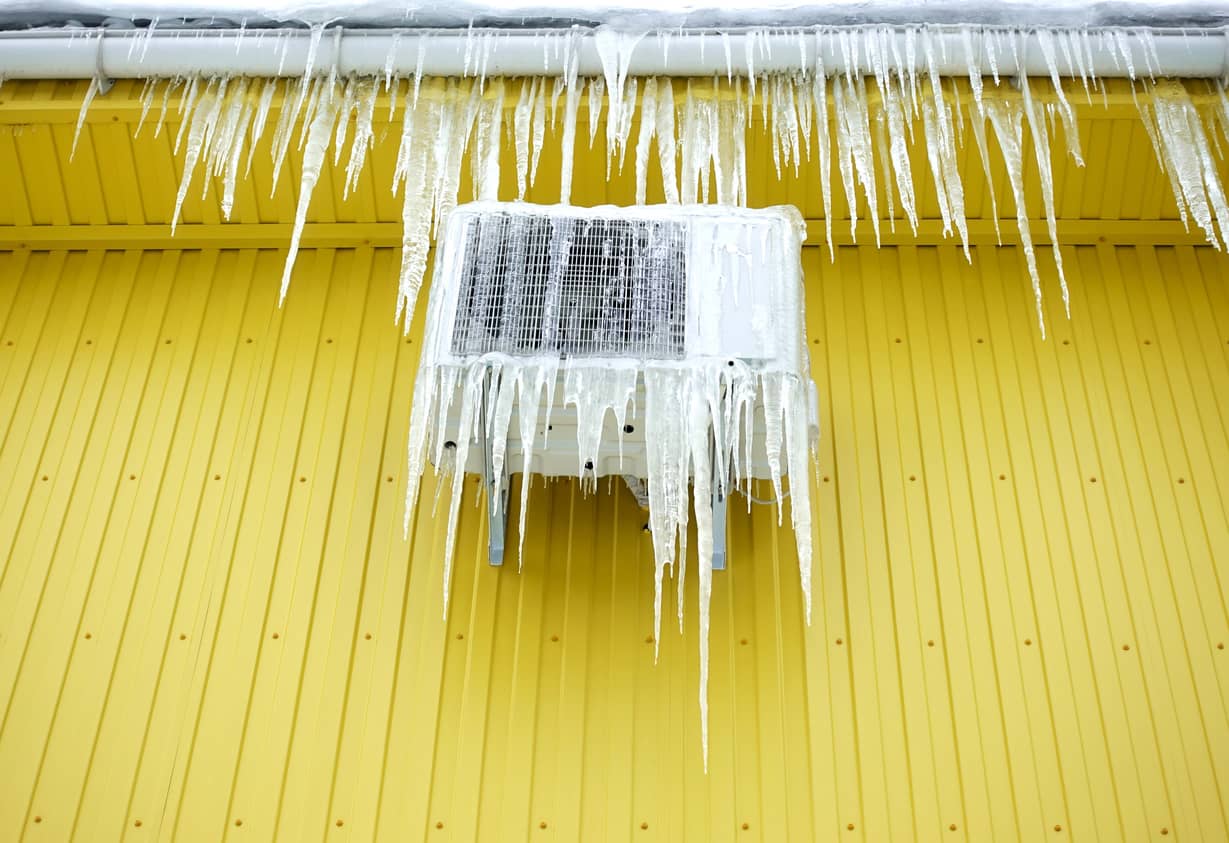
- Inspect the Evaporator Coil: The evaporator coil, located inside the air handler unit, can also be a potential source of leaks. Examine the area around the coil for any signs of moisture, ice buildup, or water stains. These can be indications of a leak in the coil.
- Check for Refrigerant Odor: If you detect a strong, sweet, or chemical odor near the air conditioning system, it may be an indication of a refrigerant leak. This odor is distinct and should be addressed immediately. If you suspect a refrigerant leak, it’s advisable to seek professional assistance.
- Monitor System Performance: Pay attention to the performance of your air conditioning system after the recharge. If you notice reduced cooling efficiency, warm air blowing instead of cold air, or fluctuations in temperature, it could be a sign of a leak. These issues should be investigated and resolved.
- Address Identified Leaks: If you find any leaks during the inspection, it’s important to take proper action. Depending on the severity of the leak, you may need to tighten or replace fittings or seek professional assistance for repairs. It’s crucial to address leaks promptly to avoid further refrigerant loss and potential system damage.
By conducting a thorough check for leaks, you can identify and address any potential issues with your air conditioning system. Regular leak checks can help maintain the efficiency and longevity of your system. If you detect any leaks or suspect a refrigerant leak, it’s advisable to consult a professional HVAC technician for proper diagnosis and repair.
Step 9: Test the Air Conditioner
After completing the air conditioner refill and double-checking for leaks, it’s time to test the functionality of your air conditioning system. Testing the system ensures that it is operating properly and providing the desired cooling effect. Follow these steps to effectively test your air conditioner:
- Power On the System: Turn on the power to your air conditioning system. You can use the thermostat or control panel to activate the system.
- Set the Desired Temperature: Adjust the thermostat or control panel to your desired temperature. Start with a temperature that is slightly cooler than the existing room temperature to allow the system to activate.
- Observe the Cooling Process: As the air conditioning system runs, observe the cooling process. Take note of the time it takes for the air to become cool and the temperature to reach the set point. The cooling effect should be noticeable within a few minutes.
- Check Airflow and Vents: Ensure that the airflow from the vents is strong and consistent. Verify that air is flowing from all the vents and that there are no obstructions or blockages hindering the airflow. Proper airflow is essential for optimal cooling performance.
- Listen for Unusual Noises: Pay attention to any unusual noises coming from the air conditioning system. Unusual sounds, such as grinding, rattling, or squealing, may indicate a mechanical issue that requires further inspection and repair.
- Monitor System Cycling: Observe the system cycling on and off as it reaches and maintains the set temperature. The cycling should be smooth and consistent, without frequent or abrupt starts and stops. Inconsistent cycling patterns may suggest underlying issues with the system.
- Measure Temperature Differential: If you have a thermometer with a probe, you can measure the temperature differential between the air being sucked into the return vent and the air being blown out of the supply vent. The ideal temperature differential can vary, but a range of 15-20 degrees Fahrenheit (8-11 degrees Celsius) is commonly considered optimal.
- Perform a System Check: During the test, assess other aspects of the system, such as the condenser unit outside. Ensure that it is operating smoothly and that the fan is spinning correctly. Also, check for any signs of refrigerant leaks or abnormal vibrations.
- Seek Professional Assistance if Needed: If you notice any issues or suspect that your air conditioner is not functioning correctly, it’s advisable to consult a professional HVAC technician. They can diagnose any underlying problems and provide the necessary repairs or maintenance.
By conducting a thorough test of your air conditioning system, you can ensure that it is operating efficiently and providing the desired cooling comfort. Regularly testing and maintaining your air conditioner will help prolong its lifespan and prevent any potential issues. Enjoy the cool comfort of your newly refilled air conditioner!
Conclusion
Congratulations! You have successfully completed the process of refilling your air conditioner, restoring its cooling capabilities and ensuring a comfortable home environment. By following the step-by-step guide outlined in this article, you have learned how to safely and effectively refill your air conditioning system with refrigerant.
Throughout the process, we emphasized the importance of safety precautions, such as wearing protective gear and working in a well-ventilated area. We also highlighted the significance of gathering the necessary tools and materials before starting the refill and provided detailed instructions for locating the low-pressure port, attaching the recharge hose, connecting the recharge canister, monitoring the pressure gauge, and testing the air conditioner.
Remember, maintaining your air conditioning system is essential for optimal performance and energy efficiency. Regularly checking for leaks, monitoring the pressure, and testing the system will help ensure that it functions smoothly and provides the desired cooling effect. If you encounter any issues or suspect refrigerant leaks, it’s recommended to seek professional assistance for proper diagnosis and repair.
By taking the time to refill your air conditioner and following the steps provided, you have demonstrated your commitment to home maintenance and comfort. You have acquired valuable knowledge and skills that can not only save you time and money but also enhance your understanding of your air conditioning system.
Thank you for trusting us as your guide in refilling your air conditioner. We hope this comprehensive article has thoroughly covered the process and left you with the confidence and know-how to tackle future maintenance tasks. Stay cool and enjoy the benefits of a properly functioning air conditioning system!
Frequently Asked Questions about How To Refill An Air Conditioner
Was this page helpful?
At Storables.com, we guarantee accurate and reliable information. Our content, validated by Expert Board Contributors, is crafted following stringent Editorial Policies. We're committed to providing you with well-researched, expert-backed insights for all your informational needs.
