Home>Home Maintenance>How To Recharge A Window Air Conditioner
Home Maintenance
How To Recharge A Window Air Conditioner
Modified: August 20, 2024
Learn how to recharge your window air conditioner with this helpful home maintenance guide. Keep your space cool and comfortable all summer long!
(Many of the links in this article redirect to a specific reviewed product. Your purchase of these products through affiliate links helps to generate commission for Storables.com, at no extra cost. Learn more)
Introduction
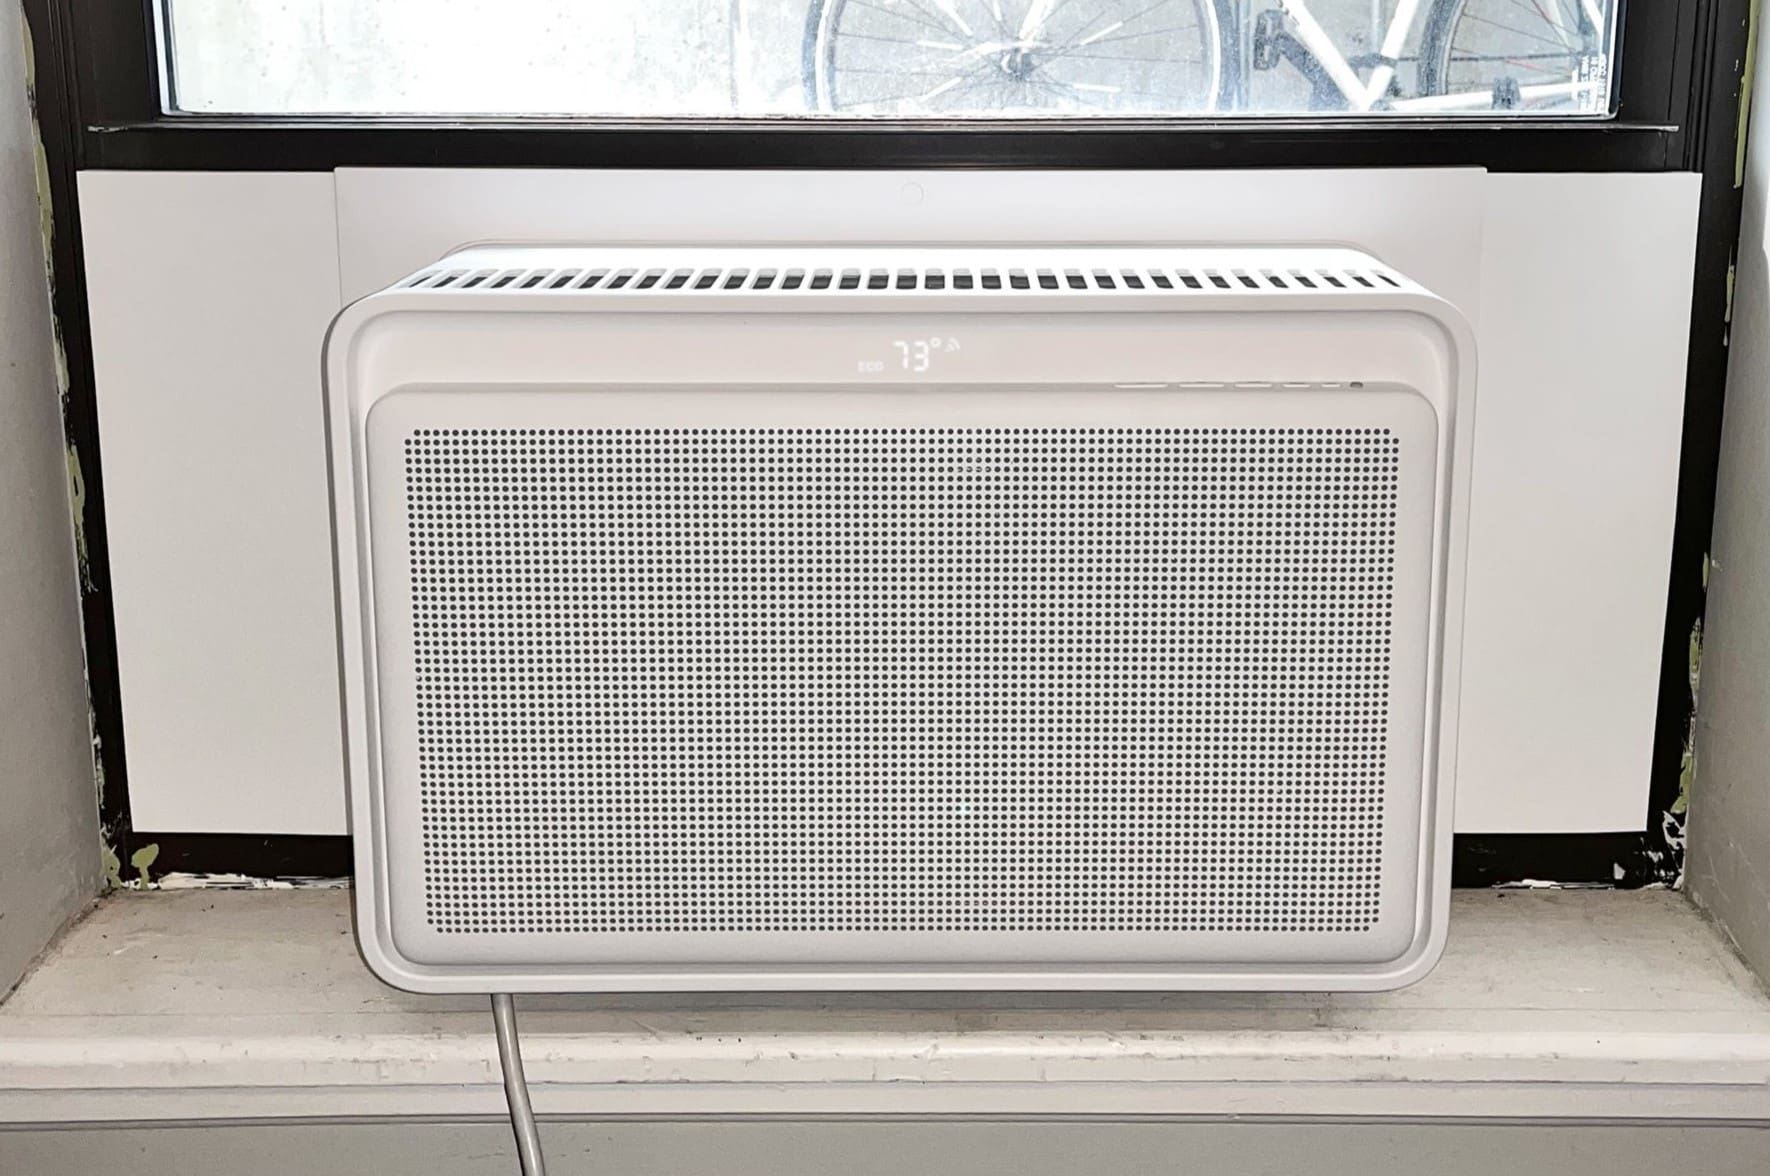
Welcome to the world of home maintenance! One of the essential appliances in any household is a window air conditioner. It keeps you cool and comfortable during the sweltering summer months. However, over time, your trusty air conditioner may start to lose its cooling power. Don’t fret! Recharging your window air conditioner can help restore its optimal cooling performance.
In this comprehensive guide, we will walk you through the step-by-step process of recharging a window air conditioner. You will learn the necessary supplies you’ll need, how to locate the refrigerant valves, attach the charging hose, monitor the pressure, and more. So, let’s dive in and bring back the cool breeze!
Key Takeaways:
- Keep your window air conditioner running efficiently by following these simple steps to recharge it. Safety first – gather supplies, turn off the unit, locate valves, attach the hose, monitor pressure, and test the cooling.
- Regular maintenance and recharging can extend the lifespan and efficiency of your window air conditioner. Follow the step-by-step guide to ensure a safe and effective recharging process, and enjoy a cool and comfortable living environment.
Read more: How To Recharge A Portable Air Conditioner
Step 1: Gather the necessary supplies
Before you begin recharging your window air conditioner, it’s essential to gather all the necessary supplies. Here’s a list of items you’ll need:
- Refrigerant: Check your air conditioner’s manual or label to determine the type and quantity of refrigerant required for recharging. Most window air conditioners use either R-22 or R-410A refrigerant.
- Charging Hose with Gauge: This hose connects the refrigerant canister to the air conditioner. It should have a pressure gauge to help you monitor the pressure levels during the charging process.
- Safety Gloves and Goggles: Protect your hands and eyes from any potential leaks or spills of the refrigerant.
- Rags or Towels: Keep a few rags or towels handy to clean up any spills or drips.
- Screwdriver: You may need a screwdriver to remove any panels or access covers on your air conditioner.
- Leak Detector: While not essential, a leak detector can help you identify any leaks in the system that may be causing the refrigerant to escape.
Make sure you have all the supplies ready before proceeding to the next steps. It’s crucial to have the correct type and quantity of refrigerant to avoid any damage to your air conditioner. Additionally, wearing safety gloves and goggles will protect you from any potential harm.
Step 2: Turn off the air conditioner
Before you begin the recharging process, it’s important to turn off the window air conditioner. This will ensure your safety and prevent any mishaps during the procedure. Here’s how you can turn off the air conditioner:
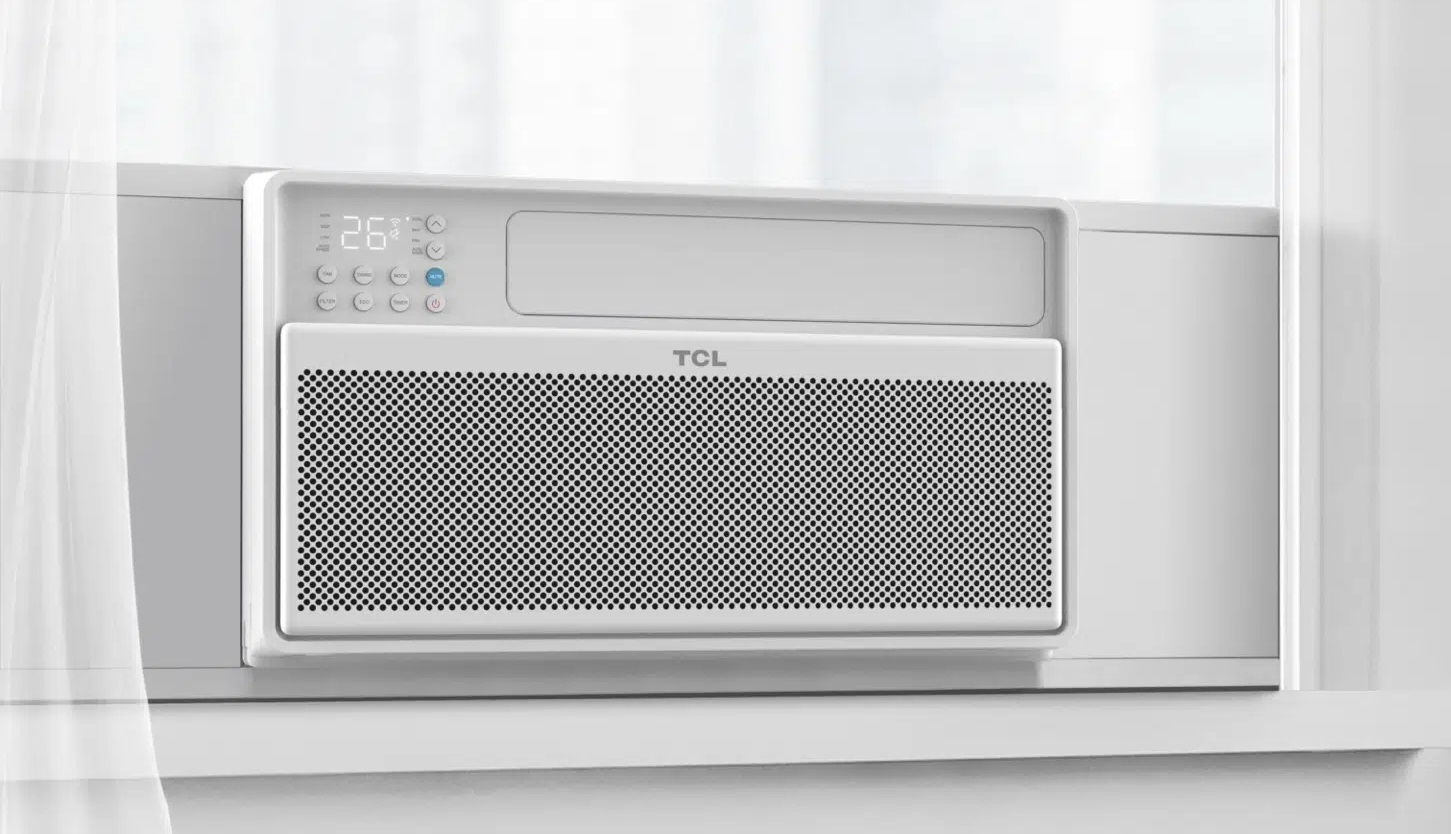
- Locate the power button or switch on your air conditioner. It is usually located on the control panel or the front of the unit.
- Press the power button or switch to turn off the air conditioner.
- Wait for a few minutes to allow the air conditioner to fully shut down. This will ensure that all components have come to a complete stop.
Turning off the air conditioner is crucial as it eliminates any risk of electrical shock or injury during the recharging process. It also allows the system to cool down before you start working on it.
After you’ve turned off the air conditioner, it’s a good idea to unplug it from the power source. This will provide an extra layer of safety and ensure that there’s no power flowing to the unit while you’re working on it.
Once you’ve completed this step, you’re ready to move on to the next one: locating the refrigerant valves.
Step 3: Locate the refrigerant valves
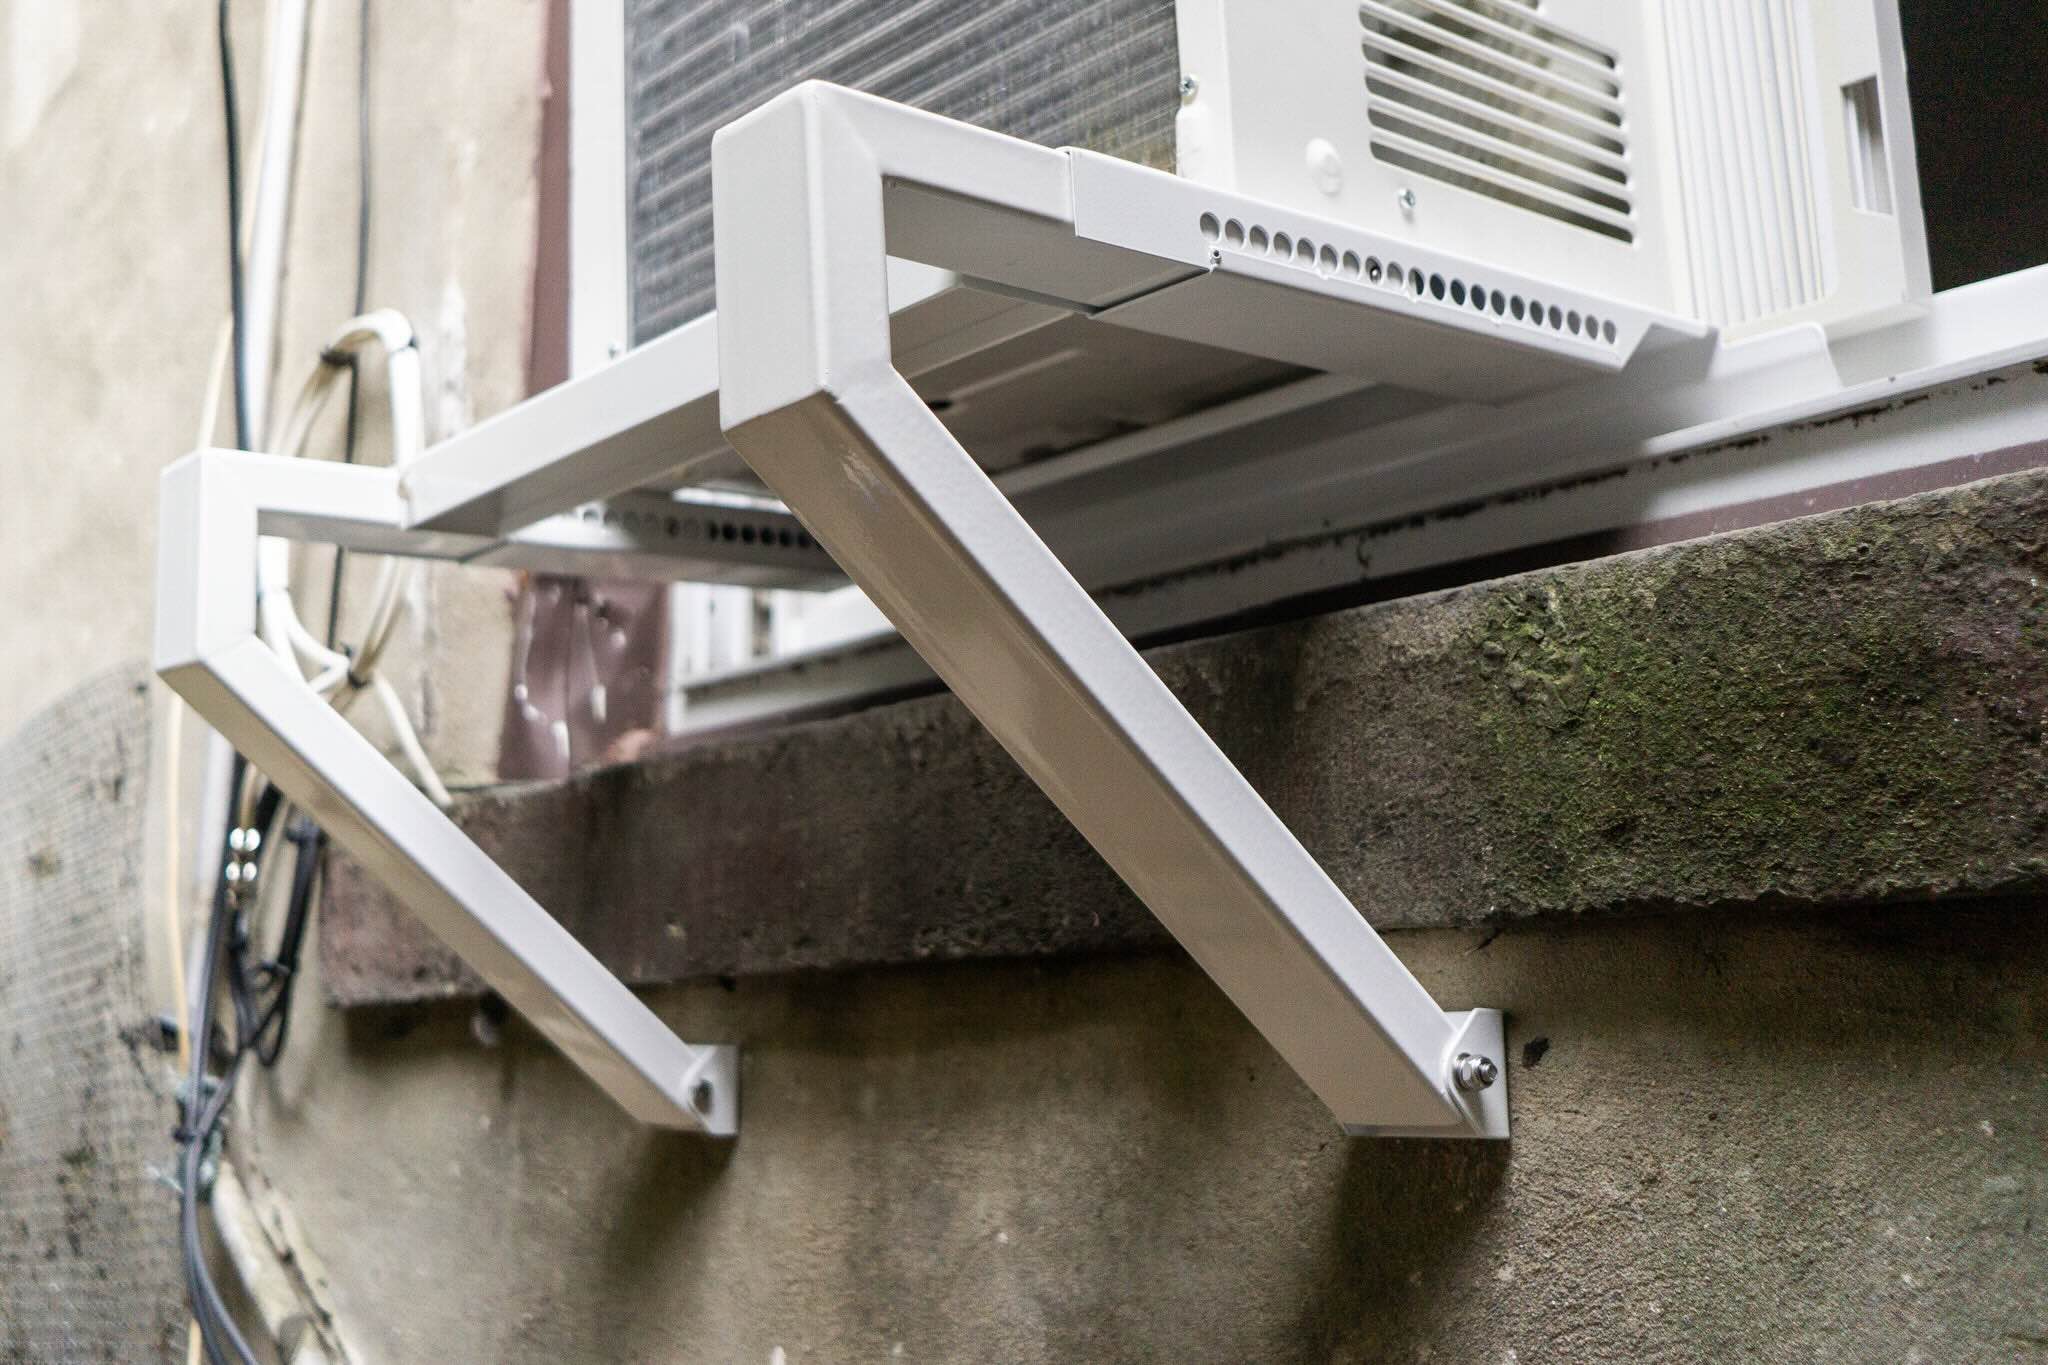
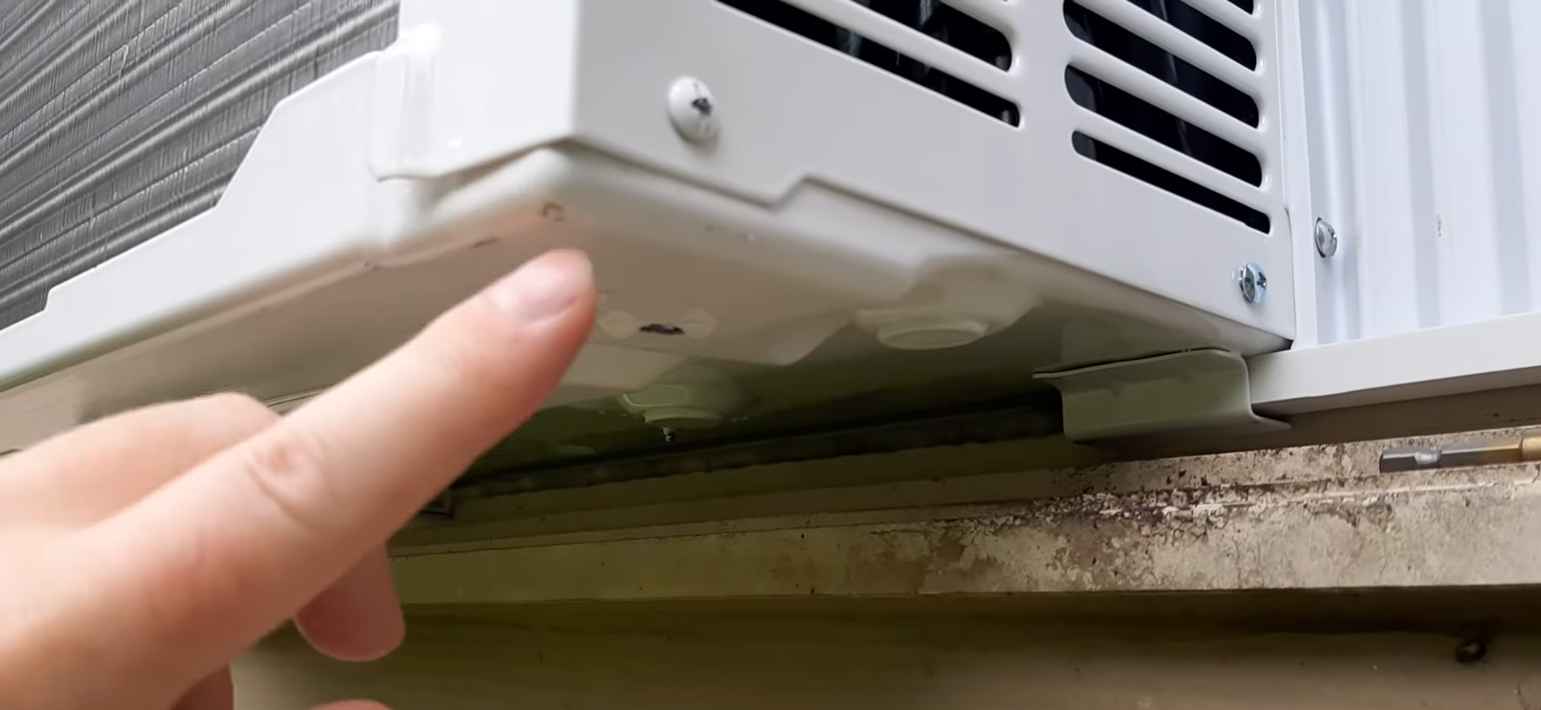
In order to recharge your window air conditioner, you’ll need to locate the refrigerant valves. These valves are typically found on the back or side of the unit and are used to control the flow of refrigerant.
Here’s how you can locate the refrigerant valves:
- Refer to your air conditioner’s manual: The manual will provide detailed instructions on where the refrigerant valves are located. It may also include diagrams or illustrations to help you locate them.
- Inspect the unit: If you don’t have the manual or can’t find it, carefully inspect your air conditioner for any access panels or covers. These panels may need to be removed to access the refrigerant valves.
- Look for the service ports: The refrigerant valves are usually connected to service ports, which are small metal tubes that protrude from the unit. These ports may be labeled with the letters “L” for the low-pressure side and “H” for the high-pressure side.
Once you’ve found the refrigerant valves and service ports, take a moment to familiarize yourself with their location. This will make it easier for you to access them when you’re ready to attach the charging hose in the later steps.
It’s important to note that not all air conditioners have easily accessible refrigerant valves. Some models may require you to remove the entire case to access them. If you’re unsure about locating the valves or need assistance, it’s recommended to consult a professional technician to avoid any potential damage to your air conditioner.
With the refrigerant valves located, you’re now ready to proceed to the next step: attaching the charging hose.
Step 4: Attach the charging hose
Now that you’ve located the refrigerant valves, it’s time to attach the charging hose. The charging hose connects the refrigerant canister to the air conditioner, allowing the refrigerant to flow into the system. Follow these steps to attach the charging hose:
- Ensure the air conditioner is turned off and unplugged for safety.
- Take the charging hose and locate the end with the fitting that matches the service port on the air conditioner. The low-pressure service port is typically larger in size and labeled with the letter “L”.
- Hold the fitting and align it with the service port.
- Push the fitting onto the service port and twist it in a clockwise direction to secure it. Make sure it is firmly attached to ensure a proper seal.
Once the charging hose is securely attached, you’re ready to move on to the next step: opening the refrigerant valve.
Remember to handle the charging hose with care and avoid any sharp bends or kinks in the hose. A smooth and unobstructed flow is essential for the successful recharging of your window air conditioner.
If you encounter any difficulty attaching the charging hose or are uncertain about the process, it’s recommended to consult the air conditioner’s manual or seek assistance from a professional technician to ensure the correct installation.
With the charging hose attached, let’s move on to the next step: opening the refrigerant valve.
Read more: How To Recharge An RV Air Conditioner
Step 5: Open the refrigerant valve
With the charging hose securely attached to the service port, it’s time to open the refrigerant valve. This step allows the refrigerant to flow from the canister into your window air conditioner. Follow these instructions to open the refrigerant valve:
- Ensure that all other valves on the charging hose are closed. This will prevent any accidental leaks or spills.
- Check the pressure gauge on the charging hose and ensure that it reads zero. If it doesn’t, follow the instructions in your air conditioner’s manual to zero the gauge.
- Locate the refrigerant valve on the charging hose. This valve controls the flow of refrigerant from the canister.
- Rotate the refrigerant valve counterclockwise to open it. This will allow the refrigerant to start flowing into the air conditioner.
As you open the refrigerant valve, keep a close eye on the pressure gauge. You should see the pressure rise gradually as the refrigerant enters the system. It’s crucial to monitor the pressure to ensure that it stays within the recommended range for your specific air conditioner model.
Note that the recharging process may take some time, depending on the size and capacity of your air conditioner. Be patient and allow the refrigerant to flow at a steady pace.
Once you’ve opened the refrigerant valve, it’s time to move on to the next step: monitoring the pressure.
If you are uncertain about the recharging process or have any concerns about handling refrigerant, it’s recommended to seek professional assistance to ensure proper and safe recharging of your window air conditioner.
Make sure to turn off the power to the air conditioner before attempting to recharge it. Use a refrigerant recharge kit to add more refrigerant to the system, following the manufacturer’s instructions carefully.
Step 6: Monitor the pressure
Monitoring the pressure is a crucial step in the process of recharging your window air conditioner. This step allows you to ensure that the refrigerant is being properly and accurately transferred into the system. Follow these instructions to monitor the pressure:
- Refer to your air conditioner’s manual to determine the recommended pressure range for your specific model. This information can typically be found in the specifications or troubleshooting section.
- Observe the pressure gauge on the charging hose as the refrigerant enters the system. The gauge will provide a reading of the pressure level.
- Keep a close eye on the pressure to ensure it stays within the recommended range. If the pressure exceeds or falls below the specified range, it may indicate an issue with the recharging process or the system itself.
- Monitor the pressure for a few minutes to ensure it remains stable. A consistent pressure indicates that the correct amount of refrigerant is being delivered to the air conditioner.
It’s important to note that overcharging or undercharging the air conditioner can lead to performance issues or even damage to the system. Monitoring the pressure will help you avoid such problems and ensure optimal cooling efficiency.
If you notice any significant fluctuations or abnormalities in the pressure, it’s recommended to stop the recharging process and consult a professional technician. They will have the expertise and tools to diagnose and address any issues with the system.
Once you’ve properly monitored the pressure, it’s time to move on to the next step: closing the refrigerant valve.
Remember, safety should always be a priority during the recharging process. If you’re unsure or uncomfortable with handling refrigerant or monitoring the pressure, it’s best to enlist the help of a professional technician to ensure a safe and effective recharge.
Step 7: Close the refrigerant valve
After monitoring the pressure and ensuring that the proper amount of refrigerant has been transferred to your window air conditioner, it’s time to close the refrigerant valve. This step will halt the flow of refrigerant and prevent any further recharging. Follow these instructions to close the refrigerant valve:
- Ensure that the pressure gauge on the charging hose is stable and within the recommended range for your air conditioner model.
- Locate the refrigerant valve on the charging hose, which controls the flow of refrigerant.
- Rotate the refrigerant valve clockwise to close it. This will stop the flow of refrigerant.
It’s essential to close the refrigerant valve once the desired pressure has been reached. This will prevent overcharging the system and ensure optimal performance.
After closing the refrigerant valve, it’s important to disconnect the charging hose from the air conditioner. This will prevent any accidental leaks or spills when removing the hose from the service port.
Remember to handle the refrigerant canister, charging hose, and valve with care throughout the process. Any mishandling can result in leaks or damage to the system.
Now that the refrigerant valve is closed, you’re almost done with the recharging process! It’s time to move on to the next step: removing the charging hose.
If you have any concerns about closing the refrigerant valve or are unsure about any aspect of the recharging process, it’s recommended to seek professional assistance to ensure a safe and successful recharge.
Step 8: Remove the charging hose
With the refrigerant valve closed and the recharging process complete, it’s time to remove the charging hose from your window air conditioner. Follow these instructions to safely remove the charging hose:
- Ensure that the refrigerant valve is securely closed to prevent any accidental leaks.
- Gently twist the charging hose counterclockwise to detach it from the service port on the air conditioner.
- As you remove the charging hose, be cautious of any remaining pressure in the system. Slowly and carefully unscrew the hose to release any trapped pressure.
- Once the charging hose is detached, set it aside in a safe location.
After removing the charging hose, take a moment to inspect the service port and ensure there are no leaks or spills. Wipe away any excess refrigerant or debris from the port using a clean cloth or towel.
Properly removing the charging hose ensures that there are no residual leaks or refrigerant left in the system. It’s crucial to handle the hose and service port with care to avoid any damage and maintain the integrity of your window air conditioner.
With the charging hose removed, you’re almost done! It’s time to move on to the next step: turning on the air conditioner.
If you have any doubts or concerns about removing the charging hose, it’s recommended to consult the air conditioner’s manual or seek assistance from a professional technician to ensure a safe and proper removal.
Read more: What Is A Window Air Conditioner
Step 9: Turn on the air conditioner
With the recharging process complete and the charging hose removed, it’s time to turn on your window air conditioner and test its functionality. Follow these instructions to turn on the air conditioner:
- Ensure that the air conditioner is properly plugged into a power source.
- Locate the power button or switch on your air conditioner’s control panel.
- Press the power button or switch to turn on the air conditioner.
After turning on the air conditioner, listen for any unusual sounds or vibrations. You should also observe the airflow to ensure that cool air is being emitted from the unit.
Allow the air conditioner to run for a few minutes and monitor its performance. Check if the temperature is dropping and if the cooling effect is noticeable. If you experience any issues such as insufficient cooling or unusual noises, it’s recommended to consult a professional technician for further troubleshooting.
It’s important to note that it may take some time for the air conditioner to reach its maximum cooling capacity after recharging. Be patient and give it a few minutes to adjust.
If the air conditioner is functioning properly and providing effective cooling, congratulations! You have successfully recharged your window air conditioner.
Now, let’s move on to the final step: checking for proper cooling.
Step 10: Check for proper cooling
After turning on your window air conditioner, it’s important to check for proper cooling to ensure that the recharging process was successful. Follow these steps to check for proper cooling:
- Set the air conditioner to your desired temperature. It’s best to start with a slightly lower temperature setting to gauge the cooling performance.
- Observe the air conditioner closely and listen for any abnormal sounds, such as rattling or buzzing noises.
- Feel the airflow coming from the unit. It should be cool and refreshing, indicating that the air conditioner is effectively cooling the room.
- Monitor the temperature in the room. If the air conditioner is functioning properly, you should notice a gradual decrease in temperature.
It’s important to note that the cooling performance may take some time to stabilize after the recharging process. Allow the air conditioner to run for at least 30 minutes to get an accurate assessment of its cooling capabilities.
If you encounter any issues with the cooling performance, such as insufficient cooling or inconsistent airflow, it may indicate a problem with the air conditioner that requires further investigation. In such cases, it’s recommended to seek professional help from a trained technician to diagnose and resolve the issue.
By checking for proper cooling and evaluating the performance of your window air conditioner, you can ensure that the recharging process has successfully restored its cooling capacity.
Congratulations! You have completed all the necessary steps to recharge your window air conditioner. Enjoy the cool comfort it provides!
Remember to refer to your air conditioner’s manual for specific instructions and guidelines related to recharging and maintenance. Regular maintenance and care will help prolong the lifespan and efficiency of your air conditioner.
If you have any further questions or need assistance, don’t hesitate to reach out to a professional technician or HVAC specialist.
Thank you for following this guide, and happy cooling!
Conclusion
Congratulations on successfully recharging your window air conditioner! By following this comprehensive guide, you have learned the step-by-step process to bring back the optimal cooling performance to your appliance. Recharging a window air conditioner is a great way to restore its efficiency and ensure a comfortable living environment during the hot summer months.
Throughout this guide, we discussed the necessary supplies you need to gather, how to turn off the air conditioner, locate the refrigerant valves, attach the charging hose, monitor the pressure, and more. Each step is important to ensure a safe and effective recharging process.
Remember, safety should always be a priority. If you ever feel unsure about any aspect of the recharging process or are uncomfortable working with refrigerant, it’s best to seek assistance from a professional technician who can perform the task for you.
Regular maintenance is key to keeping your window air conditioner running smoothly. It’s important to refer to your air conditioner’s manual for specific maintenance guidelines and to follow them diligently. By properly maintaining your air conditioner, you can extend its lifespan and ensure its continued efficiency.
Thank you for taking the time to learn how to recharge your window air conditioner. With these newfound skills, you can confidently maintain and enhance the performance of your home cooling system. Stay cool and comfortable all summer long!
Frequently Asked Questions about How To Recharge A Window Air Conditioner
Was this page helpful?
At Storables.com, we guarantee accurate and reliable information. Our content, validated by Expert Board Contributors, is crafted following stringent Editorial Policies. We're committed to providing you with well-researched, expert-backed insights for all your informational needs.