Home>Home Maintenance>How To Repair A Trailer Home
Home Maintenance
How To Repair A Trailer Home
Modified: October 19, 2024
Learn how to repair your trailer home with our expert home maintenance tips. Keep your home in top shape with our step-by-step guides.
(Many of the links in this article redirect to a specific reviewed product. Your purchase of these products through affiliate links helps to generate commission for Storables.com, at no extra cost. Learn more)
Introduction
Welcome to our comprehensive guide on how to repair a trailer home. Whether you own a mobile home or a manufactured dwelling, maintaining and repairing it is essential to ensure its longevity and structural integrity. In this article, we will walk you through various aspects of trailer home repairs, from assessing the damage to restoring the interior.
Trailer homes, also known as mobile homes or manufactured homes, come with their unique set of maintenance challenges. From exterior repairs to electrical and plumbing issues, tackling these repairs can be a daunting task without the proper knowledge and guidance. But fear not, as we are here to provide you with step-by-step instructions and invaluable tips to help you successfully accomplish your trailer home repair project.
Before diving into the repairs, it is crucial to assess the extent of the damage. This will allow you to prioritize the repairs and determine the tools and materials you will need. Depending on the nature of the damage, you may need the assistance of professionals or specialized contractors.
Once you have assessed the damage, the next step is to gather the necessary tools and materials for the repairs. This includes safety equipment, power tools, building materials, and replacement parts. Having everything you need before you begin the repairs will save you time and ensure a smoother process.
Now, let’s dive into the specifics of repairing a trailer home. We will cover repairing the exterior, fixing the roof, repairing the flooring, addressing electrical and plumbing issues, restoring the interior, and sealing and insulating. Each section will provide you with detailed instructions and tips to help you successfully complete the repairs.
Repairing a trailer home may seem like a daunting task, but with the right knowledge and resources, it can be a rewarding experience. Not only will you be able to maintain and improve your home, but you will also save money by avoiding costly professional repairs.
So, let’s get started on this journey of trailer home repair. Assess the damage, gather the tools, and follow our step-by-step instructions to restore and maintain your trailer home for years to come.
Key Takeaways:
- Assess the damage and gather the right tools and materials before starting trailer home repairs. Prioritize safety and seek professional help for extensive or hazardous issues.
- Address exterior, roofing, flooring, electrical, plumbing, and interior repairs to maintain and improve your trailer home. Sealing air leaks and adding insulation can enhance energy efficiency and comfort.
Read more: How To Store A Camper Trailer
Assessing the Damage
Before delving into any repairs, it’s crucial to assess the extent of the damage to your trailer home. This will help you determine the scope of the project, prioritize repairs, and identify any potential safety hazards.
Start by conducting a thorough inspection of both the interior and exterior of your trailer home. Look for visible signs of damage such as cracks, water stains, leaks, rotting wood, or structural issues. Take note of any areas that require immediate attention.
When examining the exterior, pay close attention to the siding, windows, doors, skirting, and any other external features. Look for signs of damage, such as dents, holes, loose or missing panels, or deteriorating materials. Inspect the roof for leaks, loose shingles, or signs of sagging.
Inside your trailer home, inspect the walls, ceilings, floors, and fixtures. Look for any cracks, water damage, mold, or signs of pests. Check the electrical and plumbing systems for any issues or potential hazards.
As you assess the damage, make a comprehensive list of all the repairs that need to be addressed. Categorize them based on the urgency and complexity of the repairs. This will help you prioritize the repairs and create a plan of action.
Additionally, consider seeking professional advice or inspections for specialized areas such as the roof, electrical wiring, or plumbing systems. These professionals can identify hidden issues and recommend proper repair procedures.
Keep in mind that safety should be your top priority during the assessment and repair process. If you encounter any structural issues, electrical problems, or other hazardous conditions, it’s best to consult with professionals or experienced contractors to ensure the repairs are done safely and effectively.
By thoroughly assessing the damage and creating a detailed repair plan, you’ll be better equipped to tackle the necessary repairs and restore your trailer home to its former glory. Let’s move on to the next section and gather the necessary tools and materials.
Gathering the necessary tools and materials
Before you begin any repair work on your trailer home, it’s important to gather all the necessary tools and materials. Having everything you need at the outset will ensure a smoother and more efficient repair process.
Here is a list of commonly used tools and materials for trailer home repairs:
Tools:
- Screwdrivers (both Phillips and flathead)
- Hammer
- Wrenches
- Pliers
- Tape measure
- Level
- Utility knife
- Saw
- Power drill
- Nail gun
- Caulking gun
- Safety goggles
Materials:
- Exterior siding materials (e.g., vinyl, metal, or wood)
- Insulation materials
- Roofing materials (e.g., shingles, tar paper, or metal sheets)
- Flooring materials (e.g., laminate, vinyl, or carpet)
- Drywall and joint compound
- Paint and primer
- Caulk
- Electrical wires and connectors
- Plumbing pipes and fittings
- Fasteners (e.g., screws, nails, or bolts)
- Sealants and adhesives
Make a list of the specific tools and materials you’ll need for your particular repair project by referring to your assessment of the damage. This will help you avoid unnecessary trips to the store and ensure that you have everything on hand.
In addition to the tools and materials listed above, it’s important to prioritize safety and protective gear. Ensure you have items such as work gloves, safety goggles, masks (if working with potentially harmful substances), and a sturdy ladder (if working on the roof).
Once you have your list, gather the tools and purchase the necessary materials from your local hardware store or online suppliers. Take note of any specific brand recommendations or product specifications to ensure the best results for your trailer home repairs.
Remember, having all the tools and materials ready before you start your repair work will save you time and prevent unnecessary delays. With everything in place, you can now move on to the next section and begin repairing the exterior of your trailer home.
Read more: How To Store A Trailer Outside
Repairing the Exterior
The exterior of your trailer home is its first line of defense against the elements. Over time, it can suffer from wear and tear, damage, or deterioration. Repairing the exterior will not only improve its appearance but also protect it from further damage.
Here are some common exterior repairs you may need to tackle:
Siding Repair:
If your exterior siding is damaged, cracked, or missing, it’s important to replace or repair it to prevent moisture penetration and other issues. Start by removing the damaged siding using a pry bar or screwdriver. Cut a replacement piece to the appropriate size and attach it using screws or nails. Ensure a secure fit and use caulk to seal any gaps.
Window and Door Repair:
Leaking windows and doors can lead to water damage and energy loss. Inspect your windows and doors for any cracks, gaps, or damaged seals. Replace worn-out weatherstripping and seals, and repair or replace damaged screens. If necessary, consider upgrading to more energy-efficient windows or doors.
Skirting Repair:
The skirting around the base of your trailer home provides insulation and protection. Inspect it for cracks, gaps, or missing panels. Replace damaged skirting panels and seal any openings to keep out critters and weather elements.
Read more: How To Move A Shed On A Trailer
Painting and Touch-ups:
A fresh coat of paint can dramatically improve the appearance of your trailer home. Clean the exterior surface and remove any loose paint or debris. Repair any damages or cracks in the surface and apply a suitable primer. Finally, apply a high-quality paint specifically formulated for exterior use.
Awning and Canopy Repair:
If your trailer home has an awning or canopy, inspect it for any tears or loose fittings. Repair or replace damaged fabric or hardware to ensure proper functionality and protection from the sun and rain.
Always follow manufacturer instructions and safety guidelines when performing exterior repairs. If you encounter any structural issues or extensive damage, it’s best to consult with professionals or contractors to ensure proper repairs.
By addressing these exterior repairs, you’ll not only enhance the curb appeal of your trailer home but also strengthen its overall condition. After completing the exterior repairs, it’s time to move on to the next section and tackle the roof repairs.
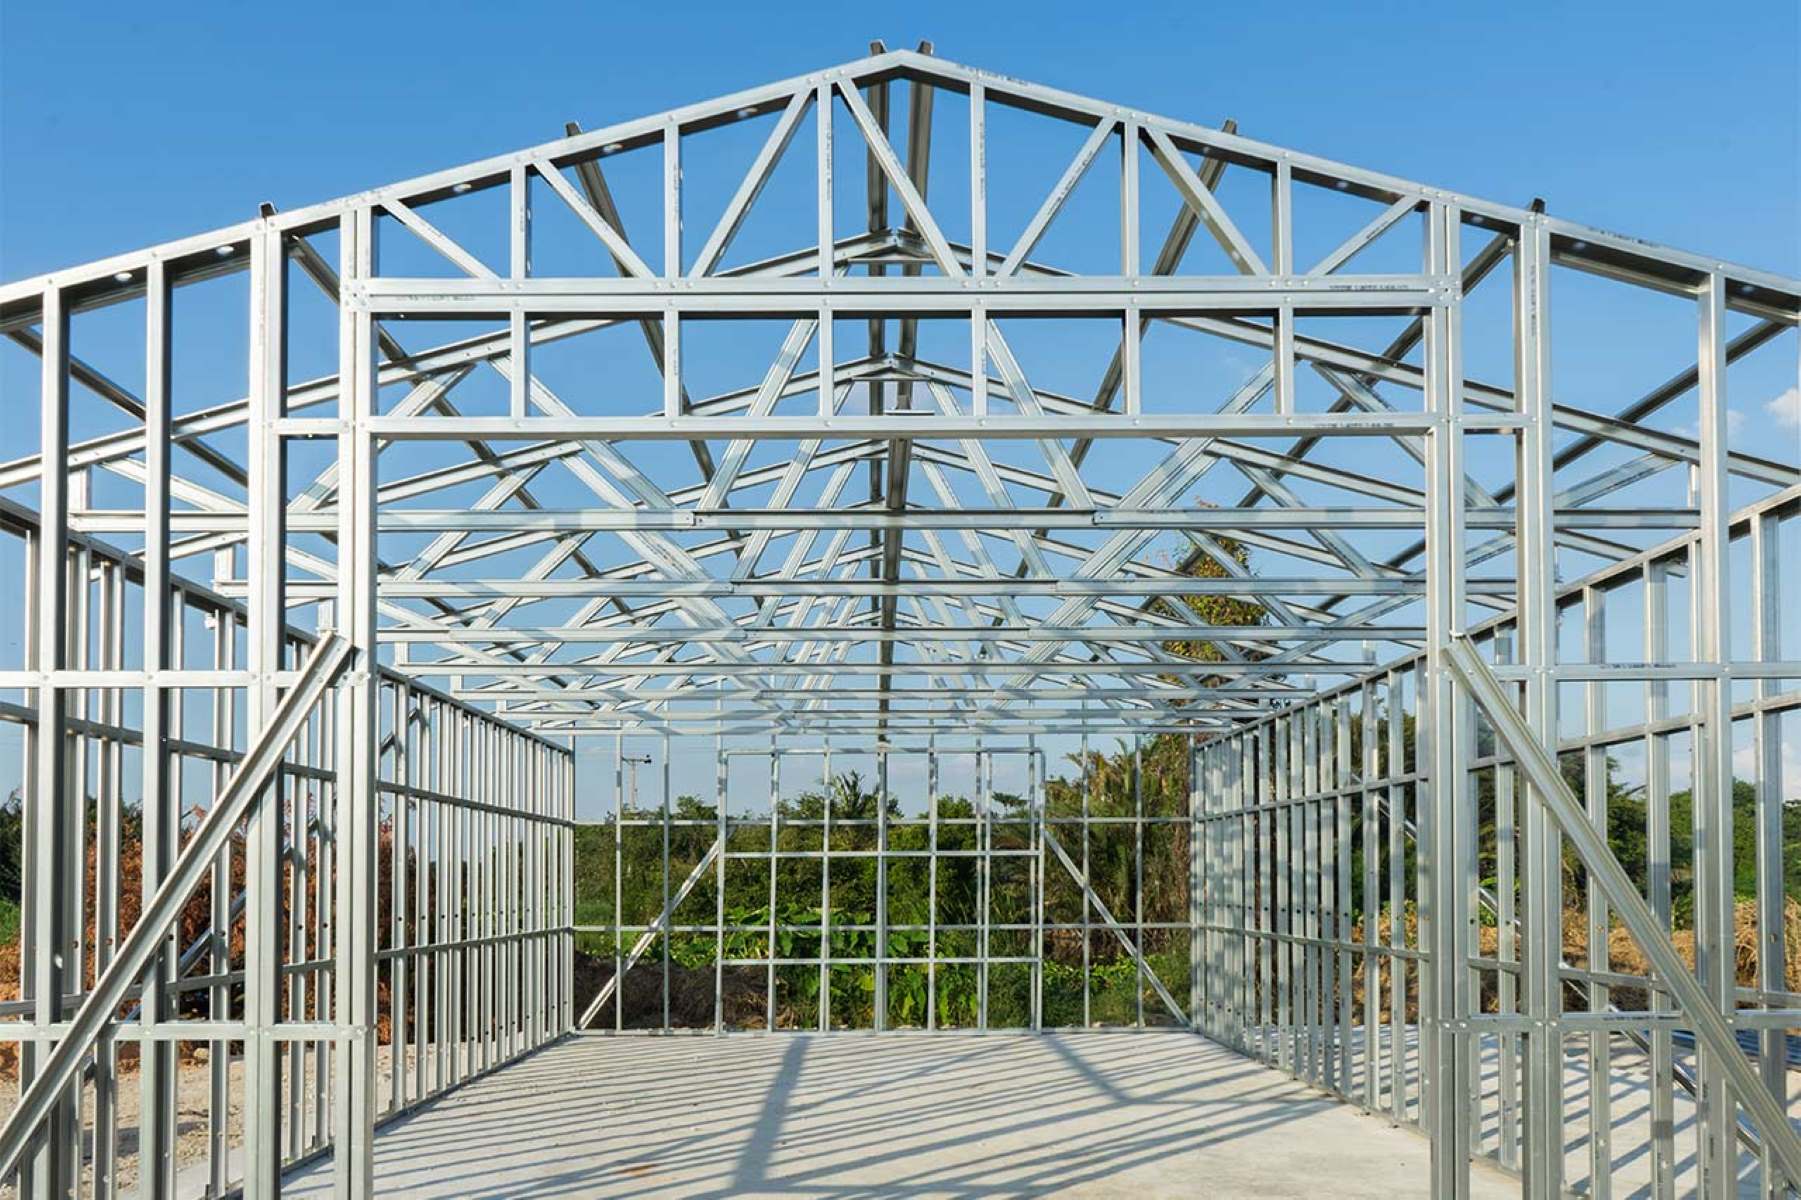
Fixing the Roof
The roof is one of the most critical components of your trailer home. It protects your home from water damage, insulation issues, and other weather-related problems. If you notice any signs of roof damage, such as leaks, sagging, or missing shingles, it’s crucial to address the issues promptly.
Here’s a step-by-step guide to fixing the roof of your trailer home:
1. Inspect the Roof:
Start by carefully inspecting the roof for any visible damage, such as missing or damaged shingles, flashing issues, or signs of leaks. Look for any sagging areas or rotting wood that may need to be replaced.
Read more: How To Childproof A Trailer Door
2. Replace Missing or Damaged Shingles:
If you find any missing or damaged shingles, carefully remove the damaged ones and replace them with new ones of the same type and color. Follow the manufacturer’s instructions for proper installation, ensuring a secure fit and proper alignment.
3. Repair Flashing:
Inspect the flashing around chimneys, vents, and skylights for any signs of damage or deterioration. If necessary, remove the damaged flashing and replace it with new flashing to ensure a watertight seal.
4. Seal Leaks:
If you find any leaks in the roof, mark their location for repair. Use a roofing sealant or caulk designed for your specific roofing material to seal the leaks. Apply the sealant generously, ensuring complete coverage and a lasting repair.
5. Reinforce Weak Areas:
If your roof has weak or sagging areas, additional support may be needed. Consult with a professional to assess the structural integrity of the roof and determine the best course of action to reinforce the weakened areas.
Read more: How To Back A Trailer Into A Driveway
6. Consider Professional Help:
If the roof damage is extensive or beyond your expertise, it may be best to seek the assistance of a professional roofing contractor. They have the experience and knowledge to handle complex roof repairs and ensure the longevity of your trailer home.
Remember to prioritize safety when working on the roof. Use proper safety equipment, such as harnesses and sturdy ladders, and avoid working on the roof during adverse weather conditions.
By diligently addressing roof issues and performing necessary repairs, you can extend the lifespan of your trailer home and safeguard it against potential water damage. With the roof repaired, let’s move on to the next section and tackle the flooring repairs.
Repairing the Flooring
The flooring of your trailer home is subjected to a lot of wear and tear over time. From scratches and stains to water damage and structural issues, it’s important to address any flooring problems to maintain a safe and comfortable living space.
Here are steps to help you repair the flooring of your trailer home:
1. Assess the Damage:
Start by assessing the extent of the flooring damage. Look for areas with scratches, stains, warping, or signs of rot. Identify the type of flooring you have, whether it’s vinyl, laminate, carpet, or hardwood, as the repair process may vary depending on the material.
2. Remove Damaged Flooring:
If you have damaged sections of flooring, carefully remove them using appropriate tools. For vinyl or laminate flooring, use a utility knife to cut along the damaged area and lift it away. For carpet, use a carpet knife to cut out the damaged portion.
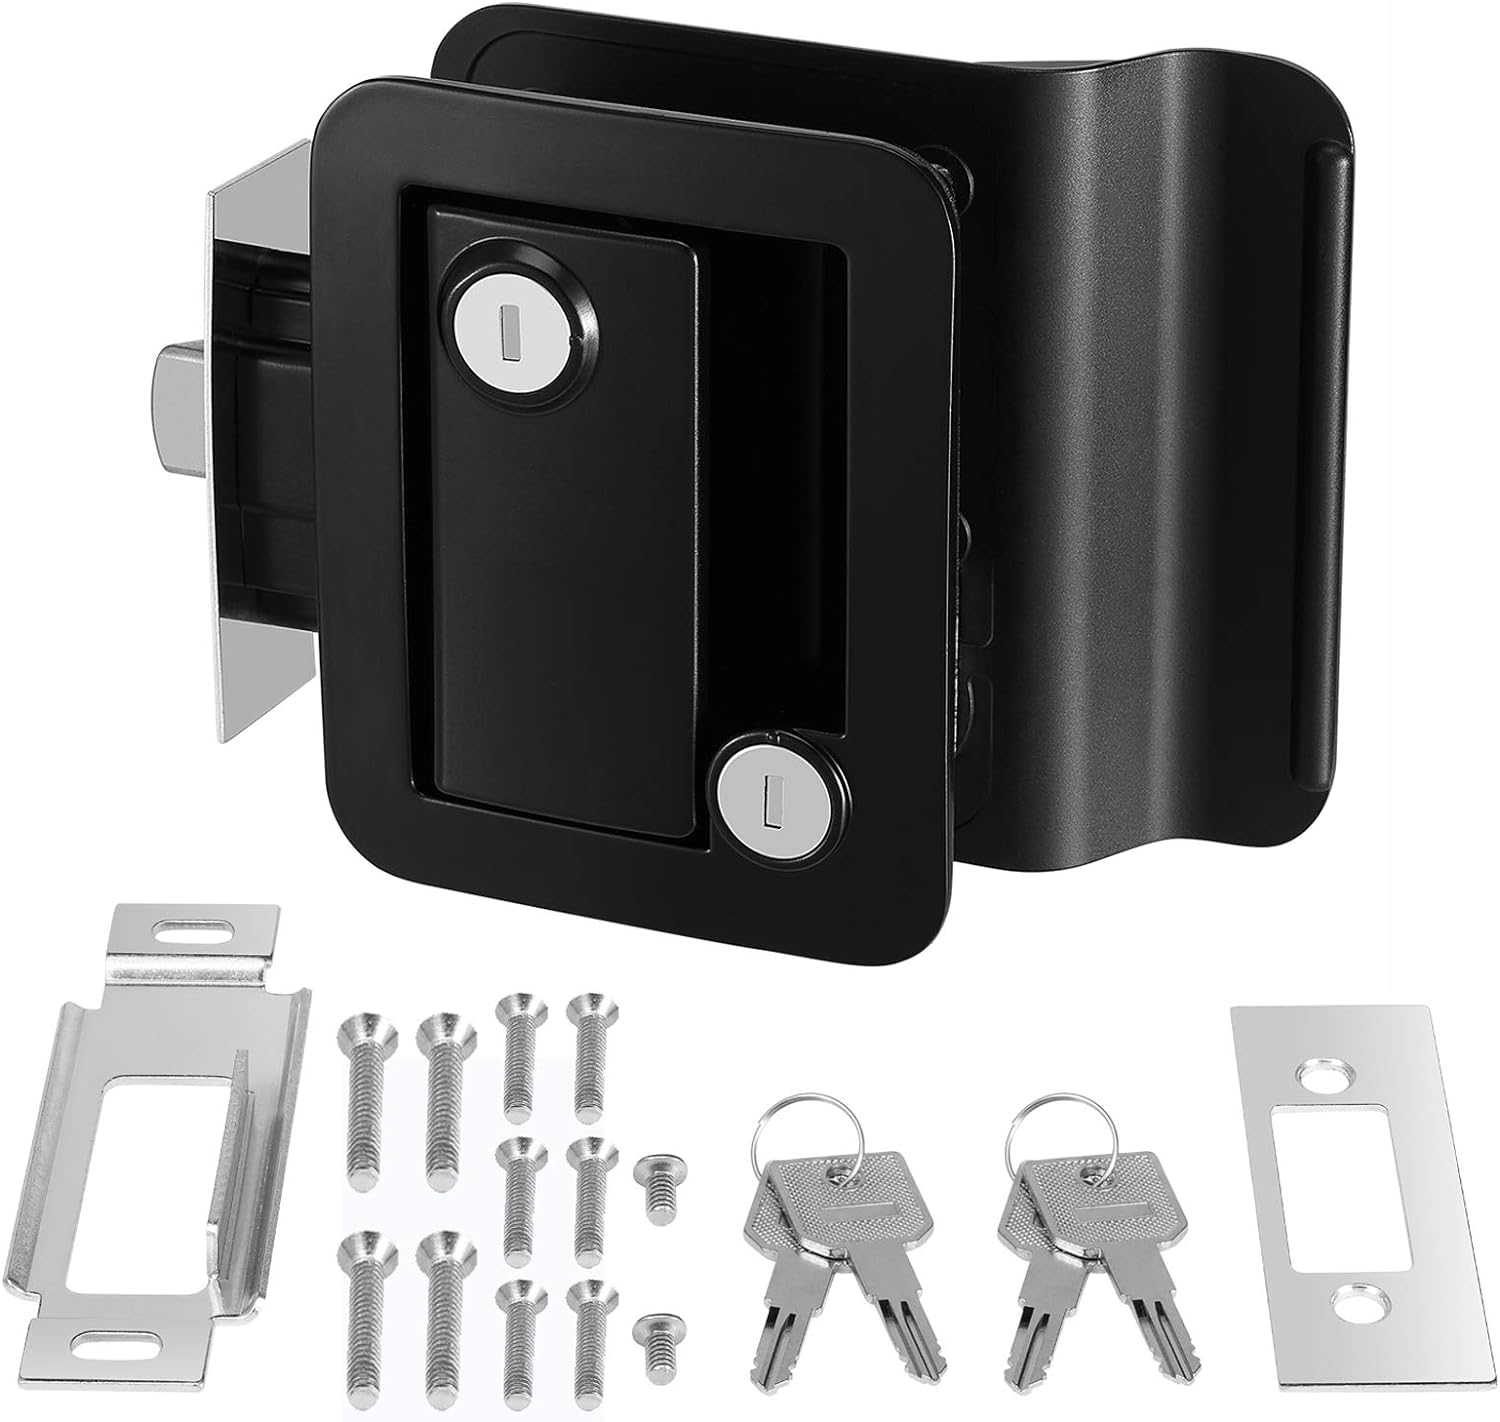
Read also: 11 Amazing Trailer Door Lock For 2025
3. Replace or Repair:
Depending on the extent of the damage, you can either repair or replace the flooring. For minor scratches or stains, consider using a suitable floor repair kit or filler to fix the issues. For more significant damage, such as water damage or structural issues, it may be necessary to replace the affected flooring entirely.
4. Install New Flooring:
If you’re replacing the flooring, follow the manufacturer’s instructions for proper installation. Ensure that the subfloor is clean, level, and free of any debris. For vinyl or laminate flooring, cut the new pieces to fit and secure them in place. For carpet, unroll and stretch the new carpet, using adhesive or carpet tape to secure it.
5. Finish and Clean the Flooring:
Once the new flooring is installed, take time to finish and clean it. For hardwood or laminate flooring, apply a suitable finish to protect and enhance the appearance. For carpet, use a carpet cleaner or vacuum to remove any dirt or debris.
6. Prevent Future Damage:
To prevent future flooring damage, consider using protective measures such as area rugs or floor mats in high-traffic areas. Clean up spills promptly, avoid dragging heavy furniture, and use felt pads on furniture legs.
It’s important to note that if you’re not confident in your flooring repair capabilities, it’s best to consult with a professional or experienced contractor. They can provide expert advice and ensure that the repairs are done correctly.
By addressing flooring issues promptly and performing necessary repairs, you’ll be able to maintain a beautiful and functional interior in your trailer home. With the flooring repaired, let’s move on to the next section and address any electrical and plumbing issues.
Fixing Electrical and Plumbing Issues
Electrical and plumbing issues are common in trailer homes and require immediate attention to ensure the safety and functionality of your home. It’s important to approach these repairs with caution and, if needed, consult with professionals or licensed contractors.
Electrical Issues:
If you’re experiencing electrical problems in your trailer home, here are some steps to help you address them:
1. Assess the Problem: Identify the specific electrical issues you’re facing, such as flickering lights, outlets not working, or circuit breaker trips. Determine whether it’s a localized or widespread problem.
2. Check Circuit Breakers: If certain areas of your trailer home have lost power, check the circuit breakers to see if any have tripped. Reset the tripped circuit breakers if needed.
3. Inspect Outlets and Switches: Inspect all outlets and switches for any signs of damage, loose connections, or burn marks. Replace any damaged or faulty outlets and switches.
4. Update Wiring: If you have outdated wiring or a frequent occurrence of electrical issues, consider consulting with an electrician to update or upgrade your electrical system. This will ensure compliance with safety codes and reduce the risk of future electrical problems.
5. Address Safety Hazards: If you encounter any exposed or damaged wiring, or suspect faulty electrical components, it’s crucial to hire a licensed electrician to resolve the issue. Electricity can be dangerous, so prioritize your safety and seek professional help when needed.
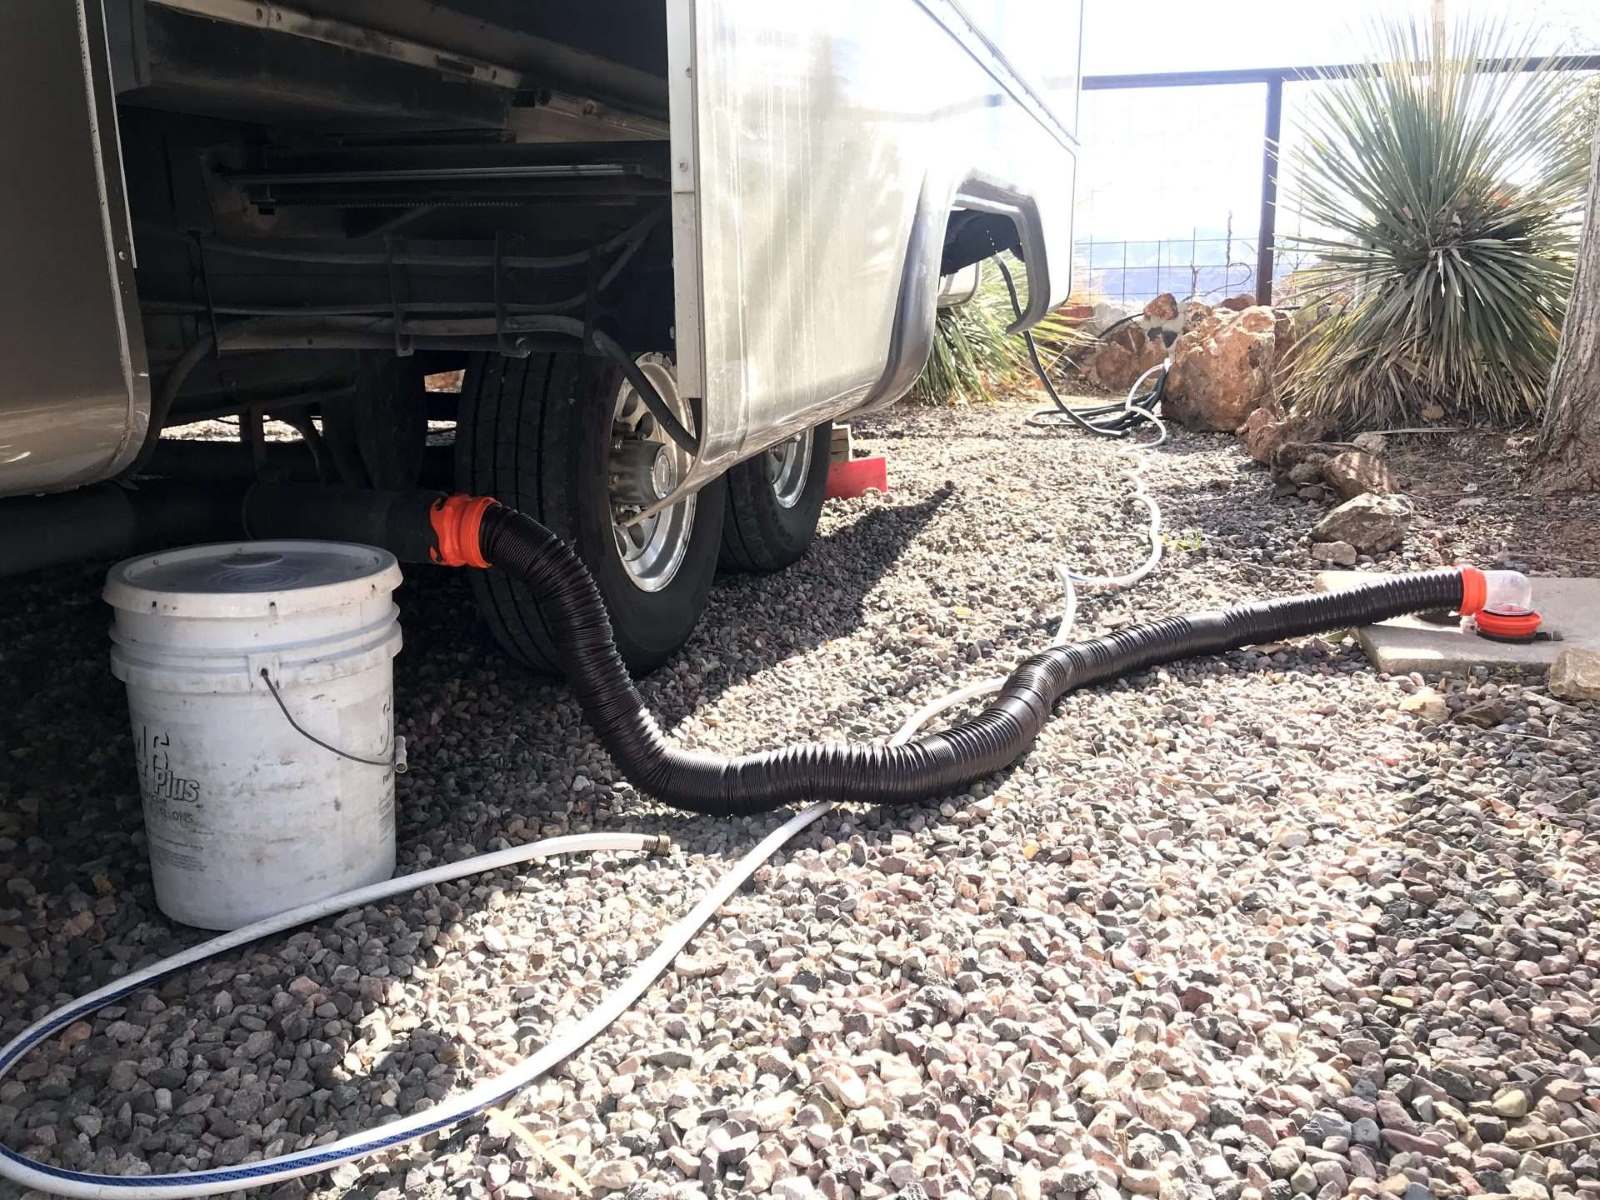
Plumbing Issues:
Plumbing problems can range from minor leaks to more complex issues. Here are steps to help you handle common plumbing problems:
1. Identify the Issue: Determine the specific plumbing problem, such as leaking faucets, clogged drains, or running toilets. Assess the severity of the problem and determine if it’s something you can fix or if professional help is needed.
2. Replace Faucets and Fixtures: If you have leaky faucets or fixtures, it’s often a result of worn-out seals or cartridges. Replacement parts are typically available at hardware stores, and you can follow manufacturer instructions to replace them.
3. Clear Clogged Drains: Use a plunger or plumbing snake to clear clogged drains. If a plunger doesn’t work, remove the drain cover and use a plumbing snake to remove the clog. Alternatively, you can use commercial drain cleaners, but follow instructions carefully and be cautious of their usage.
4. Address Toilet Issues: If your toilet is running continuously or has a weak flush, it may require repairs or adjustments. Check the flapper, fill valve, and float mechanism inside the toilet tank and replace or adjust them as necessary.
5. Seek Professional Help: For major plumbing issues, such as burst pipes or sewer line problems, it’s best to call a licensed plumber. They have the expertise and tools to diagnose and resolve complex plumbing issues safely and effectively.
Remember to turn off the power or water supply before attempting any repairs and take all necessary safety precautions. Do not hesitate to seek professional help if you’re unsure or uncomfortable with handling electrical or plumbing repairs.
With electrical and plumbing issues addressed, it’s time to move on to the next section and focus on restoring the interior of your trailer home.
Restoring the Interior
Restoring the interior of your trailer home can have a significant impact on its overall appearance and functionality. From repairing walls and ceilings to updating fixtures and finishes, there are several steps you can take to breathe new life into your living space.
Read also: 10 Superior Trailer Skylight For 2025
Repairing Walls and Ceilings:
If you have damaged or cracked walls and ceilings, follow these steps for restoration:
1. Patch Drywall: Use joint compound and a putty knife to fill in any holes or cracks in the drywall. Smooth the surface and let it dry completely before sanding it down for a seamless finish.
2. Apply Primer and Paint: Once the patched areas are smooth and dry, apply a coat of primer to ensure even color and adhesion. Then, choose a high-quality paint and apply it to walls and ceilings, following proper techniques for consistent coverage.
3. Repair Textured Surfaces: If your walls or ceilings have textured finishes, use a texture spray or roller to match the existing texture. This will help create a cohesive and uniform appearance.
Updating Fixtures and Finishes:
Refreshing fixtures and finishes can make a big difference in the overall aesthetic of your trailer home. Here are some areas to focus on:
1. Replace Lighting Fixtures: Upgrade outdated light fixtures with newer, more energy-efficient options. Consider selecting fixtures that enhance the style and ambiance of your interior.
2. Upgrade Cabinet Hardware: Replace old, worn-out cabinet knobs and pulls with modern, stylish hardware. This simple swap can elevate the look of your kitchen or bathroom cabinets.
3. Refinish Cabinets and Countertops: If your cabinets and countertops are in good condition but need a facelift, consider refinishing them. Apply a fresh coat of paint or stain to cabinets, and use countertop refinishing kits to update worn or outdated countertop surfaces.
4. Replace Flooring: If your flooring is beyond repair or you simply want a new look, consider replacing it. Choose a flooring material that suits your style and is suitable for a mobile home environment, such as vinyl plank, laminate, or engineered hardwood.
Enhancing the Interior Design:
Finally, consider enhancing the interior design of your trailer home to create a cozy and inviting space:
1. Declutter and Organize: Remove unnecessary items and declutter your living areas to create a more spacious and organized environment.
2. Add Color and Texture: Use paint, decorative accents, and textiles to add pops of color and texture to your interior. Incorporate throw pillows, rugs, curtains, and artwork that reflect your personal style.
3. Utilize Space-Saving Furniture: Maximize your space by choosing multifunctional furniture pieces that offer additional storage solutions. Consider options like storage ottomans, built-in shelving, or convertible sofa beds.
4. Personalize with Accessories: Display personal mementos, family photos, and meaningful accessories to add a personal touch to your interior decor.
By focusing on restoring the walls, updating fixtures and finishes, and enhancing the overall design, you can create an inviting and stylish interior in your trailer home.
With the interior restoration complete, it’s time to turn our attention to improving energy efficiency and comfort with sealing and insulating techniques. Let’s move on to the next section.
Sealing and Insulating
Sealing and insulating your trailer home is essential for improving energy efficiency, reducing utility costs, and ensuring a comfortable living environment. By sealing air leaks and adding insulation, you can create a more effective barrier against heat transfer and outside elements.
Sealing Air Leaks:
Air leaks can significantly impact the energy efficiency of your trailer home. Here are some areas to focus on when sealing air leaks:
1. Doors and Windows: Apply weatherstripping or caulking around doors and windows to seal any gaps or cracks where air can escape or enter. Consider adding door sweeps or draft stoppers to prevent drafts.
2. Electrical Outlets and Switches: Use foam gaskets or caulking around electrical outlets and switches to prevent air leaks. This often overlooked area can contribute to significant energy loss if not sealed properly.
3. Pipes and Vents: Inspect the areas around pipes, vents, and ducts that penetrate through walls, floors, or ceilings. Use caulk or foam sealant to fill any gaps and prevent air leakage.
4. Skirting and Exterior Openings: Ensure that the skirting around the base of your trailer home is properly sealed to prevent drafts. Seal any openings or gaps with weather-resistant caulking or foam insulation.
5. Insulate Access Hatches: If your trailer home has access hatches to crawl spaces or attics, make sure they are properly insulated. Use weatherstripping, insulation, or foam boards to seal and insulate these areas.
Adding Insulation:
Insulation plays a crucial role in maintaining a comfortable indoor temperature and reducing energy consumption. Consider the following areas for insulation:
1. Attic: Insulate the attic space to reduce heat transfer between the roof and living areas. Use insulation batts, rolls, or blown-in insulation to cover the attic floor, ensuring proper coverage and recommended R-value.
2. Walls: Depending on the construction of your trailer home, you may be able to add insulation to the walls. Consult with professionals or specialized contractors to determine the most effective insulation method for your specific home.
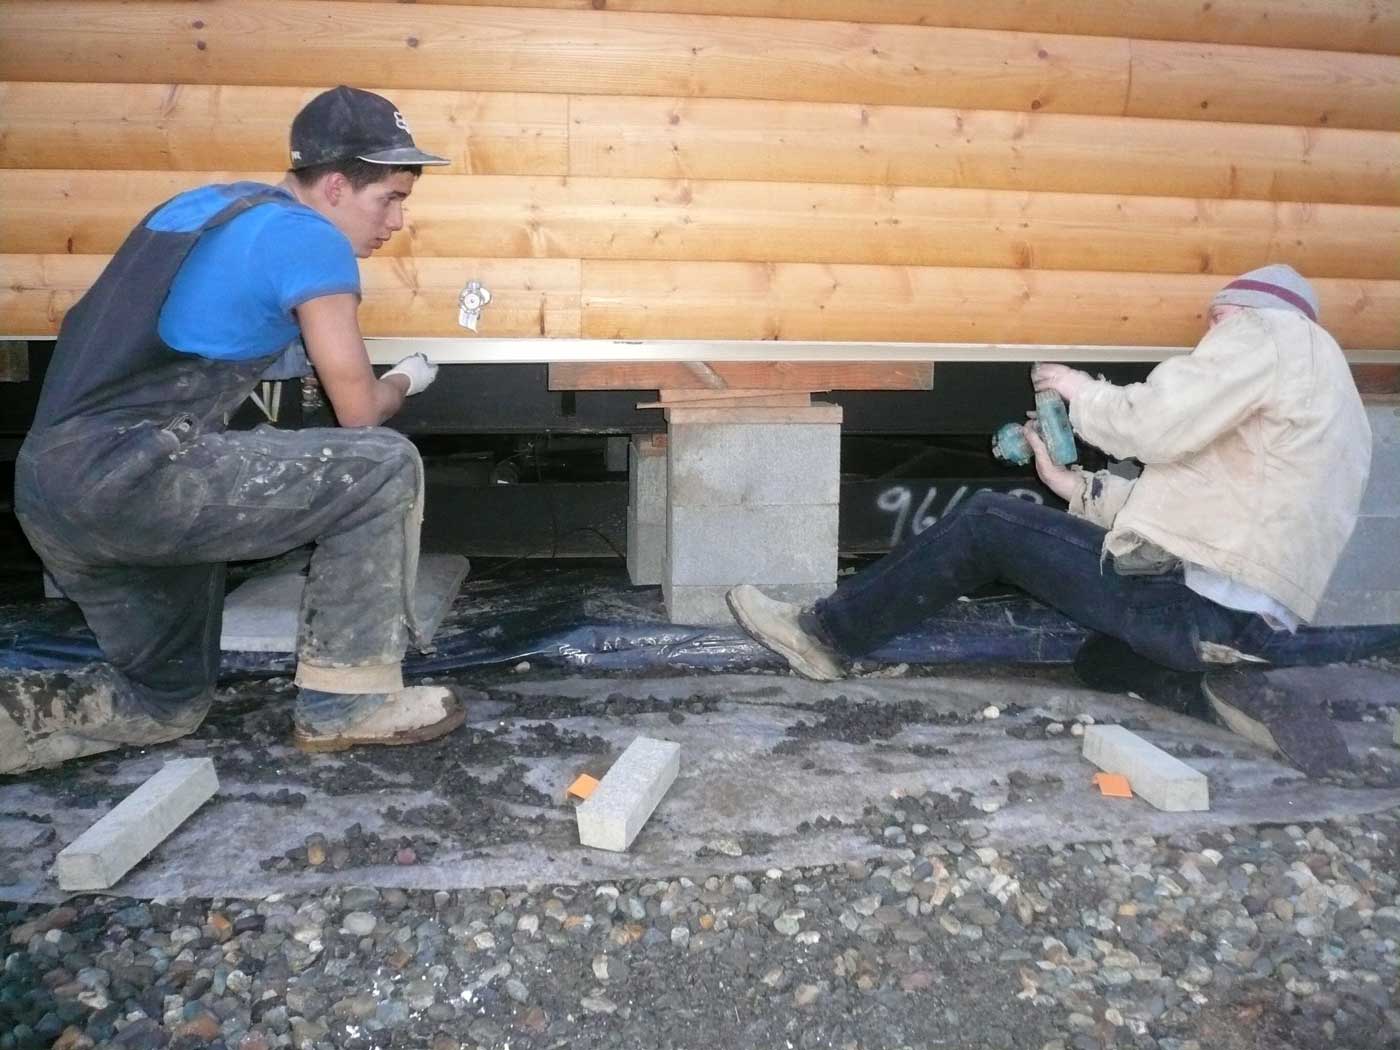
3. Underfloor: Insulate the underside of your trailer home’s floor to prevent heat loss. Use insulation batts or rolls between the floor joists, ensuring a snug fit and covering the entire floor area.
4. Pipes and Water Lines: Insulate exposed pipes and water lines to prevent freezing during the colder months. Use pipe insulation sleeves or wraps to protect against temperature fluctuations.
When adding insulation, be sure to follow local building codes and consult with professionals for guidance. They can recommend the appropriate insulation materials and techniques based on your climate and specific trailer home structure.
By effectively sealing air leaks and adding insulation, you can create a more energy-efficient and comfortable living environment in your trailer home. These measures will not only improve insulation but also help reduce utility costs over time.
With the sealing and insulation completed, you’ve taken significant steps to maintain and enhance your trailer home. Ensure regular maintenance and periodic checks to address any emerging issues. By staying proactive, you can enjoy a comfortable and well-maintained living space for years to come.
Conclusion
Repairing and maintaining a trailer home is essential for ensuring its longevity, safety, and comfort. By following the steps outlined in this comprehensive guide, you can tackle various repairs and improvements to keep your trailer home in excellent condition.
First, assess the damage to your trailer home’s exterior, interior, roofing, flooring, electrical, and plumbing systems. This will help you prioritize repairs and determine the necessary tools and materials.
Gathering the right tools and materials is crucial before starting any repair work. By having everything on hand, you can save time and ensure a smooth repair process.
From repairing the exterior by replacing siding, fixing windows and skirting, to updating fixtures, and painting, you can enhance the appearance and protect your trailer home from further damage. Additionally, addressing roof issues promptly, such as replacing damaged shingles, fixing flashing, and reinforcing weak areas, will ensure a sturdy and leak-free roof.
Repairing the flooring and restoring the interior will refresh the overall look and functionality of your trailer home. Whether it involves patching walls, updating fixtures, refinishing cabinets, or adding personal touches, these efforts will create a welcoming and comfortable living space.
Do not forget about sealing air leaks and adding insulation. By properly sealing windows, doors, pipes, and vents, and adding insulation to the attic, walls, and underfloor, you can improve energy efficiency and create a more comfortable indoor environment.
It’s important to approach repairs with caution and prioritize safety. If you’re unsure about tackling certain repairs or if the damage is extensive, do not hesitate to seek professional help. Certified contractors or specialized professionals can provide expert advice and ensure that repairs are done correctly.
Remember, regular maintenance and periodic checks are crucial for the ongoing care of your trailer home. By staying proactive and addressing emerging issues promptly, you can enjoy a well-maintained and cozy living space for years to come.
With the information provided in this guide, you now have the knowledge and confidence to undertake trailer home repairs successfully. Embrace the challenges and rewards of maintaining your trailer home, and enjoy the comfort and pride that comes with a well-cared-for home.
Frequently Asked Questions about How To Repair A Trailer Home
Was this page helpful?
At Storables.com, we guarantee accurate and reliable information. Our content, validated by Expert Board Contributors, is crafted following stringent Editorial Policies. We're committed to providing you with well-researched, expert-backed insights for all your informational needs.