Home>Articles>How To Replace The Carpet On Boat Trailer Bunks

Articles
How To Replace The Carpet On Boat Trailer Bunks
Modified: August 23, 2024
Learn how to replace the carpet on boat trailer bunks with our informative articles. Upgrade your boat's appearance and functionality with ease.
(Many of the links in this article redirect to a specific reviewed product. Your purchase of these products through affiliate links helps to generate commission for Storables.com, at no extra cost. Learn more)
Introduction
When it comes to boat trailer maintenance, one important aspect that often gets overlooked is the condition of the bunks. The bunks on your boat trailer play a crucial role in supporting and protecting your boat during transportation and storage. Over time, the carpet on the trailer bunks can become worn, torn, or waterlogged, compromising their effectiveness. Fortunately, replacing the carpet on boat trailer bunks is a relatively simple DIY project that can be completed with a few tools and materials.
In this article, we will guide you through the process of replacing the carpet on your boat trailer bunks. We will cover all the necessary steps, from removing the old carpet to attaching the new one, ensuring that your bunks are in top condition for supporting and safeguarding your boat. So, grab your tools and let’s get started!
Key Takeaways:
- Ensure proper boat trailer bunk maintenance by replacing worn-out carpet with marine-grade material. Follow the step-by-step guide for a professional and long-lasting installation, ensuring optimal boat support and protection during transportation and storage.
- Regularly inspect and maintain your boat trailer bunks to guarantee safe and smooth transportation for your boat. By replacing old carpet with new, secure material, you can enhance the longevity and performance of your boat trailer.
Tools and Materials Needed
Before you begin the project, gather the following tools and materials:
- Utility knife or scissors: You will need these to cut the carpet and remove the old carpet.
- Measuring tape: Use a measuring tape to measure the length and width of your trailer bunks accurately.
- Screwdriver: This will be used to remove any screws or fasteners that are holding the old carpet in place.
- Staple gun or adhesive: Depending on your preference, you can choose to secure the new carpet using a staple gun or adhesive.
- Vise grips or pliers: These will come in handy for removing any stubborn staples or nails from the bunks.
- Carpet or marine-grade bunk carpet: Ensure that you purchase enough carpet to cover the length and width of your bunks. Marine-grade carpet is recommended for its durability and resistance to water.
- Rubber or plastic mallet: Use a rubber or plastic mallet to secure the new carpet in place and eliminate any wrinkles or air bubbles.
- Clean cloth and mild detergent: Before installing the new carpet, clean the bunks thoroughly to remove any dirt, debris, or residue.
Having these tools and materials on hand will make the process of replacing the carpet on your boat trailer bunks much easier and more efficient.
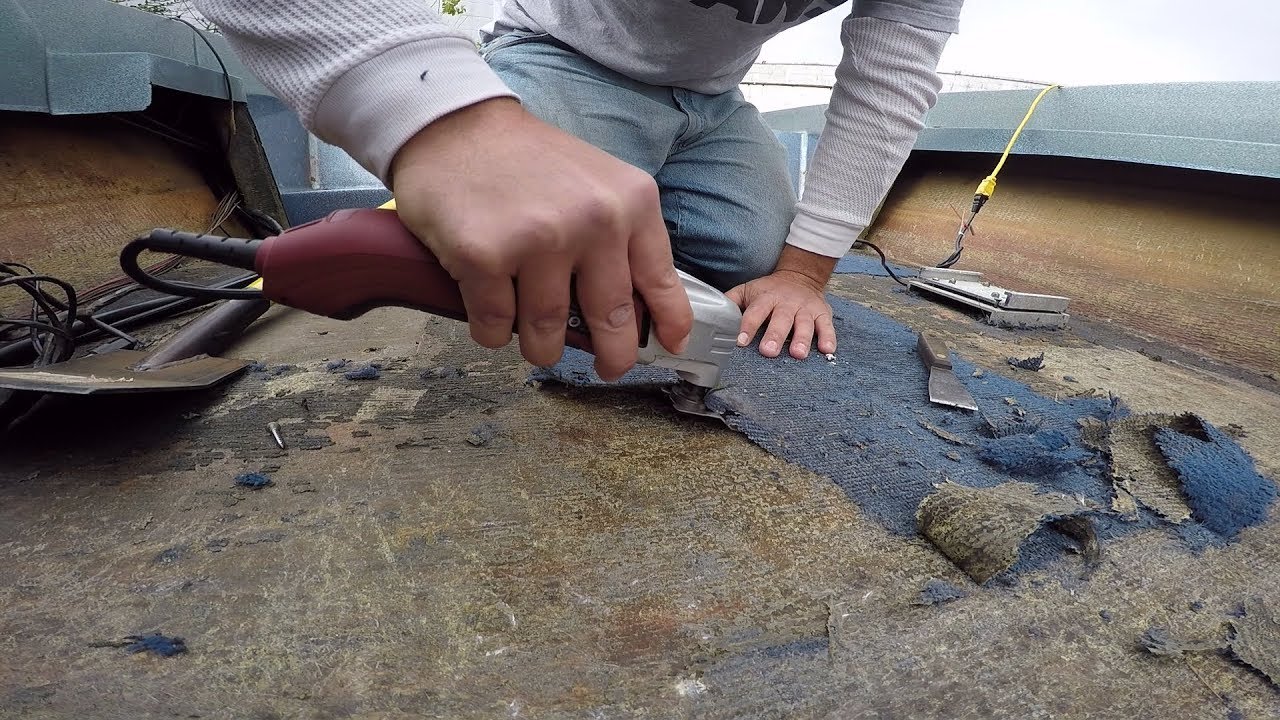
Step 1: Remove the old carpet
The first step in replacing the carpet on your boat trailer bunks is to remove the old carpet. Follow these steps:
- Start by inspecting the bunks for any screws, bolts, or staples that are securing the old carpet in place. Use a screwdriver to remove any fasteners you come across.
- Once the fasteners are removed, use a utility knife or scissors to cut the old carpet into manageable sections. This will make it easier to remove.
- Gently pull and peel away the old carpet from the bunks. If you encounter any stubborn parts, use vise grips or pliers to remove any remaining staples or nails.
- Inspect the bunks for any signs of damage or rot. If you notice any issues, make the necessary repairs or replacements before moving on to the next step.
- Thoroughly clean the bunks using a clean cloth and mild detergent to remove any dirt, grime, or adhesive residue left behind by the old carpet.
By removing the old carpet, you’re creating a clean and solid foundation for installing the new carpet on your boat trailer bunks.
Step 2: Prepare the trailer bunks
After removing the old carpet, it’s important to properly prepare the trailer bunks before installing the new carpet. Follow these steps:
- Inspect the bunks for any rough spots, cracks, or sharp edges. Use sandpaper or a file to smooth out any rough areas that could potentially damage the new carpet.
- If your trailer bunks have foam padding, check its condition. If it is worn or damaged, replace it with new foam padding to provide optimal support for your boat.
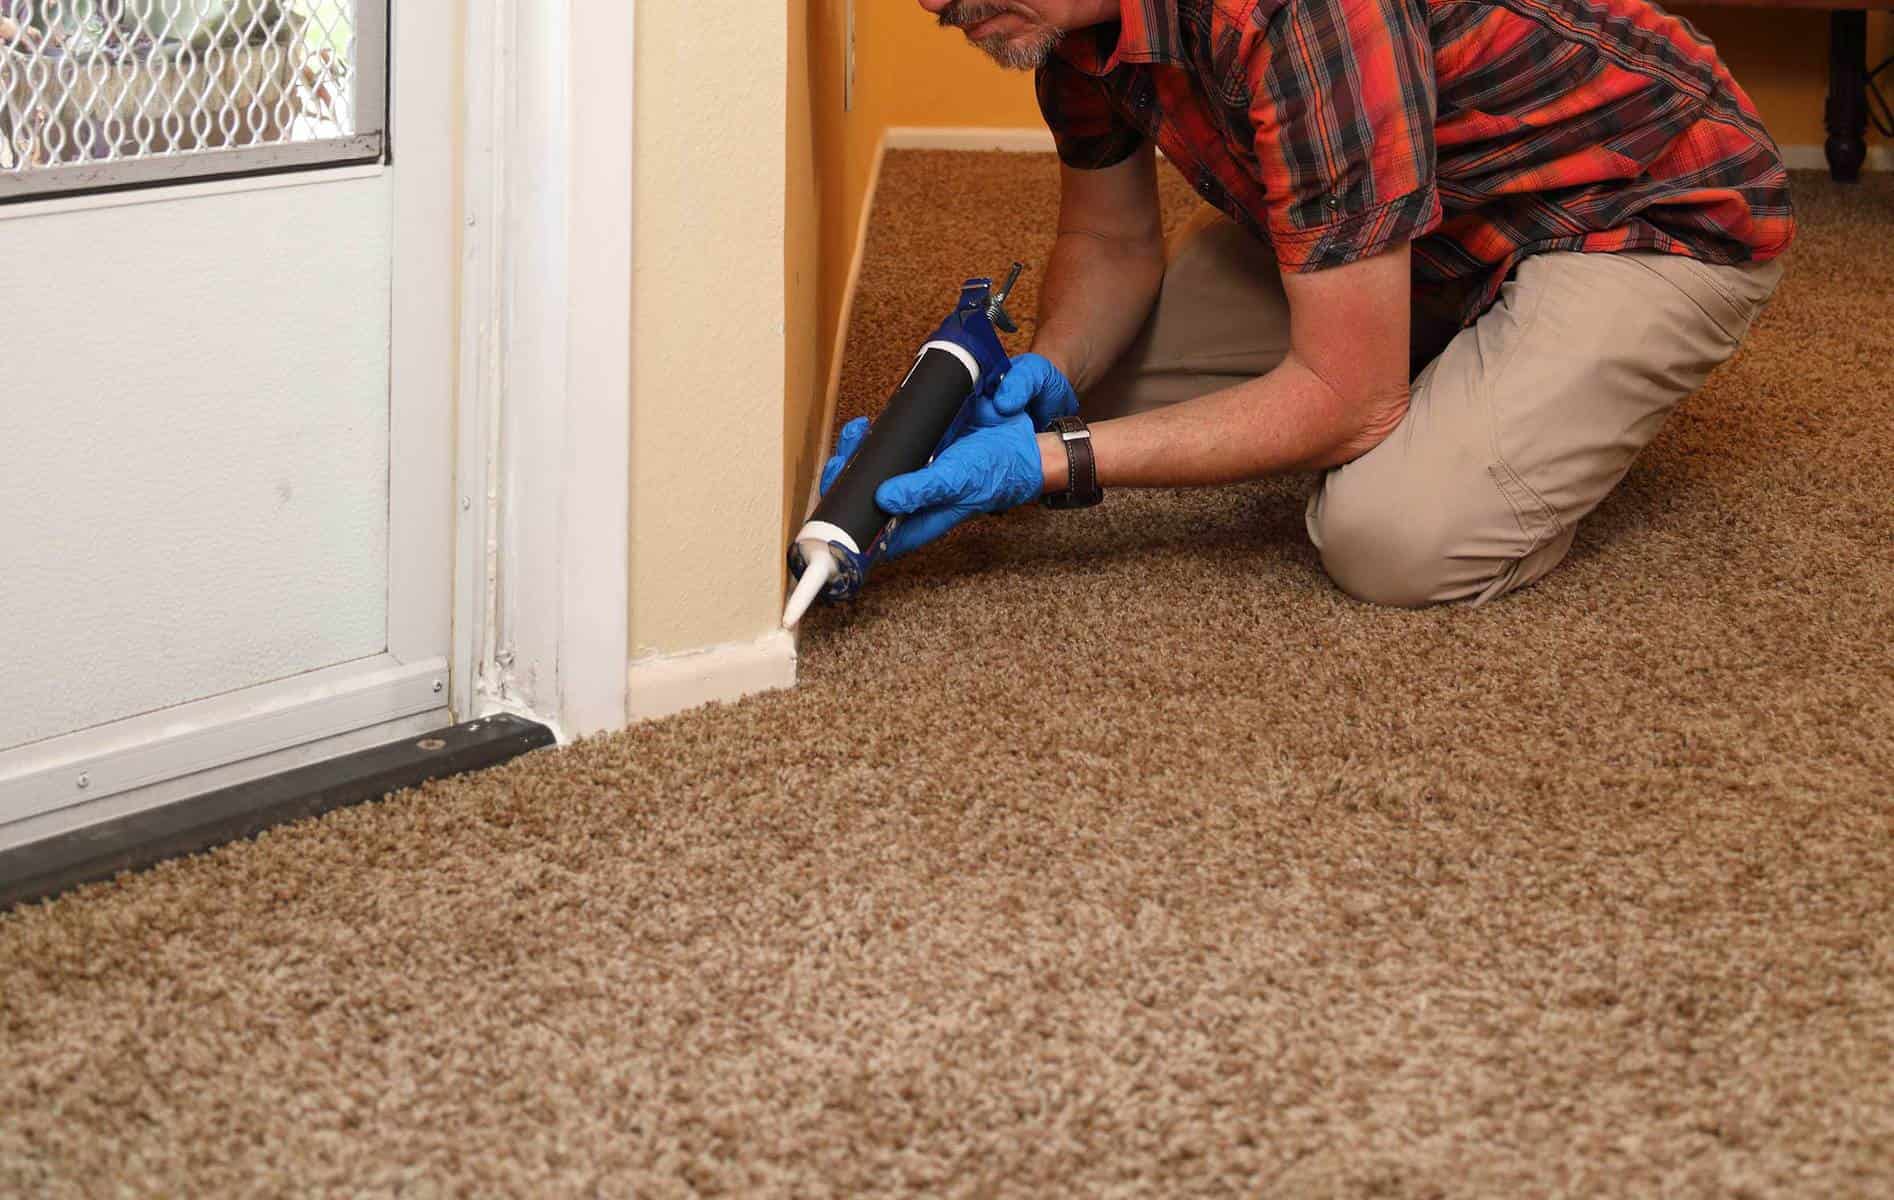
- Apply a marine-grade adhesive to the trailer bunks. This will help secure the new carpet in place and prevent it from shifting or unraveling over time. Ensure that you cover the entire surface of the bunks evenly with the adhesive.
- If you prefer to use a staple gun instead of adhesive, skip this step and wait until the next step to secure the new carpet.
By properly preparing the trailer bunks, you are ensuring a smooth and stable surface for the installation of the new carpet, promoting longevity and functionality.
Step 3: Measure and cut the new carpet
Now that the trailer bunks are prepared, it’s time to measure and cut the new carpet to fit perfectly. Follow these steps:
- Begin by measuring the length and width of each trailer bunk with a measuring tape. Make sure to account for any curves or angles along the bunks.
- Add a few extra inches to each measurement to ensure that you have enough carpet to cover the entire surface of the bunks and wrap around the edges.
- Using these measurements, mark the dimensions on the backside of the new carpet. It’s a good idea to use a straightedge or ruler to create precise lines.
- Once marked, carefully cut the carpet along the measured lines using a utility knife or scissors. Take your time and make smooth, clean cuts to achieve the best results.
- Repeat the process for each bunk, ensuring that you have a separate piece of carpet for each one.
By accurately measuring and cutting the new carpet, you are setting yourself up for a seamless and professional-looking installation on your boat trailer bunks.
When replacing the carpet on boat trailer bunks, make sure to use marine-grade carpet to ensure durability and resistance to water and UV damage. Be sure to properly secure the carpet to the bunks to prevent any shifting or movement while loading and unloading the boat.
Read more: How To Replace Boat Floor
Step 4: Attach the new carpet to the bunks
With the new carpet cut to size, it’s time to attach it to the trailer bunks. Follow these steps:
- If you’re using a marine-grade adhesive, carefully apply it to the trailer bunks in an even layer. Ensure that you cover the entire surface that will come in contact with the new carpet.
- Place the cut piece of new carpet onto the bunk, aligning it with the edges and corners. Press down firmly to ensure good adhesion between the carpet and the bunk.
- If you’re using a staple gun, position the cut piece of new carpet onto the bunk, aligning it with the edges and corners.
- Begin at one end of the bunk and staple the carpet in place, working your way along the length. Space the staples evenly, approximately every 4-6 inches, to ensure a secure attachment.
- Continue this process, stretching the carpet slightly as you move along, to ensure a tight and wrinkle-free fit. Trim off any excess carpet as needed.
By attaching the new carpet securely to the trailer bunks, you are ensuring that it will stay in place during transportation and provide adequate support and protection for your boat.
Step 5: Secure the edges of the carpet
After attaching the main portion of the new carpet to the trailer bunks, it’s important to secure the edges to ensure a neat and professional finish. Follow these steps:
- Starting at one end of the bunk, fold the excess carpet over the edge and onto the side of the bunk.
- Using a staple gun or marine-grade adhesive, secure the folded edge of the carpet to the side of the bunk. Space the staples evenly or apply adhesive along the edge to create a secure bond.
- Continue folding and securing the excess carpet along the length of the bunk, repeating the process on the other side as well.
- Trim off any excess carpet as needed, ensuring a clean and tidy appearance.
- Inspect the secured edges to make sure they are firmly in place and there are no loose areas that could catch or cause damage.
By securing the edges of the carpet, you are preventing it from unraveling or coming loose over time, ensuring a long-lasting and professional-looking installation on your boat trailer bunks.
Step 6: Inspect and test the new carpet
With the new carpet installed and secured, it’s important to thoroughly inspect and test its functionality before putting your boat back onto the trailer. Follow these steps:
- Take a close look at the entire surface of the new carpet. Check for any noticeable wrinkles, bulges, or areas that were not properly secured. If you find any issues, address them by reattaching or adjusting the carpet as needed.
- Run your hand along the surface of the carpet, feeling for any rough spots, exposed staples, or uneven areas. Smooth out any imperfections using a rubber or plastic mallet to ensure a safe and comfortable surface for your boat.
- If your boat has not been on the trailer throughout the installation process, carefully lift it onto the trailer and position it onto the bunks.
- Observe how the boat rests on the new carpet. Take note of any areas where the boat is not fully supported or experiencing unnecessary pressure. Adjust the carpet or make additional modifications to ensure proper support and weight distribution.
- Take your boat for a short test trailer to ensure that the new carpet provides a smooth and secure ride. Pay attention to any unusual noises or vibrations that may indicate potential issues with the carpet installation.
By thoroughly inspecting and testing the new carpet, you can have peace of mind knowing that it is properly installed and capable of providing the necessary support and protection for your boat during transportation and storage.
Conclusion
Replacing the carpet on your boat trailer bunks is a simple yet important maintenance task that ensures the continued support and protection of your boat during transportation and storage. By following the steps outlined in this article and using the necessary tools and materials, you can successfully replace the old carpet with a fresh and functional one.
Throughout the process, it’s crucial to pay attention to detail and take the time to properly prepare the bunks, measure and cut the new carpet, and secure it in place. This will result in a professional-looking and long-lasting installation.
Remember, regular maintenance and inspection of your boat trailer bunks, including the carpet, is essential for the overall longevity and performance of your boat. By maintaining a sturdy and well-cared-for trailer, you can ensure safe and smooth transportation for your boat, reducing the risk of damage or mishaps.
So, take the time to assess the condition of your trailer bunks and if needed, follow the steps outlined in this article to replace the carpet. Your boat will thank you for the added protection and support.
Frequently Asked Questions about How To Replace The Carpet On Boat Trailer Bunks
Was this page helpful?
At Storables.com, we guarantee accurate and reliable information. Our content, validated by Expert Board Contributors, is crafted following stringent Editorial Policies. We're committed to providing you with well-researched, expert-backed insights for all your informational needs.