Home>Home Maintenance>How To Connect Trailer Drainage To House Drainage
Home Maintenance
How To Connect Trailer Drainage To House Drainage
Modified: March 7, 2024
Learn how to connect trailer drainage to your house drainage system with our expert home maintenance tips. Ensure proper water drainage for your home and trailer.
(Many of the links in this article redirect to a specific reviewed product. Your purchase of these products through affiliate links helps to generate commission for Storables.com, at no extra cost. Learn more)
Introduction
Welcome to our comprehensive guide on how to connect trailer drainage to house drainage. If you have a trailer or RV parked in your backyard and you’re tired of dealing with separate drainage systems, connecting them together can make your life much easier. By integrating your trailer drainage with your house drainage system, you’ll be able to eliminate the need for separate maintenance and disposal. Whether it’s wastewater from your kitchen, bathroom, or laundry facilities, a proper connection can ensure that all waste flows seamlessly into your main sewer line.
Connecting trailer drainage to house drainage may seem like a daunting task at first, but with the right equipment and a step-by-step approach, you can successfully integrate the two systems. In this guide, we’ll take you through the entire process, from assessing your existing drainage system to troubleshooting any potential issues you may encounter along the way. By following our advice and guidelines, you’ll be able to enjoy the convenience and efficiency of a unified drainage system.
It’s important to note that before you proceed with connecting your trailer drainage to your house drainage, you should consult with a local plumbing professional or familiarize yourself with your local building codes and regulations. It’s essential to ensure that you’re adhering to all legal requirements and safety standards when making any modifications to your plumbing system.
Now, let’s dive into the step-by-step process of connecting your trailer drainage to your house drainage and make your home maintenance tasks a breeze!
Key Takeaways:
- Simplify home maintenance by connecting trailer drainage to house drainage for seamless waste disposal. Follow our step-by-step guide for an efficient and convenient integrated system.
- Ensure a smooth connection by assessing your drainage system, choosing the right equipment, and testing for proper functionality. Enjoy the convenience of a unified drainage system with our expert tips.
Read more: How To Design Drainage For A House
Step 1: Assessing the Drainage System
Before you begin the process of connecting your trailer drainage to your house drainage, it’s crucial to assess your existing drainage system. This step will help you understand the layout, capacity, and condition of your current setup, allowing you to plan for the integration effectively.
Here are a few essential aspects to consider when assessing your drainage system:
- Layout: Take note of the location of your main sewer line and the distance between it and your trailer. This will help you determine the length of pipe and any additional materials you may need for the connection.
- Diameter and Capacity: Measure the diameter of your existing drainage pipes to ensure compatibility with the equipment you’ll be using to connect your trailer drainage. Additionally, consider the capacity of your current system and whether it can handle the increased load from your trailer waste.
- Obstructions: Inspect the area around your main sewer line for any obstructions that may hinder the connection process, such as tree roots, concrete slabs, or other buried utilities. Clearing any obstacles beforehand will save you time and effort during the installation.
- Drainage Slope: Check the slope of your existing drainage pipes to ensure proper flow. Gravity plays a significant role in drainage, and it’s essential to maintain a downward slope to allow waste to move smoothly. If the slope is insufficient, you may need to make adjustments or install additional drainage pipes to ensure efficient flow.
- Local Regulations: Research the building codes and regulations in your area regarding connecting trailer drainage to house drainage. Some jurisdictions may have specific requirements or restrictions that need to be followed to ensure compliance.
By thoroughly assessing your drainage system before proceeding, you’ll have a clear understanding of the necessary steps and materials required for the connection. It will also help you anticipate any potential challenges or modifications that need to be made to achieve a successful integration.
Once you have assessed your drainage system, it’s time to move on to the next step: choosing the right equipment for the connection.
Step 2: Choosing the Right Equipment
Choosing the right equipment is crucial when connecting your trailer drainage to your house drainage. It ensures the compatibility and efficiency of the connection, minimizing the risk of leaks or other plumbing issues. Here are the key considerations for selecting the right equipment:
- Connector Types: There are various types of connectors available to join your trailer drainage to your house drainage, including rubber couplings, PVC connectors, and compression fittings. Consider the compatibility of these connectors with your existing drainage pipes and choose the one that offers a secure and watertight connection.
- Pipe Material: Select the appropriate pipe material based on your specific needs and local building codes. Common options include PVC, ABS, and HDPE. Ensure that the pipe material is durable, corrosion-resistant, and suitable for the type of waste being discharged.
- Pipe Diameter: Measure the diameter of your existing drainage pipes and choose a connector and pipe that match the size. This will ensure a seamless and efficient connection, preventing any potential blockages or restrictions in the flow.
- Sealants and Adhesives: Depending on the connector and pipe material you choose, you may need sealants or adhesives to ensure a watertight connection. Research the recommended sealants for the specific materials you’re working with and follow the manufacturer’s instructions for proper application.
- Additional Equipment: In some cases, you may need additional equipment such as pipe clamps, supports, or hangers to secure the connection and ensure stability. Assess the specific requirements of your setup and acquire any necessary additional equipment.
When choosing equipment, it is always a good practice to consult with a plumbing professional or knowledgeable staff at your local hardware store. They can provide expert advice on the best options for your situation and help ensure that you have all the necessary components for a successful connection.
Now that you have chosen the right equipment, it’s time to move on to the next step: preparing the trailer drainage.
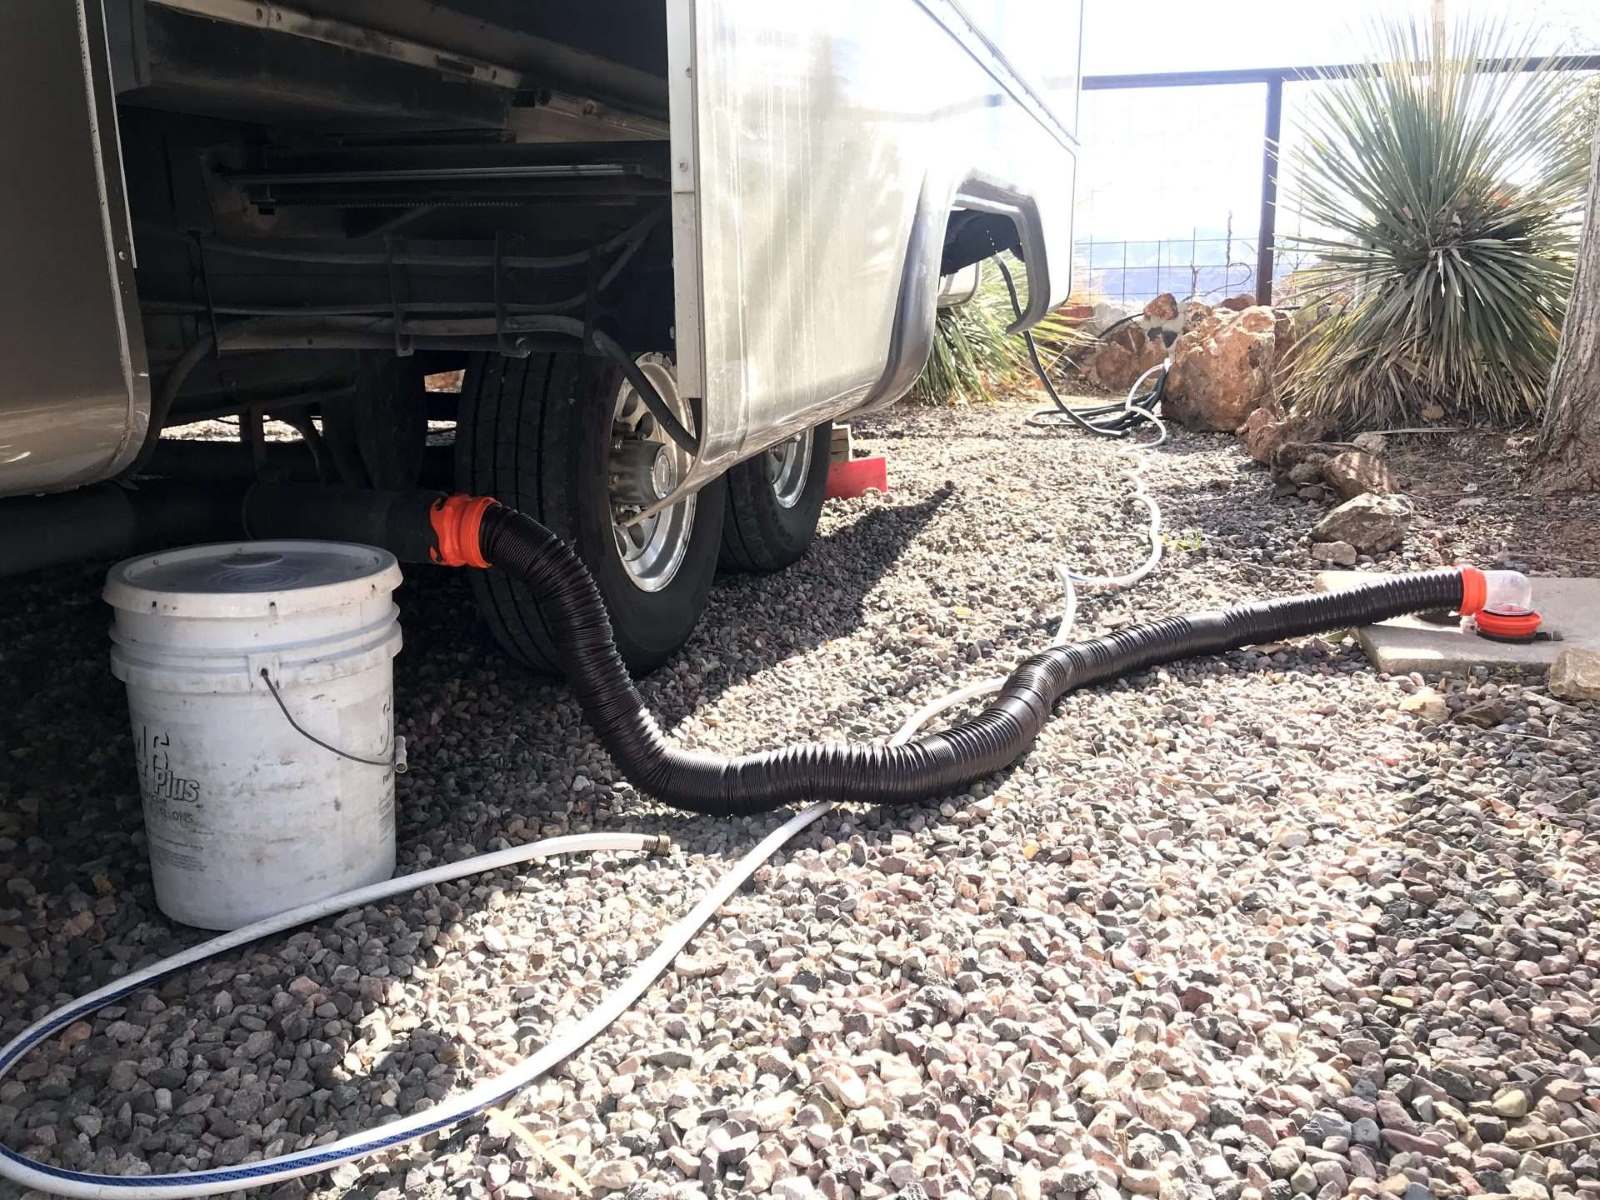
Step 3: Preparing the Trailer Drainage
Preparing the trailer drainage is a crucial step in ensuring a smooth and effective connection to the house drainage system. Proper preparation will help create a secure and durable connection, preventing any leaks or issues down the line. Here’s what you need to do:
- Locate the Trailer Drain Outlet: Find the drain outlet on your trailer. It is typically located on the underside of the vehicle, near the bathroom or kitchen area. Ensure that the outlet is clear of any debris or obstructions.
- Remove the Existing Cap or Plug: If there is a cap or plug covering the trailer drain outlet, remove it carefully. Set it aside for future use if needed.
- Clean the Trailer Drain Outlet: Clean the drain outlet thoroughly, removing any dirt, grease, or residue. Use a brush or a soft cloth and a mild detergent if necessary. A clean surface will ensure a better seal when connecting the drainage system.
- Inspect the Trailer Drain Hose: Examine the condition of the trailer drain hose. Check for any cracks, leaks, or damage. If the hose is damaged, it may need to be replaced before proceeding with the connection.
- Measure the Length of the Trailer Drain Hose: Measure the length of the trailer drain hose to determine the amount needed for the connection to the house drainage system. It’s essential to have the right length to reach the main sewer line without any tension or stretching.
- Cut the Trailer Drain Hose: Using a sharp utility knife or a pipe cutter, cut the trailer drain hose to the desired length. Take accurate measurements and ensure a clean, straight cut.
- Smooth the Edges: After cutting the hose, smooth the edges using sandpaper or a file to remove any rough or sharp edges. This will help create a better fit and prevent any damage to the connectors or pipes.
By properly preparing the trailer drainage, you’ll be ready to proceed with connecting it to the house drainage system. Taking the time to clean, inspect, and measure will ensure a seamless integration, allowing for efficient wastewater disposal.
Next, we’ll move on to the exciting part – connecting the trailer drainage to the house drainage!
Make sure to use a proper adapter to connect the trailer drainage to the house drainage. It’s important to ensure a secure and watertight connection to prevent any leaks or damage to the house drainage system.
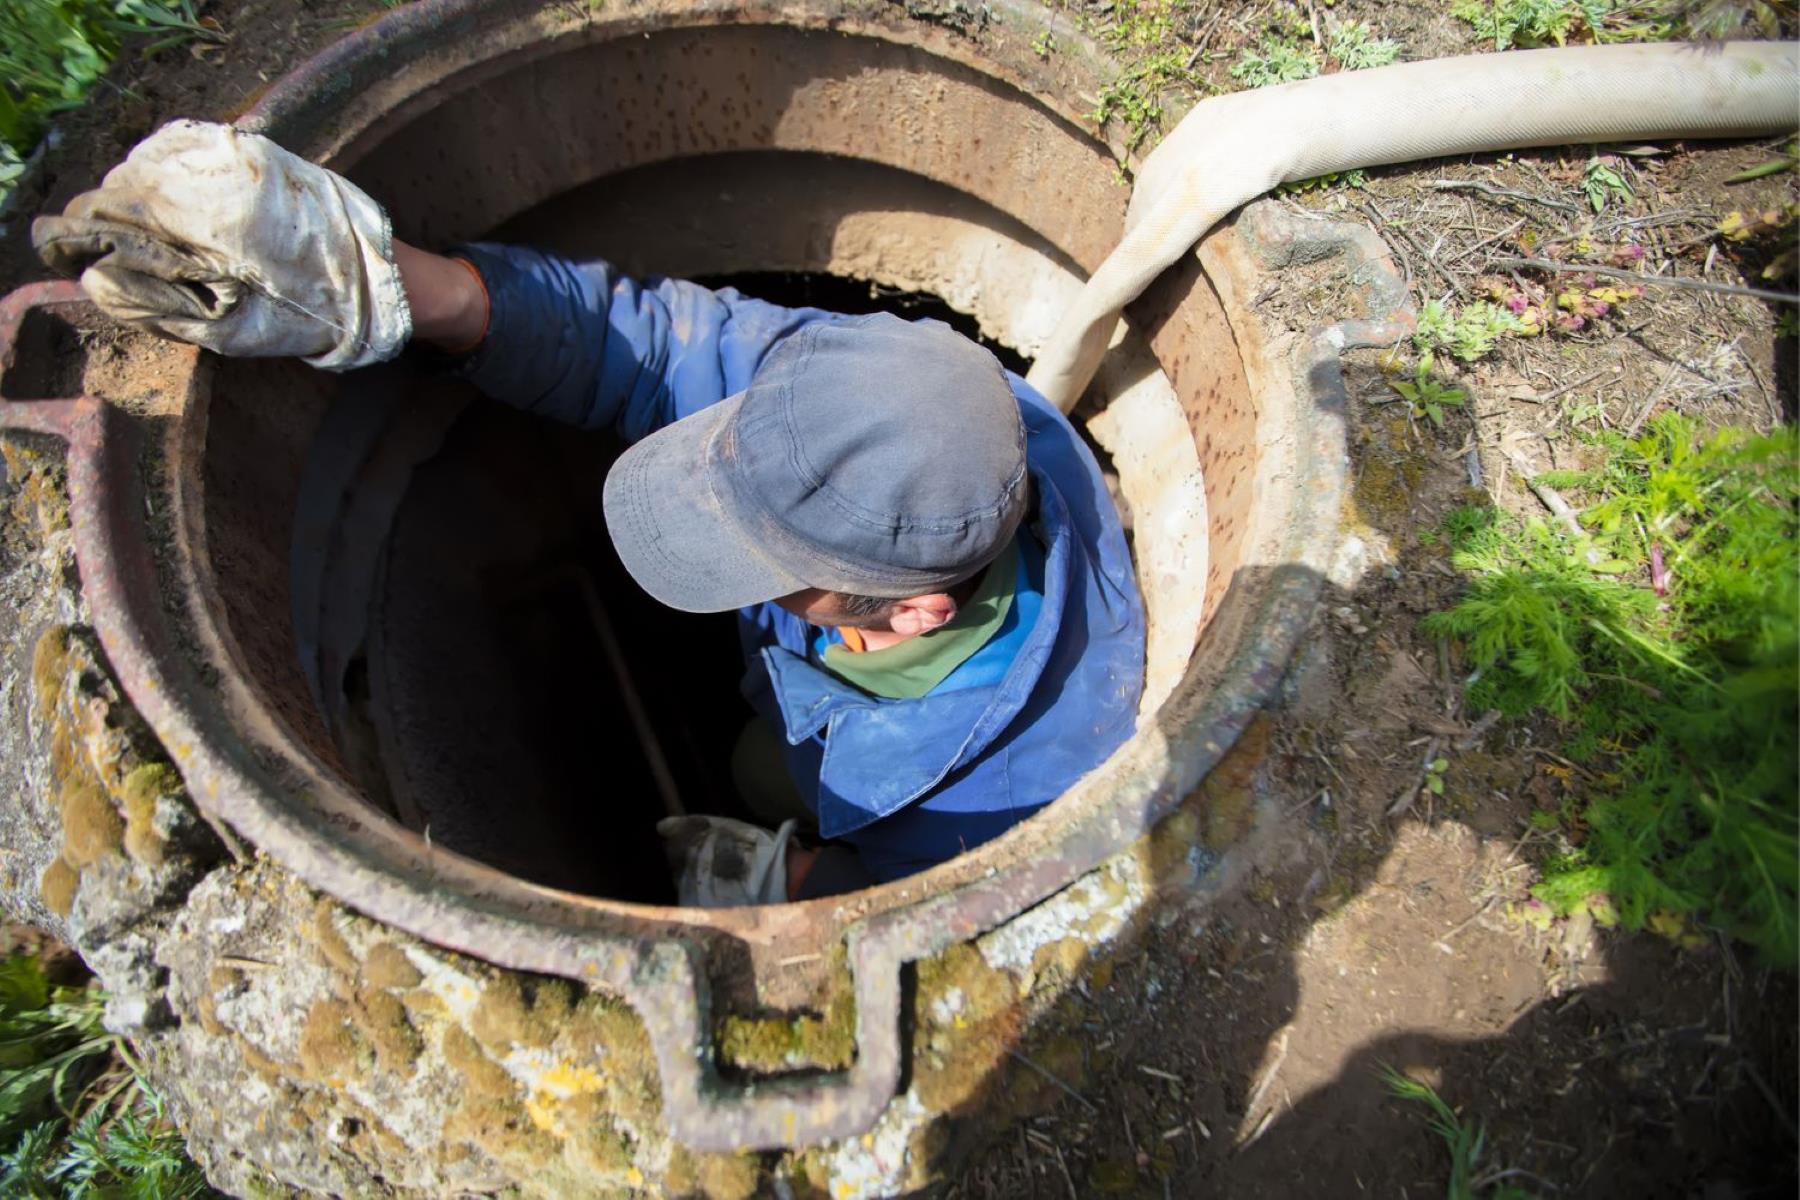
Step 4: Connecting the Trailer Drainage to the House Drainage
Now that you have prepared the trailer drainage, it’s time to connect it to the house drainage system. This step involves physically joining the trailer drain hose to the existing sewer line of your house. Follow these steps to ensure a proper and secure connection:
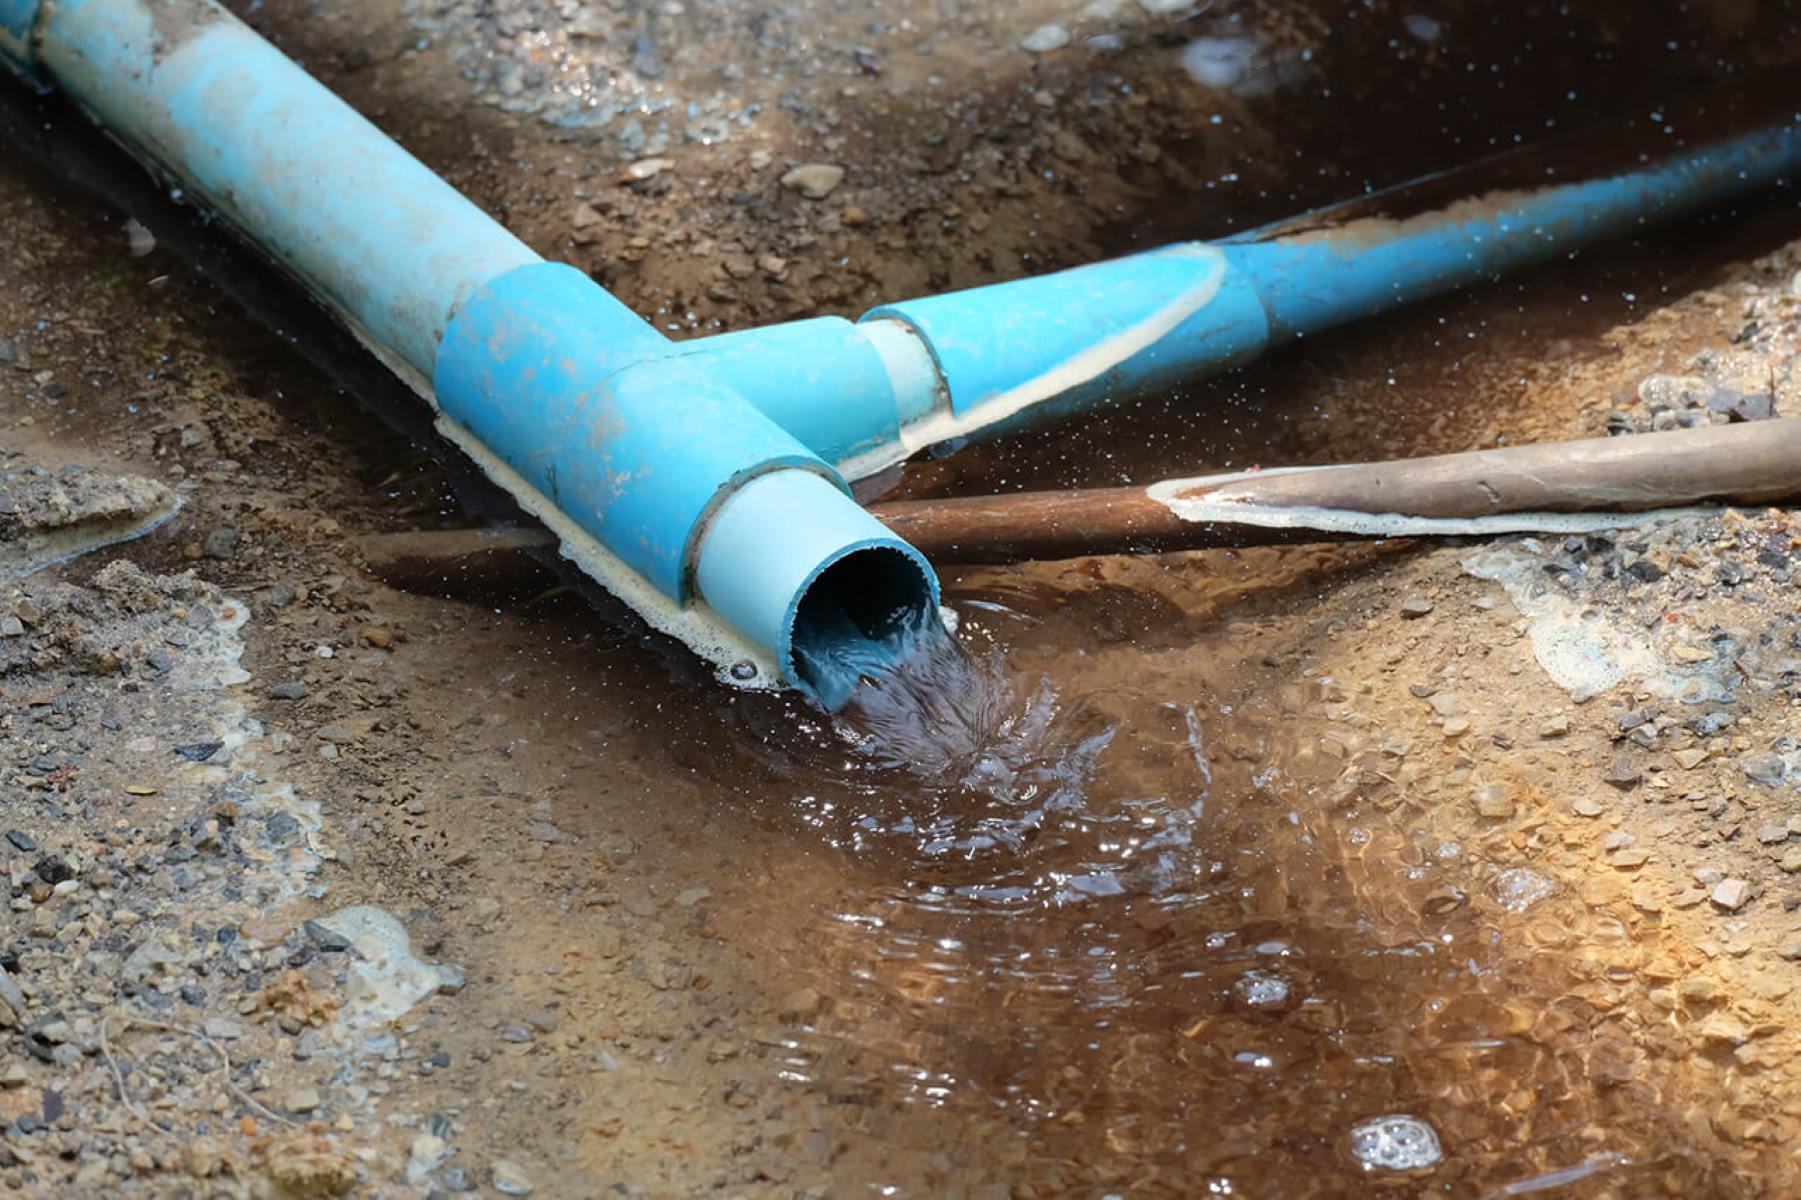
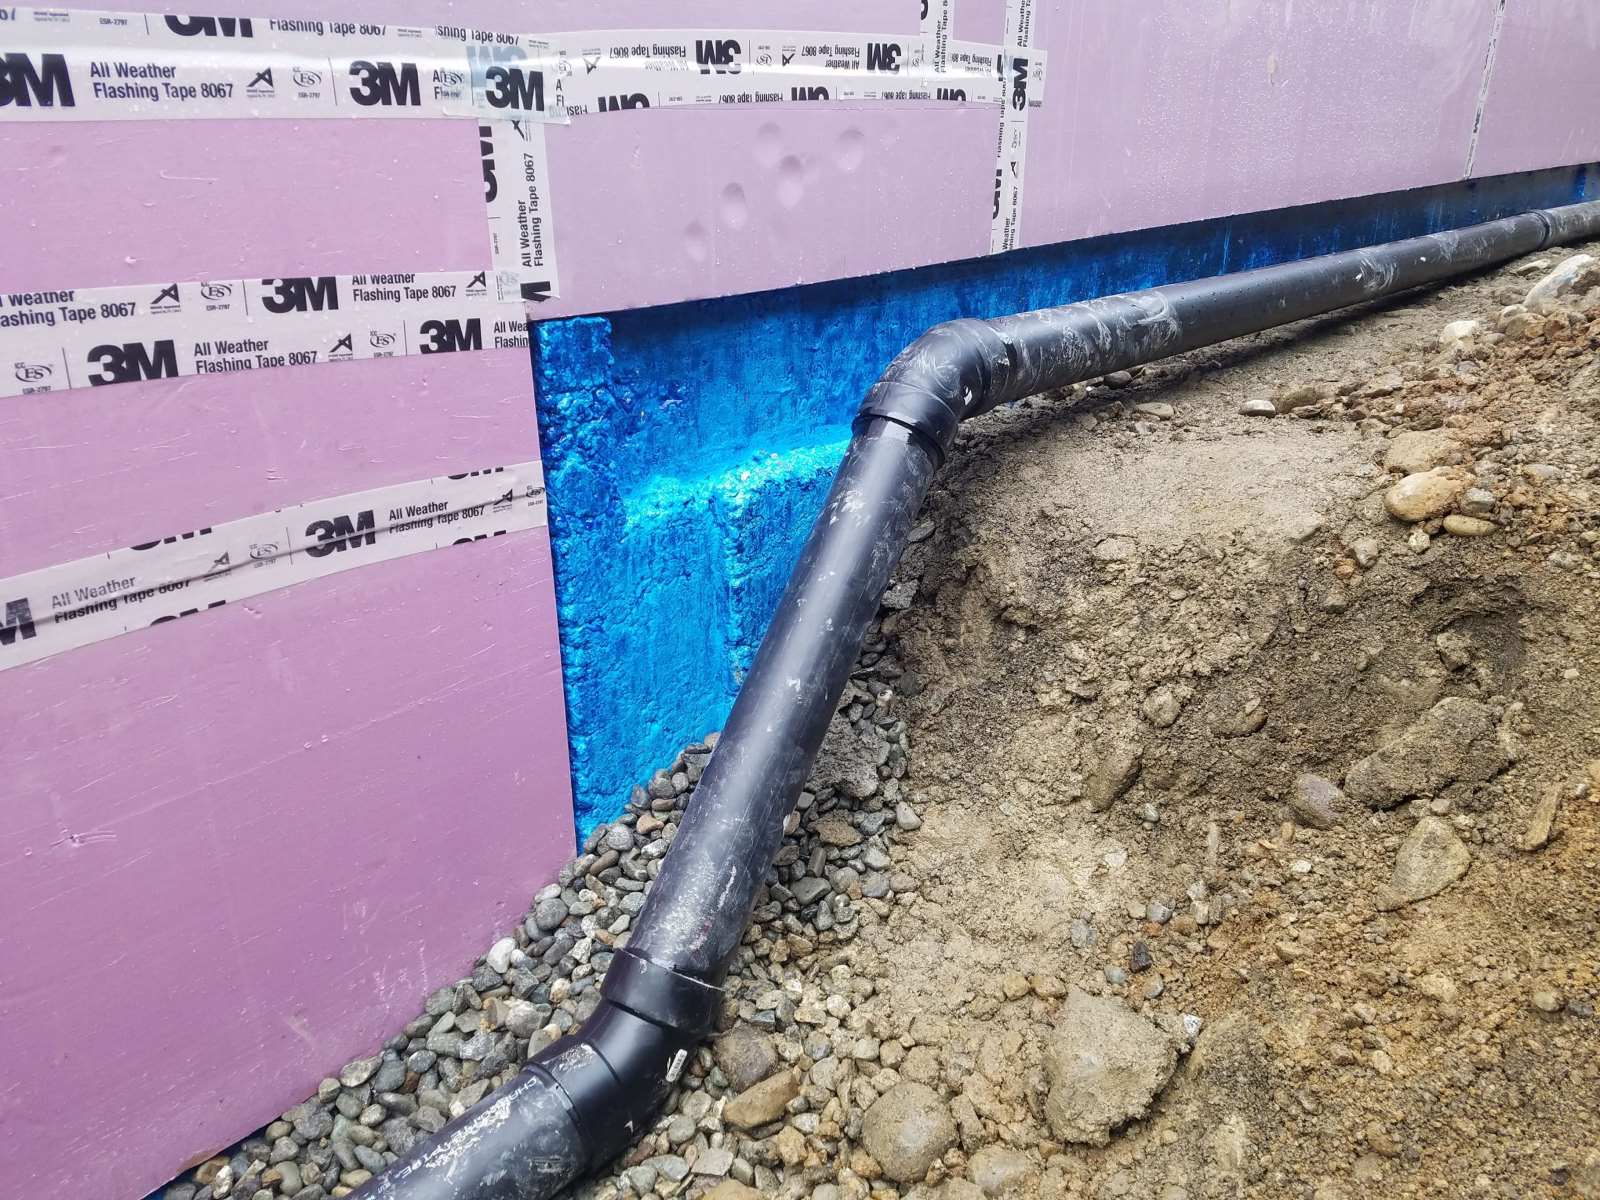
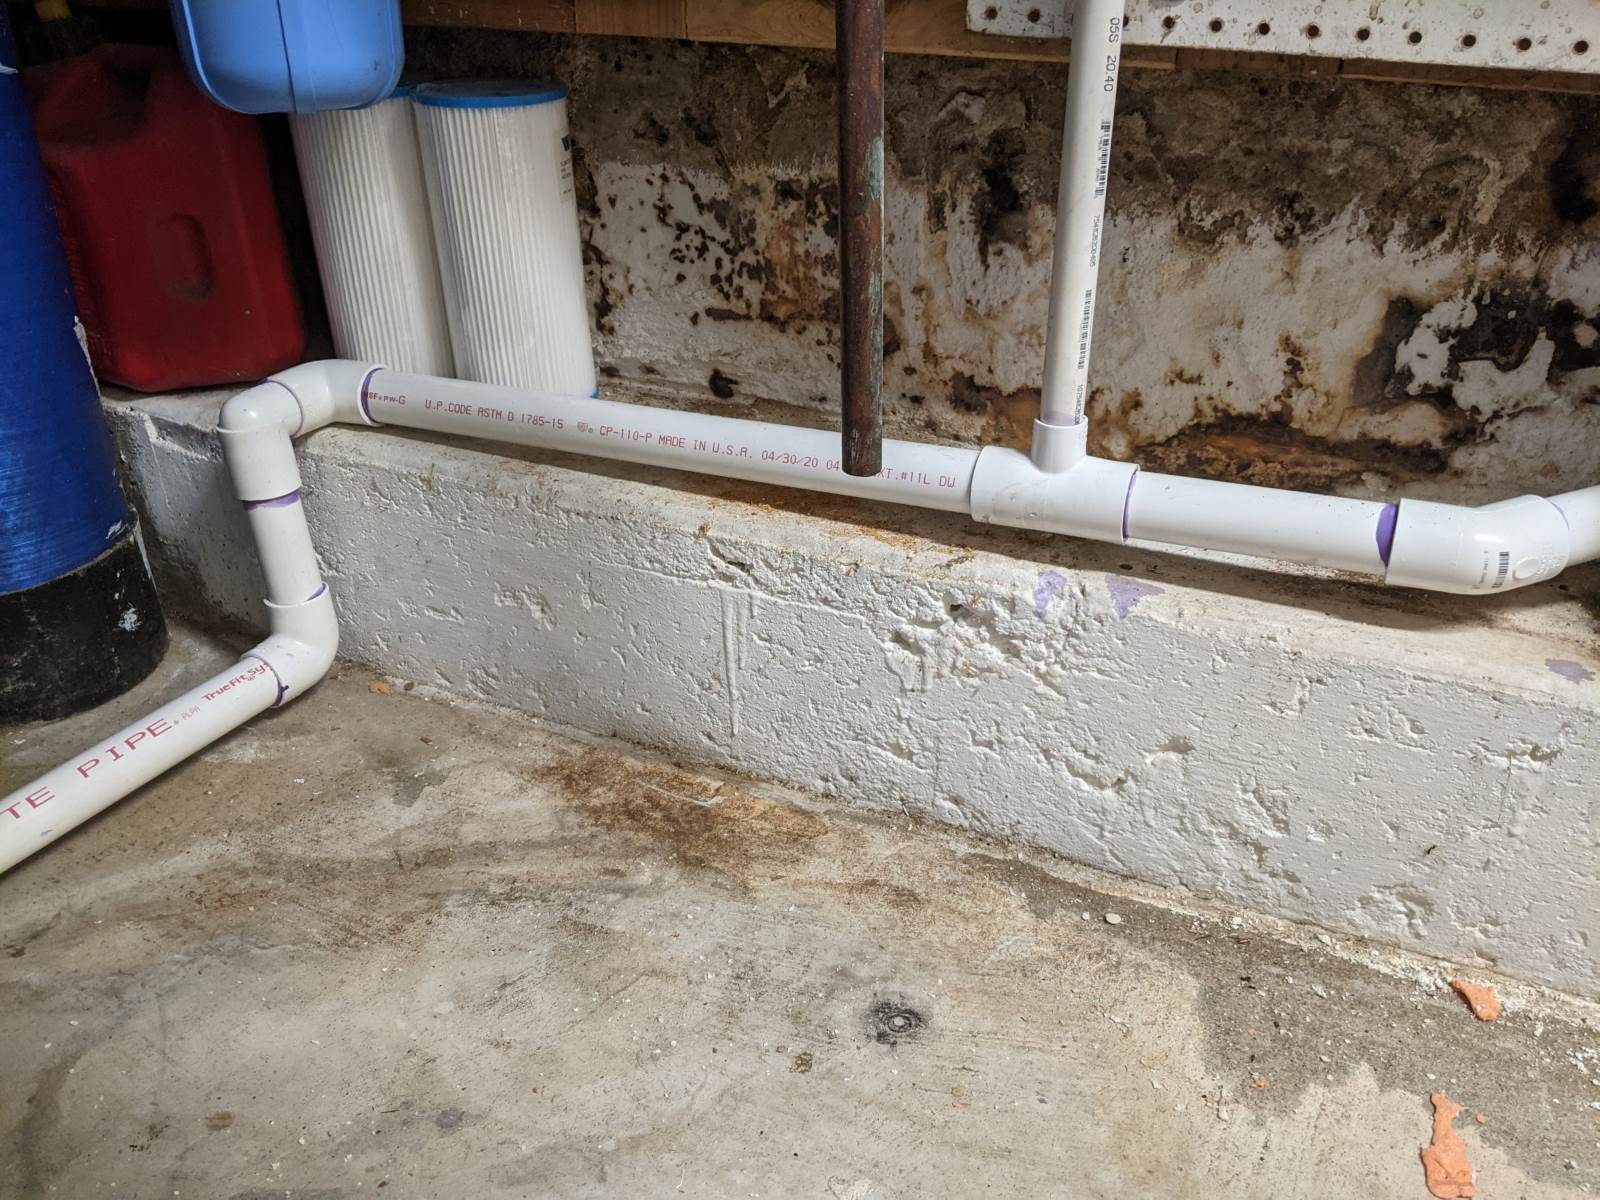
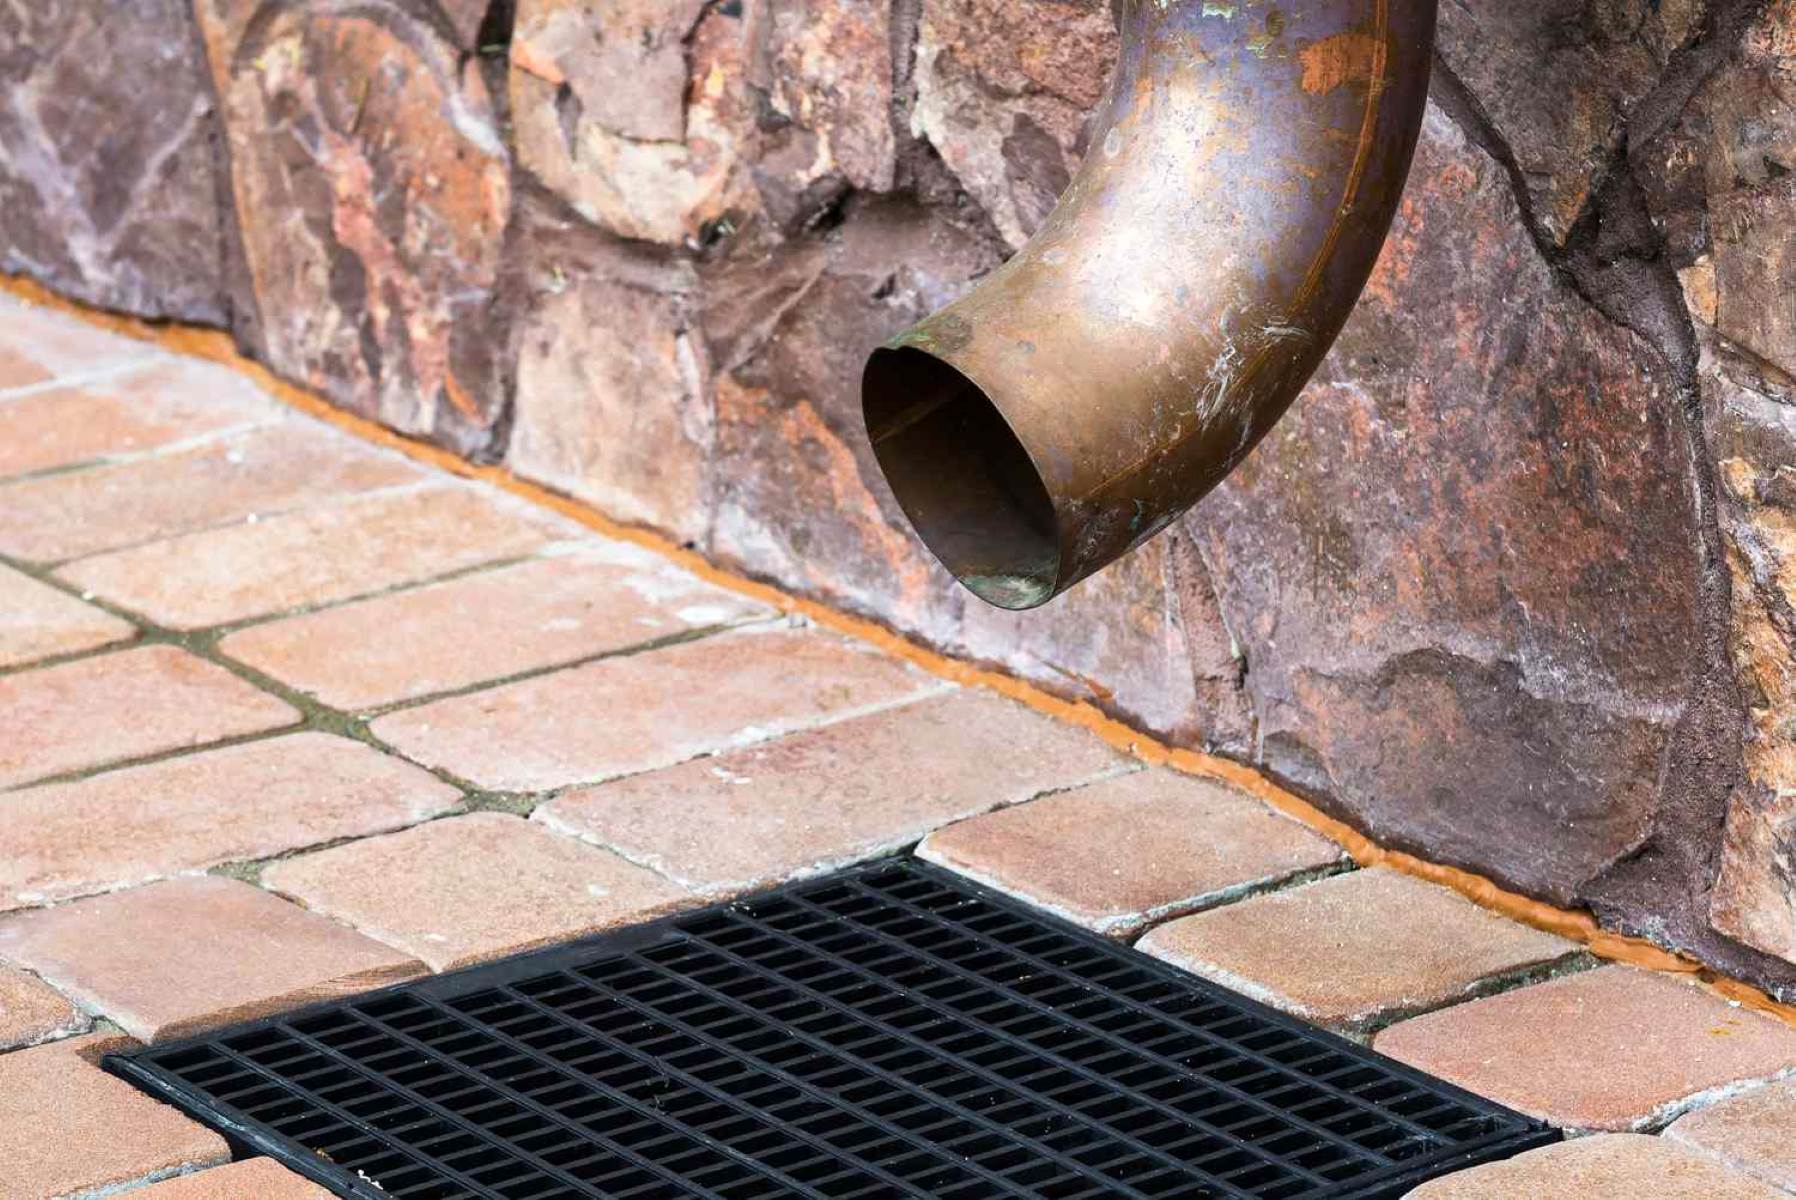
- Locate the House Sewer Line: Identify the location of your house sewer line. It is typically found in the basement or crawlspace, near the foundation of your home. If you’re unsure, consult your local building plans or contact a professional plumber for assistance.
- Prepare the House Drainage Connection Point: If there is an existing opening or access point in your house sewer line, ensure that it is clean and free of any obstructions. If there isn’t an open connection point, you may need to create one using a pipe cutter or appropriate tools.
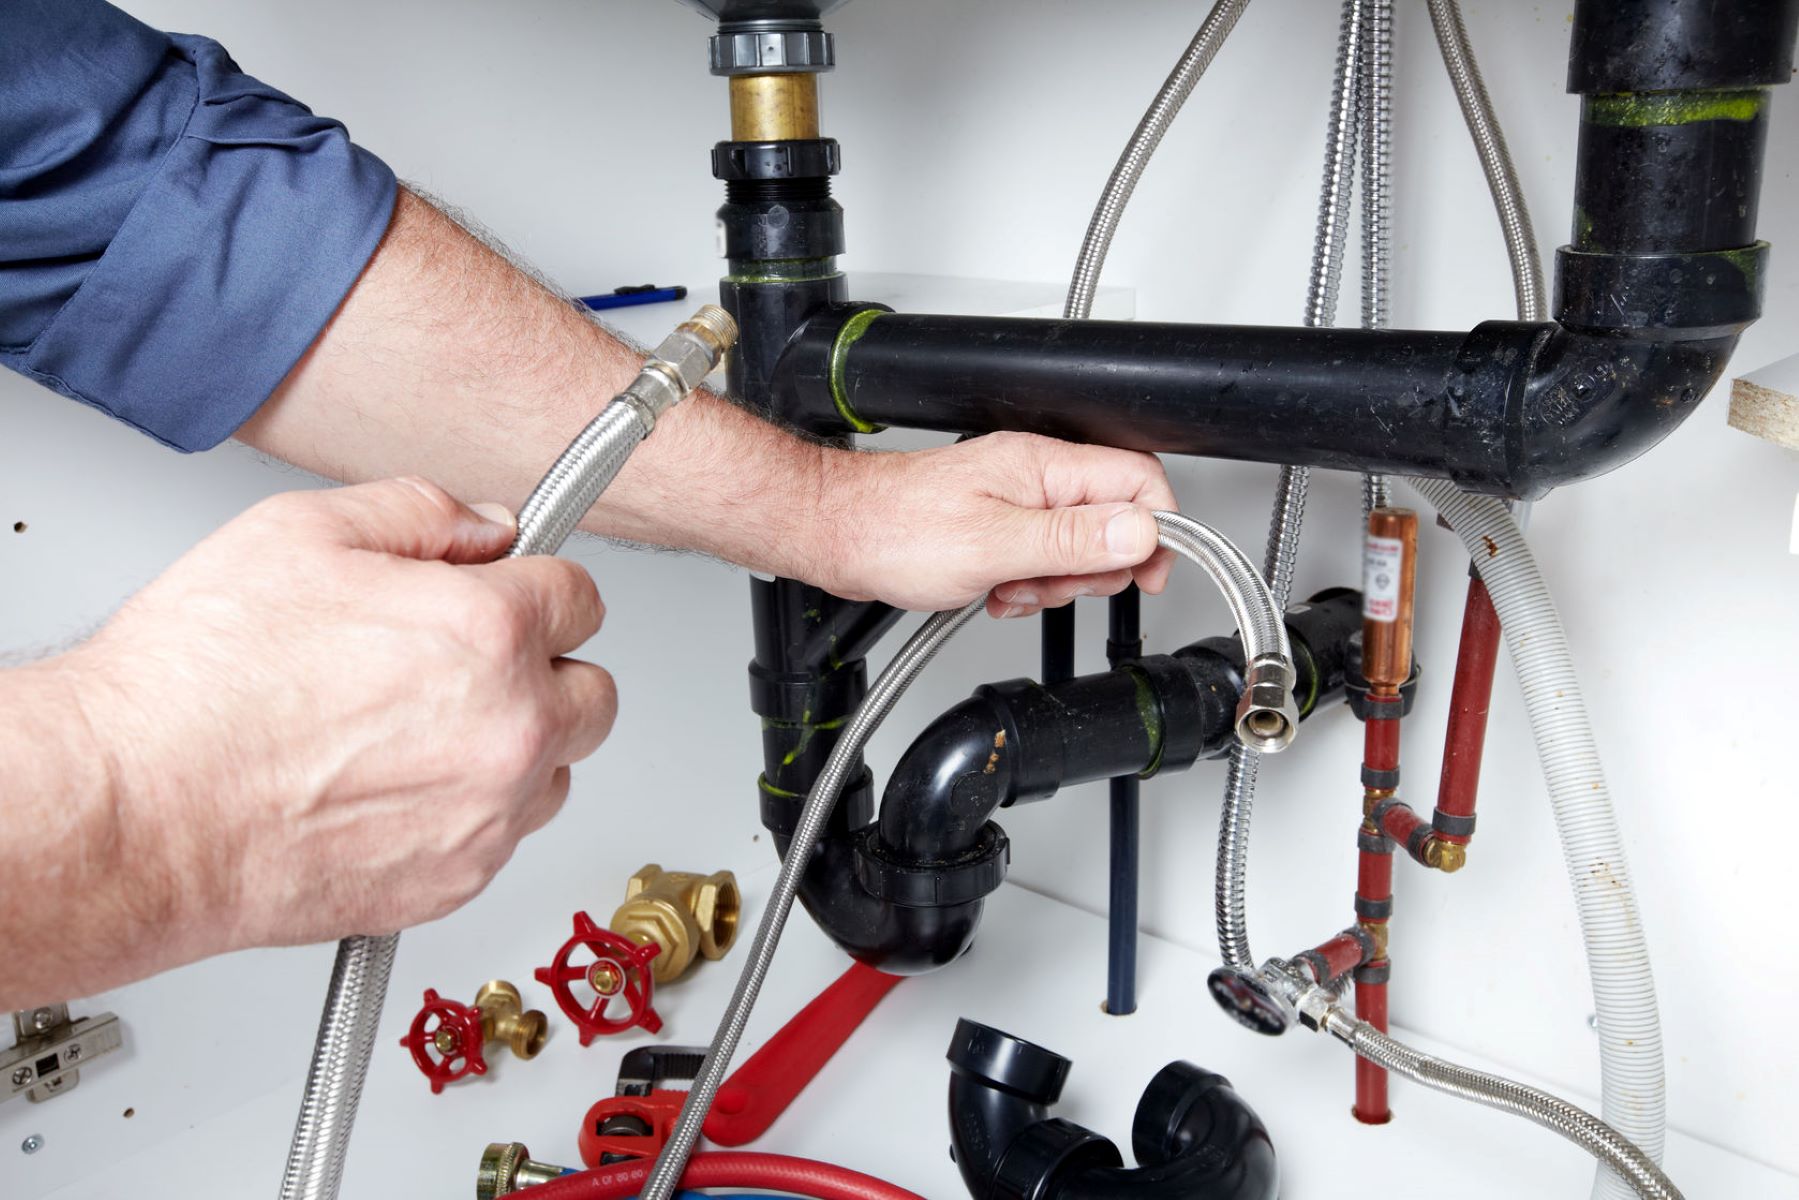
- Attach an Adapter or Connector: Using the appropriate connector or adapter, join the trailer drain hose to the house sewer line. Ensure a tight and secure fit, following the manufacturer’s guidelines. Apply sealant or adhesive, if necessary, to create a watertight seal.
- Secure the Connection: Once the adapter or connector is in place, secure the connection using pipe clamps, hose clamps, or other appropriate fasteners. This will ensure stability and prevent any leaks or disconnections.
- Test the Connection: Before finalizing the connection, perform a thorough check to ensure its functionality. Run water through the trailer drainage system to verify that waste flows smoothly into the house sewer line. Monitor for any leaks or drainage issues and address them promptly.
It is important to note that depending on your specific setup and local building regulations, you may need to obtain additional permits or consult a professional plumber for assistance during the connection process. Following local codes and regulations will ensure that your plumbing installation is safe, compliant, and efficient.
Now that the trailer drainage is connected to the house drainage system, it’s time to move on to the final step: testing and troubleshooting.
Read more: What Is My House’s Standard Drainage Size
Step 5: Testing and Troubleshooting
After connecting the trailer drainage to the house drainage, it’s essential to thoroughly test the system to ensure it is functioning properly. Testing will help identify any potential issues or leaks, allowing you to troubleshoot and resolve them promptly. Follow these steps to test and troubleshoot your newly connected drainage system:
- Run Water Through the System: Turn on the water in your trailer, such as the kitchen sink or bathroom faucet, and observe how the waste flows through the connected drainage system. Check for any slowdowns, clogs, or unusual noises.
- Monitor for Leaks: Inspect the connection points and the entire length of the trailer drain hose for any signs of leakage. Gently tighten any loose fittings or connections to eliminate leaks. If leaks persist, you may need to replace faulty connectors or seek professional assistance.
- Check for Proper Drainage: Ensure that waste is properly draining into the house sewer line and that there are no blockages or backup issues. Monitor the flow of wastewater to confirm that it moves smoothly and efficiently through the system.
- Revisit the Slope: Verify that the drainage pipes maintain the proper slope for gravity flow. Address any areas where water may pool or collect, as this can lead to blockages over time. Adjust the slope of the drainage pipes if necessary.
- Address Any Issues: If you encounter any issues, such as slow drainage, foul odors, or persistent leaks, it’s important to troubleshoot and address them promptly. Check for potential causes, such as clogs or improper installation, and take the necessary steps to resolve the problem.
Remember, if you’re unsure about any aspect of testing or troubleshooting, it’s always best to consult with a professional plumber. They can provide expert guidance and assistance to ensure that your connected trailer drainage system is functioning optimally.
Congratulations! You have successfully connected your trailer drainage to the house drainage system. By following this step-by-step guide and taking the necessary precautions, you have created a seamless and convenient solution for wastewater disposal. Enjoy the convenience of a unified drainage system!
Now that you’re familiar with the process of connecting trailer drainage to house drainage, you can confidently tackle this home maintenance task whenever the need arises.
Conclusion
Connecting your trailer drainage to your house drainage system can greatly simplify your home maintenance tasks and improve the overall efficiency of your wastewater disposal. By following the steps outlined in this comprehensive guide, you can successfully integrate the two systems, eliminating the need for separate maintenance and disposal methods.
Throughout the process, it’s important to assess your existing drainage system, choose the right equipment, prepare the trailer drainage, and make a secure and watertight connection to the house drainage. Testing and troubleshooting are also crucial to ensure that everything is functioning properly and to address any potential issues or leaks.
However, it’s worth noting that before making any modifications to your plumbing system, it’s essential to consult with a local plumbing professional or familiarize yourself with the building codes and regulations in your area. Adhering to these requirements will ensure that your installation is safe, compliant, and efficient.
By connecting your trailer drainage to your house drainage, you’ll experience the convenience of a unified system and eliminate the hassle of dealing with separate wastewater disposal methods. From the kitchen sink to the bathroom and laundry facilities, all waste will seamlessly flow into your main sewer line.
We hope this guide has provided you with valuable insights and guidance on how to connect your trailer drainage to your house drainage. By following the step-by-step instructions and taking the necessary precautions, you can successfully complete this home maintenance task and enjoy the benefits of an integrated drainage system.
Remember, if you ever feel unsure or encounter any difficulties during the process, don’t hesitate to seek professional assistance. A licensed plumber will have the expertise and knowledge to help you navigate any challenges and ensure a successful connection.
With proper planning, the right equipment, and careful execution, you can connect your trailer drainage to your house drainage with confidence. Say goodbye to separate maintenance and disposal and embrace the efficiency and convenience of a unified system!
Frequently Asked Questions about How To Connect Trailer Drainage To House Drainage
Was this page helpful?
At Storables.com, we guarantee accurate and reliable information. Our content, validated by Expert Board Contributors, is crafted following stringent Editorial Policies. We're committed to providing you with well-researched, expert-backed insights for all your informational needs.


0 thoughts on “How To Connect Trailer Drainage To House Drainage”