Home>Home Security and Surveillance>D-Link Outdoor Camera: How To Use With Plug
Home Security and Surveillance
D-Link Outdoor Camera: How To Use With Plug
Modified: March 6, 2024
Learn how to use the D-Link outdoor camera with plug for enhanced home security and surveillance. Follow our step-by-step guide and ensure your property stays protected.
(Many of the links in this article redirect to a specific reviewed product. Your purchase of these products through affiliate links helps to generate commission for Storables.com, at no extra cost. Learn more)
Introduction
Welcome to the world of home security and surveillance! In today’s fast-paced and interconnected world, keeping our homes safe and secure has become a top priority. With advancements in technology, we now have access to a wide range of security devices that can help protect our homes and loved ones.
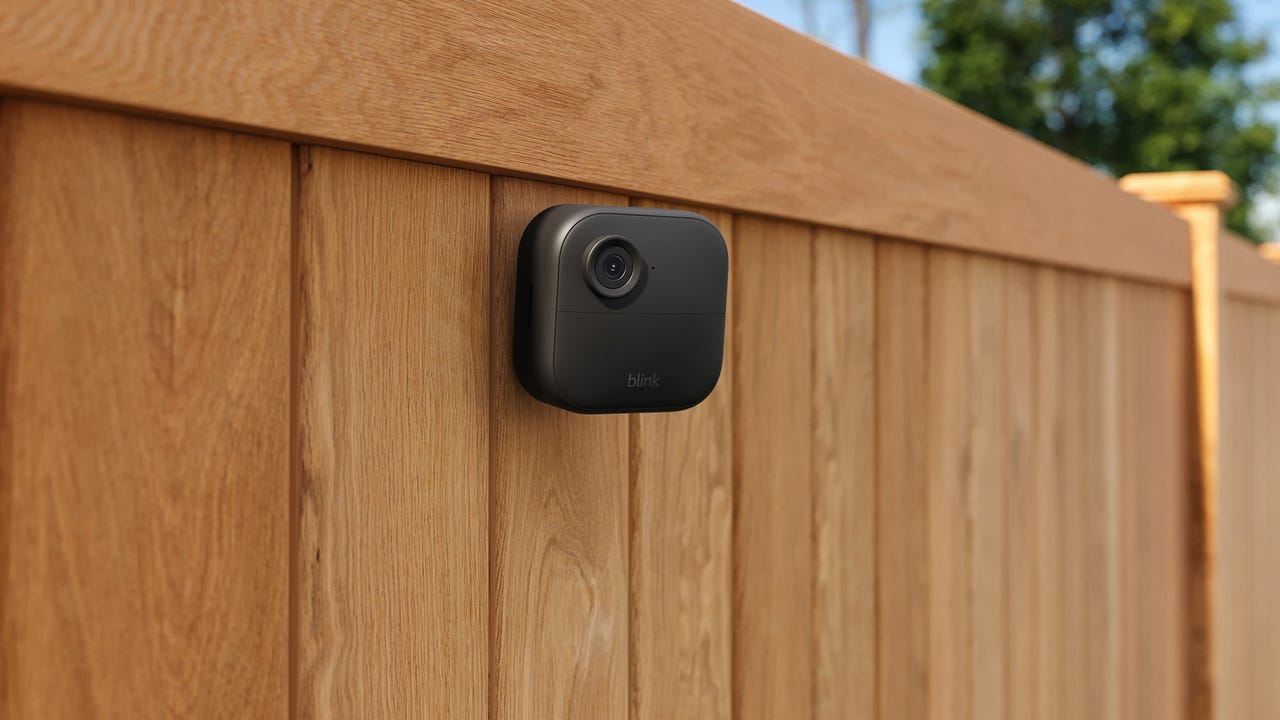
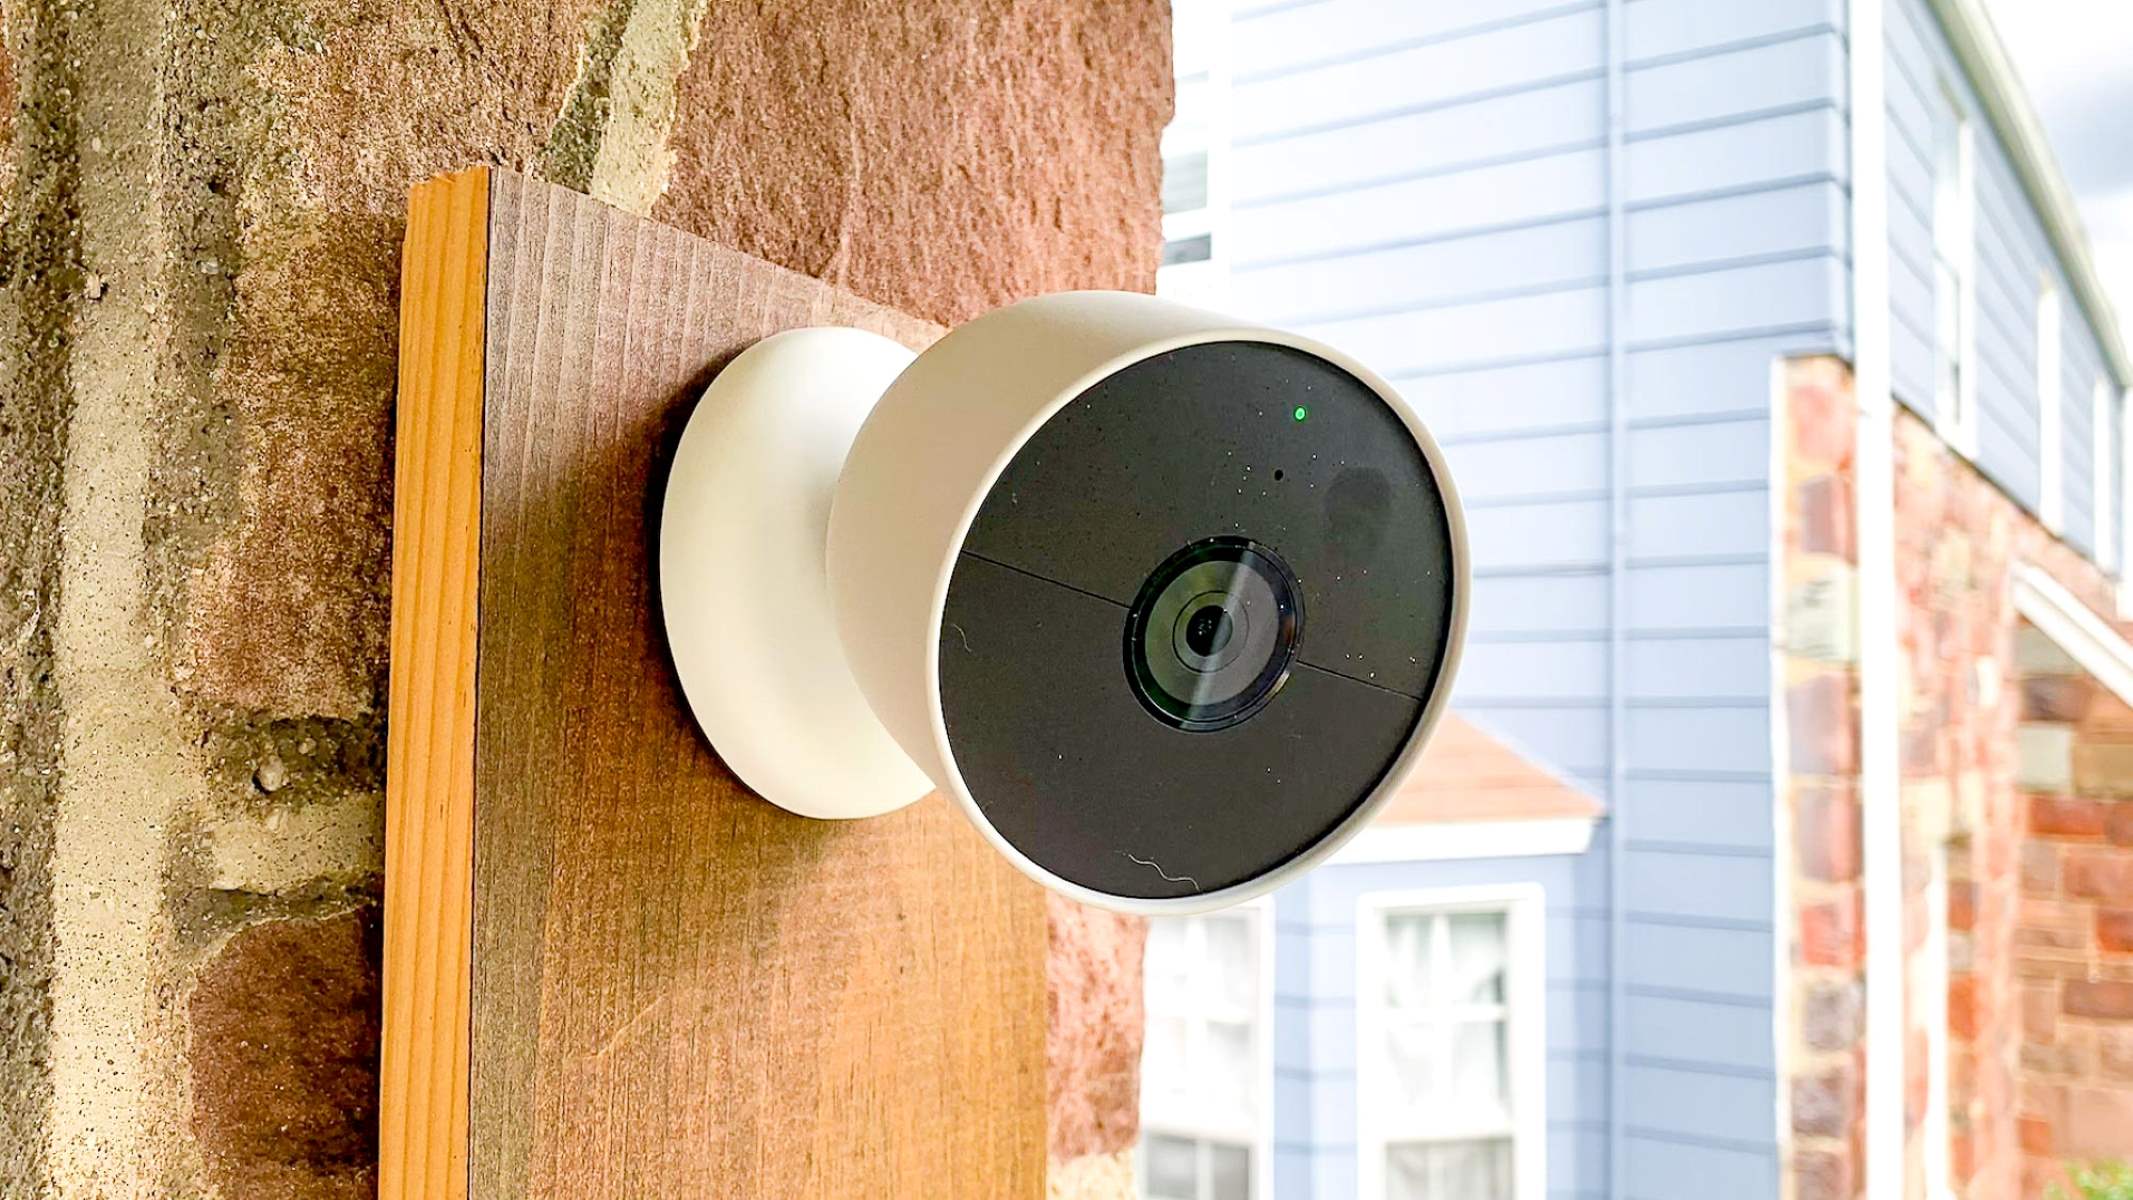
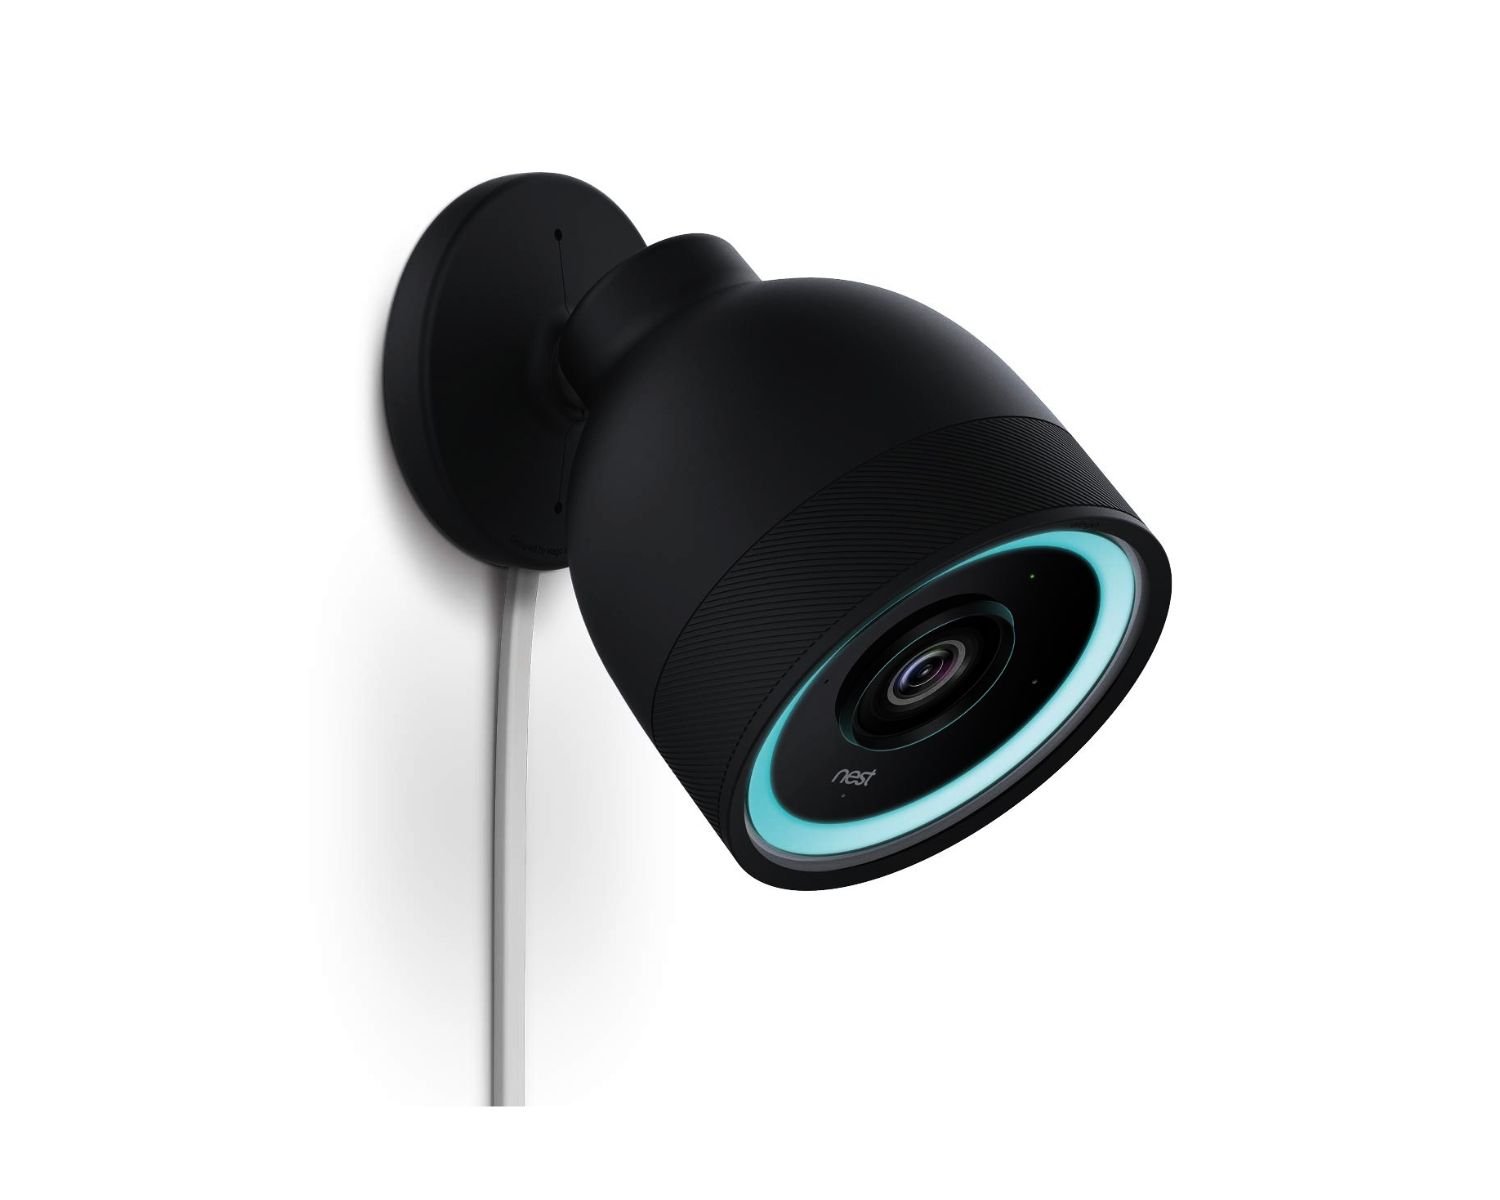
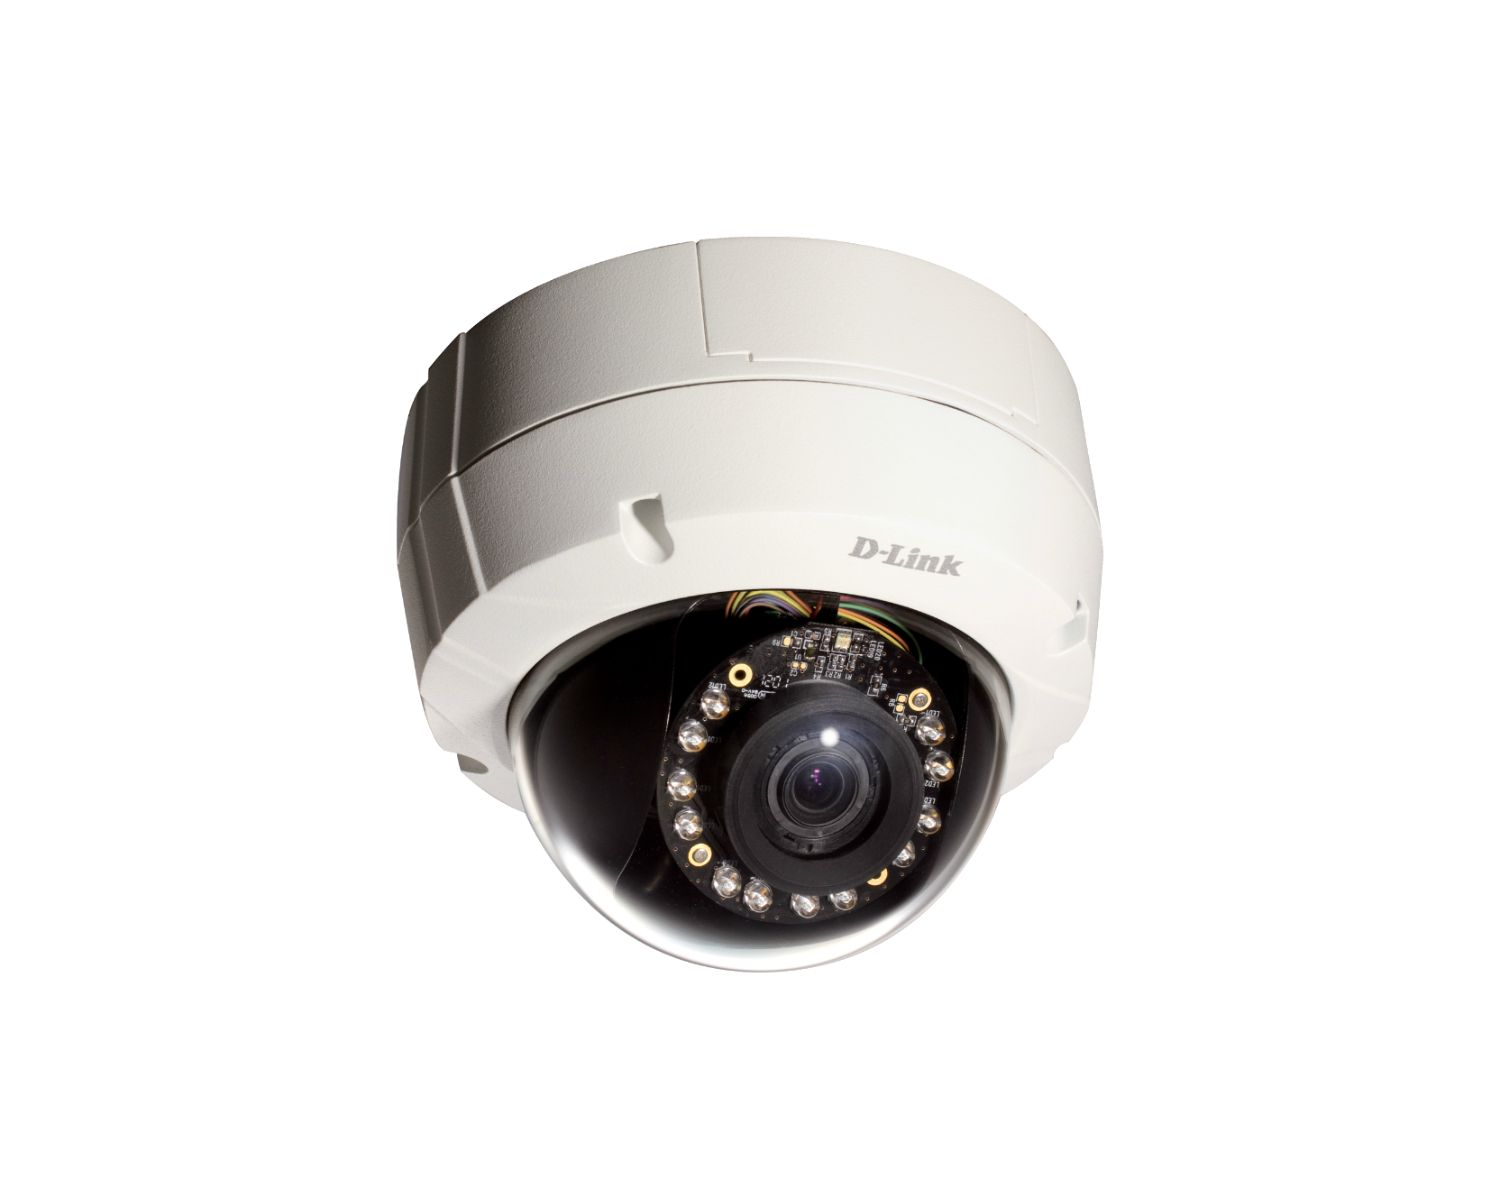
One such device is the D-Link Outdoor Camera. This powerful and versatile camera is designed to withstand the elements and provide you with a clear view of what’s happening outside your home, 24/7. Whether you’re looking to monitor your front porch, back yard, or driveway, the D-Link Outdoor Camera has got you covered.
In this article, we will guide you through the process of setting up and using the D-Link Outdoor Camera with the D-Link Plug app. We will provide step-by-step instructions, tips, and tricks to help you make the most out of this fantastic home security device.
Disclaimer: Before we jump into the details, it’s worth noting that while the D-Link Outdoor Camera is a great addition to your home security system, it is just one piece of the puzzle. We recommend complementing it with other security measures such as secure locks, alarms, and motion sensor lights for enhanced protection.
Now, let’s dive into the exciting world of the D-Link Outdoor Camera and discover how it can bolster the security of your home!
Key Takeaways:
- Setting up the D-Link Outdoor Camera is easy! Just unbox, mount, connect, and use the app to monitor your home with peace of mind.
- Enjoy features like motion detection, night vision, and remote access. Keep your camera clean and updated for optimal performance and security.
Read more: How To Reset TP-Link Smart Plug
Step 1: Unboxing the D-Link Outdoor Camera
Excitement fills the air as you unbox your brand new D-Link Outdoor Camera. This sleek and robust device is packed with features that will take your home security to the next level. Let’s get started with the unboxing process:
- Begin by finding a flat and clean surface to work on, ensuring that you have enough space to organize and assemble the camera.
- Open the package carefully, taking note of any included accessories or documentation. The D-Link Outdoor Camera typically comes with the camera unit, mounting hardware, a power adapter, an Ethernet cable, and a quick installation guide.
- Inspect the camera unit for any visible damage or defects. D-Link takes great care in packaging their products, but accidents can happen during shipping. If you notice any issues, reach out to customer support for assistance.
- Next, familiarize yourself with the different components of the camera. The lens, infrared LEDs, microphone, speaker, and power and Ethernet ports are important elements that contribute to the camera’s functionality.
- Take a moment to read through the quick installation guide provided. This document will provide you with additional information on the setup process, troubleshooting tips, and important safety precautions.
Unboxing your D-Link Outdoor Camera is an exciting first step towards fortifying your home security. By carefully following the instructions and familiarizing yourself with the different components, you’ll be ready to move on to the next step: mounting the camera.
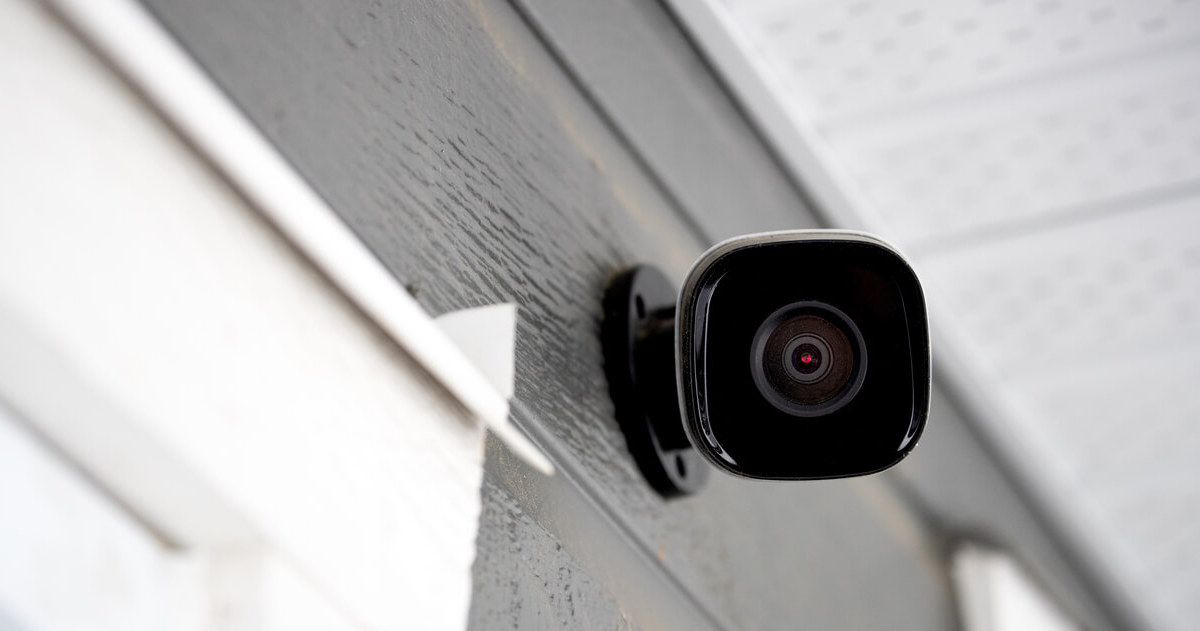
Step 2: Mounting the Camera
Now that you have unboxed your D-Link Outdoor Camera, it’s time to mount it in the desired location outside your home. Follow these steps to ensure a secure and optimal placement:
- Select the ideal mounting location. Consider factors such as the area you want to monitor, the angle of coverage, and accessibility for maintenance. Common mounting locations include above the front door, near the garage, or overlooking the backyard.
- Ensure that the chosen location has a sturdy surface to attach the camera mount. You may need tools such as a drill, screws, and wall anchors, depending on the mounting surface.
- Attach the camera mount securely to the chosen surface. Use the provided screws and any necessary tools to ensure a tight fit. Double-check the stability and adjust if needed.
- Once the camera mount is securely installed, carefully attach the camera unit to the mount. Depending on the specific model of your D-Link Outdoor Camera, this step may involve twisting, sliding, or tightening screws to secure the camera.
- After attaching the camera to the mount, adjust the angle and position. Ensure that the lens is pointing in the desired direction and that the view is not obstructed.
- Consider the camera’s field of view and adjust the tilt or rotation to capture the widest range possible while maintaining clarity.
- Take a step back and evaluate the camera’s positioning. Ensure that it blends naturally with the surroundings and is not easily tampered with or obstructed.
Remember to refer to the quick installation guide for specific instructions and diagrams that may be relevant to your camera model. Properly mounting your D-Link Outdoor Camera is crucial for optimal performance and coverage. Once you have securely mounted the camera, it’s time to move on to the next step: connecting the power adapter.
Step 3: Connecting the Power Adapter
With the D-Link Outdoor Camera securely mounted, it’s time to provide it with a constant power source that will keep it functioning 24/7. Follow these steps to connect the power adapter:
- Locate the power port on the camera unit. It is typically located on the back or bottom of the camera, near the mounting bracket.
- Take the power adapter provided in the package and plug it into a nearby power outlet.
- Connect the other end of the power adapter to the power port on the camera. Ensure it is inserted fully and securely.
- Verify that the power indicator light on the camera turns on. This light indicates that the camera is receiving power.
- If the power indicator light does not turn on, double-check the connection and ensure that the power outlet is functioning properly.
- Take a moment to organize and secure the power cable. You can use clips or cable management tools to ensure that the cable is not hanging loosely or at risk of being damaged.
Connecting the power adapter is a crucial step in the setup process as it enables the camera to function and capture footage. Once you have successfully connected the power adapter, it’s time to move on to the next step: connecting the camera to your network.
Step 4: Connecting the Camera to Your Network
Now that your D-Link Outdoor Camera is powered on, it’s time to connect it to your home network. By doing so, you’ll be able to access the camera remotely and receive real-time notifications. Follow these steps to connect the camera to your network:
- Ensure that your Wi-Fi router is powered on and functioning properly.
- Locate the Ethernet port on the camera unit. It is typically located on the back or bottom of the camera, near the power port.
- Take the Ethernet cable provided in the package and connect one end to the Ethernet port on the camera.
- Connect the other end of the Ethernet cable to an available LAN port on your Wi-Fi router.
- Give the camera a few moments to establish a connection with the router. During this time, you may notice blinking lights on the camera and router, indicating data transfer.
- Once the camera successfully establishes a connection, it will be assigned an IP address by your router. This IP address is crucial for accessing the camera’s feed remotely.
Connecting the camera to your network is an essential step that allows you to access the camera’s live feed and recordings from your mobile device or computer. It also enables features such as motion detection and remote control. Now that the camera is connected to your network, it’s time to move on to the next step: installing the D-Link Plug app.
Read more: How To Use Zeetopin Outdoor Camera
Step 5: Installing the D-Link Plug App
With your D-Link Outdoor Camera connected to the network, it’s time to install the D-Link Plug app on your mobile device. The D-Link Plug app allows you to remotely control and monitor your camera, view live feed, and access recorded footage. Follow these steps to install the app:
- On your mobile device, open the app store (Google Play Store for Android or the App Store for iOS).
- In the app store search bar, type “D-Link Plug” and tap on the official D-Link Plug app from the search results.
- Tap the “Install” or “Get” button to download and install the app on your device.
- Once the app is installed, locate it on your home screen or app drawer and tap to open it.
- Upon opening the app for the first time, you will be prompted to sign in or create a new account. Follow the on-screen instructions to complete the account setup process.
- After signing in, the app will guide you through a brief tutorial on its features and functionality. Pay close attention to the instructions to get familiar with the app’s interface.
Once you have successfully installed and set up the D-Link Plug app on your mobile device, you are one step closer to accessing your D-Link Outdoor Camera remotely. In the next step, we will guide you through the process of adding the camera to the app.
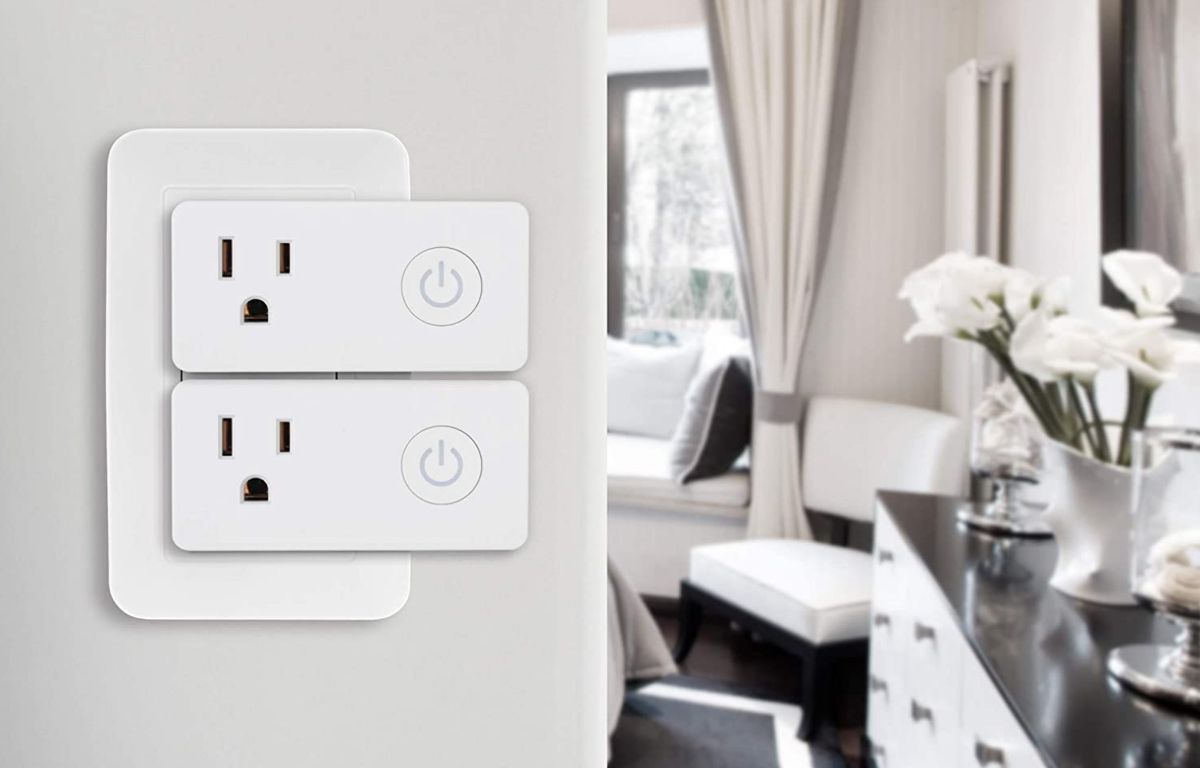
When setting up your D-Link outdoor camera with a plug, make sure to use a weatherproof outdoor outlet and a compatible outdoor-rated power cable to ensure safe and reliable operation.
Step 6: Adding the Camera to the Plug App
Now that you have installed the D-Link Plug app on your mobile device, it’s time to add your D-Link Outdoor Camera to the app and establish a connection. Follow these steps to add the camera:
- Open the D-Link Plug app on your mobile device.
- If prompted, sign in to your account using the credentials you created during the app setup process.
- In the app’s main interface, tap on the “Add Device” or “+” icon, typically located in the top right corner.
- From the list of available device options, select “Camera” or “Outdoor Camera.”
- Follow the on-screen instructions to initiate the camera setup process.
- In most cases, you will need to scan the QR code located on the camera unit or enter the camera’s serial number manually. This step helps the app identify and connect to your specific camera.
- Once the camera is successfully added to the app, you can give it a name for easy identification, such as “Front Yard Camera” or “Back Porch Camera.”
- Confirm the camera’s placement and settings, making sure they align with your preferences.
- Tap “Save” or “Done” to complete the camera setup process.
By successfully adding your D-Link Outdoor Camera to the D-Link Plug app, you can now monitor and control the camera from the convenience of your mobile device. In the next step, we will explore how to adjust camera settings to meet your specific needs.
Step 7: Adjusting Camera Settings
Now that you have added your D-Link Outdoor Camera to the D-Link Plug app, it’s time to fine-tune the camera settings to match your preferences and needs. Follow these steps to adjust the camera settings:
- Open the D-Link Plug app on your mobile device.
- Select the camera you want to adjust from the list of cameras displayed in the app’s main interface.
- Tap on the camera to access its settings and controls.
- Explore the different settings available, such as image quality, resolution, and frame rate. Adjust these settings according to your desired balance between video quality and storage space.
- Configure motion detection settings to receive notifications when the camera detects movement in its field of view. Adjust the sensitivity and detection zones to minimize false alarms.
- Enable and customize night vision settings for optimal visibility in low-light or dark conditions.
- Explore additional features, such as two-way audio communication, remote pan/tilt/zoom, and scheduled recording, to enhance your camera experience.
- Save your settings and exit the camera settings menu.
By adjusting the camera settings to your preferences, you can optimize its performance and ensure that it meets your specific requirements. Take some time to familiarize yourself with the different settings and experiment to find the perfect configuration for your needs.
In the next step, we will explore how to access the live feed and recorded footage from your D-Link Outdoor Camera using the D-Link Plug app.
Step 8: Accessing Live Feed and Recordings
Now that your D-Link Outdoor Camera is set up and the settings are adjusted, it’s time to enjoy the benefits of real-time monitoring and access to recorded footage. Follow these steps to access the live feed and recordings:
- Open the D-Link Plug app on your mobile device.
- Select the camera you want to view from the list of cameras displayed in the app’s main interface.
- Tapping on the camera will open the live feed, allowing you to see the real-time video footage from the camera.
- Depending on your camera model and settings, you may have additional options such as a speakerphone icon for two-way audio communication or pan/tilt controls to adjust the camera’s field of view.
- To access recorded footage, navigate to the playback or recordings section in the app.
- Depending on your camera model and settings, you may be able to view recorded clips based on motion detection triggers or scheduled recordings.
- Use the app’s playback controls to navigate through the recorded footage and select the desired clips to view or download.
- Make use of the app’s filter and search options to easily find specific recorded events or moments.
- Enjoy the convenience of accessing live feed and recorded footage from your D-Link Outdoor Camera anytime, anywhere, through the D-Link Plug app.
By following these steps, you can stay connected to your home security system and have peace of mind knowing that you can monitor your property and access recorded footage with ease. Now that you are familiar with accessing live feed and recordings, let’s explore some additional features and troubleshooting tips in the next step.
Read more: How To Install D-Link Wi-Fi Router
Step 9: Additional Features and Troubleshooting
Now that you are familiar with the basic setup and usage of your D-Link Outdoor Camera, let’s delve into some additional features and troubleshooting tips that can further enhance your experience:
Additional Features:
- Enable push notifications in the D-Link Plug app to receive alerts and notifications on your mobile device when motion is detected or specific events occur.
- Utilize the geofencing feature to automatically enable or disable camera notifications based on your location, ensuring you are only alerted when you are away from home.
- Set up scheduled recordings to capture footage during specific time periods, such as when you are at work or asleep.
- Explore integration options with other smart home devices or services, such as Amazon Alexa or Google Assistant, to control your camera with voice commands.
Troubleshooting:
- If you are experiencing connectivity issues, ensure that your Wi-Fi router is within range and that there are no obstructions blocking the signal.
- Verify that your camera is running on the latest firmware version, as updates often include bug fixes and performance improvements.
- If you are having trouble accessing the live feed or recordings, try force closing the D-Link Plug app and reopening it, or restarting your mobile device.
- Ensure that you have a stable and reliable internet connection, as intermittent or weak signals can affect the camera’s performance.
- If you continue to experience issues, consult the user manual or contact D-Link customer support for further assistance.
With these additional features and troubleshooting tips at your disposal, you are well-equipped to make the most out of your D-Link Outdoor Camera. Enjoy the peace of mind that comes with knowing your home is secure and monitored.
Before we conclude, a final reminder to regularly check and maintain your camera, including cleaning the lens and ensuring it remains free of debris or obstructions. This will help ensure optimum performance and clarity of the captured footage.
Conclusion
Congratulations on successfully setting up and using your D-Link Outdoor Camera with the D-Link Plug app! By following the steps outlined in this guide, you have taken a significant step toward enhancing the security and surveillance of your home.
The D-Link Outdoor Camera offers a range of features and capabilities that allow you to monitor your property and loved ones with ease. Whether you’re using it to keep an eye on your front porch, back yard, or driveway, this versatile camera provides peace of mind and real-time access to live feed and recorded footage.
Throughout this guide, we covered the unboxing process, camera mounting, power adapter connection, network setup, app installation, camera addition, adjustment of settings, access to live feed and recordings, as well as additional features and troubleshooting tips. By familiarizing yourself with these steps, you have become well-versed in maximizing the potential of your D-Link Outdoor Camera.
Remember, the D-Link Outdoor Camera is just one component of a comprehensive home security system. To further fortify your home, consider integrating it with other security measures such as secure locks, alarms, and motion sensor lights.
Lastly, we encourage you to stay proactive with regular maintenance of your camera, ensuring it remains clean and free of debris, and keeping it updated with the latest firmware releases to benefit from new features and improvements.
Thank you for choosing the D-Link Outdoor Camera as your home security solution. With its advanced features, reliability, and easy integration into your home network, you can have peace of mind knowing that your property is protected around the clock.
Frequently Asked Questions about D-Link Outdoor Camera: How To Use With Plug
Was this page helpful?
At Storables.com, we guarantee accurate and reliable information. Our content, validated by Expert Board Contributors, is crafted following stringent Editorial Policies. We're committed to providing you with well-researched, expert-backed insights for all your informational needs.