Home>Technology>Smart Home Devices>How To Install D-Link Wi-Fi Router
Smart Home Devices
How To Install D-Link Wi-Fi Router
Modified: March 1, 2024
Learn how to easily install your D-Link Wi-Fi router and connect it to your smart home devices. Follow our step-by-step guide for a seamless setup process.
(Many of the links in this article redirect to a specific reviewed product. Your purchase of these products through affiliate links helps to generate commission for Storables.com, at no extra cost. Learn more)
Introduction
Welcome to the world of smart home devices, where seamless connectivity and convenience reign supreme. Among the essential components of a connected home is a reliable Wi-Fi router, and D-Link routers are renowned for their performance and user-friendly setup. In this guide, we will walk you through the process of installing your D-Link Wi-Fi router, ensuring that you can enjoy a robust and secure network for all your smart home devices.
Whether you’re a tech enthusiast or a novice in the realm of networking, setting up a D-Link Wi-Fi router is a straightforward task that can be accomplished with ease. By following the steps outlined in this guide, you’ll be able to establish a stable and high-speed wireless network that caters to the demands of your smart home ecosystem.
Without further ado, let’s dive into the process of installing your D-Link Wi-Fi router and embark on a journey towards a seamlessly connected smart home experience.
Key Takeaways:
- Setting up your D-Link Wi-Fi router is easy! Just unpack, connect to power, link to the modem, configure the settings, and connect your devices for seamless smart home connectivity.
- Keep your D-Link router secure by updating firmware, changing passwords, and using security features. Enjoy the convenience of a robust and reliable smart home network!
Read also: 8 Amazing TP Link Wi-Fi Router For 2025
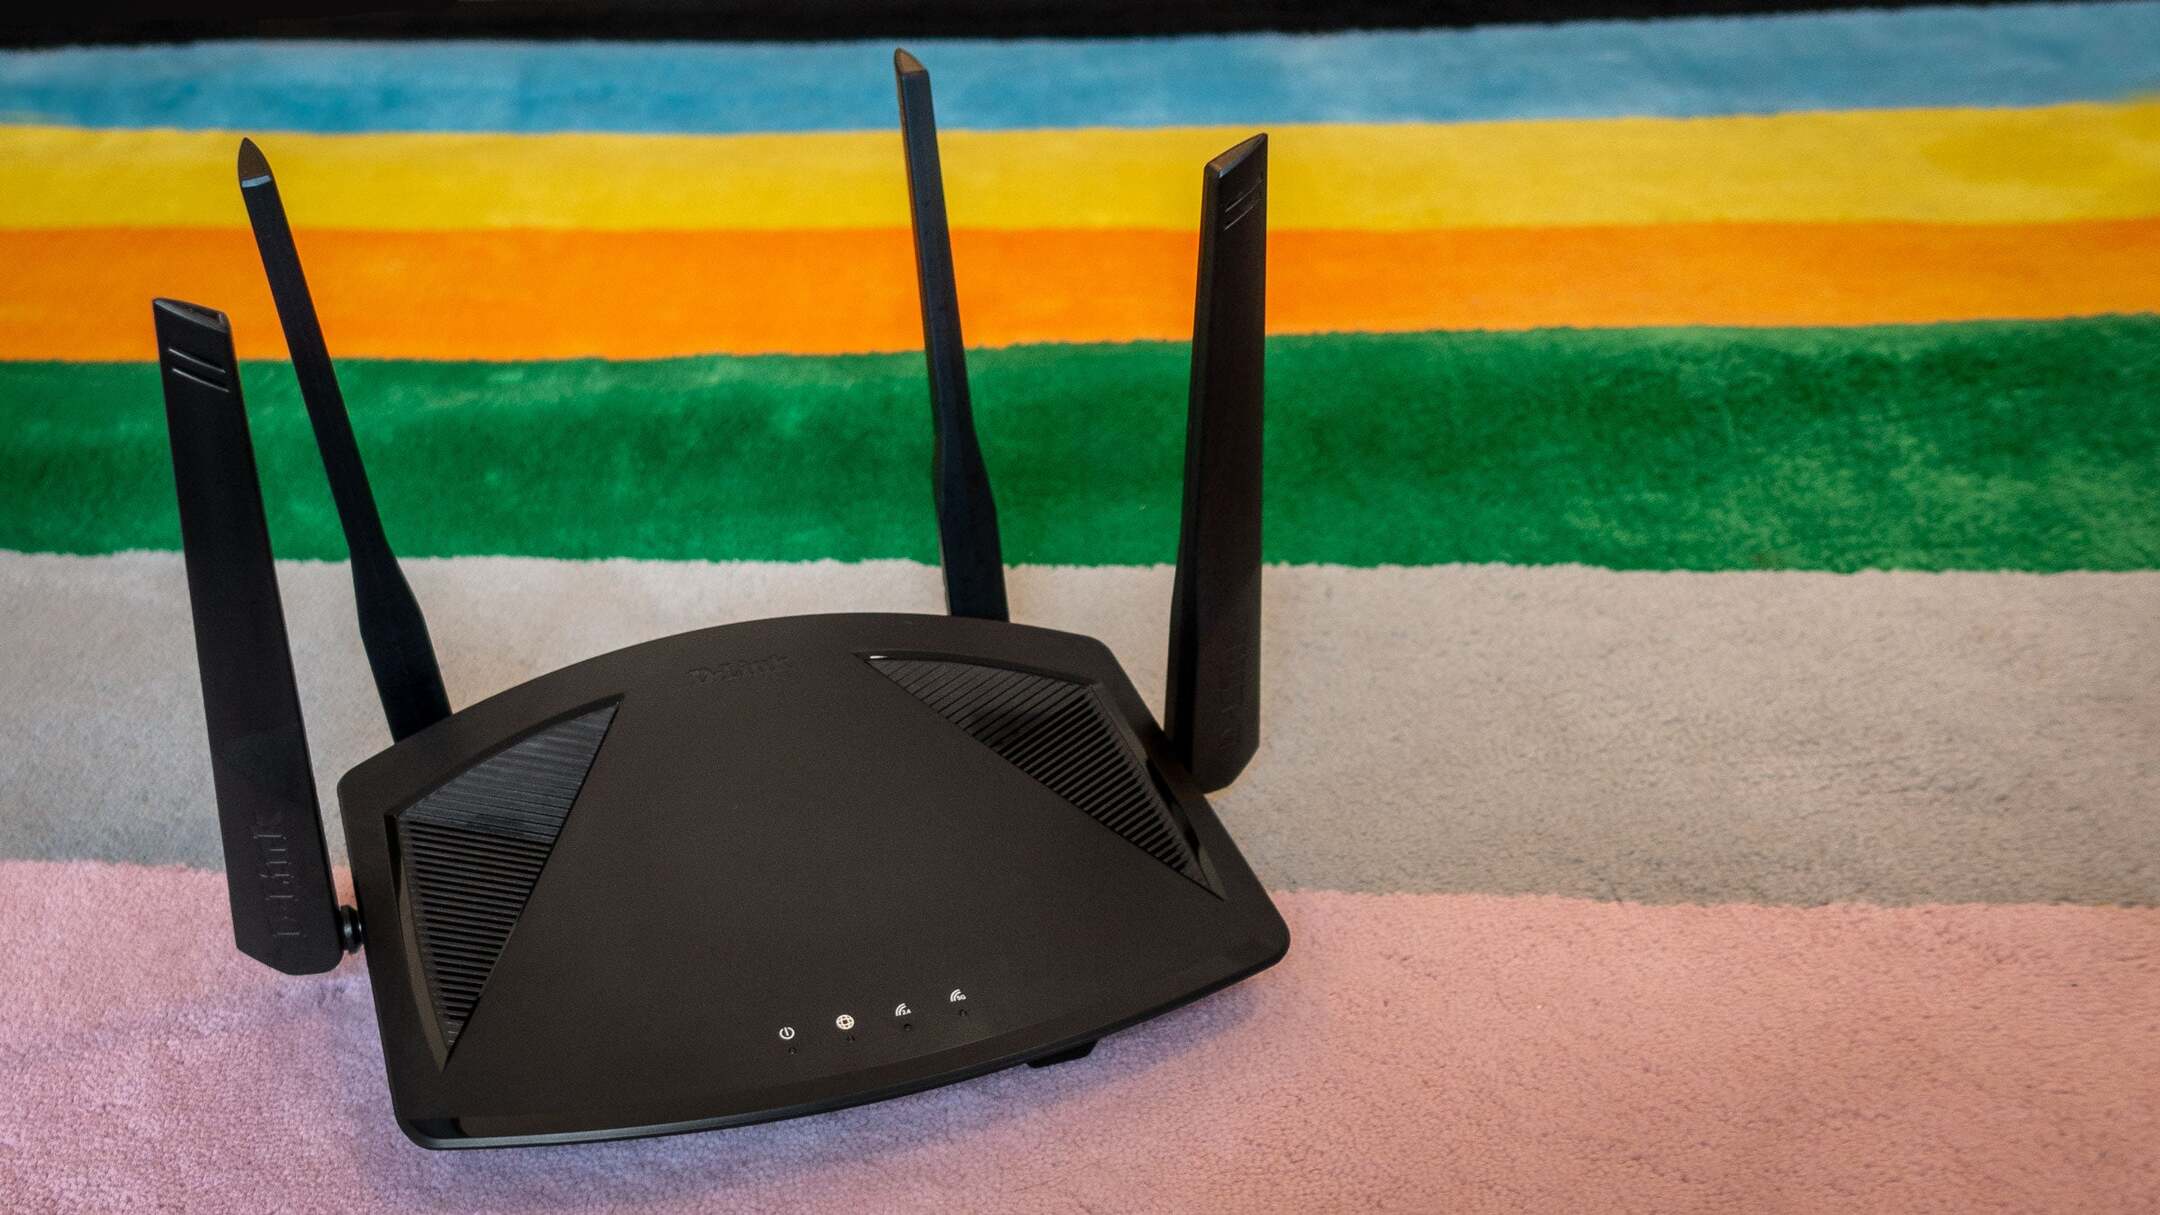
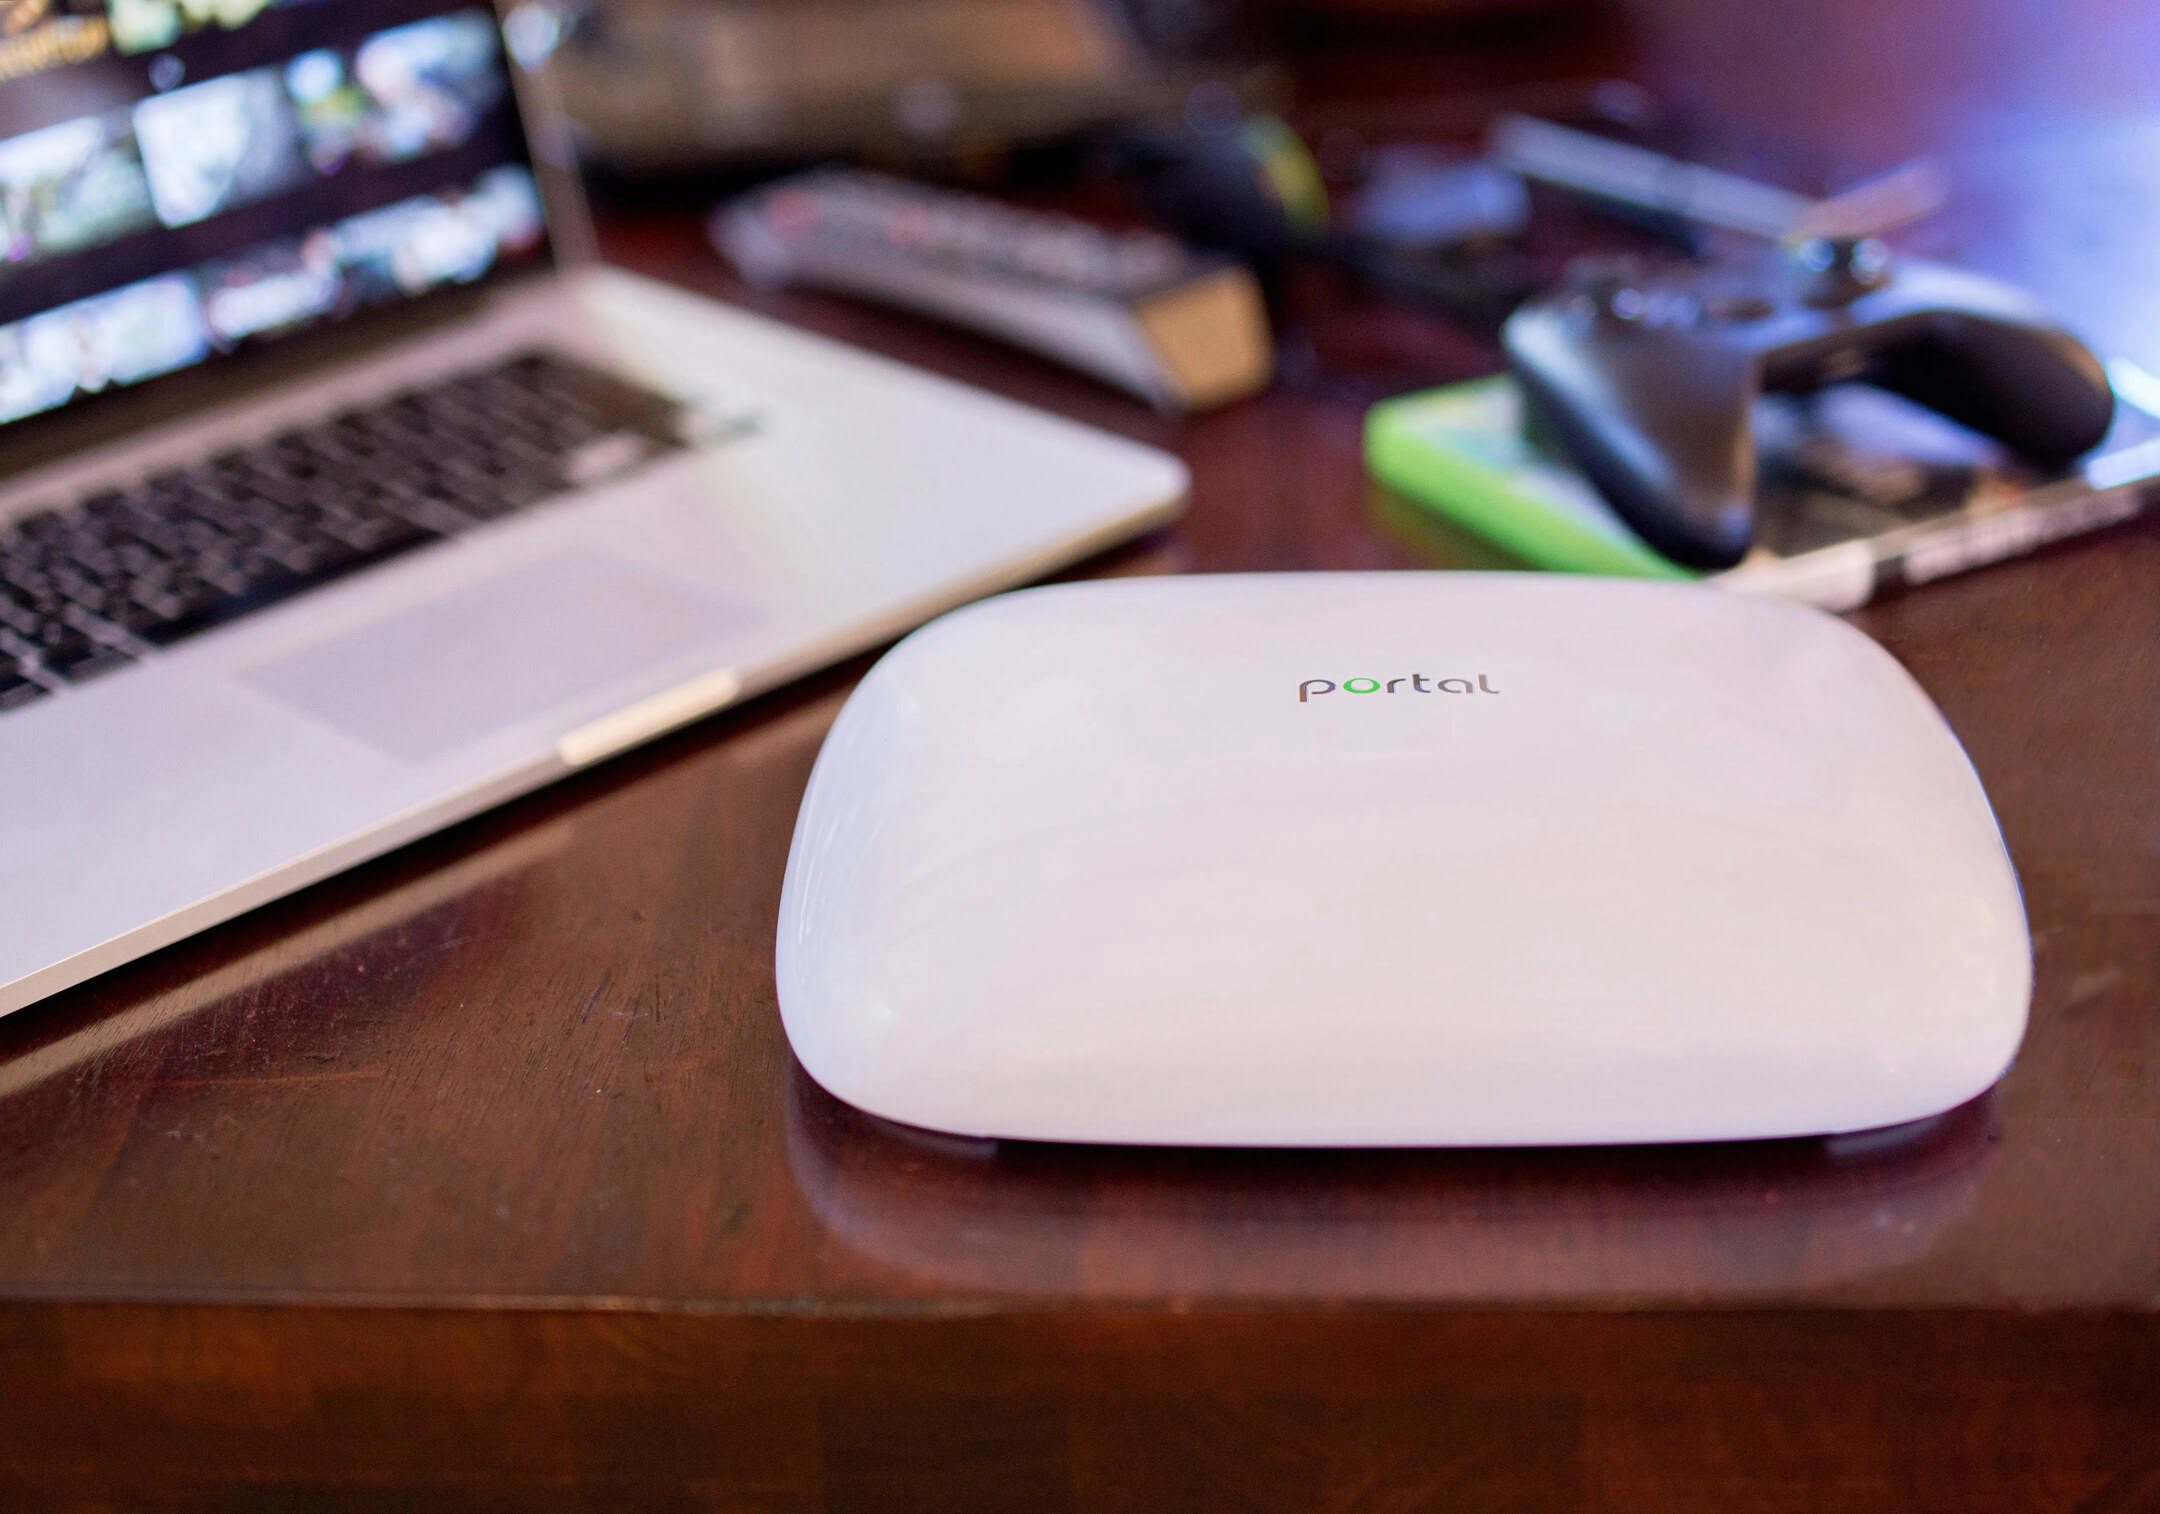
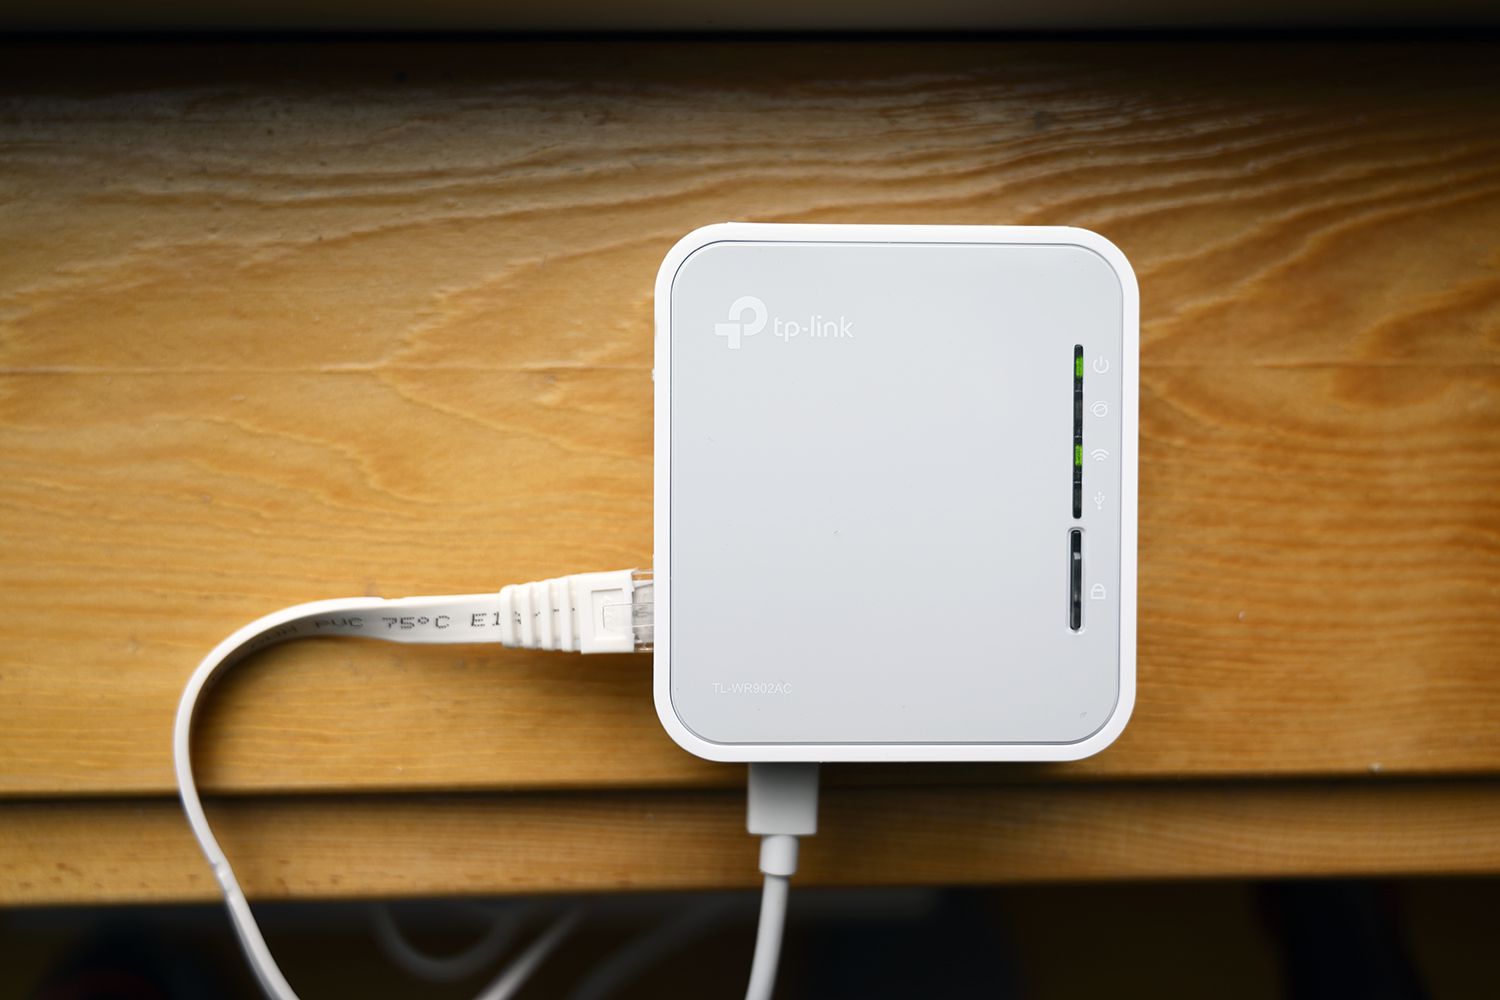
Step 1: Unpack the Router
Before delving into the installation process, it’s crucial to start with the basics: unpacking your D-Link Wi-Fi router. Upon unboxing the router, you’ll typically find the following components:
- Wi-Fi router unit
- Power adapter
- Ethernet cable
- Quick installation guide
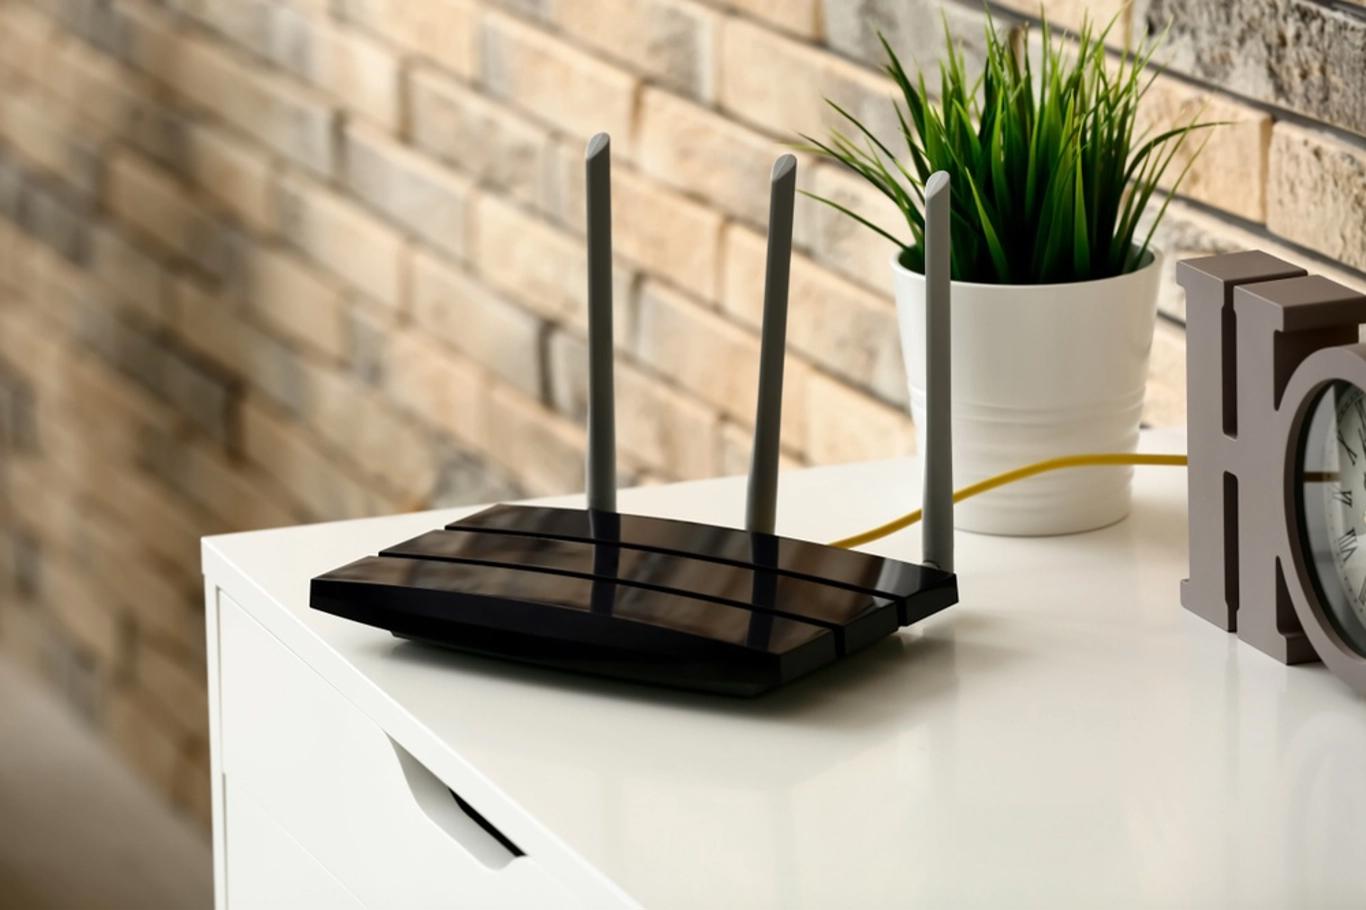
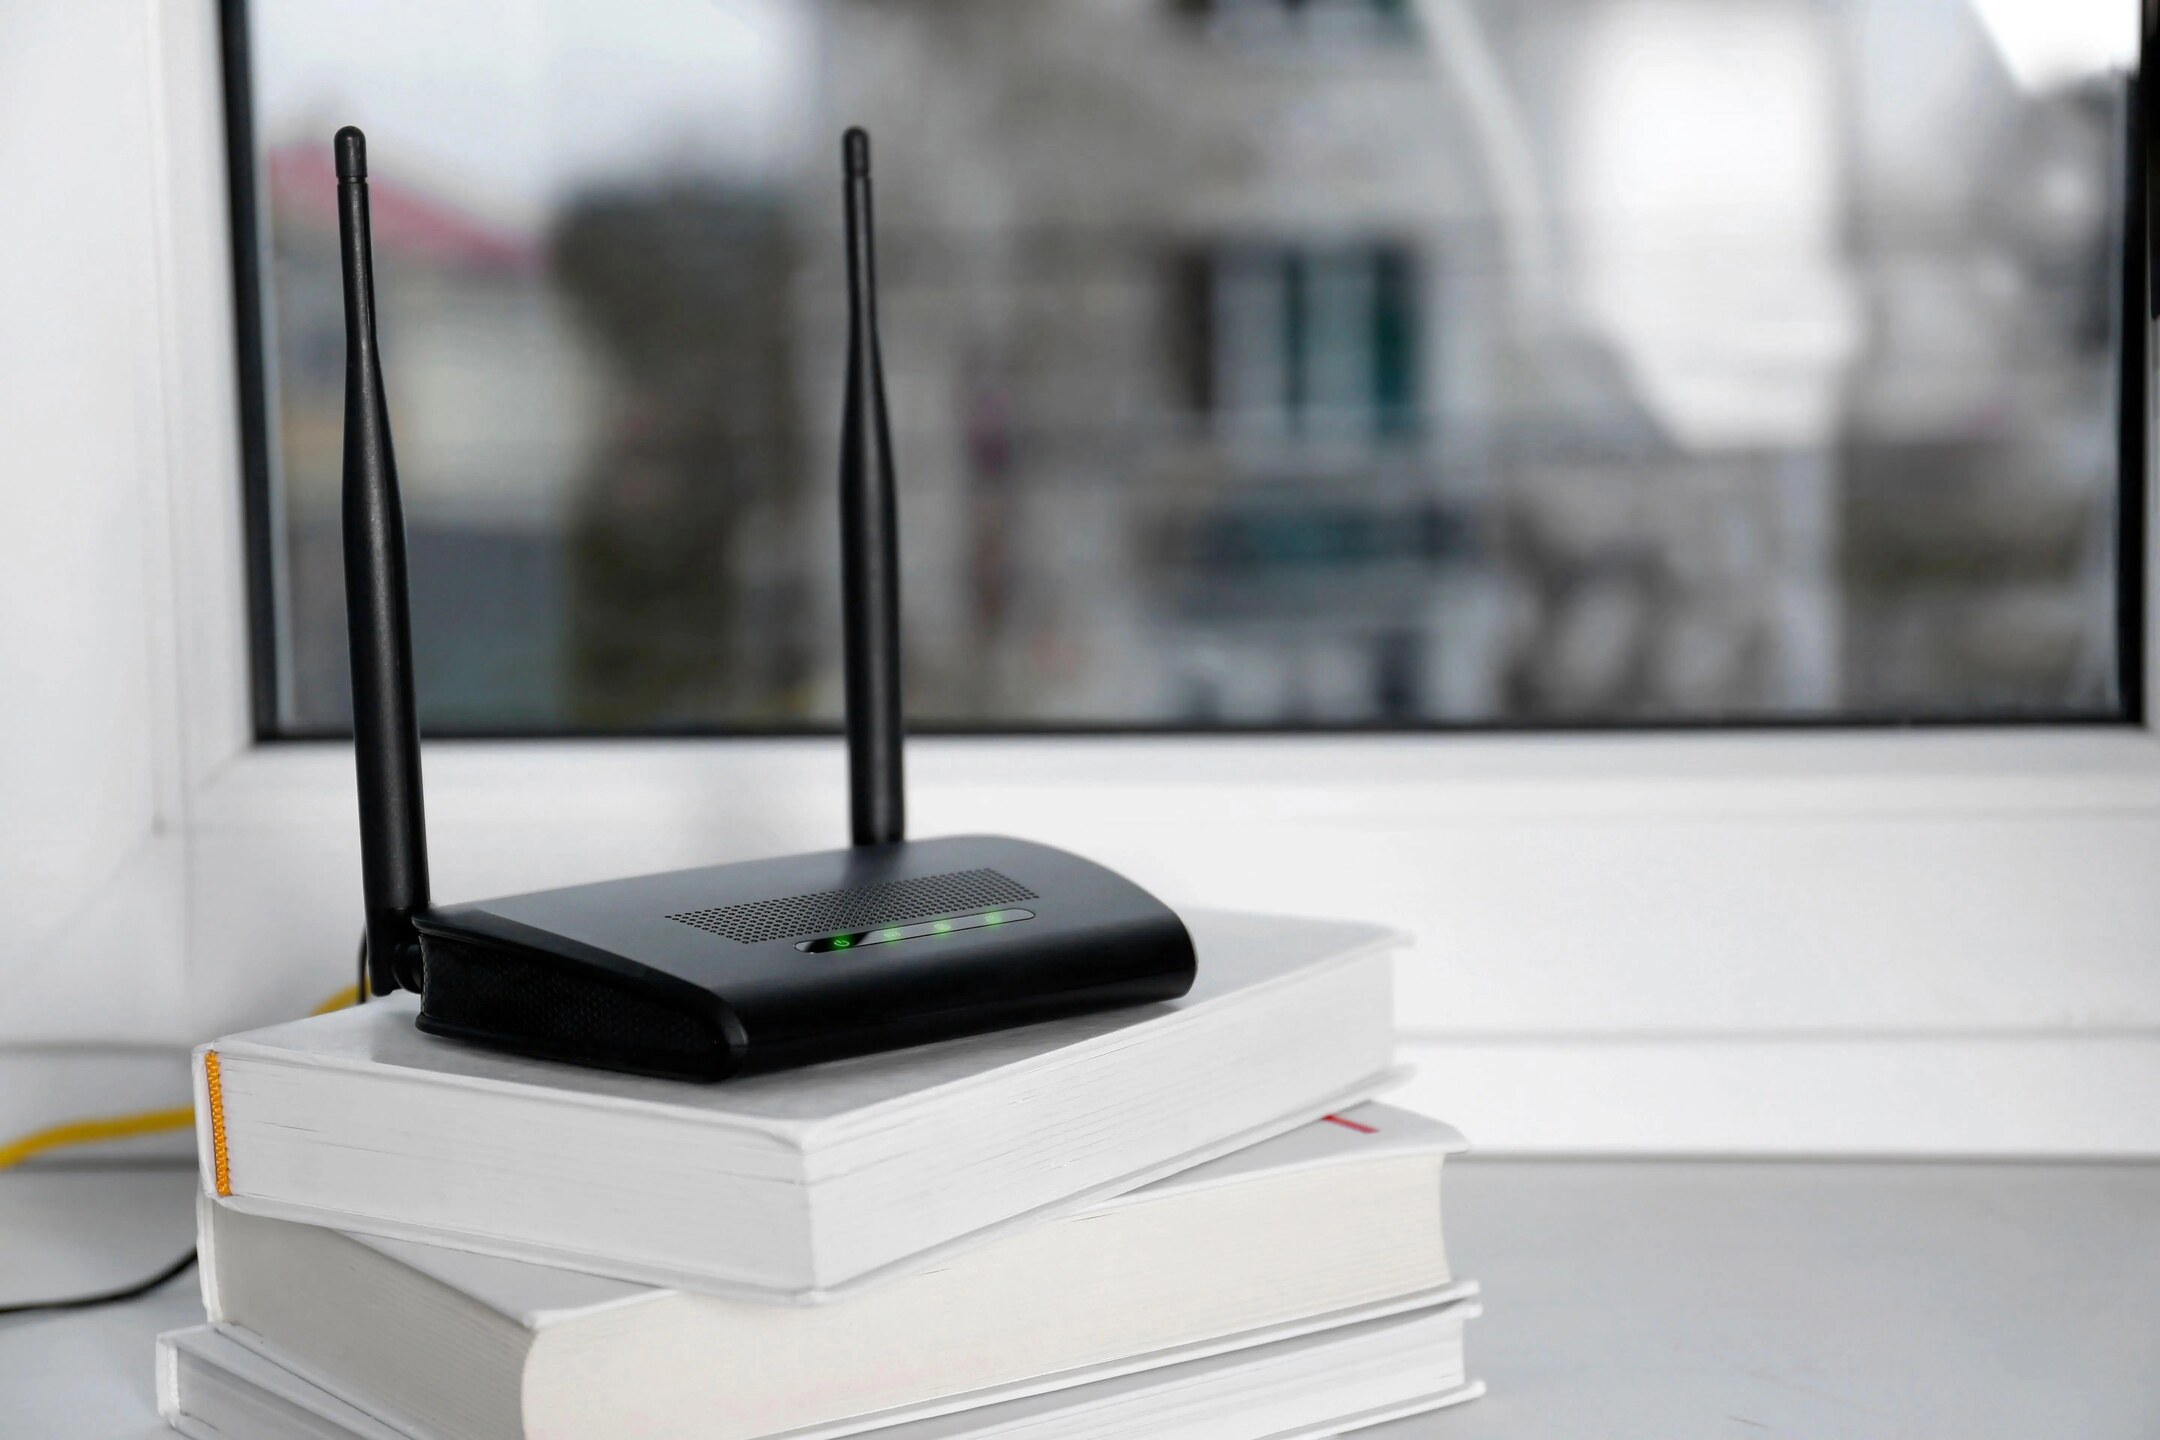
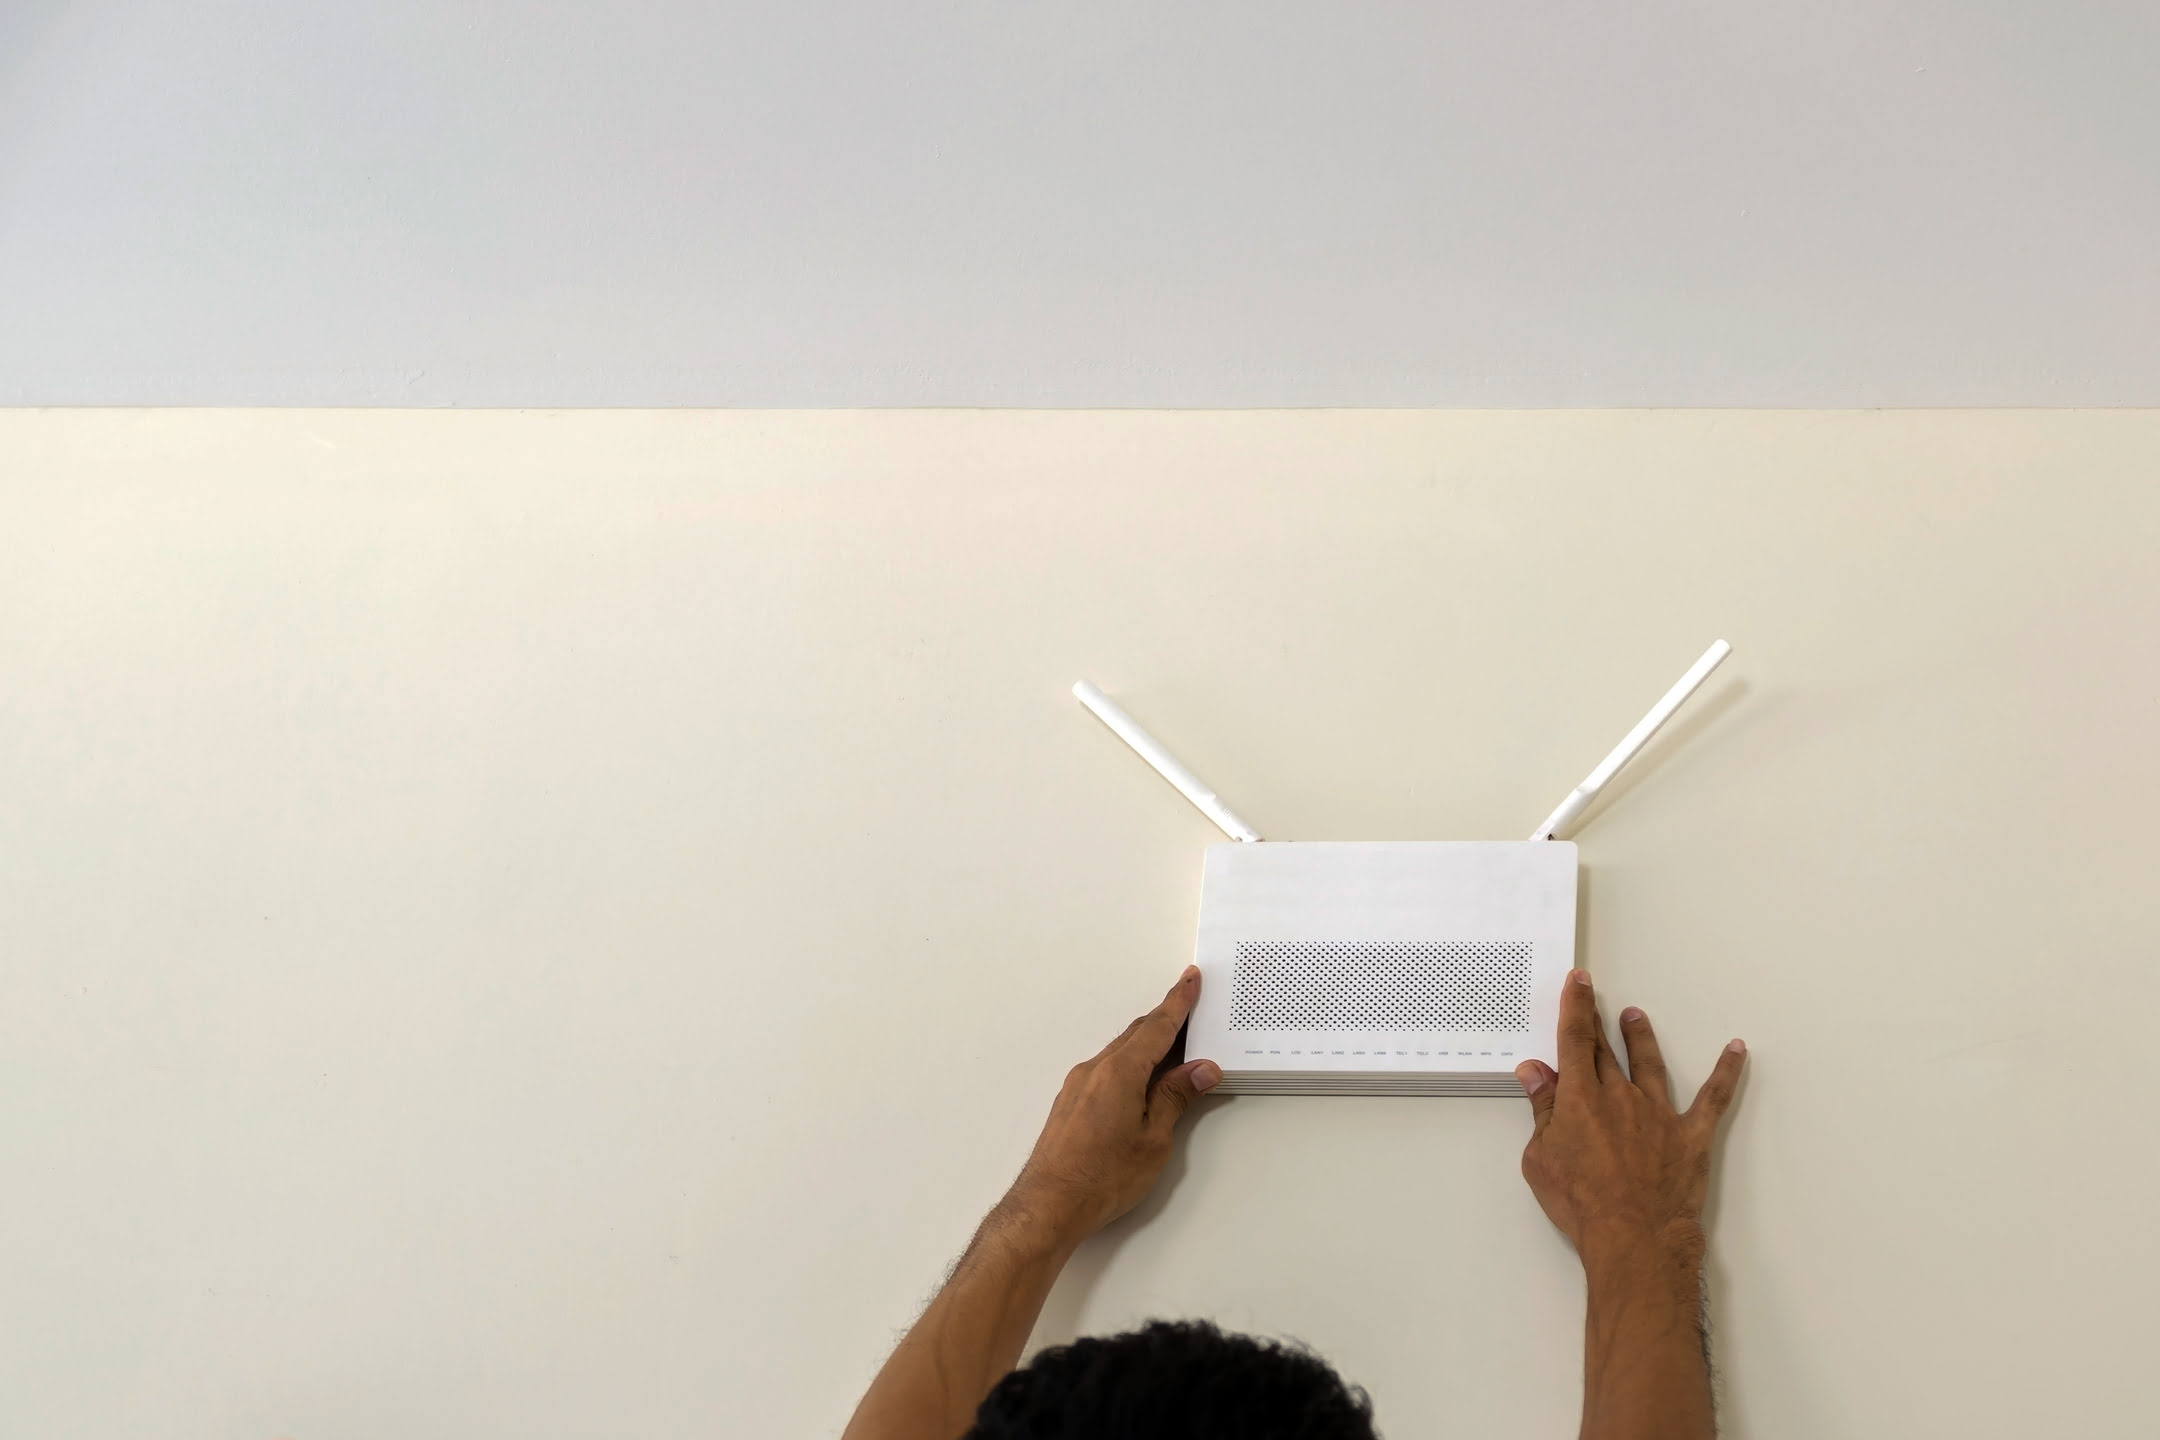
Once you’ve identified these components, it’s time to find an optimal location for your router. Select a central area within your home to ensure that the Wi-Fi signal can reach all areas effectively. Avoid placing the router near thick walls, large metal objects, or other electronic devices that may interfere with the signal.
After determining the ideal placement, connect the power adapter to the router and plug it into a power outlet. Upon powering up the router, you’ll notice that the indicator lights illuminate, indicating that the device is operational.
With the router unpacked and powered on, you’re now ready to proceed to the next step in the installation process.
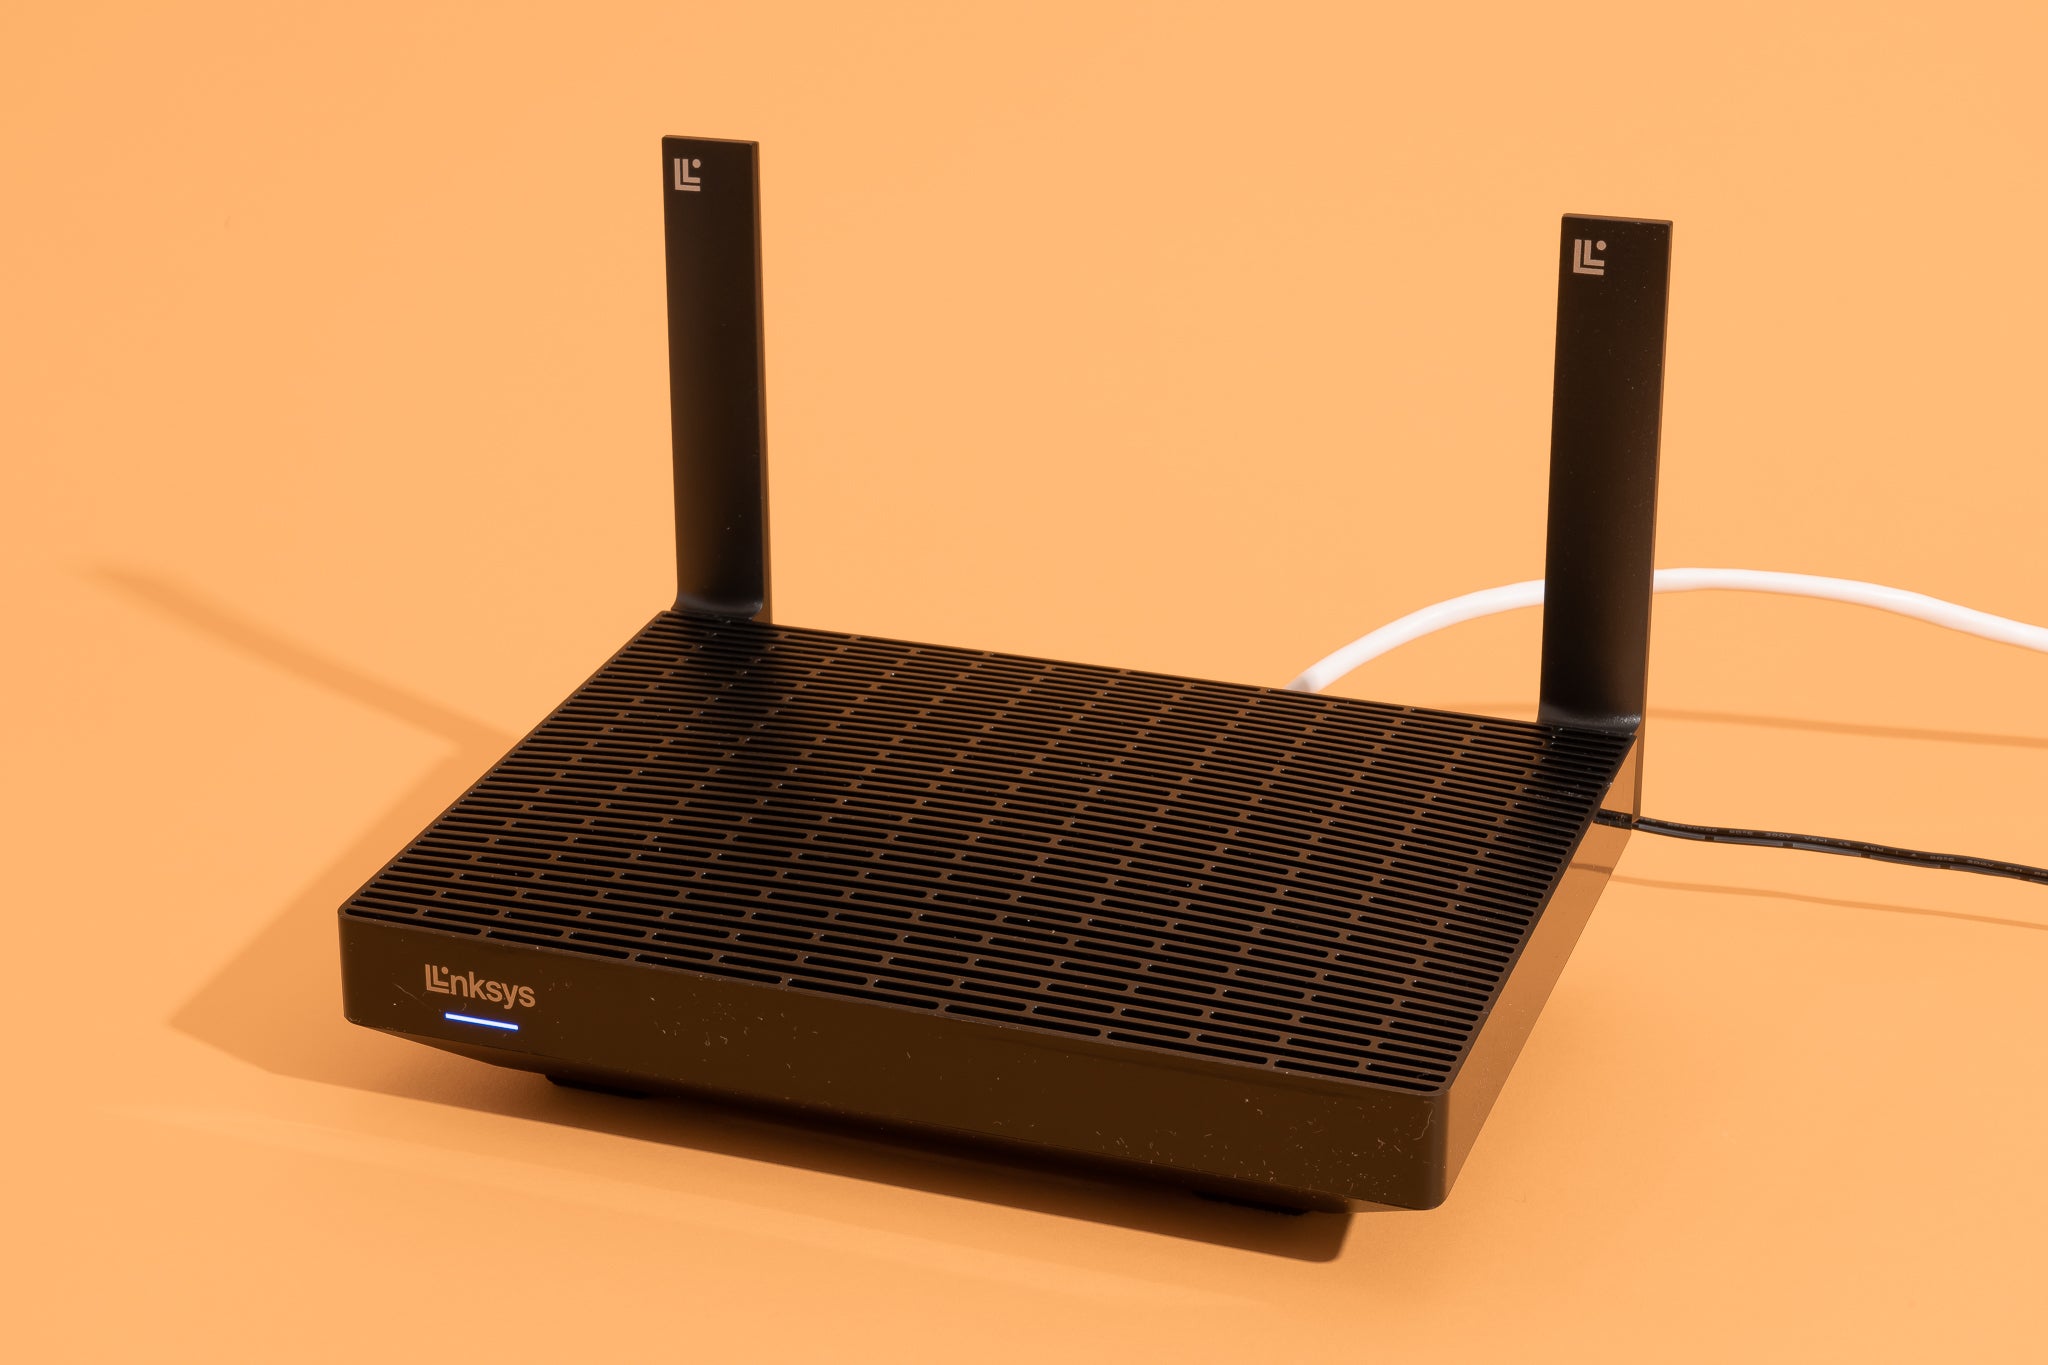
Step 2: Connect the Power Supply
Now that you’ve unpacked your D-Link Wi-Fi router, the next step is to connect it to the power supply. This is a fundamental aspect of the installation process, as it provides the necessary power for the router to function and broadcast a Wi-Fi signal throughout your home.
To begin, locate the power adapter that was included in the router’s packaging. Once you’ve found it, connect one end of the power adapter to the designated port on the router. This port is typically located at the back of the router, near the power input jack.
After securely attaching the power adapter to the router, plug the adapter into a nearby power outlet. Ensure that the power outlet is easily accessible and not obstructed by furniture or other objects. Additionally, avoid using extension cords or surge protectors, as these may interfere with the router’s performance.
Upon connecting the router to the power supply, you’ll notice the indicator lights on the router illuminate, indicating that it is receiving power. This is a crucial visual cue that confirms the successful connection of the power supply.
With the router now powered on and ready for the next steps, you’re one step closer to establishing a robust and reliable Wi-Fi network in your home.
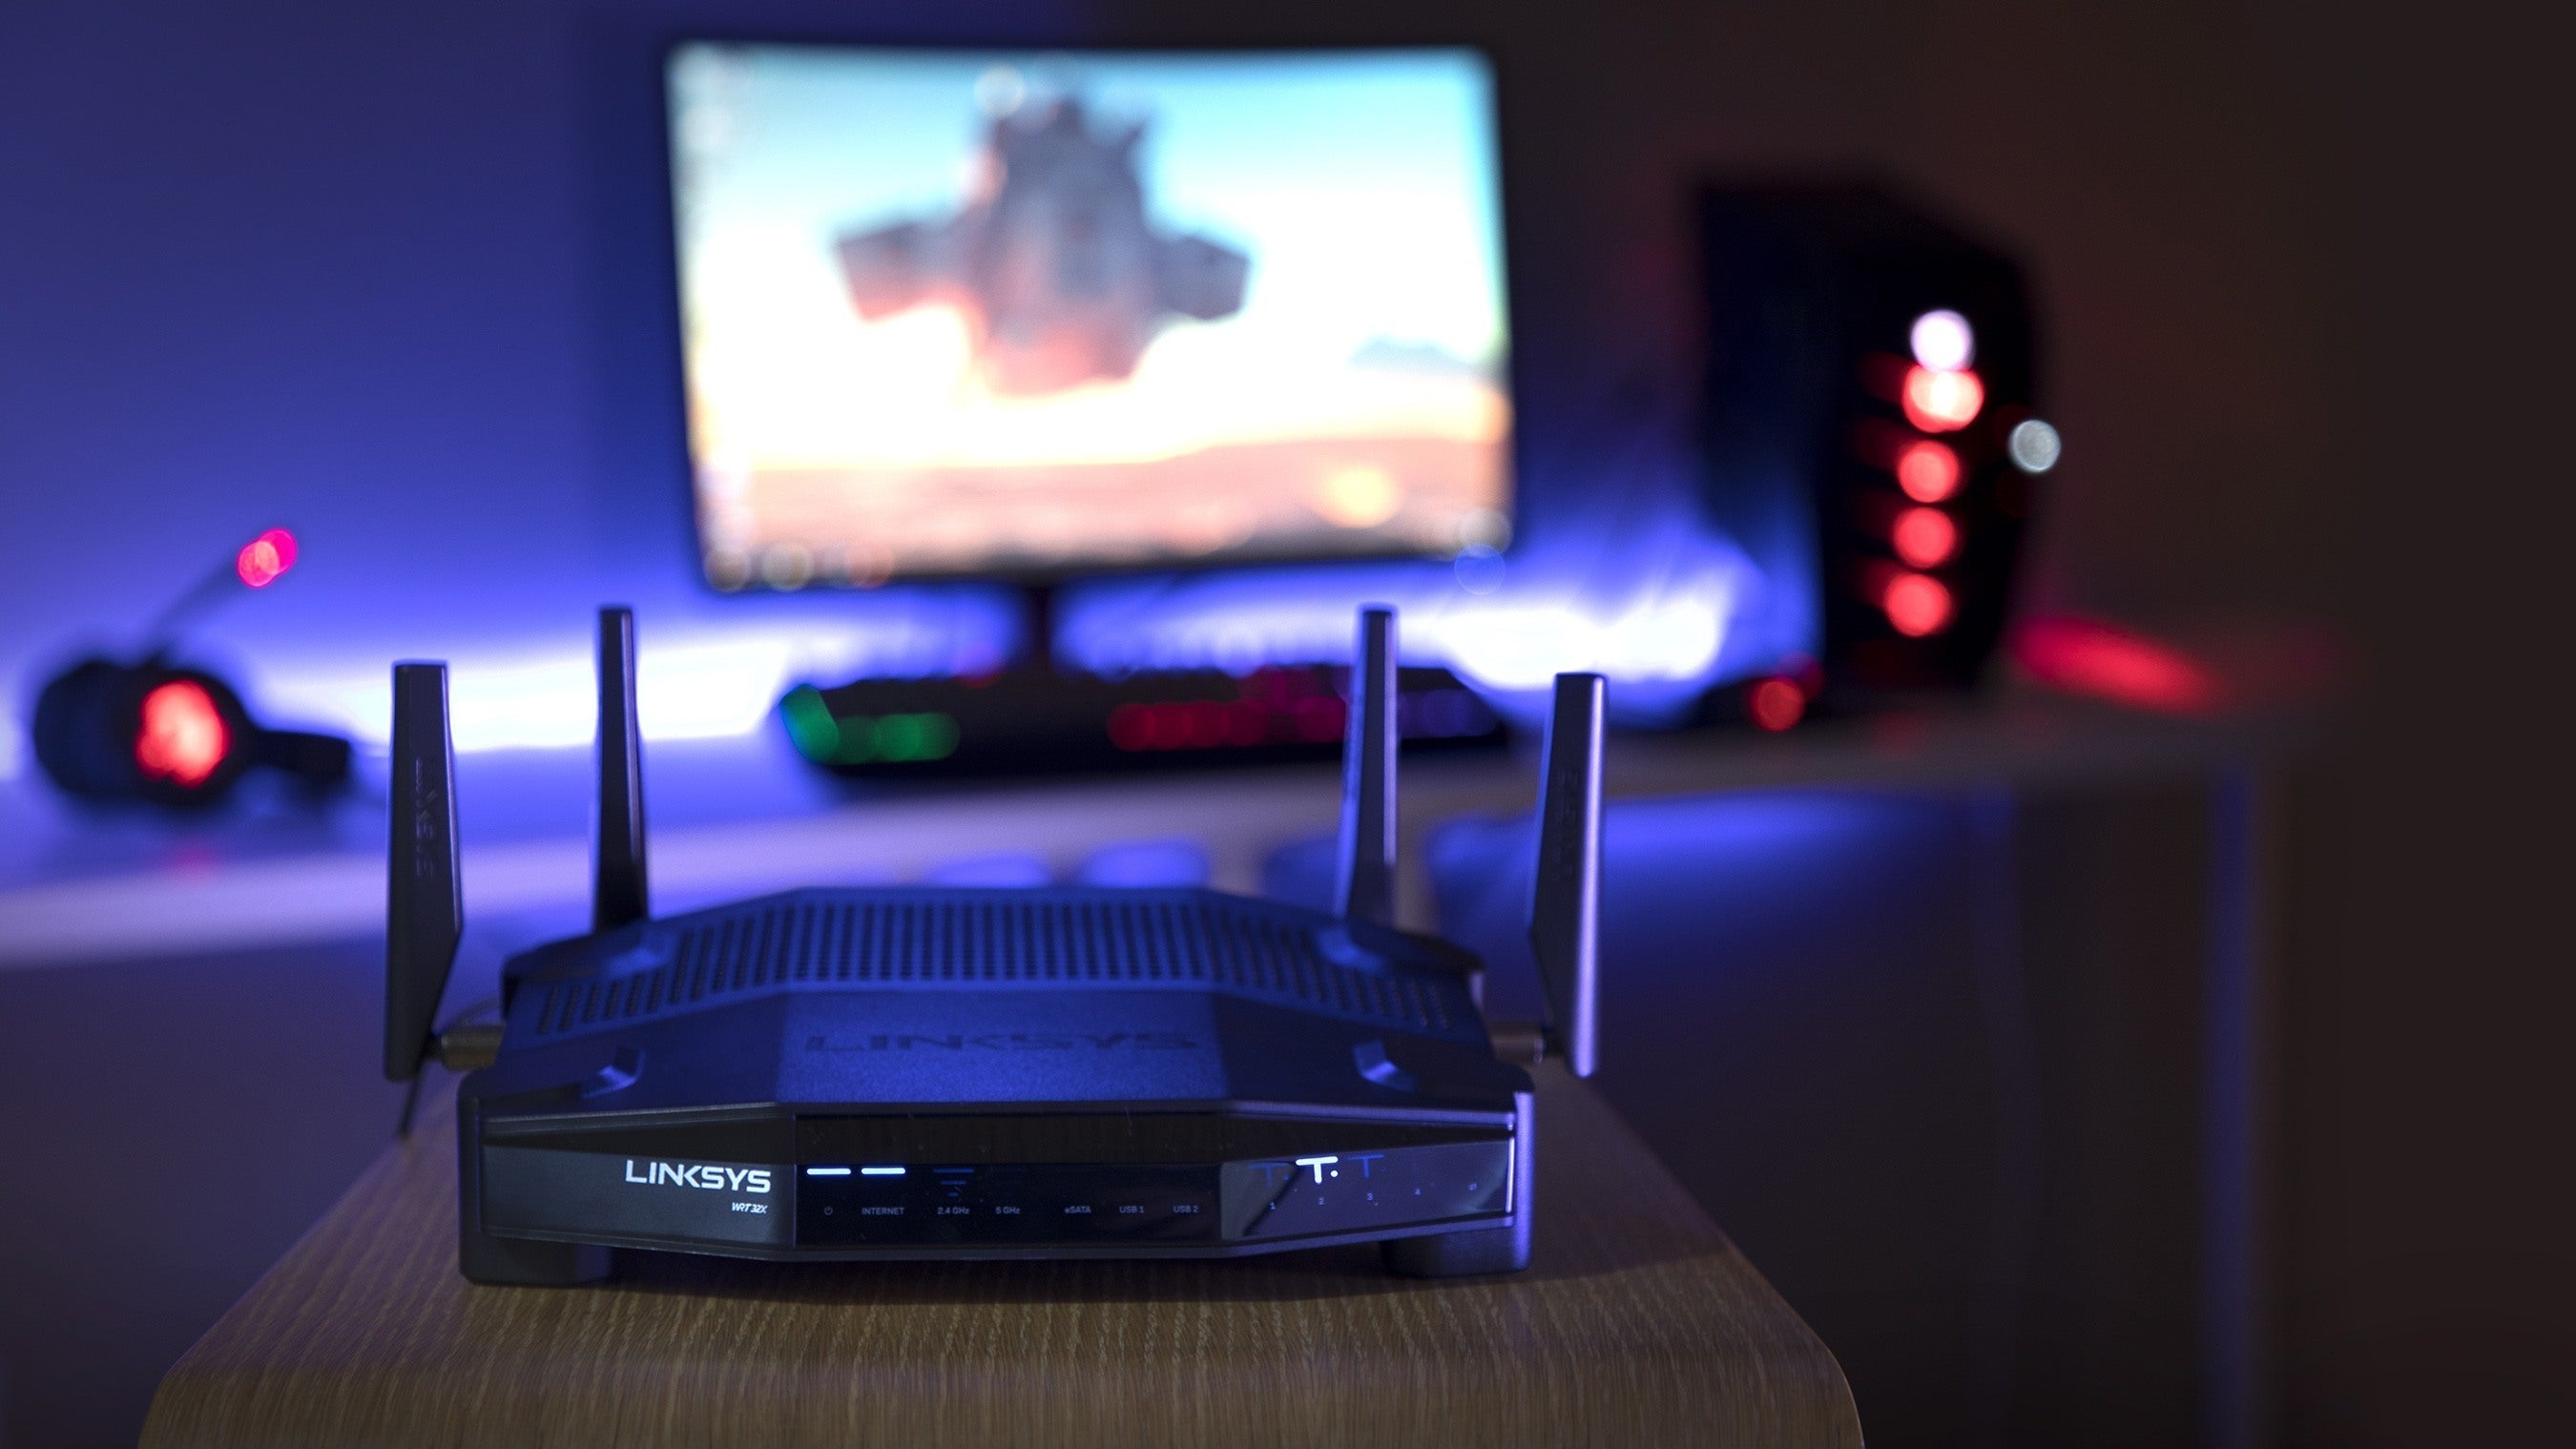
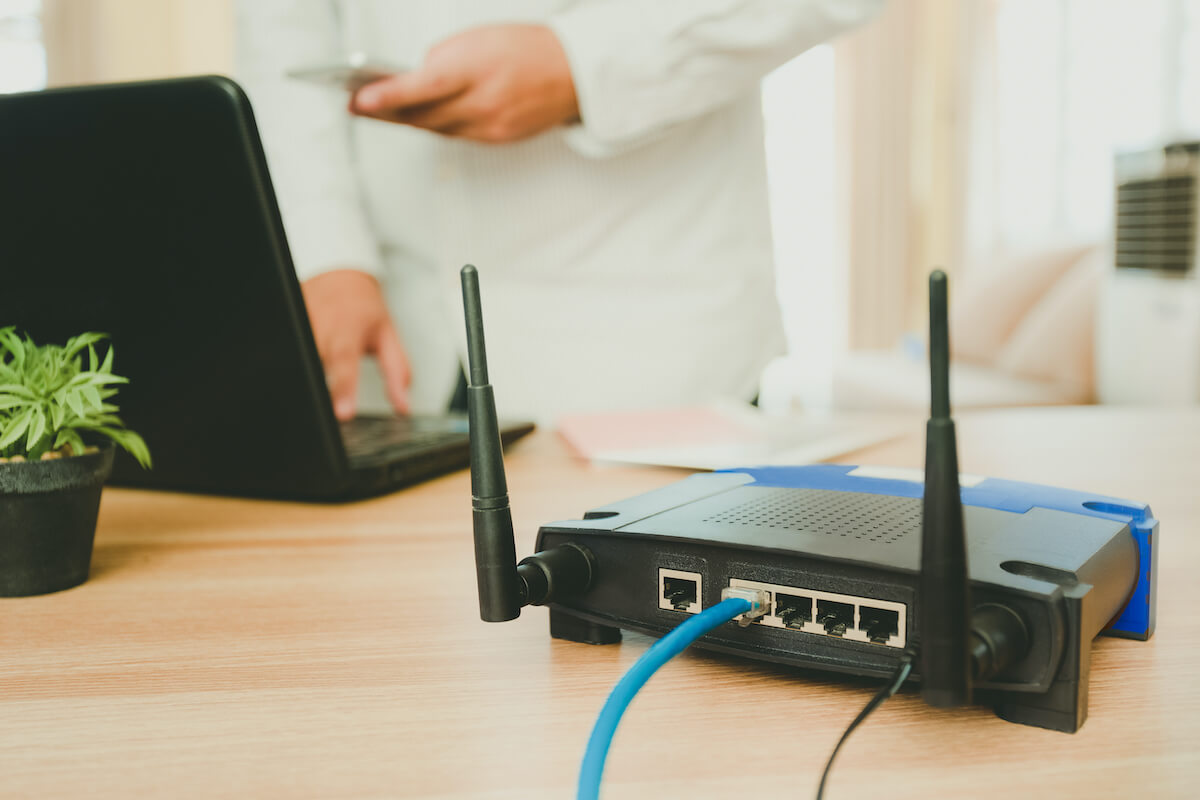
Step 3: Connect the Router to the Modem
Connecting your D-Link Wi-Fi router to the modem is a pivotal step in the installation process, as it establishes the link between your internet service provider’s connection and your home network. By seamlessly integrating the router with the modem, you’ll pave the way for a stable and high-speed internet connection throughout your smart home.
To begin, locate the Ethernet cable that was included with your D-Link router. This cable is instrumental in establishing the connection between the router and the modem. Once you’ve found the Ethernet cable, identify the Ethernet port on the back of your modem. This port is typically labeled as “LAN” or “Ethernet.”
With the Ethernet cable in hand, connect one end of the cable to the LAN port on your modem. Ensure that the connection is secure and that the cable is inserted fully into the port to facilitate seamless data transmission between the modem and the router.
After connecting the Ethernet cable to the modem, locate the WAN port on the back of your D-Link router. This port is specifically designated for connecting the router to the modem. With the other end of the Ethernet cable in hand, insert it into the WAN port on the router, ensuring a snug and secure connection.
Upon successfully connecting the router to the modem, you’ll notice that the indicator lights on the router display activity, indicating that a connection has been established. This visual cue confirms that the router is now linked to the modem and is ready to transmit the internet signal throughout your home.
With the router and modem seamlessly connected, you’re now poised to proceed to the next steps in configuring your D-Link Wi-Fi router and establishing a secure and efficient network for your smart home devices.
When installing a D-Link Wi-Fi router, make sure to connect the router to your modem using an Ethernet cable, then plug in the power adapter. Use the provided instructions to log in to the router’s web interface and follow the setup wizard to configure your Wi-Fi network.
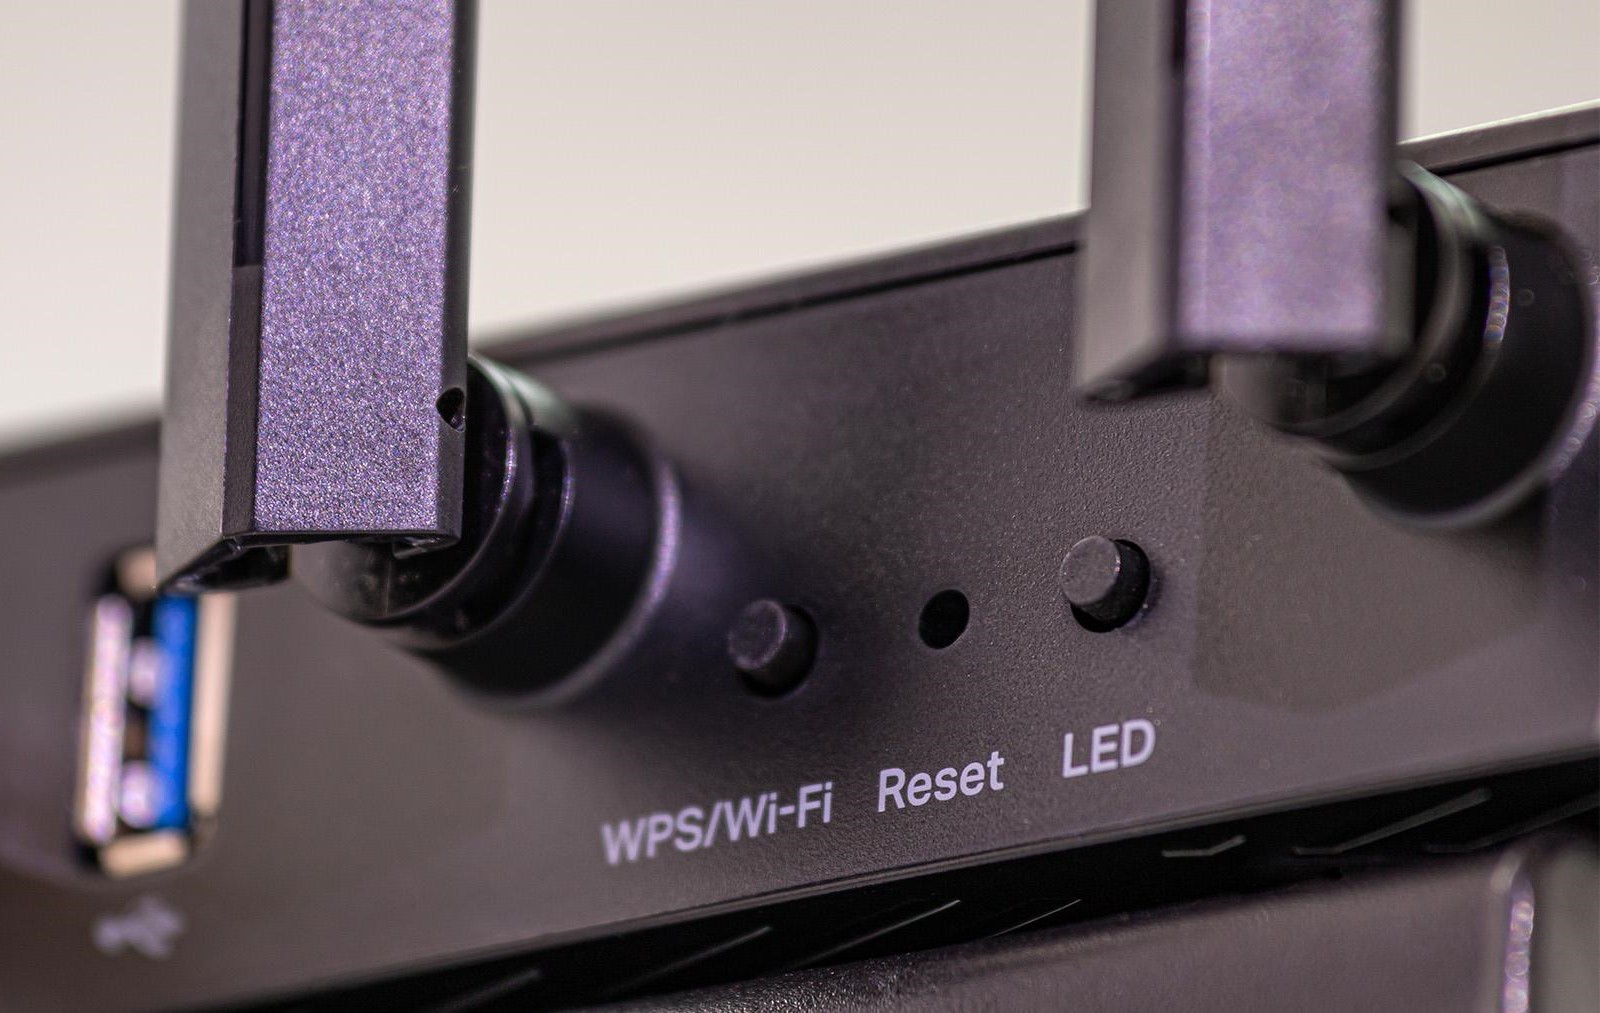
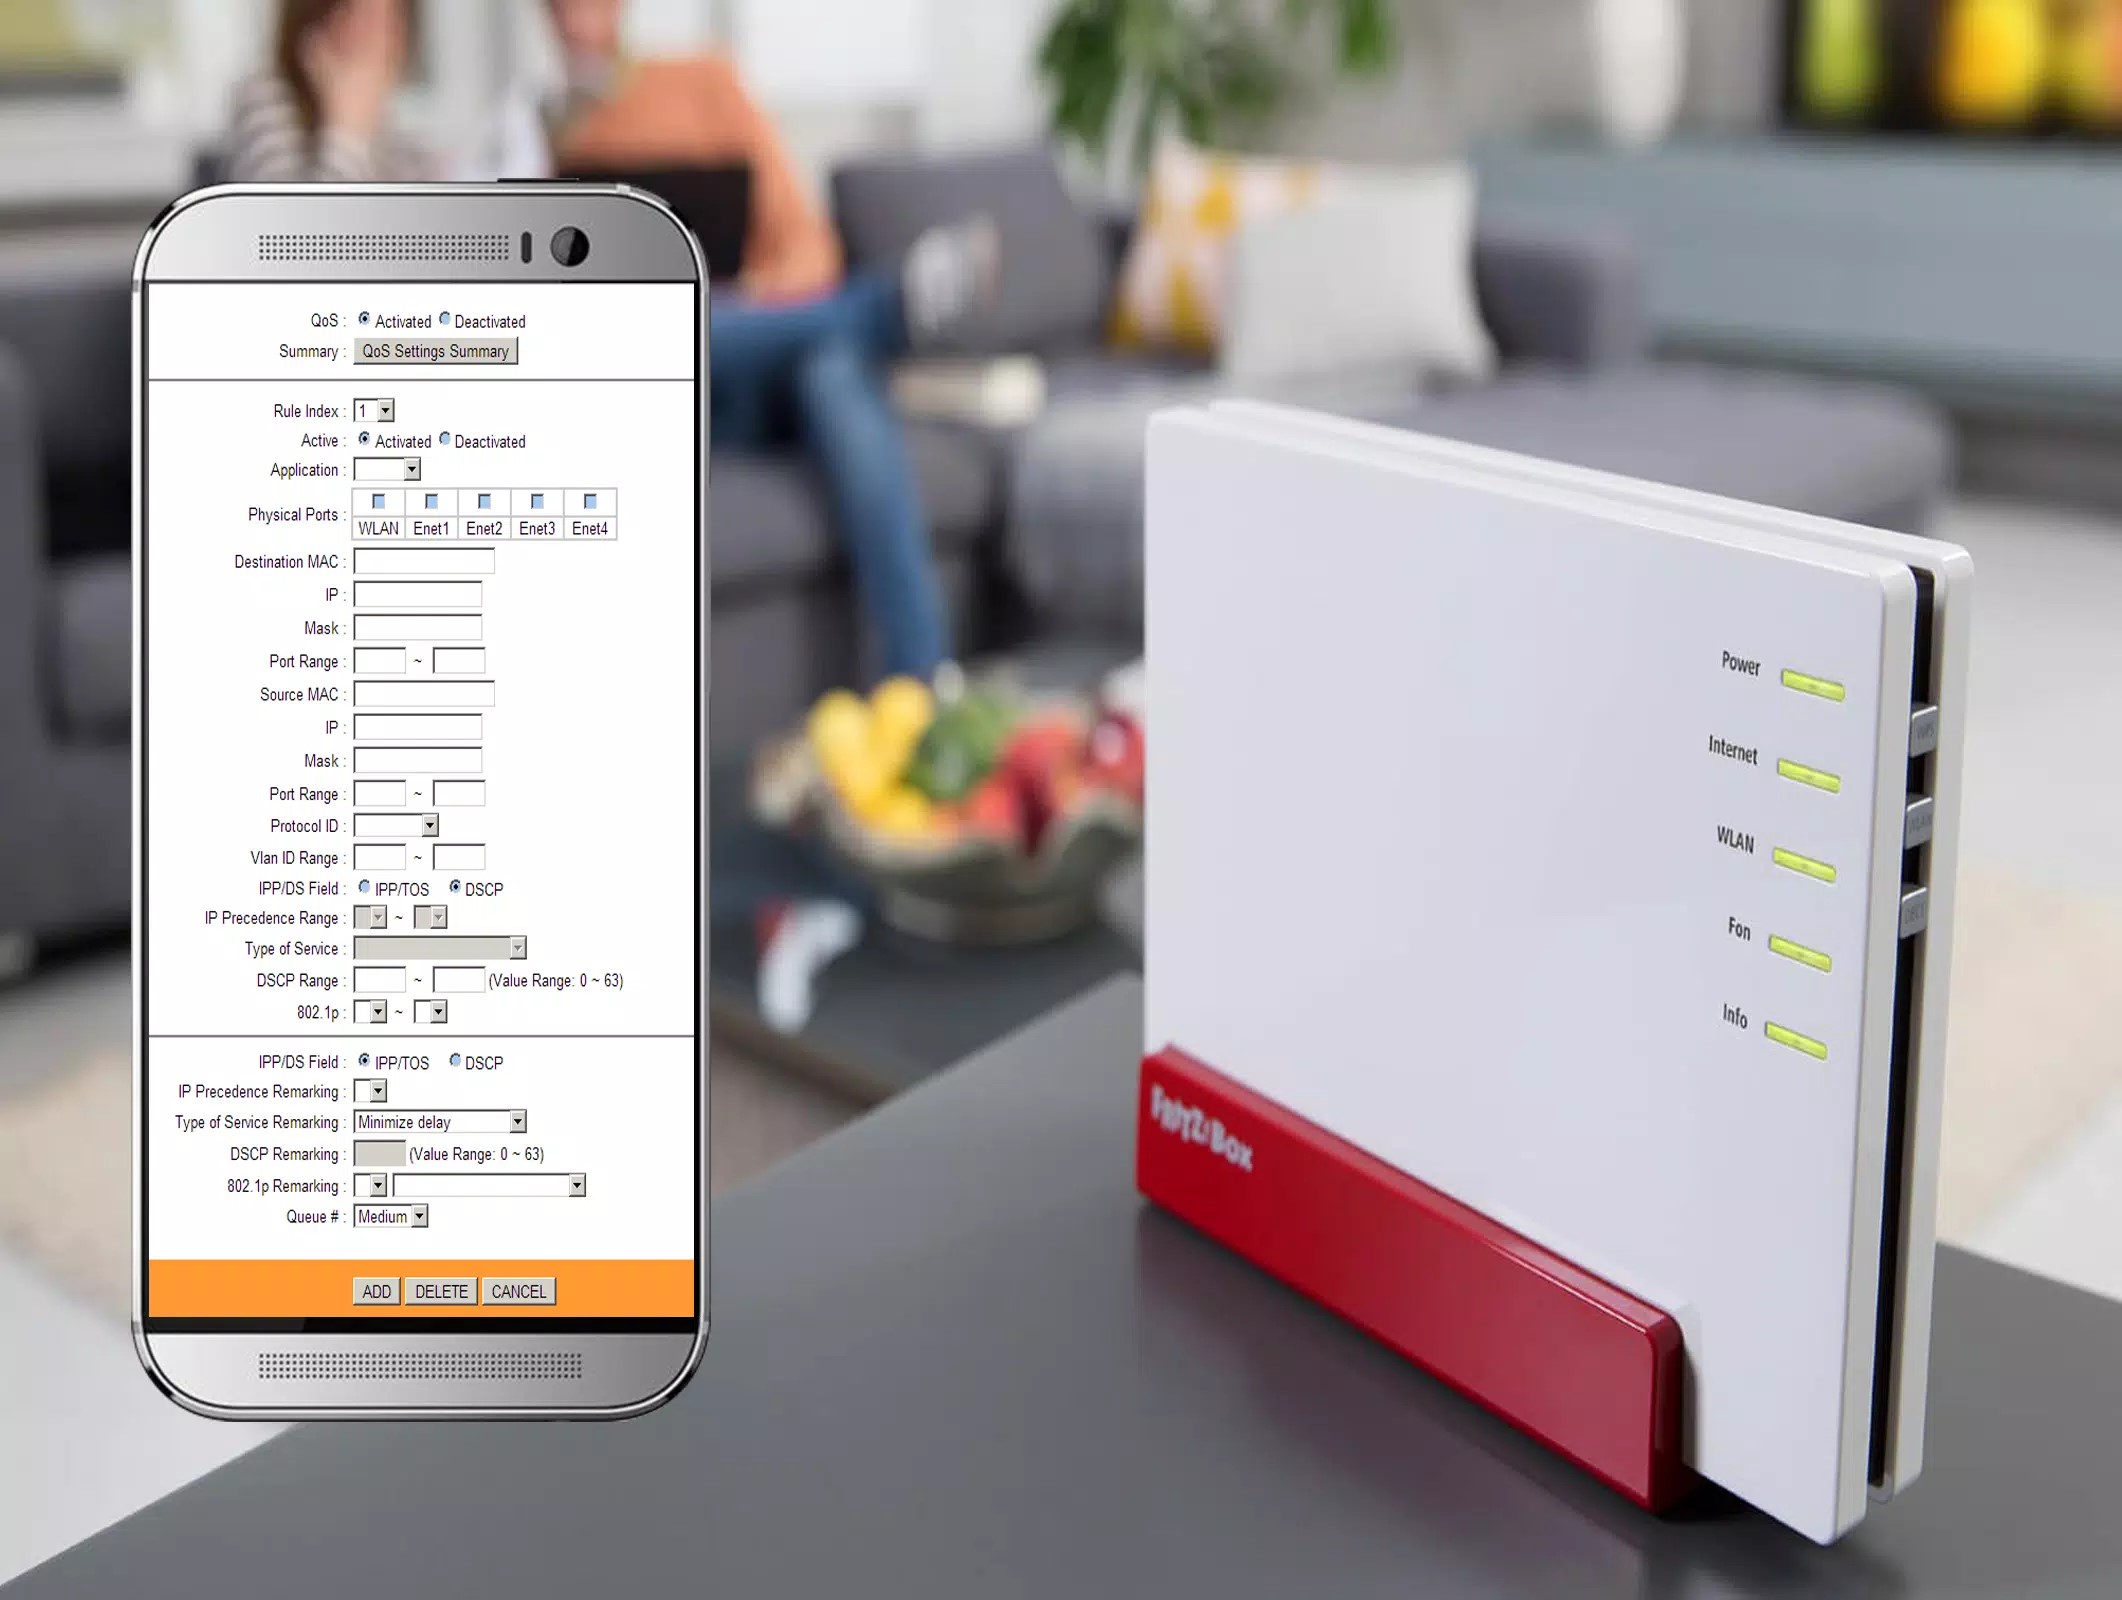
Step 4: Configure the Router Settings
Configuring the settings of your D-Link Wi-Fi router is a crucial step that empowers you to customize and optimize your home network according to your preferences and requirements. By delving into the router’s settings, you can establish a secure Wi-Fi network, customize the network name and password, and fine-tune various parameters to ensure an optimal user experience for all your connected devices.
To begin the configuration process, access the router’s settings interface through a web browser on a connected device. In the address bar of your web browser, enter the default IP address for D-Link routers, which is typically “192.168.0.1” or “192.168.1.1.” Press “Enter” to access the login page for your router’s settings.
Upon reaching the login page, you’ll be prompted to enter the router’s default username and password. These credentials are typically provided in the router’s documentation or can be found on the router itself. Once you’ve entered the username and password, you’ll gain access to the router’s settings interface.
Within the settings interface, you can customize various aspects of your Wi-Fi network, including the network name (SSID) and password. It’s advisable to create a strong and unique password to enhance the security of your network and prevent unauthorized access.
Furthermore, you can explore additional settings such as guest network options, parental controls, and quality of service (QoS) settings to prioritize specific types of network traffic. These features enable you to tailor the network to suit your specific needs, whether it involves creating a separate guest network for visitors or optimizing bandwidth for streaming and gaming.
As you navigate through the router’s settings, be sure to save any changes you make to ensure that the configurations are applied effectively. Once you’ve customized the settings to your satisfaction, you can proceed to the final step of connecting your devices to the Wi-Fi network and experiencing the seamless connectivity offered by your D-Link router.
Step 5: Connect Devices to the Wi-Fi Network
With your D-Link Wi-Fi router configured and ready to deliver a seamless networking experience, the final step involves connecting your devices to the newly established Wi-Fi network. Whether it’s your smartphone, laptop, smart TV, or any other smart home device, joining them to your Wi-Fi network is a straightforward process that ensures they can leverage the benefits of a fast and reliable internet connection.
To begin, access the Wi-Fi settings on your device. This can typically be done through the device’s settings menu, where you’ll find the option to view available Wi-Fi networks. Upon selecting your D-Link router’s network name (SSID) from the list of available networks, you’ll be prompted to enter the network password that you configured during the router setup process.
After entering the network password, your device will initiate the connection process, and upon successful authentication, it will join the Wi-Fi network. You’ll notice the Wi-Fi symbol or indicator on your device illuminate, signifying that it is now connected to the network and ready to access the internet and other network resources.
Once your device is connected to the Wi-Fi network, you can verify the connection by accessing the internet or using network-dependent applications. By doing so, you can ensure that the network connection is stable and that your device can seamlessly communicate with other devices on the network.
Repeat this process for each of your devices, ensuring that they are all connected to the Wi-Fi network with the same network name and password. This will enable a cohesive and interconnected smart home environment, allowing your devices to communicate and function harmoniously within the network.
With your devices successfully connected to the Wi-Fi network, you can now revel in the convenience and efficiency of a robust and secure network powered by your D-Link Wi-Fi router. Whether you’re streaming content, controlling smart home devices, or engaging in online activities, your connected devices are poised to deliver a seamless and reliable user experience.
Conclusion
Congratulations! By following the steps outlined in this guide, you have successfully installed and configured your D-Link Wi-Fi router, laying the foundation for a robust and reliable network within your smart home. With your router unpacked, connected to the power supply, linked to the modem, and configured to your preferences, you are now poised to enjoy seamless connectivity and high-speed internet access across all your connected devices.
As you bask in the convenience and efficiency of your newly established Wi-Fi network, it’s important to remember the significance of regular maintenance and security measures. Routinely updating your router’s firmware, periodically changing your network password, and implementing security features such as firewall settings and guest network controls are essential practices to safeguard your network against potential threats and ensure a secure and private browsing experience.
Furthermore, as the ecosystem of smart home devices continues to expand, your D-Link Wi-Fi router serves as the cornerstone of connectivity, enabling your devices to communicate, share data, and enhance your daily routines. Whether it’s streaming content, monitoring home security systems, or controlling smart appliances, your network is primed to deliver a seamless and interconnected experience that aligns with the modern demands of a smart home environment.
By embracing the capabilities of your D-Link Wi-Fi router and staying attuned to the evolving landscape of smart home technology, you are positioned to harness the full potential of a connected and digitally empowered living space. As you explore the myriad possibilities afforded by your network, remember that your D-Link router stands as a reliable companion, steadfastly supporting your endeavors and ensuring that your smart home devices operate harmoniously within the network.
In closing, the installation and configuration of your D-Link Wi-Fi router mark the inception of a seamless and interconnected smart home experience, where convenience, efficiency, and innovation converge to elevate your lifestyle. Embrace the opportunities that await within your smart home network, and revel in the transformative impact of a robust and secure Wi-Fi ecosystem powered by your D-Link router.
Frequently Asked Questions about How To Install D-Link Wi-Fi Router
Was this page helpful?
At Storables.com, we guarantee accurate and reliable information. Our content, validated by Expert Board Contributors, is crafted following stringent Editorial Policies. We're committed to providing you with well-researched, expert-backed insights for all your informational needs.

0 thoughts on “How To Install D-Link Wi-Fi Router”