Home>Home Security and Surveillance>How To Use Zeetopin Outdoor Camera
Home Security and Surveillance
How To Use Zeetopin Outdoor Camera
Modified: March 6, 2024
Learn how to enhance your home security with the Zeetopin Outdoor Camera. Discover the best practices for adding this surveillance device to protect your property.
(Many of the links in this article redirect to a specific reviewed product. Your purchase of these products through affiliate links helps to generate commission for Storables.com, at no extra cost. Learn more)
Introduction
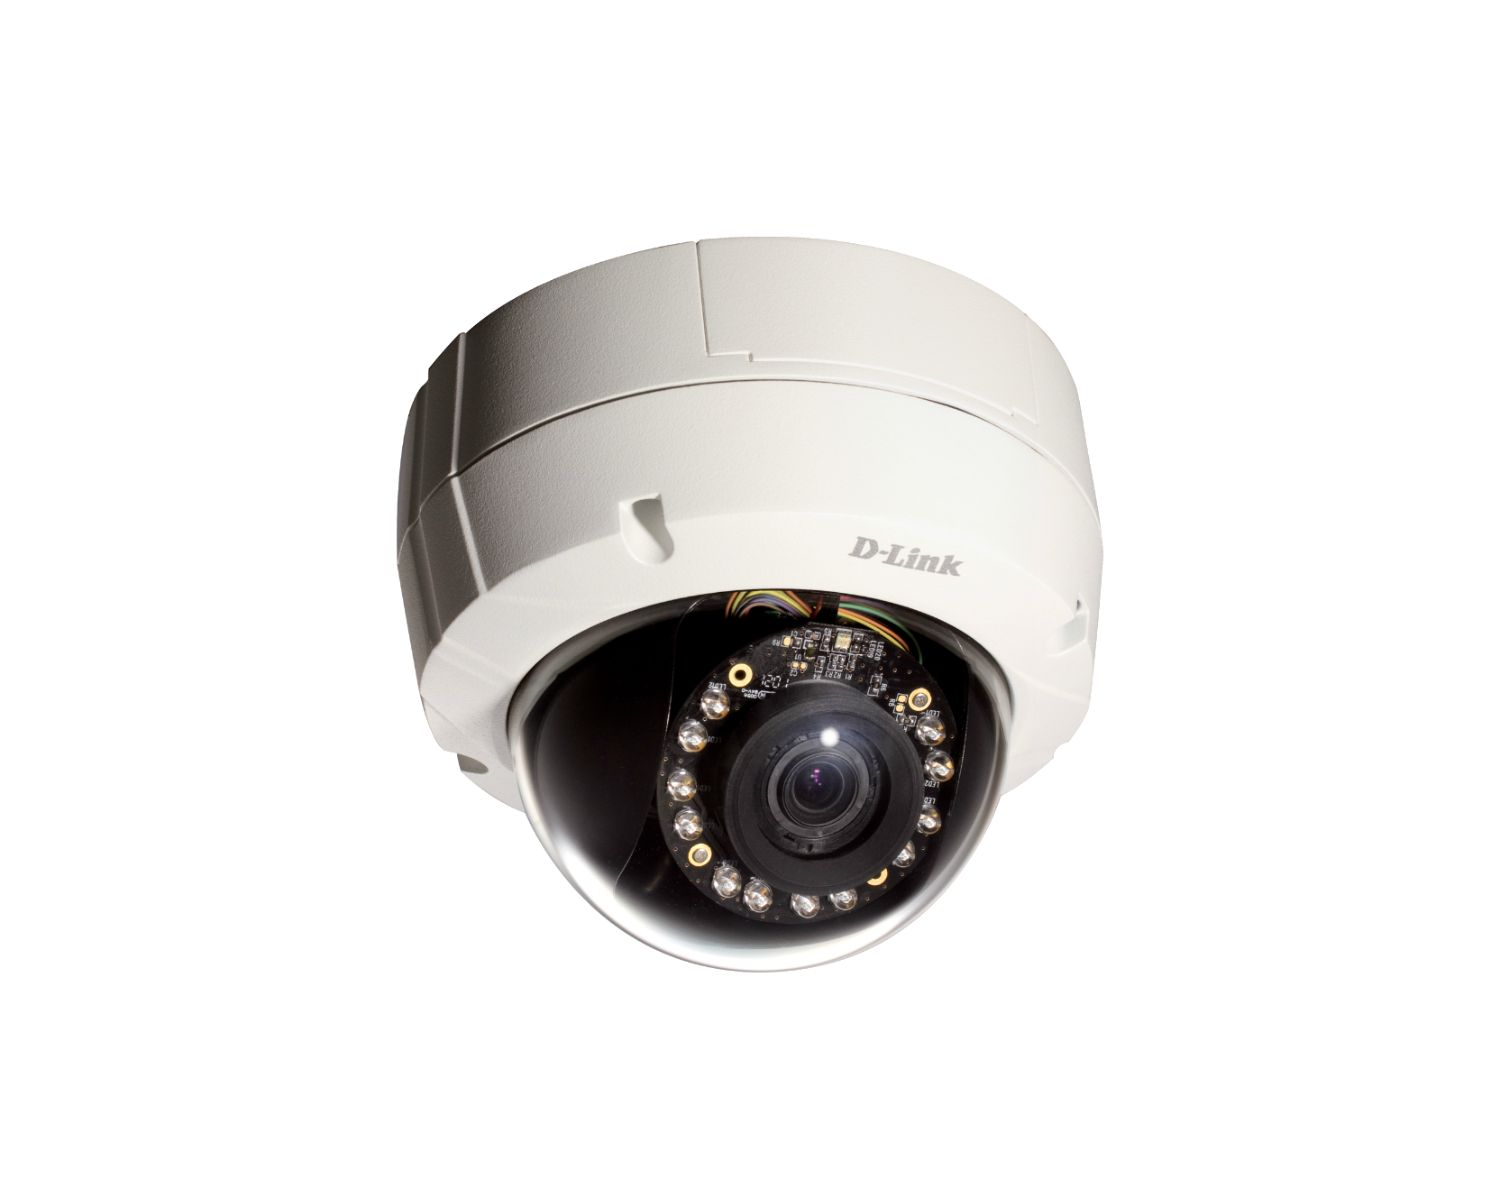
Welcome to our comprehensive guide on how to add the Zeetopin outdoor camera to your home security system. With the rise in crime rates and the need for reliable surveillance, a high-quality outdoor camera can provide you with peace of mind and an added layer of protection for your property. The Zeetopin outdoor camera offers advanced features and smart capabilities, making it an excellent choice for homeowners.
In this guide, we will walk you through the step-by-step process of installing and setting up the Zeetopin outdoor camera. Whether you are a seasoned DIY enthusiast or a beginner, you will find the instructions easy to follow.
Before we dive into the installation process, let’s briefly discuss why investing in an outdoor camera is a wise decision. An outdoor camera acts as a deterrent, discouraging potential intruders from targeting your home. It allows you to monitor and record any suspicious activities in real-time, giving you valuable evidence in case of a break-in or vandalism. Furthermore, with the Zeetopin outdoor camera’s remote access capability, you can view the live footage from anywhere using your smartphone or computer, providing you with constant monitoring even when you are away.
Now that we understand the importance and benefits of adding an outdoor camera to your home security system, let’s get started with the installation process. But before we begin, let’s gather the equipment you’ll need for a successful installation.
Key Takeaways:
- Installing the Zeetopin outdoor camera is a smart way to protect your home. It deters intruders, provides real-time monitoring, and offers remote access for peace of mind when you’re away.
- To install the camera, gather equipment, choose the right location, mount it securely, connect to power and Wi-Fi, customize settings, and test its functionality. Enjoy reliable home surveillance with Zeetopin!
Step 1: Gather the required equipment
Before you start installing the Zeetopin outdoor camera, it’s essential to gather all the necessary equipment. Having everything ready will ensure a smooth and efficient installation process. Here’s a list of the equipment you’ll need:
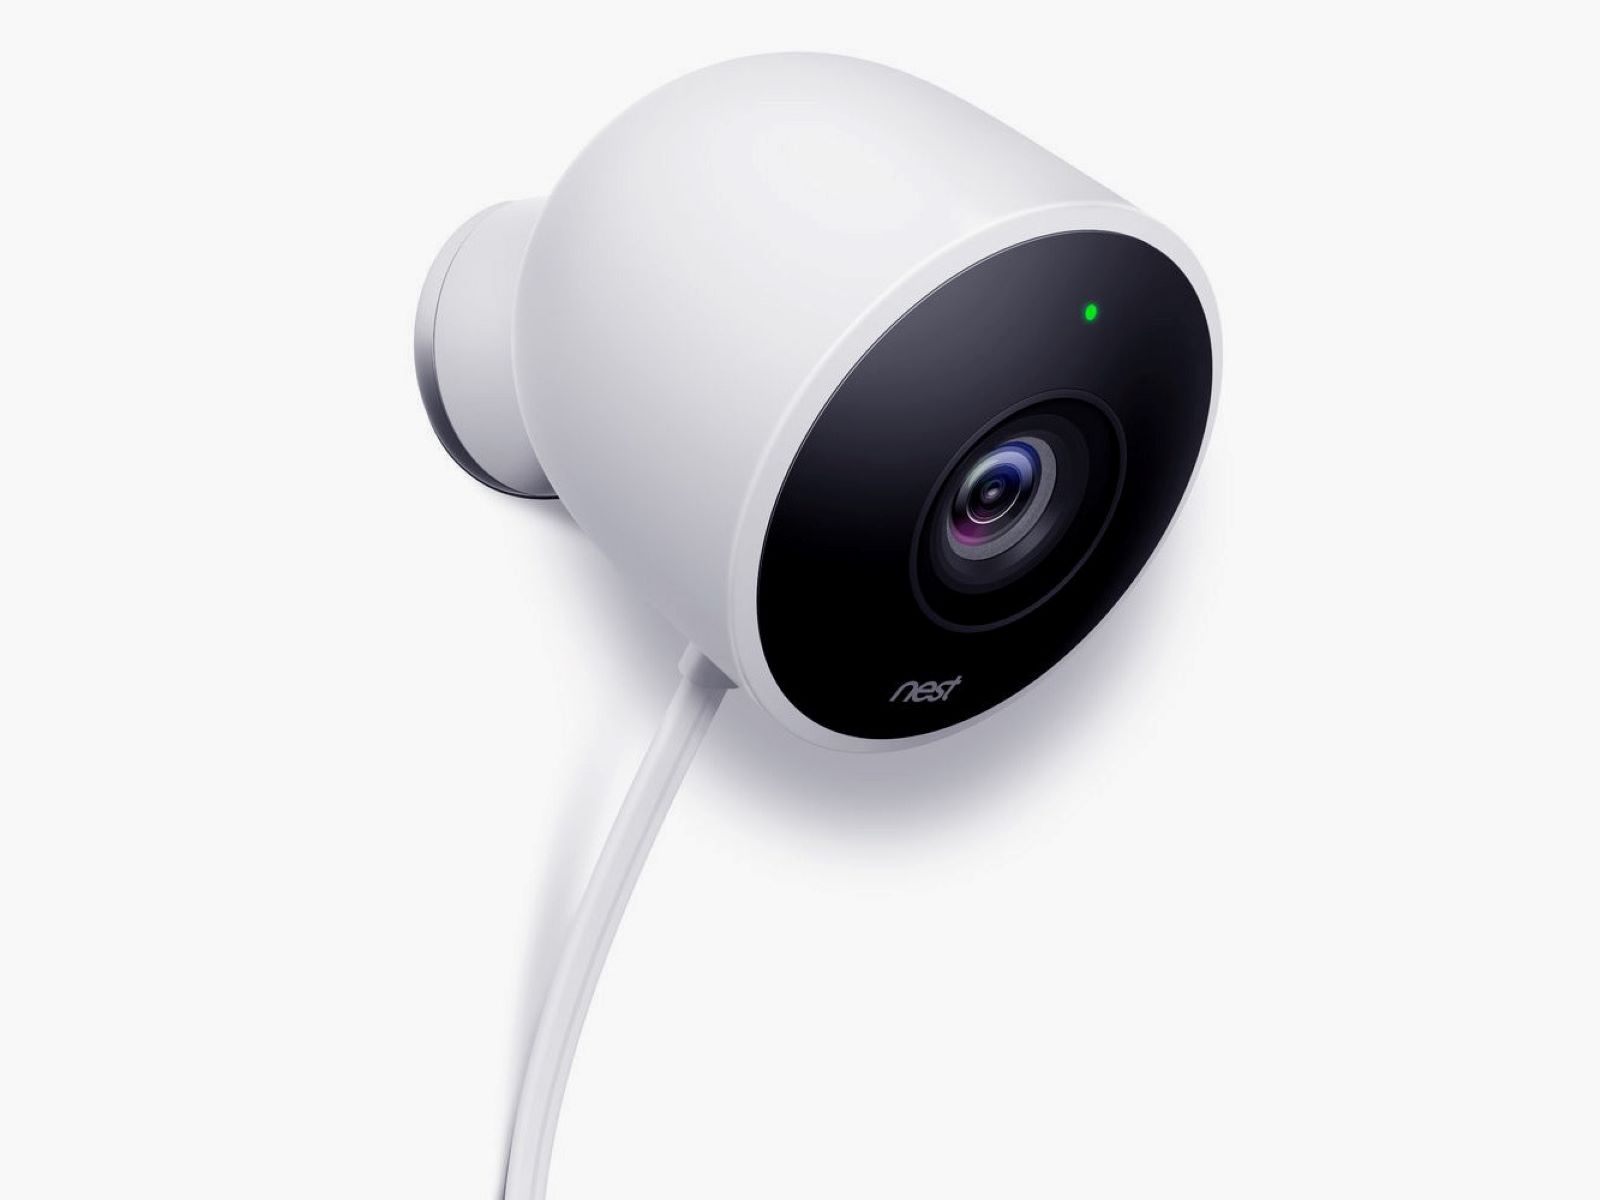
- Zeetopin outdoor camera: Make sure you have the camera itself, along with any accompanying accessories such as mounting brackets or screws.
- Power source: Determine whether you’ll be using an existing power outlet or if you need to install a dedicated power source for the camera.
- Wi-Fi network: Ensure you have a stable and reliable Wi-Fi network in the area where you plan to install the camera.
- Smartphone or computer: You’ll need a device to access the camera’s settings and view the live footage.
- Screwdriver and mounting hardware: Depending on the installation location and the camera’s mounting requirements, you may need a screwdriver and other necessary tools.
- Network cables: If you prefer a wired connection, make sure you have network cables of the appropriate length.
- Power extension cord (if needed): In case the camera’s power cable doesn’t reach the power source, have a power extension cord on hand.
Once you have gathered all the required equipment, you’re ready to move on to the next step: choosing the installation location for your Zeetopin outdoor camera.
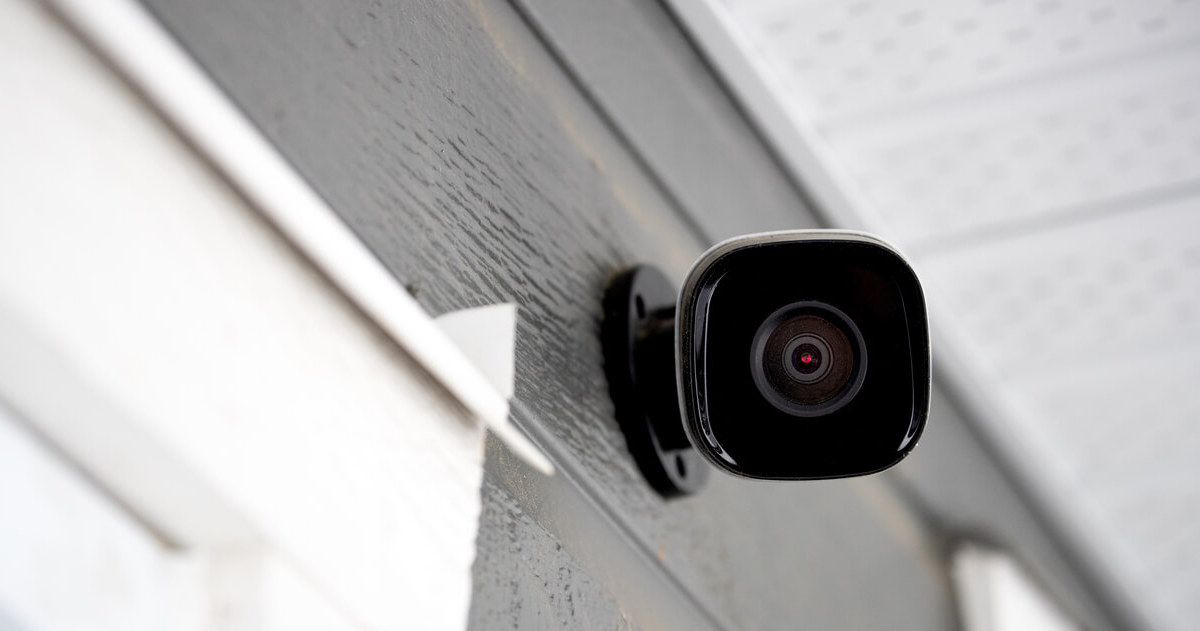
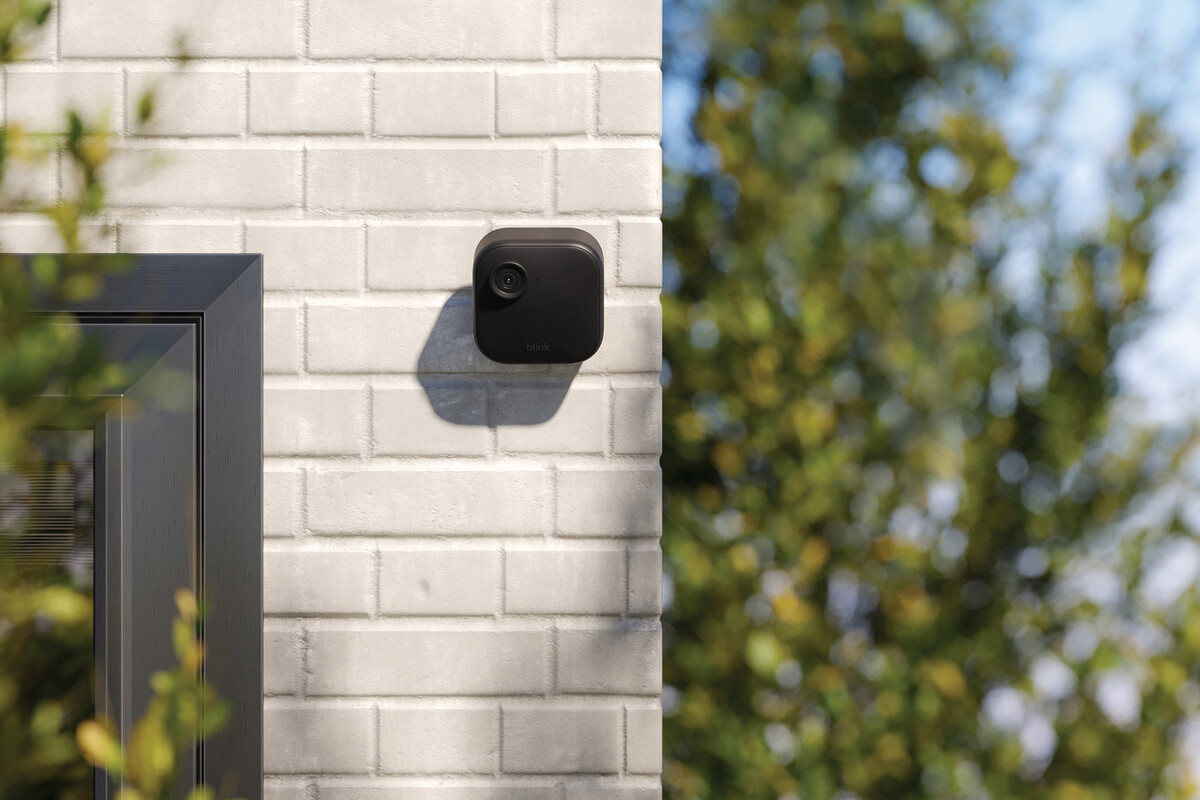
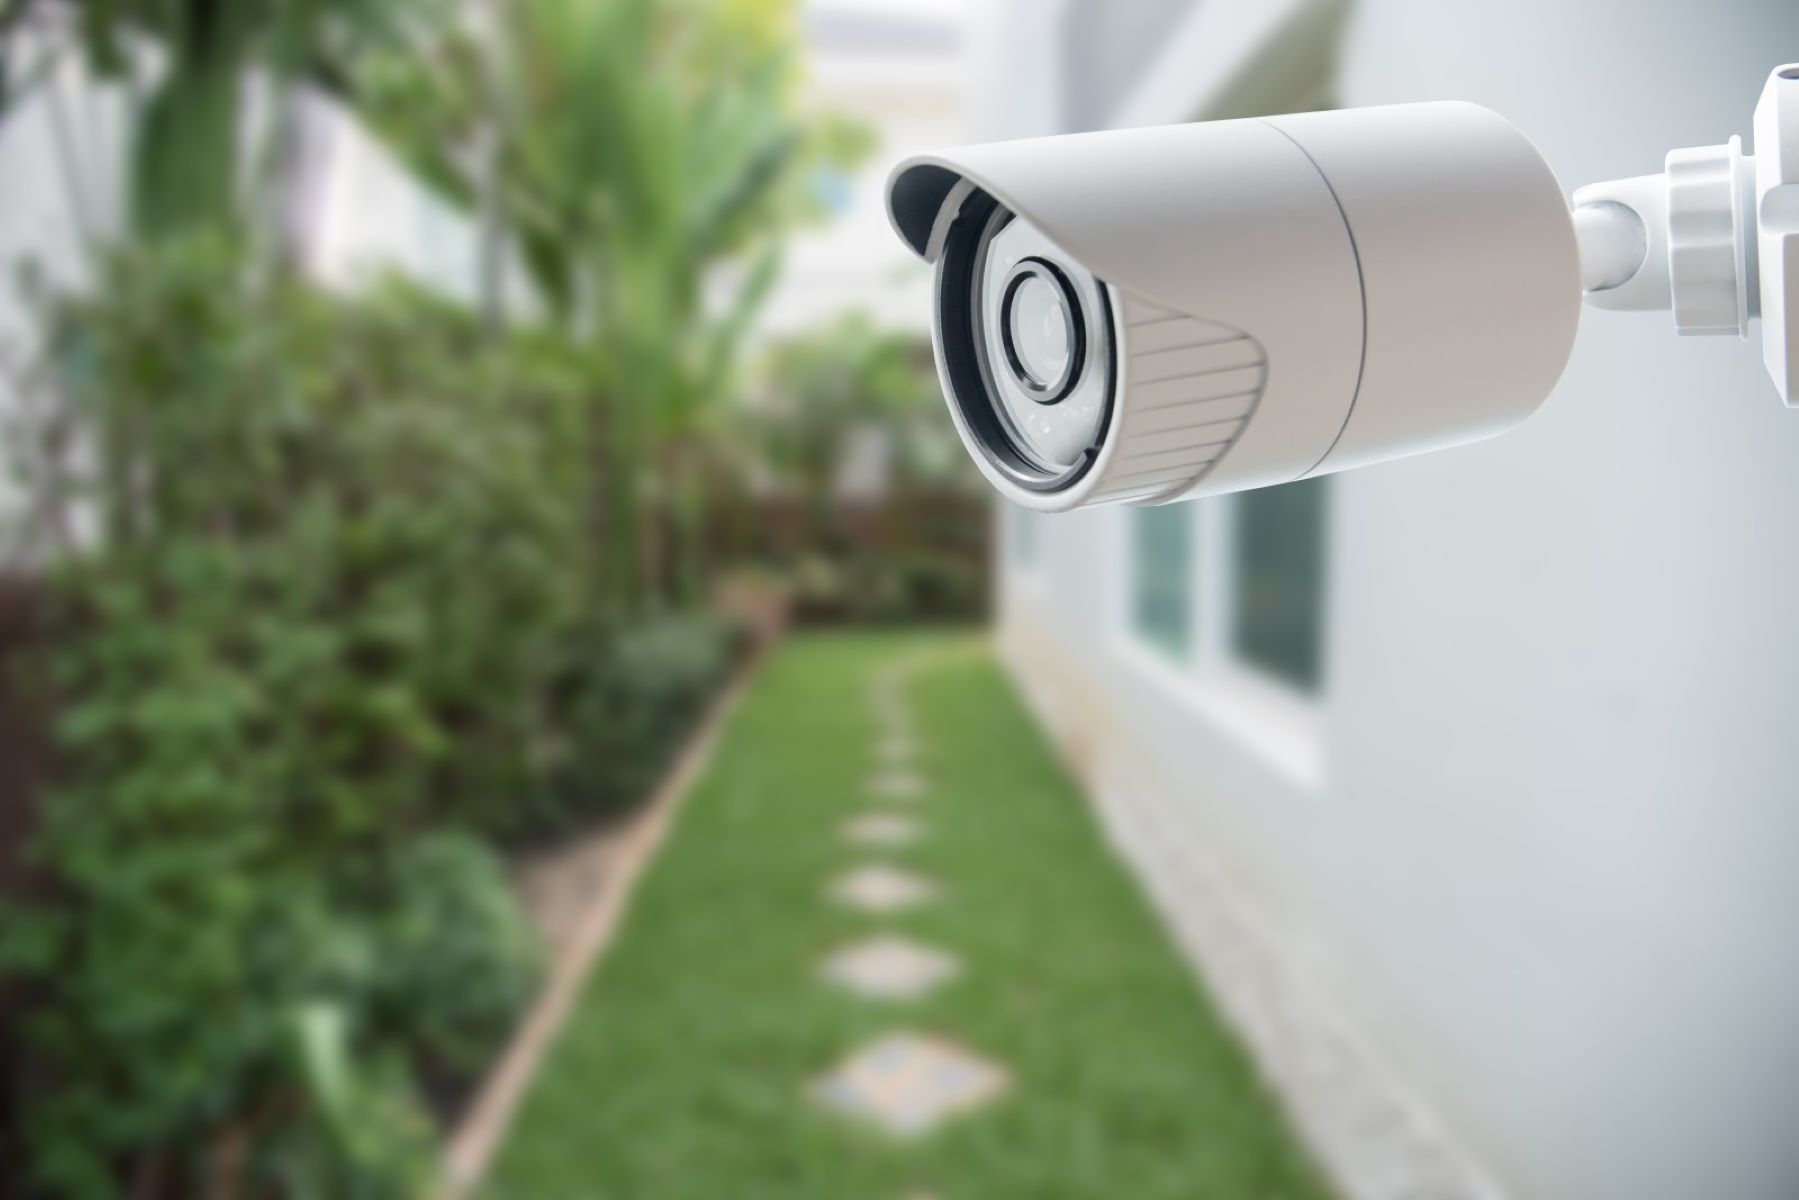
Step 2: Choose the installation location
Choosing the right installation location for your Zeetopin outdoor camera is crucial for maximizing its effectiveness and coverage. Here are some factors to consider when selecting the installation location:
- Visibility: Place the camera in a location where it can be easily seen and act as a visible deterrent to potential intruders.
- Coverage: Identify areas that you want to monitor, such as entry points, driveways, or high-risk areas. Ensure the camera has a wide enough field of view to capture those areas effectively.
- Height: Mount the camera at a sufficient height to prevent tampering or vandalism. A height of 8-10 feet is usually recommended.
- Accessibility to power source: Make sure the chosen location is within reach of a power outlet if you are planning to use a wired connection.
- Protection from the elements: Ensure the installation location provides some level of protection from rain, snow, or direct sunlight to maintain the camera’s performance and longevity.
- Wi-Fi signal strength: If you opt for a wireless connection, check the Wi-Fi signal strength at the chosen location to avoid connectivity issues.
Once you have considered these factors, take some time to evaluate different areas around your property. Keep in mind that installing multiple cameras may be necessary to cover all desired angles effectively. When you have finalized the installation location, you can move on to mounting the Zeetopin outdoor camera.
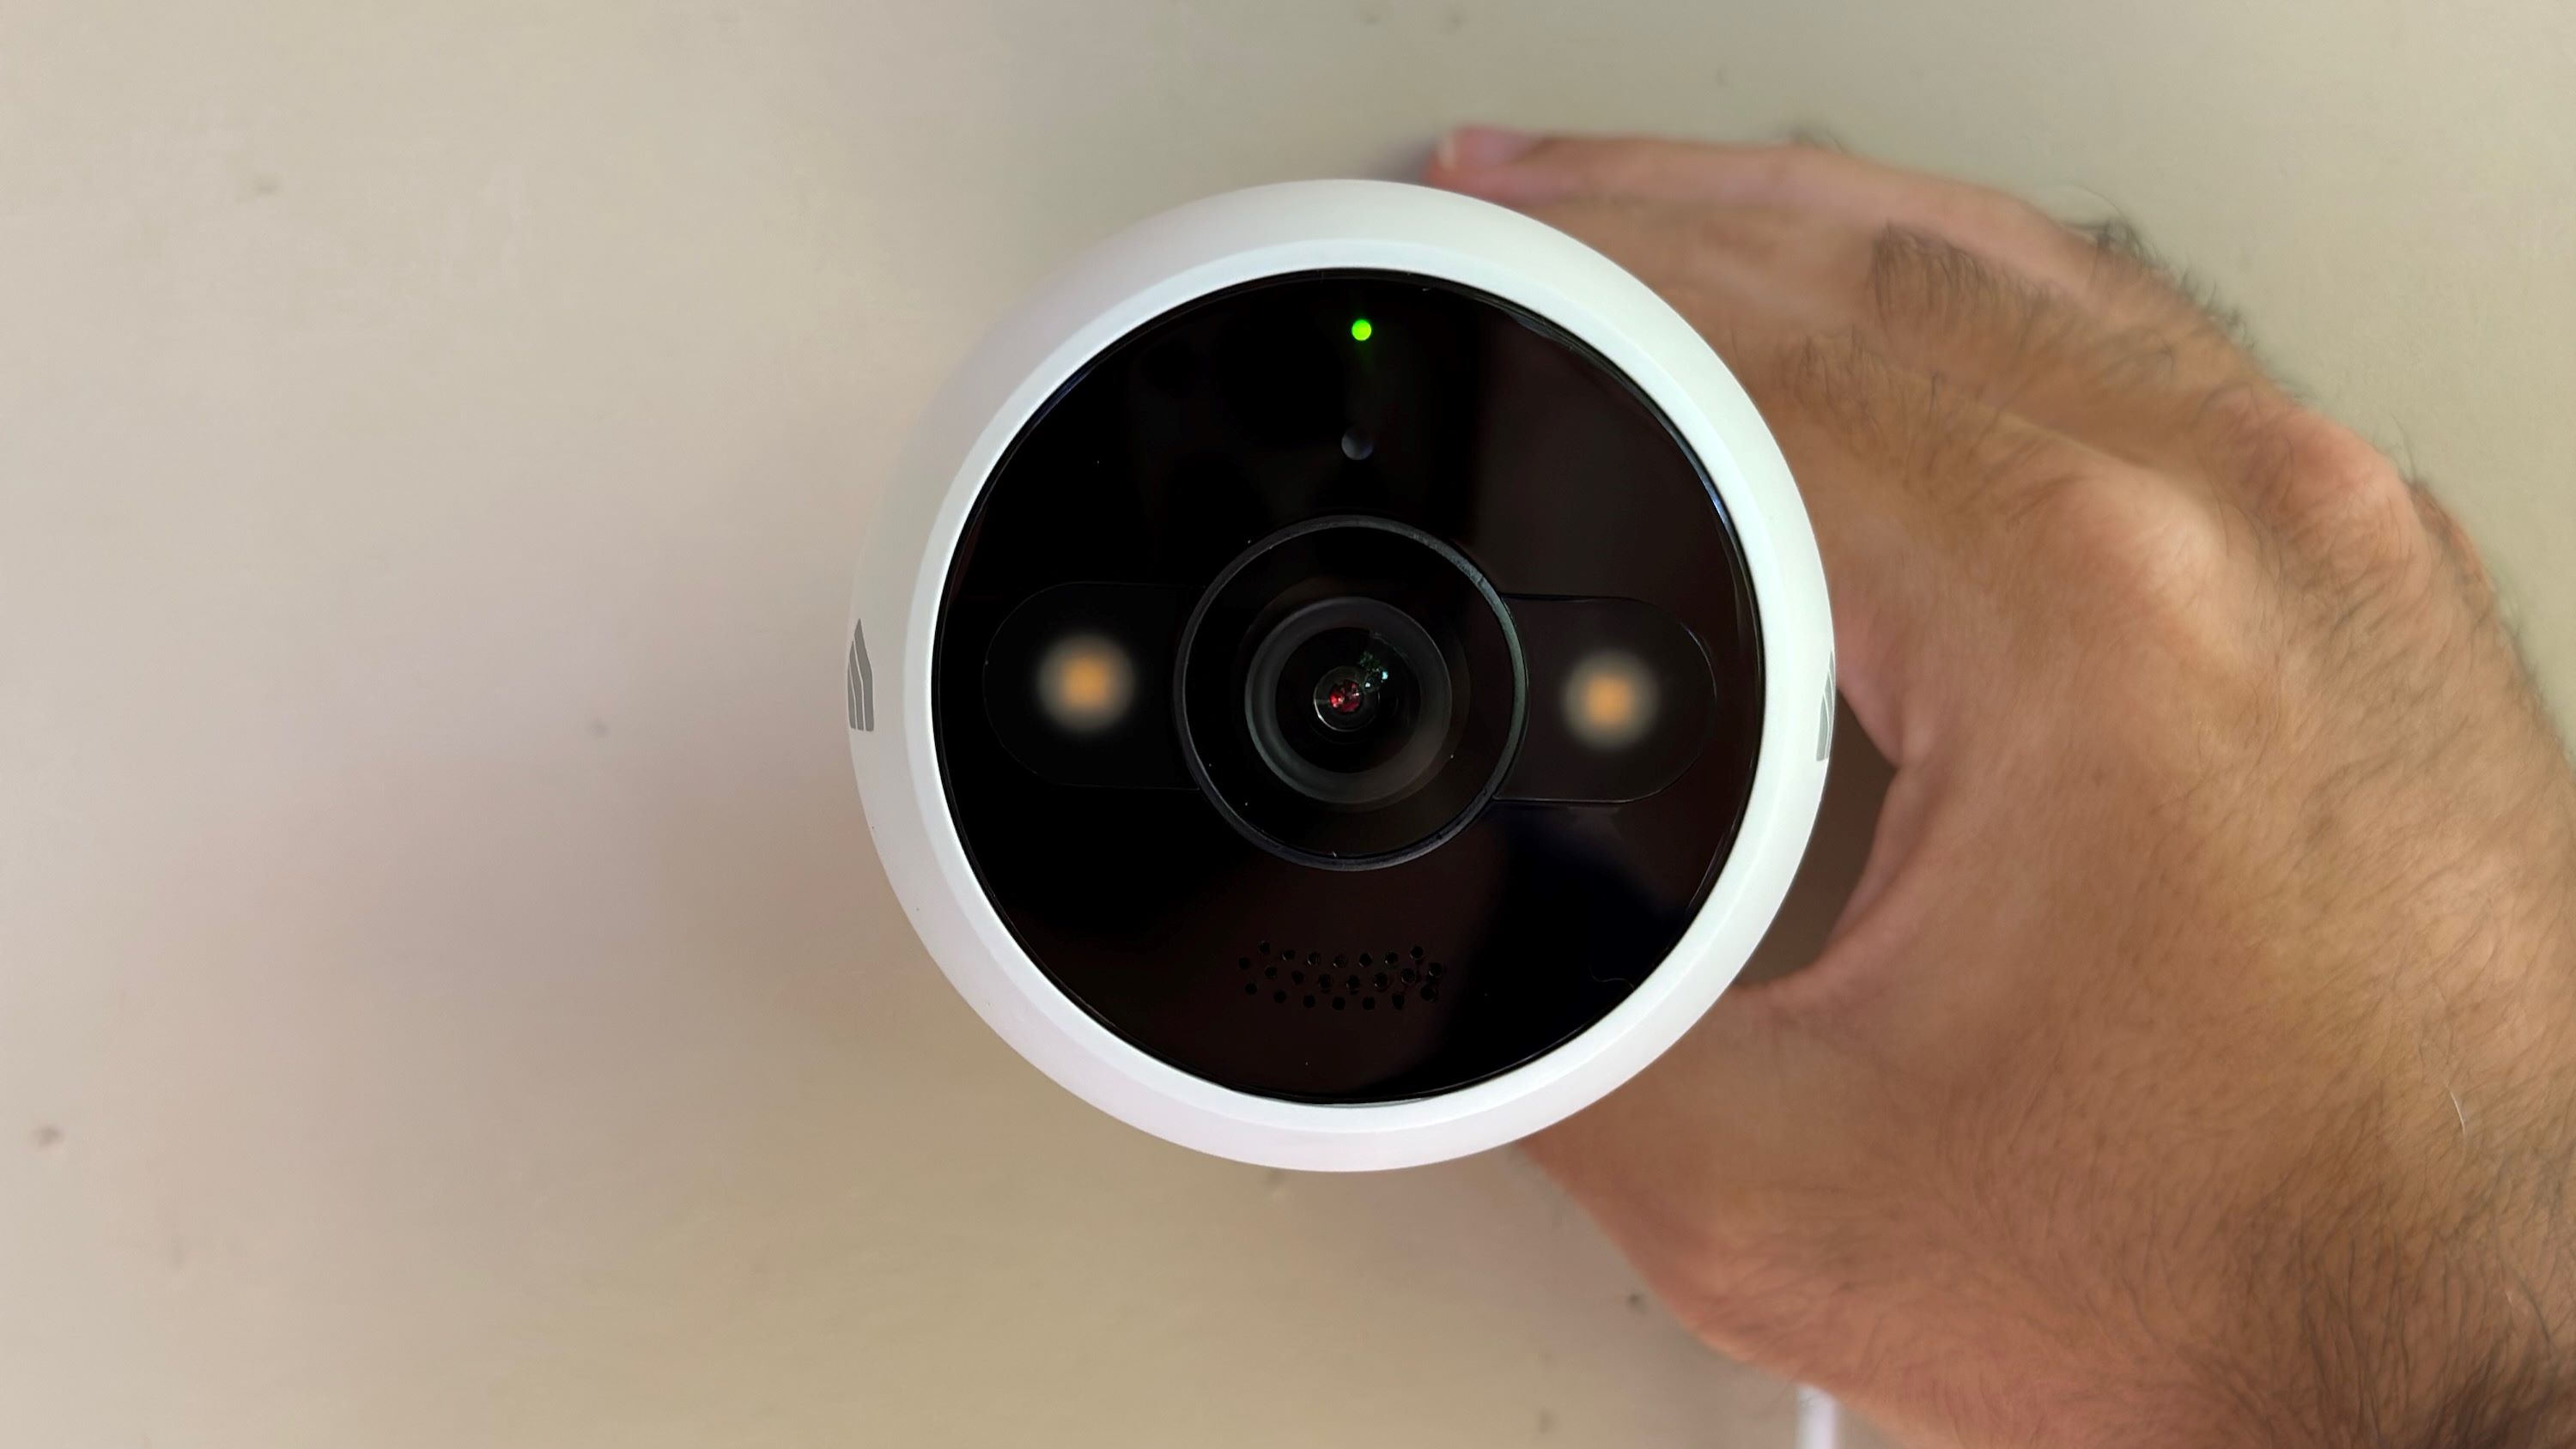
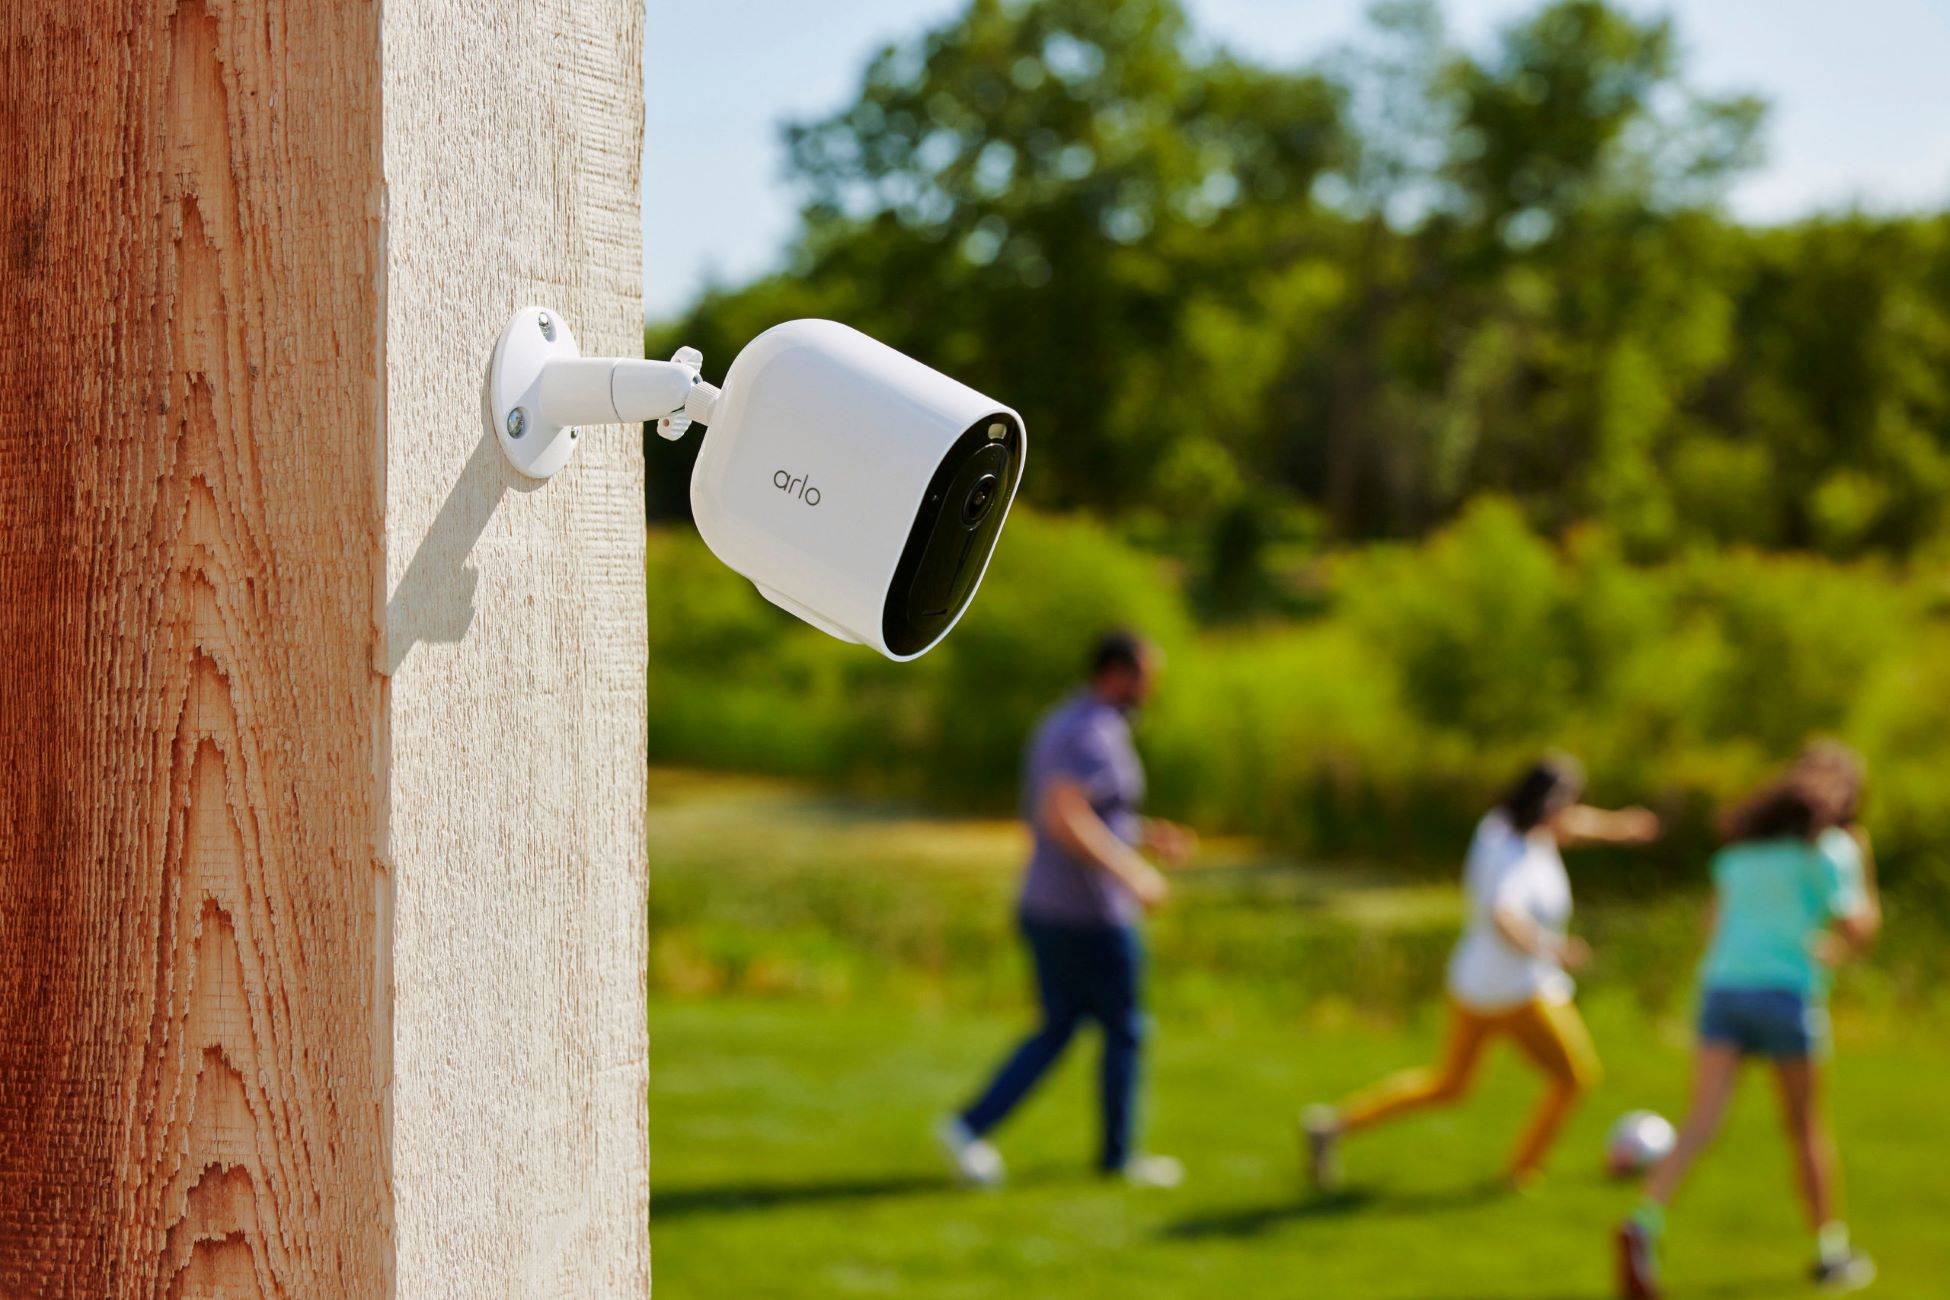
Step 3: Mount the Zeetopin outdoor camera
Now that you have determined the installation location for your Zeetopin outdoor camera, it’s time to mount it securely. Follow these steps to ensure a proper and stable mounting:
- Prepare the mounting bracket: If your Zeetopin outdoor camera comes with a mounting bracket, attach it to the desired location using screws or other provided hardware. Ensure the bracket is tightly secured.
- Align the camera: Place the camera onto the mounting bracket and make sure it is properly aligned for optimal viewing angles. Use the camera’s adjustable features, if available, to position it correctly.
- Secure the camera: Once the camera is aligned, use the provided screws or hardware to secure it in place. Tighten the screws firmly, but be careful not to over-tighten and damage the camera.
- Test the stability: Give the camera a gentle shake to ensure it is securely mounted and doesn’t wobble. Make any necessary adjustments or tighten the screws further if needed.
It’s important to note that different installation locations may require different mounting methods. For example, if you’re mounting the camera on a wall or ceiling, you may need additional hardware or wall anchors for stability. Always refer to the manufacturer’s instructions and guidelines for proper mounting techniques specific to your Zeetopin outdoor camera model.
Once the camera is securely mounted, you can proceed to the next step: connecting the camera to a power source.
Step 4: Connect the camera to a power source
With the Zeetopin outdoor camera securely mounted, the next step is to connect it to a power source. The method of powering the camera may vary depending on the model and your preferences. Here are the common options:
- Wired connection: If your camera supports a wired connection, you will need to connect it directly to a power outlet using the provided power cable. Ensure the cable is long enough to reach the nearest outlet without straining or putting tension on the connection.
- Power over Ethernet (PoE): Some outdoor cameras are PoE compatible, which means they can be powered and transmit data through a single Ethernet cable. To use this method, you will need a PoE injector or a PoE-enabled network switch.
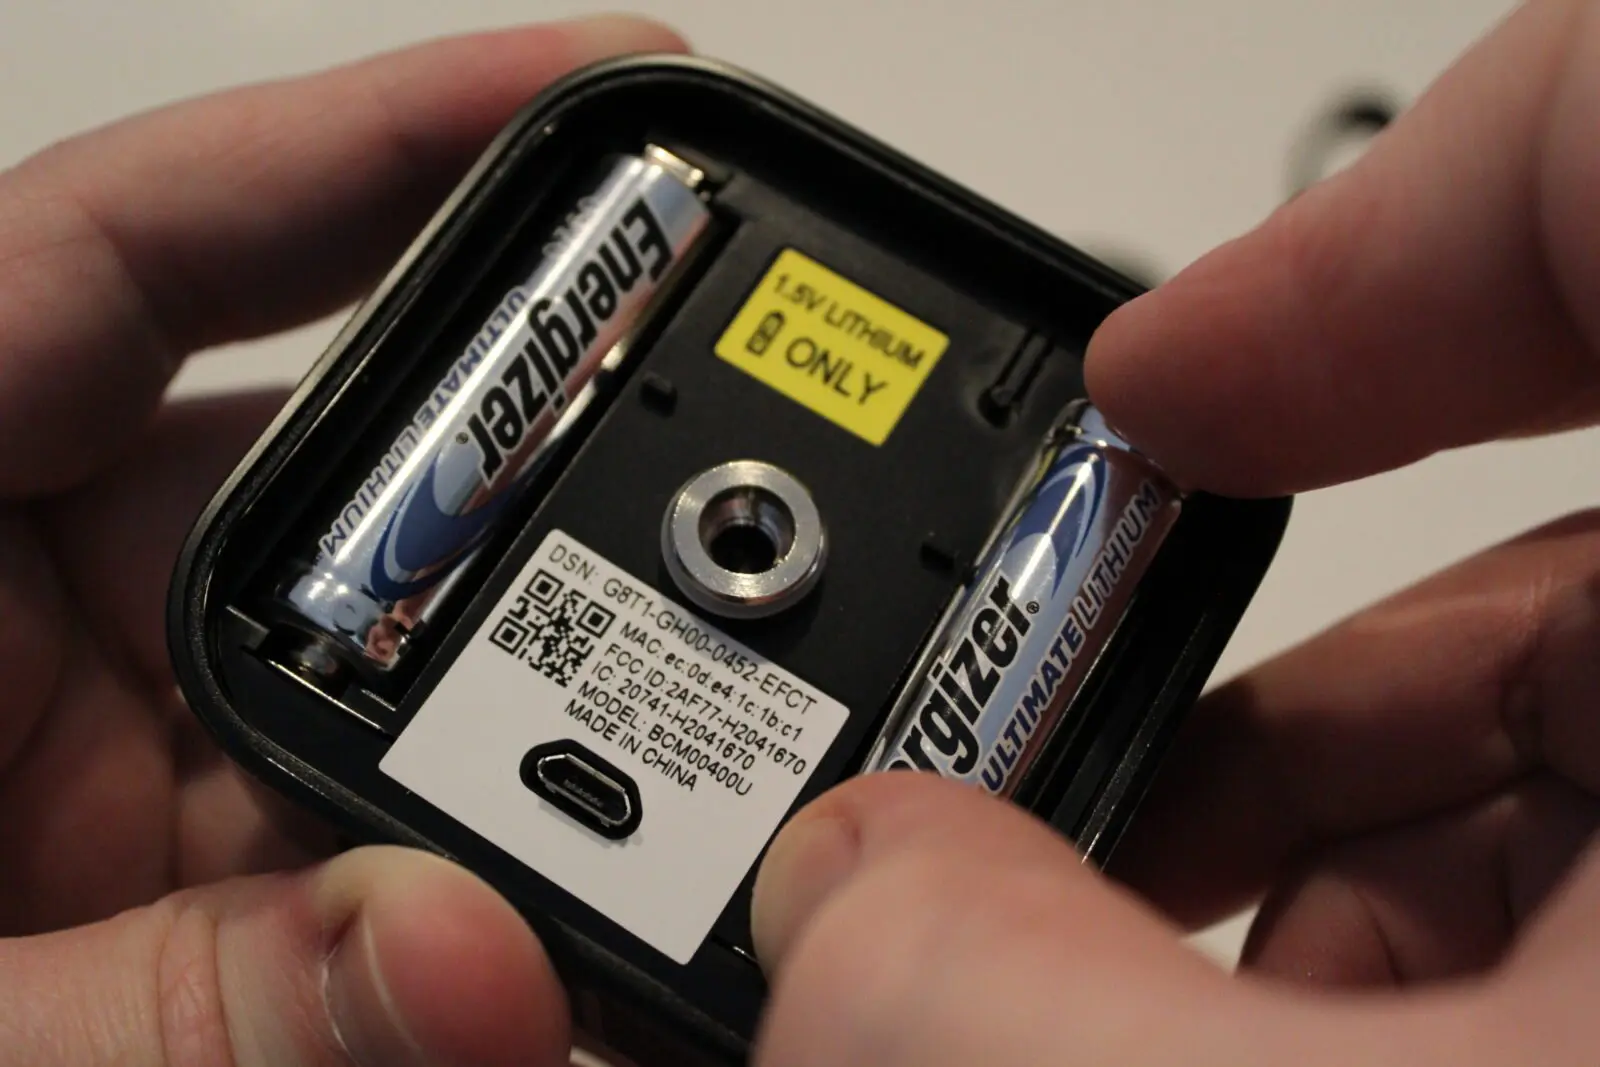
- Battery-powered: Certain outdoor camera models are designed to be powered by batteries, eliminating the need for external power sources. If your camera uses batteries, make sure they are adequately charged or replace them as needed.
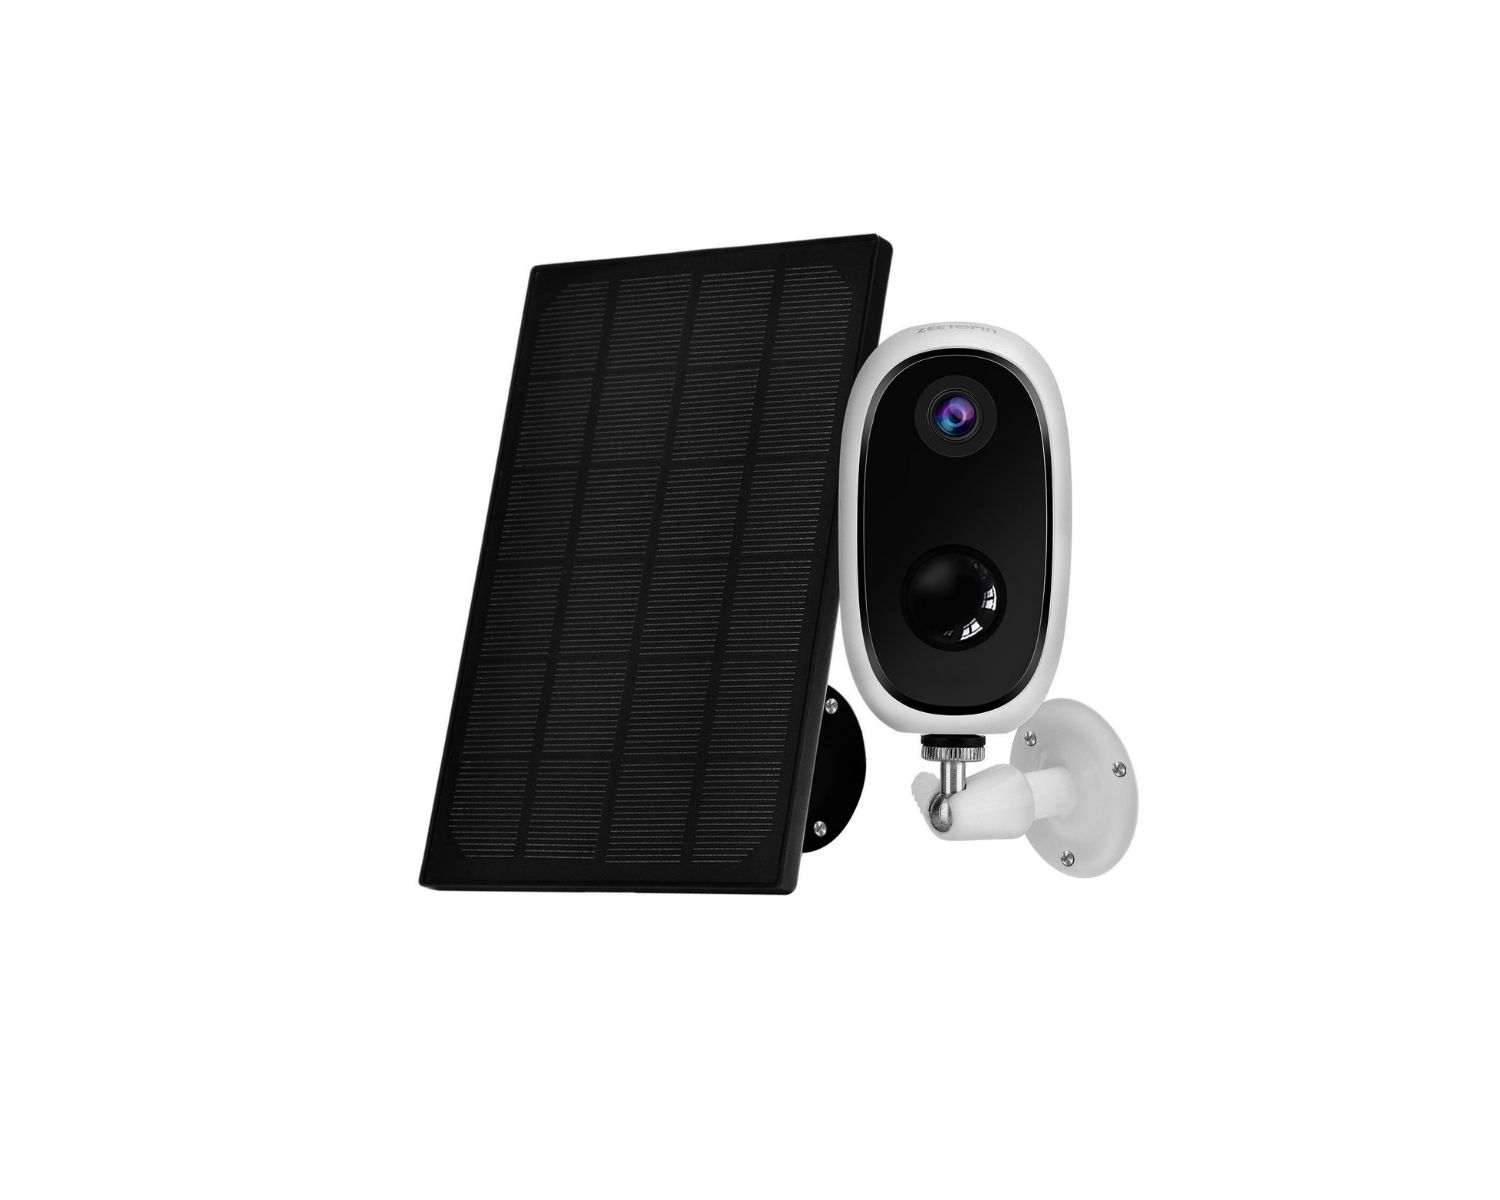
- Solar-powered: Another eco-friendly option is a solar-powered camera. These cameras use solar panels to harness energy from the sun and charge the built-in batteries. If you have a solar-powered camera, follow the manufacturer’s instructions for proper setup and placement of the solar panel.
Always refer to the camera’s user manual or manufacturer’s guidelines for specific instructions on connecting it to a power source. Once the camera is powered, you can proceed to the next step: connecting the camera to your Wi-Fi network.
When installing a Zeetopin outdoor camera, make sure to choose a location with a strong Wi-Fi signal and a clear view of the area you want to monitor. Also, secure the camera tightly to prevent tampering.
Read more: How To Use Nest Outdoor Camera Speaker
Step 5: Connect the camera to your Wi-Fi network
Once your Zeetopin outdoor camera is powered, the next step is to connect it to your Wi-Fi network. This enables you to remotely access the camera’s live feed and receive notifications on your smartphone or computer. Here’s how to connect your camera to your Wi-Fi network:
- Access camera settings: Open the camera’s companion app on your smartphone or access the camera’s web interface on your computer. Follow the app or interface instructions to access the camera’s settings.
- Select Wi-Fi setup: Look for the Wi-Fi setup option in the camera settings. Depending on the camera model, it might be called “Wi-Fi configuration,” “Network settings,” or something similar.
- Scan for available networks: Once in the Wi-Fi setup section, the camera will scan for available networks. Select your home Wi-Fi network from the list.
- Enter Wi-Fi credentials: Enter your Wi-Fi network password when prompted. Double-check the password to ensure it is correct, as any error may result in a failed connection.
- Wait for connection: After entering the Wi-Fi credentials, the camera will attempt to establish a connection with your network. This process may take a few moments, so be patient.
- Confirm connection: Once the camera successfully connects to your Wi-Fi network, you should see a confirmation message or indicator in the app or interface.
- Test the connection: To ensure the camera is properly connected, try accessing the live feed from your smartphone or computer. If you can see the camera’s view, it means the connection was successful.
If you encounter any issues with the Wi-Fi connection or have difficulties in accessing the camera settings, consult the user manual or reach out to the Zeetopin customer support for troubleshooting assistance.
Now that your Zeetopin outdoor camera is connected to your Wi-Fi network, you can proceed to the next step: setting up the camera’s settings and preferences.
Step 6: Set up the camera’s settings and preferences
With your Zeetopin outdoor camera connected to your Wi-Fi network, it’s time to customize and fine-tune its settings according to your preferences. Here are the steps to set up the camera’s settings:
- Access camera settings: Open the camera’s companion app on your smartphone or access the camera’s web interface on your computer. Navigate to the settings section of the app or interface.
- Camera name: Give your camera a descriptive name that will help you identify it among multiple cameras, if applicable. This is especially useful if you plan to install more than one Zeetopin outdoor camera.
- Video quality and resolution: Adjust the camera’s video quality and resolution settings based on your preferences and available bandwidth. Higher-quality settings may require a stronger network connection.
- Motion detection and alerts: Set up the camera’s motion detection settings to determine when it should start recording or send you motion alerts. You can customize the sensitivity level and select specific areas to monitor for motion.
- Recording options: Choose the recording options that suit your needs. You may opt for continuous recording, scheduled recording, or event-triggered recording, depending on your requirements and the camera’s storage capacity.
- Night vision: If your Zeetopin outdoor camera has night vision capabilities, adjust the settings for optimal viewing in low-light or nighttime conditions.
- Two-way audio: If your camera supports two-way audio, configure the settings to enable communication through the camera. This can be useful for remotely interacting with visitors or deterring potential intruders.
- Cloud storage or local storage: Determine whether you want to store your camera’s recordings in the cloud or locally. If cloud storage is available, set up an account and configure the storage settings accordingly.
It’s important to explore all the available settings and features of your Zeetopin outdoor camera. Familiarize yourself with the options and adjust them based on your specific requirements. Remember to save your settings once you have configured them to ensure they are applied.
After setting up the camera’s preferences, the final step is to test the camera’s functionality to ensure everything is working as expected.
Step 7: Test the camera’s functionality
After setting up the Zeetopin outdoor camera and configuring its settings and preferences, it’s crucial to test its functionality to ensure it is working correctly. Here are some tests you can perform:
- Live feed: Access the camera’s live feed from your smartphone or computer to verify that the camera is capturing and transmitting video properly. Check for any lag, distortion, or connectivity issues.
- Motion detection: Test the camera’s motion detection feature by moving in front of the camera’s field of view. Ensure that it detects motion accurately and triggers any configured alerts or recordings.
- Two-way audio: If your camera supports two-way audio, test the functionality by speaking through the camera’s microphone and listening through the speaker. Verify that the audio quality is clear and that you can effectively communicate with anyone near the camera.
- Night vision: If your Zeetopin outdoor camera has night vision capabilities, test its performance in low-light or nighttime conditions. Verify that the infrared lights provide sufficient illumination and that the captured footage is clear and detailed.
- Remote access: Test the camera’s remote access feature by accessing the live feed, adjusting settings, or receiving alerts from a location outside your home network. Ensure that you can connect to the camera reliably and access its features remotely.
- Recording and storage: Verify that the camera is recording and storing video footage as per your configured settings. Check the storage capacity, both in the camera, if available, and in any cloud storage solution you have set up.
- Notifications: Test the camera’s notification system by deliberately triggering a motion detection event or performing an action that should trigger an alert. Verify that you receive timely and accurate notifications on your smartphone or computer.
By conducting these tests, you can ensure that your Zeetopin outdoor camera is functioning properly and providing the level of security and surveillance you desire. If you encounter any issues or problems during the testing phase, refer back to the camera’s user manual or contact Zeetopin’s customer support for assistance.
Congratulations! You have successfully installed and set up your Zeetopin outdoor camera. Enjoy the added peace of mind and security it brings to your home surveillance system.
**Note: This guide is a general overview of the installation process for Zeetopin outdoor cameras. Please refer to the specific instructions provided by the manufacturer for your camera model for detailed and accurate installation steps.
Conclusion
Adding a Zeetopin outdoor camera to your home security system is a smart investment that provides enhanced protection and peace of mind. With its advanced features and easy installation process, the Zeetopin outdoor camera offers reliable surveillance and remote monitoring capabilities.
In this comprehensive guide, we have walked you through the step-by-step process of installing and setting up the Zeetopin outdoor camera. From gathering the necessary equipment to testing the camera’s functionality, we have covered all the essential steps to ensure a successful installation.
By following these steps, you can choose the optimal installation location for your camera, securely mount it, connect it to a power source, configure its settings, and test its functionality. Throughout the process, it’s important to refer to the camera’s user manual or contact customer support as needed for additional guidance.
Once your Zeetopin outdoor camera is up and running, you can enjoy the benefits of a reliable home surveillance system. Whether you’re keeping an eye on your property while you’re away or monitoring any potential security threats, the Zeetopin outdoor camera offers the peace of mind and protection you need.
Remember to periodically check and maintain your Zeetopin outdoor camera to ensure its optimal performance. Keep the camera lens clean, update its firmware as needed, and regularly review and adjust its settings to align with your changing security needs.
Thank you for choosing the Zeetopin outdoor camera for your home security needs. With its advanced features and reliable performance, you can rest easy knowing that your property and loved ones are protected.
Frequently Asked Questions about How To Use Zeetopin Outdoor Camera
Was this page helpful?
At Storables.com, we guarantee accurate and reliable information. Our content, validated by Expert Board Contributors, is crafted following stringent Editorial Policies. We're committed to providing you with well-researched, expert-backed insights for all your informational needs.