Home>Furniture & Design>Outdoor Furniture>How To Install A Ring Camera Outdoor
Outdoor Furniture
How To Install A Ring Camera Outdoor
Modified: May 6, 2024
Learn how to install a Ring camera outdoor with our step-by-step guide. Enhance your outdoor space with our outdoor furniture, design, and installation tips. Discover everything you need to know about outdoor furniture and design.
(Many of the links in this article redirect to a specific reviewed product. Your purchase of these products through affiliate links helps to generate commission for Storables.com, at no extra cost. Learn more)
Introduction
Welcome to the world of home security! Installing a Ring camera outdoor is a fantastic way to enhance the safety and protection of your property. Whether you're safeguarding your home, monitoring your pets, or keeping an eye on deliveries, a Ring camera offers peace of mind and convenience.
In this comprehensive guide, we'll walk you through the process of installing a Ring camera outdoor, from selecting the perfect location to setting up the accompanying app. By the end of this journey, you'll be equipped with the knowledge and confidence to ensure that your outdoor space is safeguarded with cutting-edge technology.
So, grab your tools and get ready to embark on this exciting venture. Let's dive into the step-by-step process of installing a Ring camera outdoor, and take the first step toward a more secure and connected home.
Key Takeaways:
- Enhance home security with a Ring camera outdoor by choosing the right location, preparing the area, and connecting the camera for reliable surveillance and peace of mind.
- Seamlessly integrate your Ring camera outdoor into the app to unlock its full potential, customize settings, and enjoy comprehensive control and monitoring capabilities from your mobile device.
Read more: How To Mount A Ring Outdoor Camera
Step 1: Choose a Location
Before diving into the installation process, it’s crucial to carefully select the ideal location for your Ring camera outdoor. Here are a few key factors to consider:
- Visibility: Opt for a location that provides a clear view of the area you intend to monitor. This might include your front yard, backyard, or any other outdoor space where enhanced visibility is desired.
- Power Source: Ensure that the chosen location is within reach of a power outlet or has suitable access to power for the camera.
- Wi-Fi Signal: Check the strength of your Wi-Fi signal in the chosen area to guarantee a reliable connection for the camera.
- Weather Protection: Select a spot that offers some degree of protection from the elements, such as rain and direct sunlight, to prolong the life of your camera.
By carefully assessing these factors, you can identify the optimal location for your Ring camera outdoor, setting the stage for a successful installation that meets your specific security needs.
Step 2: Prepare the Area
With the location chosen, it’s time to prepare the area for the installation of your Ring camera outdoor. Here’s a step-by-step guide to ensure a smooth and efficient setup:
- Gather Your Tools: Before you begin, gather the necessary tools, including a power drill, screwdriver, and any additional mounting hardware provided with the camera.
- Clean the Mounting Surface: Thoroughly clean the chosen mounting surface to remove any dirt, dust, or debris that could affect the camera’s stability or adhesion.
- Check Power Accessibility: Ensure that the power source is easily accessible from the chosen location, and if necessary, use an outdoor-rated extension cord to reach the nearest outlet.
- Assess Wi-Fi Connectivity: Verify that the Wi-Fi signal in the area is strong and stable, as this is essential for the camera’s connection and functionality.
- Consider Security Measures: If desired, evaluate additional security measures, such as installing outdoor lighting or motion-activated floodlights to complement the camera’s surveillance capabilities.
By meticulously preparing the area for the installation, you’ll create an optimal environment for your Ring camera outdoor, ensuring long-term performance and reliability in safeguarding your home.
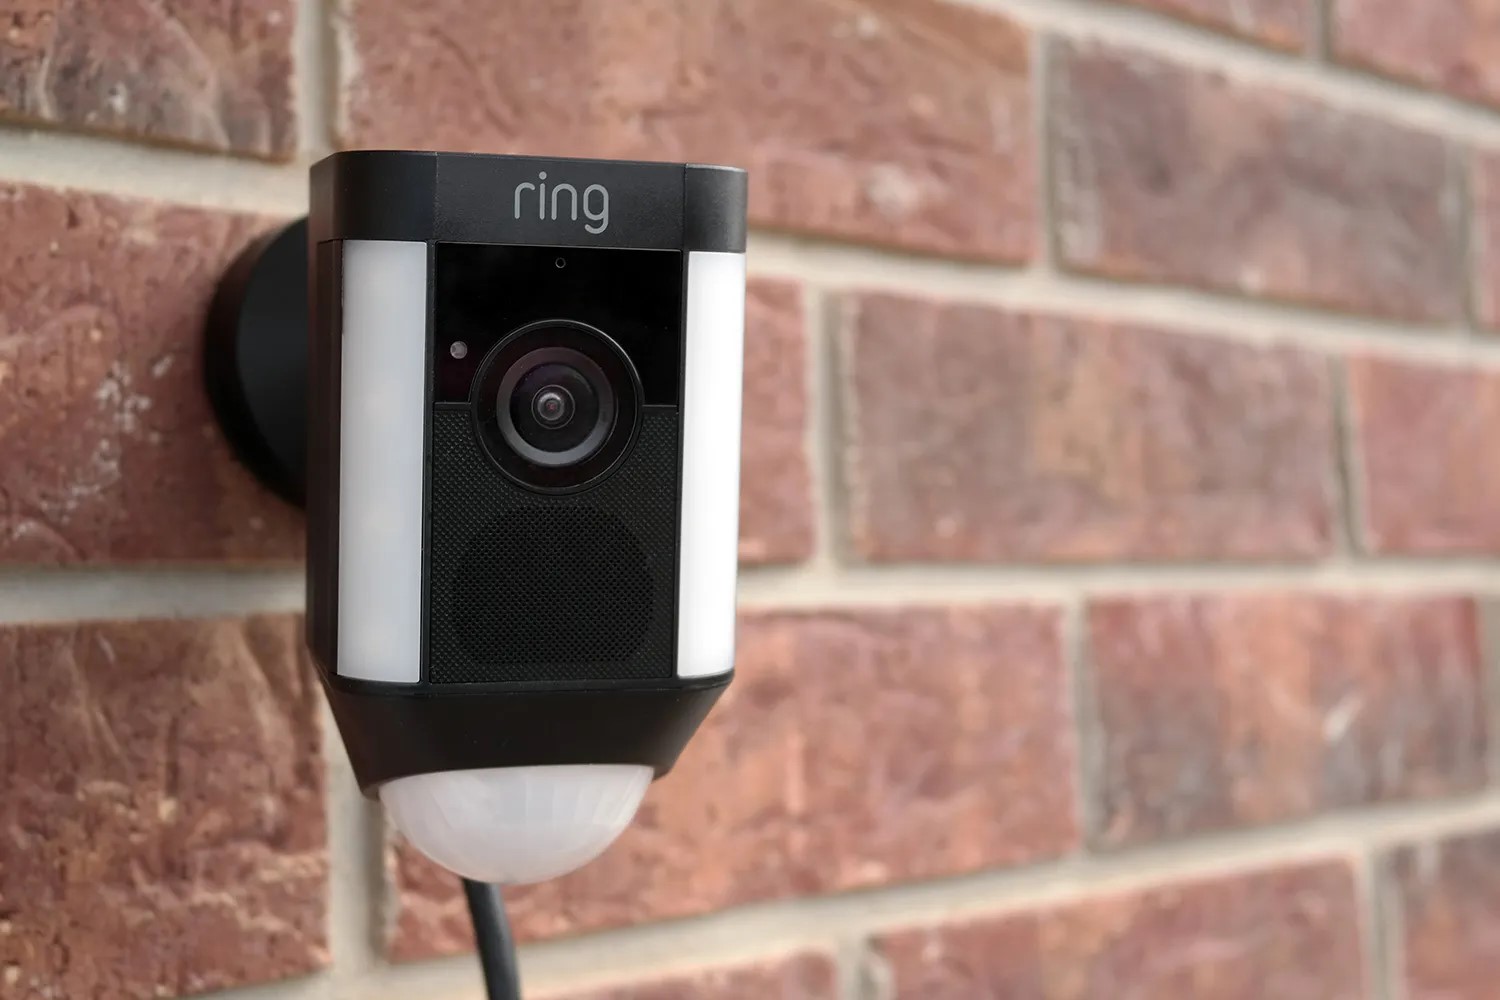
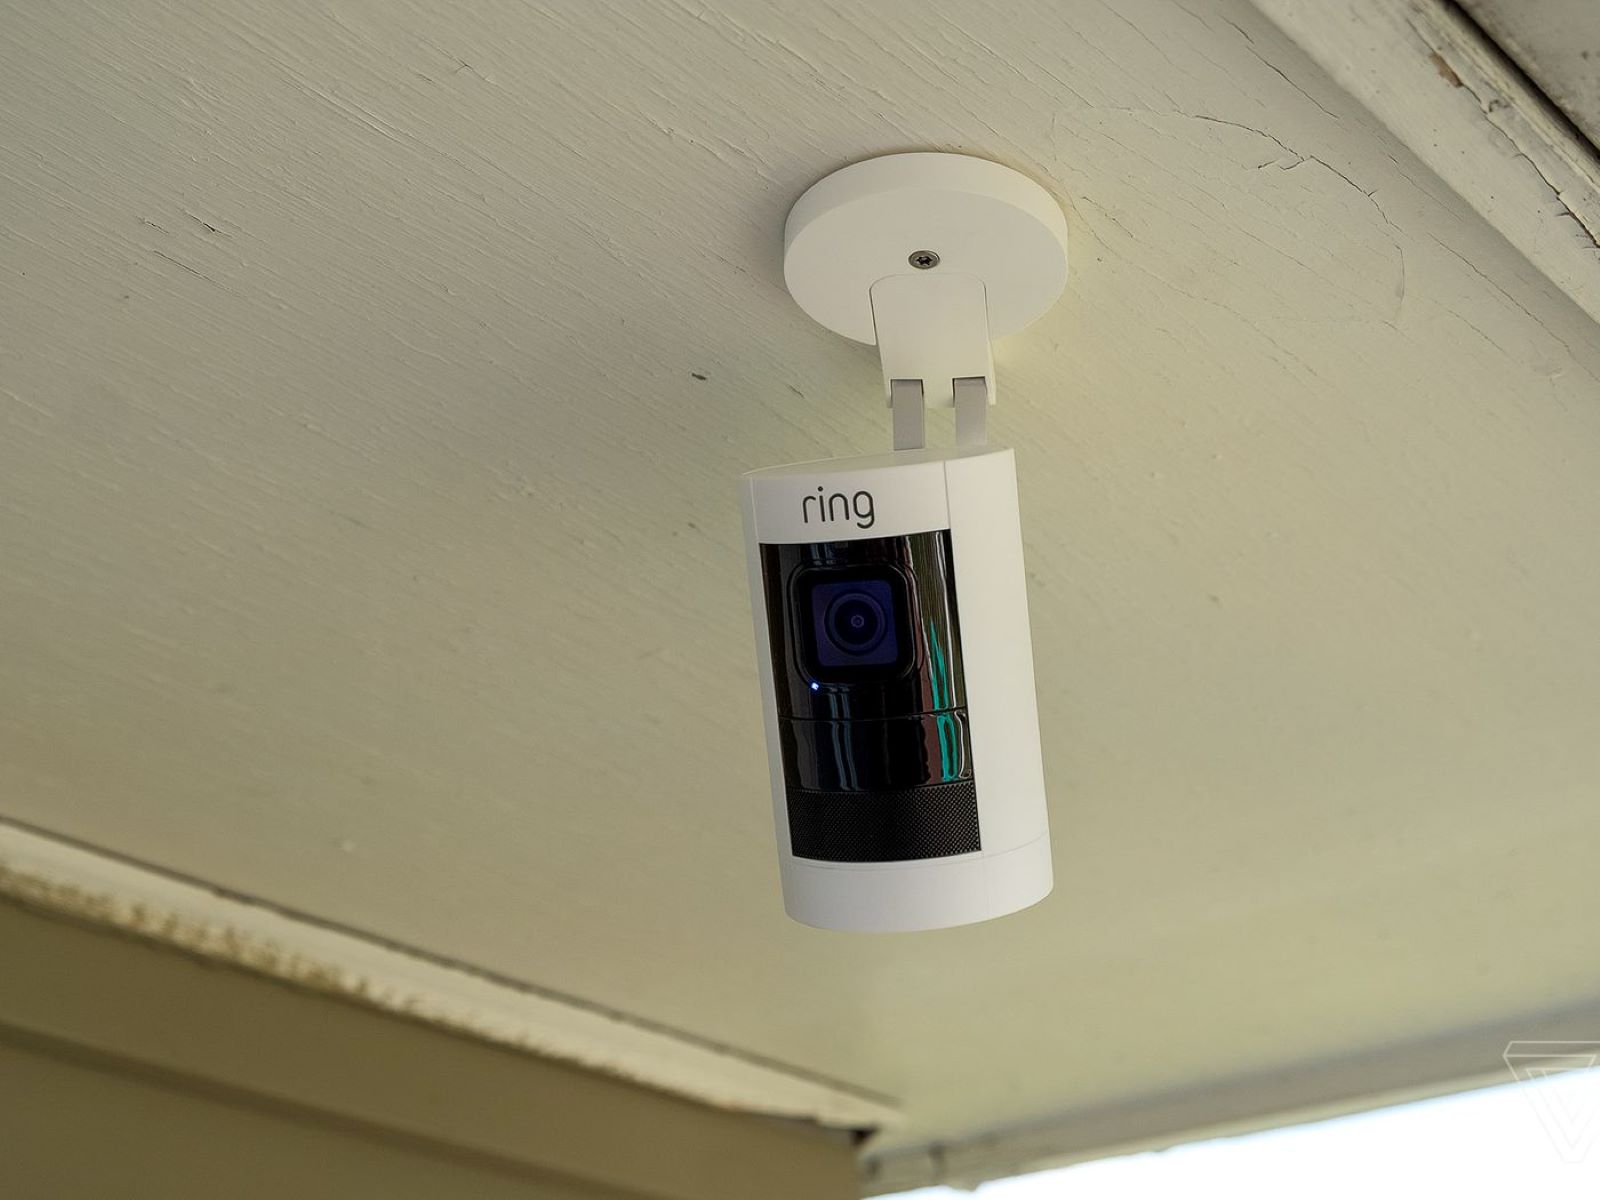
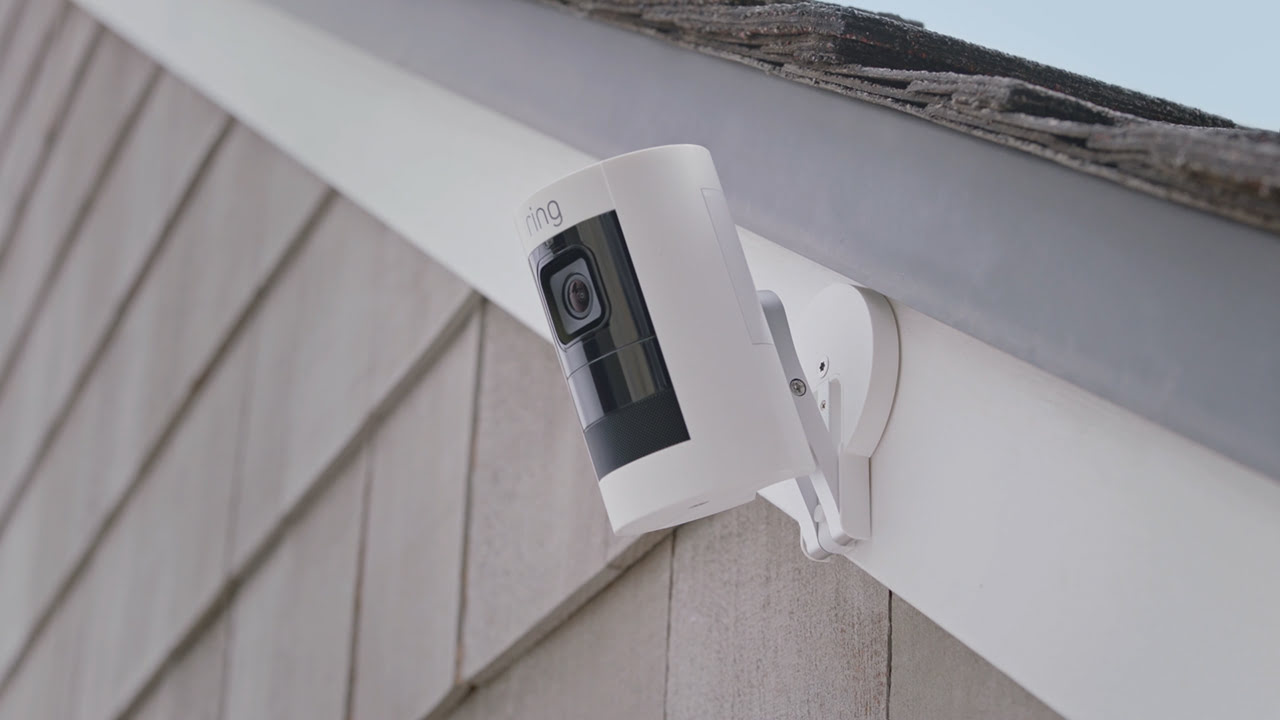
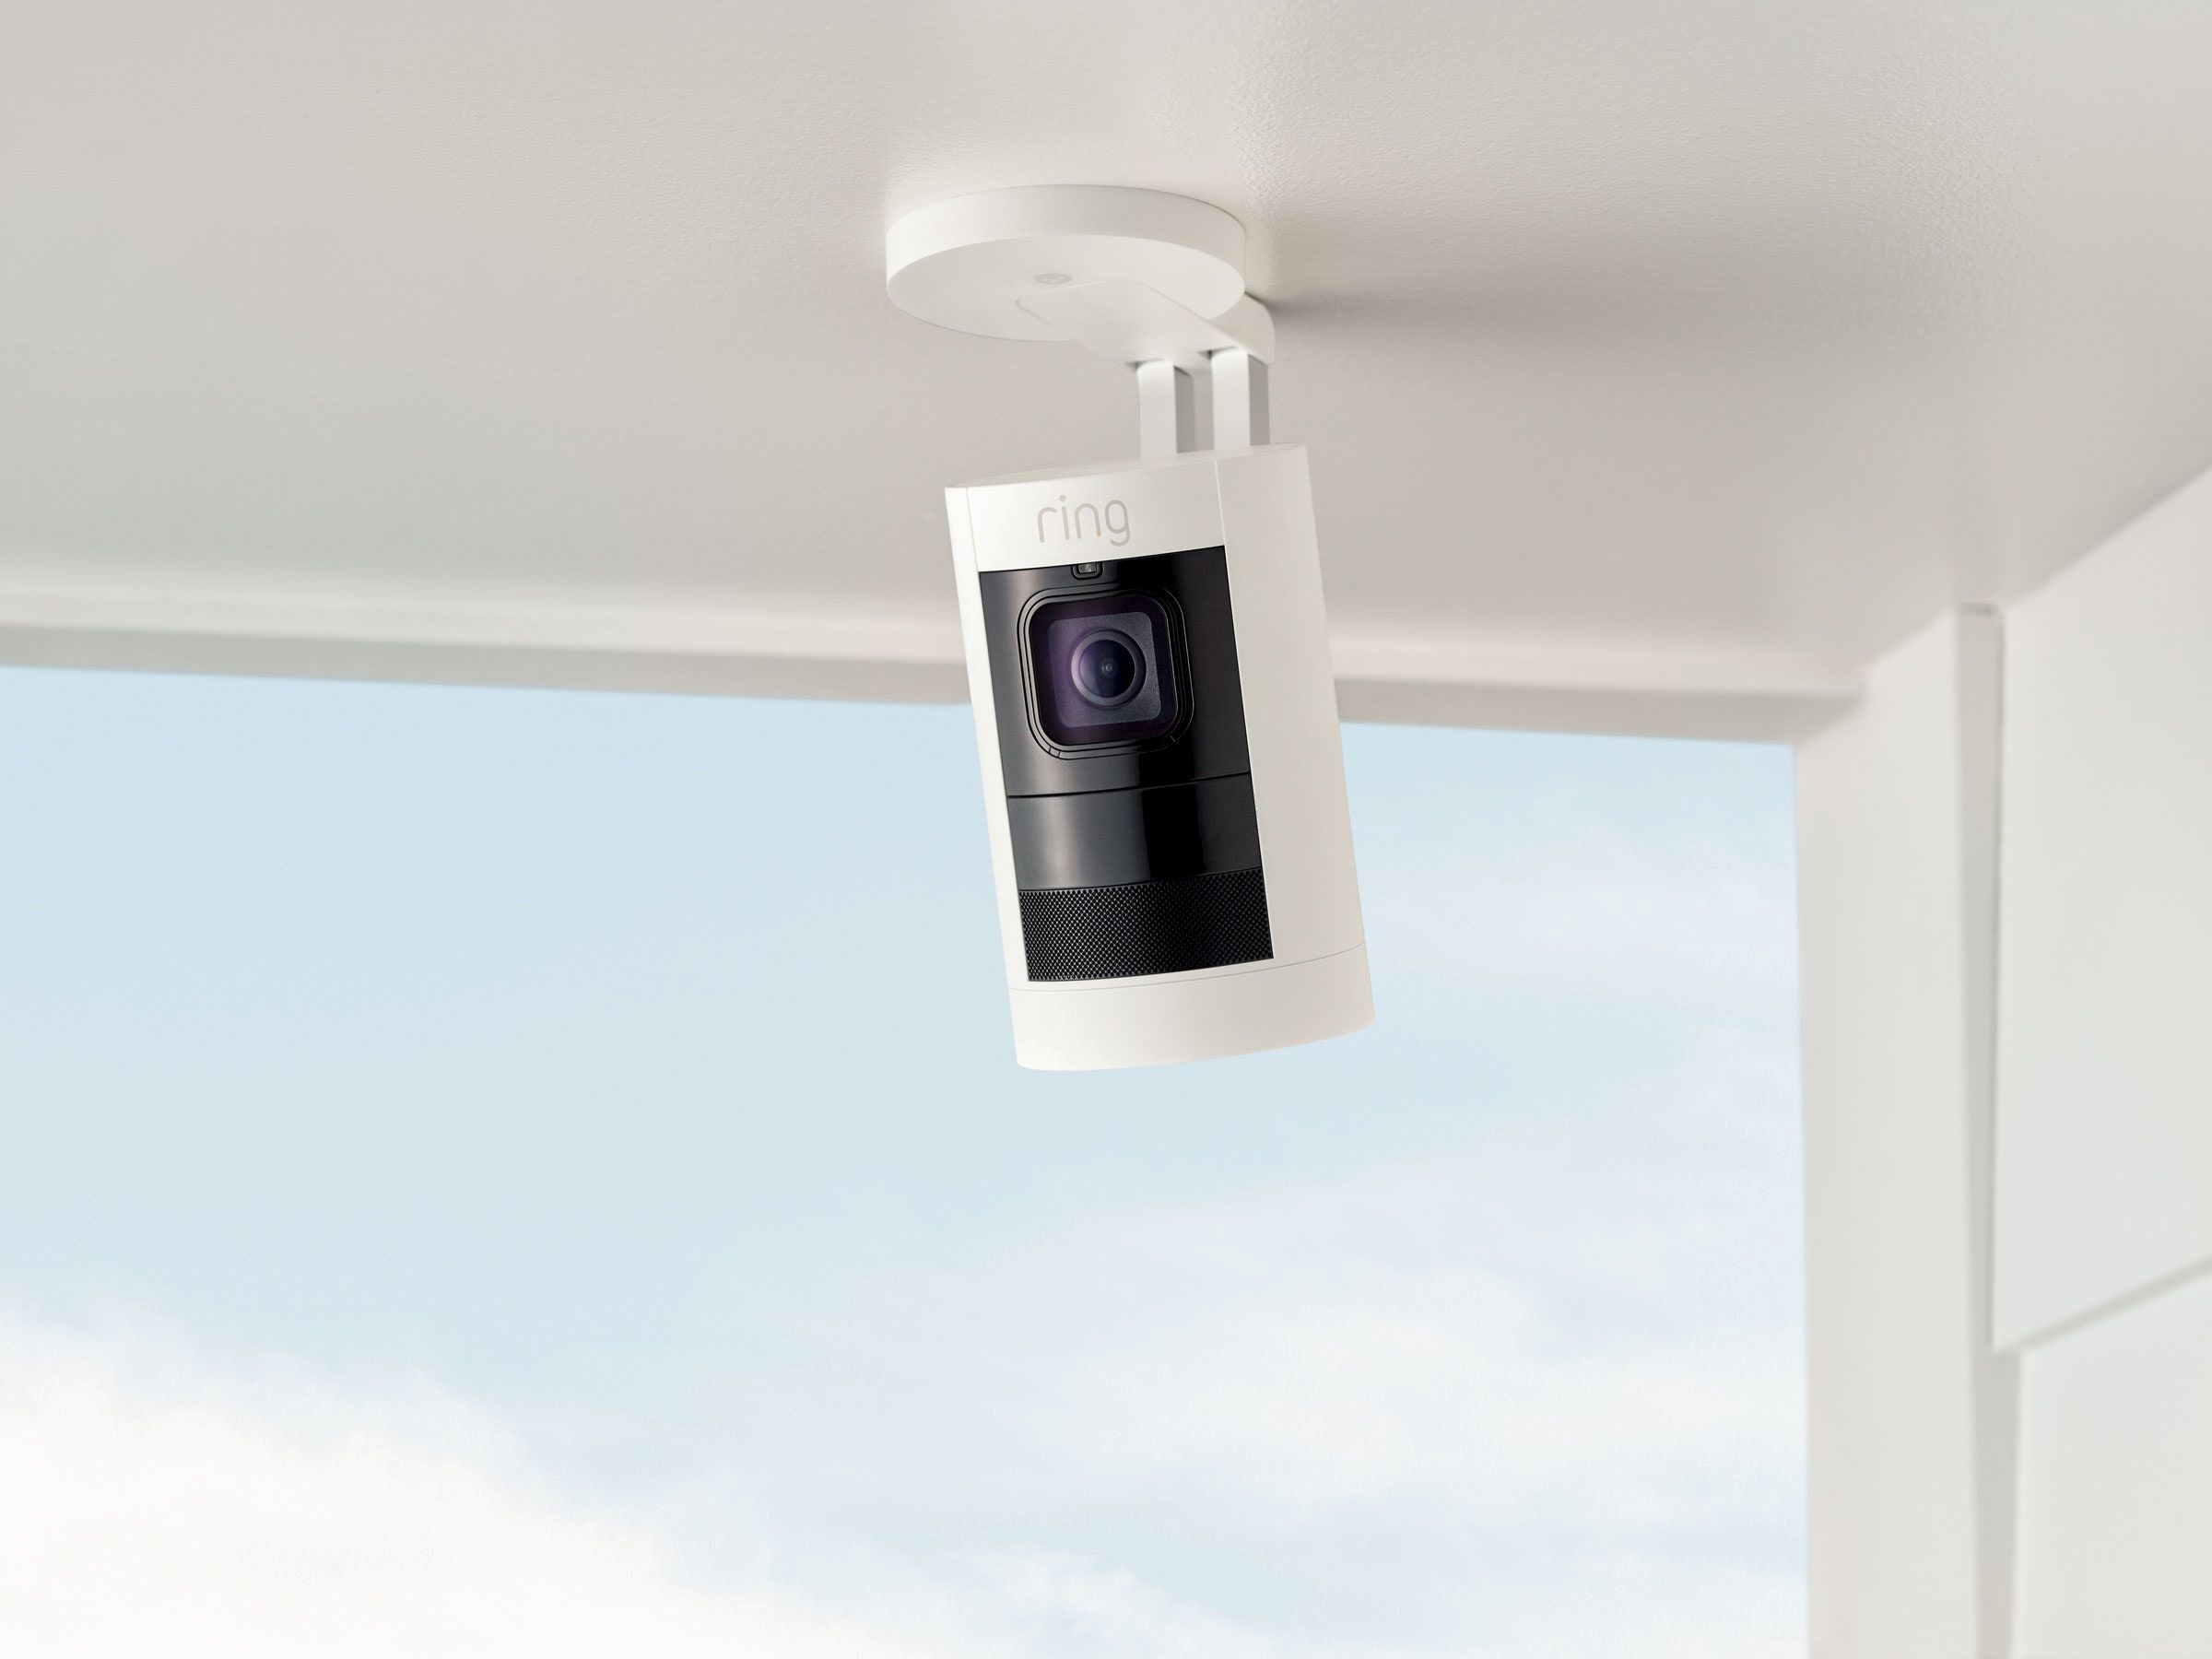
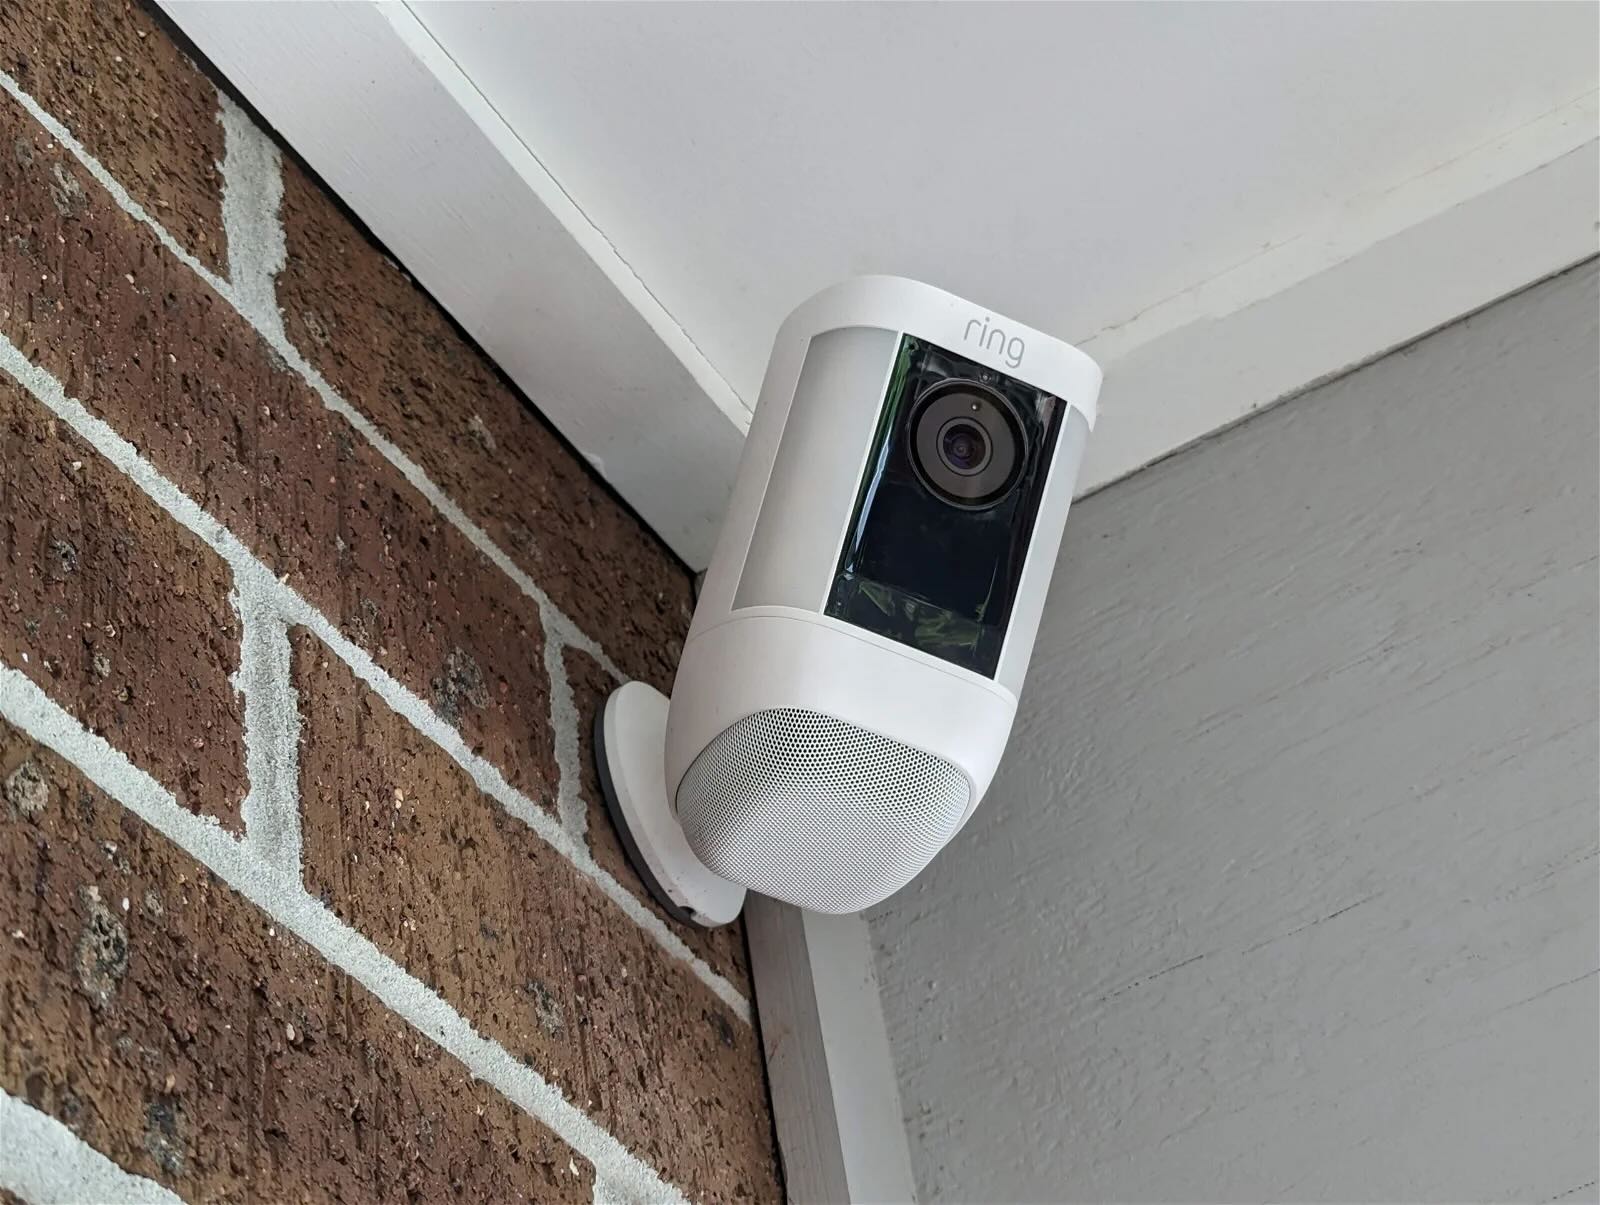
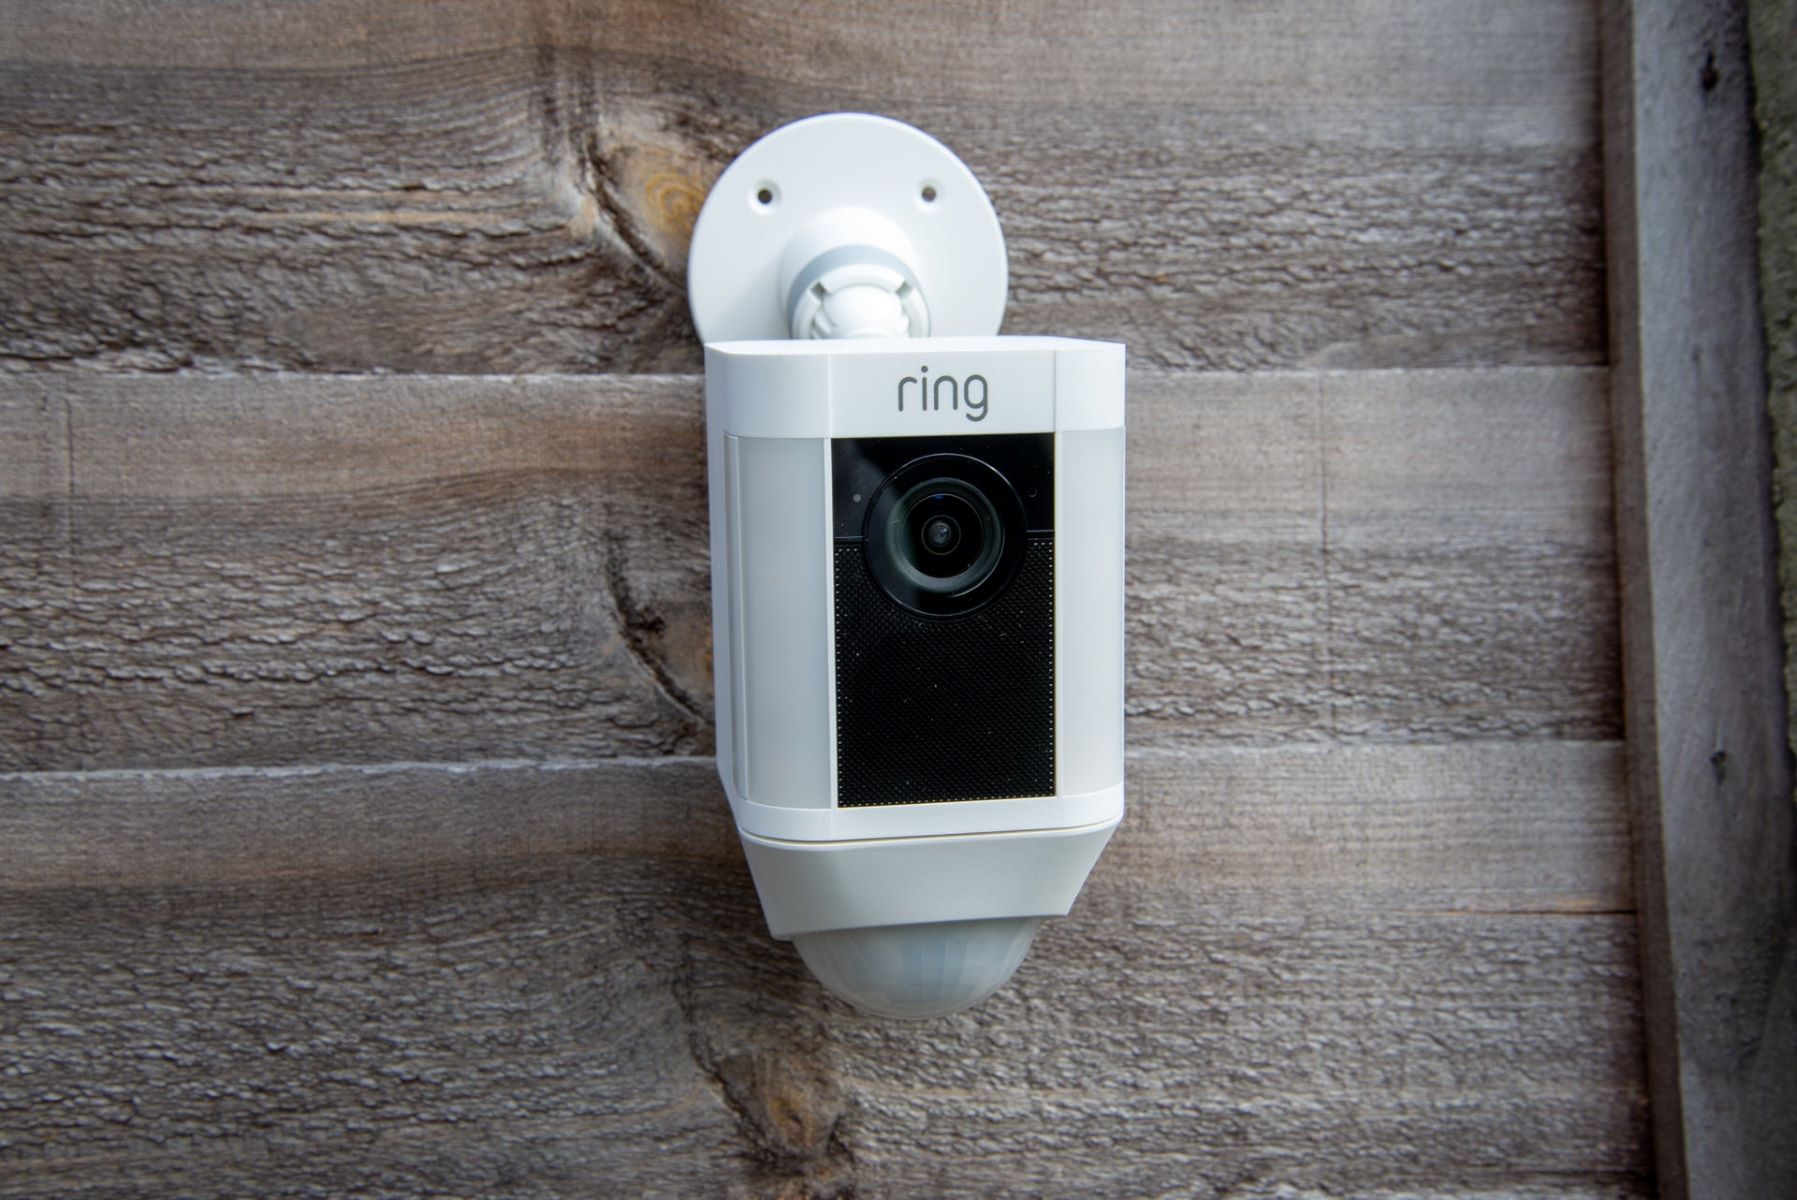
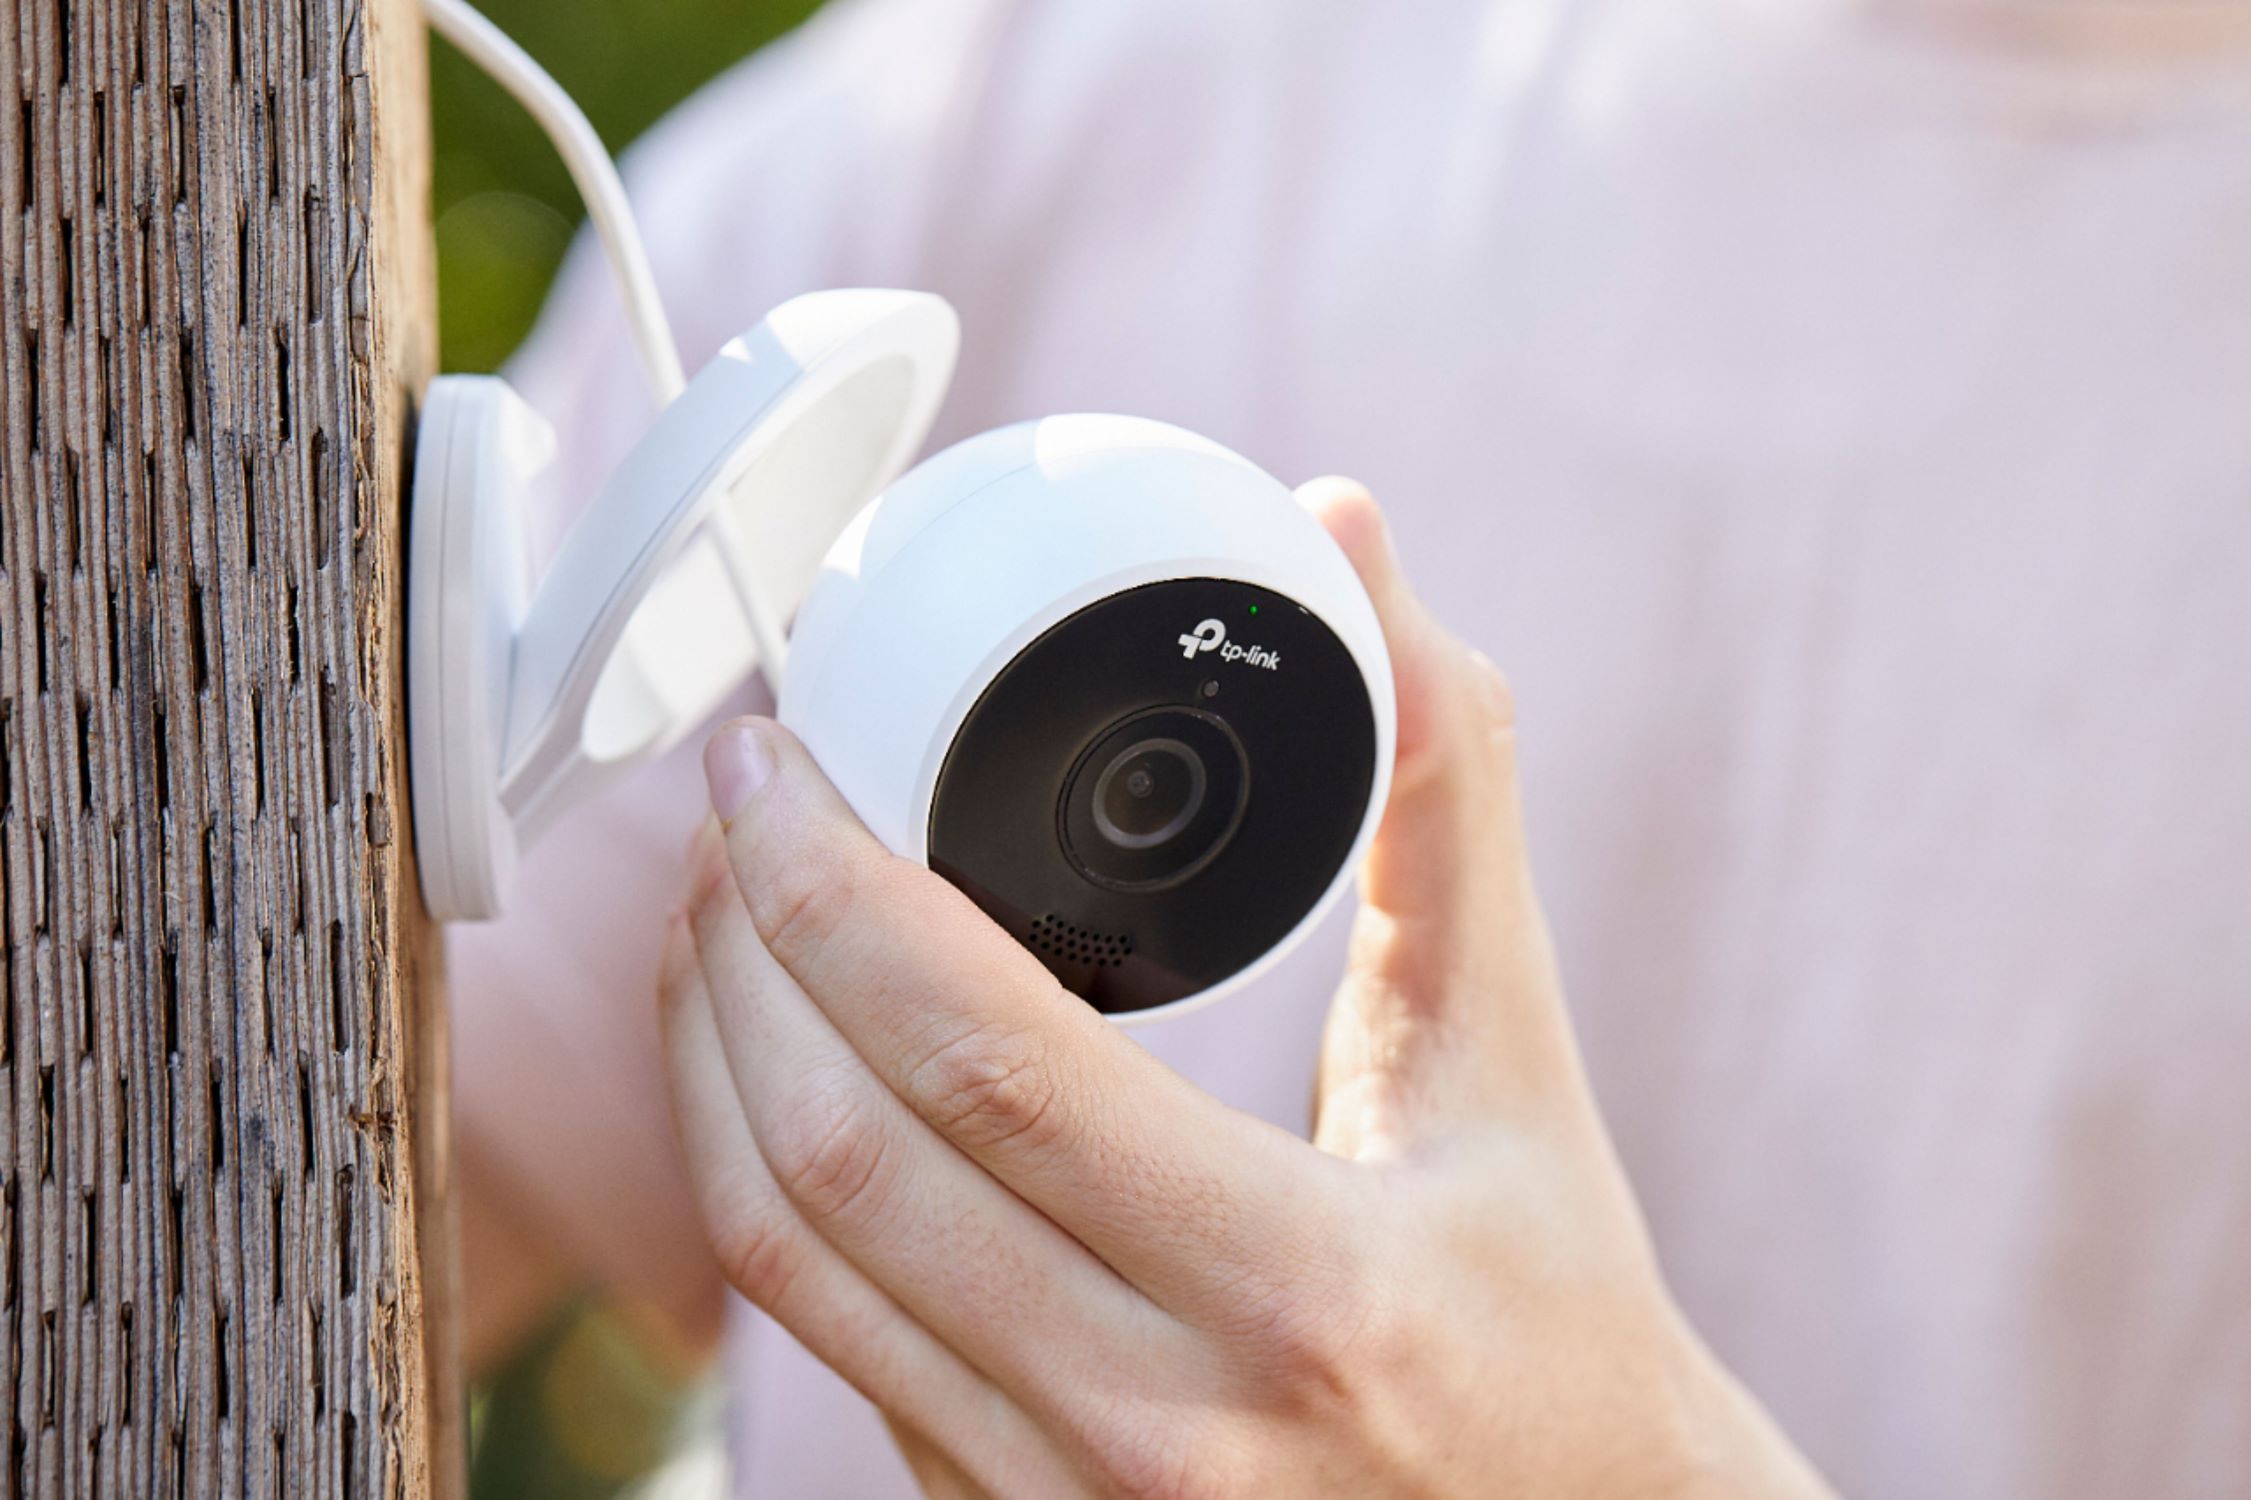
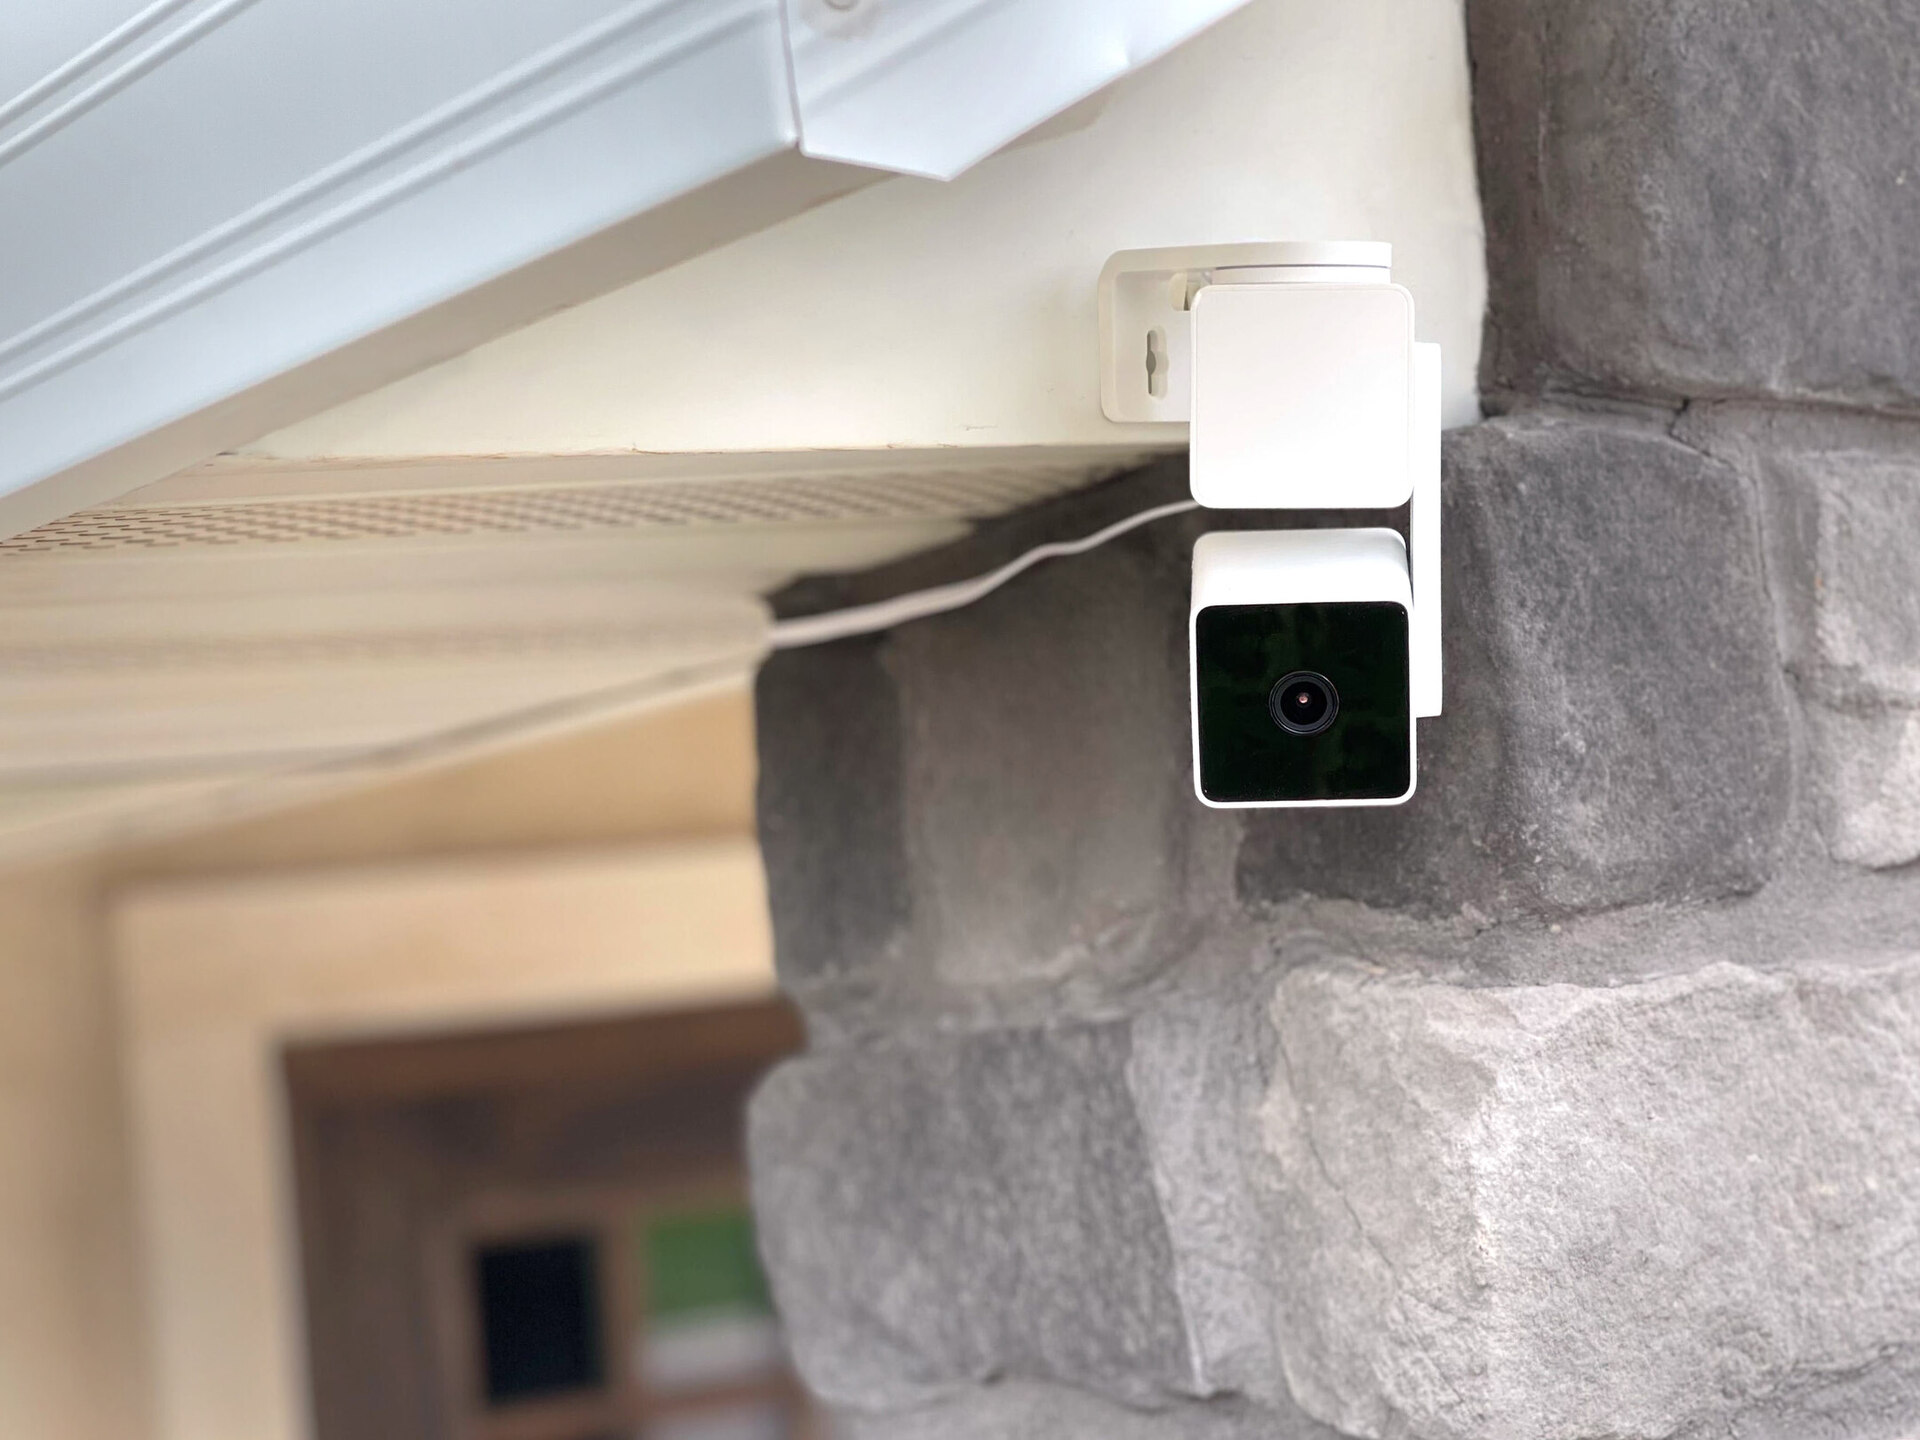
Step 3: Mount the Camera
Now that the location is selected and the area is prepared, it’s time to mount your Ring camera outdoor. Follow these detailed steps to ensure a secure and effective installation:
- Position the Mounting Bracket: Use the provided mounting bracket as a guide to mark the placement of the screws. Ensure that the bracket is level and securely positioned.
- Drill Pilot Holes: Using a power drill, carefully drill pilot holes at the marked locations to facilitate the installation of the mounting screws.
- Secure the Mounting Bracket: Attach the mounting bracket to the wall or desired surface using the appropriate screws, ensuring a tight and stable fit.
- Attach the Camera: Depending on the specific model, securely attach the Ring camera to the mounting bracket, following the manufacturer’s instructions for a proper and secure installation.
- Adjust the Angle: Once the camera is mounted, adjust its angle and position to optimize the field of view and ensure that the desired area is effectively covered.
By meticulously following these steps, you’ll successfully mount your Ring camera outdoor, creating a robust and reliable surveillance system to protect your outdoor space.
Before installing a Ring camera outdoors, make sure to check the Wi-Fi signal strength in the area where you plan to install it. A strong signal is essential for the camera to function properly.
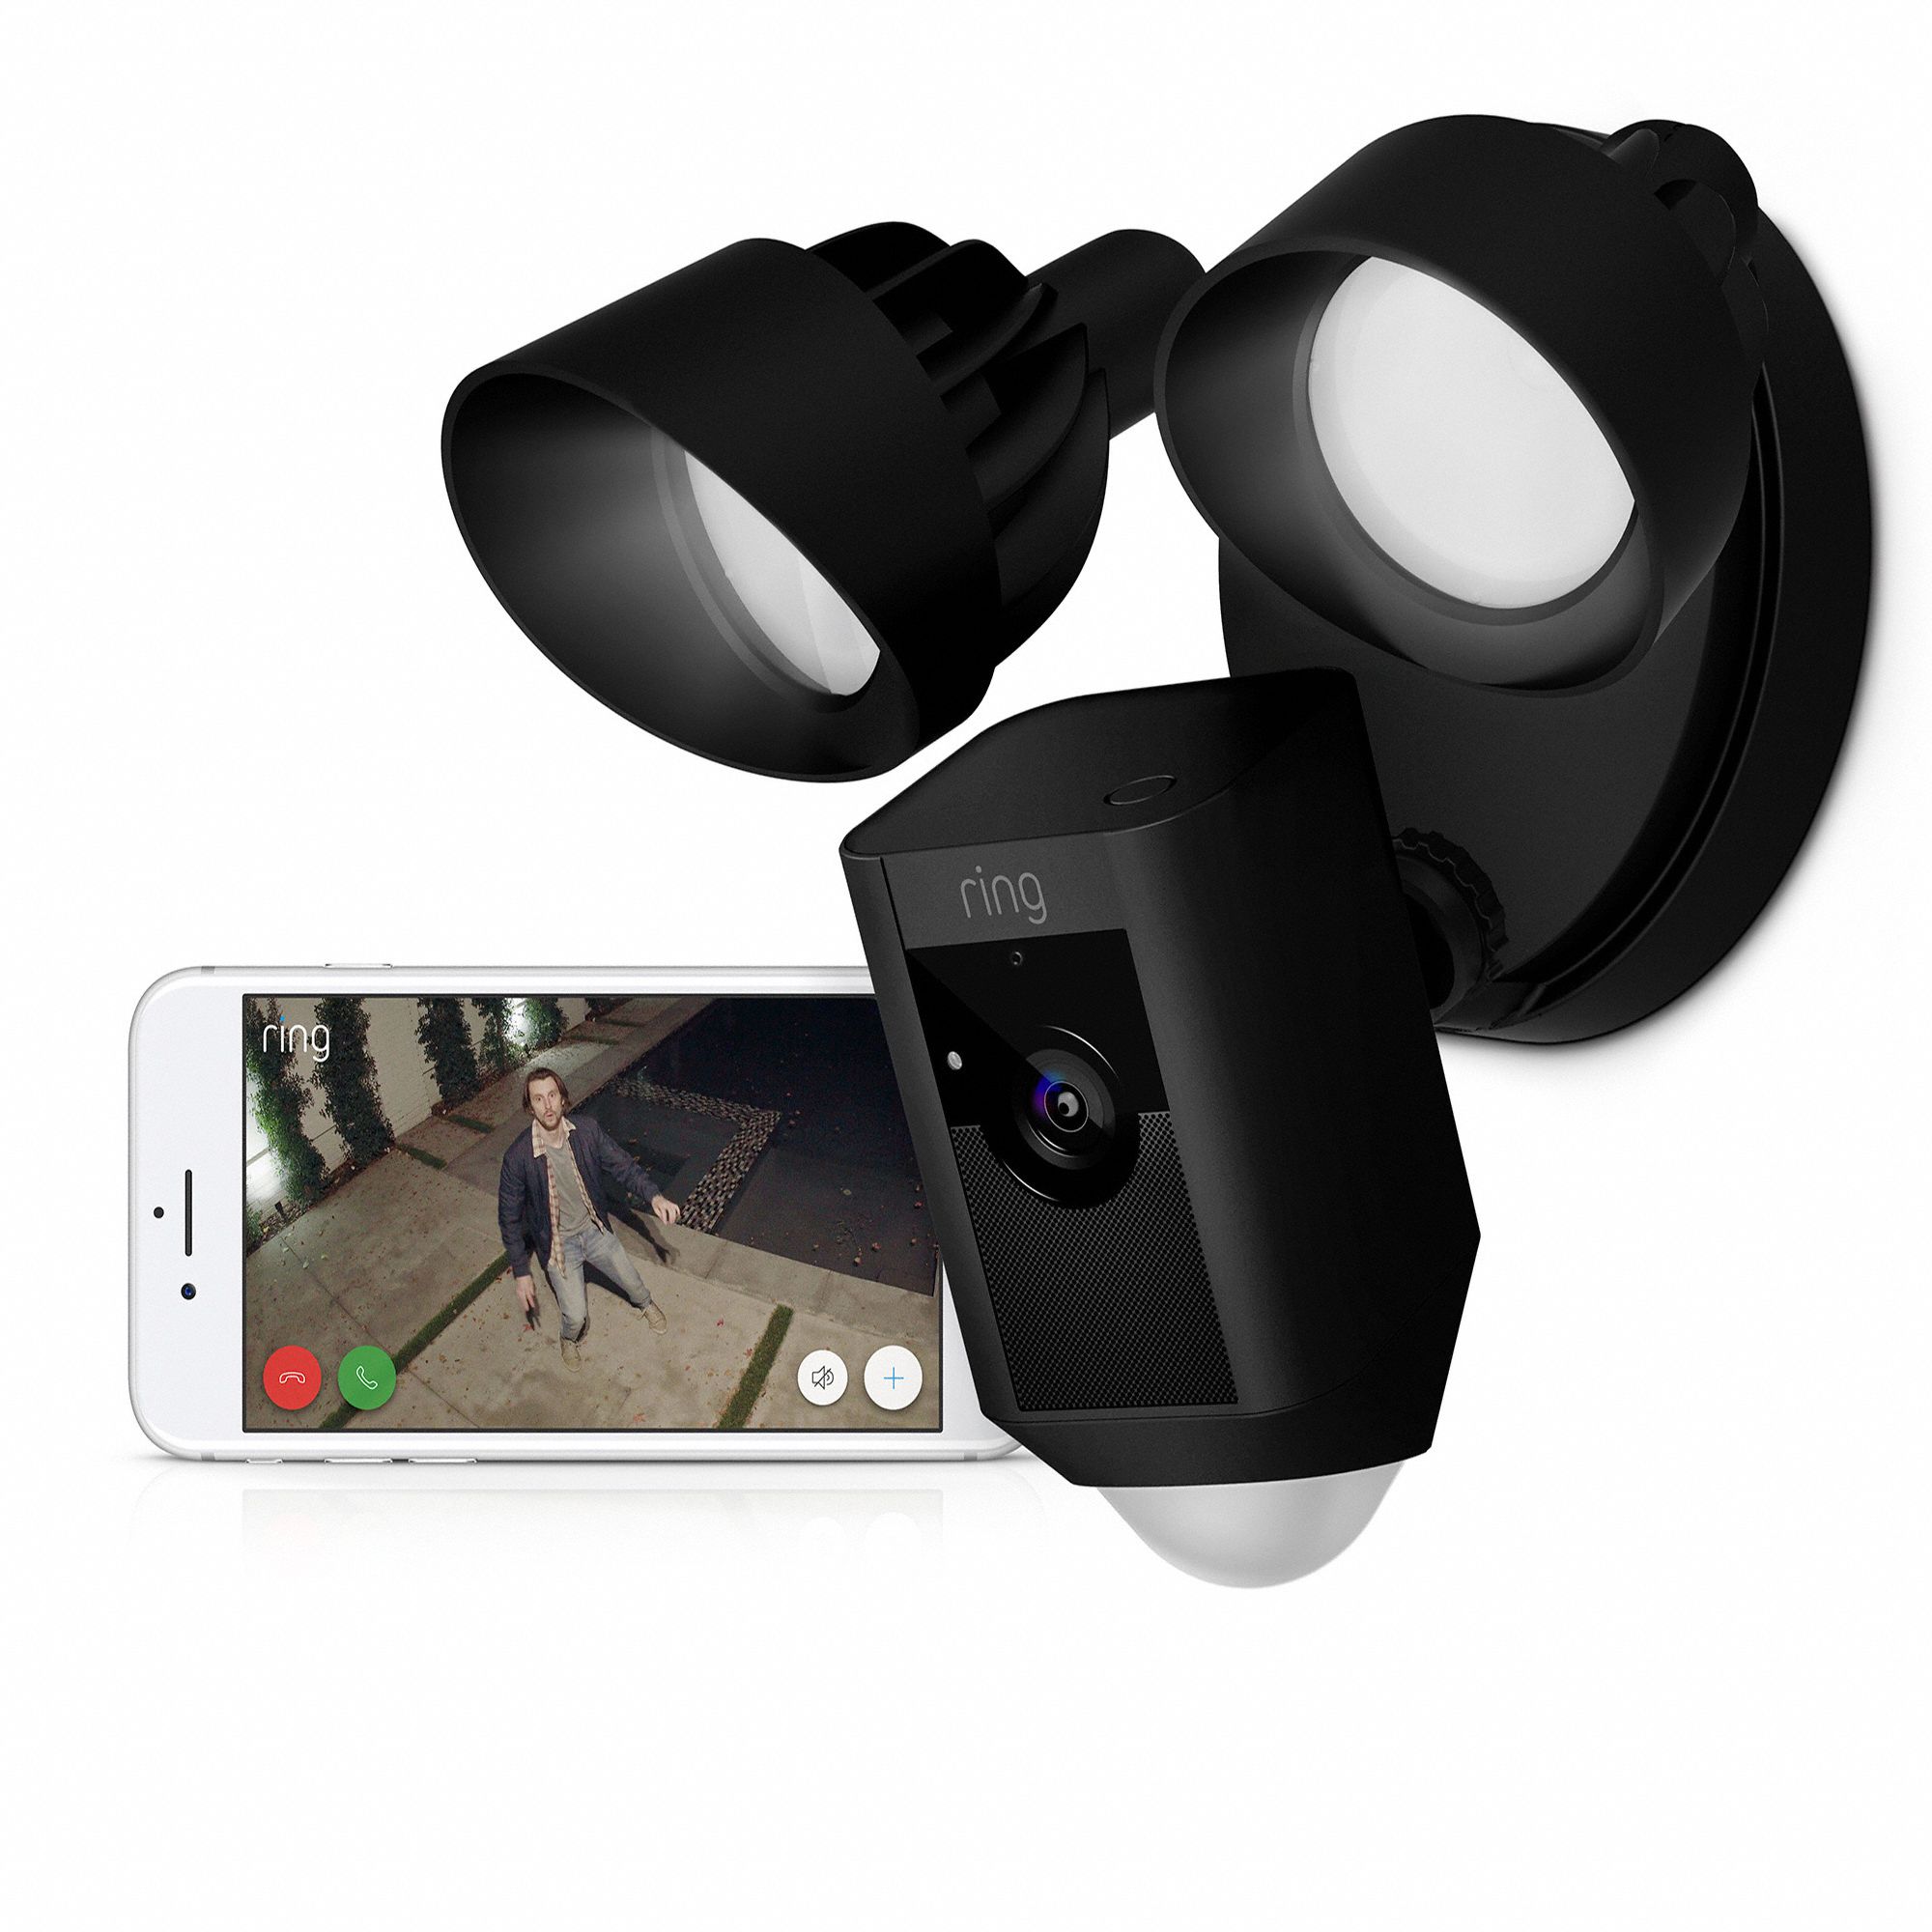
Step 4: Connect the Camera
With the camera securely mounted, the next crucial step is to connect your Ring camera outdoor to power and establish a reliable connection. Follow these essential guidelines to ensure a seamless and effective setup:
- Connect to Power: Carefully connect the camera to the power source, ensuring that all connections are secure and weatherproof to withstand outdoor conditions.
- Verify Power Status: Confirm that the camera receives power and activates its indicator lights, indicating that it’s ready for the next steps.
- Establish Wi-Fi Connection: Using the accompanying app or setup instructions, connect the camera to your Wi-Fi network, ensuring a stable and robust connection for seamless operation.
- Perform Initial Setup: Follow the manufacturer’s guidelines to complete the initial setup process, which may include creating an account, customizing settings, and configuring preferences for notifications and alerts.
- Test Functionality: Once connected, perform a comprehensive test of the camera’s functionality, including live video streaming, motion detection, and any additional features specific to your model.
By meticulously following these steps, you’ll establish a solid connection for your Ring camera outdoor, maximizing its capabilities and ensuring reliable performance in safeguarding your outdoor space.
Read more: How To Install A Ring Security Camera
Step 5: Set Up the App
Now that your Ring camera outdoor is installed and connected, it’s time to set up the accompanying app to maximize its functionality and convenience. Follow these essential steps to seamlessly integrate your camera into the app:
- Download the App: Begin by downloading the Ring app from the App Store or Google Play Store, depending on your mobile device’s operating system.
- Create an Account: If you don’t already have a Ring account, create one using your email address and a secure password. If you have an existing account, simply log in to proceed.
- Add the Camera: Within the app, select the option to add a new device and follow the on-screen instructions to pair your Ring camera with your account.
- Customize Settings: Explore the app’s settings to customize notifications, motion detection sensitivity, recording preferences, and any additional features specific to your camera model.
- Explore App Features: Familiarize yourself with the app’s features, including live video streaming, two-way audio communication, and the ability to review past recordings and events.
By completing these steps, you’ll seamlessly integrate your Ring camera outdoor into the app, unlocking its full potential and empowering you with comprehensive control and monitoring capabilities from the convenience of your mobile device.
Conclusion
Congratulations on successfully installing and setting up your Ring camera outdoor! By following the comprehensive steps outlined in this guide, you’ve taken a proactive step towards enhancing the security and monitoring capabilities of your outdoor space. With your new camera in place, you can enjoy peace of mind, convenience, and a heightened sense of control over your property’s safety.
Remember, the careful selection of the camera’s location, meticulous preparation of the installation area, and precise mounting and connection processes are all pivotal in ensuring the camera’s long-term effectiveness. The seamless integration of the camera into the accompanying app further empowers you with the ability to monitor and manage your outdoor space from anywhere, at any time.
As you familiarize yourself with the app’s features and the camera’s capabilities, take the time to explore additional settings, such as scheduling, geofencing, and integration with other smart home devices, to tailor the camera’s functionality to your specific needs.
With your Ring camera outdoor in place, you can rest assured that your home is equipped with cutting-edge technology designed to keep you informed and protected. Whether you’re deterring potential intruders, monitoring package deliveries, or simply keeping an eye on your outdoor surroundings, your new camera serves as a valuable asset in your overall home security strategy.
Thank you for joining us on this installation journey. We hope this guide has equipped you with the knowledge and confidence to make the most of your Ring camera outdoor, creating a safer and more connected environment for you and your loved ones.
Now that you've mastered installing your outdoor Ring camera, consider bolstering your home's defenses even further. Our article on home security systems provides crucial insights and might just be what you need to ensure peace of mind. With safety measures always evolving, staying informed can help protect your abode and loved ones more effectively. Why wait? Learn more about securing your residence today!
Frequently Asked Questions about How To Install A Ring Camera Outdoor
Was this page helpful?
At Storables.com, we guarantee accurate and reliable information. Our content, validated by Expert Board Contributors, is crafted following stringent Editorial Policies. We're committed to providing you with well-researched, expert-backed insights for all your informational needs.


0 thoughts on “How To Install A Ring Camera Outdoor”