Home>Home Security and Surveillance>How To Connect A Security Camera
Home Security and Surveillance
How To Connect A Security Camera
Modified: March 6, 2024
Learn how to connect a security camera to your home security and surveillance system for added protection and peace of mind.
(Many of the links in this article redirect to a specific reviewed product. Your purchase of these products through affiliate links helps to generate commission for Storables.com, at no extra cost. Learn more)
Introduction
Welcome to the world of home security and surveillance! With crime rates on the rise and the need for enhanced safety measures, it’s no wonder that more and more homeowners are opting to install security cameras in their homes. Not only do security cameras act as a deterrent for potential intruders, but they also provide essential evidence in the unfortunate event of a break-in or vandalism.
However, the installation and connection process of security cameras can seem daunting to those who are new to the world of home security systems. But fear not! In this comprehensive guide, we will walk you through the step-by-step process of connecting a security camera in your home.
Before we begin, it’s important to note that there are various types of security cameras available, including wired, wireless, and IP cameras. This guide will focus on the installation and connection of a wired security camera, as they are the most common and offer the highest level of reliability and performance.
So, let’s roll up our sleeves and dive into the world of security camera installation! By the end of this guide, you’ll have the knowledge and confidence to connect your security camera system and enjoy the peace of mind that comes with knowing your home is protected.
Key Takeaways:
- Connecting a security camera involves gathering the right equipment, choosing the best location, running cables, and configuring settings. It’s a manageable process that ensures your home is protected.
- After installation, testing the camera’s functionality and troubleshooting any issues is crucial. Regular maintenance and updates keep your security system reliable and effective for ongoing home protection.
Read more: How To Connect Wireless Security Cameras?
Step 1: Gathering Equipment
Before you start the installation process, it’s essential to gather all the necessary equipment for connecting your security camera. Here’s a checklist of items you will need:
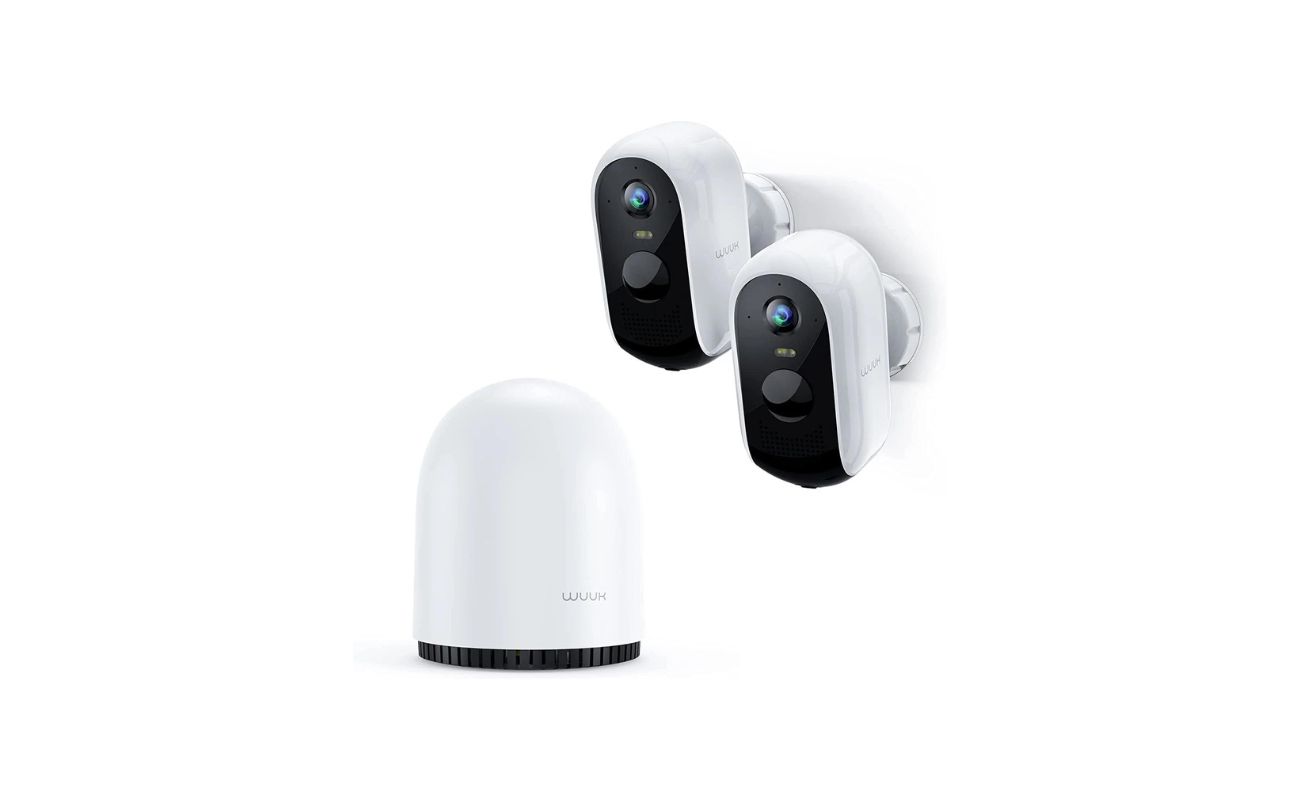
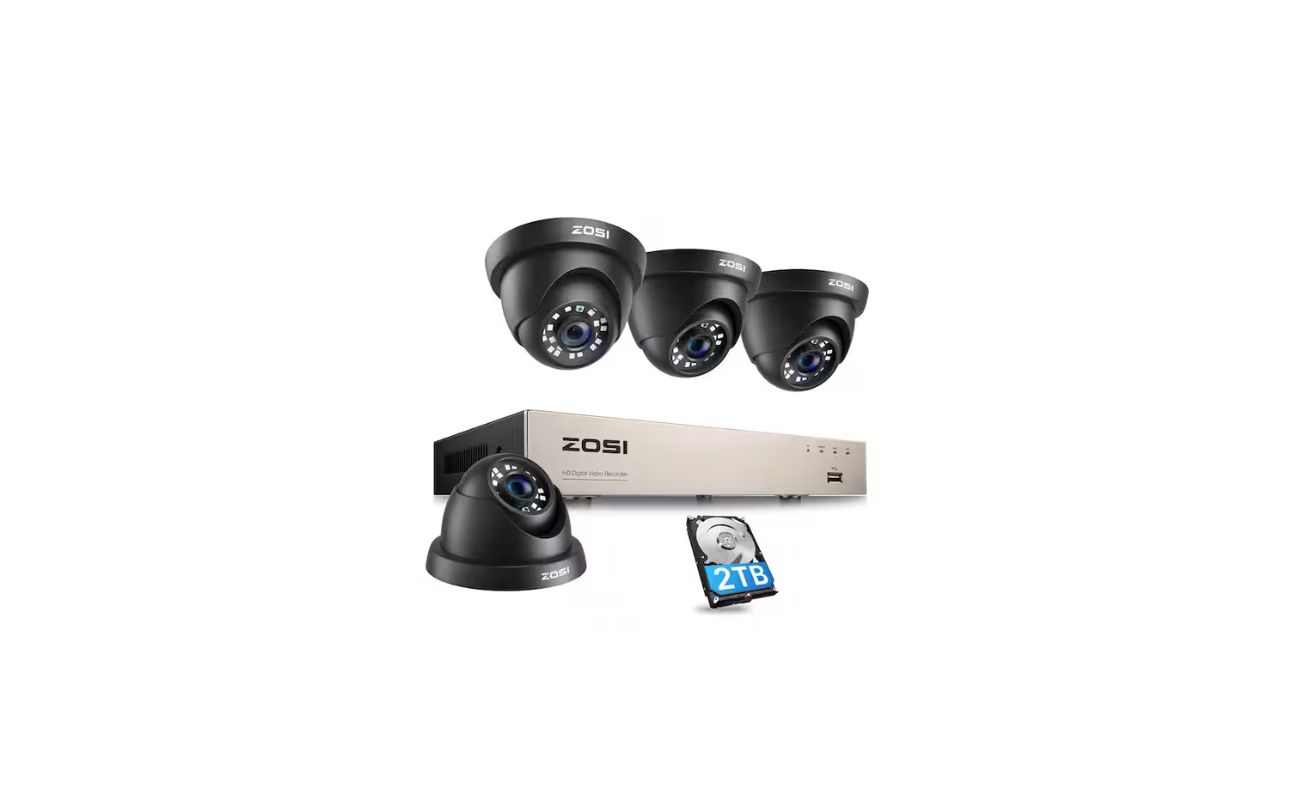
- Security Camera: Choose a high-quality wired security camera that suits your specific needs. Consider factors such as resolution, night vision capabilities, and weather resistance.
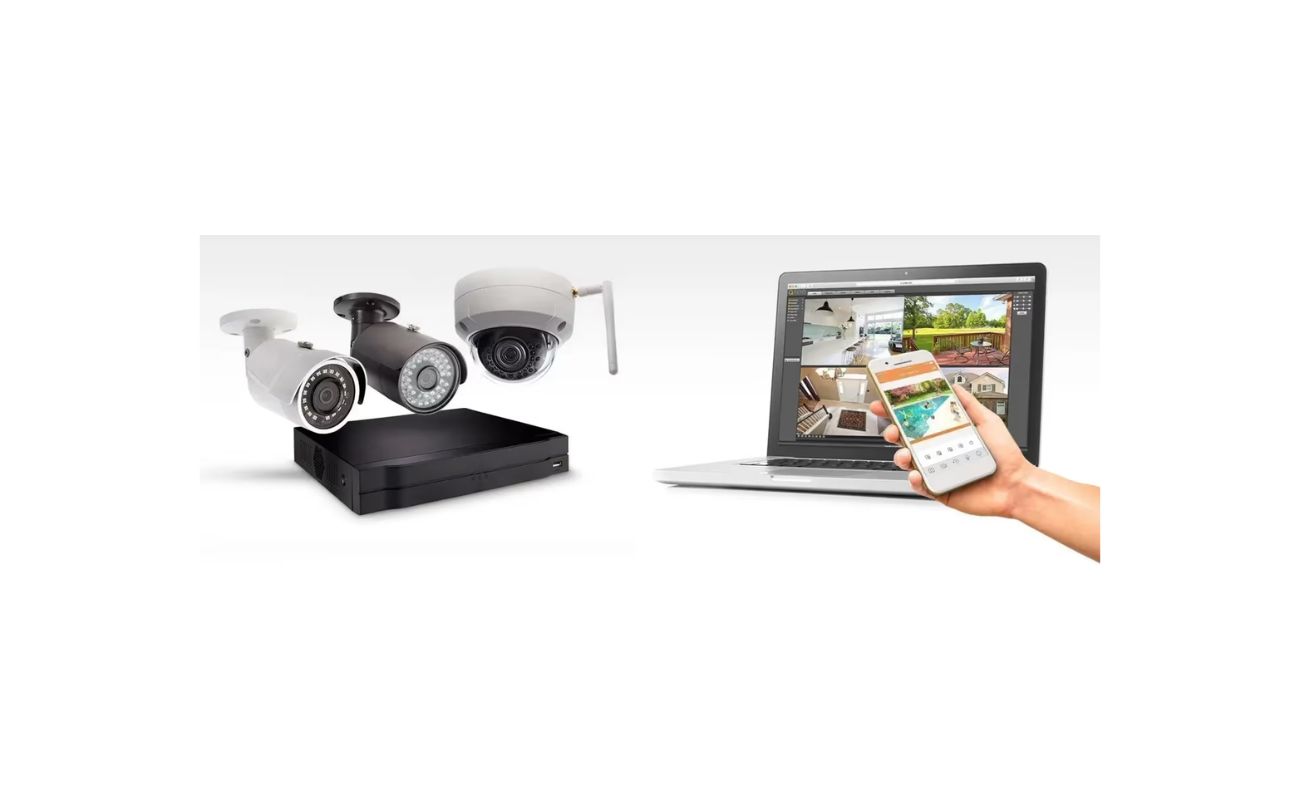
- DVR/NVR: A Digital Video Recorder (DVR) or Network Video Recorder (NVR) is the heart of your security camera system. It allows you to record and store footage captured by the camera.
- Power Supply: Ensure you have the appropriate power supply for your camera. Most wired cameras require a separate power adapter.
- BNC Cables: These cables are used to transmit video signals from the camera to the DVR/NVR. Measure the distance between your camera and the recording device to ensure you have the right length.
- Power Extension Cable: In case the power cable of your camera does not reach the power outlet, a power extension cable will be required.
- Drill and Mounting Hardware: Depending on the location you choose for your camera, you may need a drill and mounting screws to secure the camera in place.
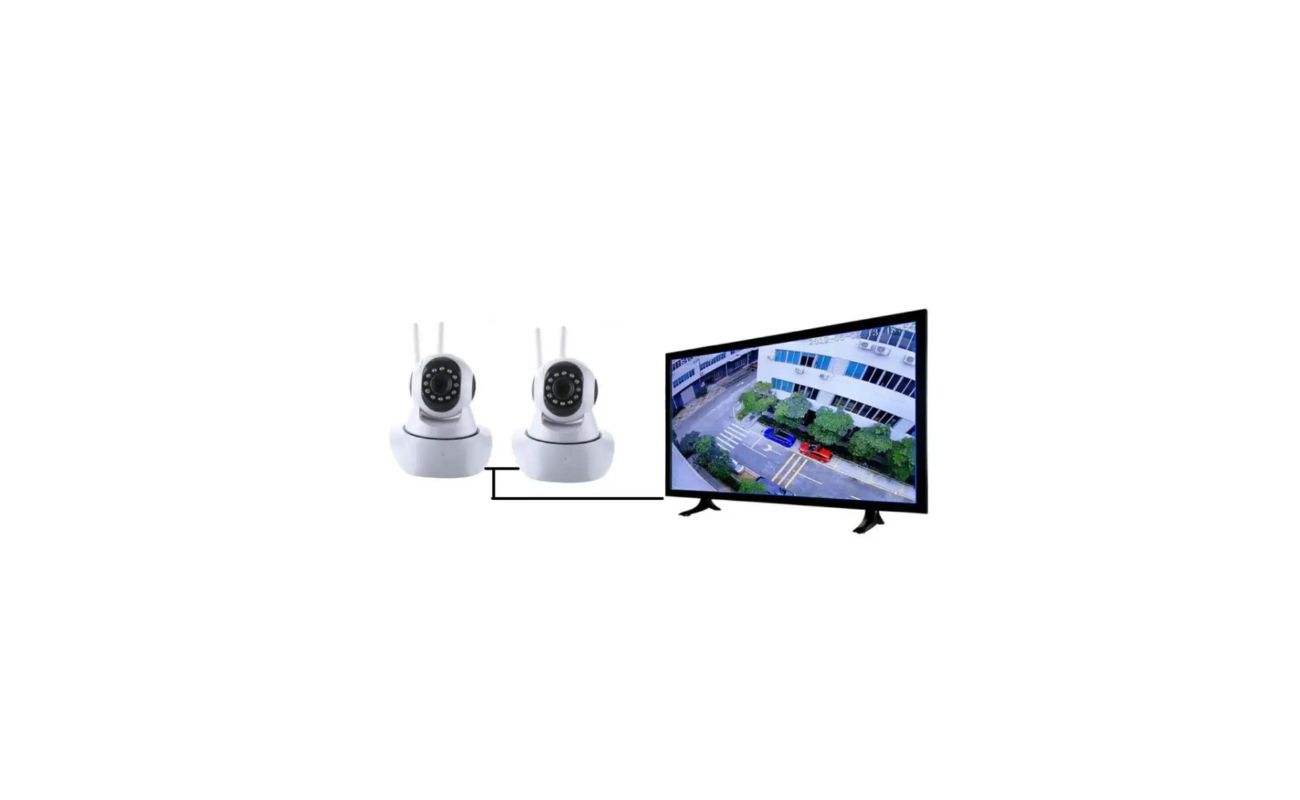
- Monitor or TV: To view the live feed and recorded footage, you will need a monitor or TV that is compatible with your DVR/NVR.
- Network Cable (optional): If you plan on accessing your security camera remotely or connecting it to your home network, a network cable will be required.
Make sure you have all the above equipment ready before you begin the installation process. This will ensure a smooth and hassle-free setup of your security camera system.
Step 2: Choosing the Right Location
Choosing the right location for your security camera is crucial for maximizing its effectiveness in monitoring and protecting your home. Here are a few considerations to keep in mind when selecting the ideal spot:
- Entry Points: Identify the primary entry points into your home, such as doors, windows, and garage entrances. These are the areas where security cameras can have the most impact in deterring potential intruders.
- Visibility: Opt for locations that provide clear visibility of the targeted areas. Avoid obstructions such as trees, bushes, or any other objects that may obstruct the camera’s field of view.
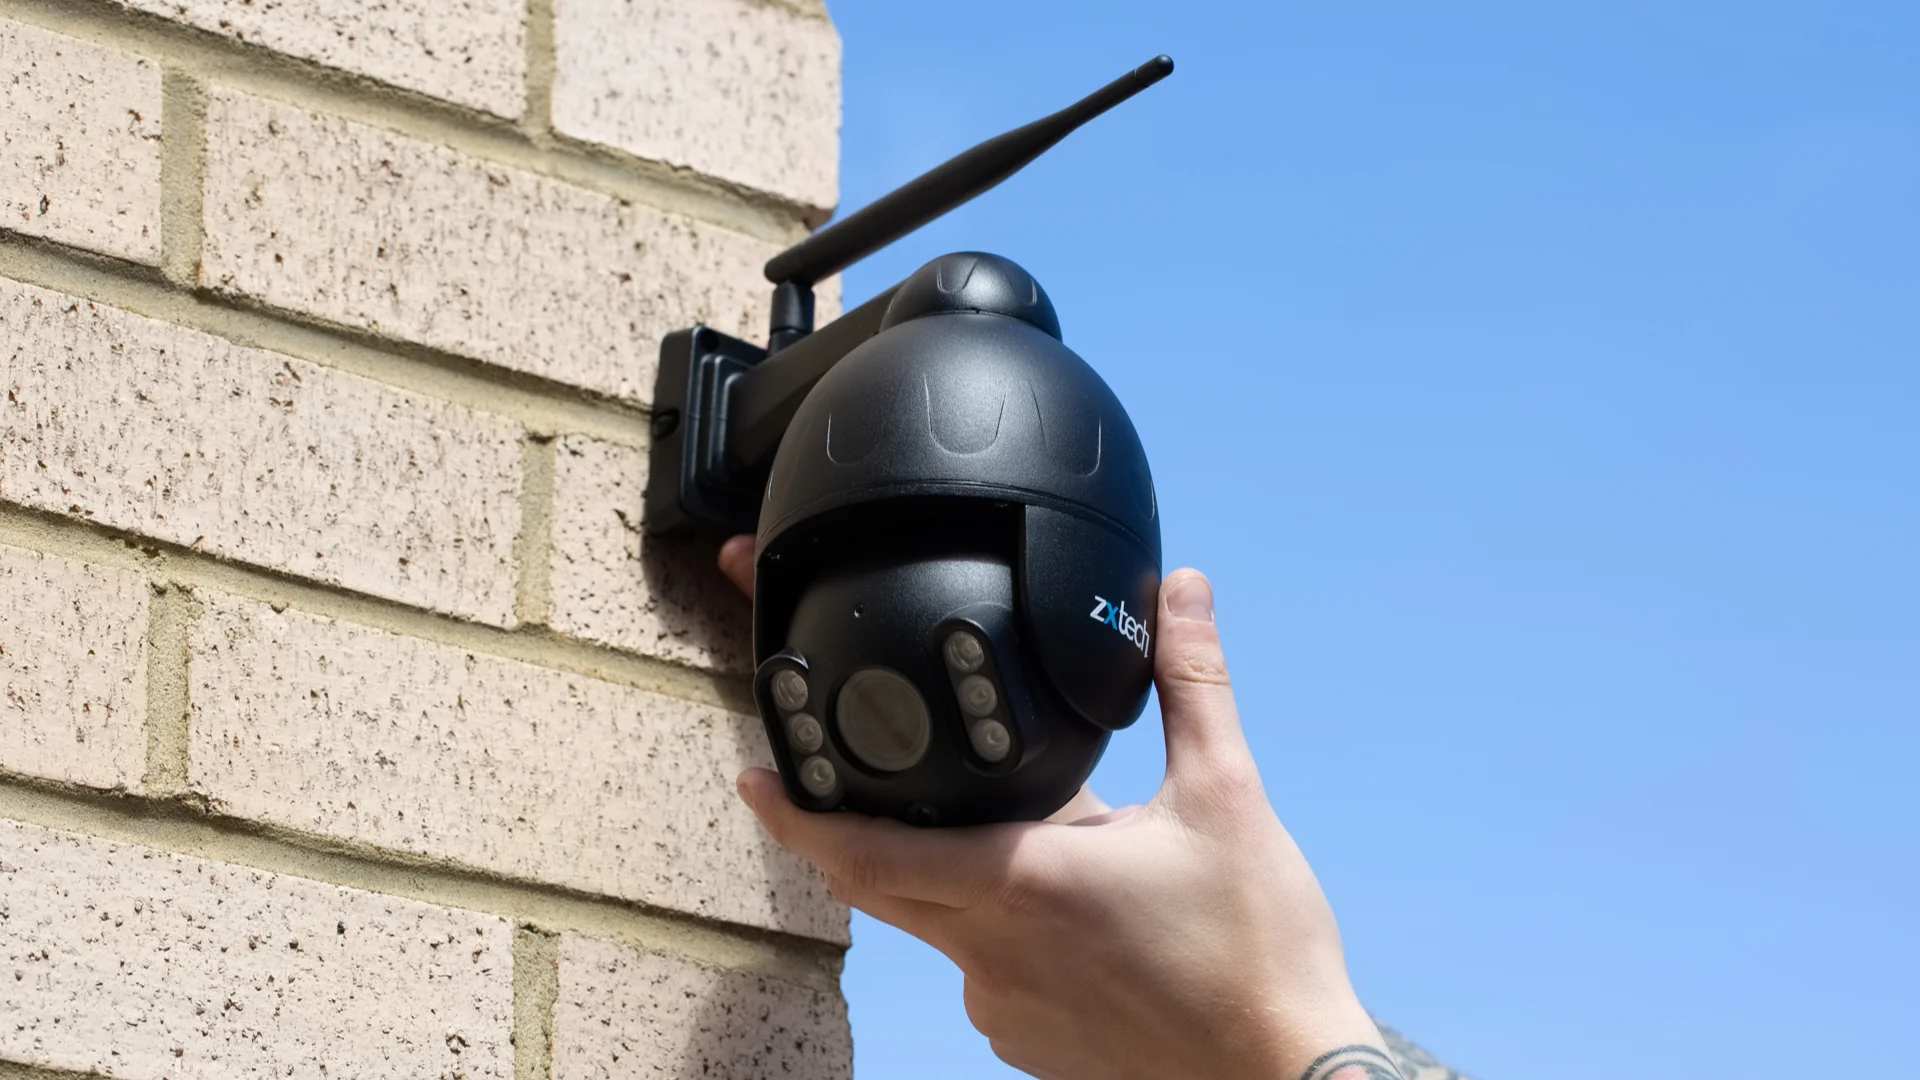
- Height and Angle: Install the camera at a height that provides a wide-angle view of the area. Mounting the camera at a higher position can help prevent tampering or vandalism.
- Weather Resistance: Ensure that the chosen location is suitable for the weather conditions in your area. If the camera is going to be exposed to rain, wind, or extreme temperatures, consider a weather-resistant housing or an outdoor-rated camera.
- Accessibility: Keep in mind that you may need to access the camera occasionally for maintenance, adjustments, or reviewing footage. Choose a location that is easily reachable without compromising your safety.
Once you have identified the optimal location, mark it and proceed to the next step of mounting the camera.
It’s important to note that different areas of your property may require multiple cameras to ensure comprehensive coverage. Assess your security needs, budget, and any specific areas of concern to determine the number of cameras needed for your home security system.
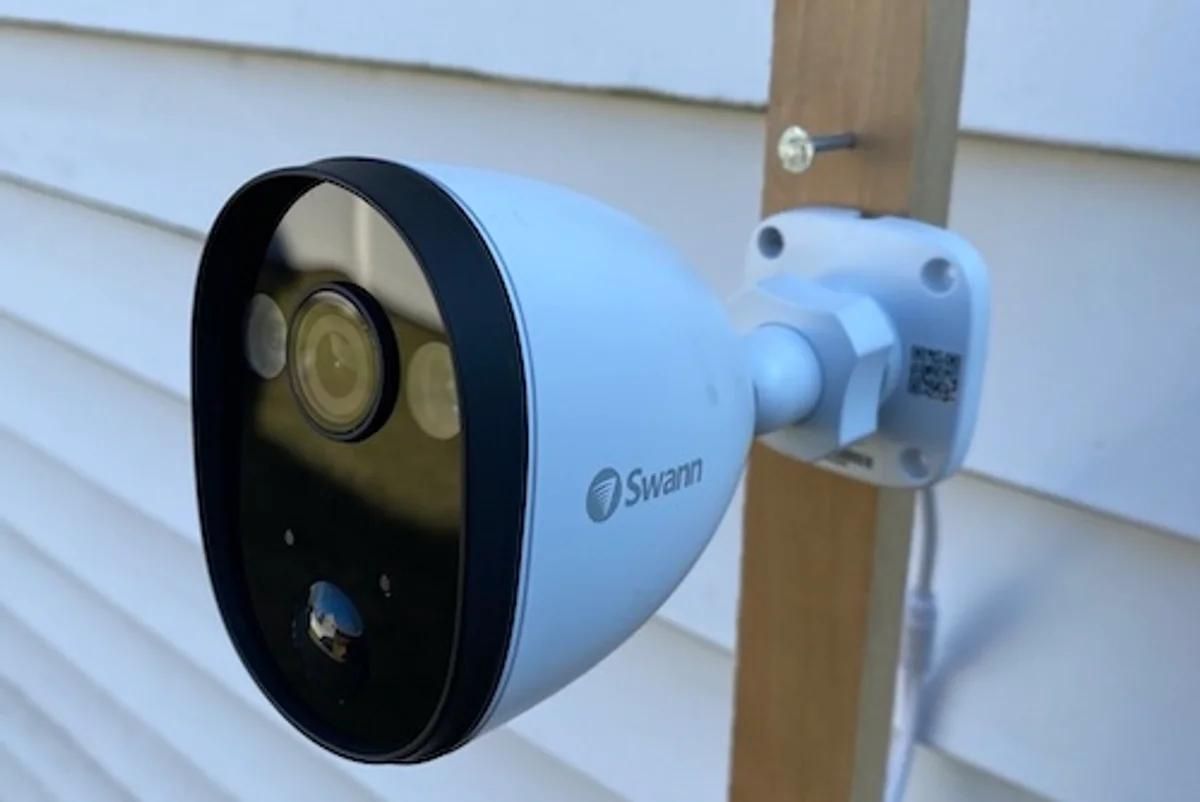
Step 3: Mounting the Camera
Now that you have selected the ideal location for your security camera, it’s time to mount it securely. Follow these steps to ensure a sturdy and stable installation:
- Prepare the Mounting Surface: Use a drill and the appropriate tools to prepare the mounting surface. Ensure that it is even and clean before proceeding.
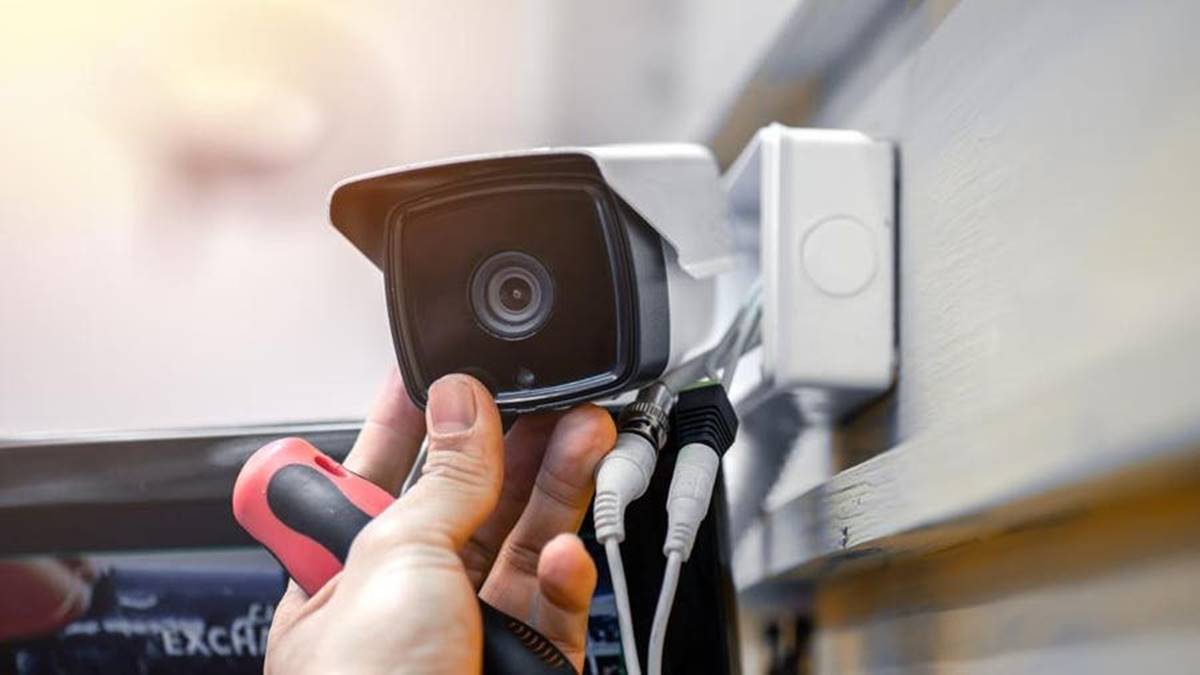
- Position the Mounting Bracket: Attach the mounting bracket to the previously marked location. Make sure it is level and secure.
- Secure the Camera: Depending on the type of camera you have, use the provided screws or brackets to secure the camera to the mounting bracket. Double-check that the camera is tightly secured to prevent any movement or slippage.
- Adjust the Angle and Direction: Before finalizing the installation, adjust the camera’s angle and direction to optimize the field of view. Ensure that it covers the desired area and provides maximum coverage.
- Tighten All Connections: Double-check all connections and screws to ensure they are tightened securely. This will prevent any potential looseness or wobbling of the camera.
Different cameras may have unique mounting requirements, so always refer to the manufacturer’s instructions for specific guidance. Additionally, take into consideration the type of surface you are mounting the camera on, such as concrete, wood, or brick, and use the appropriate anchors or screws for a secure installation.
Remember, the stability of the camera mount is essential for accurate monitoring and clear footage, so take your time to ensure a proper and secure installation.
Step 4: Running the Cables
Once the camera is securely mounted, the next step is to run the necessary cables to connect the camera to the DVR/NVR. Follow these steps to run the cables effectively:
- Plan the Cable Route: Determine the most efficient route for running the cables from the camera to the DVR/NVR. Consider factors such as distance, obstacles, and aesthetics when planning the cable pathway.
- Measure and Cut the Cables: Measure the required length of the BNC cables and power cables to reach from the camera to the DVR/NVR. Cut the cables to the appropriate length, leaving some extra slack for flexibility.
- Secure the Cables: Use cable clips or cable ties to secure the cables along the planned route. This will prevent tangles and ensure a neat and organized installation.
- Drill Holes (if necessary): If you need to pass the cables through walls or other structures, carefully drill small holes to feed the cables through. Seal the holes properly to maintain the integrity of your home’s insulation and weatherproofing.
- Connect the Cables: Connect the BNC cables from the camera to the corresponding input ports on the DVR/NVR. Ensure a tight and secure connection to maintain the quality of the video feed.
- Connect the Power Cables: Connect the power cables from the camera to the power supply or the power extension cable. Verify that the connections are snug and secure for reliable power transmission.
While running the cables, it’s important to avoid placing them near sources of interference, such as electrical wires or appliances. This will help to minimize signal interference and ensure optimal performance of your security camera system.
Take the time to neatly arrange and organize the cables for a clean and professional appearance. Additionally, label the cables at both ends to make future troubleshooting or maintenance tasks easier.
Note: If you are not confident in running the cables yourself or need to cover longer distances, it may be advisable to seek professional assistance or utilize wireless camera systems that eliminate the need for physical cables.
Read more: How To Connect A Security Camera To Computer
Step 5: Connecting the Camera to Power
Now that the camera and cables are in place, it’s time to connect the camera to a power source. Follow these steps to ensure a proper power connection:
- Locate the Power Supply: Identify the power supply or power adapter that came with your security camera system. This is typically a separate component from the camera itself.
- Plug In the Power Supply: Connect one end of the power cable to the power supply, and then plug the other end into a nearby power outlet. Ensure that the power supply is providing the correct voltage for your camera.
- Connect the Power Cable: Connect the power cable from the camera to the power output of the power supply. Make sure the connection is secure and that there are no loose or exposed wires.
- Test the Power Connection: Once the power connection is established, check that the camera’s indicator lights or LED lights up, indicating that it is receiving power.
Ensure that the power source is stable and reliable to maintain continuous power supply to your security camera. It’s recommended to use a surge protector or an uninterruptible power supply (UPS) to protect your camera from power surges or outages.
In some cases, battery-operated cameras may be a suitable option if running power cables is not feasible for your specific installation scenario. Keep in mind that battery-powered cameras may require periodic battery changes or recharging, depending on the manufacturer’s specifications.
Now that your camera is connected to power, you’re one step closer to having a fully functional security camera system. The next step is to configure the camera settings to optimize its performance and functionality.
When connecting a security camera, make sure to use the appropriate cables and power source. Follow the manufacturer’s instructions carefully to ensure proper installation and functionality.
Step 6: Configuring the Camera Settings
After connecting the camera to power, the next step is to configure its settings to ensure optimal performance and functionality. Follow these steps to configure your security camera:
- Determine the IP Address: If you are using an IP camera, you will need to determine its IP address. Refer to the camera’s user manual or manufacturer’s website for instructions on finding the IP address.
- Access the Camera’s Interface: Open a web browser on a computer connected to the same network as the camera. Enter the camera’s IP address in the address bar to access the camera’s interface.
- Log into the Camera: Enter the camera’s username and password to log into the camera’s configuration interface. This information is typically provided in the camera’s user manual or can be reset to default settings if needed.
- Set Camera Parameters: Configure the camera settings according to your preferences and requirements. Common settings include resolution, frame rate, motion detection, night vision, and recording modes.
- Assign a Static IP Address (if applicable): To ensure the camera always has the same IP address, assign a static IP address to it. Consult the camera’s user manual or refer to your router’s configuration settings for instructions.
- Save and Apply Settings: Once you have adjusted the camera settings, save and apply the changes. The camera may need to restart to implement the new settings.
It’s important to note that the configuration process may vary depending on the camera model or manufacturer. Refer to the camera’s user manual or contact the manufacturer’s support for specific instructions pertaining to your camera.
During the configuration process, it is recommended to change the default username and password to enhance the security of your camera. Additionally, ensure that your camera’s firmware is up to date to benefit from the latest features and security patches.
Now that your camera is configured, it is time to connect it to your home network for remote access and monitoring.
Step 7: Connecting to a Network
Connecting your security camera to a network enables you to access and monitor the camera remotely through various devices. Here’s how to connect your camera to a network:
- Verify Network Compatibility: Ensure that your camera is compatible with your home network. Check if it supports the same network protocols (e.g., Wi-Fi, Ethernet) as your router.
- Choose Wired or Wireless Connection: Decide whether you want to connect your camera to the network via an Ethernet cable (wired) or Wi-Fi (wireless). Wired connections tend to be more stable, while wireless connections provide more flexibility in camera placement.
- Wired Connection: For a wired connection, connect one end of an Ethernet cable to the camera’s Ethernet port and the other end to an available LAN port on your router or network switch.
- Wireless Connection: For a wireless connection, access your camera’s settings interface and navigate to the Wi-Fi or wireless settings. Select your home network from the list of available networks, enter the Wi-Fi password, and establish the connection.
- Observe Connection Status: After connecting, check the camera’s network status to ensure it has successfully established a connection. Look for indicators on the camera interface or refer to the camera’s user manual for guidance.
- Test Remote Access: To ensure successful network connection, use a computer or mobile device connected to the same network to access the camera’s interface. Enter the camera’s assigned IP address or use any provided software or app to remotely view the camera’s live feed.
It’s essential to note that network configuration may vary depending on your camera model, network infrastructure, and security settings. Refer to the camera’s user manual or contact the manufacturer’s support for specific instructions pertaining to your camera.
By connecting your camera to a network, you can access it remotely using a smartphone, tablet, or computer. This allows you to monitor your home from anywhere and receive real-time alerts when motion is detected or other events occur.
With your security camera connected to the network, you’re one step closer to enjoying the full benefits of a comprehensive home surveillance system.
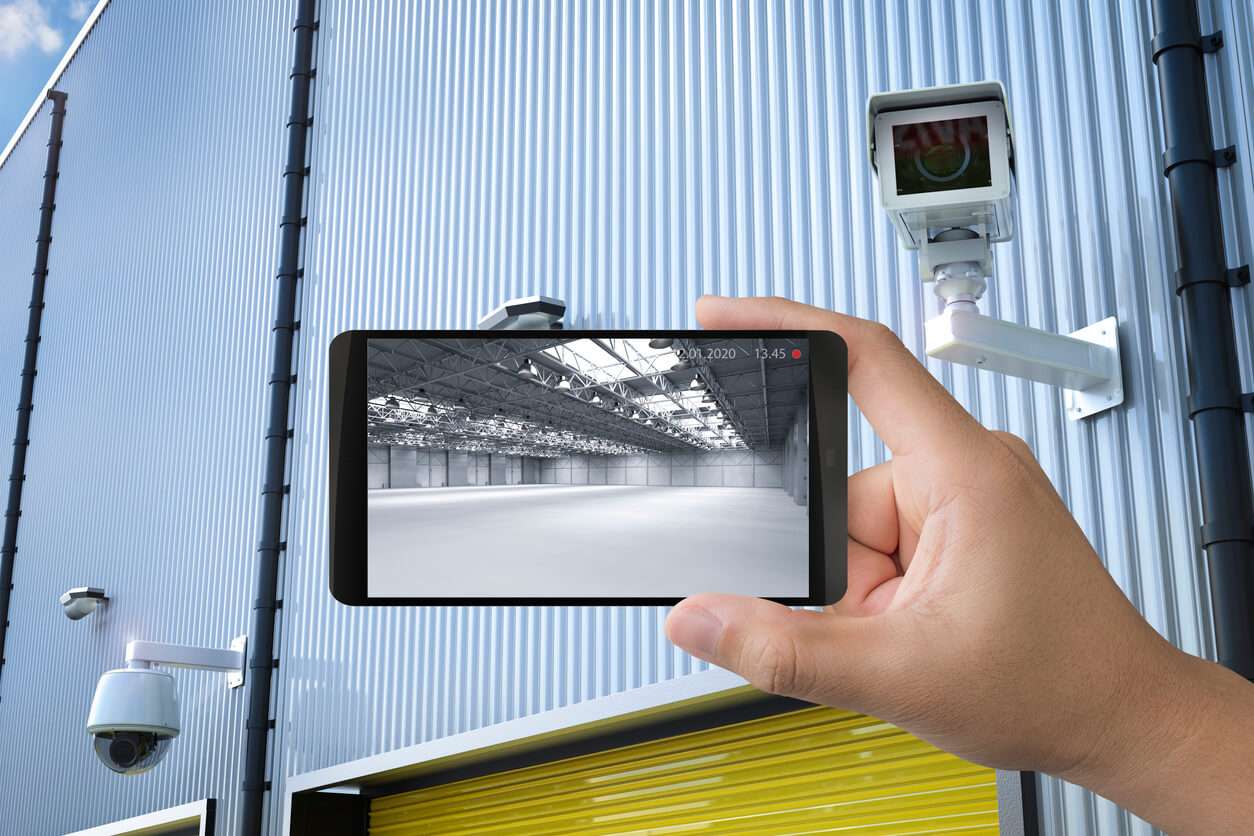
Step 8: Accessing the Camera Remotely
One of the significant advantages of a connected security camera is the ability to access and monitor your camera remotely. Here’s how you can access your camera from anywhere:
- Install the Mobile App: Install the mobile app provided by the camera manufacturer on your smartphone or tablet. The app is usually available for both iOS and Android devices.
- Create an Account: Launch the app and create a secure account using your email address and a strong password. Follow the on-screen instructions to complete the account setup process.
- Add Your Camera: Using the app, follow the steps to add your camera to your account. This typically involves scanning a QR code or entering a unique identification code provided with your camera.
- Configure Remote Access: Within the app, go to the camera settings and enable remote access or cloud connectivity. This step allows you to connect to your camera from outside your home network.
- Connect to the Camera: Once you’ve completed the setup, open the app on your mobile device and log in using your account credentials. Choose your camera from the list of devices and establish the connection.
- View the Camera Feed: After connecting to the camera, you can now access the live feed and recorded footage remotely. Depending on the app and camera features, you can customize settings, receive motion alerts, and access other camera functions.
Keep in mind that accessing your camera remotely requires an internet connection on both the camera and the device you are using to connect. It’s recommended to have a reliable and secure internet connection to ensure a smooth and secure remote viewing experience.
Additionally, make sure to follow good security practices such as using strong passwords for your camera and app accounts, keeping your camera firmware up to date, and limiting access to trusted devices and users.
With remote access capabilities, you can check on your home, pets, loved ones, or any desired area at any time, providing you with peace of mind and added convenience.
Read more: How To Connect A Security Camera To TV
Step 9: Testing and Troubleshooting
After completing the installation and configuration of your security camera system, it’s important to test its functionality and address any potential issues. Follow these steps to ensure that your camera is operating smoothly:
- Check the Camera Feed: Verify that the camera’s live feed is displaying properly on your monitor, TV, or mobile device. Ensure that the camera is capturing clear and high-quality images.
- Test Recording Functions: Trigger a motion event and check if the camera is recording footage as expected. Verify that the recorded videos are being saved successfully and are easily accessible for future review.
- Monitor Night Vision: Test the camera’s night vision capabilities by checking the quality of the images in low-light conditions or complete darkness. Adjust camera settings if needed to optimize night vision performance.
- Verify Remote Access: Connect to your camera remotely using the mobile app or web interface. Confirm that you can access the live feed, adjust settings, and review recorded footage effortlessly.
- Test Motion Detection: Walk in front of the camera to assess its motion detection capabilities. Ensure that the camera detects motion accurately and triggers necessary alerts or recordings.
- Address Connectivity Issues: If you encounter connectivity issues, such as dropped connections or slow streaming, check your network signal strength and troubleshoot any potential Wi-Fi or Ethernet issues. Consider relocating your router or camera for improved coverage.
- Update Firmware (if available): Regularly check for firmware updates for your camera. Manufacturers often release updates to improve performance, add new features, and address any security vulnerabilities.
- Contact Customer Support: If you encounter any persistent issues that you cannot resolve, reach out to the camera manufacturer’s customer support for assistance. They can provide specific guidance based on your camera model and configuration.
By performing these tests and troubleshooting steps, you can address any potential issues and ensure that your security camera system is functioning optimally.
Remember to periodically review and maintain your security camera system to ensure ongoing performance and reliability. Regularly check the connections, clean camera lenses, and monitor storage space to guarantee seamless operation.
Congratulations! You have successfully connected and configured your security camera system, providing you with enhanced home security and peace of mind.
Conclusion
Installing and connecting a security camera system may initially seem like a complex task, but with the right knowledge and guidance, it becomes a manageable and rewarding experience. By following the steps outlined in this guide, you can create a robust surveillance system to protect your home and loved ones.
We started by gathering the necessary equipment, including the security camera, DVR/NVR, cables, and power supplies. Then, we discussed the importance of choosing the right location for the camera and ensuring proper mounting for optimal coverage.
Next, we explored the process of running the cables and connecting the camera to power, followed by configuring its settings to customize its performance. We then delved into connecting the camera to a network, enabling remote access for monitoring and control from anywhere.
Lastly, we emphasized the importance of thoroughly testing the camera’s functionality and troubleshooting any potential issues that may arise. By ensuring that your camera is operating smoothly, you can have confidence in the security and surveillance it provides for your home.
Remember, a security camera system is an ongoing investment that requires periodic maintenance and updates. Stay proactive by regularly checking for firmware updates, adjusting camera settings as needed, and keeping an eye on its overall performance.
With your newly installed security camera system, you can enjoy a greater sense of security, deter potential intruders, and have peace of mind knowing that your home is under constant surveillance. Utilize the remote access capabilities to monitor your property, even when you’re away.
As technology continues to advance, the options for home security and surveillance are expanding. Stay informed about new features, trends, and updates in the industry to ensure your security system remains up to date and effective.
Thank you for taking the time to follow this comprehensive guide. We hope it has empowered you to successfully connect and configure your security camera system. Here’s to a safer and more secure home!
Frequently Asked Questions about How To Connect A Security Camera
Was this page helpful?
At Storables.com, we guarantee accurate and reliable information. Our content, validated by Expert Board Contributors, is crafted following stringent Editorial Policies. We're committed to providing you with well-researched, expert-backed insights for all your informational needs.