Home>Home Security and Surveillance>How To Charge Ring Outdoor Camera Battery
Home Security and Surveillance
How To Charge Ring Outdoor Camera Battery
Modified: October 27, 2024
Learn how to charge the battery of your Ring Outdoor Camera for continuous home security and surveillance.
(Many of the links in this article redirect to a specific reviewed product. Your purchase of these products through affiliate links helps to generate commission for Storables.com, at no extra cost. Learn more)
Introduction
Welcome to the world of home security and surveillance! In today’s fast-paced and ever-evolving society, it’s more important than ever to ensure the safety and security of our homes and loved ones. This is where home security and surveillance systems come into play, giving us peace of mind and an extra layer of protection.
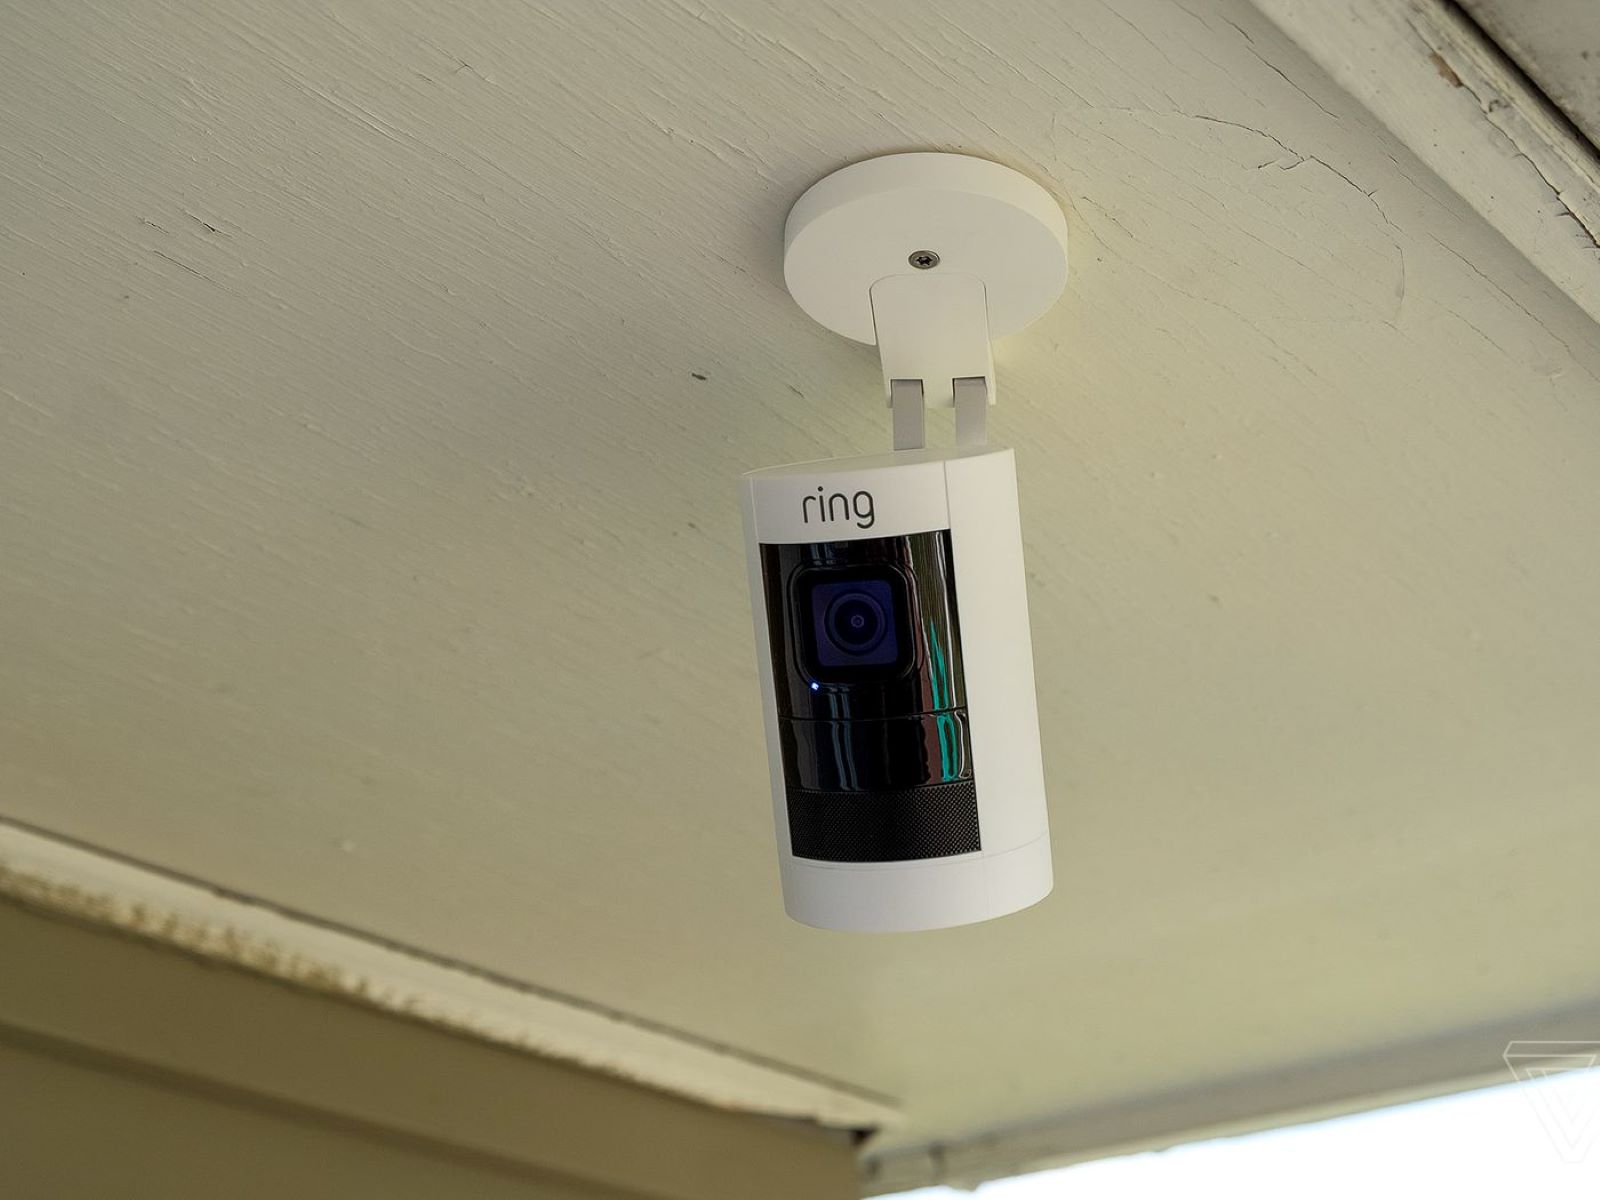
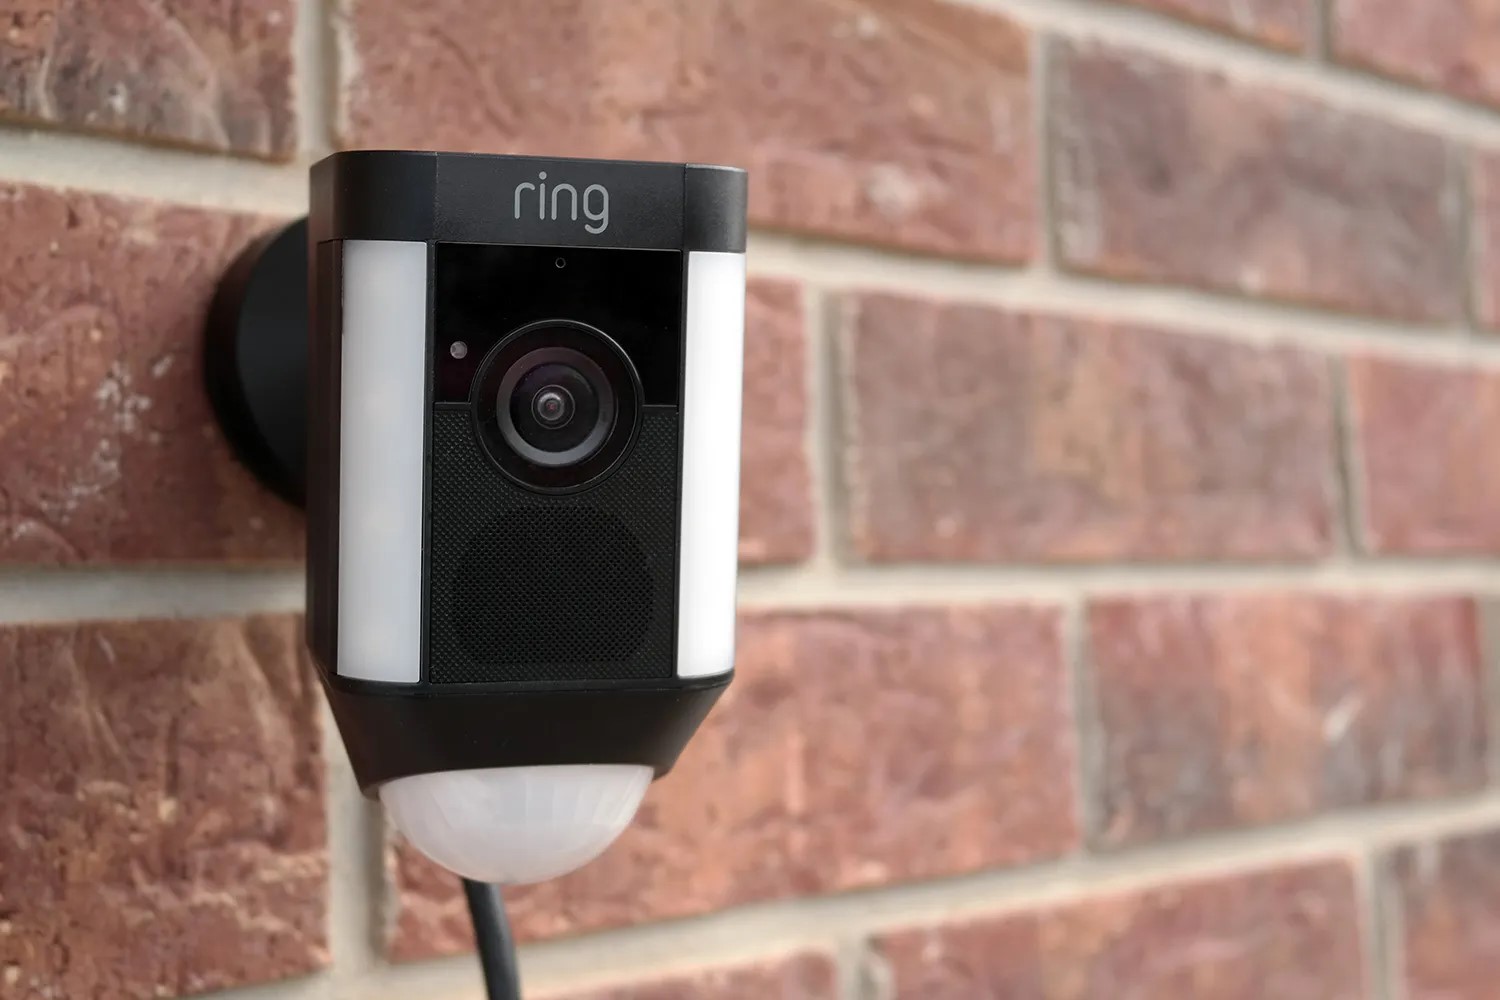
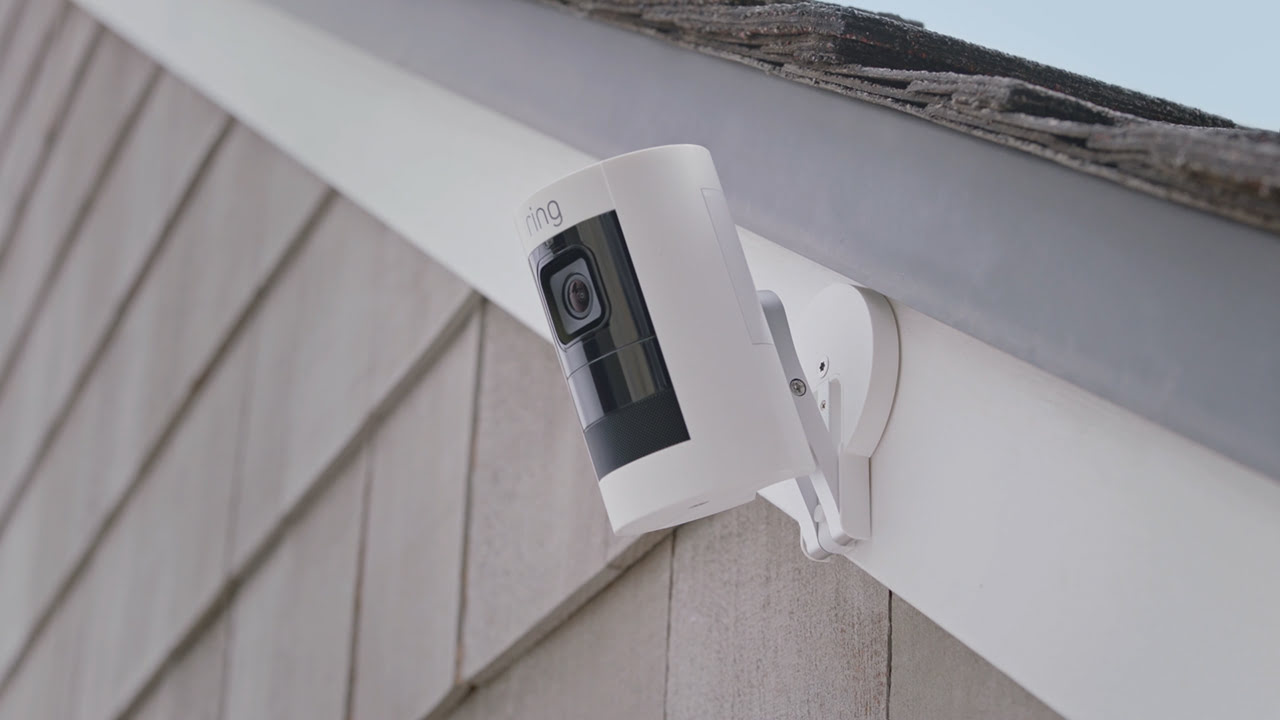
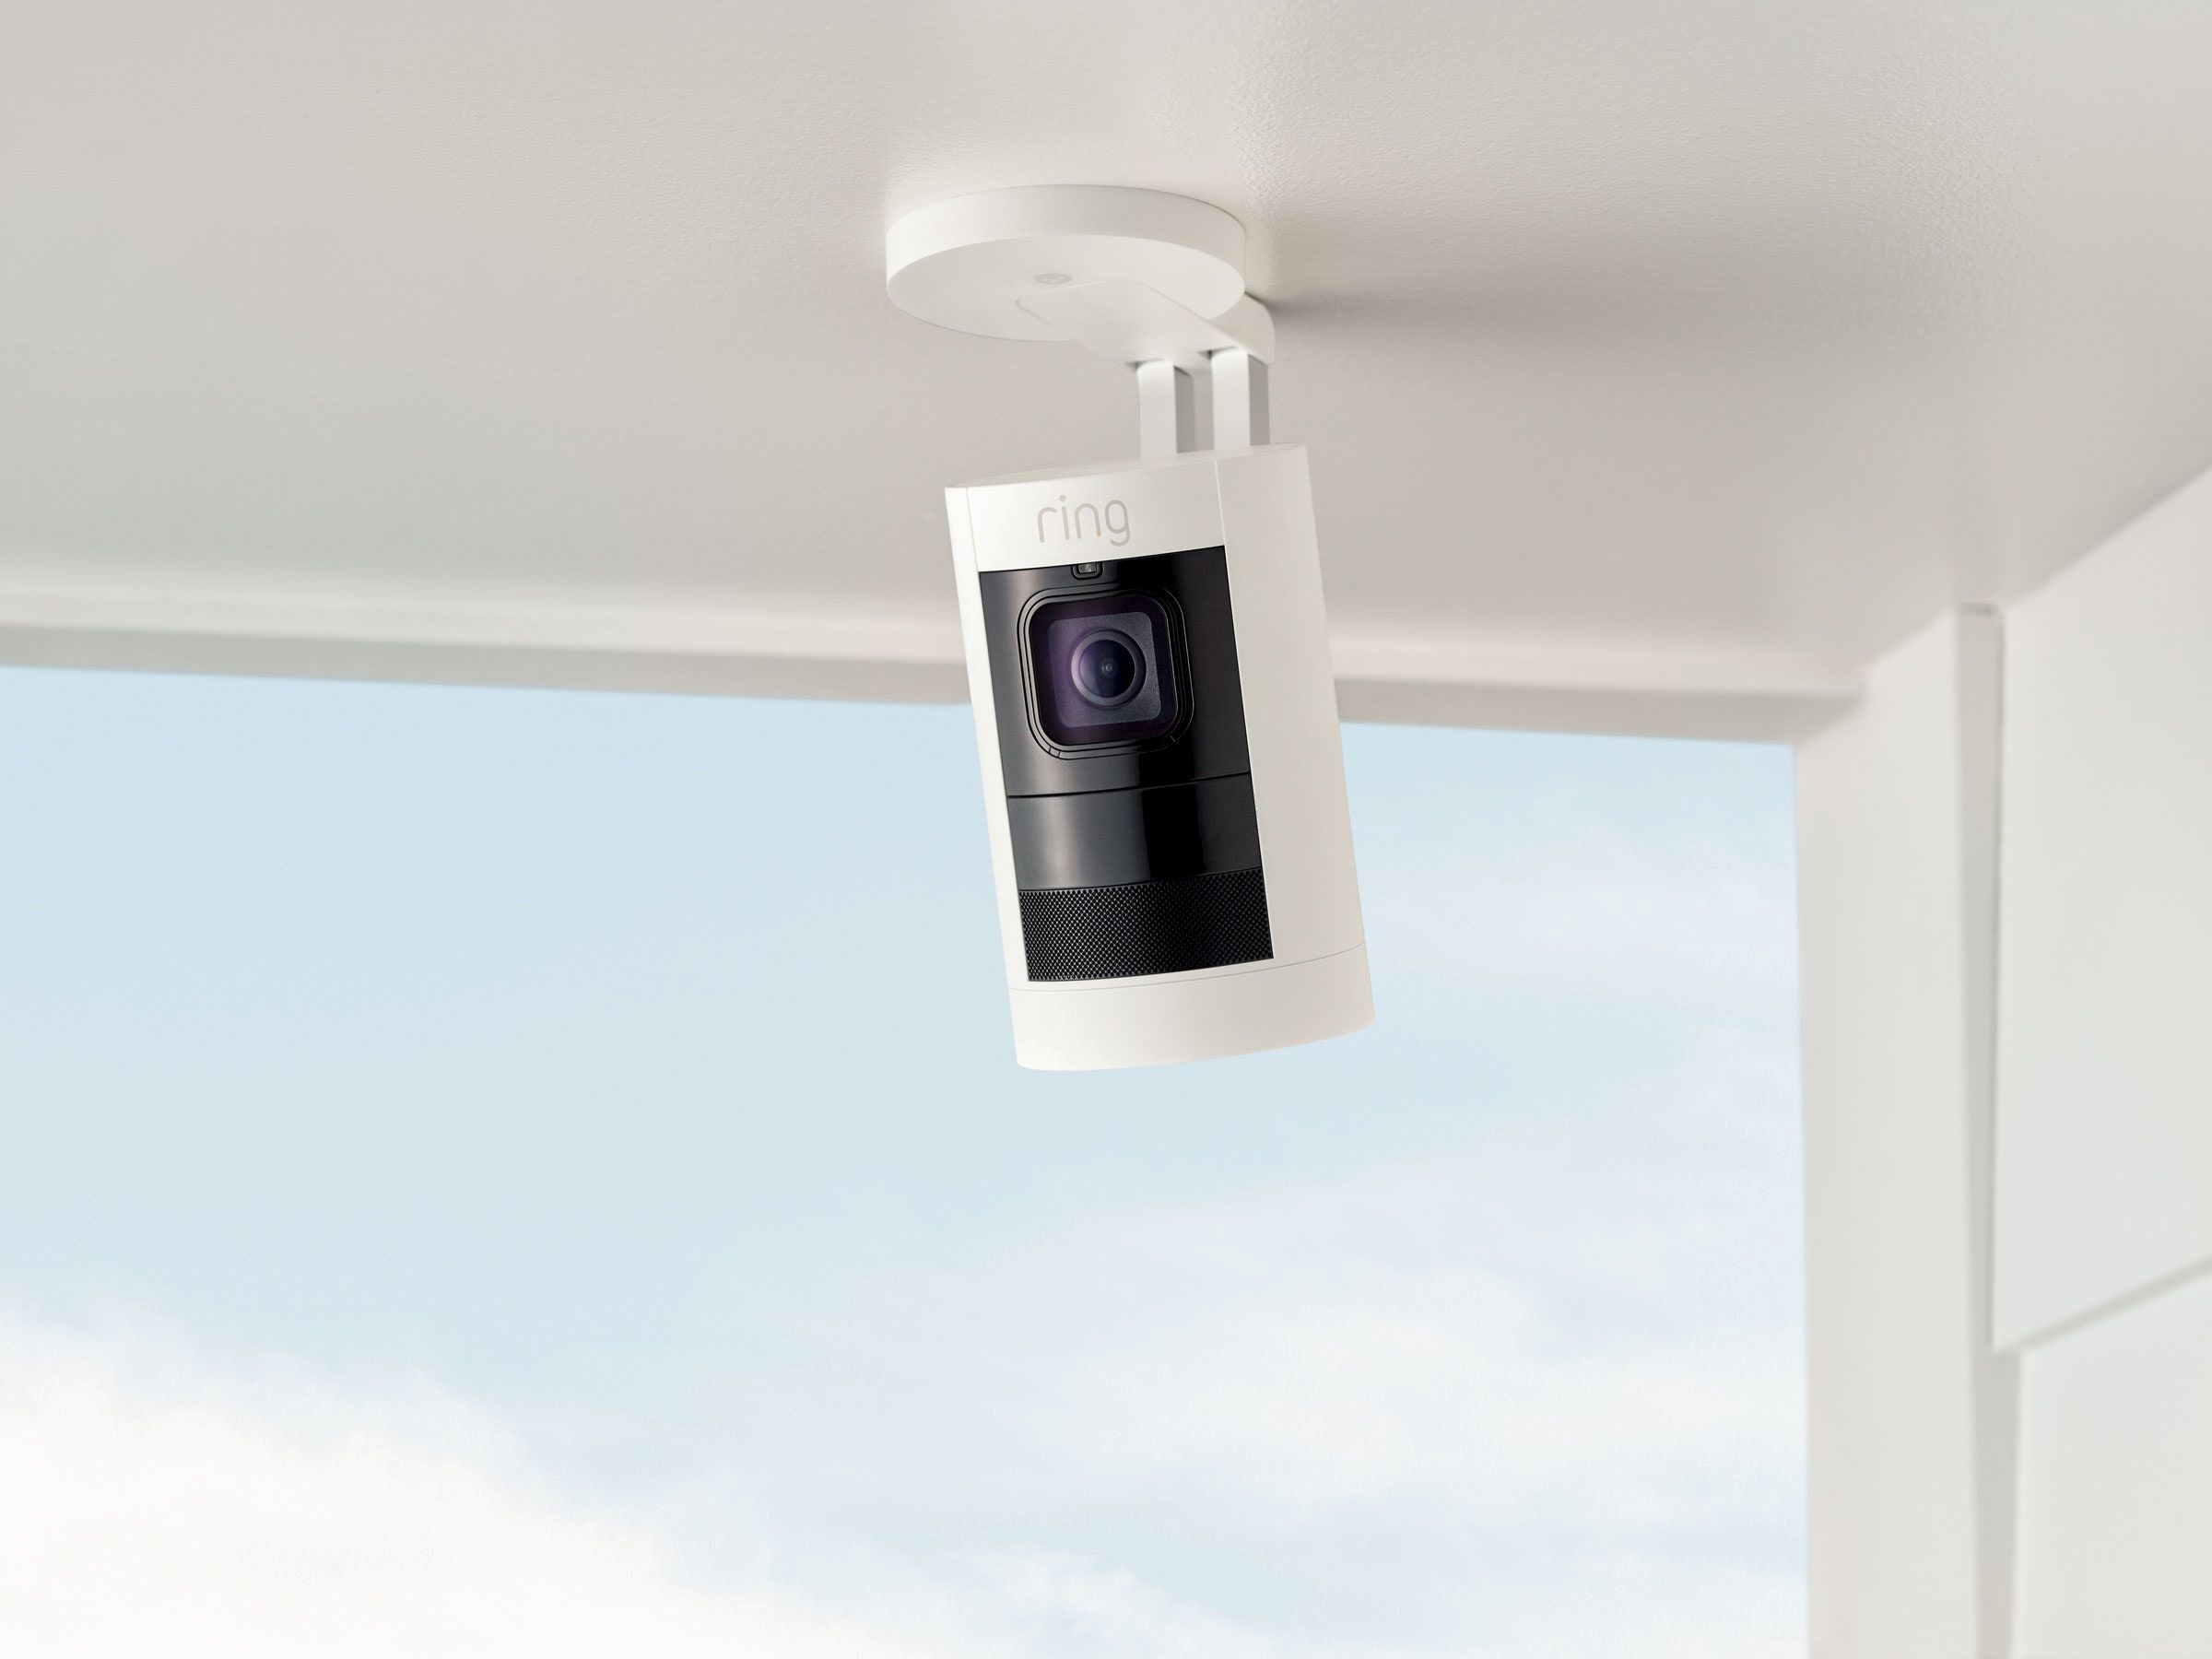
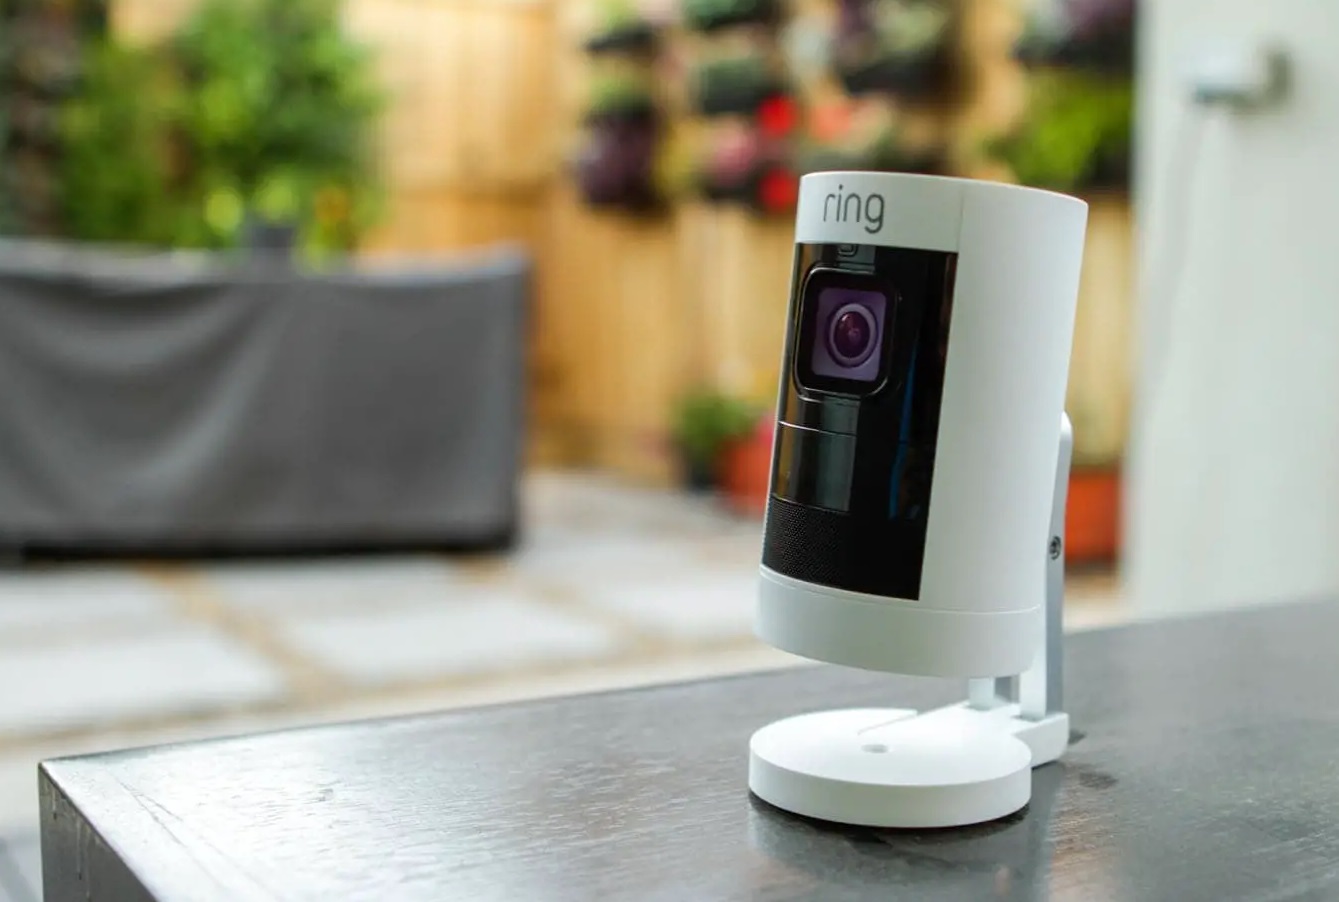
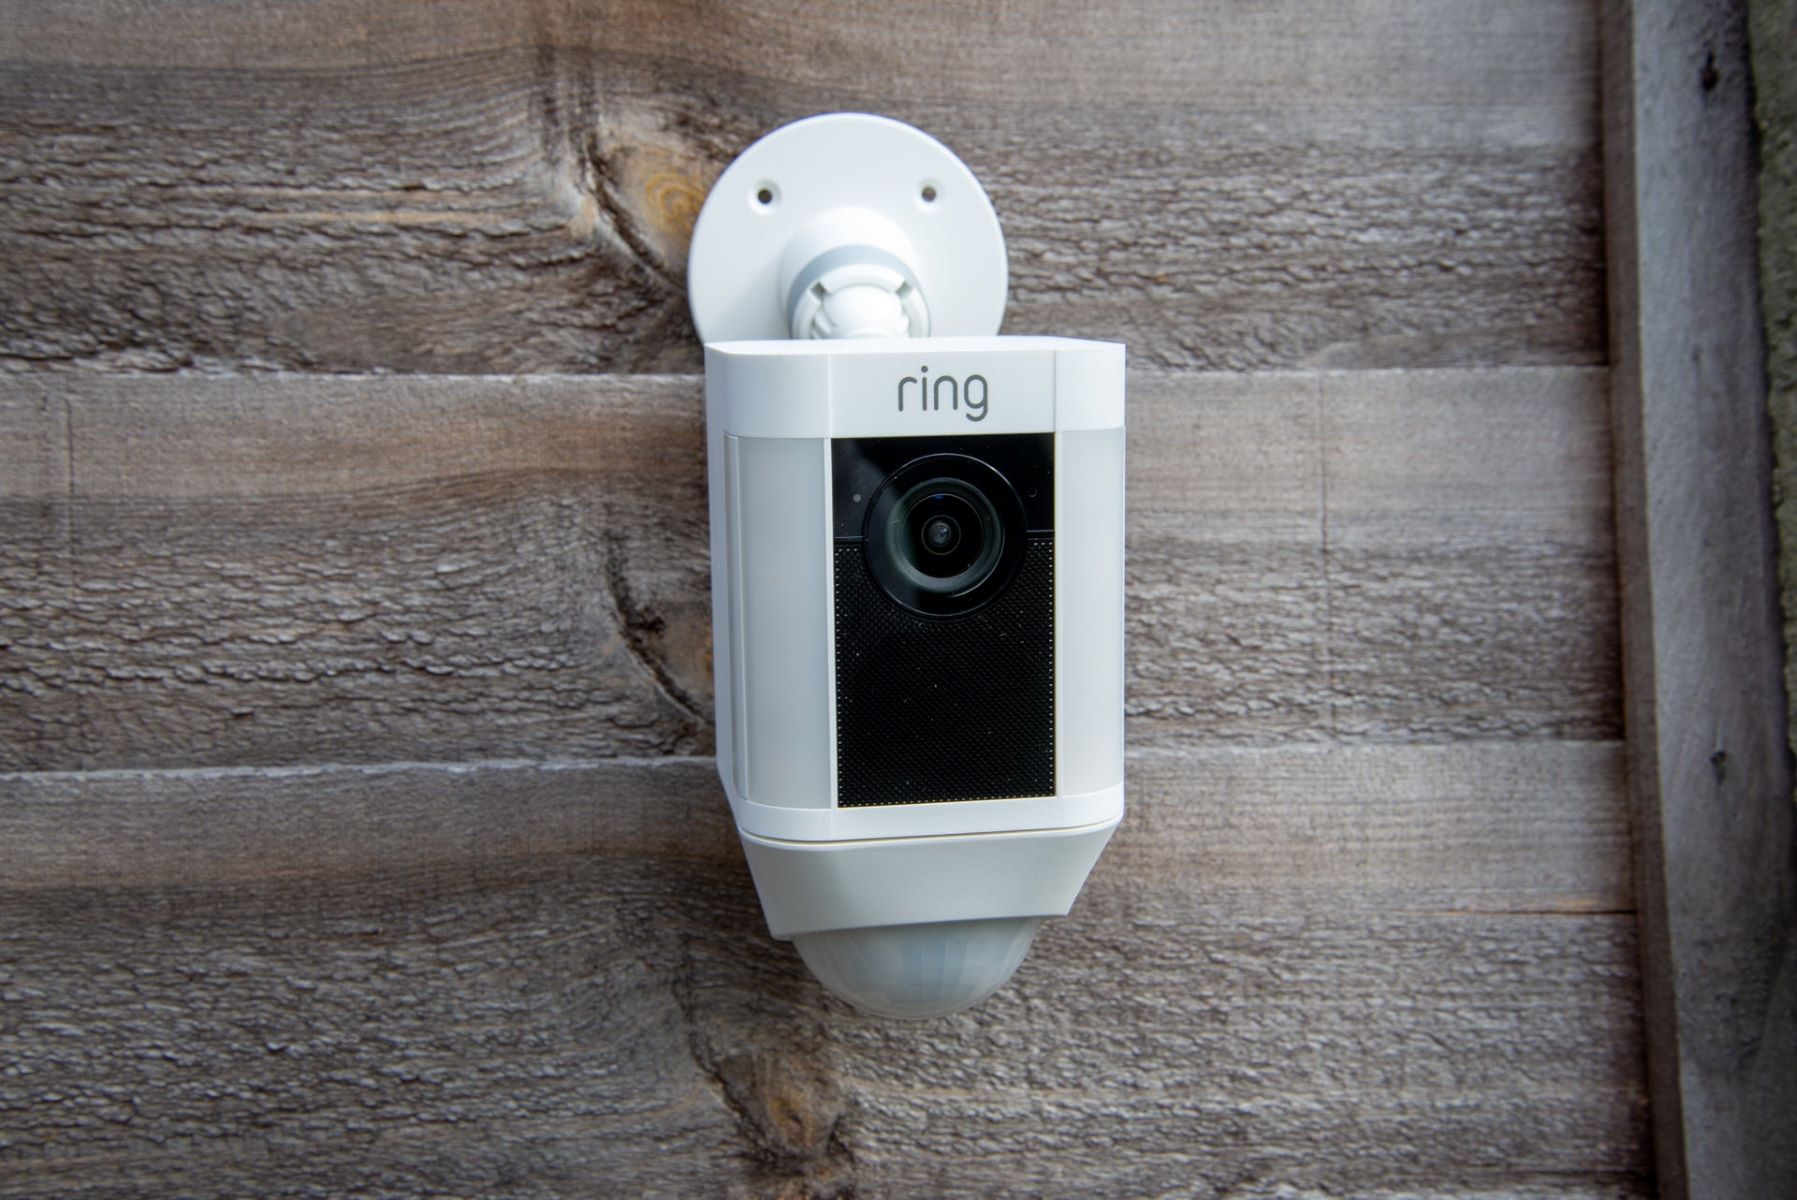
One key component of a comprehensive home security system is the outdoor camera. These cameras act as the eyes and ears of your security system and are designed to withstand the elements while providing round-the-clock surveillance. One popular option in the market is the Ring Outdoor Camera, known for its reliability, ease of installation, and advanced features.
As with any electronic device, the Ring Outdoor Camera requires power to operate. It is equipped with a rechargeable battery that ensures uninterrupted performance. However, there may come a time when you need to charge the battery to keep your camera running smoothly. In this article, we will guide you through the necessary steps to charge the battery of your Ring Outdoor Camera properly.
By following these simple steps, you will be able to keep your Ring Outdoor Camera powered up and ready to capture any potential security threats around your home. So, let’s dive in and get started!
Key Takeaways:
- Keep your Ring Outdoor Camera ready for action by following these simple steps to charge its battery. Ensure a smooth charging process by gathering all necessary items and handling the battery with care.
- Regularly charging your Ring Outdoor Camera battery is crucial for maintaining its performance and keeping your home security system operational. Follow the steps to charge the battery and enjoy peace of mind knowing your home is protected.
Step 1: Gather the required items
Before you begin charging the battery of your Ring Outdoor Camera, it’s essential to gather all the necessary items. Having everything you need on hand will ensure a smooth and efficient charging process. Here’s what you’ll need:
- Ring Outdoor Camera Battery: Make sure you have the battery that came with your Ring Outdoor Camera. It’s important to use the original battery to maintain optimum performance.
- Ring Camera Charger: The Ring Outdoor Camera charger is specifically designed for this model and is essential for proper and safe charging. Ensure you have the charger that was provided with your camera.
- Power Outlet: Locate a nearby power outlet where you plan to connect your charger. Make sure it is easily accessible and in a convenient spot.
- Power Cable: The charger requires a power cable to connect to the outlet. Ensure you have a compatible power cable that is long enough to reach the outlet without causing any stretching or strain.
Once you have gathered all these items, you are ready to move on to the next step and begin the battery charging process. Having everything prepared in advance will save you time and ensure a smooth charging experience.
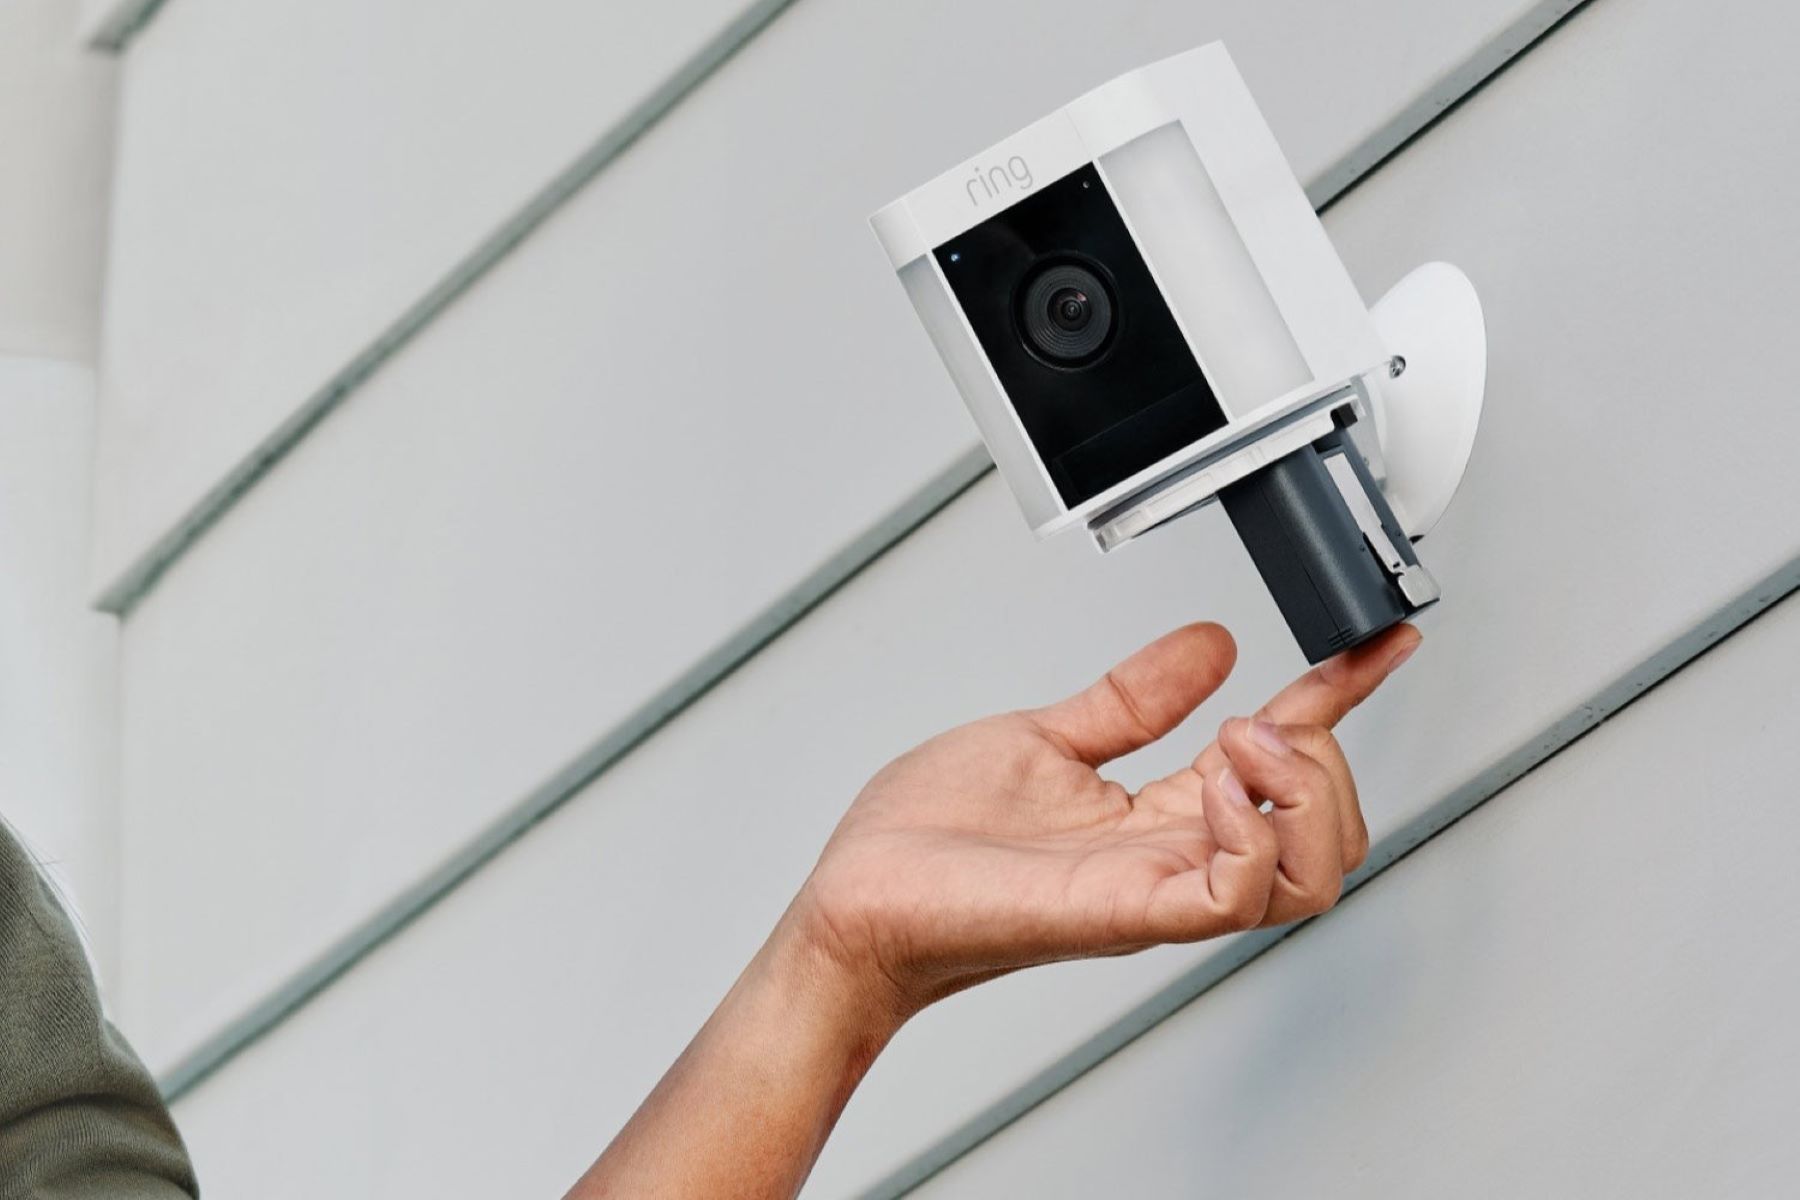
Step 2: Remove the battery from the Ring Outdoor Camera
Now that you have gathered all the necessary items, it’s time to remove the battery from your Ring Outdoor Camera. Follow these steps to safely remove the battery:
- Locate the battery compartment on the back of your Ring Outdoor Camera. It is usually secured with a latch or cover.
- Using your fingers or a small tool, gently open the compartment latch or remove the cover.
- Inside the compartment, you will find the battery. It is typically a rectangular-shaped object.
- Take note of the battery’s orientation and carefully disconnect the connectors or cables attached to it. Read the camera’s user manual for specific instructions on detaching the battery.
- Once the connectors are detached, you can safely remove the battery from the camera.
It’s important to handle the battery with care to prevent any damage. Avoid dropping or exposing the battery to extreme temperatures, as this could affect its performance and lifespan. By following these steps, you have successfully removed the battery from your Ring Outdoor Camera and are now ready to proceed to the next step.
Step 3: Connect the battery to the charger
With the battery of your Ring Outdoor Camera safely removed, it’s time to connect it to the charger. Follow these simple steps to ensure a secure and proper connection:
- Take your Ring Camera charger and locate the charging port. This is usually a small slot on the charger itself.
- Align the connectors on the battery with the corresponding connectors on the charger.
- Gently insert the battery into the charging port, making sure it fits snugly and securely.
- Ensure that the battery is inserted in the correct orientation. Most chargers have indicators to guide you, such as plus (+) and minus (-) symbols.
- Double-check that the battery is securely attached to the charger, with no loose connections or gaps.
Connecting the battery to the charger properly is crucial to ensure a successful charging process. It ensures that the charger is able to transfer power effectively to the battery, allowing it to recharge fully. With the battery securely connected, we are ready to move on to the next step.
Step 4: Plug in the charger
Now that the battery of your Ring Outdoor Camera is connected to the charger, it’s time to plug in the charger itself. Follow these steps to safely and efficiently power up the charging process:
- Locate a nearby power outlet that is easily accessible and in a convenient spot for charging your Ring Outdoor Camera.
- Take the power cable that came with the charger and connect it to the charger’s power input port. This port is typically located on the side or back of the charger.
- Insert the other end of the power cable into the power outlet. Ensure that the plug is inserted securely and that there are no loose connections.
- Confirm that the power outlet is supplying electricity by checking if any indicator lights on the charger are illuminated. If not, check the connection and try a different power outlet if necessary.
It’s important to plug in the charger into a reliable power source to ensure a steady flow of electricity. A stable power supply is crucial for the battery to charge effectively and efficiently. With the charger plugged in and receiving power, we are ready to move on to the next step and monitor the charging progress.
To charge the Ring outdoor camera battery, remove the battery from the camera and connect it to the provided charging cable. Plug the cable into a power source and wait for the battery to fully charge before reinserting it into the camera.
Step 5: Monitor the charging progress
Now that your Ring Outdoor Camera battery is connected to the charger and the charger is plugged in, it’s time to monitor the charging progress. Follow these steps to ensure that your battery is charging properly:
- Observe the charger and look for any indicator lights or display on the charger itself. Different chargers may have different ways of indicating the charging status.
- Typically, a solid or blinking light indicates that the battery is charging. Refer to the user manual that came with your charger for specific details on the charging indicators.
- Keep an eye on the charging time. Depending on the battery’s current charge level and the charger’s specifications, it may take several hours for the battery to fully charge.
- During the charging process, avoid disconnecting or tampering with the battery or charger. This can disrupt the charging cycle and prolong the charging time.
- It’s a good idea to periodically check the charger and ensure that it is not overheating. If you notice any excessive heat or unusual behavior, disconnect the charger and contact the manufacturer for assistance.
Monitoring the charging progress is crucial to ensure that your Ring Outdoor Camera battery is charging effectively and without any issues. It allows you to keep track of the battery’s progress and estimate how much longer it will take to reach a full charge. Once the battery is fully charged, we can proceed to the next step.
Step 6: Disconnect the battery from the charger
Once your Ring Outdoor Camera battery has reached a full charge, it’s time to disconnect it from the charger. Follow these steps to safely remove the battery from the charging process:
- Double-check that the charger is no longer actively charging the battery. This can be indicated by a solid or steady light, or a charging indicator that has turned off.
- Unplug the power cable from the power outlet. Ensure that you grip the plug rather than pulling on the cable itself.
- Gently remove the battery from the charging port on the charger. Take care not to force or pull the battery, as this can damage the connectors.
- Inspect the connectors and ensure there is no dust, debris, or any other material that could hinder a proper connection. If necessary, use a clean, dry cloth to gently wipe the connectors clean.
Disconnecting the battery from the charger signifies that the charging process has been successfully completed. By following these steps, you can safely remove the fully charged battery and prepare it for reinserting into your Ring Outdoor Camera.
Step 7: Re-insert the fully charged battery into the Ring Outdoor Camera
With the battery of your Ring Outdoor Camera fully charged, it’s time to re-insert it back into the camera. Follow these steps to ensure a proper and secure reconnection:
- Locate the battery compartment on the back of your Ring Outdoor Camera. It is usually secured with a latch or cover.
- Open the compartment latch or remove the cover, just as you did when removing the battery in Step 2.
- Take the fully charged battery and carefully align it with the connectors inside the battery compartment. Ensure that the battery is oriented correctly based on the markings or indicators.
- Gently push the battery into the compartment, making sure it fits snugly and securely.
- Once the battery is fully inserted, close the compartment latch or replace the cover to secure it in place.
Re-inserting the fully charged battery into your Ring Outdoor Camera ensures that it is ready to power the camera and provide continuous surveillance and security. Take care to properly secure the battery to avoid any potential disruptions in power supply.
With the battery re-inserted, your Ring Outdoor Camera is now ready to be powered on and resume its surveillance duties. Remember to turn on the camera and check that it is functioning correctly. If you encounter any issues, consult the camera’s user manual or contact Ring customer support for further assistance.
Conclusion
Charging the battery of your Ring Outdoor Camera is a crucial step in ensuring its optimum performance and uninterrupted functionality. By following the simple steps outlined in this guide, you can easily and effectively charge the battery and keep your camera up and running.
Remember to gather all the required items before starting the process, including the original battery and charger provided by Ring. Safely remove the battery from the camera and connect it to the charger, ensuring a secure connection. Plug in the charger to a reliable power source and monitor the charging progress, making sure to disconnect the battery once it is fully charged.
Re-insert the fully charged battery back into your Ring Outdoor Camera, making sure it is properly aligned and secured. With the battery in place, you can power on the camera and continue enjoying the benefits of a comprehensive home security and surveillance system.
Regularly charging your Ring Outdoor Camera battery will ensure that it remains ready to capture any potential security threats around your home. It is recommended to establish a routine charging schedule to maintain optimal battery life and performance.
By following these steps, you can confidently charge your Ring Outdoor Camera battery and have peace of mind knowing that your home security system is powered and operational, ready to protect your home and loved ones.
Remember to consult the user manual or reach out to Ring customer support if you have any specific questions or encounter any difficulties during the battery charging process. Stay vigilant and rest easy, knowing that your home security and surveillance needs are taken care of with the Ring Outdoor Camera.
Frequently Asked Questions about How To Charge Ring Outdoor Camera Battery
Was this page helpful?
At Storables.com, we guarantee accurate and reliable information. Our content, validated by Expert Board Contributors, is crafted following stringent Editorial Policies. We're committed to providing you with well-researched, expert-backed insights for all your informational needs.