Home>Construction & Tools>Building Materials>How To Mount Ring Camera On Stucco
Building Materials
How To Mount Ring Camera On Stucco
Modified: August 17, 2024
Learn how to mount a Ring camera on stucco using the right building materials for a secure and durable installation. Get step-by-step instructions and tips.
(Many of the links in this article redirect to a specific reviewed product. Your purchase of these products through affiliate links helps to generate commission for Storables.com, at no extra cost. Learn more)
Introduction
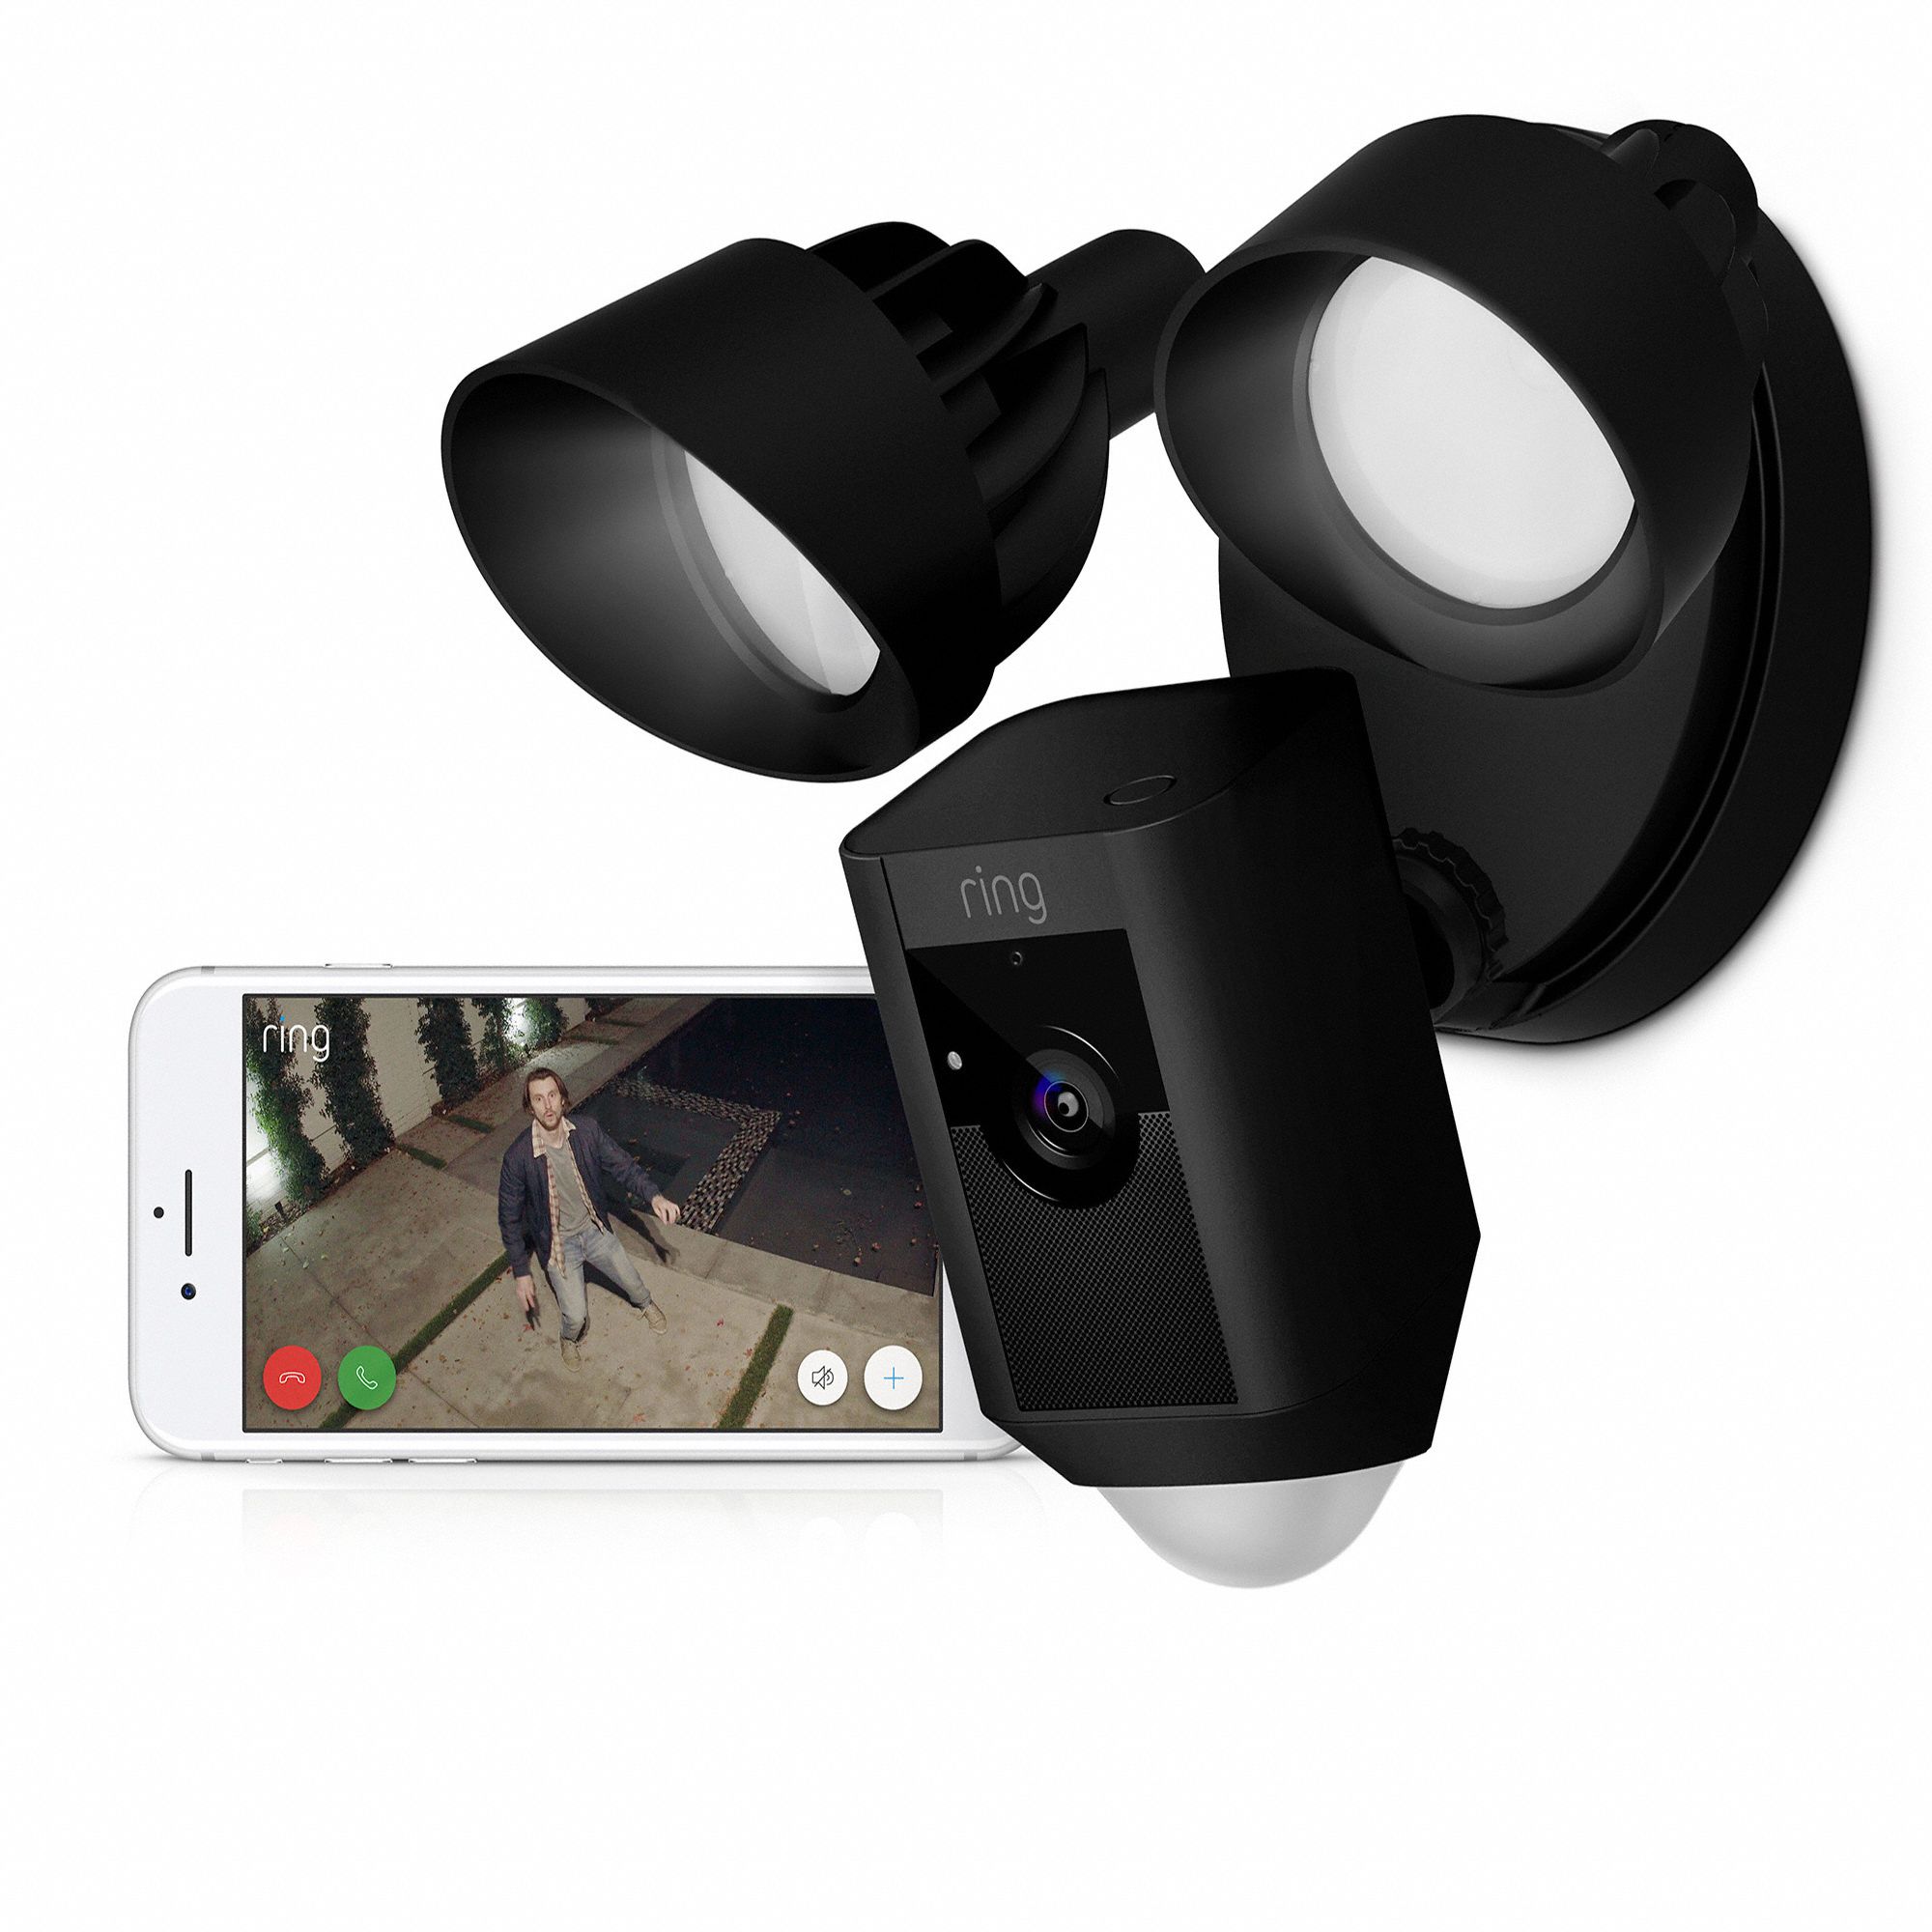
Welcome to the world of home security! Whether you're a tech enthusiast or simply want to keep your property safe, mounting a Ring camera on your stucco exterior is a fantastic way to monitor your home. Stucco surfaces present a unique set of challenges when it comes to mounting devices, but with the right approach and tools, you can successfully install your Ring camera without compromising the integrity of your stucco.
In this comprehensive guide, we'll delve into the intricacies of stucco surfaces, explore the best methods for preparing the surface for mounting, and walk you through the step-by-step process of securely installing your Ring camera. By the end of this article, you'll have the knowledge and confidence to tackle this project with ease.
So, grab your tools and let's dive into the fascinating world of mounting a Ring camera on stucco!
Key Takeaways:
- Mounting a Ring camera on stucco requires careful preparation, including cleaning the surface, locating studs, and using anchors if needed. This ensures a secure and reliable installation.
- The process of mounting the Ring camera involves positioning the camera, securing the mounting bracket, attaching the camera, and making necessary adjustments for optimal functionality. This creates a visually appealing and effective security solution for your home.
Read more: How To Mount A Ring Outdoor Camera
Understanding Stucco Surfaces
Stucco, derived from the Italian word "stucco," meaning "plaster," is a popular exterior finish known for its durability and timeless aesthetic appeal. Composed of cement, sand, lime, and water, stucco is applied in multiple layers to create a hard, textured surface that can withstand the elements. Its versatility and ability to seamlessly blend with various architectural styles have made it a sought-after choice for home exteriors.
When it comes to mounting devices such as the Ring camera on stucco, it's crucial to understand the composition and characteristics of this material. Stucco surfaces can vary in texture, ranging from smooth to heavily textured finishes, and may contain additives such as acrylics or synthetic fibers to enhance strength and flexibility. These variations can influence the method and tools required for a successful installation.
Moreover, stucco surfaces are not uniformly solid throughout. Beneath the outer layer, stucco is typically applied over a substrate, which may consist of metal lath and a moisture barrier. Understanding these underlying layers is essential for determining the most effective approach to mounting your Ring camera securely.
Additionally, stucco is susceptible to cracking over time, especially in regions prone to seismic activity or temperature fluctuations. These cracks, if present, can impact the stability of the mounting surface and need to be addressed before installation.
By gaining insight into the nature of stucco surfaces, including their composition, textures, underlying layers, and potential vulnerabilities, you'll be better equipped to prepare for a successful mounting process. In the next section, we'll explore the essential steps for preparing your stucco surface to ensure a secure and long-lasting installation.
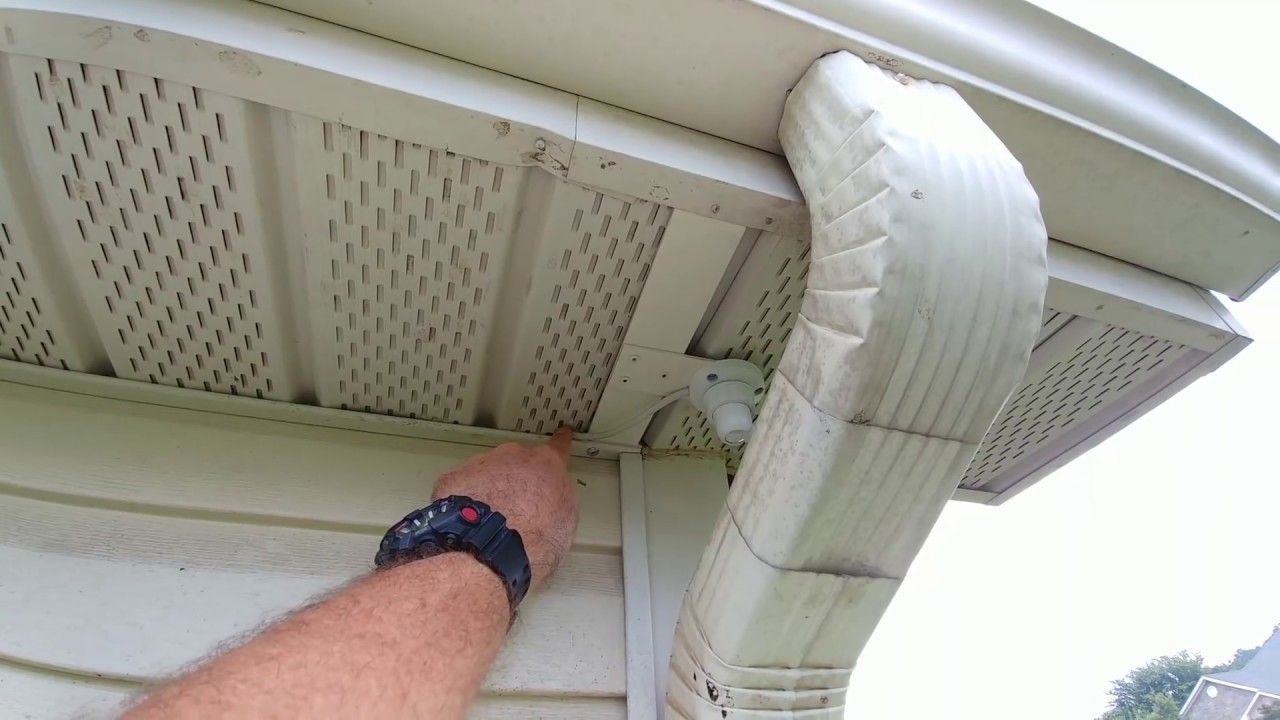
Preparing the Stucco Surface for Mounting
Before you embark on mounting your Ring camera on stucco, it’s crucial to prepare the surface to ensure a secure and reliable installation. Here’s a step-by-step guide to help you get your stucco surface ready for mounting:
- Inspect the Stucco: Begin by carefully examining the stucco surface where you intend to mount the camera. Look for any cracks, loose areas, or irregularities that may affect the stability of the installation. If you notice any significant damage or instability, it’s advisable to address these issues before proceeding.
- Clean the Surface: Use a mild detergent and water to clean the stucco surface around the mounting area. This step is essential for removing dirt, dust, and other contaminants that could hinder the adhesion of the mounting materials. Ensure that the surface is completely dry before proceeding to the next step.
- Locate Studs or Solid Backing: If possible, identify the location of studs or solid backing within the stucco. Mounting your Ring camera directly into a stud or solid backing provides the most secure attachment. You can use a stud finder or gently tap the surface to listen for variations in sound, indicating the presence of a stud.
- Use a Pilot Hole: To create a guide for the mounting screws, use a drill with a masonry bit to make a pilot hole in the stucco. Ensure that the drill bit size matches the diameter of the mounting screws provided with your Ring camera. Be cautious not to apply excessive pressure, as stucco is a hard material that requires a steady and controlled drilling approach.
- Consider Anchors: If you’re unable to locate studs or solid backing, consider using anchors designed for masonry surfaces. These anchors provide additional support and stability for the mounting screws, ensuring a reliable attachment to the stucco.
- Apply Sealant (Optional): Depending on the specific requirements of your Ring camera and the stucco surface, you may choose to apply a suitable sealant around the mounting area. This step can help prevent moisture infiltration and enhance the longevity of the installation.
By meticulously preparing the stucco surface and following these essential steps, you’ll create a stable foundation for securely mounting your Ring camera. With the surface ready, you’re now poised to proceed with the installation process, which we’ll explore in the next section.
Before mounting a Ring camera on stucco, use a stud finder to locate a solid area for drilling. Pre-drill small holes to avoid cracking the stucco, then use anchors and screws to securely attach the camera mount.
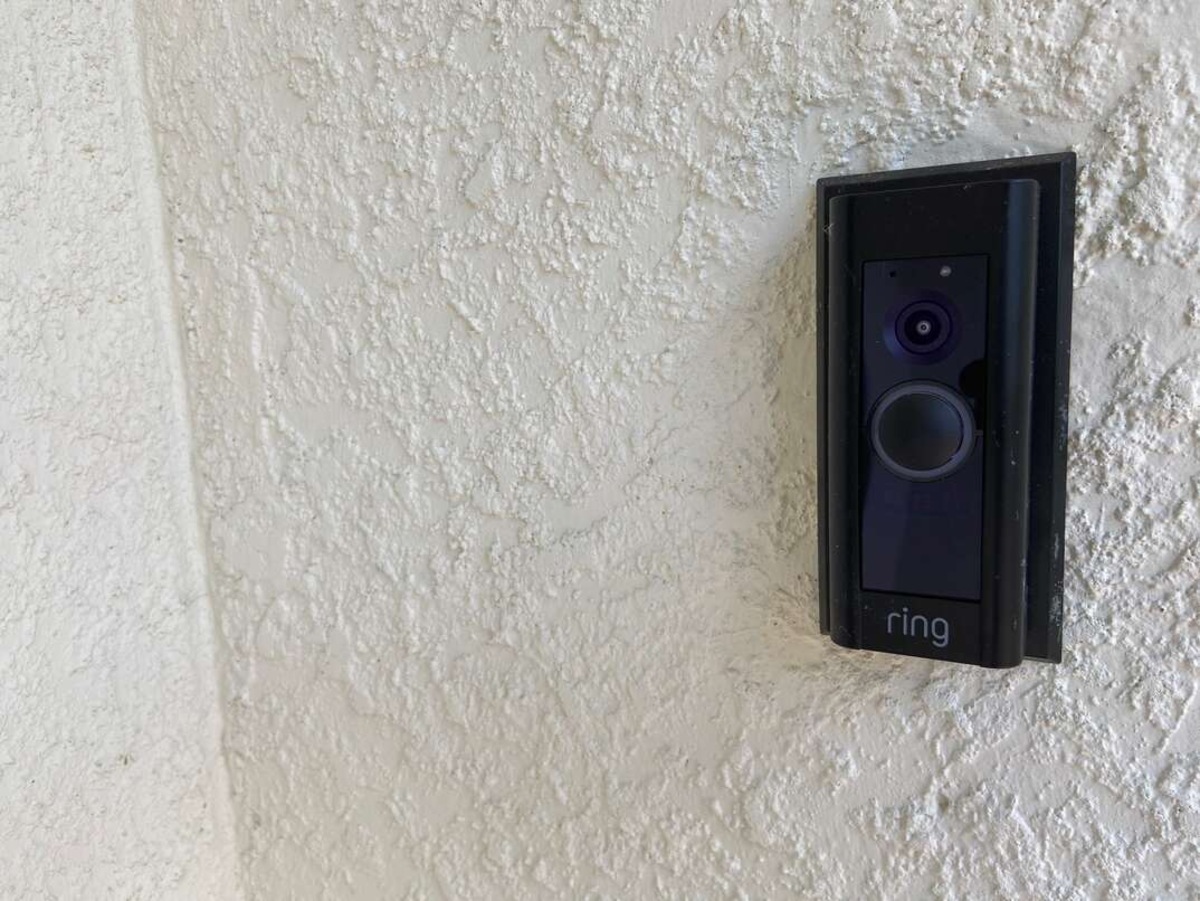
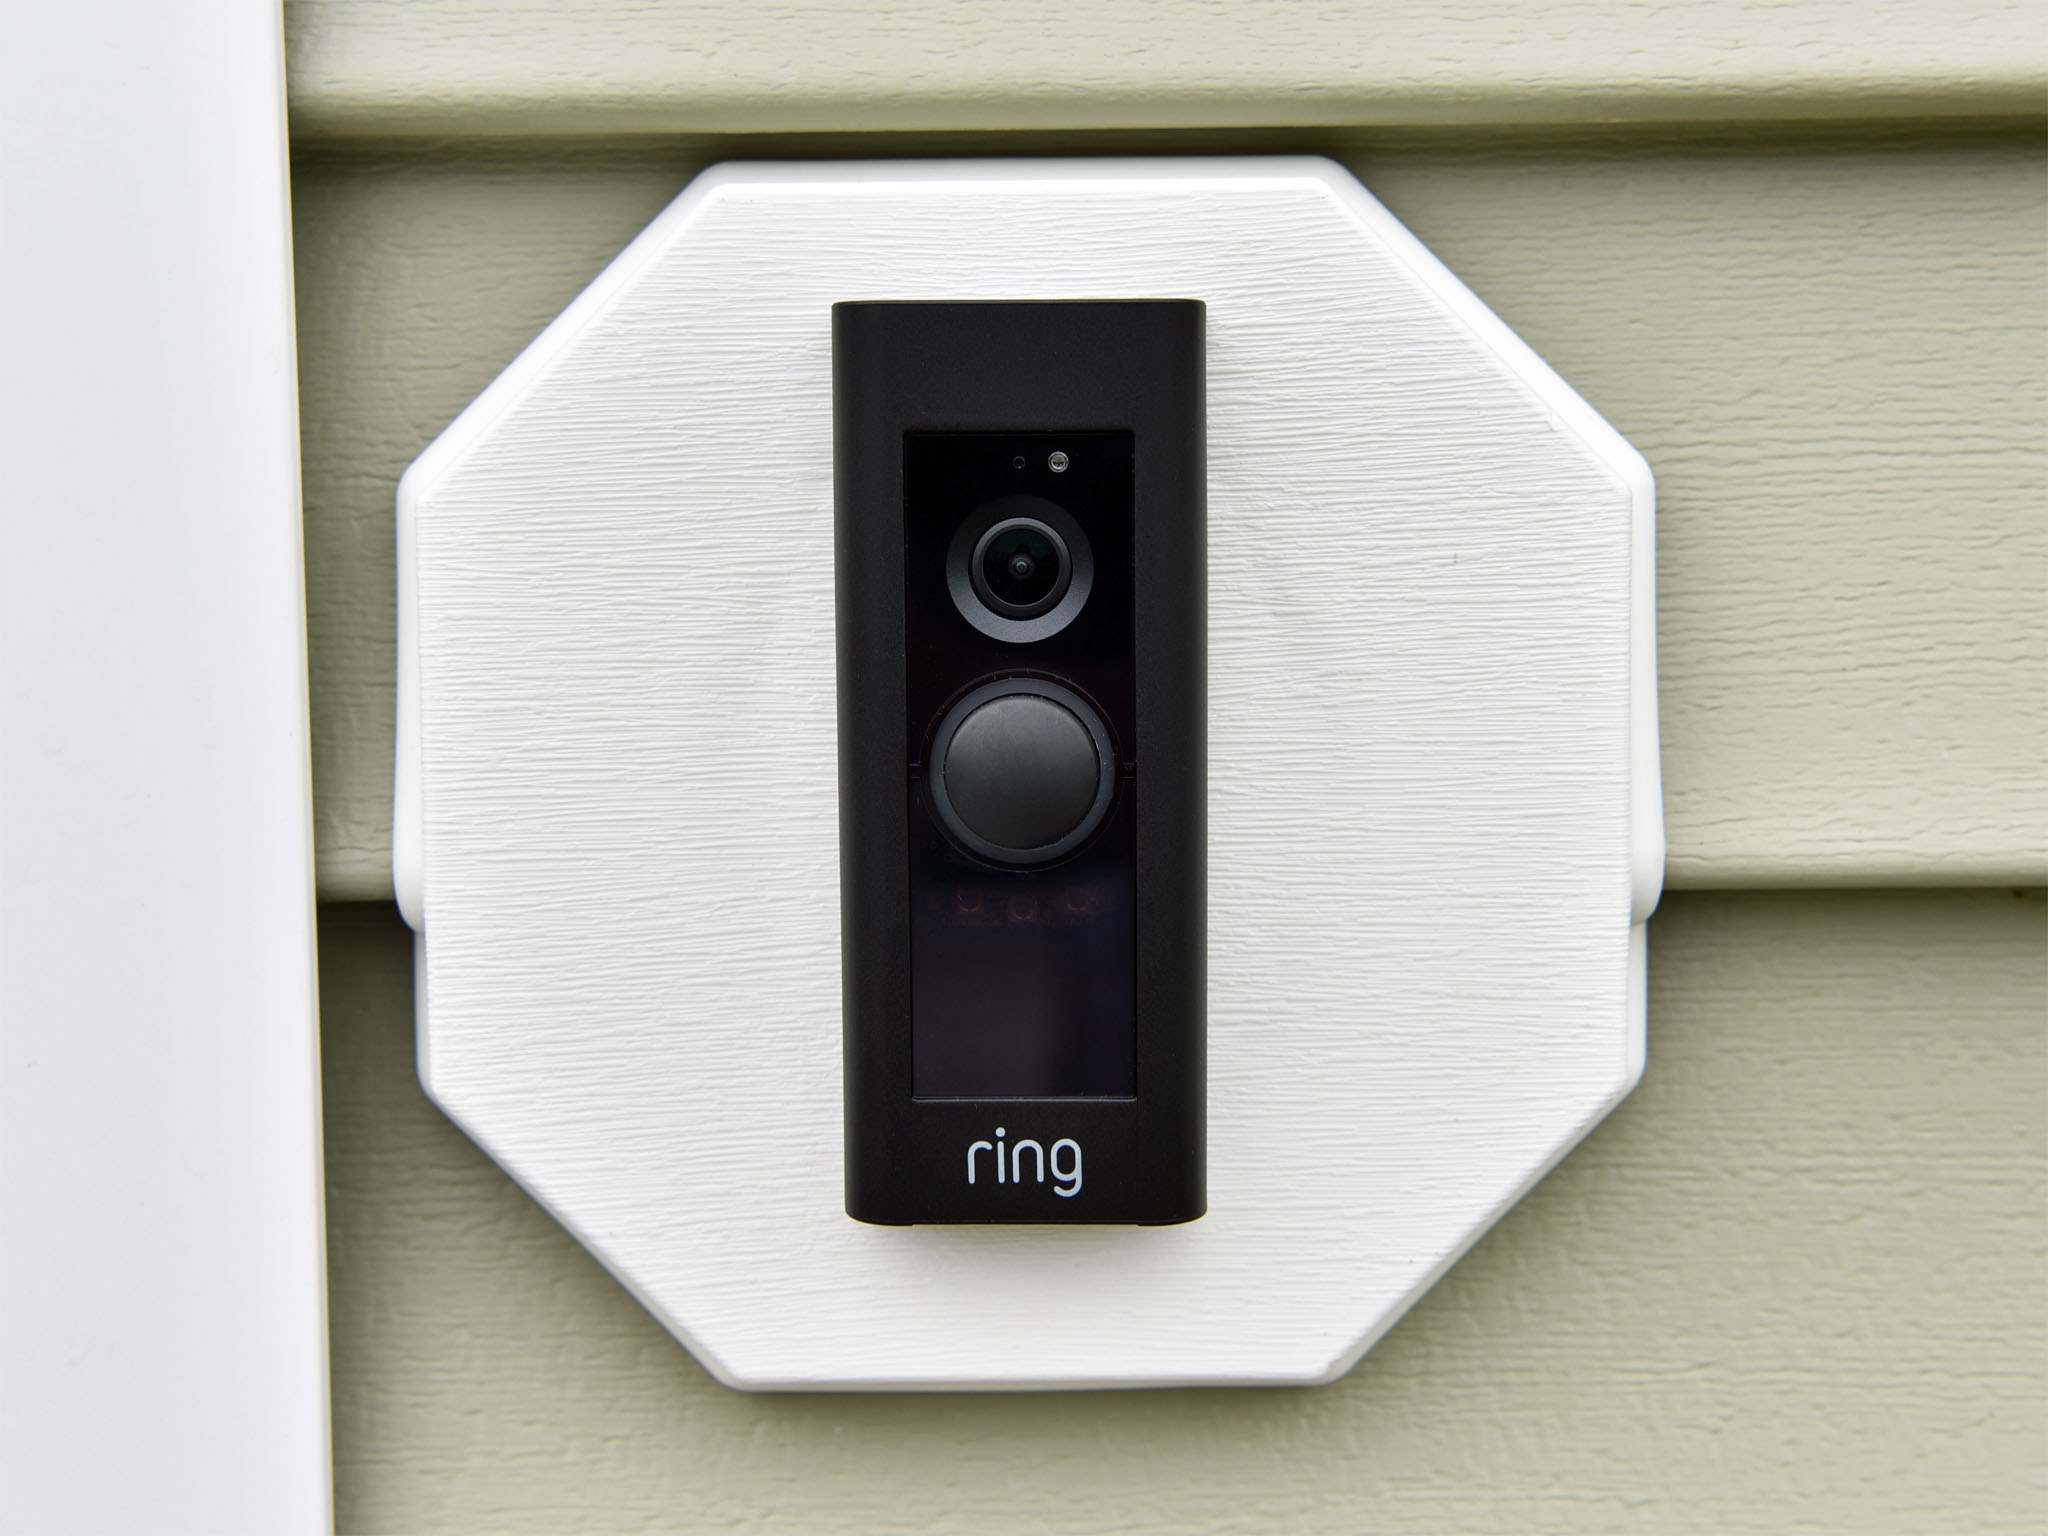
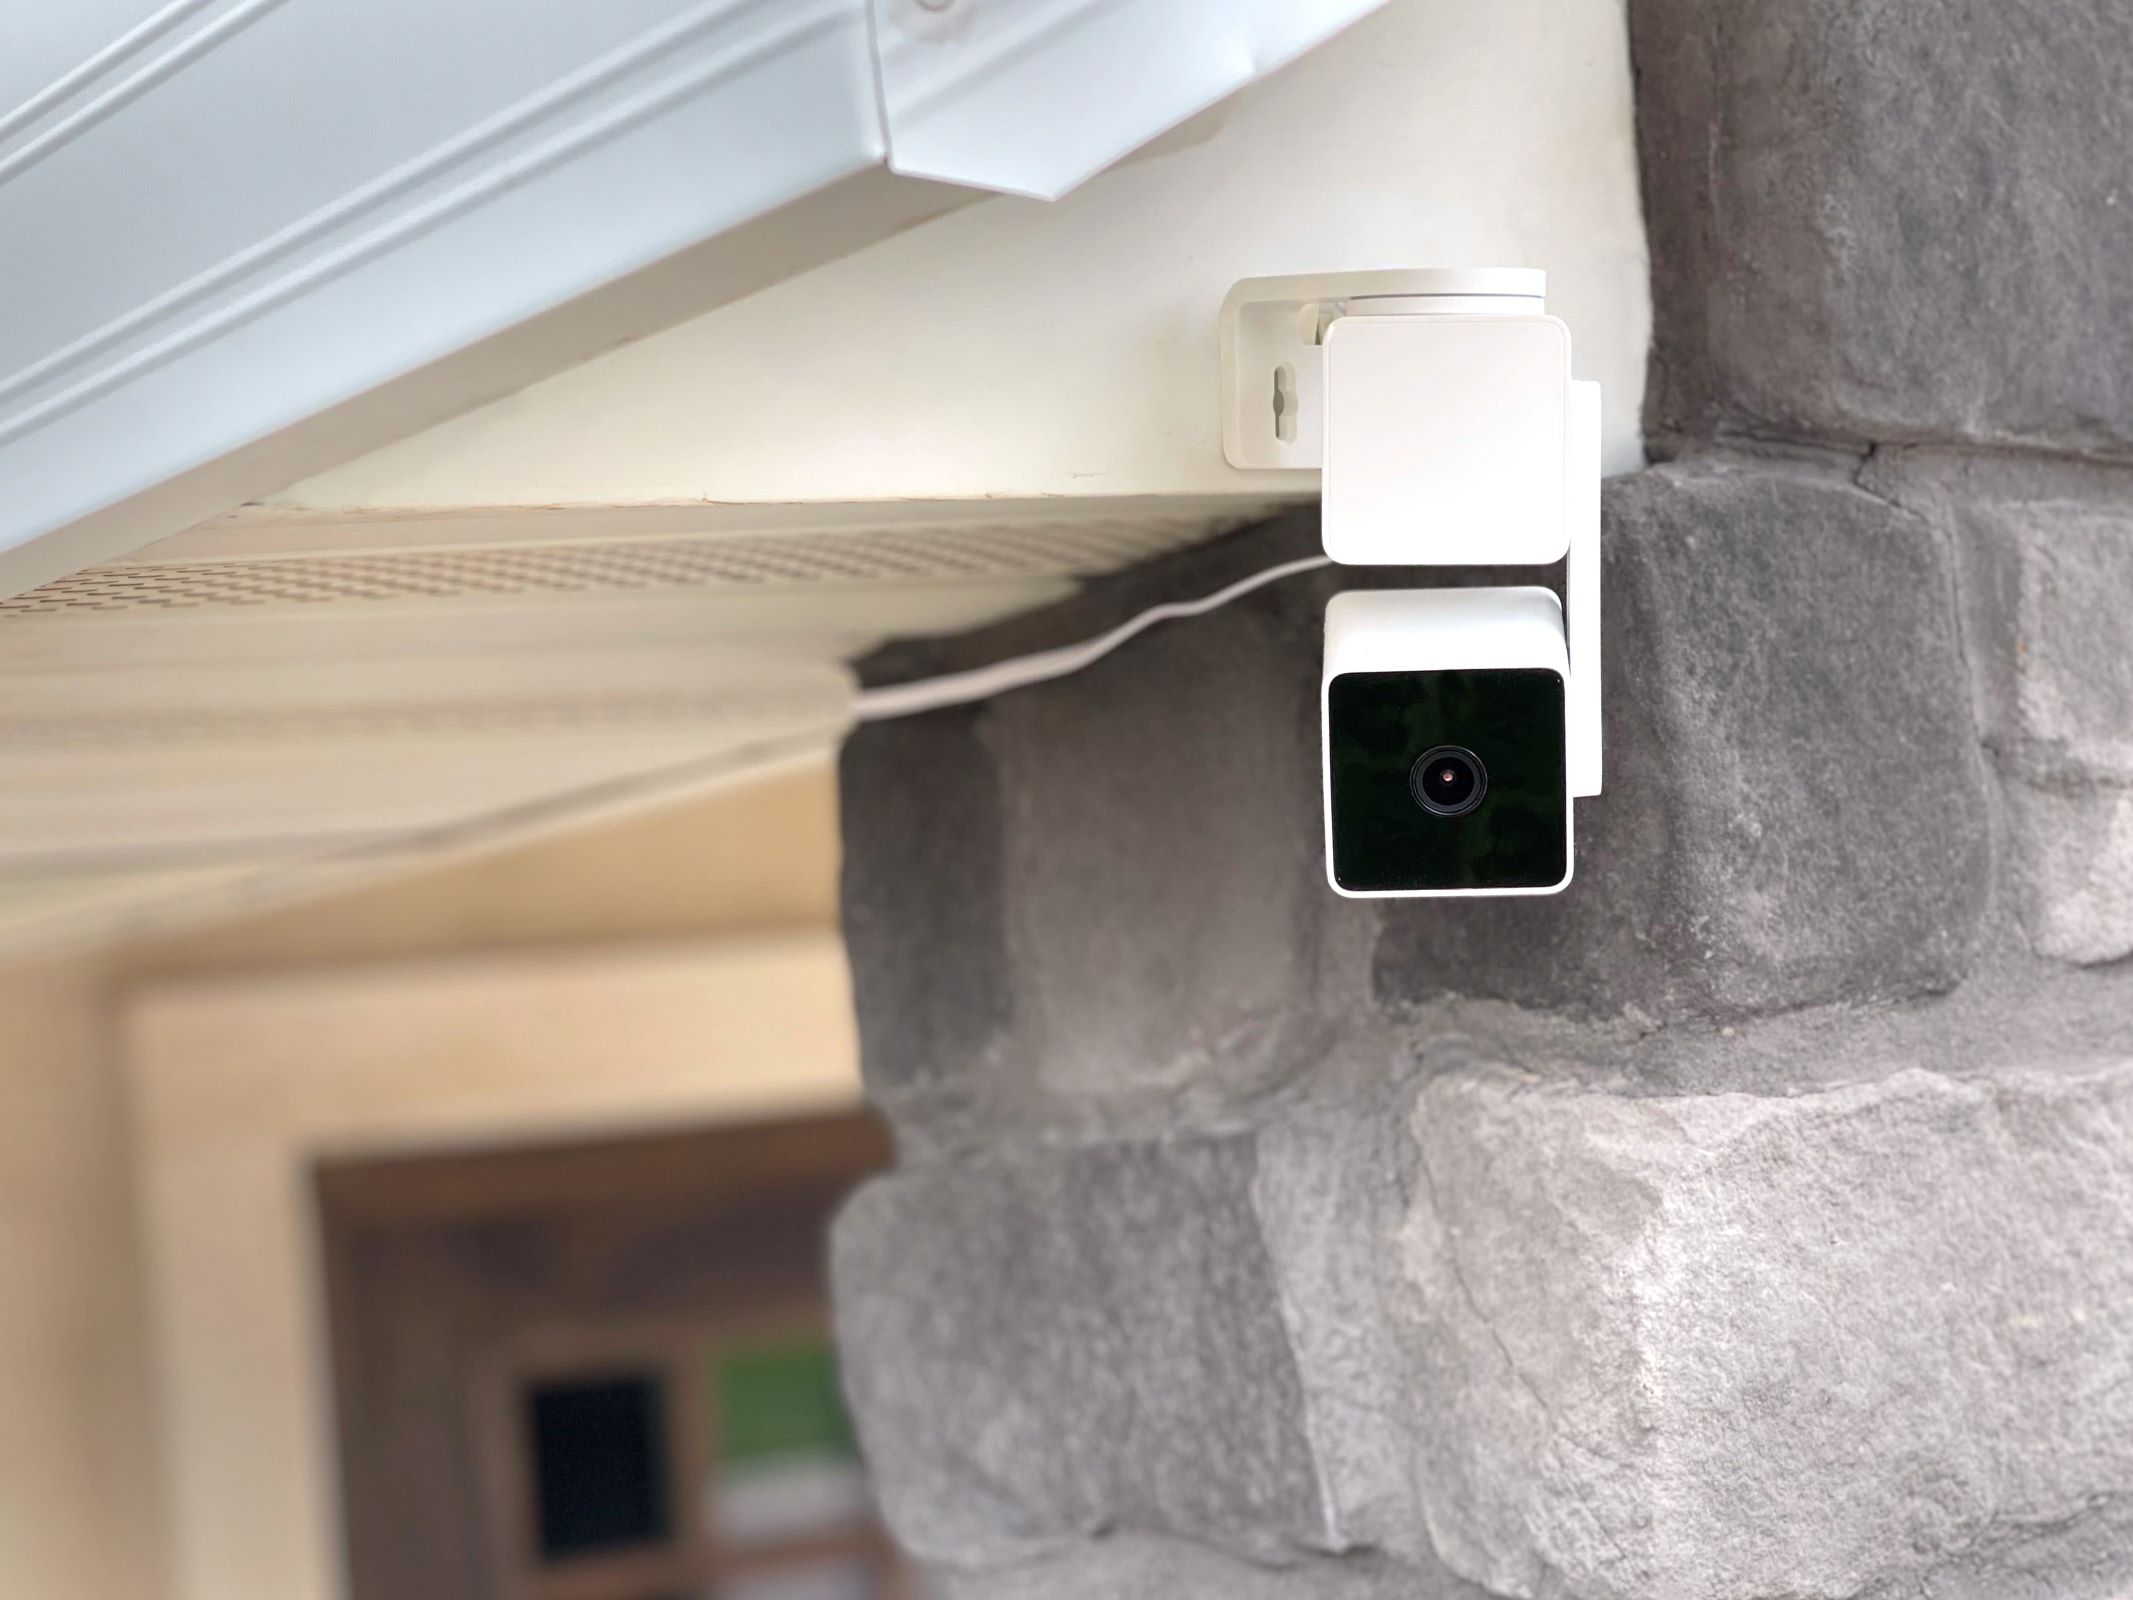
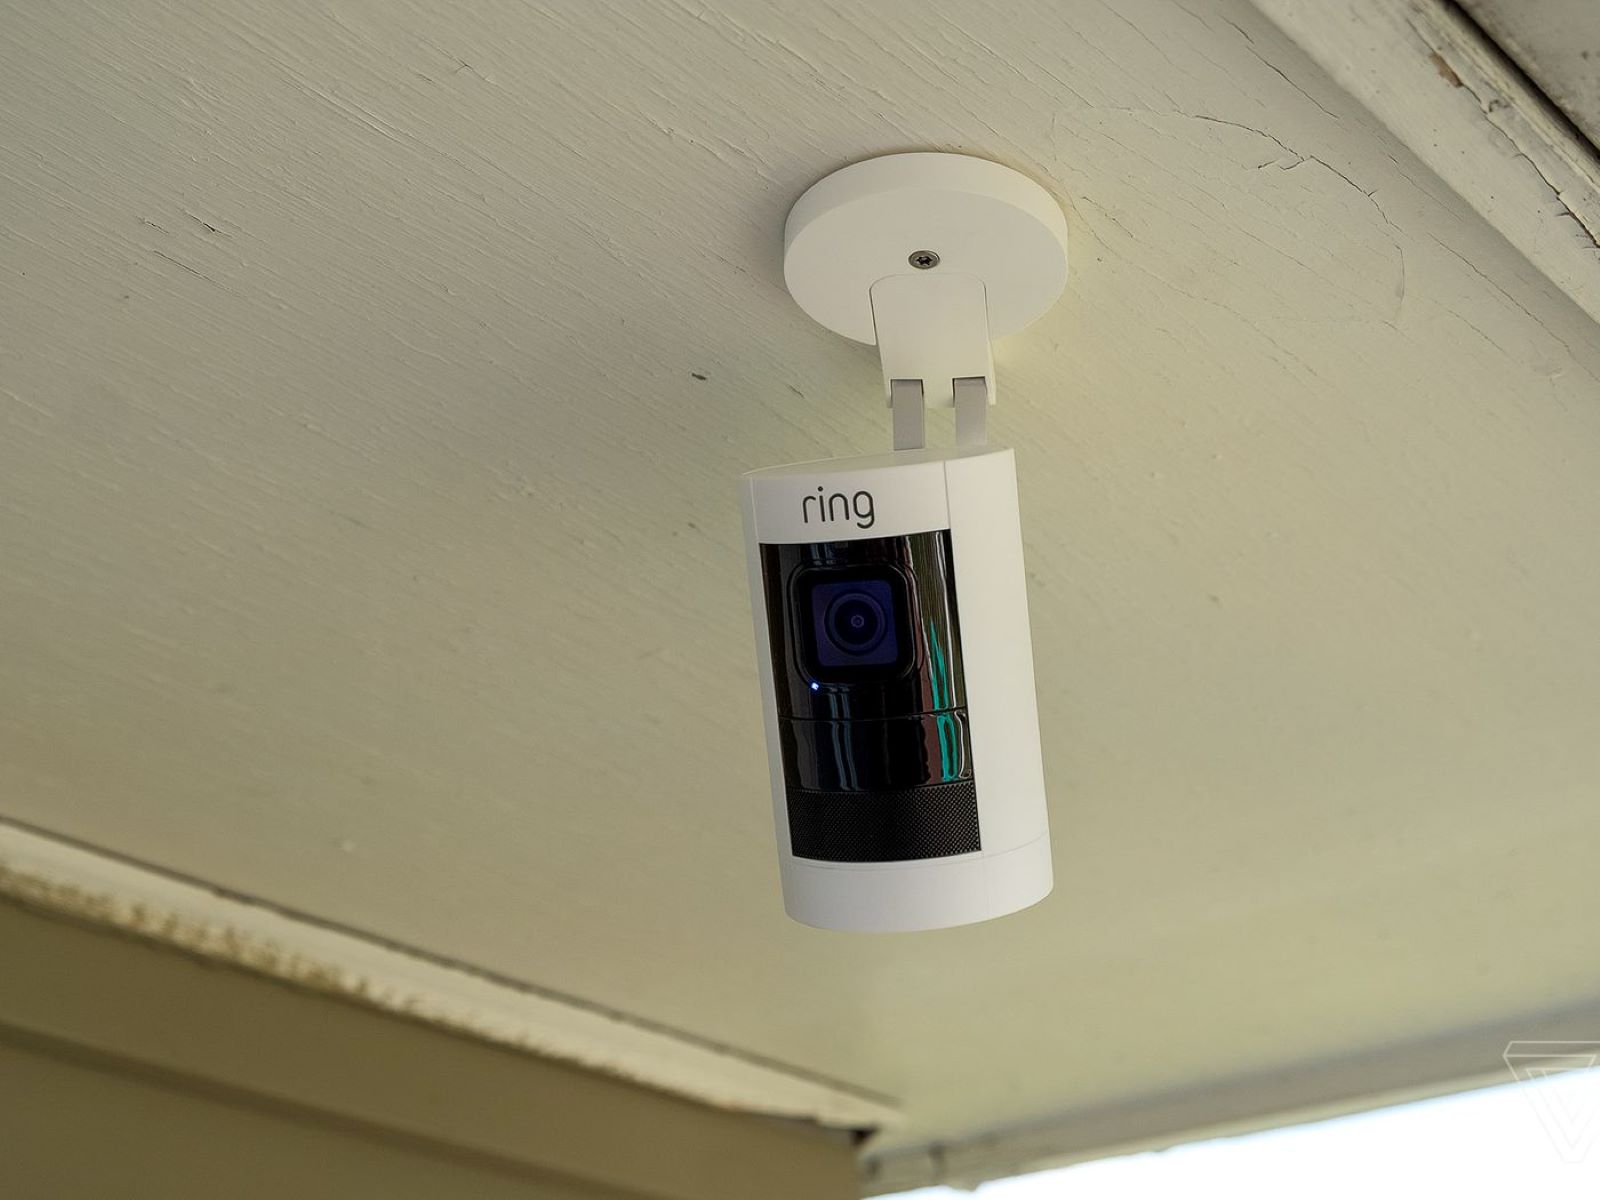
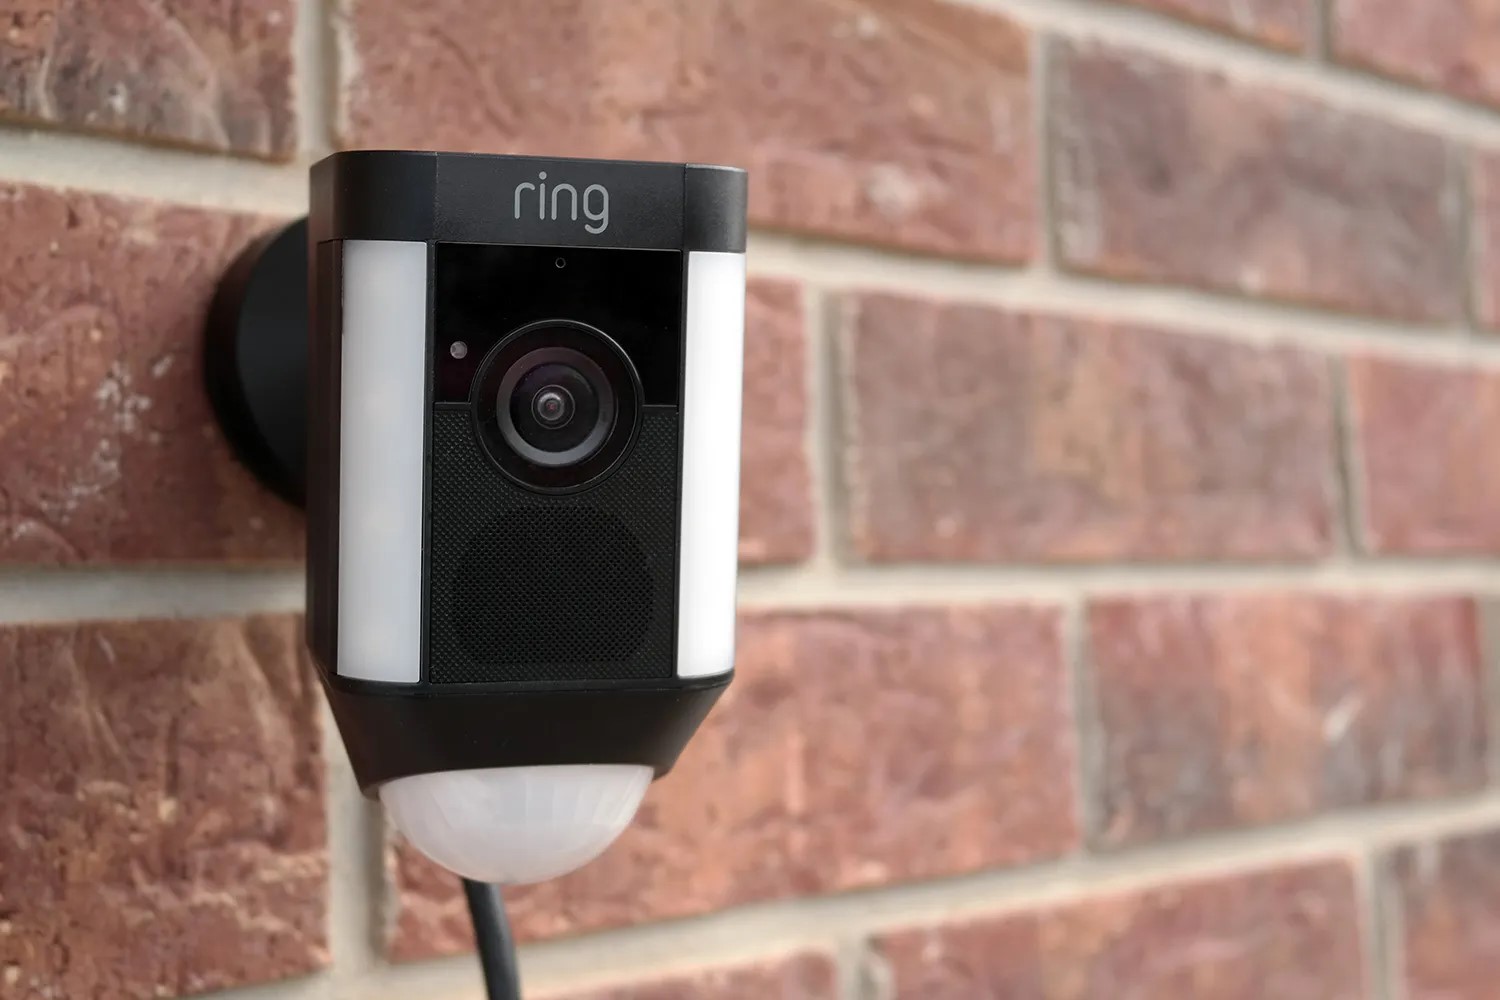
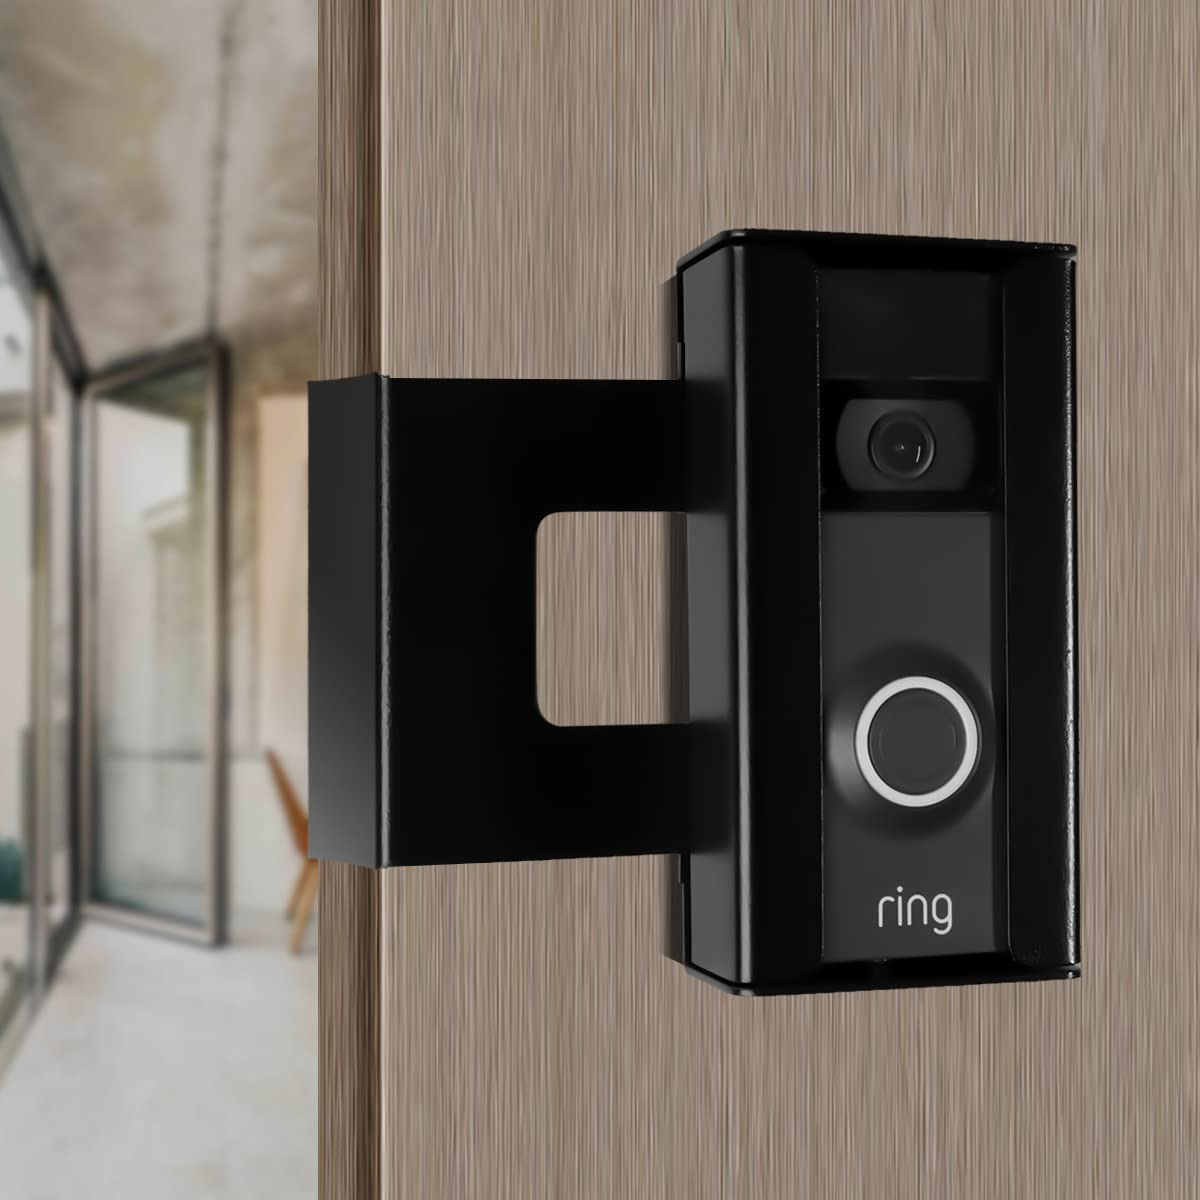
Mounting the Ring Camera on Stucco
With the stucco surface meticulously prepared, you’re now ready to embark on the exciting process of mounting your Ring camera. Follow these steps to ensure a successful and secure installation:
- Positioning the Camera: Determine the optimal location for mounting your Ring camera on the stucco surface. Consider factors such as the camera’s field of view, accessibility for maintenance, and the aesthetics of the placement. Once you’ve identified the ideal spot, hold the camera against the stucco to visualize its placement before proceeding.
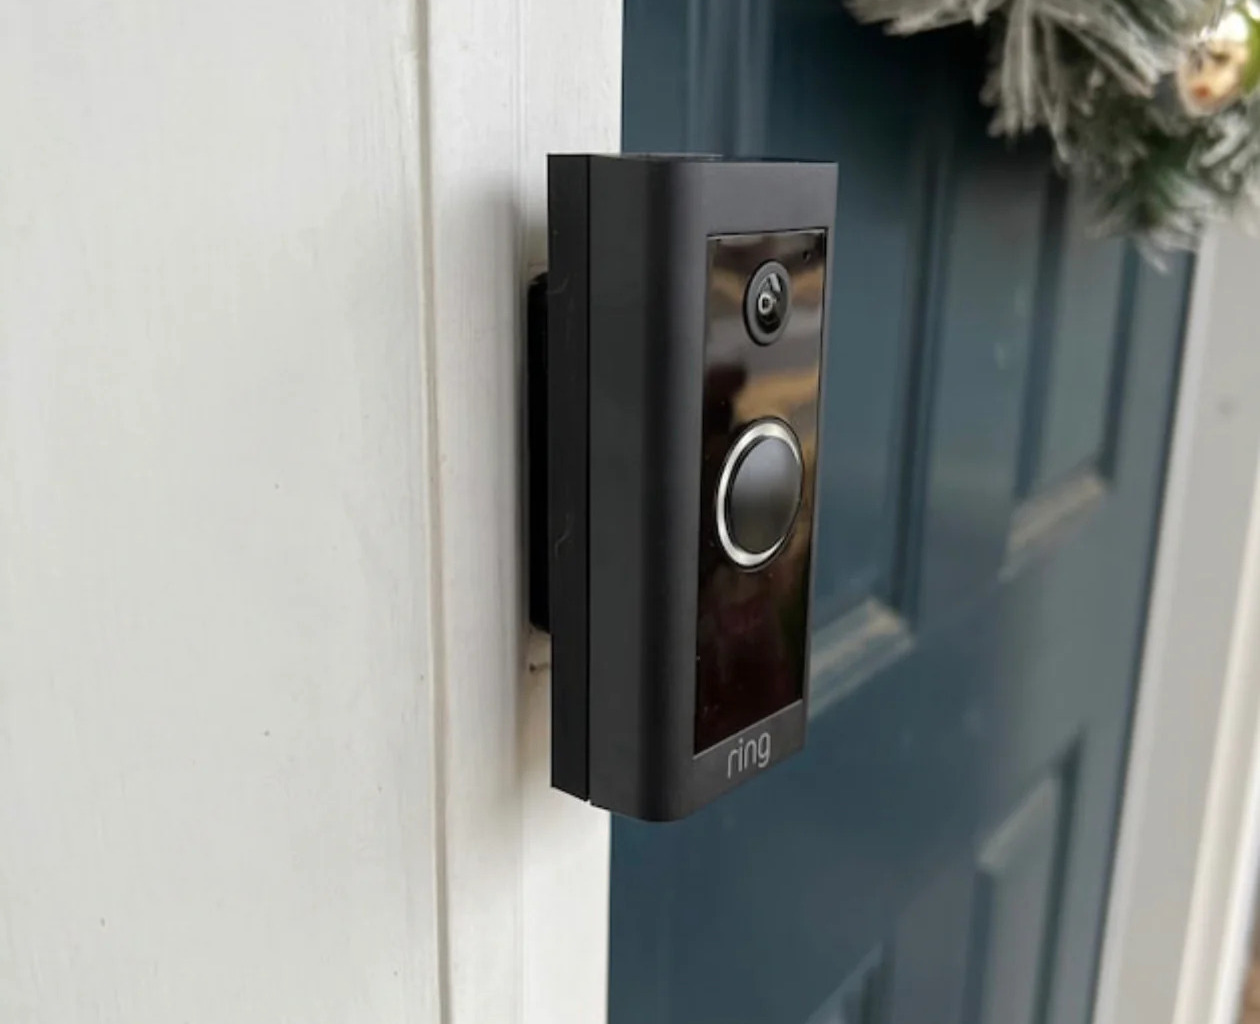
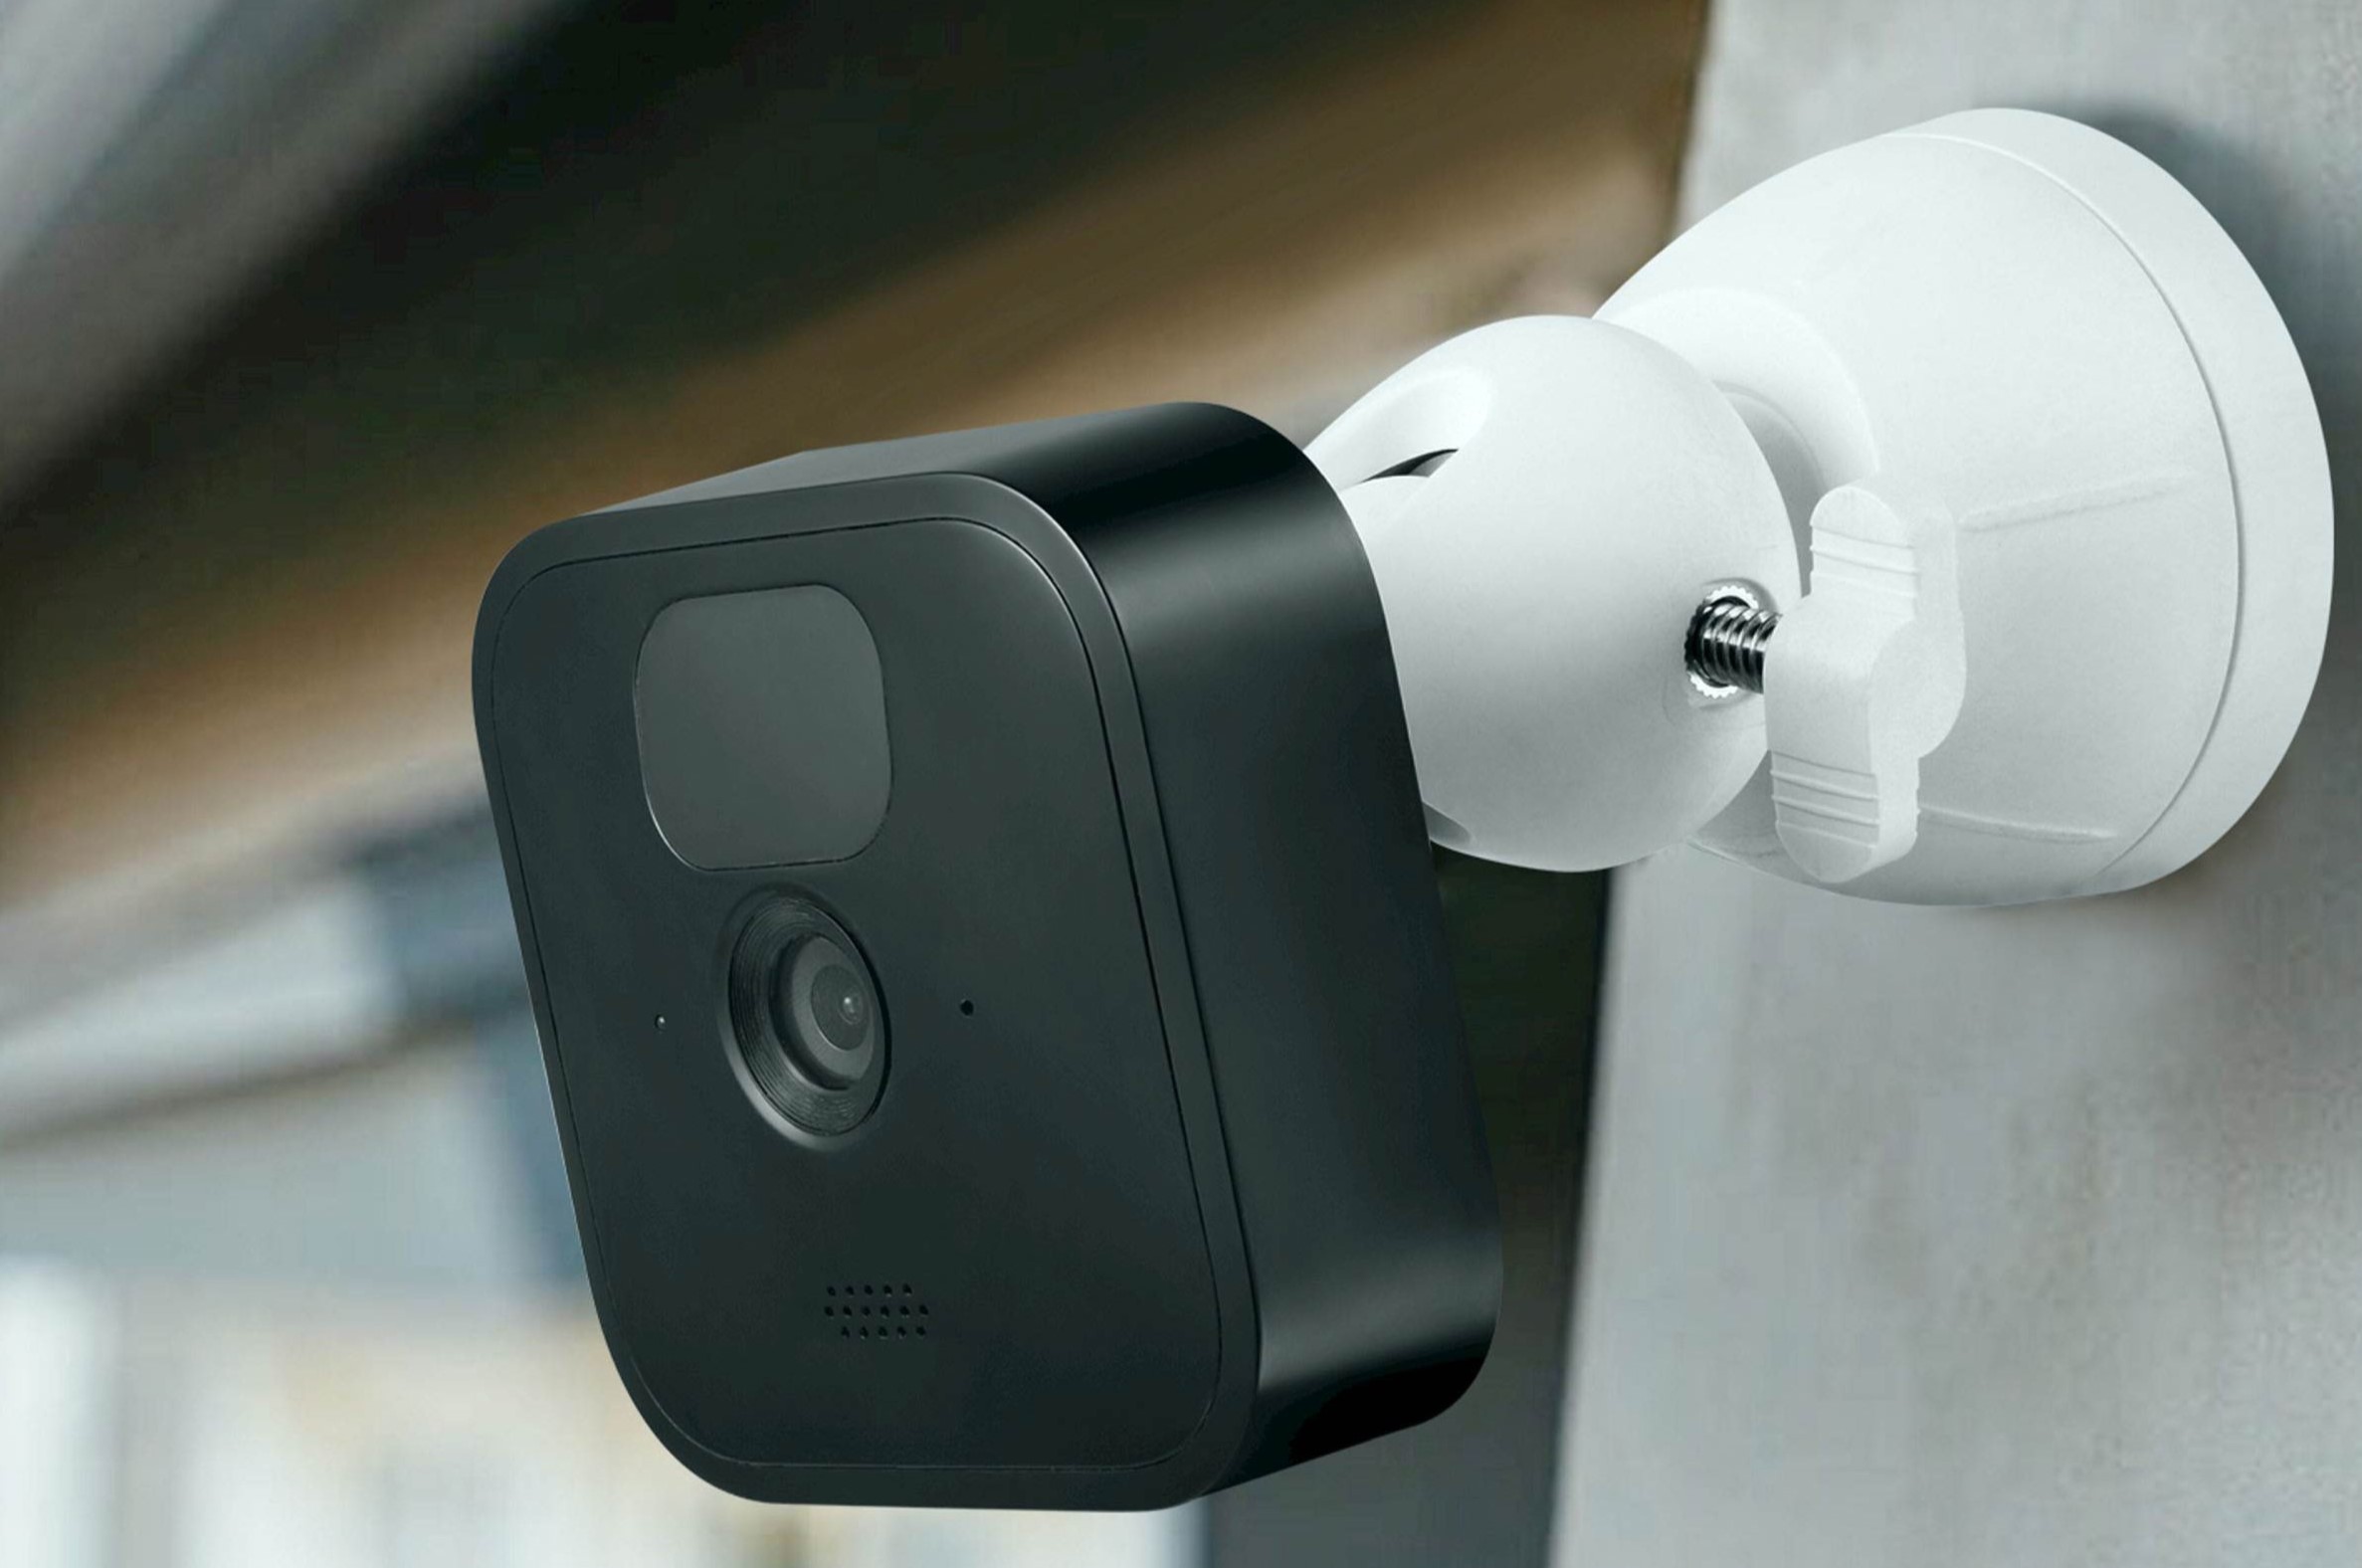
- Secure the Mounting Bracket: If your Ring camera includes a mounting bracket, carefully align it with the pilot holes or anchors on the stucco. Use the appropriate screws or fasteners to secure the bracket firmly in place. Ensure that the bracket is level and tightly attached to the stucco surface.
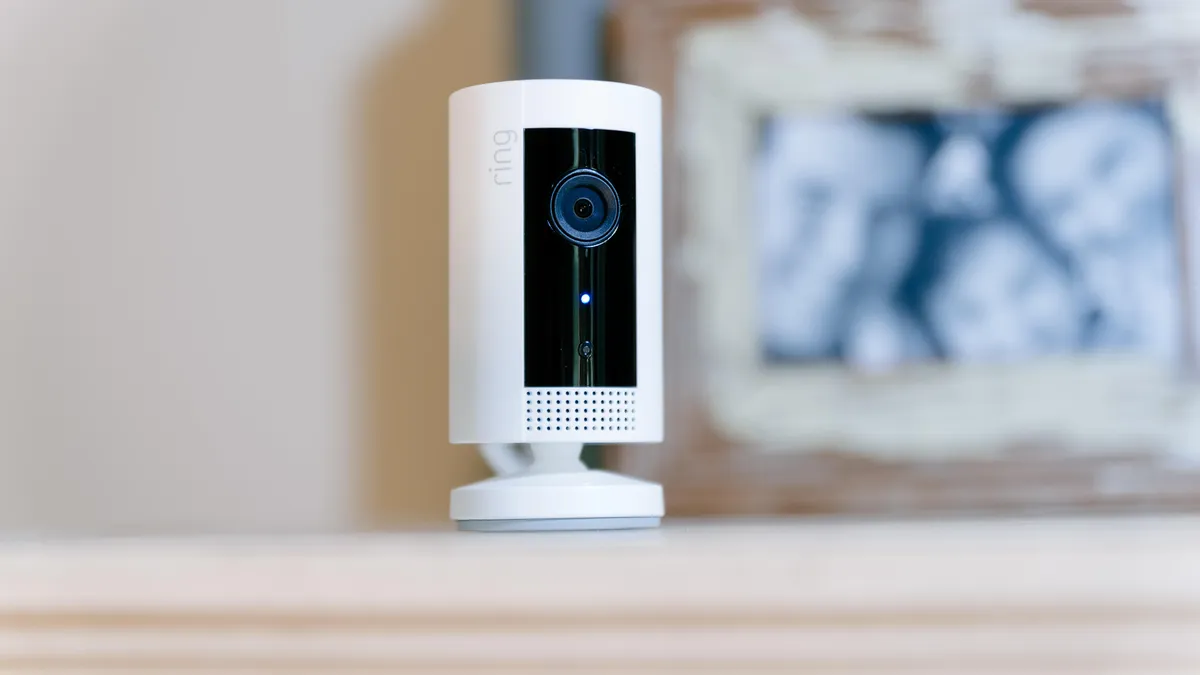
- Attach the Camera: With the mounting bracket in position, proceed to attach the Ring camera to the bracket according to the manufacturer’s instructions. Depending on the model, this may involve sliding the camera onto the bracket or securing it with screws or locking mechanisms.
- Adjust and Test: Once the camera is securely attached, make any necessary adjustments to its positioning and orientation. Ensure that the camera is level and pointing in the desired direction. Test the camera to verify its functionality and ensure that the view encompasses the intended surveillance area.
- Sealant Application (Optional): If recommended by the camera’s installation guidelines, apply a suitable sealant around the edges of the mounting bracket and any drilled holes. This additional step can help prevent moisture intrusion and enhance the long-term stability of the installation.
- Clean-Up: After completing the installation, remove any excess sealant and clean the surrounding stucco surface to achieve a polished and professional appearance. Dispose of any packaging materials and ensure that the area is tidy and free from debris.
By following these meticulous steps, you’ll successfully mount your Ring camera on the stucco surface, creating a reliable and visually appealing security solution for your home. With the camera securely in place, you can enjoy enhanced peace of mind and seamless monitoring of your property.
Conclusion
Congratulations on mastering the art of mounting a Ring camera on stucco! By delving into the intricacies of stucco surfaces, preparing the mounting area with precision, and executing the installation process, you’ve empowered yourself to enhance the security and monitoring capabilities of your home.
As you reflect on this journey, it’s important to recognize the valuable skills and knowledge you’ve gained. Understanding the composition and characteristics of stucco surfaces has not only equipped you to mount a Ring camera but has also deepened your appreciation for the craftsmanship and resilience of this timeless exterior finish.
Moreover, the meticulous preparation and attention to detail demonstrated during the installation process exemplify your commitment to achieving a reliable and long-lasting outcome. By embracing this mindset, you’ve not only secured your Ring camera but have also cultivated a sense of confidence in tackling future home improvement projects.
As you admire the seamlessly mounted Ring camera on your stucco exterior, take a moment to appreciate the fusion of technology and tradition. The marriage of modern security solutions with classic architectural elements exemplifies the harmonious evolution of home design and functionality.
With your Ring camera now vigilantly watching over your property, you can revel in the peace of mind that comes with enhanced security and surveillance. Whether you’re at home or away, the seamless integration of your Ring camera with the stucco exterior stands as a testament to your dedication to safeguarding your living space.
As you embark on future endeavors, may the skills and insights gained from this experience continue to empower you in enriching and fortifying your home. Remember, the journey of home improvement is a tapestry of learning, creativity, and accomplishment, and you are the master weaver of your domestic sanctuary.
So, with your Ring camera steadfastly mounted on stucco, let your home be a sanctuary of security, serenity, and joy.
Now that you've mastered mounting your Ring camera on stucco, why stop there? Securing your home goes beyond just installation. Read our detailed guide on why enhancing home safety is vital for peace of mind. Plus, if you're keen on tackling more projects, our comprehensive DIY home improvement article has all the tips and tricks you'll need to transform your space efficiently.
Frequently Asked Questions about How To Mount Ring Camera On Stucco
Was this page helpful?
At Storables.com, we guarantee accurate and reliable information. Our content, validated by Expert Board Contributors, is crafted following stringent Editorial Policies. We're committed to providing you with well-researched, expert-backed insights for all your informational needs.


0 thoughts on “How To Mount Ring Camera On Stucco”