Home>Home Security and Surveillance>How To Connect Wireless Security Cameras?

Home Security and Surveillance
How To Connect Wireless Security Cameras?
Modified: March 6, 2024
Learn how to connect wireless security cameras for your home security and surveillance. Step-by-step guide to set up and configure your cameras easily.
(Many of the links in this article redirect to a specific reviewed product. Your purchase of these products through affiliate links helps to generate commission for Storables.com, at no extra cost. Learn more)
Introduction
Welcome to the world of wireless security cameras! In today’s technological era, home security has become a top priority for many homeowners. With the advancements in surveillance technology, it has never been easier to keep an eye on your property and loved ones, even when you’re not at home. Wireless security cameras provide the perfect solution, allowing you to monitor your home remotely and receive real-time alerts.
Connecting wireless security cameras may seem like a daunting task, but fear not! In this article, we’ll guide you through the step-by-step process of setting up and connecting your wireless security cameras. Whether you’re a tech-savvy individual or a beginner in home security systems, we’ve got you covered!
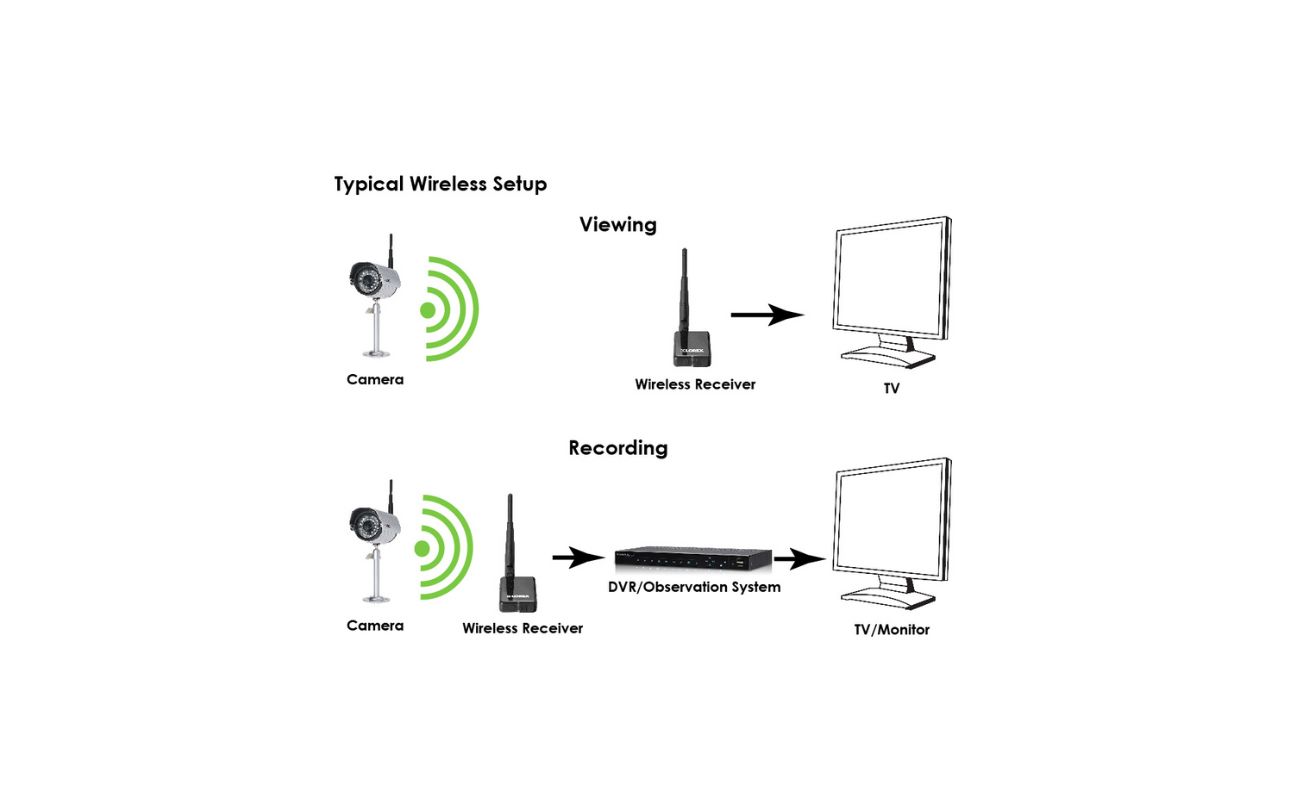
Before we dive into the technical details, let’s take a moment to understand the benefits of using wireless security cameras. First and foremost, wireless cameras eliminate the need for messy wiring, making installation quick and hassle-free. Additionally, wireless cameras offer flexibility in terms of camera placement, as they can be mounted indoors or outdoors easily.
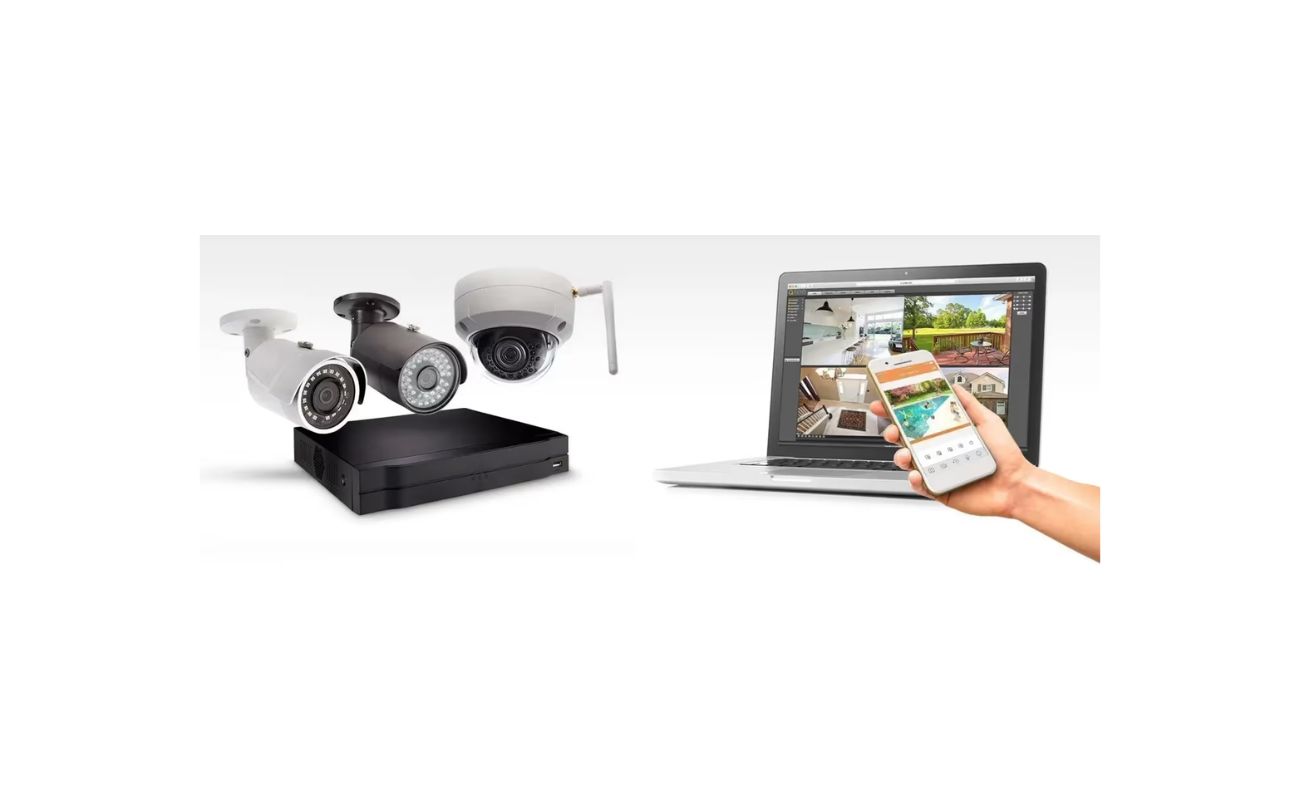
One of the key advantages of wireless security cameras is the ability to connect them to your existing Wi-Fi network. This connectivity enables you to view live footage and receive notifications on your smartphone or tablet, giving you peace of mind wherever you are. Whether you’re at work, on vacation, or simply in another room, you can keep a close eye on your property with just a few taps on your mobile device.
Now that we understand the benefits, it’s time to delve into the step-by-step process of connecting wireless security cameras. By following these instructions, you’ll be able to set up your cameras and start securing your home in no time. So, let’s get started on this exciting journey of setting up your wireless security camera system!
Key Takeaways:
- Setting up wireless security cameras is easy! Choose the right system, install the app, connect to Wi-Fi, position the camera, configure settings, and test the connection for peace of mind.
- Wireless security cameras offer flexibility, easy installation, and remote access. Regular maintenance ensures optimal performance, providing an extra layer of protection for your home.
Read more: How To Connect To Cameras Wireless Security
Step 1: Choose a wireless security camera system
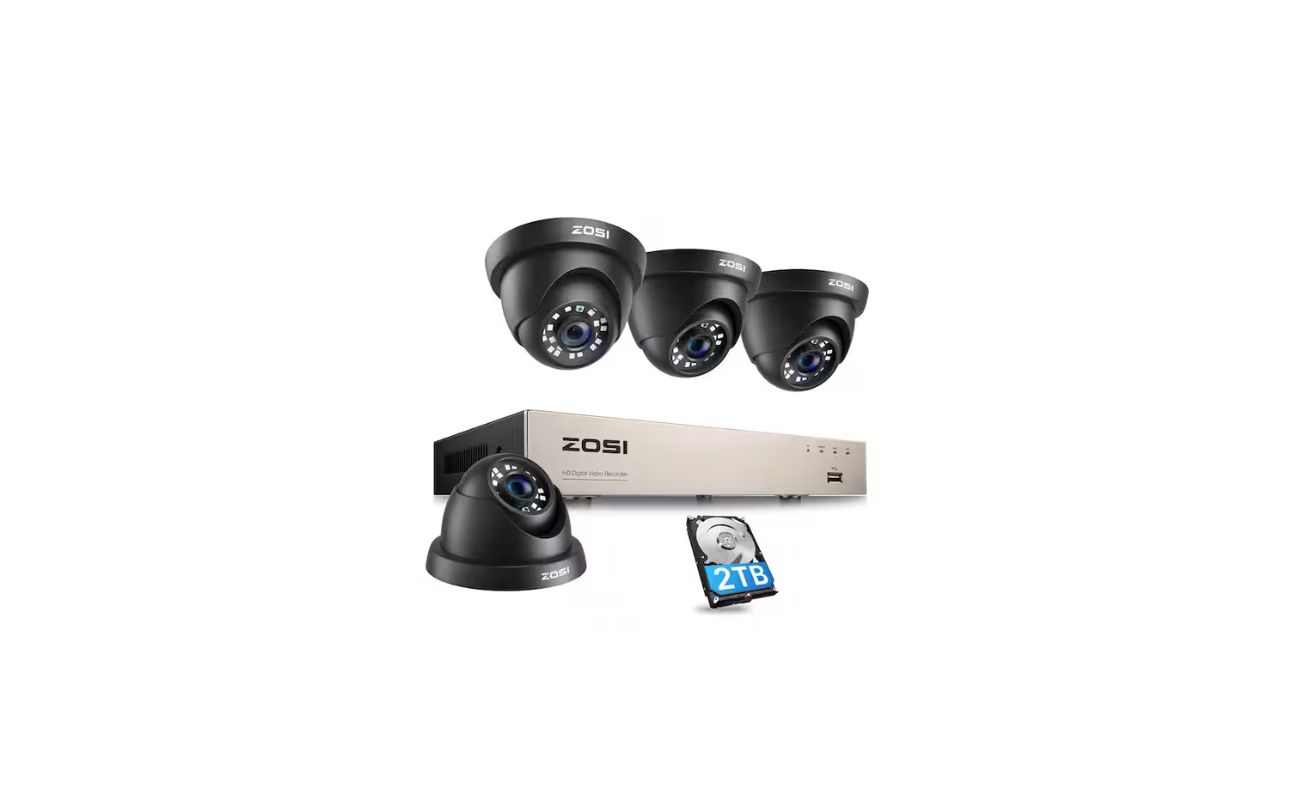
The first step in connecting wireless security cameras is to select the right camera system for your needs. When choosing a wireless security camera system, there are a few factors to consider:
- Camera Quality: Look for cameras with high-definition (HD) or even ultra HD (4K) resolution. The higher the resolution, the clearer and more detailed the footage will be.
- Night Vision: Opt for cameras with infrared LEDs that provide clear night vision. This allows you to monitor your property even in low-light conditions.
- Camera Type: Decide whether you need indoor cameras, outdoor cameras, or a combination of both. Outdoor cameras should be weatherproof and built to withstand the elements.
- Wireless Range: Consider the range of the wireless cameras and ensure it can cover the desired area. Longer range cameras are ideal for larger properties.
- Additional Features: Look for features like motion detection, two-way audio, and cloud storage options. These features can enhance the functionality and effectiveness of your security system.
Once you have identified your requirements, conduct thorough research on different wireless security camera systems available in the market. Read product reviews, compare prices, and consider the reputation of the manufacturers. It’s also a good idea to check if the system is compatible with your smartphone or tablet, as this will be crucial for viewing live footage.
When making your final decision, consider your budget and the number of cameras you need. It’s recommended to start with a basic system and then expand as needed. Keep in mind that wireless security camera systems are scalable, allowing you to add more cameras later if necessary. Look for systems that offer easy integration and compatibility with other devices for future expansion.
Once you have chosen the wireless security camera system that fits your requirements, you’re ready to move on to the next step: installing the security camera app. This app will enable you to control and manage your cameras from your smartphone or tablet, enhancing your overall security experience.
Step 2: Install the security camera app
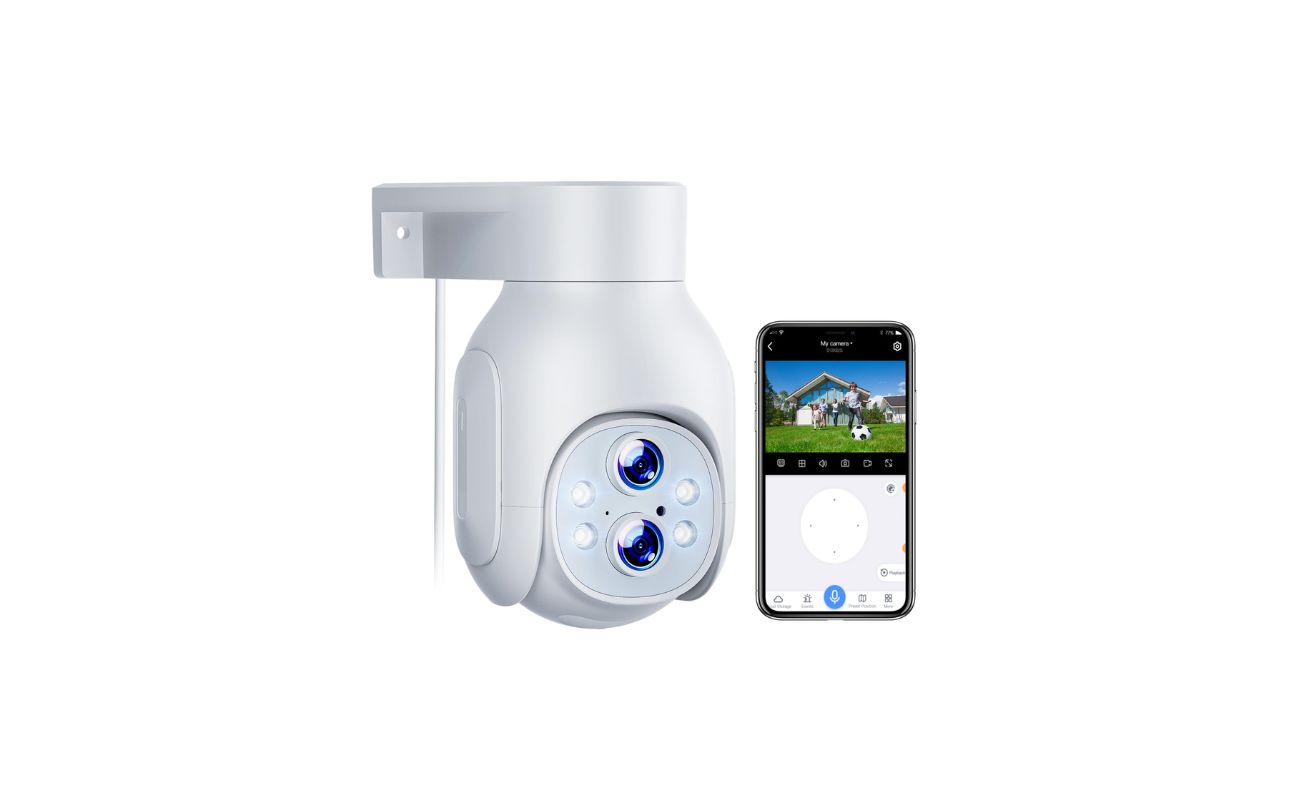
After selecting your wireless security camera system, the next step is to install the corresponding security camera app on your smartphone or tablet. The app allows you to view the live feed from your cameras, adjust settings, and receive alerts and notifications when motion is detected.
To install the app, follow these simple steps:
- Go to your device’s app store, such as the Apple App Store or Google Play Store.
- Search for the app specific to your wireless security camera system. It may have the brand name or model number in the app’s title.
- Click on the app and select ‘Install’ or ‘Download’ to begin the installation process.
- Once the app is installed, locate the app icon on your device’s home screen.
- Tap on the app icon to open it and follow any setup instructions provided by the app. This may include creating an account, connecting to your Wi-Fi network, and syncing the cameras.
- Once the setup is complete, you will have access to the app’s main interface, where you can view and control your wireless security cameras.
It’s important to note that different wireless security camera systems may have different apps, so make sure to download the correct one for your specific system. If you’re unsure, refer to the user manual or contact the manufacturer for assistance.
Additionally, ensure that the app is compatible with your device’s operating system. Most security camera apps are available for both iOS and Android devices, but it’s always best to double-check to avoid any compatibility issues.
Installing the security camera app is a crucial step in the setup process, as it allows you to conveniently access and control your wireless security cameras from anywhere, at any time. Once you have successfully installed the app, you are now ready to proceed with the next step: preparing the camera for installation.
Step 3: Prepare the camera for installation
Before you can connect your wireless security camera to your Wi-Fi network, you need to properly prepare the camera for installation. This involves a few simple steps to ensure that the camera is ready to connect and function effectively.
Follow these steps to prepare your camera for installation:
- Check the camera package: Ensure that you have received all the necessary components with your camera, including the camera itself, mounting brackets, screws, and any additional accessories or cables. You may also want to check if there are any setup or installation instructions included.
- Choose a suitable location: Decide where you want to mount your wireless security camera. Consider the area you want to monitor and ensure that it provides a clear view of the desired space. Take into account factors such as lighting conditions and potential obstructions.
- Power the camera: Connect the power adapter or insert batteries (if applicable) to power the camera. Make sure to use the correct power source as specified in the camera’s user manual. Ensure that the camera is receiving power before proceeding to the next step.
- Adjust the camera angle: If your camera allows for it, adjust the angle or tilt of the camera to ensure that it captures the desired area. This step may require some trial and error to find the optimal position that provides the best view.
- Connect any necessary cables: If your camera requires additional cables for power or connectivity, ensure that they are properly connected. Follow the instructions provided with your camera to connect any required cables securely.
- Configure any advanced settings: Some wireless security cameras may have advanced settings that you can configure to suit your specific needs. This may include adjusting motion detection sensitivity, setting up recording schedules, or enabling specific features. Refer to the camera’s user manual or the app’s instructions for guidance on configuring advanced settings.
Properly preparing your wireless security camera is crucial to ensure a smooth installation process and optimal performance. By following these steps, you are now ready to move on to the next step: connecting the camera to your Wi-Fi network.
Step 4: Connect the camera to Wi-Fi
Now that you have prepared your wireless security camera, it’s time to connect it to your Wi-Fi network. This step is essential as it enables you to access the camera remotely and view live footage from your smartphone or tablet.
To connect your camera to Wi-Fi, follow these steps:
- Open the security camera app: Launch the app on your smartphone or tablet that you installed in the previous step. Ensure that you are logged in to your account if prompted.
- Add a new camera: Look for an option within the app to add a new camera. This may be located in the settings or camera management section of the app. Select this option to begin the camera setup process.
- Put the camera in pairing mode: Most wireless security cameras have a pairing or sync mode that allows them to connect to your Wi-Fi network. This mode is typically activated either by pressing a button on the camera or using a QR code provided with the camera. Consult the camera’s user manual or the app’s instructions for the specific method to put your camera in pairing mode.
- Select your Wi-Fi network: Once the camera is in pairing mode, the app will scan for available Wi-Fi networks. Choose your desired Wi-Fi network from the list provided by the app.
- Enter your Wi-Fi network credentials: You will be prompted to enter the password for your Wi-Fi network. Ensure that you enter the correct password as it is case-sensitive. Follow the on-screen instructions to complete the process.
- Wait for the camera to connect: The camera will connect to your Wi-Fi network, which may take a few moments. Be patient and wait for the app to indicate that the camera has successfully connected.
- Test the connection: Once the camera has connected to Wi-Fi, you can test the connection by accessing the live feed from your camera within the app. Ensure that the footage is clear and stable.
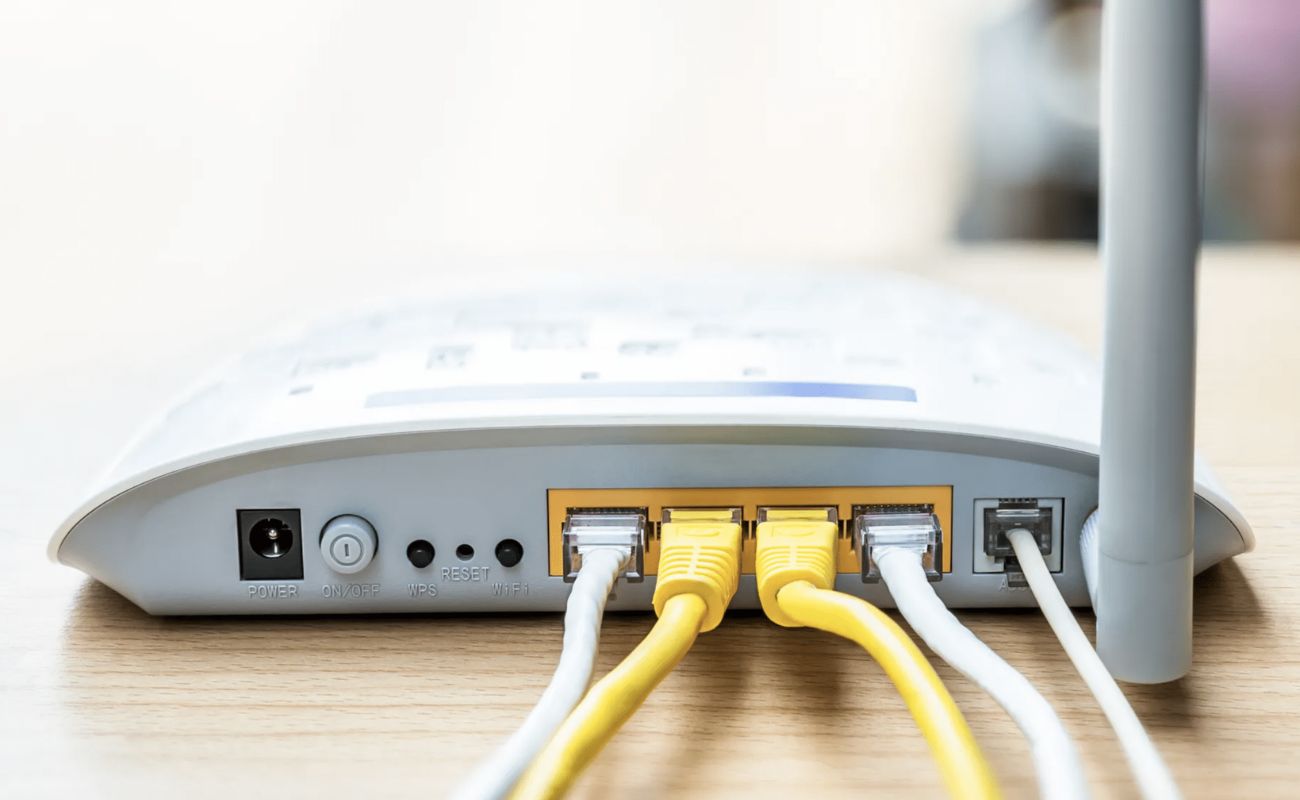
Remember to keep your camera and Wi-Fi router in close proximity during the setup process to ensure a strong and stable connection. If you encounter any difficulties during the connection process, refer to the camera’s user manual or contact the manufacturer for assistance.
Now that your camera is successfully connected to Wi-Fi, it’s time to move on to the next step: positioning and mounting the camera.
When connecting wireless security cameras, make sure to place them within the range of your Wi-Fi signal to ensure a stable connection. Additionally, always follow the manufacturer’s instructions for proper installation and setup.
Step 5: Position and mount the camera
Once your camera is connected to Wi-Fi, the next step is to position and mount it in the desired location. Proper camera placement is crucial to ensure optimal coverage and functionality of your wireless security system.
Follow these steps to position and mount your camera:
- Select the ideal location: Consider the area you want to monitor and choose a suitable location for your camera. This could be near an entrance, in the backyard, or any other area that requires surveillance. Ensure that the camera has a clear view of the desired space.
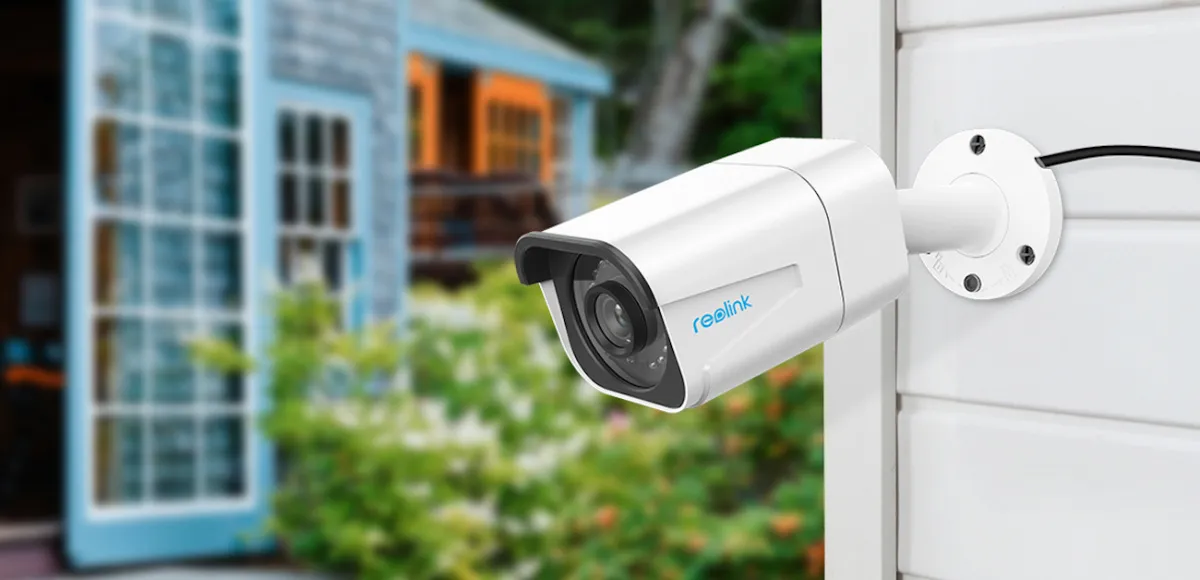
- Mount the camera: Use the mounting brackets and screws provided with your camera to securely mount it in the chosen location. Follow the instructions provided in the camera’s user manual for proper mounting techniques. If required, use a level to ensure that the camera is perfectly straight.
- Adjust the camera angle: Once the camera is mounted, adjust the angle or tilt of the camera to capture the desired area. This step may require some trial and error to find the optimal position that provides the best view. Use the camera’s app or user manual to guide you in adjusting the camera angle.
- Ensure stability and weatherproofing: Ensure that the camera is securely fastened and stable in its mounted position. If your camera is an outdoor model, make sure it is properly weatherproofed to protect it from the elements. Follow the manufacturer’s guidelines for weatherproofing recommendations.
- Test the camera’s view: Once the camera is mounted, test its view by accessing the live feed from the app. Ensure that the camera is capturing the desired area and that the footage is clear and of high quality.
Remember to consider factors such as lighting conditions and potential obstructions when positioning your camera. Avoid placing the camera in direct sunlight as it can affect the image quality. Additionally, ensure that there are no objects obstructing the camera’s view, such as tree branches or walls.
Proper camera positioning and mounting are essential for maximizing the effectiveness of your wireless security system. Take the time to position and mount your camera correctly, as it will greatly contribute to the overall security of your property.
Now that your camera is properly positioned and mounted, it’s time to move on to the next step: configuring camera settings.
Step 6: Configure camera settings
After positioning and mounting your wireless security camera, it’s time to configure the settings to personalize your surveillance system and meet your specific needs.
Follow these steps to configure your camera settings:
- Access the camera settings: Open the security camera app on your smartphone or tablet and navigate to the settings section. This is where you can access and modify various camera configurations.
- Choose your recording preferences: Decide how you want your camera to record footage. Options may include continuous recording, scheduled recording, or motion-triggered recording. This step allows you to customize when and how your camera captures video.
- Adjust motion detection settings: Fine-tune the sensitivity and detection zone settings for motion detection. This will help minimize false alarms triggered by irrelevant movement, such as tree branches swaying in the wind.
- Set up alerts and notifications: Enable notifications on the app to receive alerts whenever motion is detected or other specific events occur. You can choose to receive notifications via push notifications, email, or SMS, depending on your preferences.
- Configure video quality and resolution: Adjust the video quality and resolution settings based on your storage and bandwidth requirements. Higher quality settings will provide clearer footage but may require more storage space.
- Set up cloud storage or local storage: Determine where you want to store your recorded footage. Some camera systems offer cloud storage options, allowing you to store your video footage securely online. Alternatively, you can choose to use local storage options, such as a microSD card or a network-attached storage (NAS) system.
- Explore additional features: Take the time to explore the additional features and functionalities offered by your camera system. This may include two-way audio communication, pan and tilt capabilities, or integrations with other smart home devices.
By configuring your camera settings, you can tailor your wireless security system to suit your specific requirements. Customize the settings to enhance the security of your property and ensure that you receive alerts and notifications when necessary.
Take the time to familiarize yourself with the camera app and its settings to get the most out of your wireless security camera system. Experiment with different configurations to find the settings that work best for you.
Now that you have configured your camera settings, let’s move on to the final step: testing the wireless connection.
Step 7: Test the wireless connection
After setting up and configuring your wireless security camera system, it’s essential to test the wireless connection to ensure that everything is functioning properly before relying on it for surveillance.
Follow these steps to test your wireless connection:
- Open the camera app: Launch the security camera app on your smartphone or tablet.
- Access the live feed: Navigate to the live feed section within the app to view the real-time footage from your wireless security cameras.
- Check video quality: Ensure that the video quality is clear and of high resolution. If the footage appears blurry or pixelated, you may need to adjust the camera settings or reposition the camera for better Wi-Fi signal strength.
- Monitor motion detection: Test the motion detection feature by moving within the camera’s view and see if it triggers motion alerts properly. You should receive notifications or alerts on your smartphone or tablet when motion is detected within the camera’s detection zone.
- Verify remote accessibility: Leave your home or access the camera’s live feed through a different Wi-Fi network or cellular data to ensure that you can still view the footage remotely. This tests the remote accessibility feature of your wireless security camera system.
- Test two-way audio (if applicable): If your camera has two-way audio capabilities, test the audio by speaking through your smartphone or tablet to see if the sound is transmitted correctly through the camera.
- Evaluate real-time alerts: If you have enabled real-time alerts for specific events, such as a door opening or a loud noise being detected, test these alerts to confirm that you receive them promptly and accurately.
By testing the wireless connection and functionalities of your security camera system, you can ensure that it is working as expected and providing the level of security and convenience you desire.
If you encounter any issues during the testing process, refer to the camera’s user manual or contact the manufacturer’s customer support for assistance. They will be able to troubleshoot any technical difficulties or provide guidance to resolve any connectivity problems.
With a successful test of the wireless connection, you can now have peace of mind knowing that your wireless security camera system is ready to protect your property and loved ones.
Congratulations on successfully completing the process of connecting and testing your wireless security cameras! You are now equipped with a reliable and convenient surveillance system to enhance the security of your home.
Remember to regularly maintain and update your wireless security camera system to ensure optimal performance and security. Stay vigilant and enjoy the peace of mind that comes with having a secure and protected home.
Thank you for following this step-by-step guide. Stay safe!
Conclusion
Congratulations on completing the process of connecting your wireless security cameras! By following the step-by-step guide provided in this article, you have successfully set up a reliable and convenient surveillance system to enhance the security of your home.
Wireless security cameras offer numerous benefits, including easy installation, flexibility in camera placement, and remote access to live footage. With the ability to connect to your Wi-Fi network, you can monitor your property from anywhere in the world using your smartphone or tablet.
Throughout the setup process, you have learned how to choose the right wireless security camera system for your needs, install the security camera app, prepare the camera for installation, connect the camera to Wi-Fi, position and mount the camera, configure camera settings, and test the wireless connection.
Remember to regularly maintain and update your camera system to ensure optimal performance and security. Check for firmware updates and review the camera’s settings periodically to ensure that your surveillance system remains effective.
Having a wireless security camera system in place adds an extra layer of protection for your home, detering potential intruders and providing valuable evidence in the event of any incidents. It brings you peace of mind, knowing that you can keep an eye on your property and loved ones, even when you’re away.
Thank you for following this comprehensive guide to connecting wireless security cameras. We hope this article has been helpful in simplifying the setup process and empowering you to take control of your home security. Stay vigilant, stay safe!
Frequently Asked Questions about How To Connect Wireless Security Cameras?
Was this page helpful?
At Storables.com, we guarantee accurate and reliable information. Our content, validated by Expert Board Contributors, is crafted following stringent Editorial Policies. We're committed to providing you with well-researched, expert-backed insights for all your informational needs.
