Home>Home Security and Surveillance>How To Receive Video From Wireless Security System
Home Security and Surveillance
How To Receive Video From Wireless Security System
Modified: March 6, 2024
Learn how to receive video from your wireless home security and surveillance system. Find out the best ways to set up and access your system for maximum protection and peace of mind.
(Many of the links in this article redirect to a specific reviewed product. Your purchase of these products through affiliate links helps to generate commission for Storables.com, at no extra cost. Learn more)
Introduction
Welcome to the world of wireless security systems! In today’s modern era, where technology has revolutionized every aspect of our lives, it’s no surprise that home security has also undergone a significant transformation. Gone are the days of cumbersome wired security systems that required professional installation and complex wiring. Now, you have the convenience and flexibility of wireless security systems to protect your home and loved ones.
Wireless security systems offer numerous advantages over their wired counterparts. They are easy to install, highly flexible, and provide seamless integration with your existing home network. With wireless security cameras, you can keep a watchful eye on your property, both indoors and outdoors, from anywhere in the world using your smartphone or computer.
In this comprehensive guide, I will walk you through the process of receiving video from a wireless security system. You will learn about the various components of a wireless security system, how to set up wireless security cameras, configure the receiver device, connect it to a display device, and troubleshoot any video reception issues that may arise.
So, whether you are a first-time homeowner looking to enhance your home’s security or a tech-savvy individual exploring the possibilities of wireless surveillance, this article is your ultimate resource.
So, without further ado, let’s delve into the fascinating world of wireless security systems and learn how to receive video from these advanced devices.
Key Takeaways:
- Setting up a wireless security system is easy and flexible. You can place cameras anywhere, connect them to a receiver, and view the video on your phone or computer for convenient home surveillance.
- If you encounter video reception issues, check camera placement, power supply, and network connectivity. Troubleshoot interference and signal strength to ensure uninterrupted video feeds from your wireless security system.
Read more: How To Disarm Wireless Security System
Understanding Wireless Security Systems
Before we dive into the specifics of receiving video from a wireless security system, let’s take a moment to understand what exactly these systems are and how they work.
Wireless security systems, as the name suggests, are a type of home security setup that utilizes wireless technology to transmit data between the various components of the system, such as cameras, sensors, and the receiver device. Unlike traditional wired security systems that require physical connections, wireless systems rely on radio frequency signals to transmit information, making installation and setup much easier.
One of the key advantages of wireless security systems is their flexibility. With wired systems, you are limited by the location of power outlets and the length of cables, making it difficult to install cameras and sensors in certain areas. In contrast, wireless systems can be placed virtually anywhere, as long as they are within range of the receiver device and have a power source.
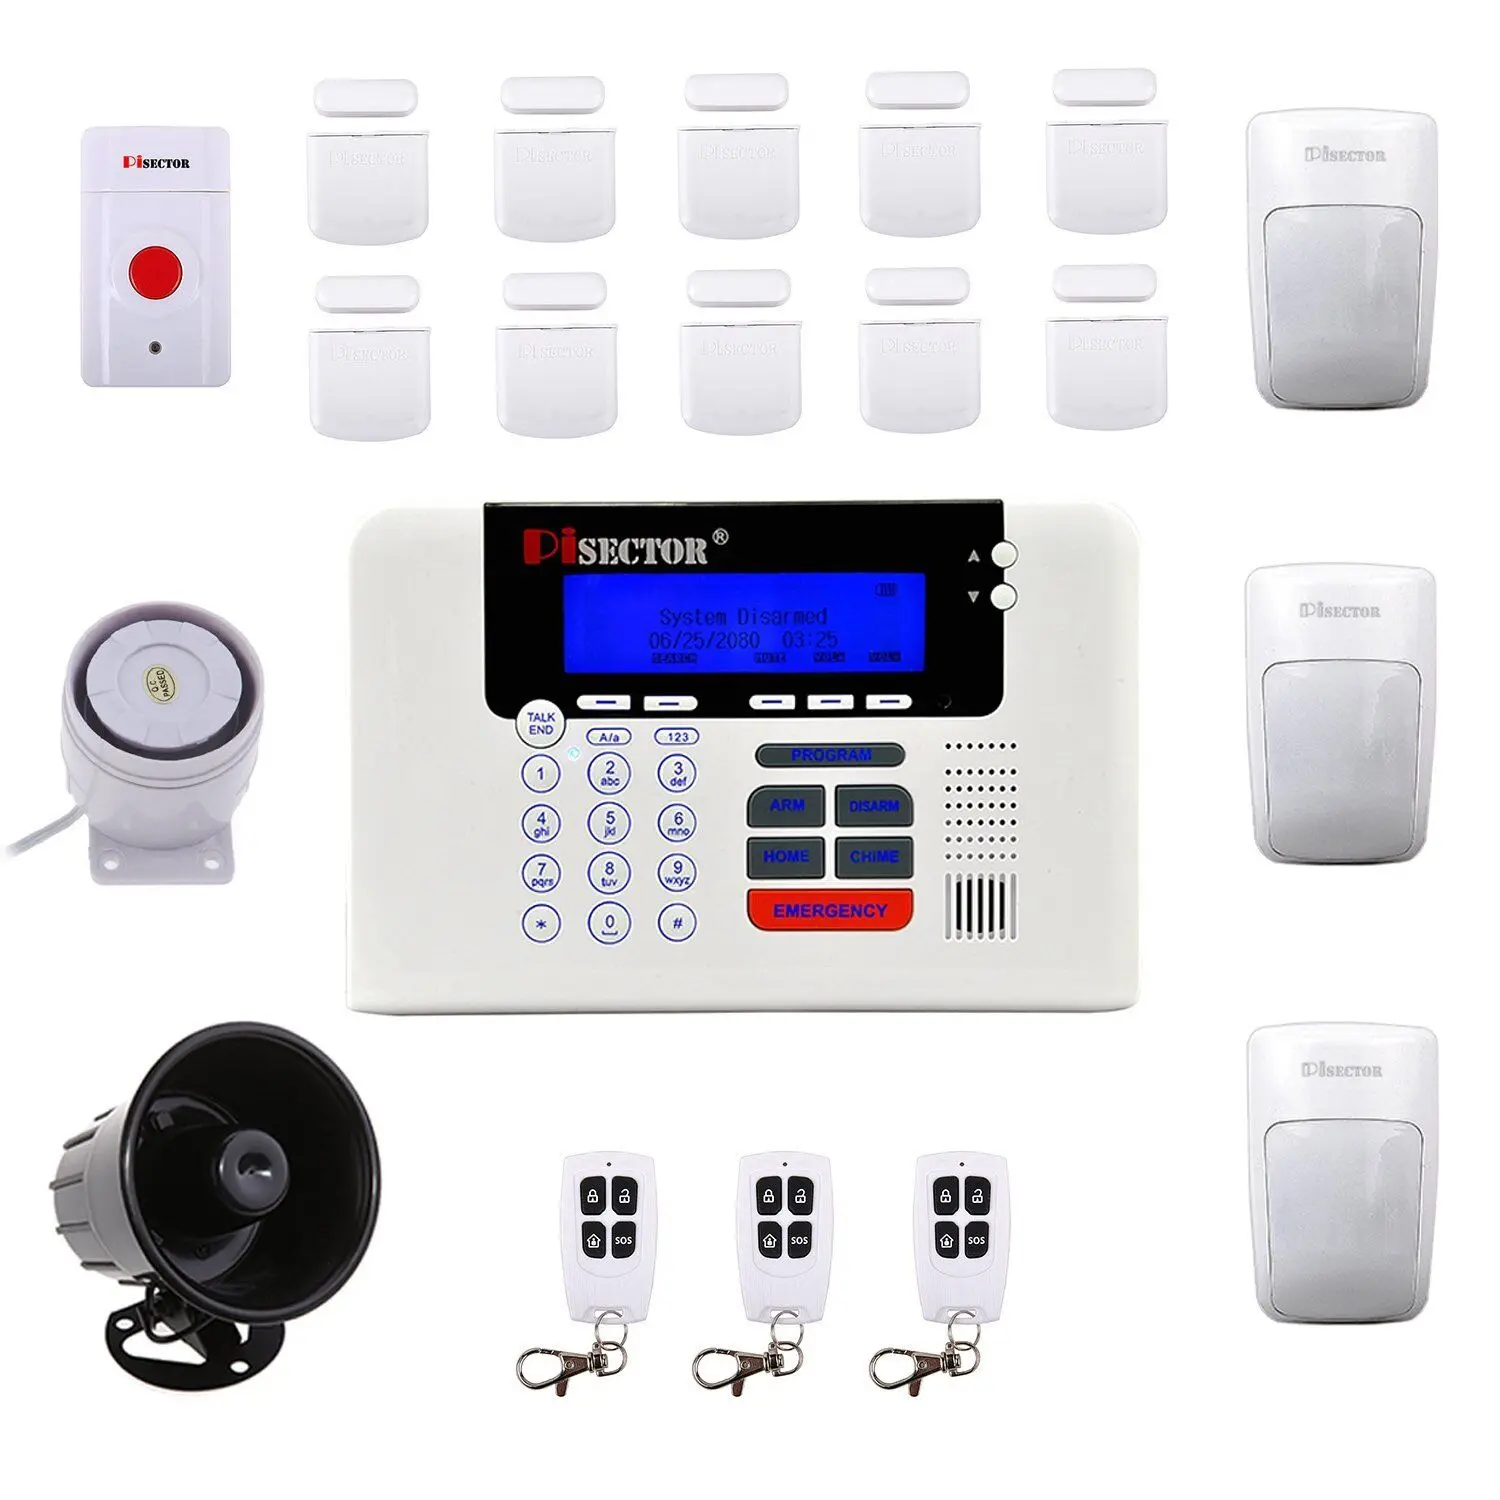
Wireless security systems typically consist of the following components:
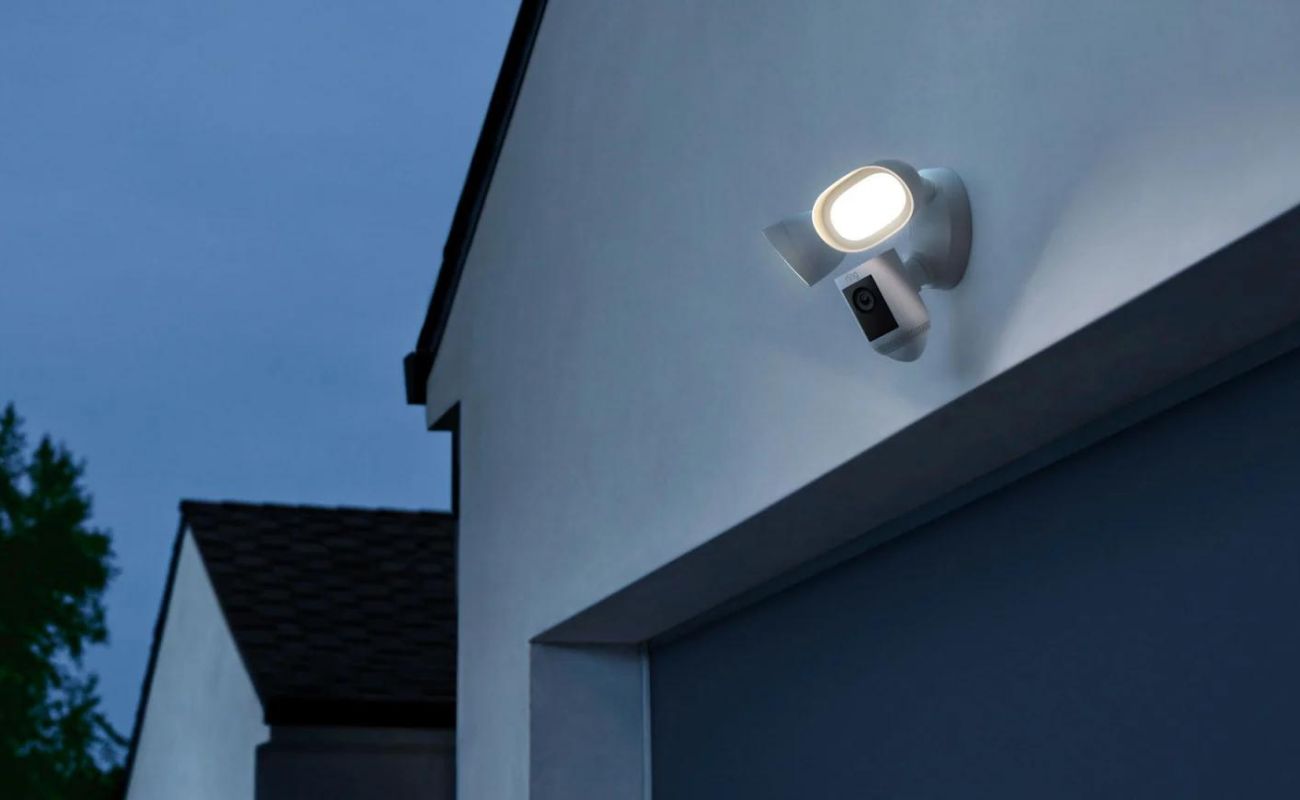
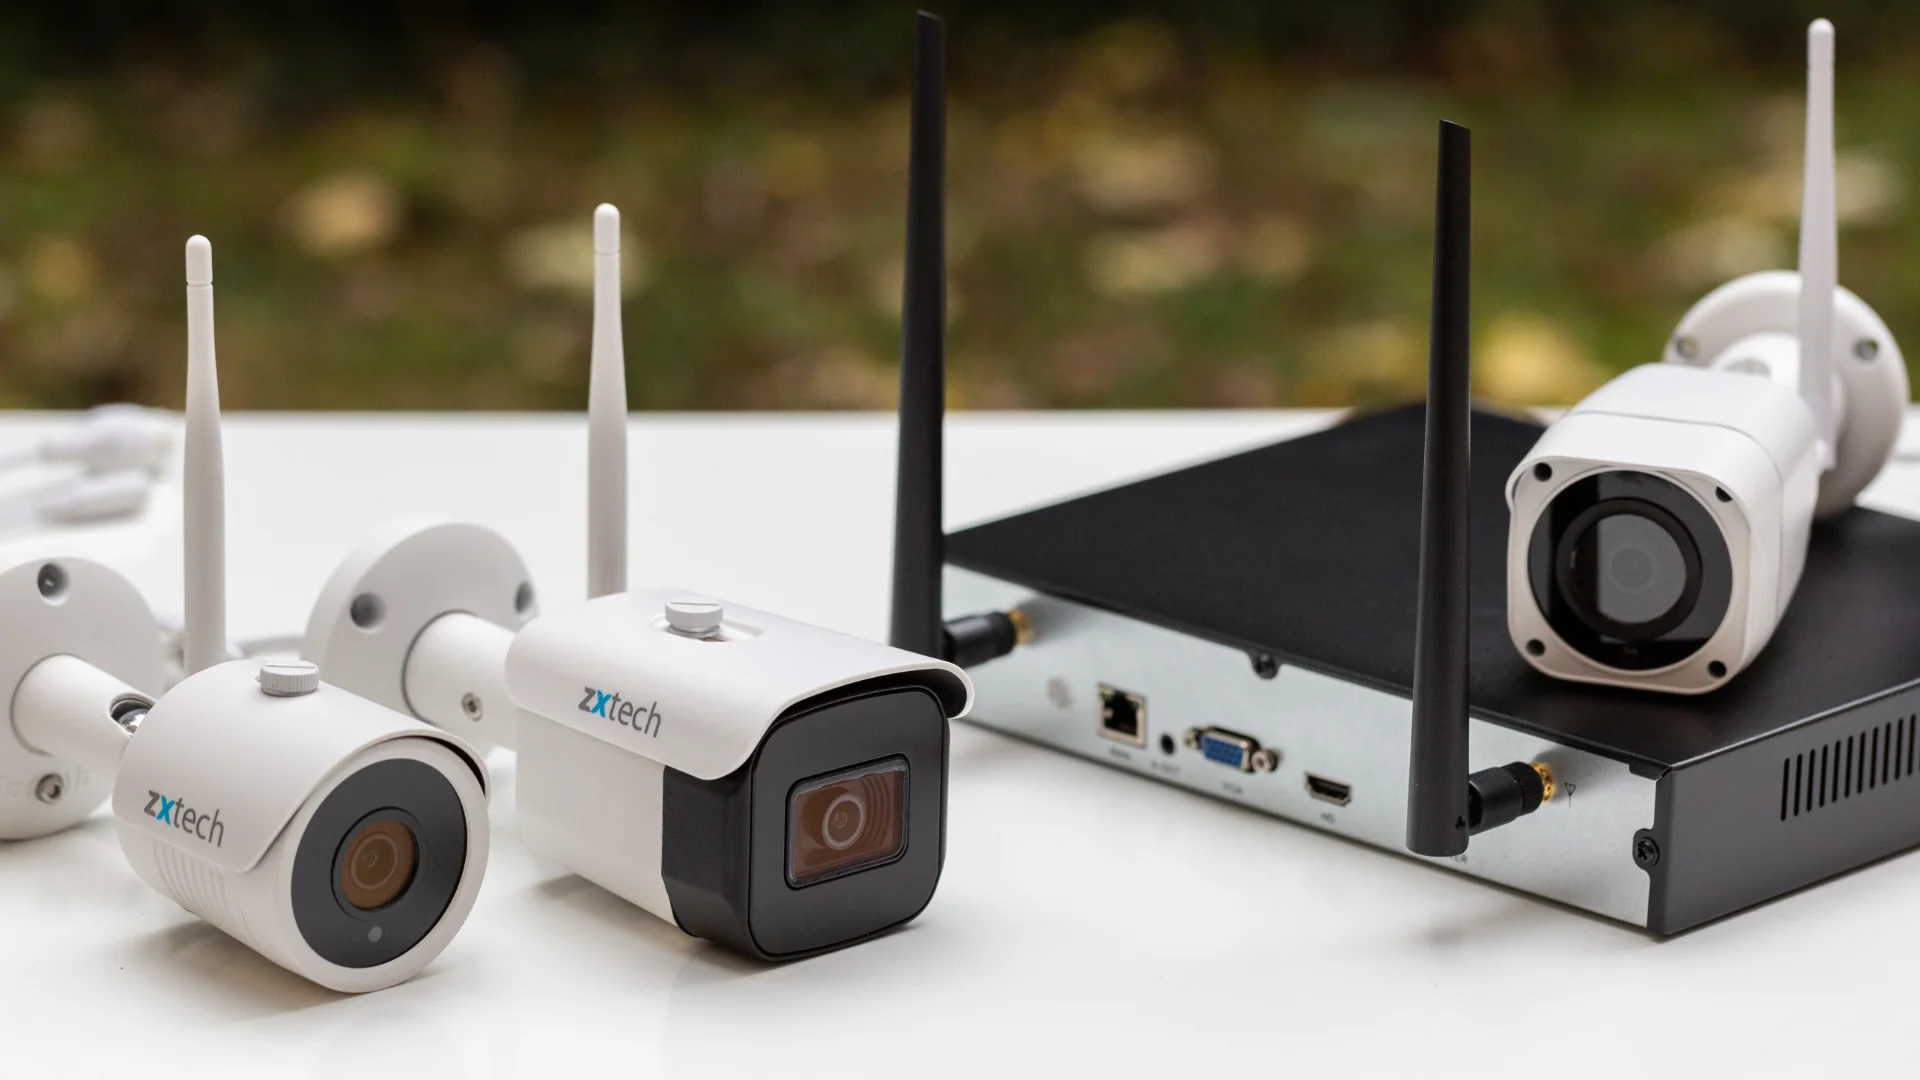
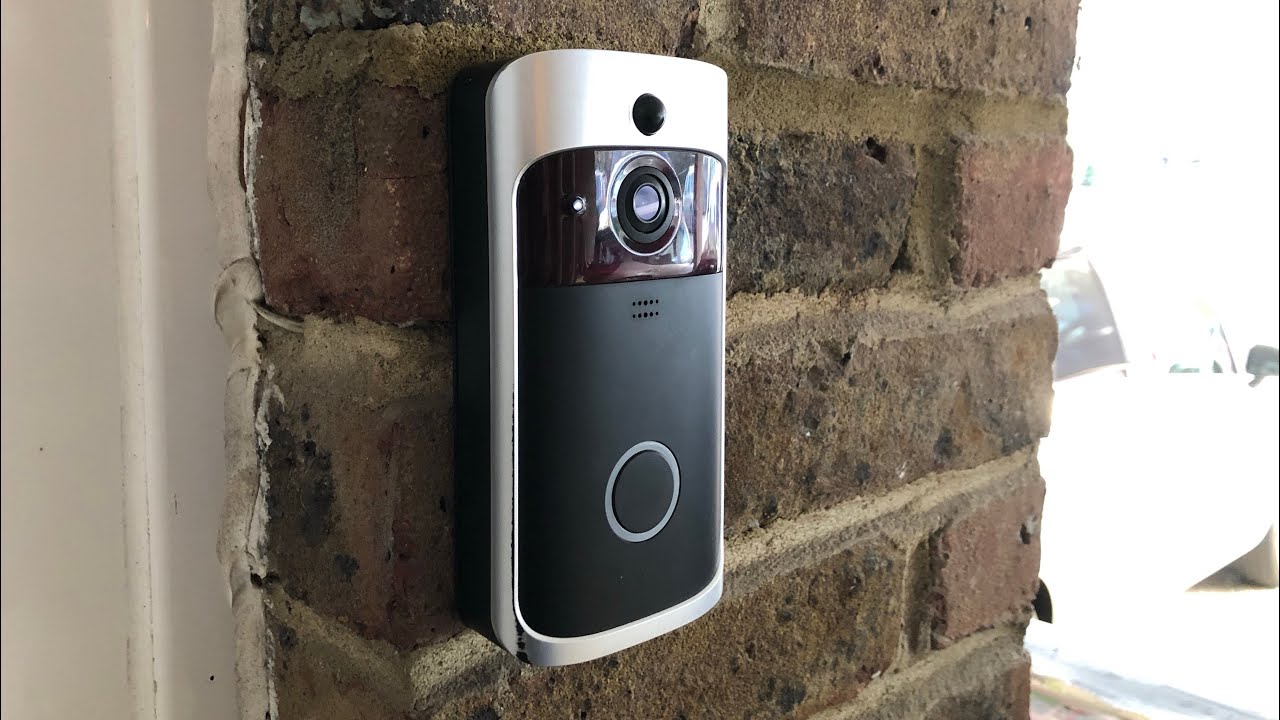
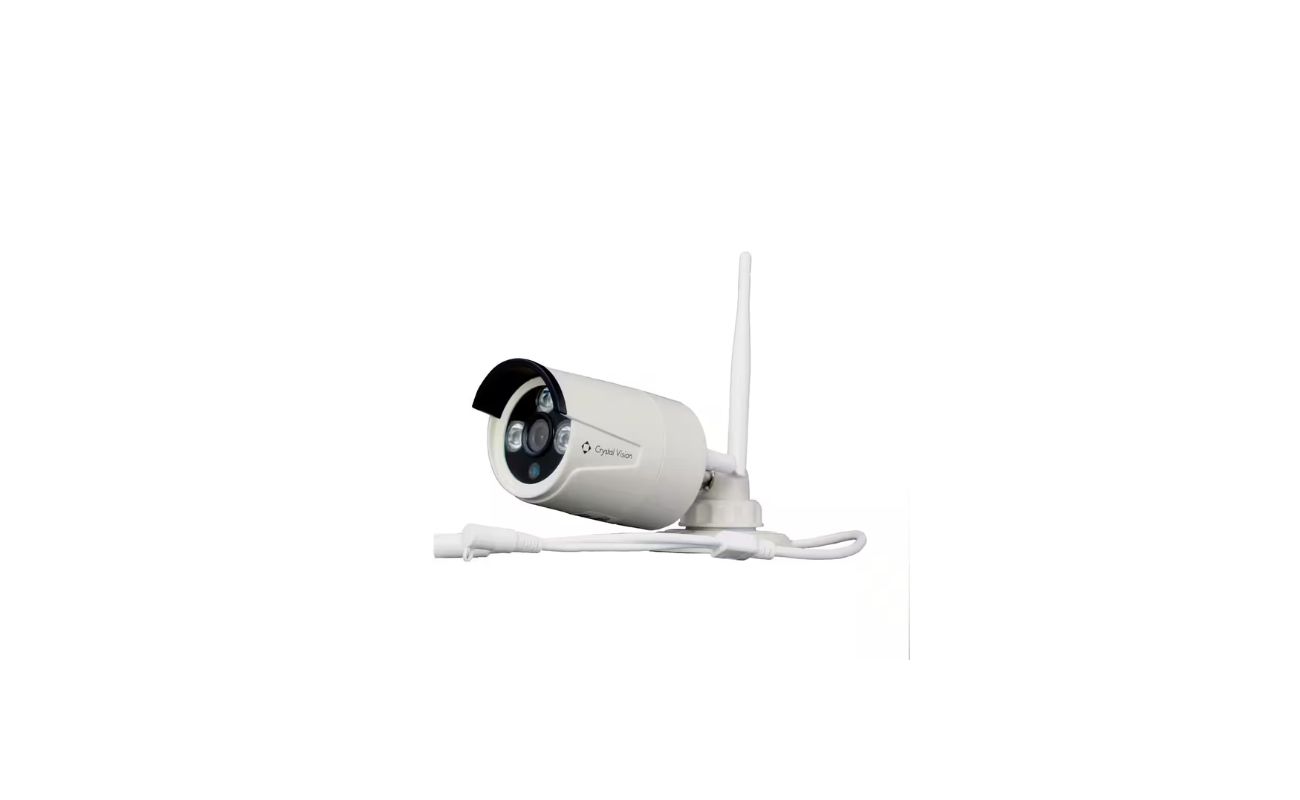
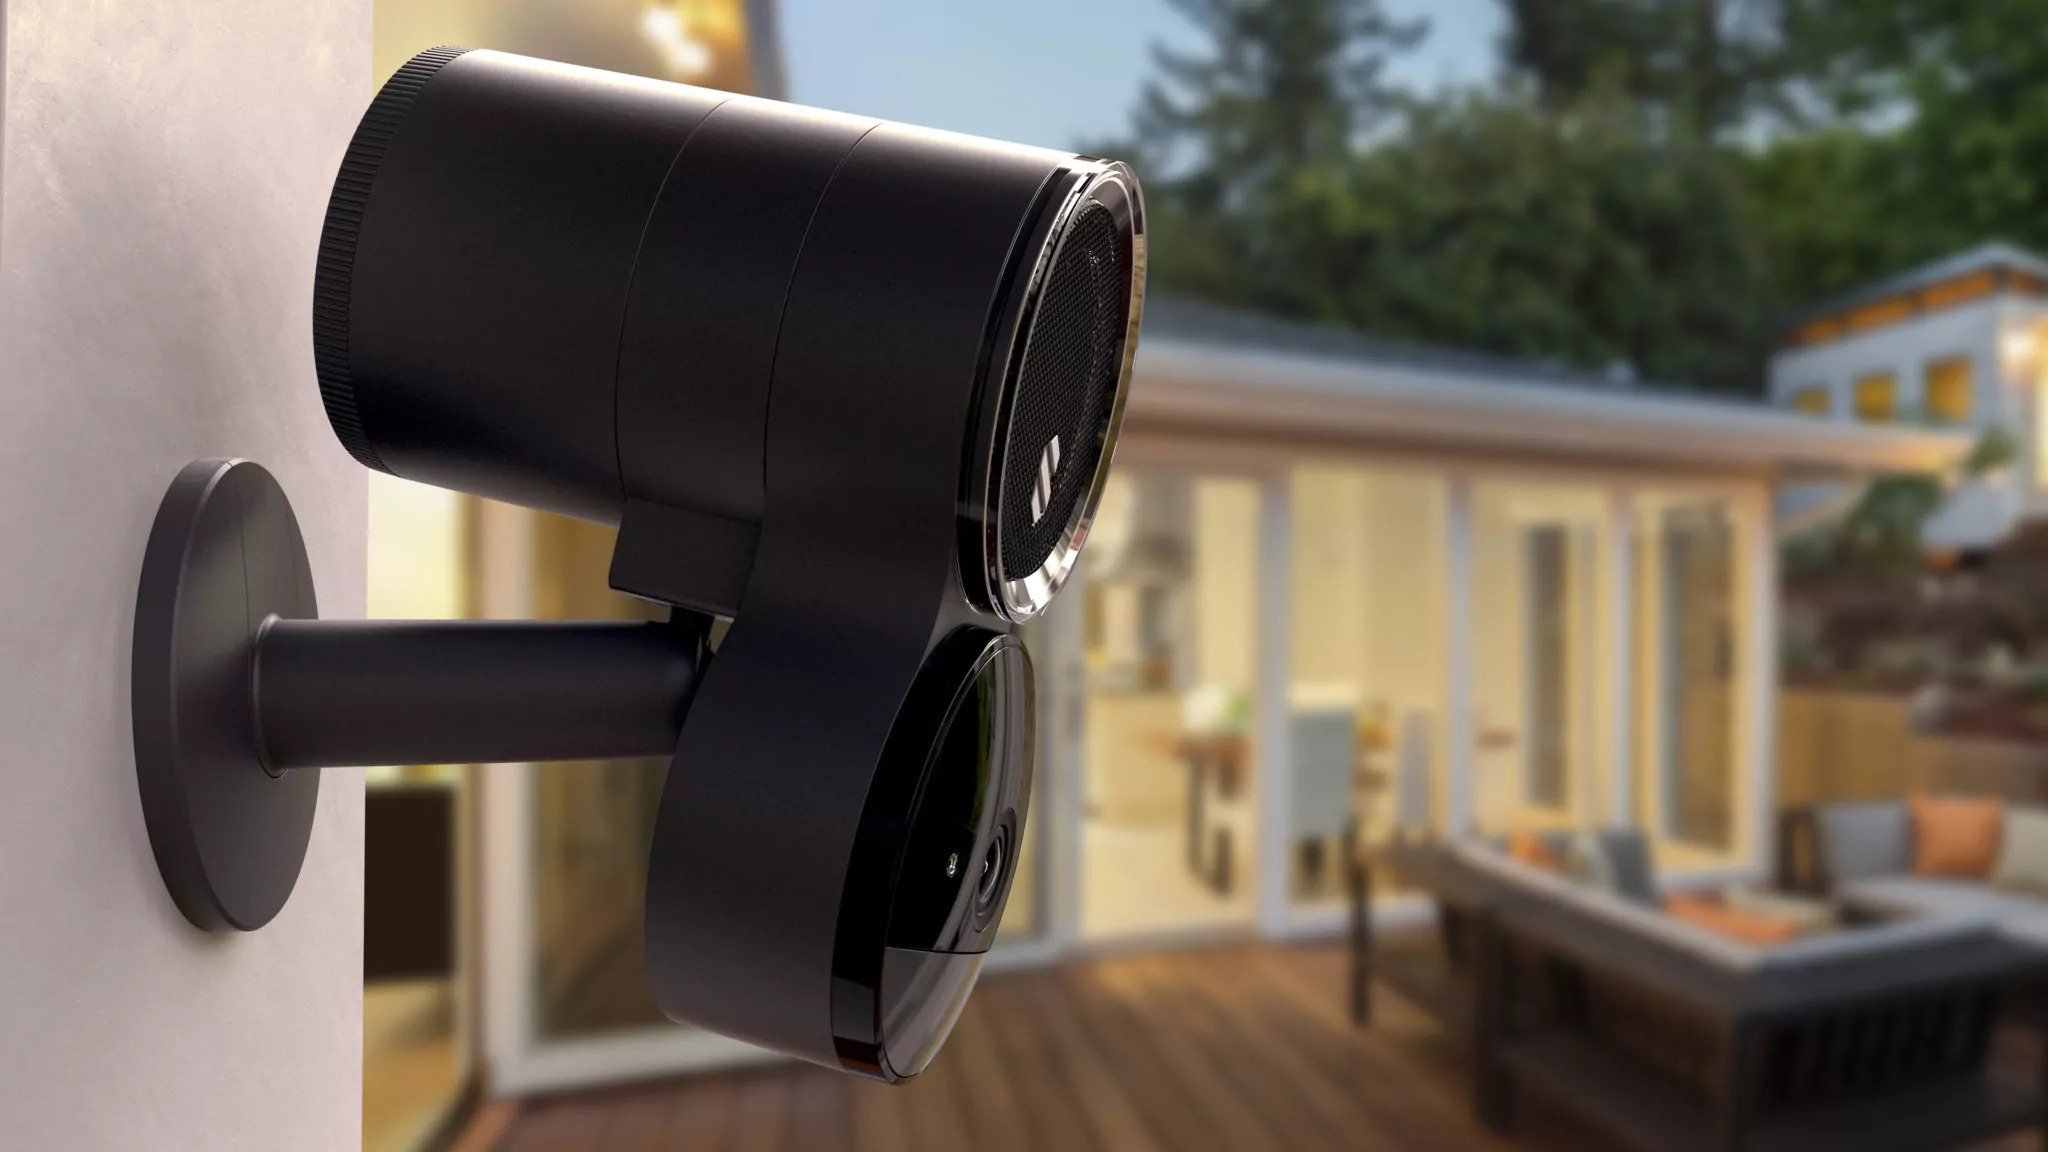
- Wireless Cameras: These are the devices that capture video footage of your property. They can be placed both indoors and outdoors and come in various types, such as dome, bullet, or PTZ (pan-tilt-zoom) cameras. Wireless cameras are equipped with built-in transmitters that send video signals to the receiver device.
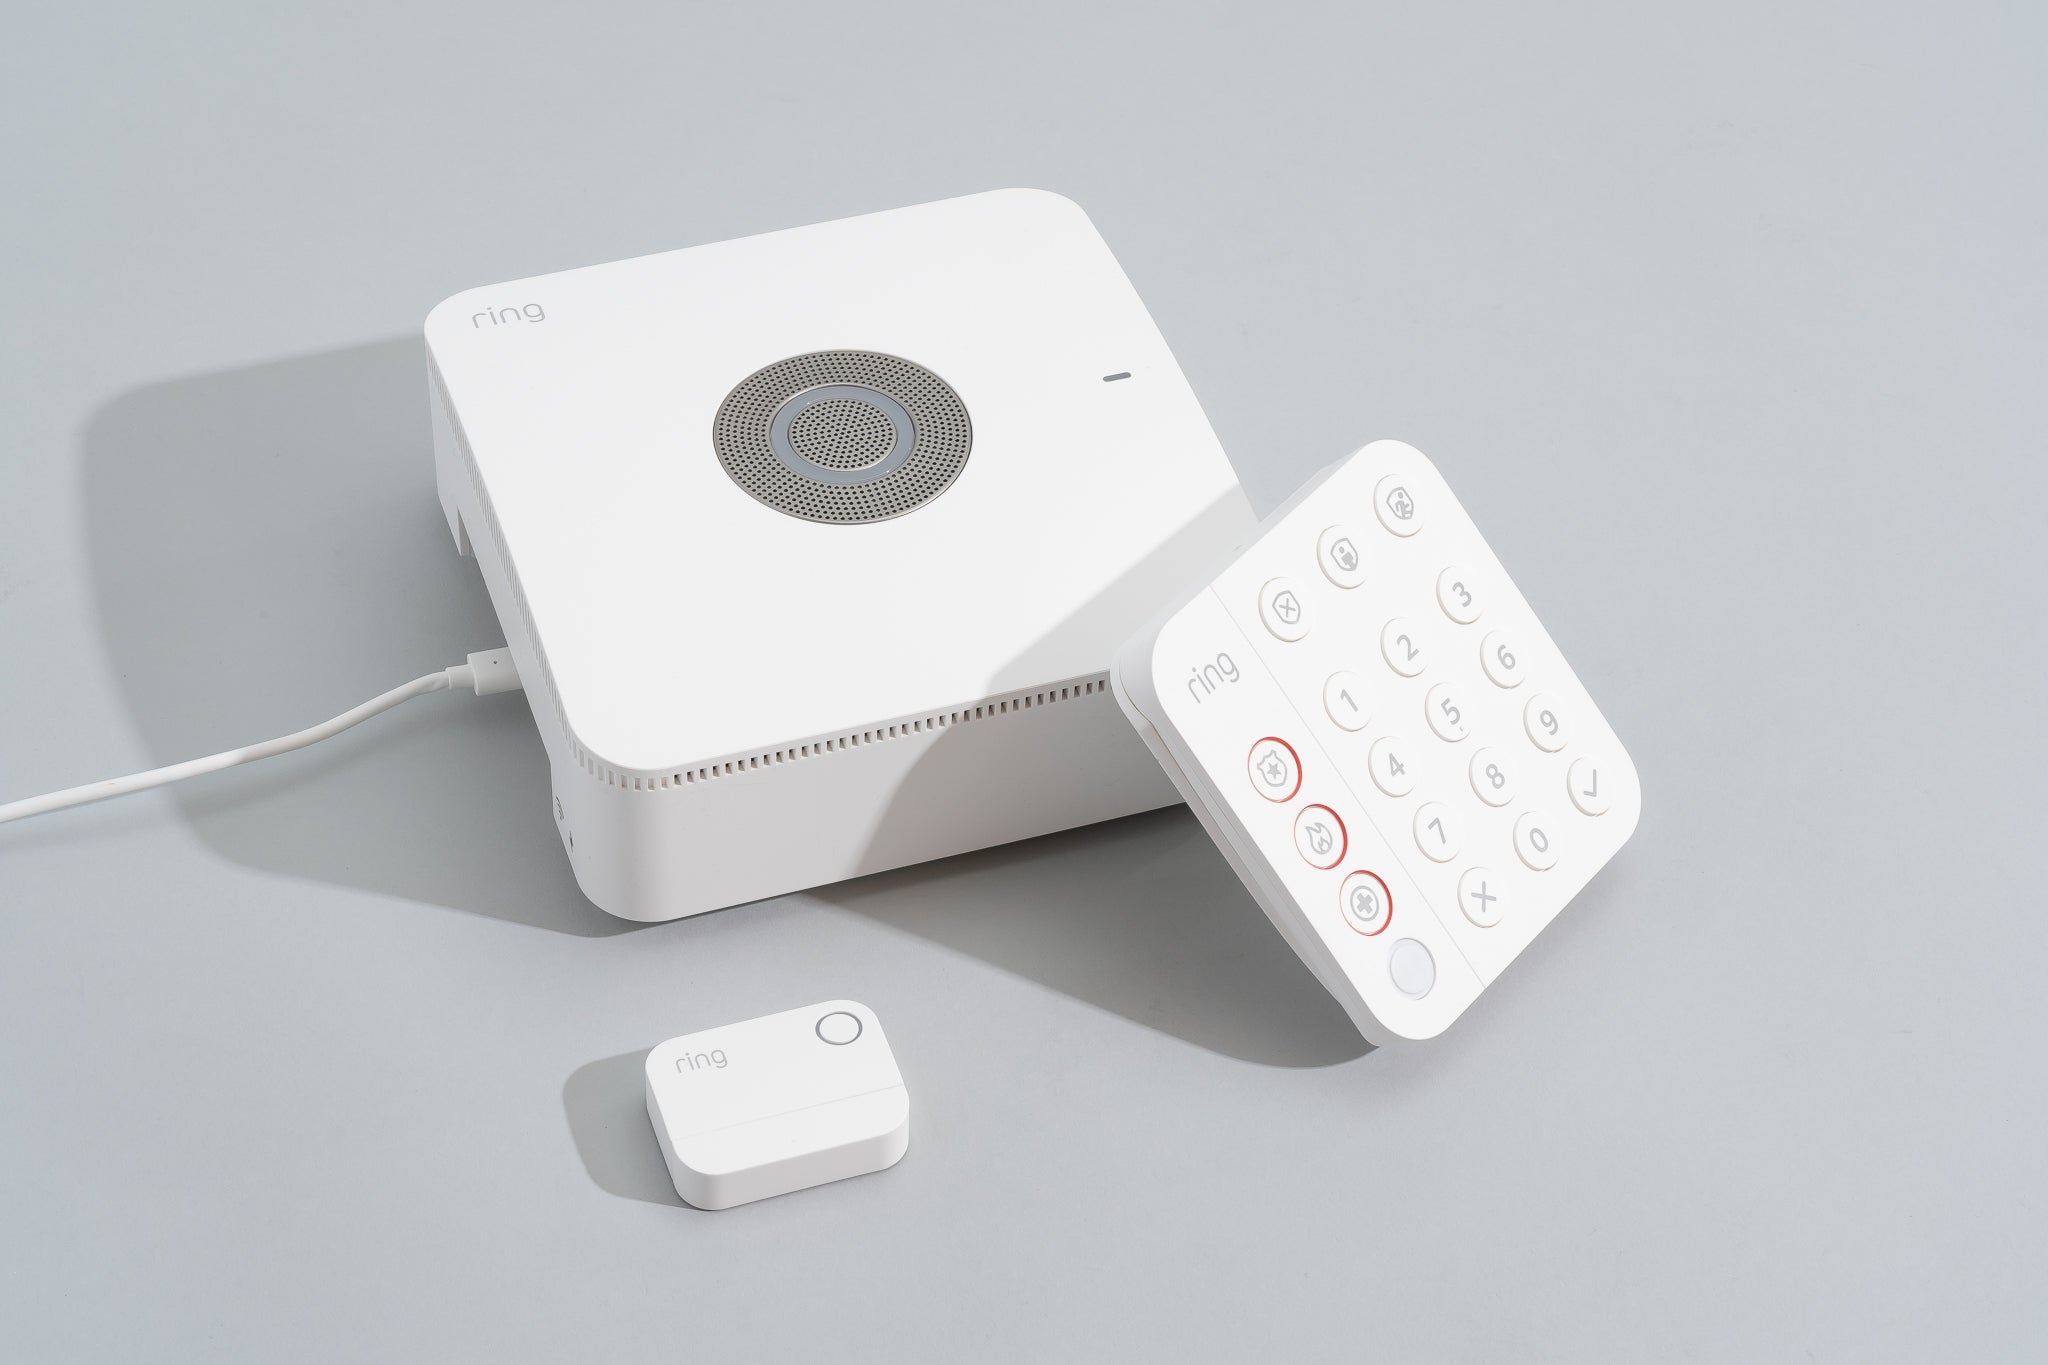
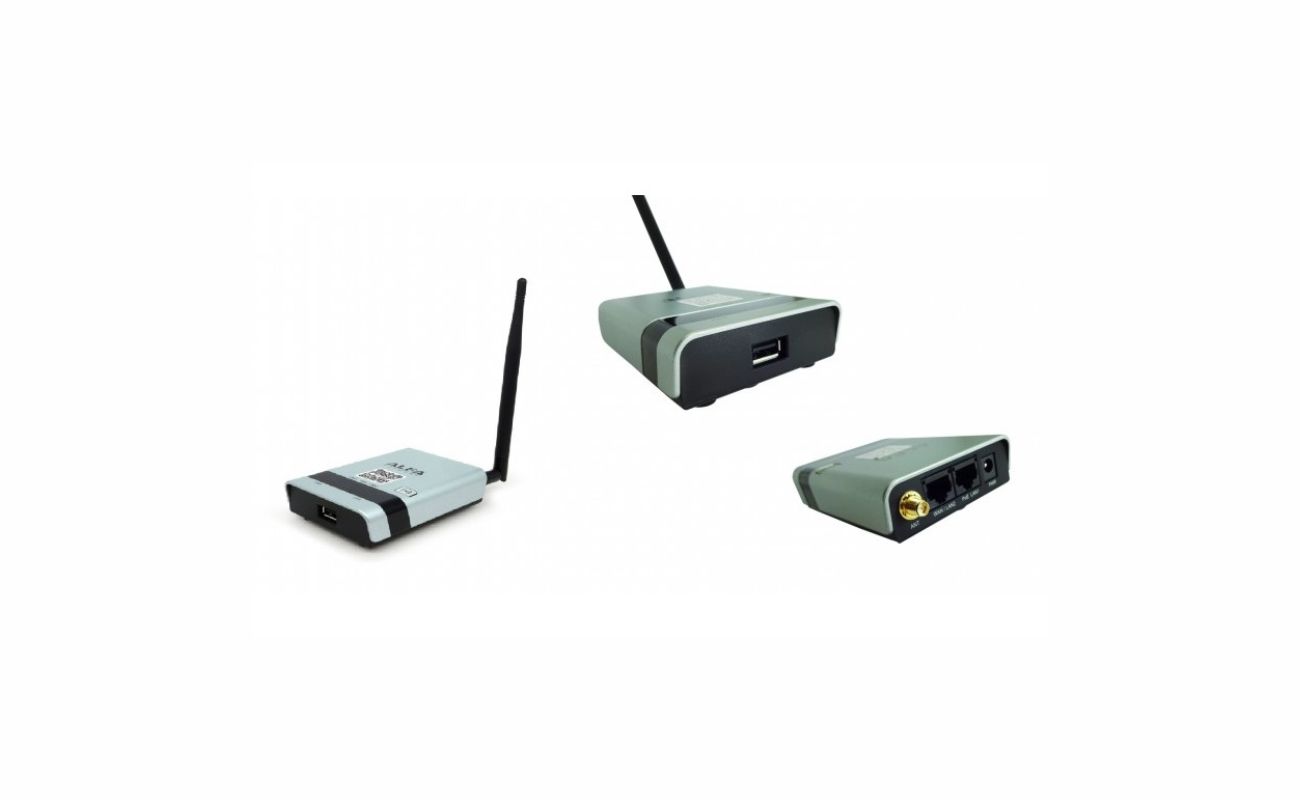
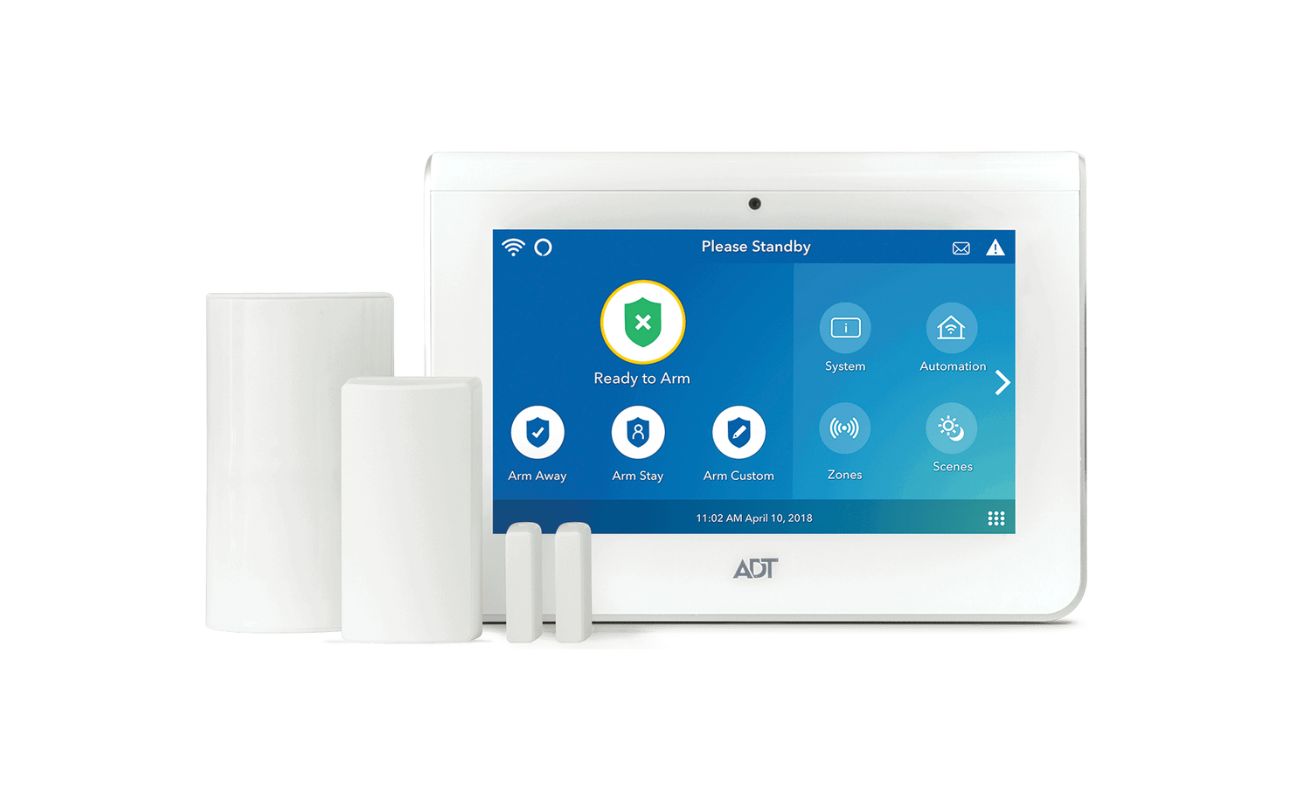
- Receiver Device: This is the central hub of the wireless security system, responsible for receiving the video signals from the cameras and displaying them on a monitor or other display device. The receiver device may also have additional features, such as recording capabilities or remote access via mobile devices.
- Wireless Transmitters: In some cases, wireless security systems may require additional transmitters to extend the range of the system. These transmitters act as relay points between the cameras and the receiver device, ensuring a strong and stable connection.
- Power Supply: Since wireless cameras and other components require power to operate, a reliable power supply is an essential part of the system. This can be achieved through direct wiring to an electrical outlet, battery power, or the use of solar panels.
Now that you have a basic understanding of wireless security systems and their components, let’s move on to the process of setting up wireless security cameras and configuring the receiver device to receive video signals.
Components of a Wireless Security System
A wireless security system consists of several components working together to provide comprehensive home surveillance. Understanding these components is essential for setting up and optimizing your wireless security system.
- Wireless Cameras: These are the eyes of your security system. Wireless cameras come in various forms, including dome cameras, bullet cameras, and PTZ cameras. They capture video footage of the surrounding area and transmit it wirelessly to the receiver device. When choosing wireless cameras, consider factors such as resolution, field of view, night vision capability, and weatherproofing.
- Receiver Device: The receiver device is the central hub that collects and processes the video signals from the wireless cameras. It can be a dedicated receiver or a network video recorder (NVR). Some receiver devices have built-in storage for video recording, while others may require an external storage device. It’s crucial to ensure compatibility between the receiver device and the cameras to establish a seamless connection.
- Wireless Transmitters: In larger properties or areas with obstacles, wireless transmitters may be necessary to extend the range between the cameras and the receiver device. These transmitters act as signal boosters or repeaters, ensuring a strong and stable connection. They are particularly useful when dealing with long-distance transmissions or obstacles like walls or buildings.
- Power Supply: Wireless cameras and receiver devices require a power source for operation. Depending on the specific model, cameras can be powered by either a direct electrical connection, batteries, or solar panels. When selecting the power supply method, consider factors such as accessibility, convenience, and energy efficiency.
- Networking Equipment: To establish a connection between the wireless cameras and the receiver device, you need networking equipment such as a router or switch. This allows the cameras and the receiver to communicate over your home network. Ensure that your wireless security system is compatible with your existing networking equipment or consider upgrading if necessary.
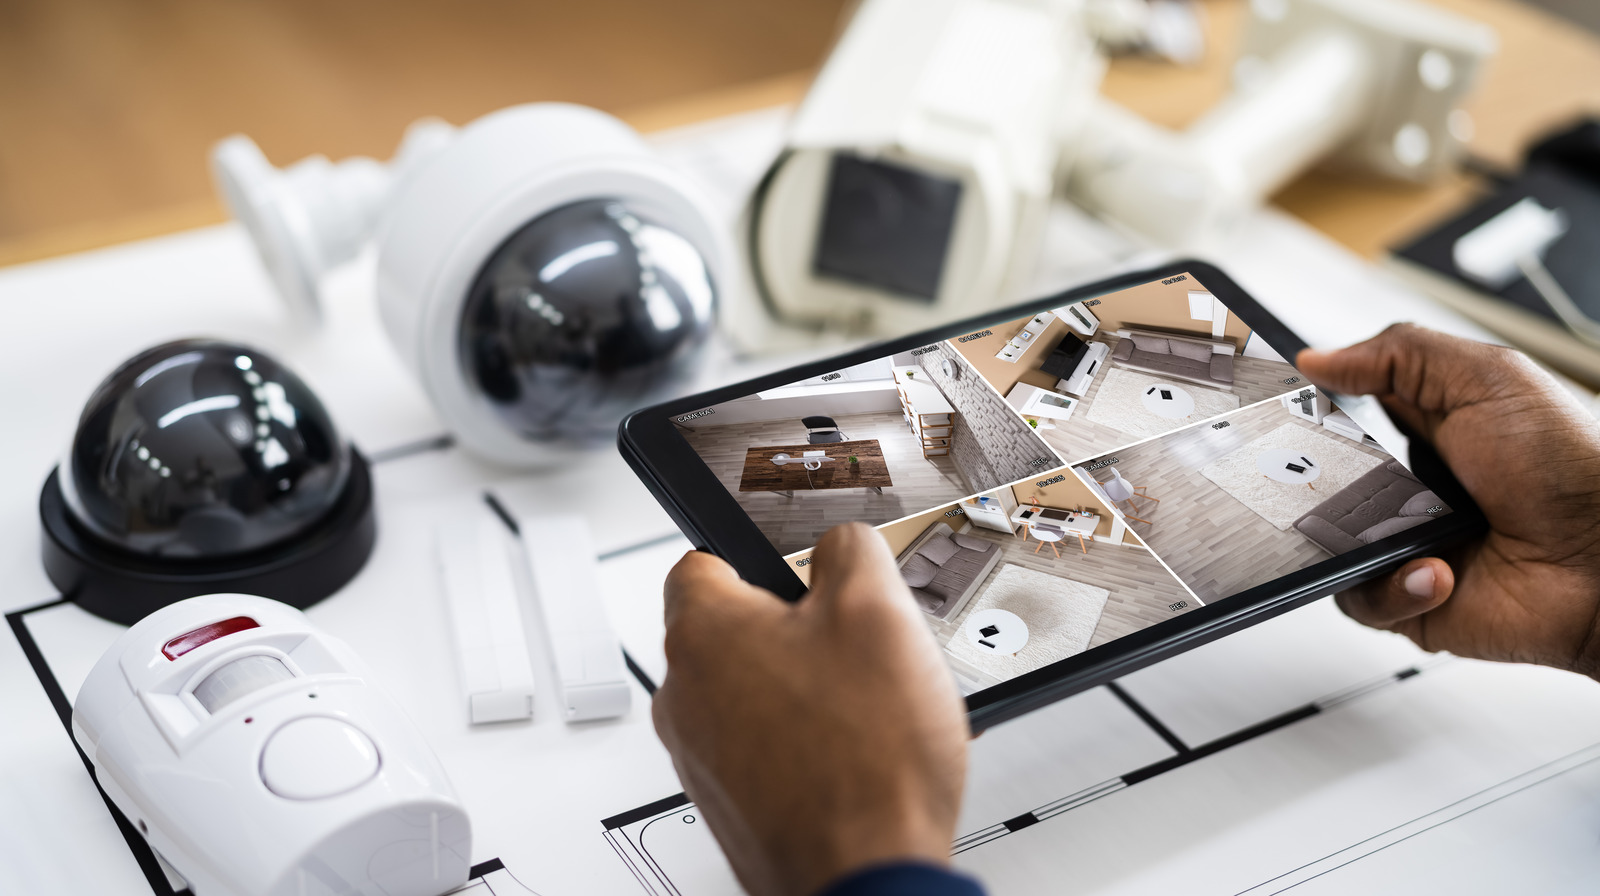
- Display Device: To view the video footage captured by the wireless cameras, you will need a display device. This can be a monitor, television, or even a mobile device. Many receiver devices have HDMI or VGA outputs for connecting directly to a monitor or TV. Alternatively, you can access the footage remotely through dedicated apps or software on your mobile device.
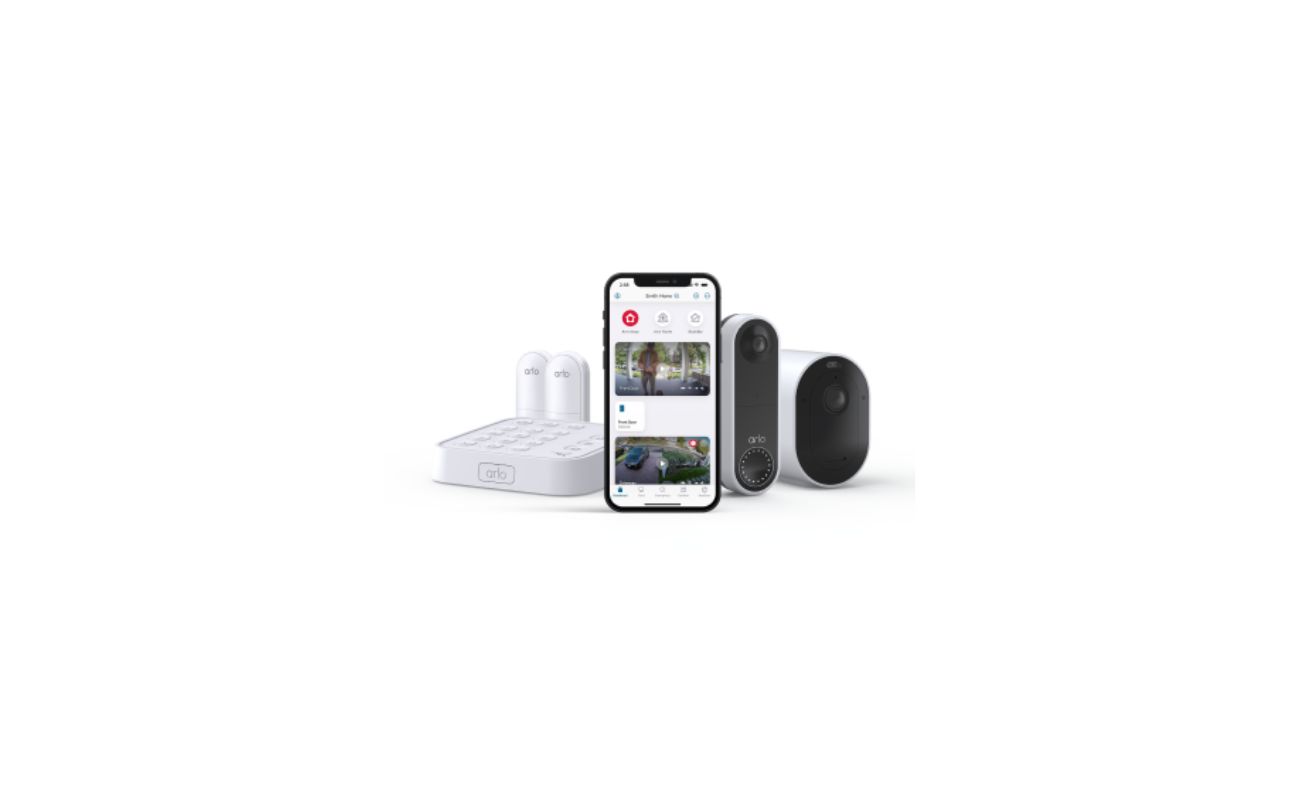
- Mobile Apps and Remote Access: Many wireless security systems offer mobile apps that provide remote access capabilities. With these apps, you can view the live video feed, receive motion detection alerts, and even control PTZ cameras from anywhere using your smartphone or tablet. Check if the system you are considering has a compatible mobile app for convenient remote monitoring.
Understanding the components of a wireless security system is crucial for proper installation, configuration, and optimization. Having a clear grasp of how these components work together will help you make informed decisions when selecting, setting up, and expanding your wireless security system.
Setting Up the Wireless Security Cameras
Setting up wireless security cameras is a straightforward process, but it requires careful planning and attention to detail. Follow these steps to ensure a successful installation:
- Determine Camera Locations: Start by identifying the areas where you want to install the wireless cameras. Consider potential entry points, high-risk areas, and any blind spots that need coverage. Also, take into account factors such as power availability and Wi-Fi range to ensure proper camera placement.
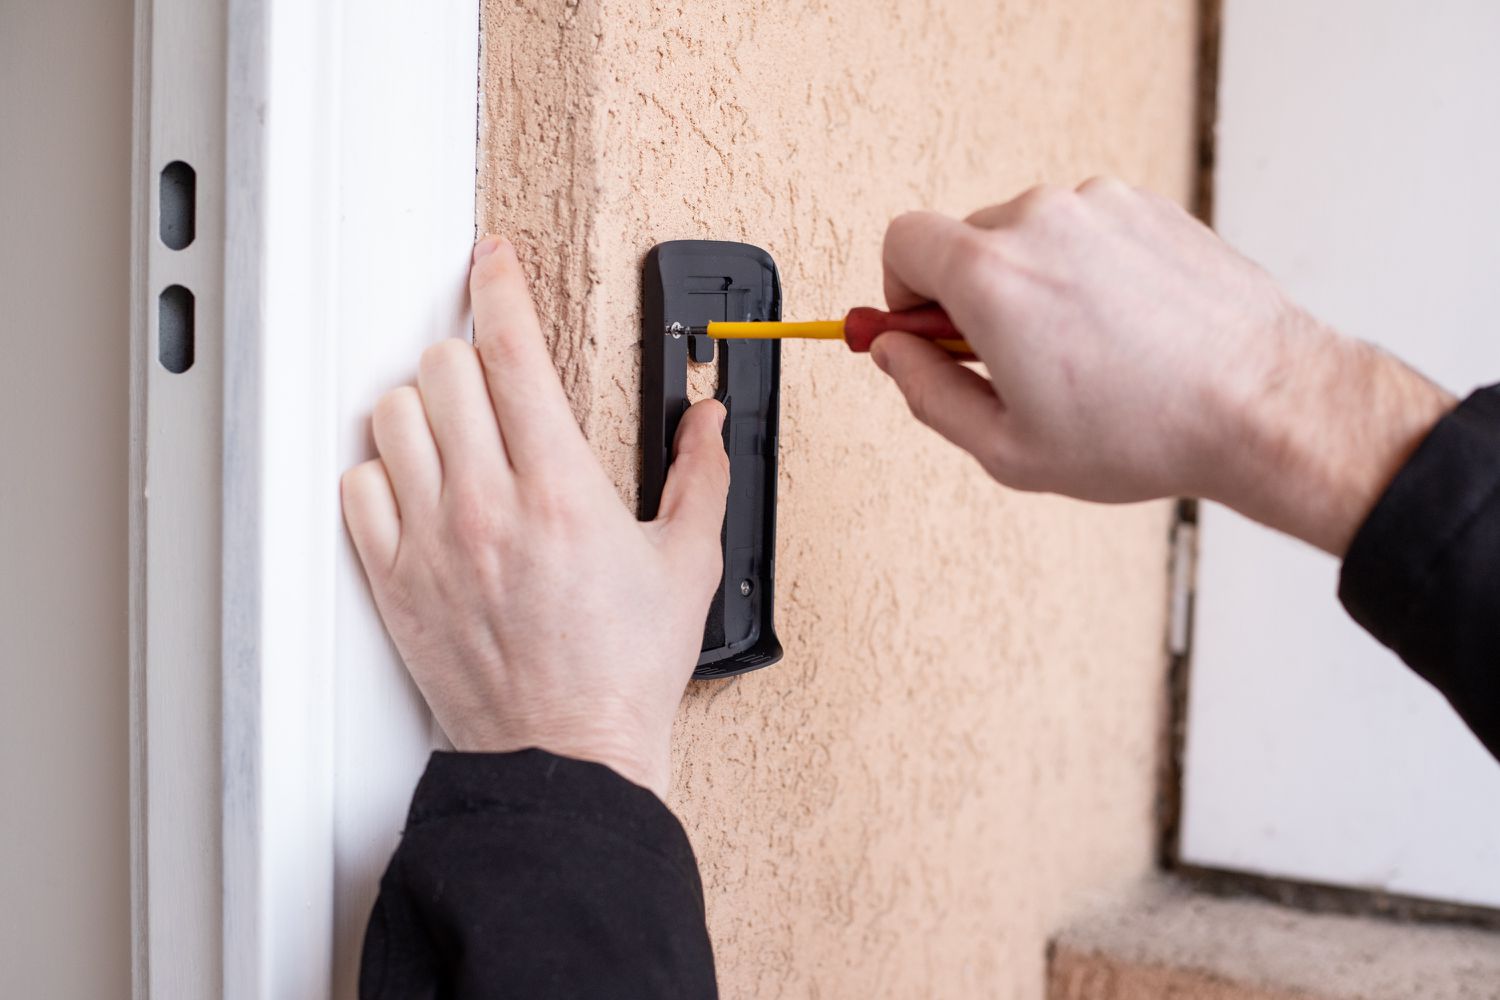
- Mount the Cameras: Once you have determined the camera locations, use the mounting hardware provided with the cameras to secure them in place. Depending on the type of camera, you may need to attach them to walls, ceilings, or other surfaces. Ensure that the cameras are installed securely to avoid any movement or tampering.
- Establish Camera Power: Connect the power source to the cameras according to the manufacturer’s instructions. Depending on the camera model, this may involve attaching a power adapter, wiring to an electrical outlet, or connecting to a battery or solar power source. Double-check the power supply to ensure proper operation.
- Connect Cameras to the Receiver Device: Each wireless camera has its own unique pairing process with the receiver device. Follow the instructions provided by the manufacturer to establish a connection between the cameras and the receiver. This usually involves pressing a sync or pairing button on both the camera and the receiver. Once the pairing is successful, the receiver should detect and display the camera feeds.
- Configure Camera Settings: Access the camera settings through the receiver or a dedicated app to customize various parameters. This may include adjusting video quality, configuring motion detection, setting up recording schedules, enabling night vision, and defining camera names or locations. Take the time to fine-tune these settings to suit your specific surveillance needs.
- Test the Cameras: After setting up the cameras, perform a thorough test to ensure everything is functioning correctly. Check if the camera feeds are transmitting to the receiver device without any issues. Verify the video quality, night vision capabilities, and motion detection. If necessary, make any adjustments or troubleshoot any connectivity problems.
- Optimize Camera Placement and Range: If you encounter any signal or range issues, consider optimizing the camera placement or using wireless transmitters to extend the range. Experiment with different camera angles or adjust the positioning to obtain the best field of view. It’s important to maintain a strong and stable wireless connection between the cameras and the receiver.
Remember, the specific steps for setting up wireless security cameras may vary depending on the brand and model you choose. Always refer to the manufacturer’s instructions for detailed guidance. With proper planning and careful execution, you can easily set up your wireless security cameras and have peace of mind knowing your home is under constant surveillance.
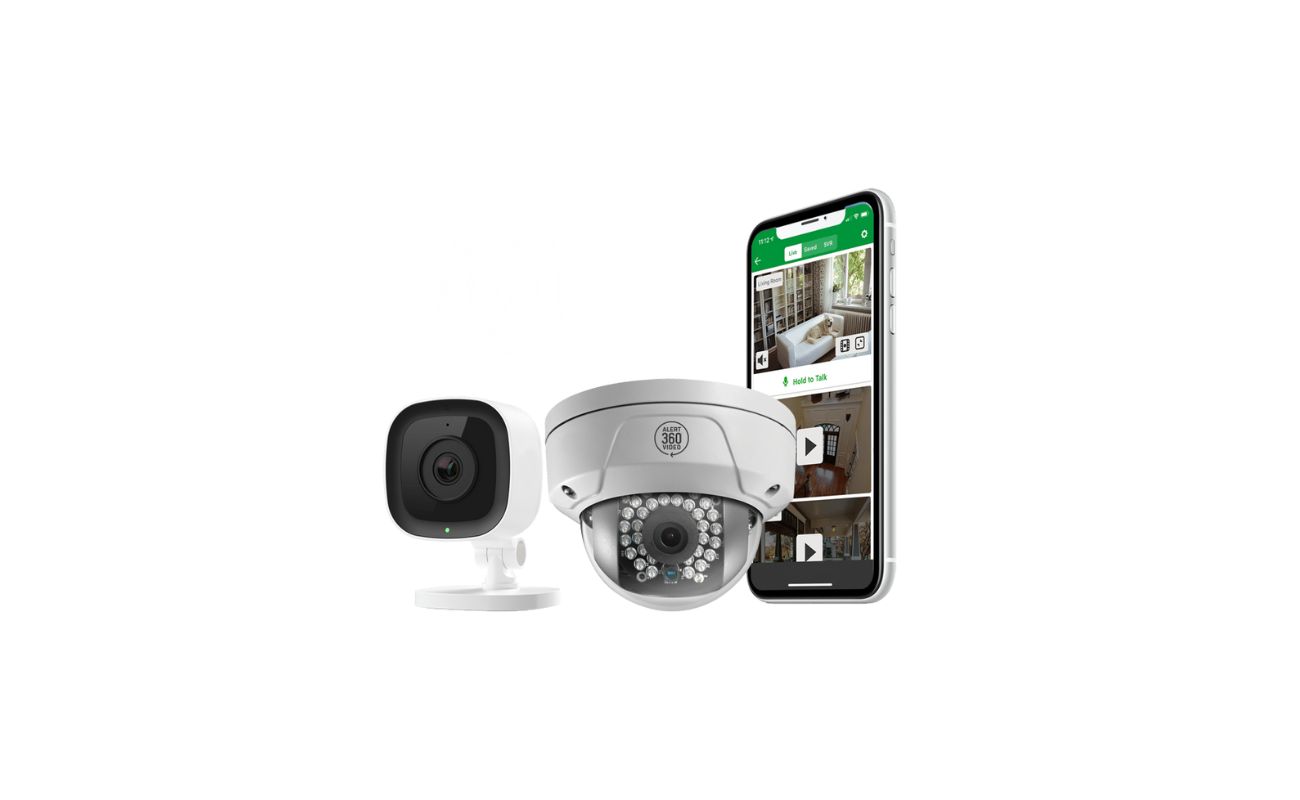
Ensure that your wireless security system is properly connected to your Wi-Fi network. Then, download the corresponding app and follow the instructions to pair the system with your smartphone or tablet to receive live video feeds.
Configuring the Receiver Device
Once you have set up your wireless security cameras, the next step is to configure the receiver device. This device is the central hub that receives and processes the video signals from the cameras. Follow these steps to properly configure the receiver:
- Connect the Receiver to Power and Network: Start by connecting the receiver device to a power source. Depending on the model, this could involve plugging it into an electrical outlet or using batteries. Next, establish a network connection by connecting the receiver to your home router or switch using an Ethernet cable. Ensure that the receiver has a stable and reliable internet connection.
- Access the Receiver Interface: Most receiver devices have a built-in web interface for configuration. To access it, open a web browser on a computer connected to the same network as the receiver and enter the device’s IP address in the address bar. Refer to the manufacturer’s documentation to find the default IP address or any specific instructions for accessing the receiver’s interface.
- Log in to the Interface: Once you have accessed the receiver’s interface, you may be prompted to log in. Enter the default username and password provided by the manufacturer, and if required, change it to a more secure password to protect your system. This step is crucial for preventing unauthorized access to your wireless security system.
- Configure Basic Settings: Within the receiver’s interface, you will find various configuration options. Start by setting the time and date to ensure accurate timestamps on the recorded video footage. Also, check and adjust the network settings if necessary to ensure proper connectivity and access to the receiver remotely.
- Set up Storage and Recording: If your receiver device has built-in storage or supports external storage devices, configure the recording settings. Determine the desired recording mode (continuous, scheduled, or motion-based), and specify the storage location for the recorded footage. You may also have the option to set up alerts or notifications for specific events detected by the cameras.
- Add Cameras to the Receiver: Within the receiver’s interface, there should be an option to add and configure the wireless cameras. Follow the instructions provided by the manufacturer to add each camera to the receiver. This typically involves entering the camera’s unique identifier or pairing code and specifying its location or name. Ensure that the cameras are paired successfully and that the receiver is able to receive video feeds from each camera.
- Customize Advanced Settings: Depending on the receiver device, there may be additional advanced settings that you can customize. These could include motion detection sensitivity, video quality settings, camera-specific configurations, or integration with other security systems or smart home devices. Explore these settings and adjust them according to your preferences and specific surveillance needs.
- Test the Receiver Functionality: Once you have configured the receiver settings, perform a thorough test to ensure everything is functioning correctly. Check if the receiver is receiving video feeds from all the cameras, and verify the recording and storage functionalities. Test any additional features or remote access capabilities if available. Make any necessary adjustments or troubleshoot any issues that arise.
Properly configuring the receiver device is crucial for effectively managing and monitoring your wireless security cameras. Take the time to understand the receiver’s interface and options, and customize the settings to suit your specific surveillance requirements. With a properly configured receiver, you can confidently receive and manage video feeds from your wireless security cameras.
Connecting the Receiver to a Display Device
Once you have configured your wireless security system’s receiver to receive and process video signals, the next step is to connect it to a display device. This will allow you to view the live video feeds and recorded footage from your cameras. Follow these steps to make the connection:
- Identify the Suitable Display Device: Determine the display device you want to connect to the receiver. This can be a monitor, television, or even a mobile device. Consider factors such as screen size, resolution, and accessibility to choose the most suitable device for your needs.
- Check the Receiver’s Output Ports: Examine the receiver to identify the available output ports. Most receivers have HDMI (High Definition Multimedia Interface) or VGA (Video Graphics Array) ports for connecting to display devices. Ensure that your chosen display device has a compatible input port.
- Choose the Type of Connection: Depending on the available ports on both the receiver and the display device, determine the type of connection you will use. HDMI connections offer higher video and audio quality, while VGA connections are typically used for older display devices that do not support HDMI. Select the appropriate cable or adapter to connect the two devices.
- Connect the Receiver to the Display Device: Once you have the necessary cable or adapter, connect one end to the appropriate output port on the receiver and the other end to the corresponding input port on the display device.
- Power On the Display Device: Turn on the display device and select the relevant input source. Use the display device’s remote control or on-screen menu to choose the input source connected to the receiver (e.g., HDMI 1, VGA, etc.).
- Configure Display Settings (if necessary): In some cases, you may need to configure the display settings on the receiver or the display device itself. This includes adjusting the resolution, aspect ratio, and other relevant display settings to ensure optimal video quality and compatibility.
- Verify Video Output: Verify that the video output from the receiver is successfully displayed on the connected display device. Check if the live video feeds from the wireless cameras are visible on the screen.
- Adjust Display Settings as Needed: If necessary, make any additional adjustments to the display settings to enhance the viewing experience. This includes adjusting brightness, contrast, and other settings to optimize the video display quality.
- Explore Additional Display Options (if available): Depending on the receiver and display device capabilities, you may have additional options to explore. This includes split-screen views, multi-channel displays, or remote access through dedicated apps on mobile devices or computers. Explore these options to utilize the full potential of your wireless security system.
By successfully connecting the receiver to a display device, you can now enjoy the convenience of viewing the live video feeds and recorded footage from your wireless security cameras. Ensure that the connection remains secure and stable, and make any necessary adjustments to the display settings for optimal viewing experience.
Troubleshooting Wireless Video Reception Issues
While wireless security systems offer convenience and flexibility, they can occasionally face video reception issues due to various factors. If you encounter problems with the video reception from your wireless cameras, follow these troubleshooting steps:
- Check Camera Placement and Range: Ensure that your wireless cameras are within the recommended range of the receiver device. If the cameras are too far away or obstructed by walls or other objects, it can weaken the signal and result in poor video reception. Consider repositioning the cameras or using wireless transmitters to extend the signal range.
- Verify Power Supply: Check that all cameras have a stable power source. A weak or unreliable power supply can cause video reception issues. Confirm that the power cables and connections are secure and free from damage. If using batteries or solar power, ensure they are adequately charged or receiving enough sunlight.
- Inspect Network Connectivity: Ensure that the receiver device is connected to a stable and reliable network. Restart the router or switch to refresh the connection and check that the receiver has a proper IP address. Additionally, make sure there are no other devices or wireless signals interfering with the network in the vicinity of the receiver.
- Upgrade Firmware (if applicable): Check if there are any firmware updates available for the wireless cameras or the receiver device. Outdated firmware can sometimes lead to compatibility issues and poor video reception. Follow the manufacturer’s instructions to upgrade the firmware and ensure all devices are running the latest software version.
- Double-check Camera and Receiver Pairing: Confirm that the cameras have been properly paired with the receiver. Verify that the cameras have the correct pairing codes or identifiers entered in the receiver’s interface. If the pairing is unsuccessful, repeat the pairing process and ensure that the cameras and the receiver are within close proximity during the setup.
- Optimize Wireless Signal Strength: If you are experiencing weak or unstable video reception, take steps to improve the wireless signal strength. This can include relocating the receiver or wireless transmitters to minimize obstructions, repositioning the antennas for optimal signal reception and orientation, or utilizing wireless signal boosters or repeaters.
- Check for Interference: Other wireless devices or sources of interference can disrupt the video reception. Make sure there are no devices operating on the same frequency range as your wireless cameras or receiver. This includes wireless routers, cordless phones, and microwave ovens. Adjust the Wi-Fi channels to avoid interference, or consider using devices that operate on less crowded frequency bands.
- Inspect Cabling and Connections: Check all cables and connections between the cameras, receiver, and display device. Ensure they are securely plugged in and free from any damage or loose connections. Faulty or damaged cables can result in poor video signal transmission and reception.
- Reset and Reconfigure Devices: As a last resort, if you have exhausted all other troubleshooting options, try resetting and reconfiguring the wireless cameras and the receiver device. This will restore the devices to their default settings, allowing you to start the setup process from scratch. Remember to back up any important configurations or settings before performing a reset.
If you are still experiencing issues with video reception after attempting these troubleshooting steps, it is recommended to consult the manufacturer’s support documentation or reach out to their customer support for further assistance. They can provide additional guidance and help resolve any persistent issues with your wireless security system’s video reception.
Conclusion
Wireless security systems have revolutionized the way we protect our homes and loved ones. With their ease of installation, flexibility, and remote access capabilities, they provide a convenient and reliable solution for home surveillance. In this comprehensive guide, we have covered the key aspects of receiving video from a wireless security system.
We started by understanding the basics of wireless security systems, including their components and how they work. From wireless cameras to receiver devices, we explored the essential elements that make up a wireless security system. We then delved into the process of setting up the wireless security cameras, ensuring proper placement, power supply, and connection to the receiver device.
We also discussed the configuration of the receiver device, covering steps such as connecting it to power and the network, accessing the interface, and customizing settings. Additionally, we explained the necessary steps for connecting the receiver to a display device, allowing you to view the live video feeds and recorded footage from your cameras.
To ensure a smooth experience, we offered troubleshooting tips for addressing common issues with wireless video reception. By checking camera placement, verifying power supply, optimizing network connectivity, and addressing potential interference, you can overcome these challenges and enjoy uninterrupted video reception from your wireless security system.
By following the guidelines and tips provided in this guide, you can confidently set up, configure, and troubleshoot your wireless security system. Whether you are a first-time homeowner or a tech enthusiast, a wireless security system offers the peace of mind and protection you deserve.
Remember to refer to the manufacturer’s documentation and seek support as needed. Stay up to date with firmware updates and periodically review and adjust your system settings to ensure optimal performance. With your wireless security system up and running, you can enjoy the benefits of advanced home surveillance, knowing that you have taken an important step towards securing your home and loved ones.
Frequently Asked Questions about How To Receive Video From Wireless Security System
Was this page helpful?
At Storables.com, we guarantee accurate and reliable information. Our content, validated by Expert Board Contributors, is crafted following stringent Editorial Policies. We're committed to providing you with well-researched, expert-backed insights for all your informational needs.