Home>Home Security and Surveillance>How To Install Alarm Systems
Home Security and Surveillance
How To Install Alarm Systems
Modified: March 6, 2024
Learn how to install home security and surveillance alarm systems to keep your property safe and protected. Step-by-step guide for easy installation and peace of mind.
(Many of the links in this article redirect to a specific reviewed product. Your purchase of these products through affiliate links helps to generate commission for Storables.com, at no extra cost. Learn more)
Introduction:
Home security is a top priority for homeowners, and one of the most effective ways to protect your home and loved ones is by installing a reliable alarm system. With the advancement of technology, home security systems have become more accessible and user-friendly, allowing homeowners to monitor their properties remotely and receive immediate alerts in case of any security breaches.
In this article, we will guide you through the process of installing an alarm system in your home. Whether you are a DIY enthusiast or prefer to hire a professional, this step-by-step guide will help you understand the key considerations and necessary actions to ensure a successful installation. By the end, you will have a fully functional alarm system that provides peace of mind and keeps your home secure.
Before we jump into the installation process, it’s essential to clarify that alarm systems come in various types and configurations, catering to different security needs and budgets. Whether you opt for a wireless system or a wired one, the installation procedure will generally follow the same principles. Let’s get started by assessing your security needs.
Key Takeaways:
- Installing a home alarm system involves assessing security needs, choosing the right system, and performing regular maintenance. It’s a proactive step to protect your home and loved ones.
- Proper installation and maintenance of an alarm system ensure reliable security. It’s important to test alarms, clean sensors, and stay informed about updates for optimal protection.
Read more: How To Become An Alarm Systems Dealer
Step 1: Assess Your Security Needs
Before diving into the installation process, it’s crucial to evaluate your specific security requirements. This will help you determine the type and features of the alarm system that will best meet your needs. Here are a few factors to consider:
- Size and Layout of Your Home: Consider the size, layout, and number of entry points in your home. This will help determine the number and placement of sensors and detectors required for comprehensive coverage.
- Level of Protection: Determine the level of protection you desire. Are you looking for a basic system that covers entry points, or do you require additional features such as motion detectors, video surveillance, or smart home integration?
- Budget: Define your budget for the alarm system. Cost can vary based on the type of system, features, and monitoring services. Strike a balance between affordability and the level of security you aim to achieve.
- Desired Monitoring Service: Decide if you want professional monitoring services or prefer to self-monitor your system. Professional monitoring provides 24/7 surveillance and immediate response in case of emergencies, while self-monitoring allows you to manage and monitor your system independently.
- Integration with Other Security Devices: Assess if you have other security devices or home automation systems that you would like to integrate with your alarm system. This could include smart locks, cameras, or even voice-controlled assistants.
- Deterrent Factor: Consider the deterrent factor of the alarm system. Visible security signs, cameras, and alarms can act as a deterrent to potential intruders.
By thoroughly evaluating these factors, you will gain a better understanding of the specific requirements for your home security. This knowledge will guide you in selecting the most appropriate alarm system and components for your needs. Once you have a clear idea of what you require, you can proceed to the next step of choosing the right alarm system.
Step 2: Choose the Right Alarm System
Choosing the right alarm system is a critical step as it forms the foundation of your home security. With numerous options available in the market, it’s essential to consider the following factors to ensure you select the system that best fits your security needs:
- Type of Alarm System: Determine whether you prefer a wired or wireless alarm system. Wired systems require professional installation and are typically more reliable, while wireless systems are easier to install and offer more flexibility in terms of device placement.
- Features and Components: Assess the features and components offered by the alarm system. Look for key elements such as door/window sensors, motion detectors, glass break sensors, and surveillance cameras. Consider additional features like smartphone integration, remote access, and home automation compatibility.
- Scalability: Consider the scalability of the alarm system. If you plan to expand your security system in the future, ensure that the chosen system supports additional components and devices.
- User-Friendliness: Evaluate the user-friendliness of the alarm system. Look for systems with intuitive interfaces, easy installation processes, and clear instructions to ensure a hassle-free experience.
- Reliability and Reputation: Research the reliability and reputation of the alarm system and the manufacturer. Read customer reviews and seek recommendations from trusted sources to ensure you choose a reputable and trusted brand.
- Budget and Cost: Consider your budget and the overall cost of the alarm system. Compare prices, subscription fees, and any additional costs associated with professional monitoring or maintenance to determine the system that offers the best value for your money.
After thoroughly considering these factors, you will have a clear understanding of the type of alarm system that suits your needs. Make sure to make an informed decision and select a system that aligns with your security requirements, budget, and lifestyle.
Once you have chosen the right alarm system, it’s time to gather the necessary tools and equipment for the installation process. Read on for step 3!
Step 3: Gather the Necessary Tools and Equipment
Before you begin the installation process, it’s important to gather all the necessary tools and equipment. Having everything on hand will ensure a smooth and efficient installation. Here are the essential tools and equipment you will need:
- Screwdriver Set: A set of screwdrivers with different sizes and types (Phillips and flathead) will be needed to mount sensors, control panels, and keypads.
- Drill and Drill Bits: A drill will be required to create holes for mounting sensors, control panels, and other devices. Make sure to have a variety of drill bits for different types of surfaces.
- Wire Strippers: Wire strippers are essential to remove insulation from wires for a proper and secure connection.
- Tape Measure: Use a tape measure to accurately measure distances and ensure correct sensor placement.
- Pencil or Marker: These will come in handy for marking the exact locations where holes need to be drilled or mounts should be placed.
- Level: A level is essential for ensuring that the sensors and other components are properly aligned and mounted straight.
- Ladder: Depending on the height of your home and the placement of devices, a ladder may be required for accessing higher areas.
- Batteries and Power Supply: Check the requirements of your alarm system and make sure you have the necessary batteries and power supply for each component.
- Cable Ties and Mounting Hardware: These will help you organize and secure wires, cables, and components during installation.
- User Manual and Instructions: Keep the user manuals and installation instructions of your alarm system handy for reference throughout the installation process.
By gathering these tools and equipment beforehand, you will save time and avoid unnecessary interruptions during the installation. Once you have everything ready, you can move on to the next step of preparing your home for installation.
Continue reading to learn how to prepare your home for the alarm system installation in step 4!
Step 4: Prepare Your Home for Installation
Before you begin the actual installation of your alarm system, it’s important to properly prepare your home. Taking the time to do this will help ensure a smooth and efficient installation process. Here are the key steps to prepare your home:
- Create a Floor Plan: Start by creating a floor plan of your home. Identify the entry points, windows, and other areas where you will be installing sensors and detectors. This will help you determine the best locations for these devices and ensure comprehensive coverage.
- Clean and Clear the Areas: Clean the surfaces where you will be mounting the devices to ensure proper adhesion. Clear any clutter and remove objects that may obstruct the installation process or interfere with the functioning of the sensors.
- Test the Communication Range: If you have opted for a wireless system, test the communication range between the sensors and the control panel. Walk around the premises with the control panel to ensure there are no dead zones where the signal strength is weak.
- Secure Access Points: Reinforce the security of your doors and windows by ensuring they are properly secured and have sturdy locks. Consider upgrading to more secure locks or installing additional security measures such as door/window reinforcements or security bars if necessary.
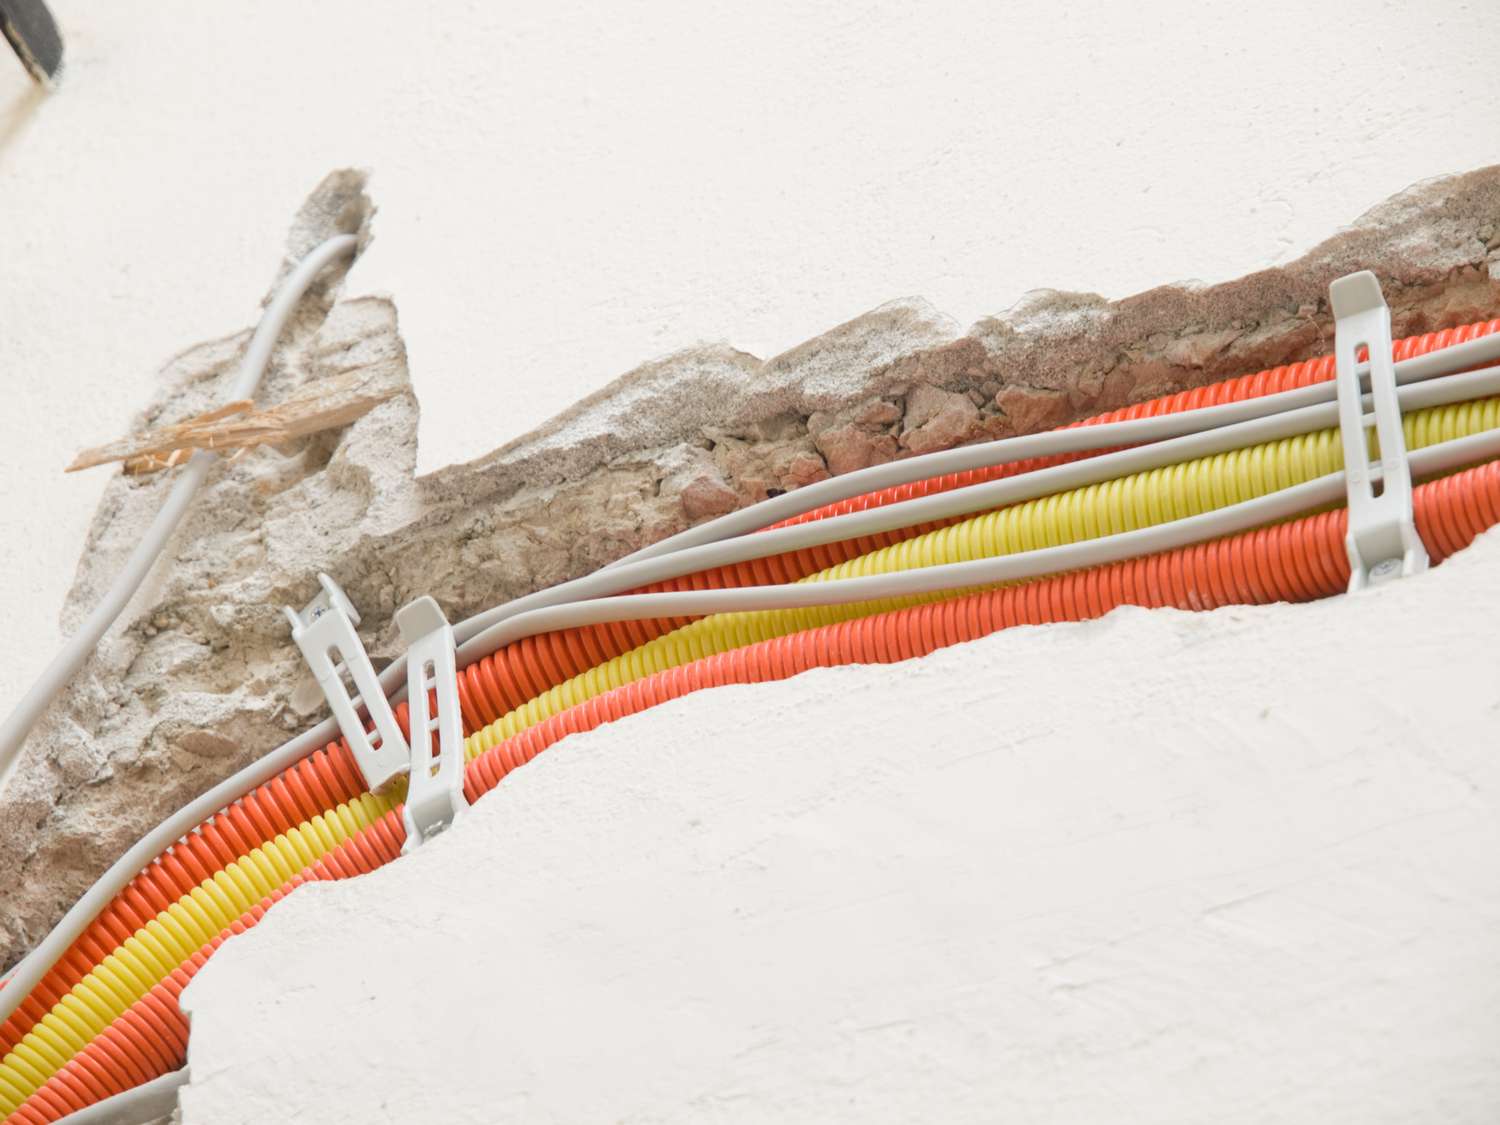
- Map out Wiring Routes: If you have opted for a wired system, map out the routes for wiring to connect the sensors and devices. Plan the most efficient and discreet paths to minimize visible wiring and potential damage to walls or surfaces.
- Inform Household Members: Inform everyone in your household about the upcoming installation and any necessary instructions. Make sure they are aware of the system’s features, how to arm and disarm it, and any other relevant information to ensure proper usage and avoid false alarms.
- Notify Authorities: If you plan to have professional monitoring services, notify the relevant authorities or security company about the upcoming installation. This will allow for a seamless transition and ensure immediate response in case of emergencies.
By following these preparation steps, you will ensure that your home is ready for the installation process. With a clear floor plan, well-prepared areas, and secure access points, you can now proceed with installing the control panel in step 5.
Continue reading to learn how to install the control panel and set the foundation of your alarm system!
Read more: How To Use Tyco Alarm Systems
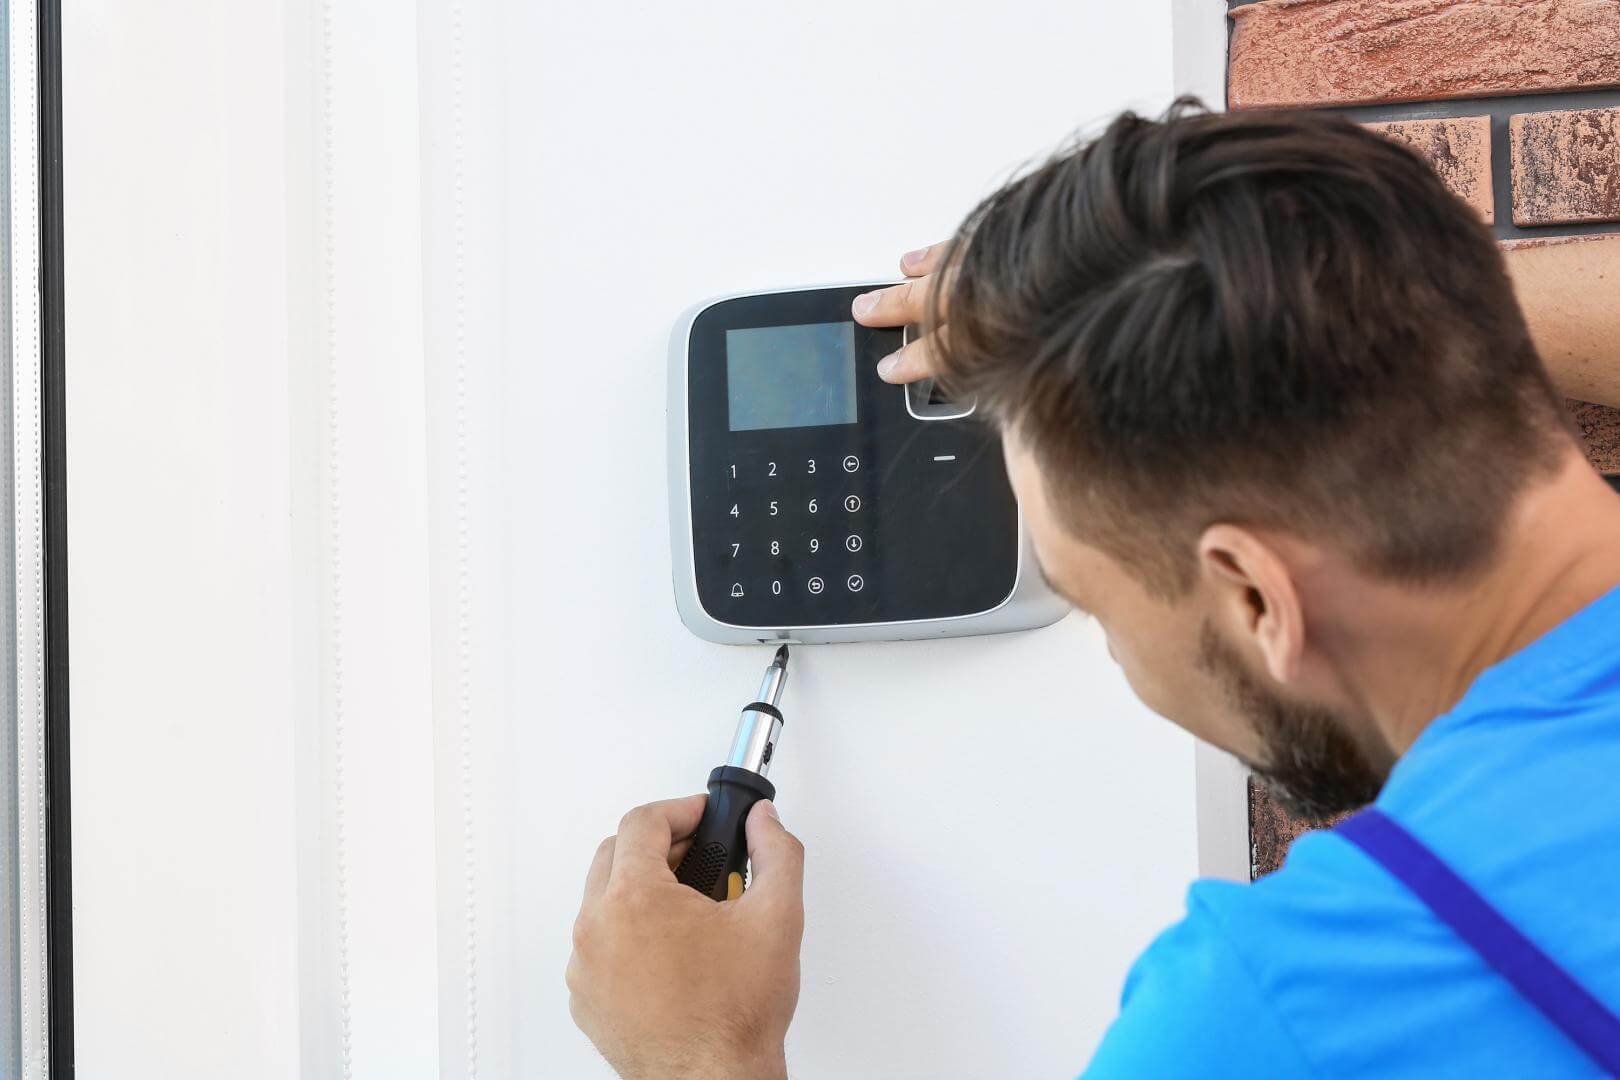
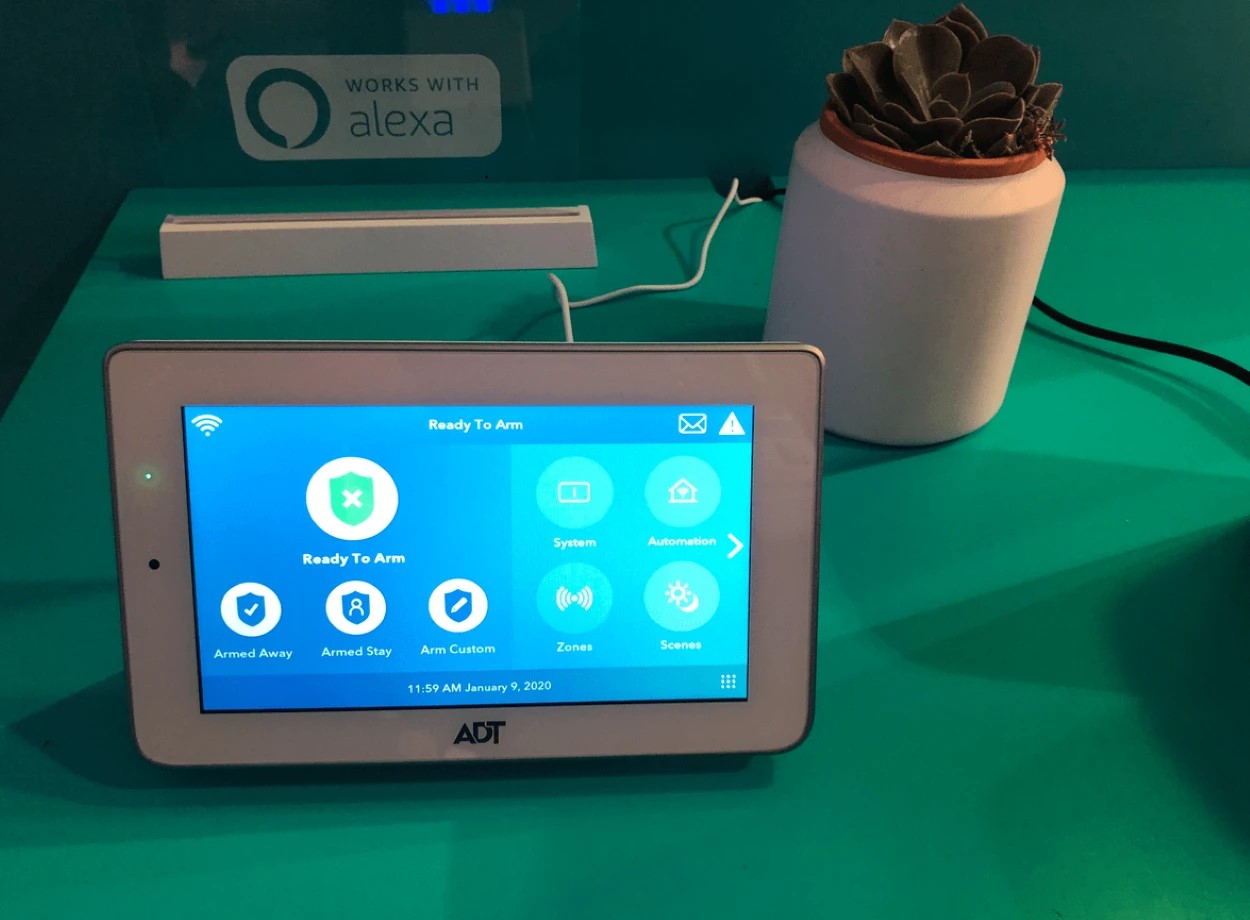
Step 5: Install the Control Panel
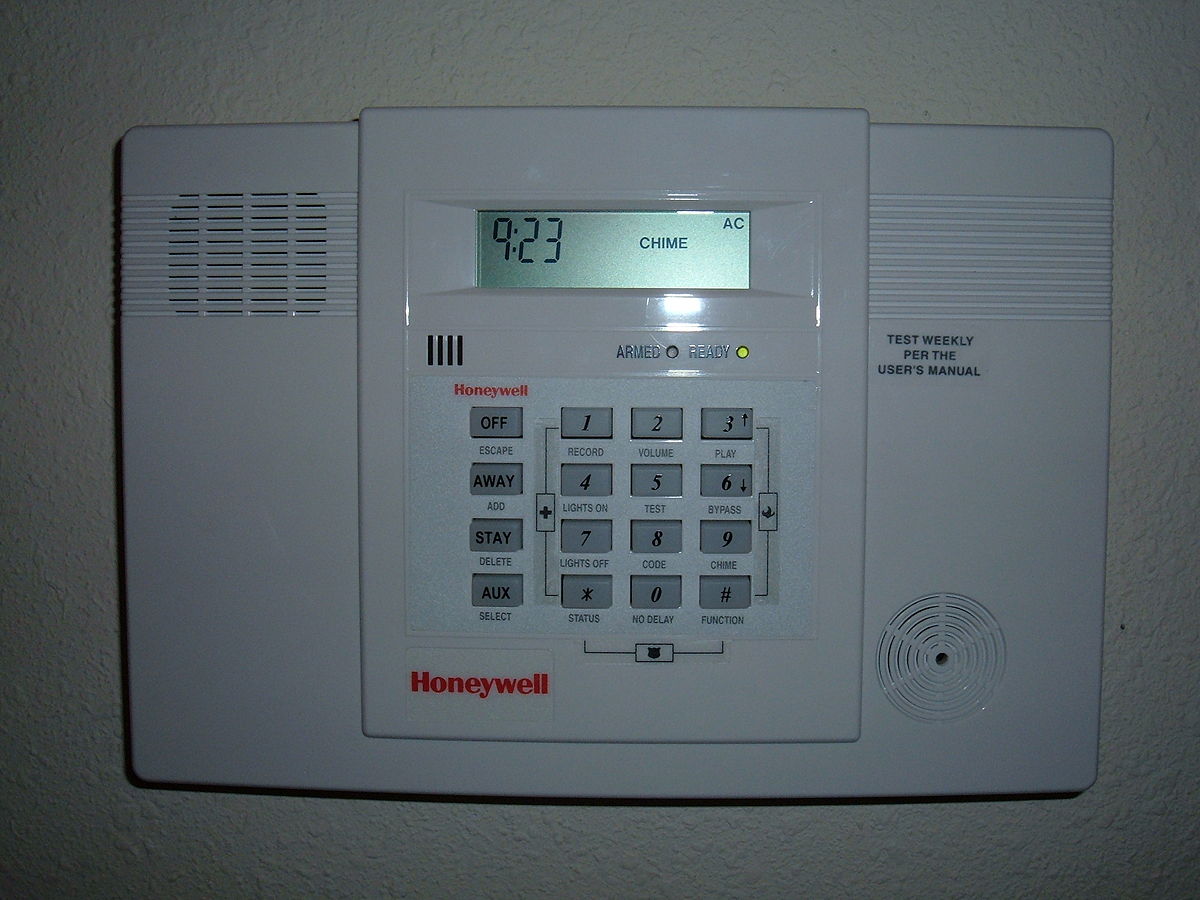
The control panel is the central hub of your alarm system and serves as the command center for arming, disarming, and monitoring your home security. Installing the control panel properly is crucial for the functionality of your system. Follow these steps to install the control panel:
- Select a Central Location: Choose a central location in your home to mount the control panel. This should be easily accessible and preferably close to a power outlet and telephone jack, if required. Common locations include an entryway or a hallway near the main living area.
- Mark and Drill Holes: Use a pencil or marker to mark the positions for the mounting screws on the wall. Ensure that the control panel is level by using a level. Once marked, drill holes for the mounting screws using an appropriate drill bit.
- Mount the Control Panel: Align the control panel with the drilled holes and attach it to the wall using the screws provided. Make sure it is securely fastened and level. Double-check that all the connections (power, telephone, etc.) are properly plugged into the control panel.
- Connect Power: If the control panel requires a power source, connect it to a nearby power outlet. Follow the manufacturer’s instructions for proper wiring and connection. Ensure that the power source is stable and not susceptible to accidental disconnection.
- Test the Control Panel: Once the control panel is installed and powered on, test its functionality. Check the display to ensure it is properly functioning and shows the correct information. Follow the manufacturer’s instructions to perform basic operations such as arming and disarming the system.
- Configure Control Panel Settings: Access the control panel’s settings menu and configure any desired settings, such as adding user codes or adjusting the volume. Refer to the user manual for specific instructions on navigating and customizing the control panel’s settings.
Properly installing the control panel forms the foundation of your alarm system. Take the time to ensure its secure mounting, accurate level, and functional connections to ensure smooth operation. Once the control panel is in place, you can move on to the next step of installing and connecting the sensors.
Continue reading to learn how to mount and connect sensors in step 6!
When installing an alarm system, make sure to place the control panel in a central location, install sensors on all entry points, and test the system regularly to ensure it is functioning properly.
Step 6: Mount and Connect Sensors
Sensors play a crucial role in an alarm system as they detect and trigger alerts in response to unauthorized entry or movement. Mounting and connecting sensors properly ensures accurate detection and enhances the overall effectiveness of your home security. Follow these steps to mount and connect sensors:
- Refer to the Floor Plan: Consult your floor plan to identify the ideal locations for installing sensors. Consider placing them near windows, doors, or other vulnerable entry points. Ensure that the sensors are strategically positioned to provide optimal coverage for your home.
- Prepare the Mounting Surface: Clean the mounting surfaces of doors, windows, or walls where the sensors will be installed. Use a cleaning solution or rubbing alcohol to remove any dirt, residue, or grease. This will ensure a secure and long-lasting attachment.
- Attach the Mounting Brackets: Attach the provided mounting brackets to the designated areas following the manufacturer’s instructions. Use screws, adhesive strips, or any recommended method to securely fasten the brackets in place.
- Install the Sensors: Depending on the type of sensor, follow the manufacturer’s instructions to install them onto the mounting brackets. This may involve securing the sensors using screws, sliding them into place, or using adhesive backing.
- Connect the Wiring: If you are using wired sensors, carefully route the wiring along the planned paths. Feed the wires through any necessary holes or conduits and connect them to the corresponding terminals on the control panel or junction box. Strip the wire ends, make secure connections, and ensure proper insulation.
- Test Sensor Functionality: Once the sensors are installed and wired, test their functionality. Open and close doors or windows to check if the sensors detect the movement and trigger the appropriate alerts. Test each sensor individually to ensure accurate detection and reliable operation.
- Adjust Sensor Sensitivity: Depending on the sensor type, you may have the option to adjust sensitivity levels. Consult the sensor’s user manual to understand how to adjust sensitivity settings if desired. This will help prevent false alarms while still providing effective security coverage.
Mounting and connecting sensors correctly ensures that your alarm system can effectively detect and alert you to any potential security breaches. Take the time to properly position and test each sensor to maximize their performance. With the sensors in place, you can now proceed to the next step of installing keypads and control devices.
Continue reading to learn how to install keypads and control devices in step 7!
Step 7: Install Keypads and Control Devices
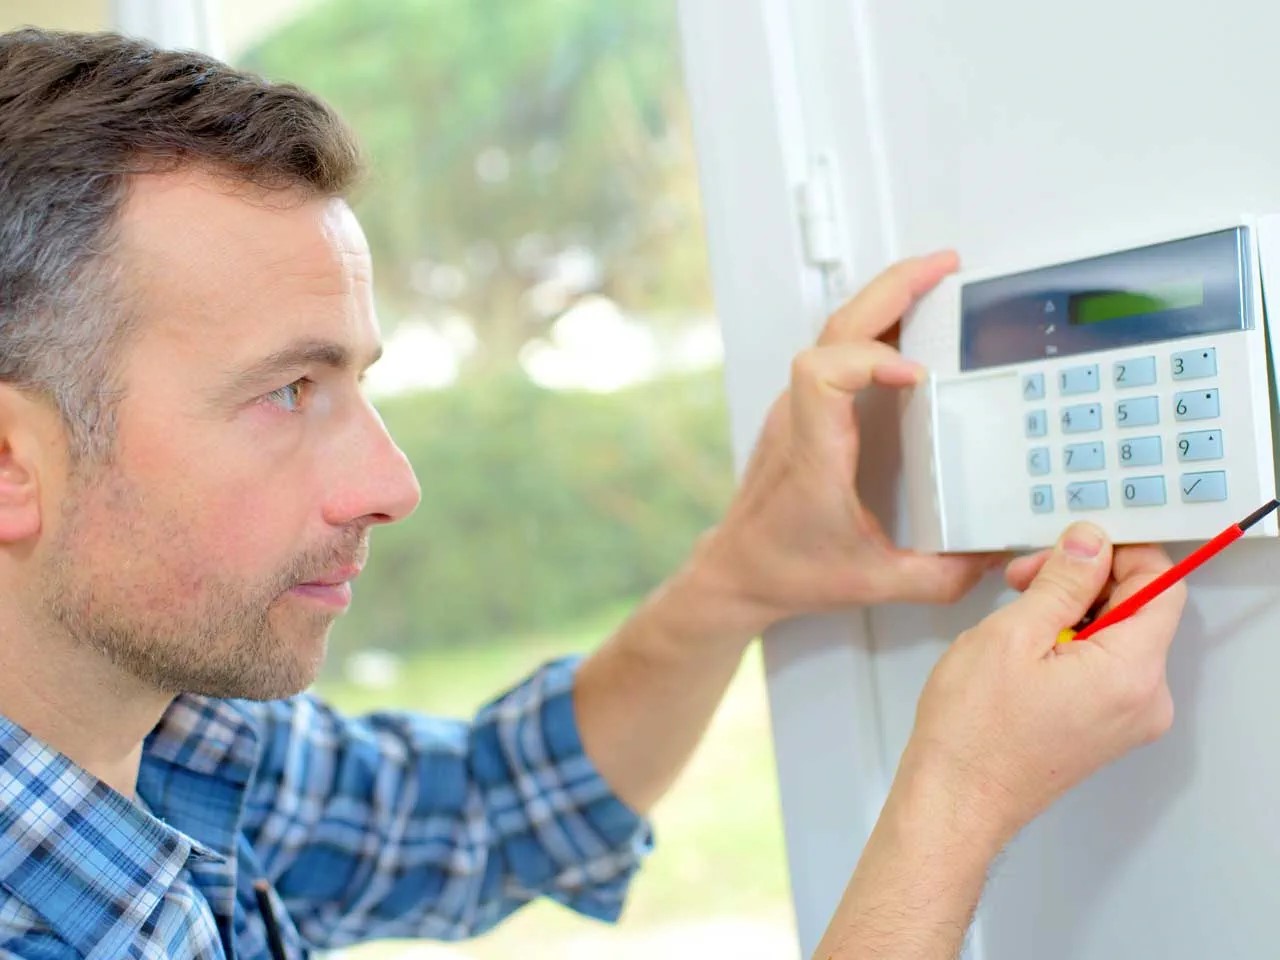
Keypads and control devices allow you to interact with your alarm system, providing a convenient way to arm, disarm, and control various features. Installing these devices properly ensures easy access and smooth operation of your security system. Follow these steps to install keypads and control devices:
- Select the Installation Locations: Choose the locations where you want to install keypads and control devices. Common locations include near main entryways, bedrooms, or other easily accessible areas.
- Mark and Drill Holes: Use a pencil or marker to mark the positions for mounting screws on the wall. Ensure that the devices are level by using a level. Once marked, drill holes for the mounting screws using an appropriate drill bit.
- Mount the Devices: Align the keypads or control devices with the drilled holes and attach them to the wall using the screws provided. Ensure they are securely fastened and level. Double-check that all connections are properly plugged into the devices.
- Connect the Wiring: If the keypads or control devices require wiring, carefully route the wires to the appropriate locations. Connect the wires to the corresponding terminals on the devices and the control panel. Strip the wire ends, make secure connections, and ensure proper insulation.
- Test Device Functionality: Once the keypads and control devices are installed and wired, test their functionality. Use the keypads to arm and disarm the system, test the buttons and touchscreen (if applicable), and ensure that the devices communicate properly with the control panel.
- Configure Device Settings: Access the device settings menu and configure any desired settings, such as adjusting volume levels, setting display preferences, or enabling user-specific access codes. Consult the device’s user manual for specific instructions on how to navigate and customize the settings.
- Label and Document: Label each device with its corresponding zone or location, ensuring easy identification. Additionally, document the installation locations and associated device information for future reference or troubleshooting purposes.
By following these steps, you can ensure that your keypads and control devices are installed securely and functioning properly. With these devices in place, you can now move on to step 8 and connect the alarm system to power and perform initial testing.
Continue reading to learn how to connect to power and test the alarm system in step 8!
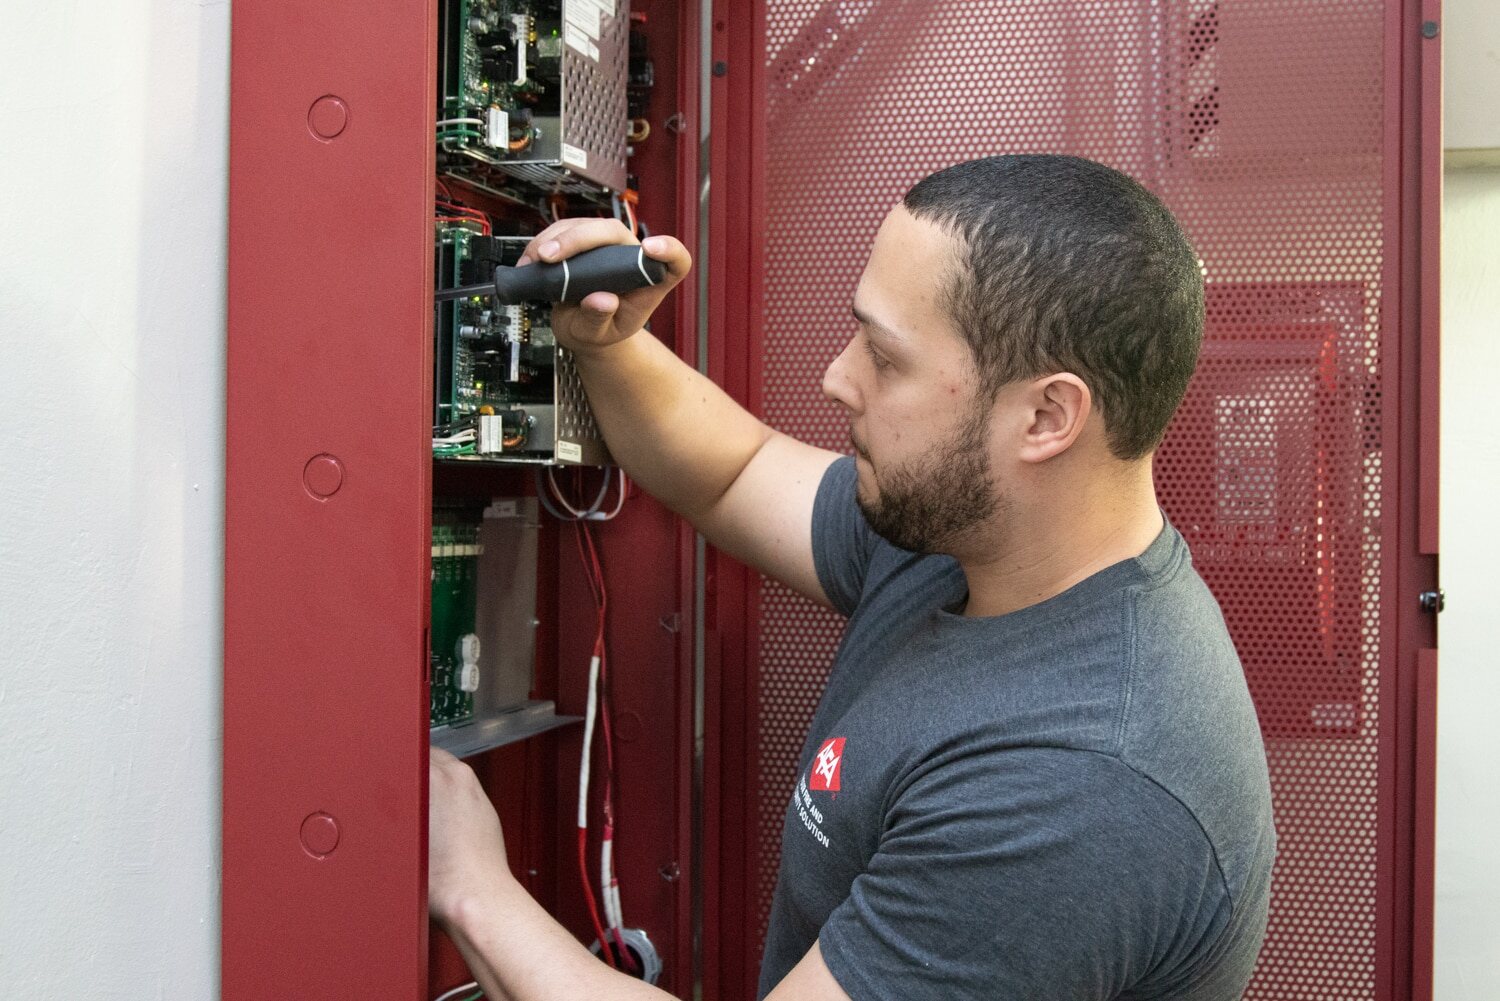
Step 8: Connect to Power and Test the System
Now that the hardware components of your alarm system are installed, it’s time to connect everything to power and perform initial testing. This step ensures that the system is functioning properly and ready to protect your home. Follow these steps to connect to power and test the system:
- Identify the Power Source: Determine the power source for your alarm system. In most cases, it will either be a power outlet or a dedicated power supply. Refer to the manufacturer’s instructions to identify the correct power source for your specific system.
- Connect to Power: If your system requires a power outlet, plug the power cord into a nearby outlet. Make sure the outlet is easily accessible and provides a stable power supply. If your system uses a dedicated power supply, carefully connect the power wires to the appropriate terminals or connectors.
- Power On the System: Once the system is connected to power, switch on the power source. The control panel, keypads, and other connected devices should power up, indicating that the system is receiving power.
- Perform Initial Testing: Test the functionality of your alarm system by arming and disarming it. Use the keypads or control devices to arm the system in different modes (such as “Away” or “Stay”). Open and close doors or windows to ensure that the sensors detect the movement and trigger appropriate alerts. Verify that the control panel displays accurate information and responds to your commands.
- Verify Communication: If your alarm system supports remote monitoring or connectivity, verify that the system can communicate with external devices or monitoring services. Test any connectivity features, such as remote access via smartphone or integration with a smart home system.
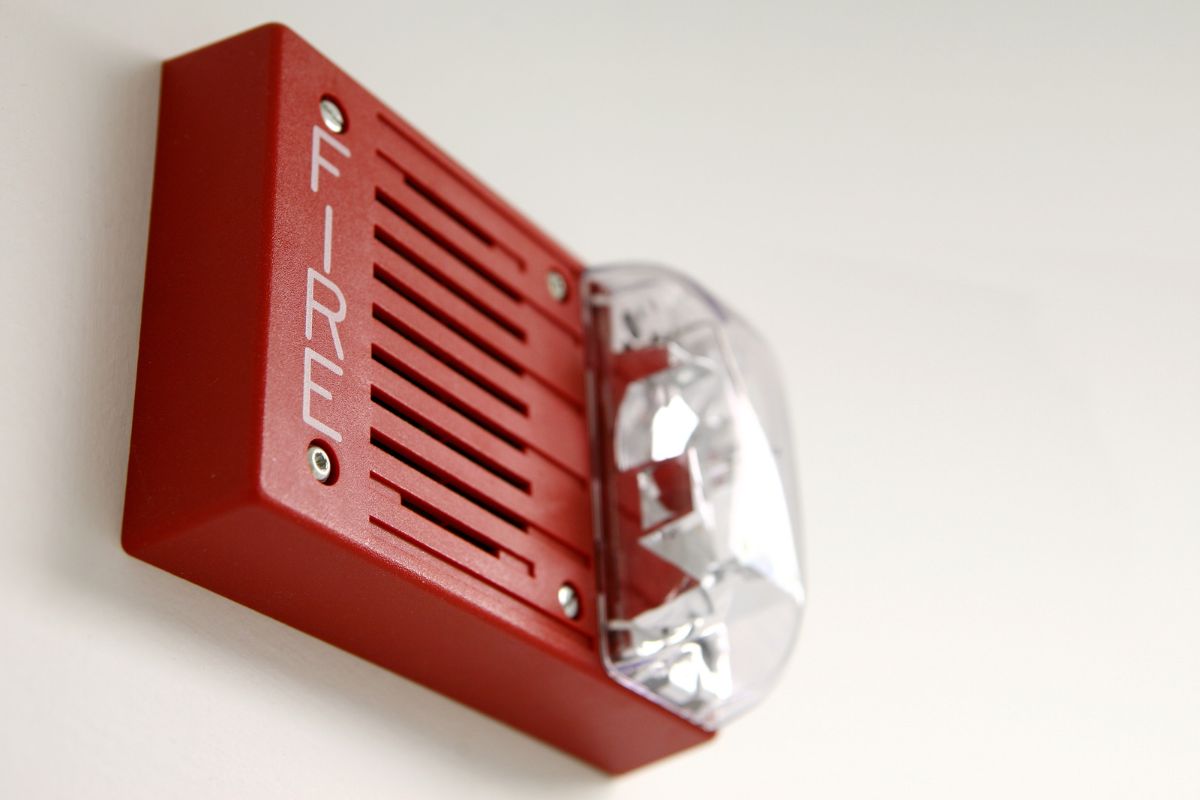
- Test Alarms and Notifications: Trigger a test alarm to ensure that all alarms and notifications are functioning as expected. This can include testing the sounders, sirens, or even contacting the monitoring service to ensure they receive the alarms and respond accordingly.
- Make Adjustments: If any issues or malfunctions are identified during testing, troubleshoot and make necessary adjustments. Refer to the user manuals or contact the manufacturer’s support for guidance on resolving any issues.
By connecting the system to power and performing initial testing, you can ensure that all components are working correctly. This step allows you to identify and address any issues before relying on the alarm system for full protection.
Continue reading to learn how to activate monitoring service in step 9!
Read more: How Many Alarm Systems In The Usa
Step 9: Activate Monitoring Service
Activating a monitoring service is an important step to enhance the security of your alarm system. Professional monitoring provides 24/7 surveillance and immediate response in case of emergencies. Follow these steps to activate monitoring service for your alarm system:
- Research Monitoring Companies: Research various monitoring companies and choose one that fits your needs and budget. Look for companies with a good reputation, reliable response times, and positive customer reviews. Consider whether you prefer a local monitoring service or a national provider.
- Contact the Monitoring Company: Reach out to the chosen monitoring company and inquire about their services. Discuss your specific requirements, including the type of alarm system you have installed and the level of monitoring you desire.
- Sign Up for a Monitoring Plan: Choose a suitable monitoring plan offered by the company. Plans may vary in terms of services offered, such as alarm notification, emergency dispatch, and remote access to your alarm system. Make sure to review the terms and conditions of the plan before signing up.
- Provide Necessary Information: Furnish the monitoring company with all required information, such as your contact details, emergency contacts, and any specific instructions in case of an alarm activation. Ensure that the monitoring company has accurate and up-to-date information to provide efficient and effective response to any alarms.
- Test Monitoring Connection: Coordinate with the monitoring company to test the communication and connection between your alarm system and their monitoring center. This ensures that alarms triggered by your system are received and appropriately responded to by the monitoring professionals.
- Pay for Monitoring Services: Set up the payment method for the monitoring service. This can be done through monthly or annual subscriptions, depending on the company’s billing process. Make sure to pay the fees promptly to avoid any interruptions in the monitoring service.
- Confirm Activation: Once all the necessary steps are completed, confirm with the monitoring company that your alarm system is officially activated and being monitored. Keep the company’s contact information readily available in case you need to update your details or report any issues in the future.
By activating a monitoring service, you enhance the effectiveness of your alarm system by ensuring professional assistance in case of emergencies. The monitoring company will be able to promptly respond to any alarms triggered by your system, providing peace of mind and increased security for your home.
Continue reading to learn about the importance of performing regular maintenance and testing in step 10!
Step 10: Perform Regular Maintenance and Testing
Maintaining and testing your alarm system regularly is crucial to ensure its continued functionality and effectiveness. Regular maintenance and testing help identify any issues or malfunctions early on, allowing you to address them promptly. Follow these steps to perform regular maintenance and testing:
- Review Manufacturer’s Guidelines: Familiarize yourself with the manufacturer’s guidelines for maintenance and testing. These guidelines provide specific instructions and recommendations for keeping your alarm system in optimal condition.
- Inspect and Clean Sensors: Regularly inspect sensors, detectors, and other components for any damage or signs of wear. Clean them using a soft, lint-free cloth to remove any dust or debris that may hinder their performance.
- Check Battery Levels: If your alarm system uses batteries, regularly check the battery levels to ensure they are functioning properly. Replace any low or dead batteries to maintain consistent power supply.
- Test Alarms and Notifications: Periodically test the alarms and notifications of your system to ensure they are working correctly. Activate the alarm system and verify that sounders, sirens, notification alerts, and any connected devices (such as smartphones or email notifications) are functioning as intended.
- Test Sensors and Detectors: Perform regular sensor testing by systematically opening and closing doors and windows to ensure that the sensors detect the movements and trigger appropriate alarms. Test motion detectors by walking through their detection range to verify accurate detection and responsiveness.
- Verify Communication: If your alarm system has connectivity features, test the communication between the system and any connected devices or monitoring services. Confirm that remote access, smartphone integration, or other communication functions are working smoothly.
- Update Contact Information: Regularly review and update your contact information with the monitoring company or any relevant emergency contacts. Inform them of any changes in phone numbers, addresses, or emergency contact details to ensure effective communication during emergencies.
- Perform Professional Inspection: Consider scheduling periodic professional inspections of your alarm system. Trained technicians can conduct a thorough assessment, identify any potential issues, and perform necessary maintenance or repairs.
- Stay Informed: Stay updated on any software or firmware updates provided by the manufacturer. Regularly check for updates and ensure that your system is running the latest version to take advantage of any new features or improvements.
By performing regular maintenance and testing, you can proactively identify and address any issues with your alarm system. This ensures that your system remains reliable, responsive, and capable of protecting your home and loved ones.
Congratulations on completing all the steps! By following this comprehensive guide, you have successfully installed and set up your home alarm system. Enjoy the added security and peace of mind that comes with having a fully functional alarm system in place.
Stay vigilant and continue to prioritize the safety of your home by regularly maintaining and testing your system. If you encounter any difficulties or have questions, refer to the user manuals or contact the manufacturer’s support for assistance.
Remember, a well-maintained and properly functioning alarm system is your key to a secure and protected home!
Conclusion
Installing a home alarm system is a proactive step towards enhancing the security of your home and providing peace of mind for you and your loved ones. By following the ten steps outlined in this guide, you have successfully navigated the process of installing an alarm system from assessing your security needs to performing regular maintenance and testing.
Throughout the installation process, you learned the importance of assessing your security needs, choosing the right alarm system, gathering the necessary tools and equipment, and preparing your home for installation. You gained insights into the proper installation of the control panel, sensors, keypads, and other control devices. You also discovered how to connect the system to power, test its functionality, and activate a monitoring service to enhance its effectiveness.
Furthermore, you now understand the significance of performing regular maintenance and testing to keep your alarm system in optimal condition. By inspecting and cleaning sensors, testing alarms and notifications, verifying communication, and staying informed about updates and changes, you can ensure that your system remains reliable and capable of protecting your home.
Remember, while installing an alarm system is an important step, it should be complemented with other security measures such as secure locks, adequate lighting, and proactive home security practices. Regularly reviewing your security needs and staying updated on advancements in technology and security solutions will enable you to enhance and adapt your system over time.
By taking the time to properly install and maintain your alarm system, you have made a significant investment in the safety and security of your home. With a well-functioning alarm system in place, you can rest assured knowing that you have taken proactive steps to protect your property, deter potential intruders, and swiftly respond to any security threats.
Enjoy the added peace of mind that comes with knowing your home is secure, and remember to periodically review and update your security measures to stay ahead of evolving threats. Stay safe and protected!
Frequently Asked Questions about How To Install Alarm Systems
Was this page helpful?
At Storables.com, we guarantee accurate and reliable information. Our content, validated by Expert Board Contributors, is crafted following stringent Editorial Policies. We're committed to providing you with well-researched, expert-backed insights for all your informational needs.