Home>Home Security and Surveillance>How To Make A Wireless Security System

Home Security and Surveillance
How To Make A Wireless Security System
Modified: October 29, 2024
Learn how to create a reliable and smart home security and surveillance system with wireless technology. Protect your home with ease and convenience.
(Many of the links in this article redirect to a specific reviewed product. Your purchase of these products through affiliate links helps to generate commission for Storables.com, at no extra cost. Learn more)
Introduction
Welcome to the world of home security and surveillance! In today’s fast-paced and interconnected world, it’s more important than ever to ensure the safety and security of our homes. Whether you’re a homeowner, renter, or even running a small business from your residence, having a reliable wireless security system can provide the peace of mind you need.
In this article, we will guide you through the process of setting up a wireless security system from start to finish. We will cover the essential components you’ll need, as well as the steps to choose the right system, set up the base station, install security cameras, configure the wireless network, and test and troubleshoot the system.
With the advancements in technology, wireless security systems have become increasingly popular. Unlike traditional wired systems, wireless systems offer the advantage of easy installation and flexibility. You don’t have to deal with drilling holes and running cables throughout your home. Instead, you can place the cameras and sensors wherever you need them without any hassle.
Additionally, wireless systems allow you to monitor your home security from anywhere, as long as you have an internet connection. This means you can check in on your home while you’re at work or even when you’re on vacation, giving you a sense of control and peace of mind.
Before we dive into the steps of setting up a wireless security system, let’s take a look at the essential components you’ll need.
Key Takeaways:
- Setting up a wireless security system involves choosing the right components, setting up the base station, installing cameras, configuring the network, and testing the system for reliable home protection.
- Regular testing, maintenance, and troubleshooting are crucial for keeping your wireless security system in top condition and ensuring the safety and peace of mind of you and your loved ones.
Read more: How To Disarm Wireless Security System
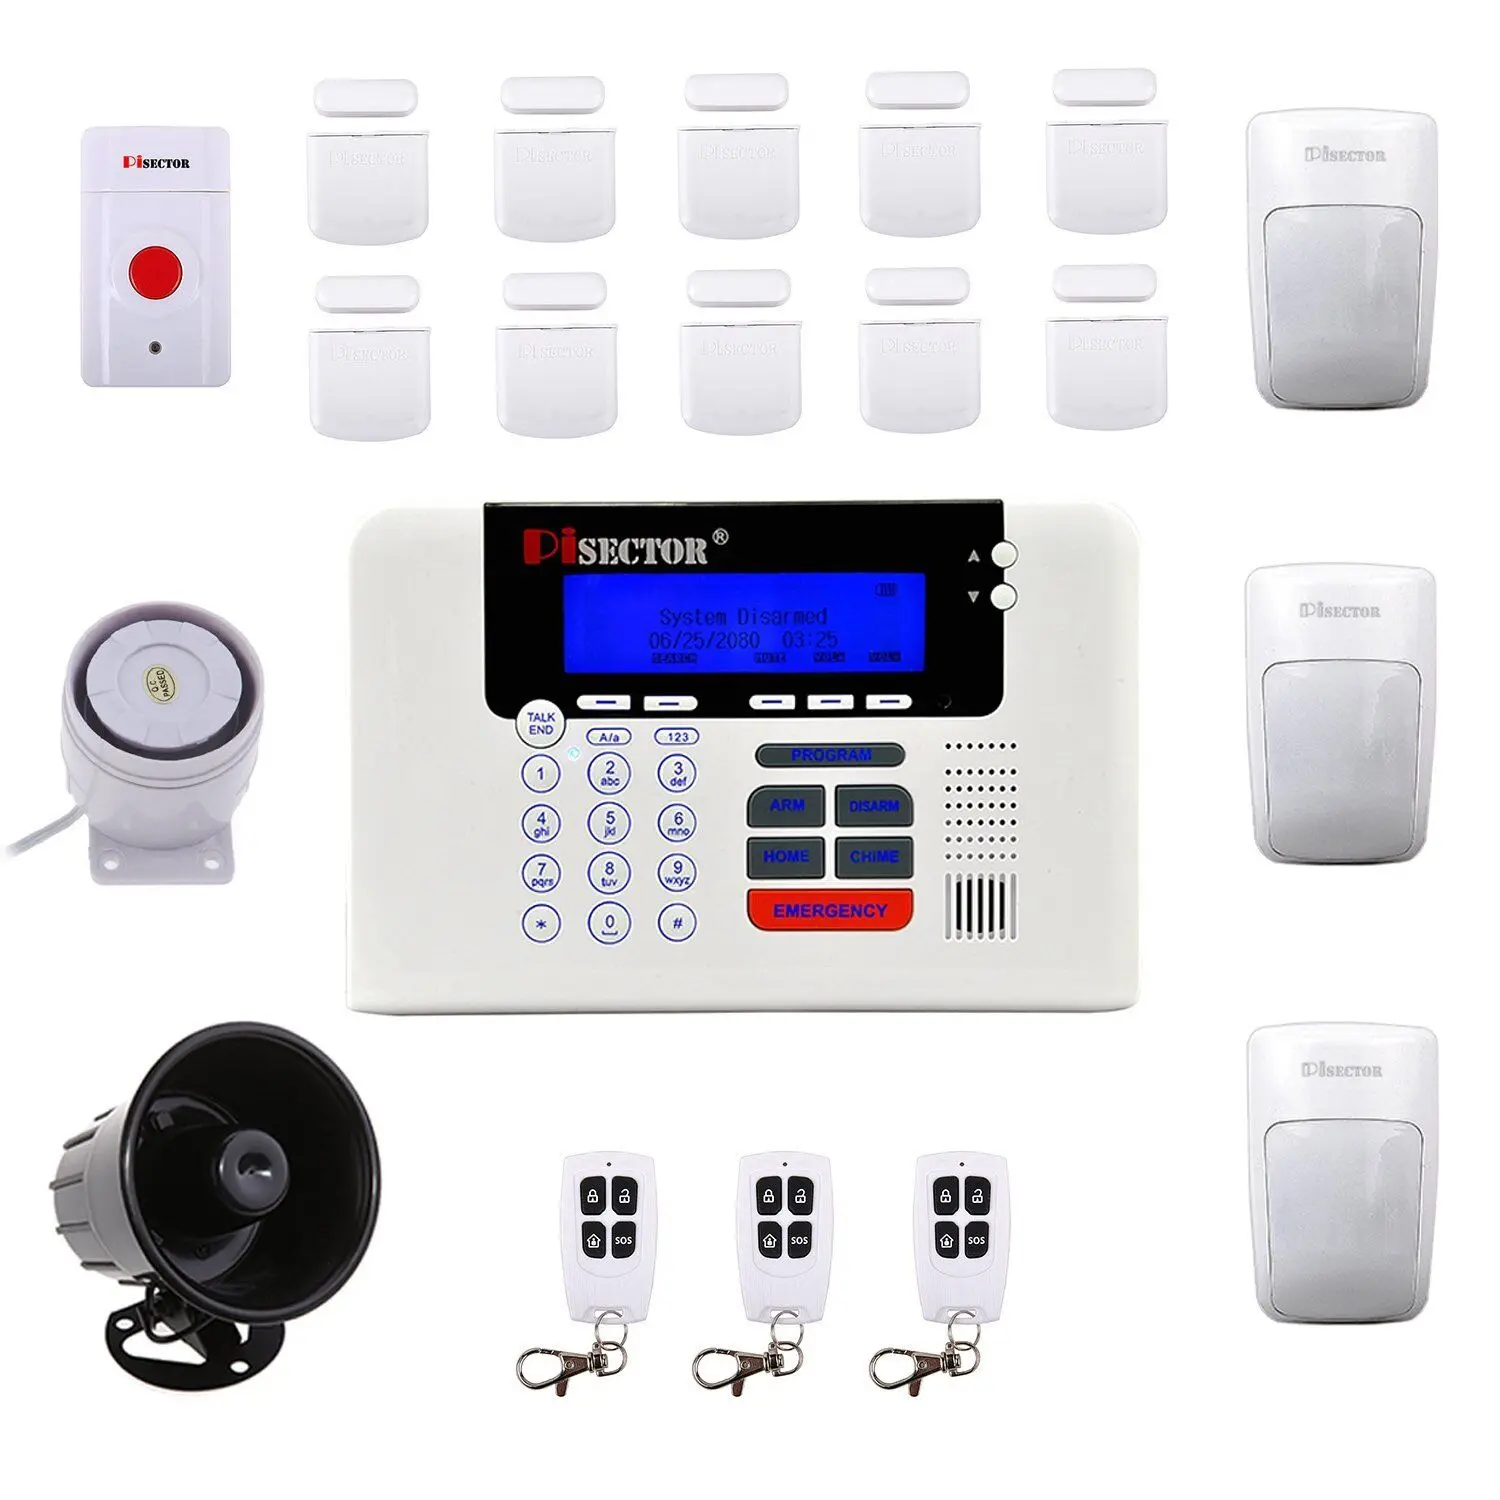
Components Needed
Before you begin setting up your wireless security system, it’s important to gather all the necessary components. Here are the essentials you’ll need:
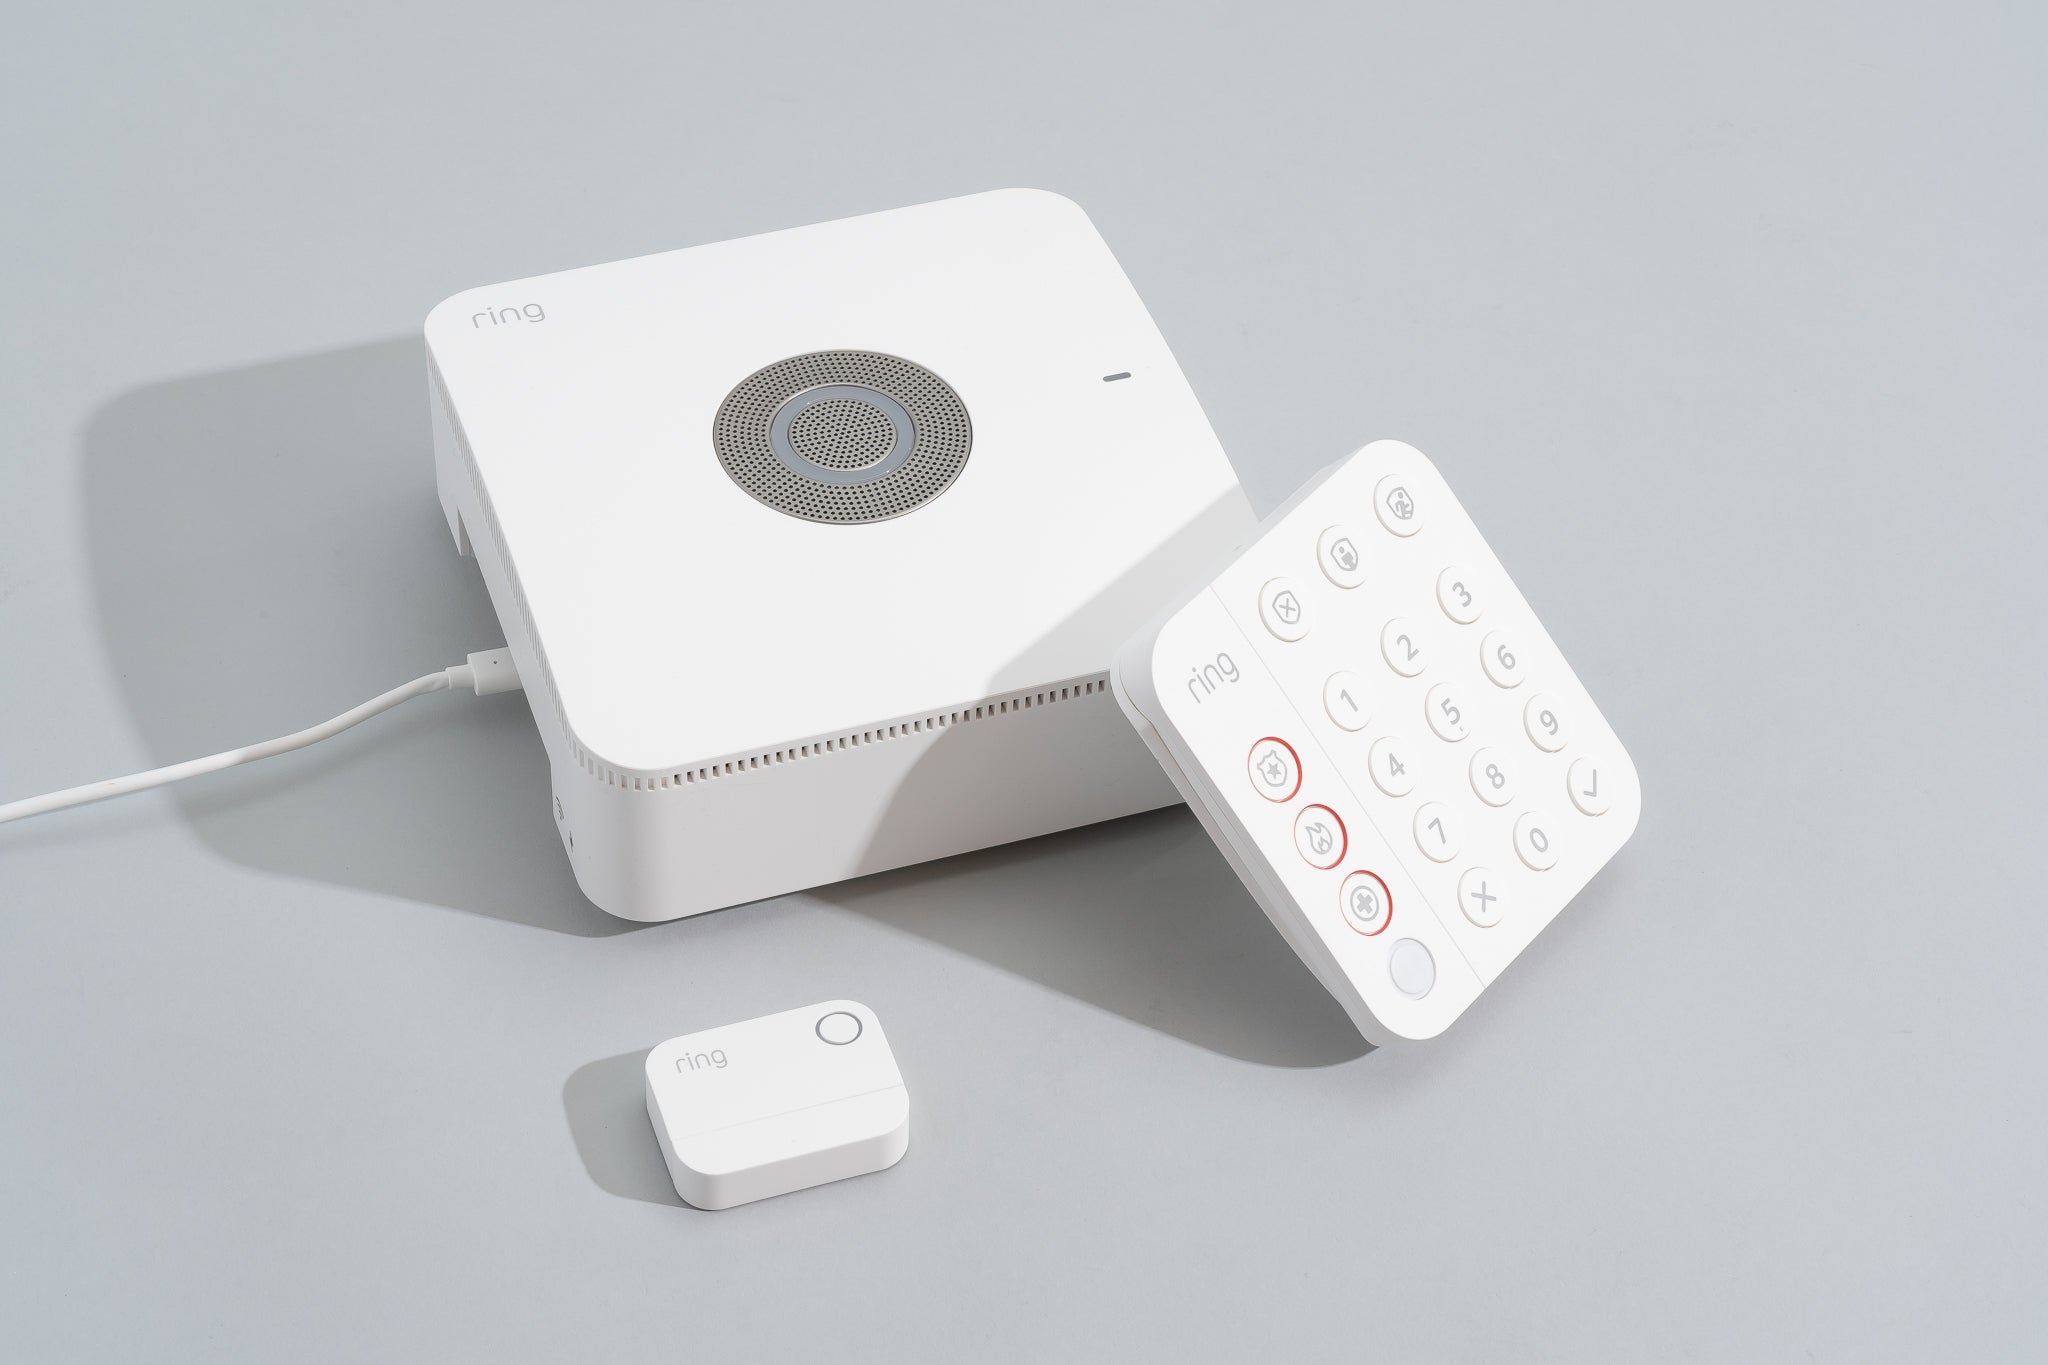
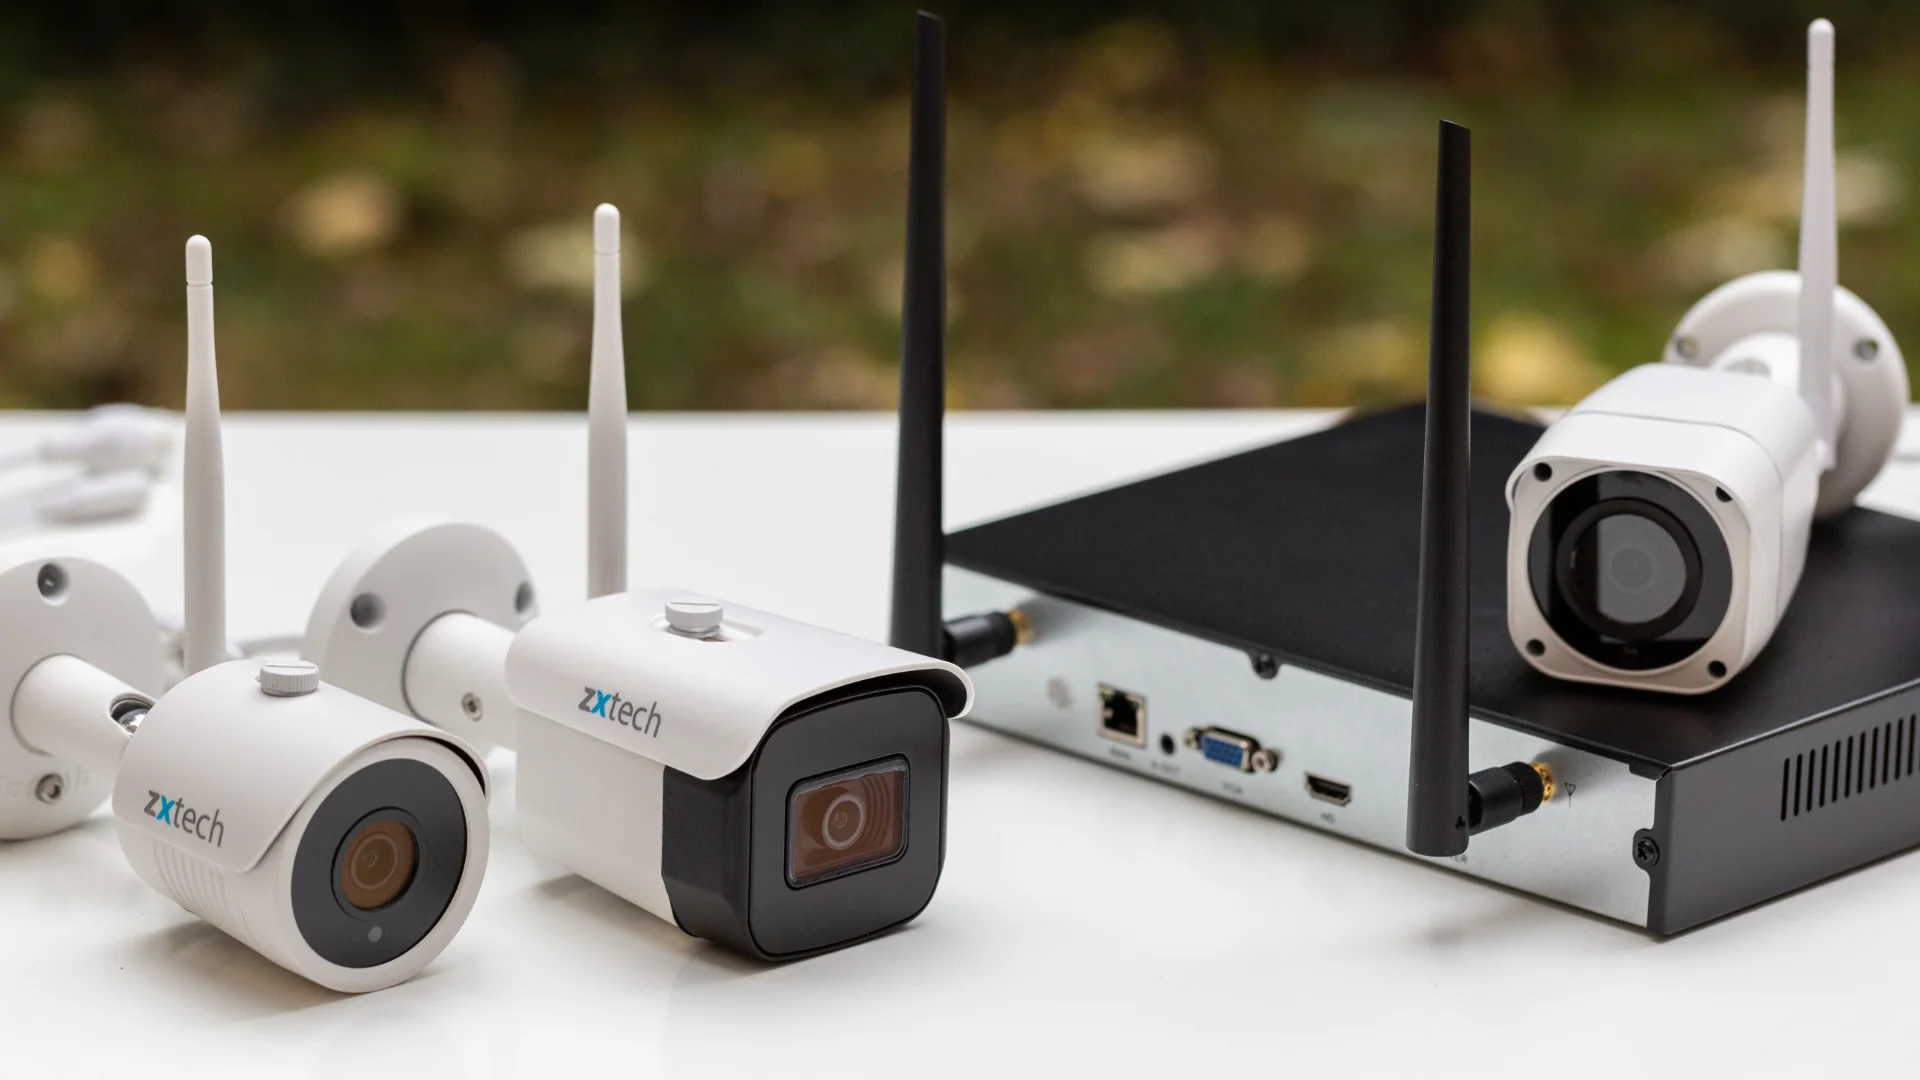
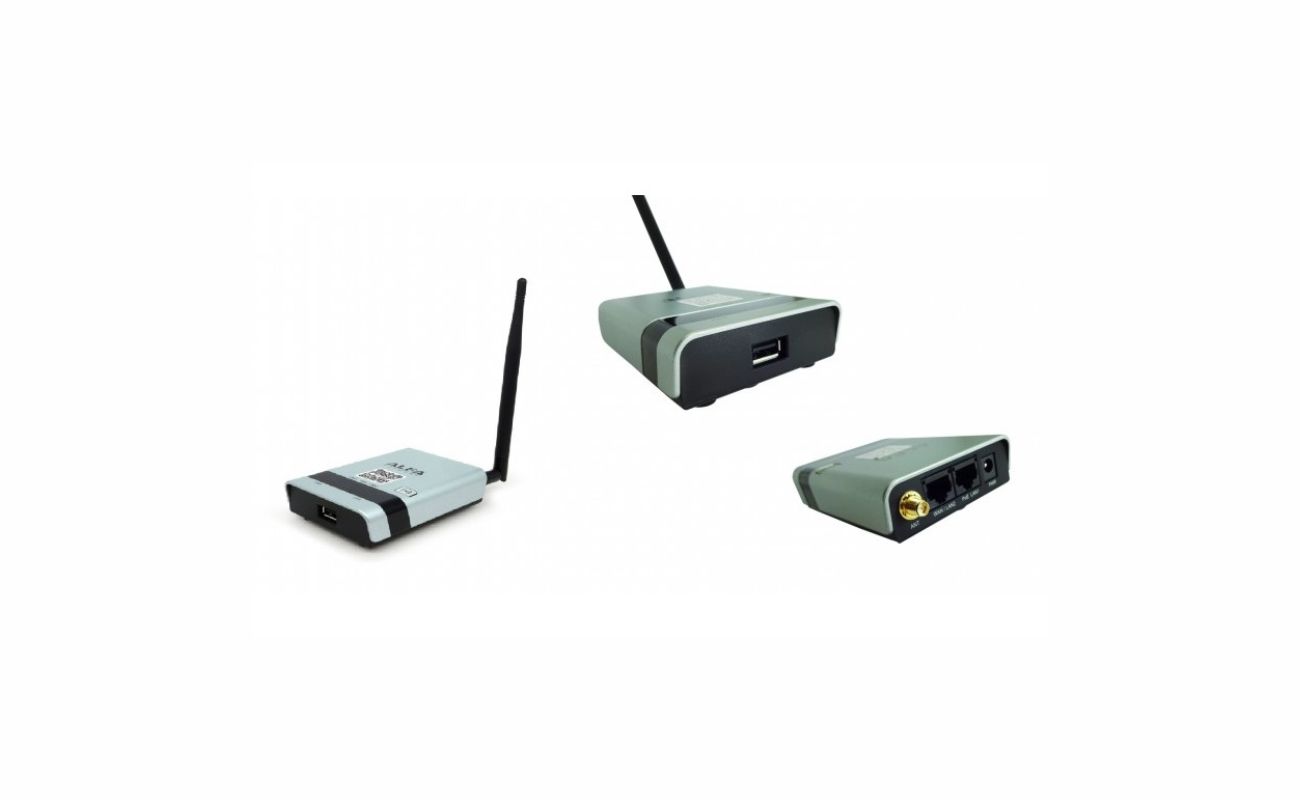
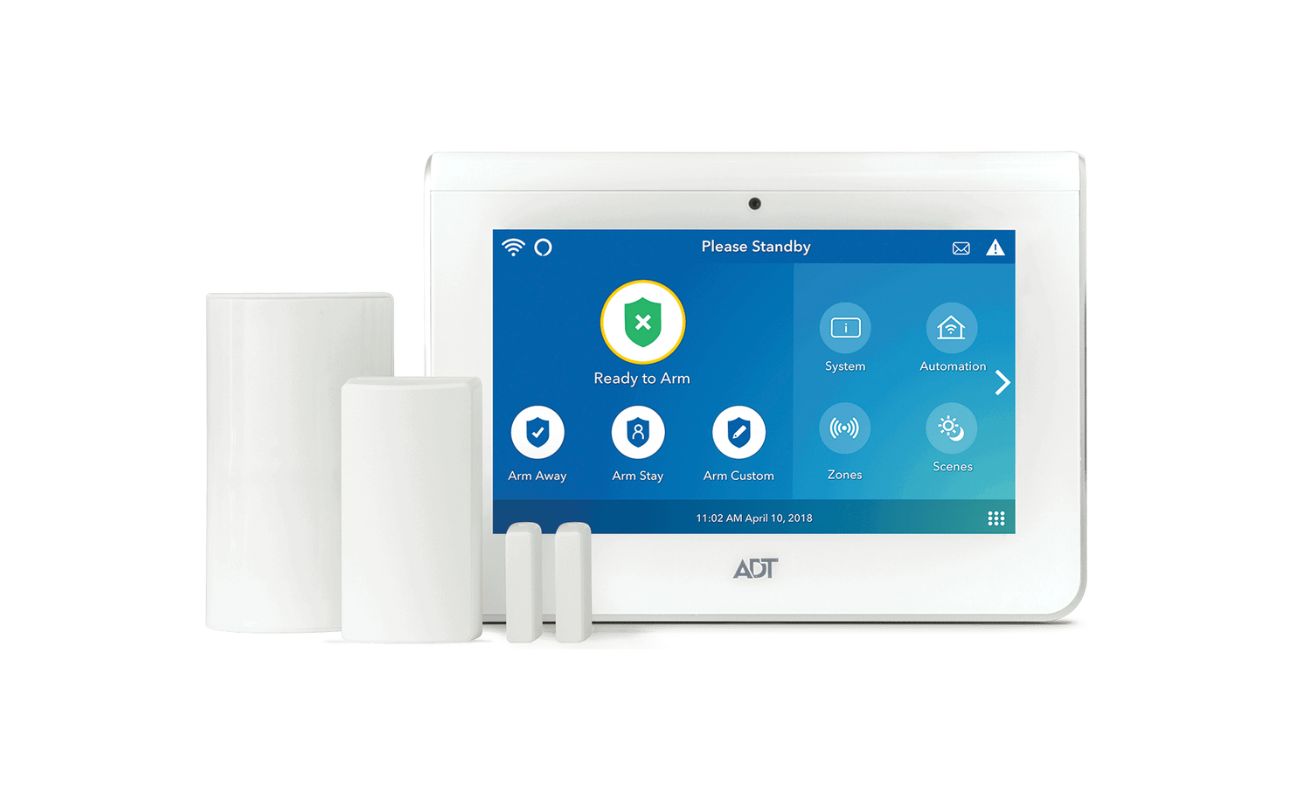
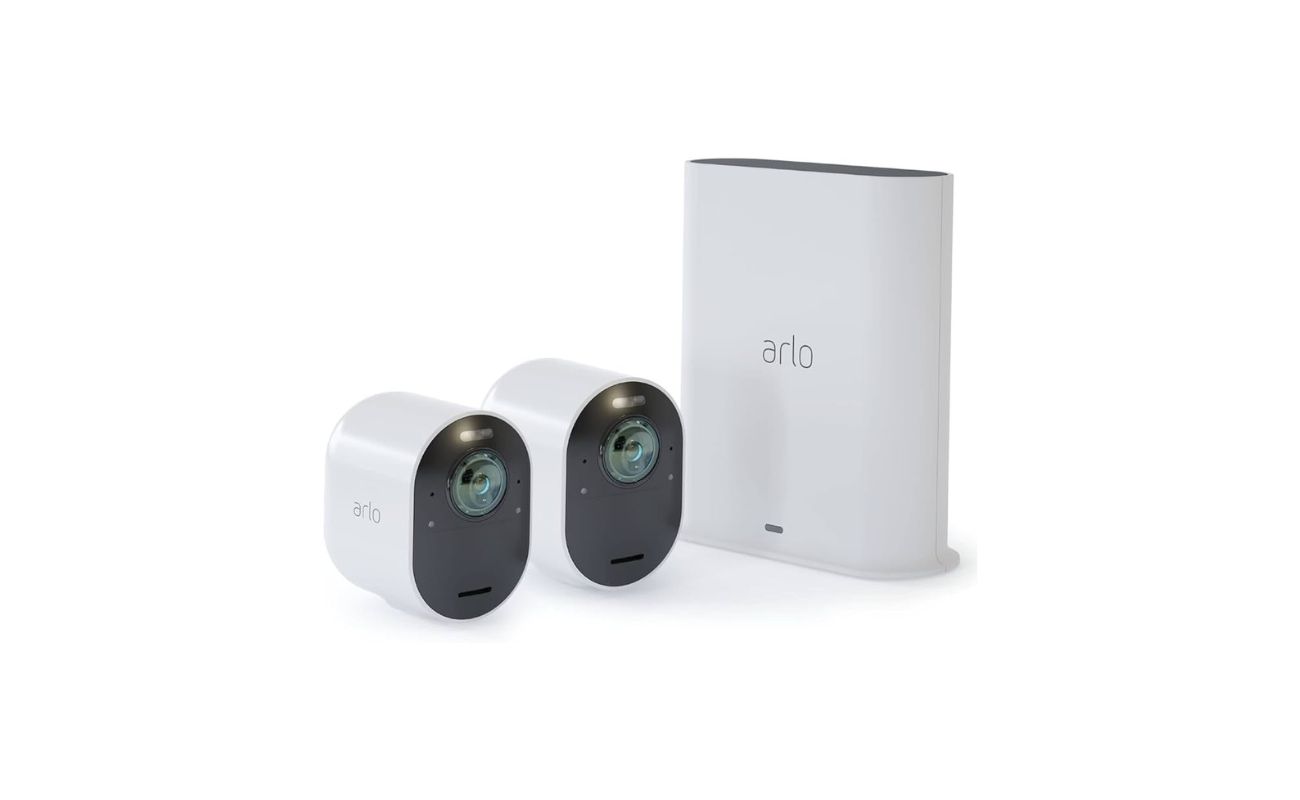
- Base Station: The base station acts as the central hub of your wireless security system. It connects to your home’s Wi-Fi network and communicates with all the cameras and sensors.
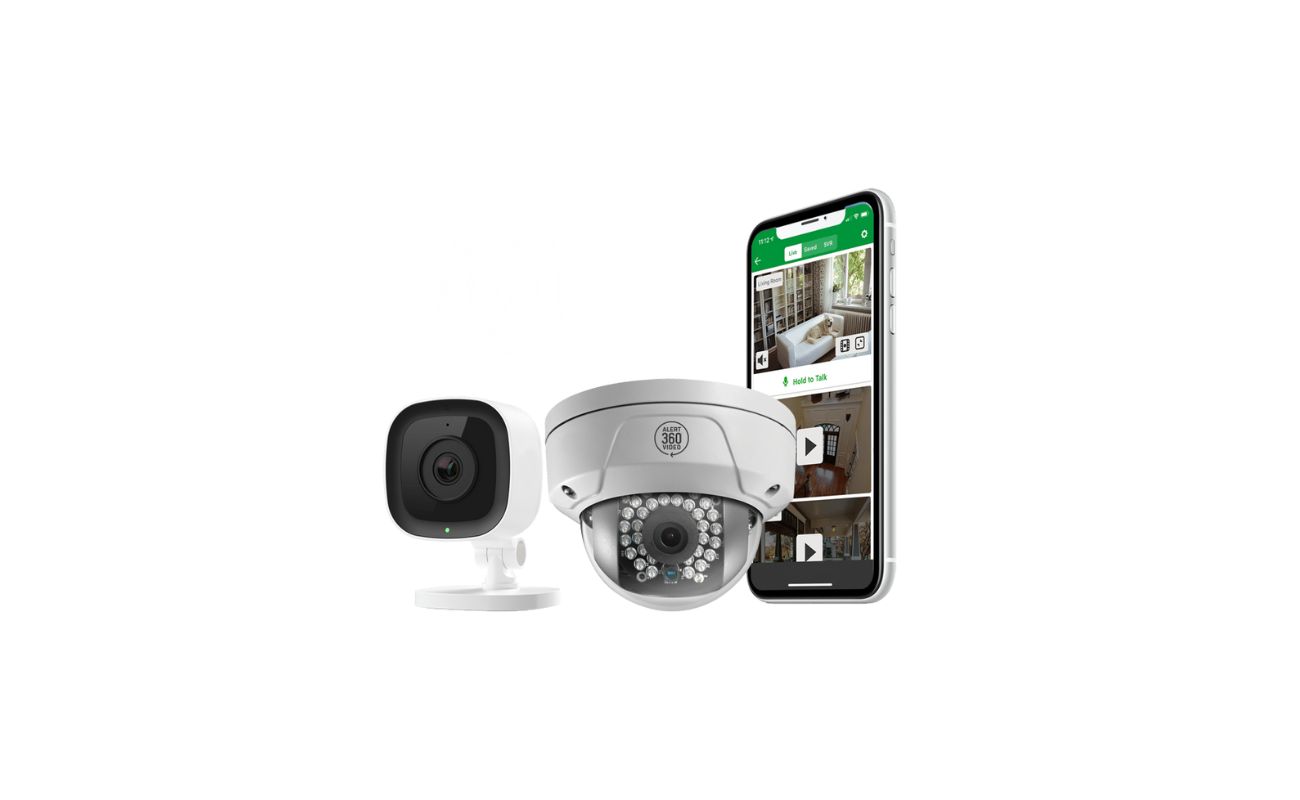
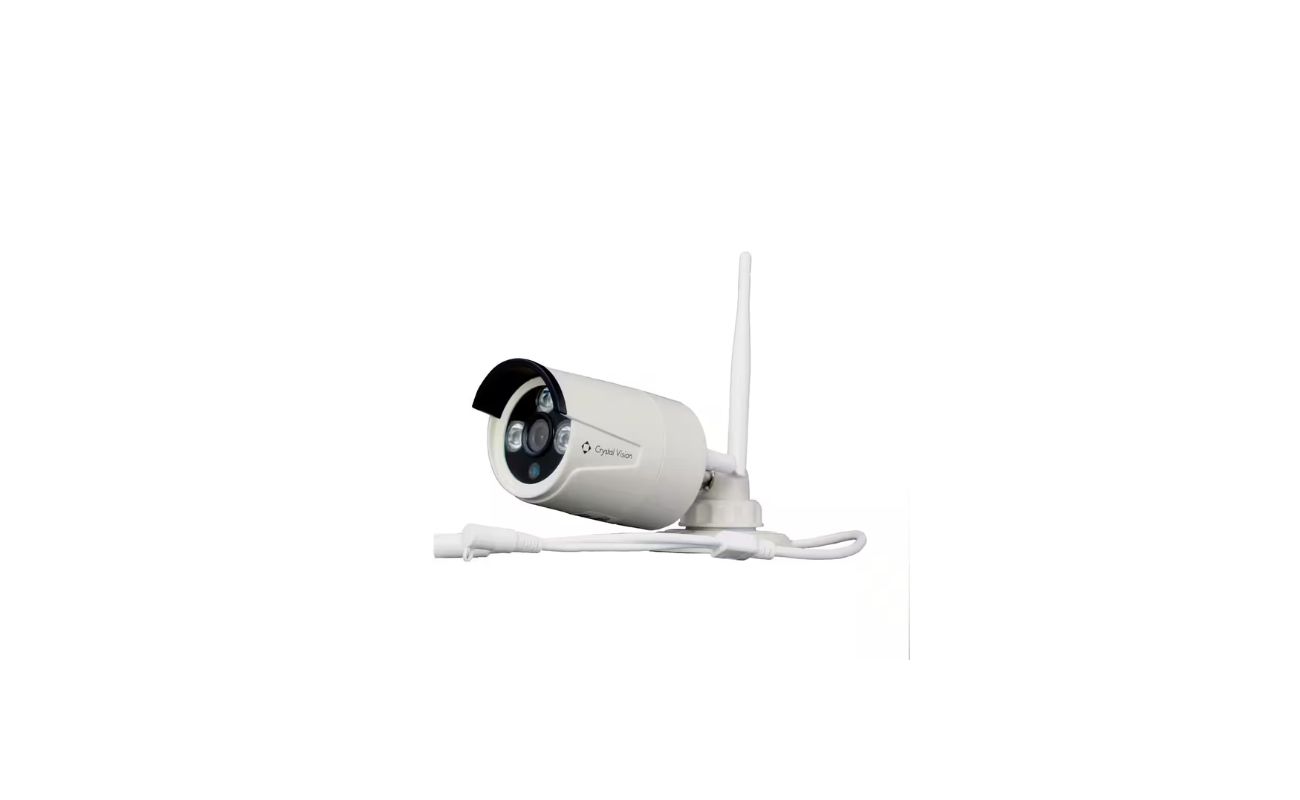
- Security Cameras: Choose high-quality wireless security cameras that suit your needs. Opt for cameras with features such as night vision, motion detection, and two-way audio for enhanced surveillance capabilities.
- Door and Window Sensors: These sensors are placed on your doors and windows to detect if they are opened or closed. They can trigger an alert or activate the cameras when a breach is detected.
- Motion Sensors: Motion sensors detect movement in specific areas of your home. They are especially useful for monitoring areas such as entryways and hallways.
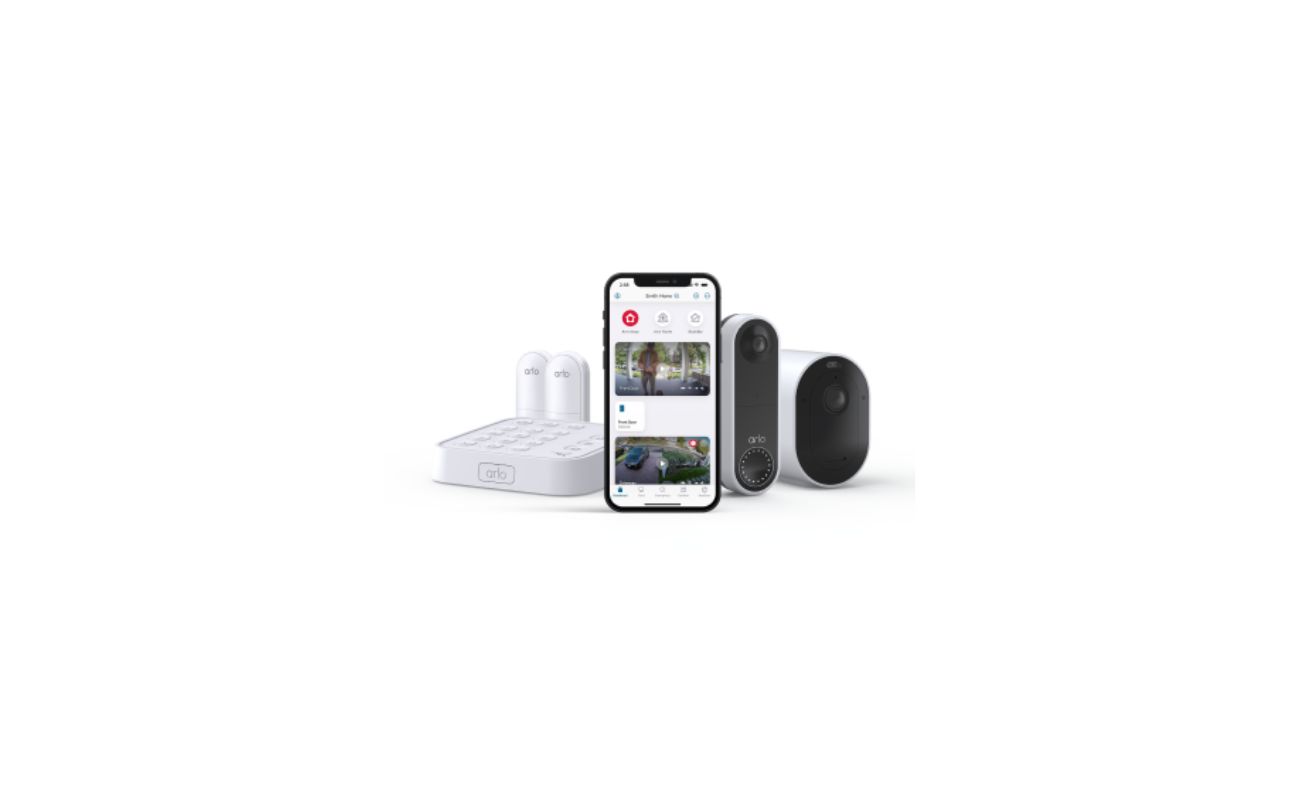
- Video Doorbell: A video doorbell allows you to see and speak to visitors at your front door, even when you’re not home. Look for a video doorbell with features like HD video quality and two-way audio.
- Siren or Alarm: A siren or alarm system can provide an audible alert when a security breach occurs. It acts as a deterrent to potential intruders and can notify you and your neighbors of a possible threat.
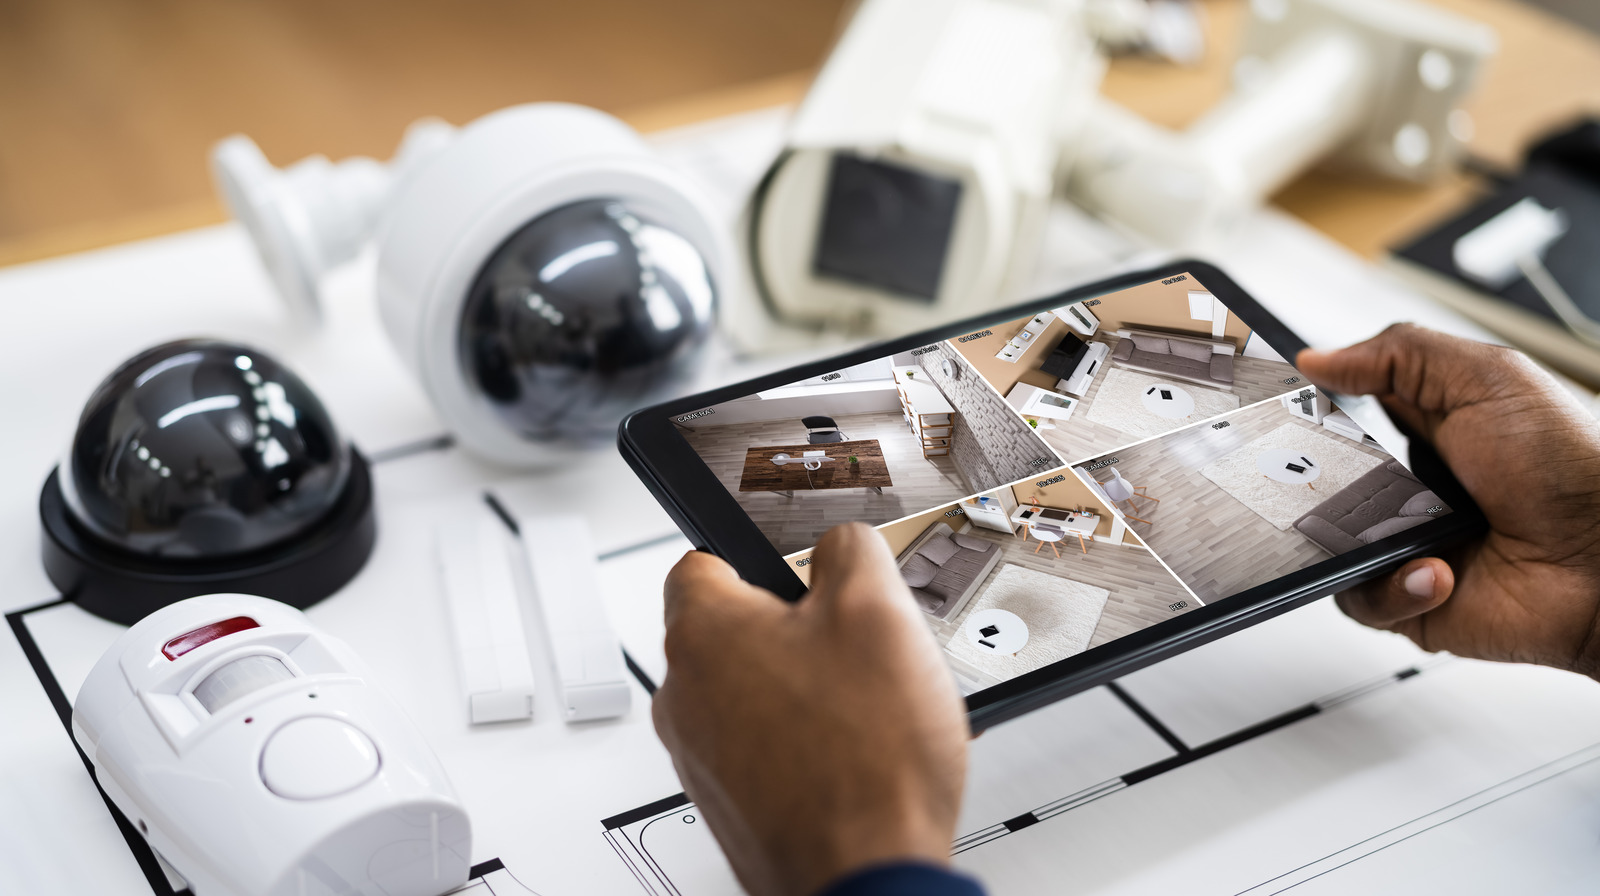
- Mobile App: A mobile app allows you to monitor and control your wireless security system from your smartphone or tablet. Look for a user-friendly app that provides real-time alerts and video playback.
- Backup Power Supply: To ensure that your security system remains operational during a power outage, consider investing in a backup power supply such as a UPS (Uninterruptible Power Supply).
Once you have gathered all the necessary components, you’re ready to begin setting up your wireless security system. In the next section, we will guide you through the process of choosing the right system for your needs.
Step 1: Choosing the Wireless Security System
Choosing the right wireless security system is crucial for ensuring the safety and security of your home. With so many options available in the market, it’s important to consider your specific needs and requirements. Here are some factors to consider when selecting a wireless security system:
- Coverage Area: Assess the size of your property and determine how many cameras and sensors you’ll need to adequately cover all the vulnerable areas. Consider whether you need indoor and outdoor cameras and whether you want to monitor specific rooms or entry points.
- Camera Quality: Look for cameras with high resolution and good image quality. HD or even 4K resolution cameras will provide clear and detailed footage, allowing you to identify faces and important details.
- Connectivity: Ensure that the wireless security system you choose is compatible with your home’s Wi-Fi network. It’s also worth considering systems that offer cellular backup in case your internet connection goes down.
- Remote Monitoring: If you want the ability to monitor your home security system from anywhere, choose a system that offers remote viewing through a mobile app or web portal. This will allow you to check live feeds, receive notifications, and manage settings remotely.
- Smart Home Integration: If you have other smart home devices, consider a wireless security system that integrates with them. This will allow you to create automated routines and control multiple devices from a single platform.
- Scalability: Think about whether you might want to expand your security system in the future. Look for systems that allow for easy integration of additional cameras and sensors as your needs evolve.
- Budget: Set a budget for your wireless security system and compare different options within that range. Keep in mind that higher-priced systems often come with advanced features and better quality components.
Take your time to research different brands and read customer reviews to get an understanding of reliability and performance. Furthermore, consult with security experts or professionals who can provide guidance based on your specific requirements and budget.
Once you’ve selected the wireless security system that best fits your needs, you can move on to the next step: setting up the base station. We will guide you through this process in the following section.
Step 2: Setting Up the Base Station
The base station serves as the central hub of your wireless security system, connecting all the cameras and sensors to your home’s Wi-Fi network. Setting up the base station is a crucial step in ensuring the proper functioning of your wireless security system. Follow these steps to set up the base station:
- Select a Central Location: Choose a central location near your internet router and power outlet to place the base station. This will ensure optimal signal strength and connectivity.
- Connect the Base Station: Connect the base station to your internet router using an Ethernet cable. Plug the power adapter into an electrical outlet and connect it to the base station. Power on the base station.
- Follow the Setup Instructions: Most wireless security system manufacturers provide step-by-step setup instructions. Follow these instructions, which typically involve downloading the manufacturer’s mobile app or accessing a web portal to configure the base station.
- Create an Account: During the setup process, you will likely be prompted to create an account with the manufacturer’s service. This account will allow you to access and manage your wireless security system remotely.
- Connect to Wi-Fi: During setup, you will need to connect the base station to your home’s Wi-Fi network. Follow the instructions provided by the manufacturer to enter your Wi-Fi credentials and establish a secure connection.
- Pair Cameras and Sensors: Once the base station is connected to the internet, you can start pairing your wireless cameras and sensors with the system. This process typically involves following on-screen prompts to sync the devices with the base station.
- Test Connectivity: After pairing the cameras and sensors, perform a connectivity test to ensure that they are communicating properly with the base station. Test each camera’s live feed, motion detection capabilities, and any other features to ensure they are functioning as expected.
- Secure the Base Station: Finally, take measures to secure the base station physically and digitally. Consider using a password manager and enable two-factor authentication to protect your account. Additionally, ensure the base station is placed in a secure location to prevent tampering.
Once you’ve completed the setup of the base station, you can proceed with installing the security cameras. We will provide guidance on camera installation in the next section.
When setting up a wireless security system, make sure to change the default passwords and regularly update the firmware to protect against potential security vulnerabilities.
Step 3: Installing Security Cameras
Installing security cameras is a crucial step in creating a comprehensive wireless security system. Proper placement and installation of cameras ensure optimal coverage and effective surveillance of your home. Follow these steps to install your security cameras:
- Determine Camera Locations: Assess your property and identify the areas that require monitoring. Common locations include entry points such as doors and windows, driveways, and backyard entrances. Consider the field of view and angle of each camera to capture the desired area.
- Mount the Cameras: Depending on the type of cameras you’ve chosen, mount them in appropriate locations. For outdoor cameras, ensure they are weatherproof and mounted at a height that is out of reach. For indoor cameras, place them strategically to cover high-risk areas.
- Follow Manufacturer Instructions: Each camera manufacturer provides specific instructions for installation. Follow these instructions carefully, as they may vary depending on the camera model and features. This typically involves mounting the camera bracket, attaching the camera, and securing it in place.
- Connect Cameras to the Base Station: Once the cameras are installed, follow the manufacturer’s instructions to pair them with the base station. This can usually be done through the mobile app or web portal. Ensure that the cameras are within range of the base station for optimal signal strength.
- Test Camera Feeds: After connecting the cameras to the base station, test the live feeds to ensure they are working properly. Check the camera angles, resolution, and any advanced features such as night vision and motion detection. Adjust the position of the cameras if necessary.
- Consider Additional Accessories: Depending on your specific needs, you may want to consider additional accessories for your cameras. This could include mounting brackets, extension cables, or covers for outdoor cameras to protect them from harsh weather conditions.
- Ensure Proper Power Supply: Confirm that your cameras have a stable power supply. This can be achieved through a direct power source or the use of rechargeable batteries for wireless cameras. Regularly check and replace batteries or charge them as needed.
- Adjust Camera Settings: Use the manufacturer’s mobile app or web portal to adjust the camera settings according to your preferences. These settings may include motion sensitivity, recording modes, and notification preferences for alerts.
Remember, the placement and proper installation of security cameras greatly impact their effectiveness in detecting and deterring potential threats. Regularly check and clean the cameras to ensure clear footage and maintain their performance over time.
In the next step, we will guide you through configuring the wireless network to ensure seamless connectivity for your wireless security system.
Step 4: Configuring the Wireless Network
Configuring the wireless network is an essential step in ensuring the seamless operation and connectivity of your wireless security system. Follow these steps to configure your network:
- Secure Your Wi-Fi Network: Before connecting your wireless security system, make sure your Wi-Fi network is secured with a strong password. This will prevent unauthorized access to your network and protect your cameras and data.
- Check Wi-Fi Signal Strength: Ensure that the base station and cameras are within range of your Wi-Fi router. Use a Wi-Fi signal strength meter or the manufacturer’s mobile app to check the signal strength at each installation location. If the signal is weak, consider using Wi-Fi extenders or a mesh Wi-Fi system to improve coverage.
- Configure Router Settings: Access your router’s settings by typing its IP address into a web browser. Enable UPnP (Universal Plug and Play) if it’s not already enabled. This will ensure that your wireless security system can automatically configure and establish connections with your router.
- Create a Guest Network: Consider creating a separate guest network for your wireless security system. This will prevent potential intruders or guests from accessing your main network and compromising your security system.
- Open Ports for Remote Access: If you plan to access your wireless security system remotely through a mobile app or web portal, you may need to open specific ports on your router. Consult the manufacturer’s instructions or contact their support team for guidance on port forwarding.
- Assign Static IP Addresses: To ensure consistent connectivity, assign static IP addresses to your base station and cameras. This prevents the router from changing their IP addresses dynamically, which may cause connectivity issues.
- Configure Firewall Settings: Check your router’s firewall settings and ensure they are not blocking any incoming or outgoing connections required by your wireless security system. Whitelist necessary ports or IP addresses to allow seamless communication between devices.
- Test Connectivity: After configuring your wireless network settings, test the connectivity of your wireless security system. Ensure that all cameras and sensors are properly connected to the base station and that live feeds can be accessed remotely through the mobile app or web portal.
Remember, each router may have a slightly different interface and configuration options. Refer to the manufacturer’s documentation or seek assistance from their support team if you encounter any difficulties during the network configuration process. With a properly configured wireless network, your wireless security system will function smoothly and reliably.
Now that your wireless network is set up, let’s move on to the final step: testing and troubleshooting your wireless security system.
Step 5: Testing and Troubleshooting
Testing and troubleshooting your wireless security system is essential to ensure its effectiveness and reliability. Follow these steps to thoroughly test and troubleshoot your system:
- Test Camera Feeds: Check the live feeds of each camera to ensure they are providing clear and uninterrupted footage. Verify that the cameras are capturing the desired areas and adjust their positions if necessary.
- Trigger the Sensors: Test the door and window sensors, as well as the motion sensors, to ensure they are functioning correctly. Open and close doors and windows to verify that the sensors detect the movement and trigger the appropriate alerts or camera recordings.
- Verify Motion Detection: Walk through the monitored areas to confirm that the motion sensors are accurately detecting movement and triggering the desired actions, such as recording video or sending alerts.
- Check Night Vision: Test the night vision capabilities of your cameras by observing the quality of the footage in low-light or dark conditions. Ensure that the infrared LEDs are providing sufficient illumination for clear visibility.
- Review Alert Settings: Adjust the notification settings in the mobile app or web portal to ensure you receive the desired alerts for security events. Test the notifications on your smartphone or other devices to verify their promptness and reliability.
- Perform Regular System Maintenance: Make it a habit to regularly check the batteries in wireless cameras and sensors, replace or charge them as needed, and clean the camera lenses to maintain clear image quality. Also, keep software and firmware updated to ensure security patches and new features are applied.
- Troubleshoot Connectivity Issues: If you experience connectivity issues, ensure that the base station and cameras are within range of your Wi-Fi router. Check for any physical obstructions or interference that may be causing signal degradation. Consider relocating the base station or using Wi-Fi extenders for improved coverage.
- Contact Manufacturer Support: If you encounter persistent issues or difficulties during the testing and troubleshooting process, contact the manufacturer’s support team for assistance. They can provide specific troubleshooting steps and guidance based on the model of your wireless security system.
Regularly testing, maintaining, and troubleshooting your wireless security system will help ensure that it is always in optimal working condition. This will provide you with the peace of mind and confidence in the security of your home or business.
With the completion of these steps, you have successfully set up and configured your wireless security system. By following this comprehensive guide, you can enjoy the benefits of a reliable and effective security solution that contributes to the safety and peace of mind of you and your loved ones.
Thank you for reading, and we hope this article has been informative and helpful in guiding you through the process of setting up a wireless security system.
Conclusion
Investing in a wireless security system is a wise step in safeguarding your home and ensuring the safety of your loved ones. With the convenience and flexibility offered by wireless technology, setting up a comprehensive security system has become more accessible than ever before.
In this article, we have guided you through the process of choosing the right wireless security system, setting up the base station, installing security cameras, configuring the wireless network, and testing and troubleshooting the system. By following these steps, you can create a robust security solution that provides peace of mind and protection for your home.
Remember to consider the coverage area, camera quality, connectivity, remote monitoring capabilities, smart home integration, scalability, and budget when choosing a wireless security system. Additionally, properly place and install cameras, pair them with the base station, and configure your wireless network to ensure seamless connectivity and reliable performance.
Regular testing, maintenance, and troubleshooting are key to keeping your wireless security system in top condition. Take the time to test camera feeds, trigger sensors, check night vision, and review alert settings. Stay proactive in addressing any connectivity issues and reach out to the manufacturer’s support team if needed.
With a well-configured and properly maintained wireless security system, you can have peace of mind knowing that your home is protected. Keep your security system up to date, ensure the cameras and sensors are functioning properly, and regularly check for any potential security vulnerabilities.
Thank you for taking the time to read this article. We hope our guide has provided valuable insights and actionable steps for setting up your wireless security system. Stay safe, secure, and enjoy the peace of mind that comes with having a reliable home security solution.
Frequently Asked Questions about How To Make A Wireless Security System
Was this page helpful?
At Storables.com, we guarantee accurate and reliable information. Our content, validated by Expert Board Contributors, is crafted following stringent Editorial Policies. We're committed to providing you with well-researched, expert-backed insights for all your informational needs.