Home>Home Security and Surveillance>How To Make A Wireless Security USB Webcam
Home Security and Surveillance
How To Make A Wireless Security USB Webcam
Modified: September 1, 2024
Learn how to create a wireless security USB webcam for your home security and surveillance needs. Enhance your safety and peace of mind with this DIY solution.
(Many of the links in this article redirect to a specific reviewed product. Your purchase of these products through affiliate links helps to generate commission for Storables.com, at no extra cost. Learn more)
Introduction
Welcome to the world of home security and surveillance! In today’s fast-paced and ever-evolving society, it is vital to ensure the safety and protection of our homes and loved ones. Fortunately, advancements in technology have made it easier than ever to implement effective security measures, such as wireless security USB webcams.
Having a wireless security USB webcam provides numerous benefits, including convenience, flexibility, and peace of mind. Whether you want to monitor your front door, keep an eye on your children playing in the backyard, or simply have a visual record of any suspicious activities, a wireless security USB webcam can be a valuable addition to your home security system.
In this article, we will guide you through the process of creating your own wireless security USB webcam using a Raspberry Pi, a small and affordable computer, and a compatible webcam. We will walk you through each step, from setting up the Raspberry Pi to configuring the webcam settings and establishing a wireless connection. By the end of this article, you will have a fully functional wireless security USB webcam that you can access remotely from your smartphone, tablet, or computer.
Before we dive into the technical aspects, it’s important to note that this DIY project requires a basic understanding of technology and some familiarity with Raspberry Pi. Don’t worry if you’re not an expert – we will explain each step in detail to ensure a smooth and successful setup process.
So, let’s get started on this exciting journey towards building your very own wireless security USB webcam. Get ready to enhance your home security and surveillance system with this affordable and customizable solution!
Key Takeaways:
- You can create a wireless security USB webcam using a Raspberry Pi and a compatible webcam. It’s an affordable and customizable solution that provides convenience and peace of mind for monitoring your home.
- By following the step-by-step guide, you can set up, configure, and troubleshoot your wireless security USB webcam. This DIY project empowers you to take control of your home security and surveillance.
Read more: How To Make A Wireless Security System
Step 1: Gathering the Required Materials
Before we begin setting up your wireless security USB webcam, it’s important to gather all the necessary materials. Here’s a list of what you’ll need:
- Raspberry Pi: This small and affordable computer serves as the foundation for your webcam setup. Make sure to get the latest version of Raspberry Pi for optimal performance.
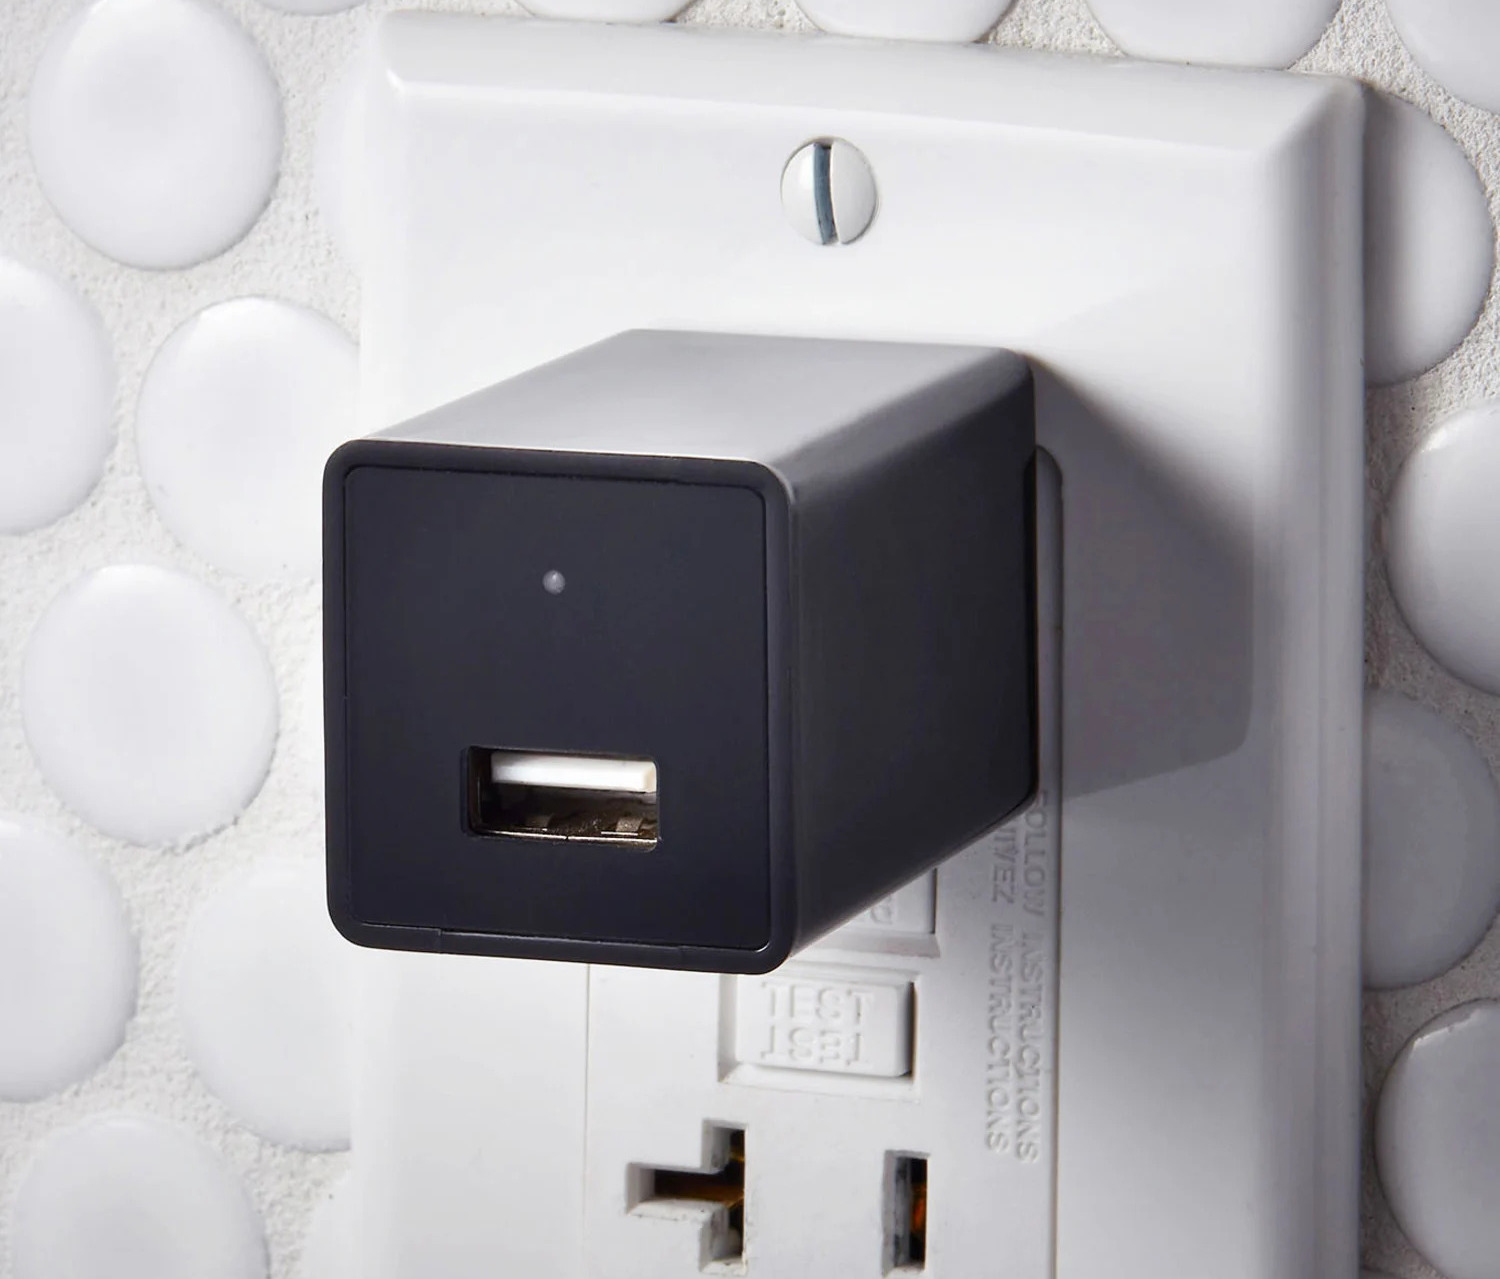
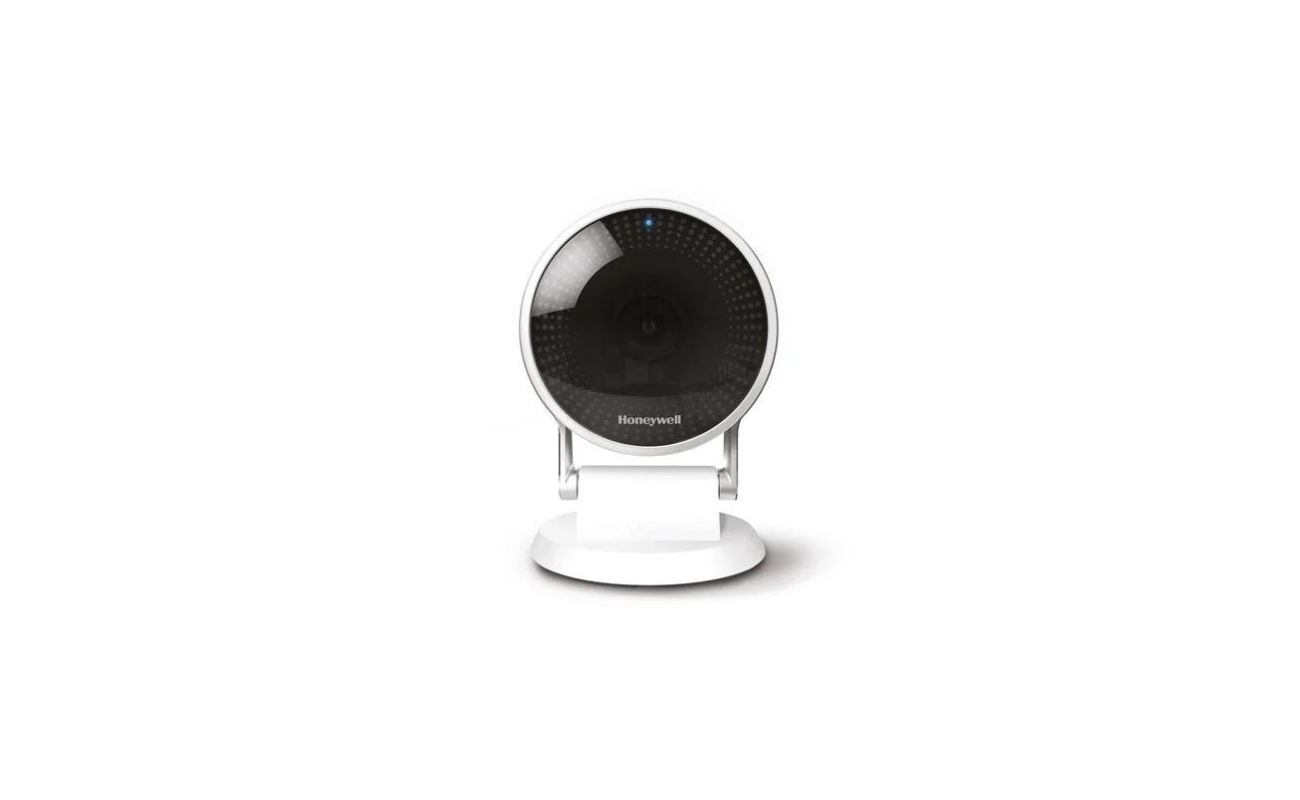
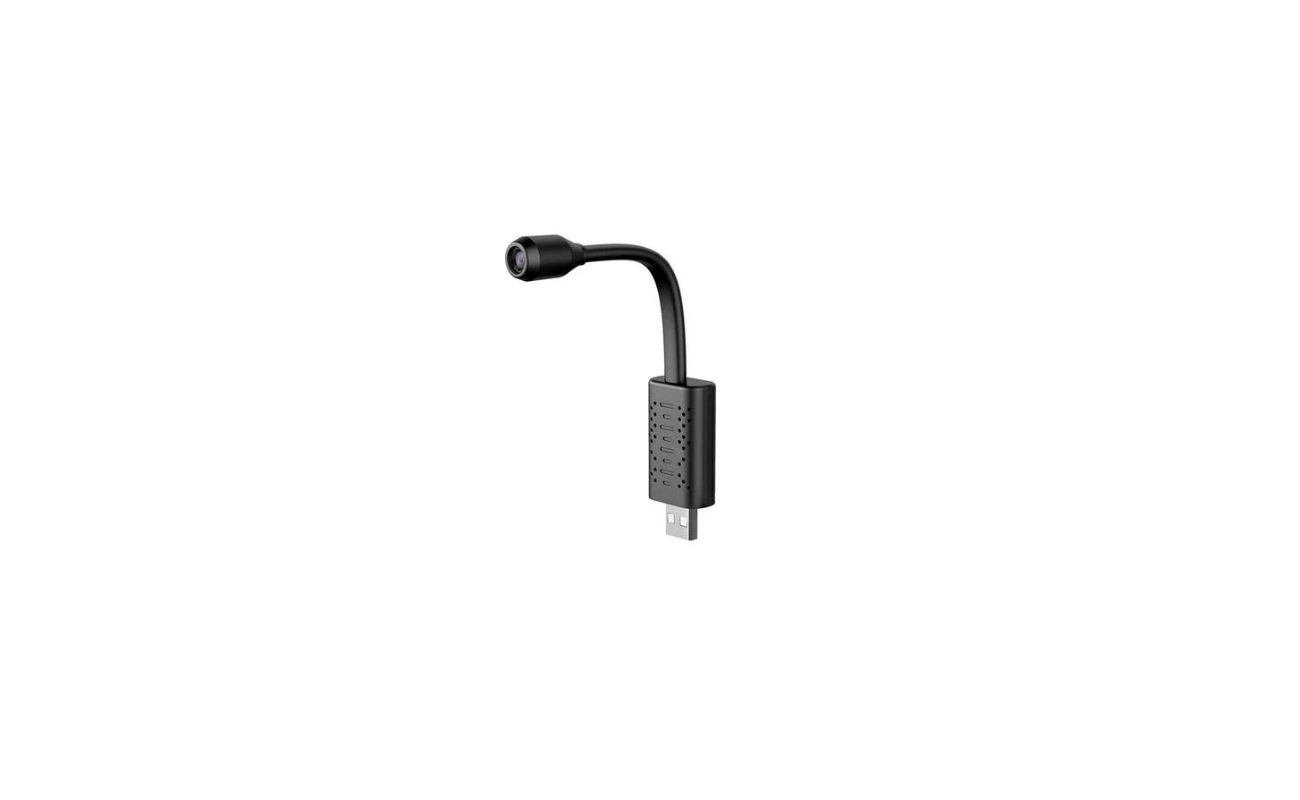
- Webcam: Look for a compatible webcam that can be connected to the Raspberry Pi. Make sure to choose a webcam with good resolution and low-light capabilities for better video quality.
- MicroSD Card: This is where you will store the operating system and other necessary files for the Raspberry Pi. Choose a high-quality microSD card with a capacity of at least 8GB for smooth operation.
- Power Adapter: Make sure to have a reliable power adapter that is compatible with your Raspberry Pi model. The power adapter should provide sufficient power to run both the Raspberry Pi and the webcam.
- HDMI Cable: You will need an HDMI cable to connect the Raspberry Pi to a monitor or TV for initial setup and configuration.
- USB WiFi Adapter: To enable wireless connectivity, you will need a USB WiFi adapter that is compatible with the Raspberry Pi. This will allow you to access the webcam remotely.
- Ethernet Cable (Optional): If you prefer a wired connection instead of wireless, you can use an Ethernet cable to connect the Raspberry Pi to your router or modem.
- Keyboard and Mouse: Have a USB keyboard and mouse handy for the initial setup and configuration of the Raspberry Pi.
- Micro USB Cable: This cable is used to power the Raspberry Pi. Make sure to have a reliable micro USB cable to ensure a stable power supply.
Once you have gathered all the necessary materials, you are ready to move on to the next step of setting up your Raspberry Pi for the wireless security USB webcam. Remember to double-check that you have all the required components before proceeding.
Now that you have everything you need, let’s dive into the exciting world of Raspberry Pi and create your very own wireless security USB webcam!
Step 2: Setting Up the Raspberry Pi
Now that you have gathered all the required materials, it’s time to set up your Raspberry Pi. Follow these steps to get started:
- First, insert the microSD card into your computer and format it using the SD Card Formatter tool. This will ensure that the card is ready to receive the necessary files for the Raspberry Pi.
- Next, download the Raspberry Pi Operating System (Raspbian) from the official Raspberry Pi website. Choose the full version for a complete set of features.
- Once the download is complete, use the Etcher software to write the Raspbian image to the microSD card. This will create a bootable card that can be used to start the Raspberry Pi.
- After writing the image, safely eject the microSD card from your computer and insert it into the slot on the Raspberry Pi.
- Connect the HDMI cable to the Raspberry Pi and connect the other end to a monitor or TV. This will allow you to see the graphical user interface (GUI) of the Raspberry Pi.
- Connect your USB keyboard and mouse to the Raspberry Pi. These peripherals are necessary for navigating the setup process.
- Finally, connect the micro USB cable to the Raspberry Pi and plug the other end into a power source. The Raspberry Pi will boot up, and you will see the Raspbian desktop on your monitor or TV.
Once the Raspberry Pi is up and running, you can proceed to the next step of installing the webcam software. Keep in mind that the initial setup may take some time, so be patient. It’s important to follow each step carefully to ensure a successful setup process. Remember, the Raspberry Pi is the brain of your wireless security USB webcam, so it’s crucial to set it up correctly.
With the Raspberry Pi ready, we can now move on to the exciting part of installing and configuring the webcam software! Get ready to turn your Raspberry Pi into a powerful surveillance device!
Step 3: Installing the Webcam Software
Now that your Raspberry Pi is set up, it’s time to install the webcam software. Follow these steps to get started:
- Open the terminal on your Raspberry Pi. You can find it in the Applications menu or by pressing Ctrl+Alt+T.
- Update the Raspberry Pi’s package lists by running the following command:
sudo apt-get update - Install the necessary webcam software by running the following command:
sudo apt-get install motion - During the installation, you’ll be prompted to configure motion. Select “Yes” when asked if you want to continue with the installation.
- Next, you’ll be asked if you want to start motion automatically. Choose “Yes” to ensure that the webcam software starts running whenever the Raspberry Pi boots up.
- The installation process may take a few minutes. Once it’s completed, you’ll have the webcam software installed on your Raspberry Pi.
With the webcam software installed, you can now proceed to configure the settings to ensure optimal performance. Don’t worry if you’re not familiar with the software – we’ll guide you through the process in the next step!
Congratulations! You’ve successfully installed the webcam software on your Raspberry Pi. Now it’s time to configure the settings to make your wireless security USB webcam work exactly how you want it to. Let’s move on to the next step and get everything set up!
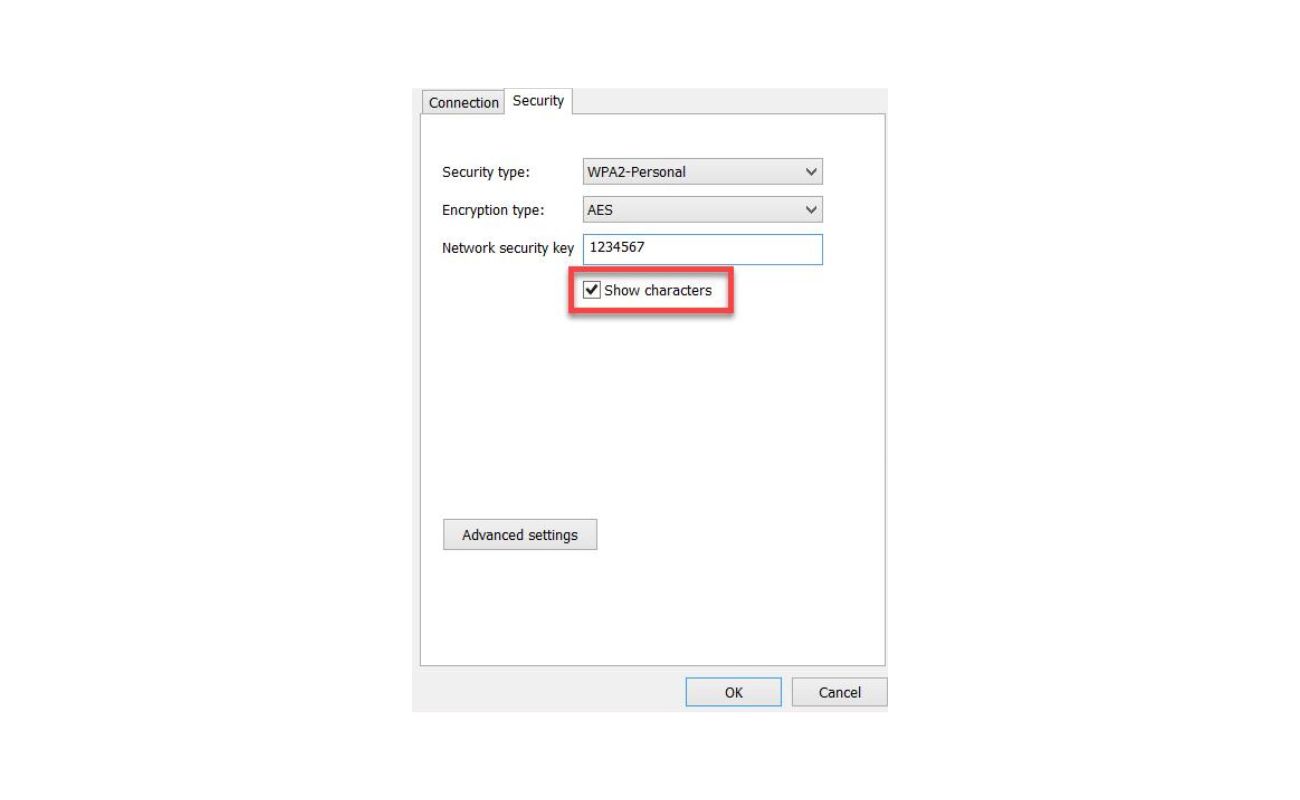
When setting up a wireless security USB webcam, make sure to choose a strong and unique password for your wireless network to prevent unauthorized access to the camera feed.
Step 4: Configuring the Webcam Settings
Now that the webcam software is installed on your Raspberry Pi, it’s time to configure the settings to customize the functionality of your wireless security USB webcam. Follow these steps to get started:
- Open the terminal on your Raspberry Pi and enter the following command to edit the motion configuration file:
sudo nano /etc/motion/motion.conf - In the configuration file, you’ll find various settings that you can modify to fit your needs. Here are a few key settings to consider:
- daemon: Set this to on if you want the motion software to run in the background as a daemon.
- target_dir: Specify the directory where you want the captured images and videos to be saved. You can choose a location on your Raspberry Pi or an external storage device.
- width: Set the desired width of the captured images and videos.
- height: Set the desired height of the captured images and videos.
- framerate: Adjust the framerate of the webcam to control the smoothness of the captured videos.
- stream_localhost: Set this to off if you want to access the webcam stream remotely.
- Once you’ve made the desired changes, press Ctrl+X to exit the nano editor. Press Y to save the changes, and then press Enter to confirm the filename.
- Restart the motion service by running the following command:
sudo service motion restart
With the webcam settings configured, your wireless security USB webcam is ready to capture images and videos based on your preferences. You can fine-tune the settings at any time by editing the motion configuration file. Feel free to adjust the resolution, framerate, and other parameters to achieve the desired results.
Great job! You’ve successfully configured the webcam settings on your Raspberry Pi. The next step involves setting up the wireless connection to enable remote access to your webcam. Let’s move on to the next step and get your wireless security USB webcam up and running!
Read more: How To Set Up A Webcam As A Security Camera
Step 5: Setting Up the Wireless Connection
Now that your Raspberry Pi and webcam are configured, it’s time to set up the wireless connection to enable remote access to your wireless security USB webcam. Follow these steps to get started:
- Ensure that your USB WiFi adapter is connected to one of the USB ports on your Raspberry Pi.
- Open the terminal on your Raspberry Pi and enter the following command to edit the network interfaces file:
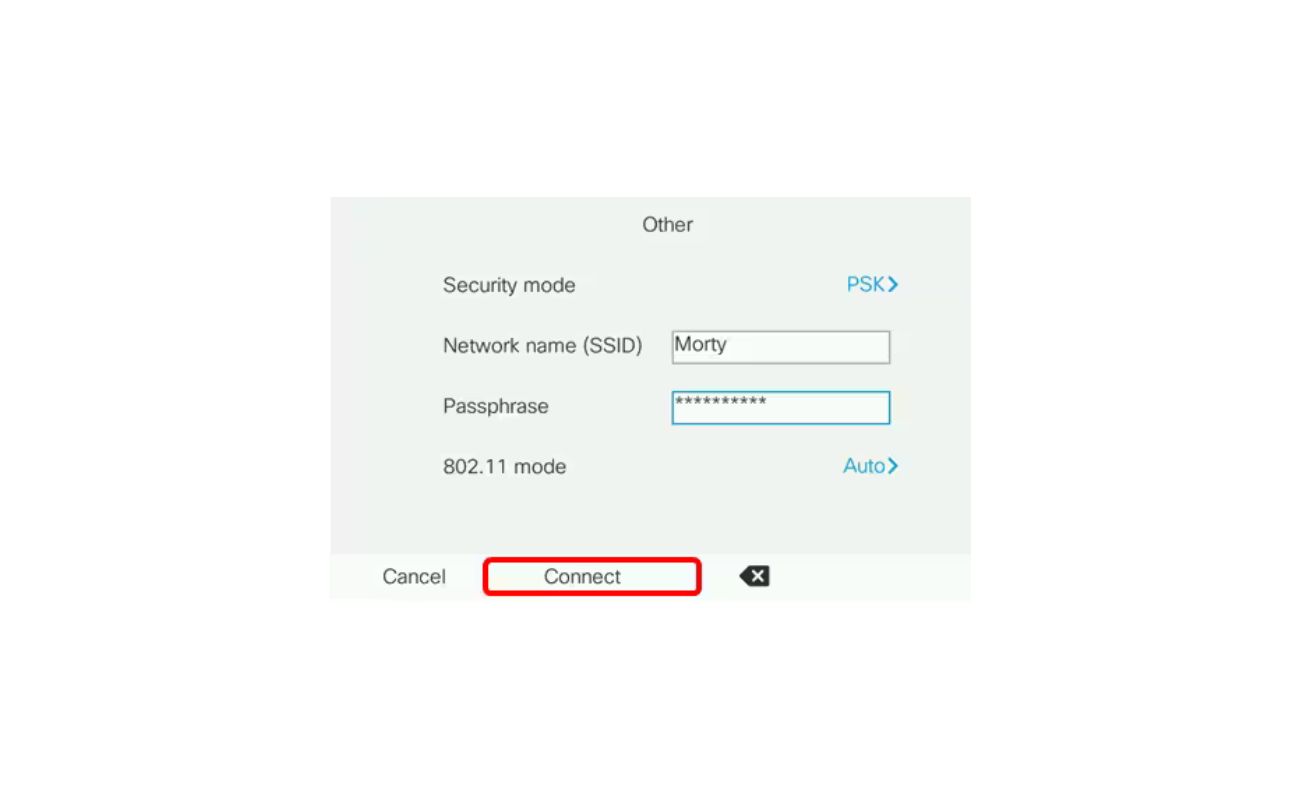
sudo nano /etc/network/interfaces - In the network interfaces file, add the following lines to set up the wireless connection:
allow-hotplug wlan0
iface wlan0 inet dhcp
 wpa-ssid "your_wifi_network_name"
 wpa-psk "your_wifi_password"
Replace “your_wifi_network_name” with the name of your WiFi network and “your_wifi_password” with your WiFi password. Make sure to remove the quotation marks.
- Press Ctrl+X to exit the nano editor. Press Y to save the changes, and then press Enter to confirm the filename.
- Restart the Raspberry Pi by running the following command:
sudo reboot
Once your Raspberry Pi has restarted, it should automatically connect to your WiFi network. You can verify the connection by checking the status of the WiFi adapter using the following command:
ifconfig wlan0If you see an IP address assigned to the wlan0 interface, it means that your Raspberry Pi has successfully connected to the WiFi network.
Congratulations! You’ve successfully set up the wireless connection for your wireless security USB webcam. With the Raspberry Pi connected to your WiFi network, you can now access the webcam remotely from your smartphone, tablet, or computer.
In the next step, we’ll cover how to test and troubleshoot your wireless security USB webcam to ensure everything is working smoothly. Let’s move on!
Step 6: Testing and Troubleshooting
Now that your wireless security USB webcam is set up, it’s time to test it and troubleshoot any issues that may arise. Follow these steps to ensure everything is working smoothly:
- Open a web browser on your smartphone, tablet, or computer that is connected to the same WiFi network as the Raspberry Pi.
- Enter the IP address of the Raspberry Pi followed by the port number 8081 into the address bar of the web browser. For example, if the IP address is 192.168.1.100, you would enter “192.168.1.100:8081”.
- You should now see the live stream from your wireless security USB webcam on the web browser. Test out the various features, such as capturing images and recording videos, to ensure they are functioning correctly.
- If you encounter any issues, here are a few troubleshooting steps you can take:
- Double-check your wireless network settings on the Raspberry Pi to ensure the correct SSID and password are entered in the network interfaces file.
- Make sure your USB WiFi adapter is compatible with the Raspberry Pi.
- Ensure that your WiFi network is stable and that other devices can connect to it without any issues.
- Restart the motion service by running the following command:
sudo service motion restart - If you’re still experiencing problems, it can be helpful to consult online forums or communities dedicated to Raspberry Pi and webcam setups. There, you can find additional troubleshooting tips and seek guidance from experts.
By following these testing and troubleshooting steps, you can ensure that your wireless security USB webcam is working reliably and capturing high-quality footage. Remote access to your webcam provides convenience and peace of mind, allowing you to monitor your home from anywhere in the world.
Congratulations on successfully setting up your wireless security USB webcam! You have taken an important step towards enhancing the security of your home. Now, sit back, relax, and enjoy the added protection that your DIY surveillance system provides.
Remember, regular maintenance and updates are crucial to ensure optimal performance. Stay informed about the latest software releases and security patches for your Raspberry Pi and webcam software. With proper care and attention, your wireless security USB webcam will continue to safeguard your home and loved ones for years to come.
Thank you for following this step-by-step guide. We hope you found it helpful and informative. Happy monitoring!
Conclusion
Home security and surveillance are essential aspects of safeguarding our homes and loved ones. With advancements in technology, it has become easier than ever to create a wireless security USB webcam using a Raspberry Pi and a compatible webcam. In this comprehensive guide, we have walked you through the process of setting up your very own wireless security USB webcam, from gathering the necessary materials to configuring the webcam settings and establishing a wireless connection.
By taking the time to gather the required materials, such as the Raspberry Pi, webcam, and USB WiFi adapter, you have laid the foundation for a reliable and customizable security solution. Setting up the Raspberry Pi and installing the webcam software were crucial steps that put you on the path to success. By configuring the webcam settings, you were able to personalize the functionality of your wireless security USB webcam to meet your specific needs.
The wireless connection was the final piece of the puzzle, enabling you to access your webcam remotely. With the ability to monitor your home from anywhere, you have gained an extra layer of convenience and peace of mind. Testing the webcam and troubleshooting any issues that arise ensures that your surveillance system is functioning optimally and providing reliable security coverage.
By undertaking this DIY project, you have empowered yourself to take control of your home security and surveillance. Instead of relying solely on pre-packaged solutions, you have created a tailored system that fits your unique requirements. It’s important to stay informed about software updates and security patches to keep your wireless security USB webcam running smoothly and effectively. Regular maintenance and attention will ensure that your surveillance system continues to protect your home and loved ones for years to come.
Thank you for joining us on this journey towards creating a wireless security USB webcam. We hope this guide has been helpful and informative, enabling you to enhance the security and peace of mind in your home. Remember, home security is an ongoing commitment, and by staying vigilant and proactive, you can create a safe and secure environment for yourself and your loved ones.
Frequently Asked Questions about How To Make A Wireless Security USB Webcam
Was this page helpful?
At Storables.com, we guarantee accurate and reliable information. Our content, validated by Expert Board Contributors, is crafted following stringent Editorial Policies. We're committed to providing you with well-researched, expert-backed insights for all your informational needs.