Home>Home Security and Surveillance>Why Do Security Cameras Go Offline

Home Security and Surveillance
Why Do Security Cameras Go Offline
Modified: October 20, 2024
Discover why home security and surveillance cameras go offline and learn how to fix the issue. Safeguard your property with reliable camera connectivity.
(Many of the links in this article redirect to a specific reviewed product. Your purchase of these products through affiliate links helps to generate commission for Storables.com, at no extra cost. Learn more)
Introduction
In today’s digital age, home security systems have become a necessity. Among the key components of these systems are security cameras, which play a crucial role in monitoring and safeguarding our homes. However, one common issue that homeowners often encounter is security cameras going offline. This can be extremely frustrating, as it leaves our homes vulnerable and compromises the effectiveness of the surveillance system.
The reasons behind security cameras going offline can vary, ranging from power issues to network connectivity problems, hardware malfunctions, software or firmware issues, and even external factors. Understanding these causes is essential in troubleshooting and finding the appropriate solutions to ensure the consistent operation of your security cameras.
In this article, we will delve into the main causes of security cameras going offline and provide practical troubleshooting tips and solutions. By addressing these issues, you can ensure that your home remains protected and your security system operates at its optimal level.
Key Takeaways:
- Power issues, network connectivity problems, hardware malfunctions, and environmental factors can cause security cameras to go offline. Regular maintenance and troubleshooting are essential to keep cameras operational and ensure home security.
- Checking power sources, troubleshooting network connections, inspecting hardware, updating software/firmware, and addressing environmental factors are crucial in preventing security cameras from going offline. Consistent maintenance and attention to these factors are key to reliable home surveillance.
Causes of Security Cameras Going Offline
There are several factors that can cause security cameras to go offline. Understanding these causes can help you identify the root of the problem and take appropriate steps to resolve it. Let’s explore the main culprits:
- Power Issues: The most common reason for security cameras going offline is power-related problems. This can include power outages, disconnected power cables, or faulty power adapters. It’s important to ensure that your camera is receiving a stable power supply to maintain its operation.
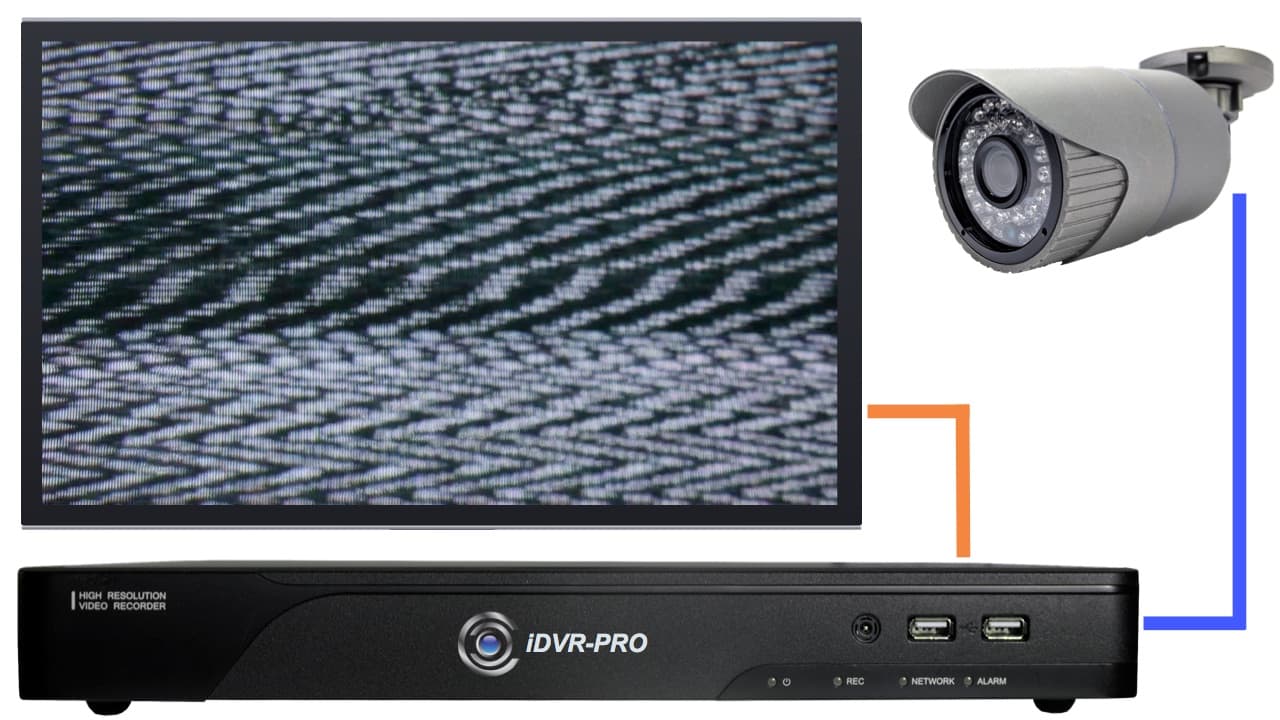
- Network Connectivity Problems: Another frequent cause of camera disconnection is network issues. This can include weak Wi-Fi signals, router malfunctions, or interference from neighboring devices. Without a stable network connection, your camera won’t be able to transmit data to your monitoring system.
- Hardware Malfunctions: Sometimes, the problem lies within the hardware of the camera itself. Components such as the camera lens, image sensor, or cables may experience malfunction or damage, resulting in the camera going offline.
- Software or Firmware Issues: Outdated software or firmware can also lead to camera disconnection. As technology evolves, manufacturers release updates to enhance performance, introduce new features, and address vulnerabilities. Failure to update your camera’s software or firmware can cause compatibility issues and disrupt its functionality.
- External Factors: There are external factors that can interfere with your camera’s operation. Weather conditions such as heavy rain or snow can damage or obstruct the camera. Likewise, physical obstructions like trees or buildings can impact the signal strength and cause your camera to go offline.
By understanding these causes, you can effectively troubleshoot and address the issues that cause your security cameras to go offline. In the following sections, we will discuss practical solutions to help you get your cameras back online and ensure the continuous monitoring of your home.
Power Issues
Power-related problems are one of the primary causes of security cameras going offline. Ensuring a stable power supply is crucial for the uninterrupted operation of your cameras. Here are some common power issues and their solutions:
- Power Outages: When experiencing power outages, your security cameras will lose power, causing them to go offline. To prevent this, consider investing in a battery backup system or an uninterruptible power supply (UPS). These devices provide temporary power during outages, allowing your cameras to continue functioning until the power is restored.
- Disconnected Power Cables: Sometimes, security camera power cables can come loose or become disconnected. Check the connections between the camera and the power outlet to ensure they are securely plugged in. If a cable is damaged, consider replacing it with a new one.
- Faulty Power Adapters: Power adapters can occasionally malfunction, leading to a loss of power to your cameras. Test the adapter with a multimeter or try connecting the camera to a different power outlet using a known working adapter. If the camera powers on with a different adapter, then the original power adapter may need to be replaced.
It’s essential to periodically inspect your cameras’ power supply to avoid power-related issues. Additionally, consider using surge protectors to safeguard your cameras from power surges, which can damage electronics.
By addressing power issues, you can ensure a continuous power supply to your cameras, minimizing the risk of them going offline and ensuring the security of your home.
Network Connectivity Problems
Network connectivity problems can lead to security cameras going offline, as they rely on a stable network connection to transmit data. Here are some common network issues and their solutions:
- Weak Wi-Fi Signals: Weak Wi-Fi signals can result in intermittent camera disconnections. To improve signal strength, consider relocating your router closer to the cameras or installing Wi-Fi range extenders. Additionally, ensure that there are no physical obstructions, such as walls or furniture, blocking the signal.
- Router Malfunctions: Routers can sometimes experience malfunctions or firmware issues that can disrupt your camera’s connection. Restarting your router or updating its firmware can often resolve these problems. Consult your router’s manual or manufacturer’s website for instructions on how to perform a firmware update.
- Interference from Neighboring Devices: Other electronic devices, such as cordless phones, baby monitors, or neighboring Wi-Fi networks, can interfere with your camera’s signal. Try changing the Wi-Fi channel on your router to minimize interference. Additionally, ensure that your cameras are using the latest Wi-Fi security protocols to protect against unauthorized access.
For optimal performance, it is recommended to connect your cameras to the router using wired Ethernet connections whenever possible. This provides a more stable and reliable network connection compared to Wi-Fi.
If you continue to experience network connectivity issues, you may need to consult with your internet service provider (ISP) or a networking professional to diagnose and resolve the problem.
By addressing network connectivity problems, you can ensure a consistent connection and minimize the risk of your security cameras going offline.
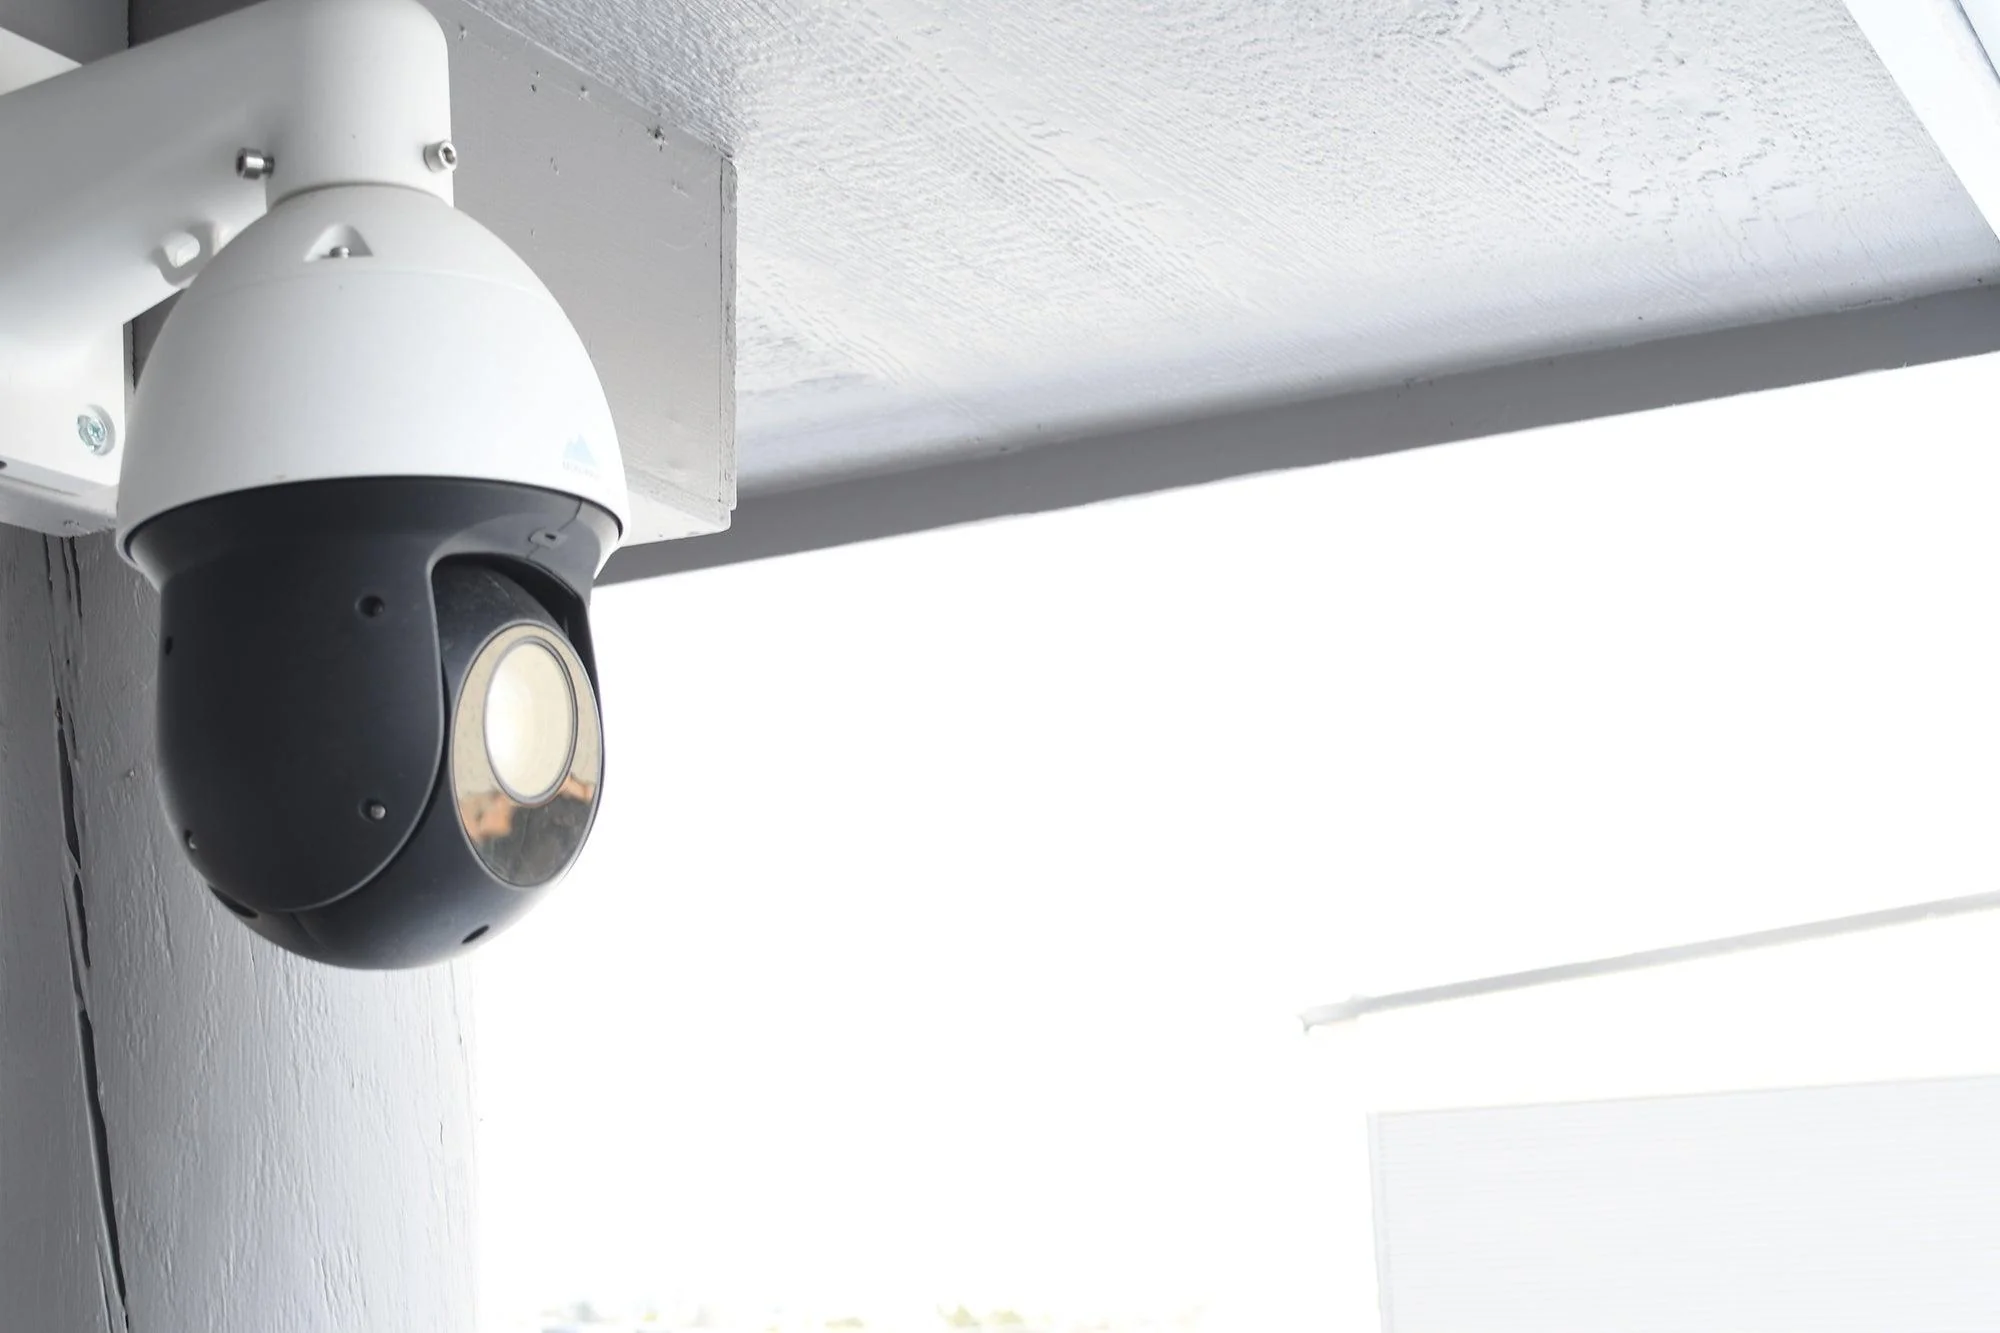
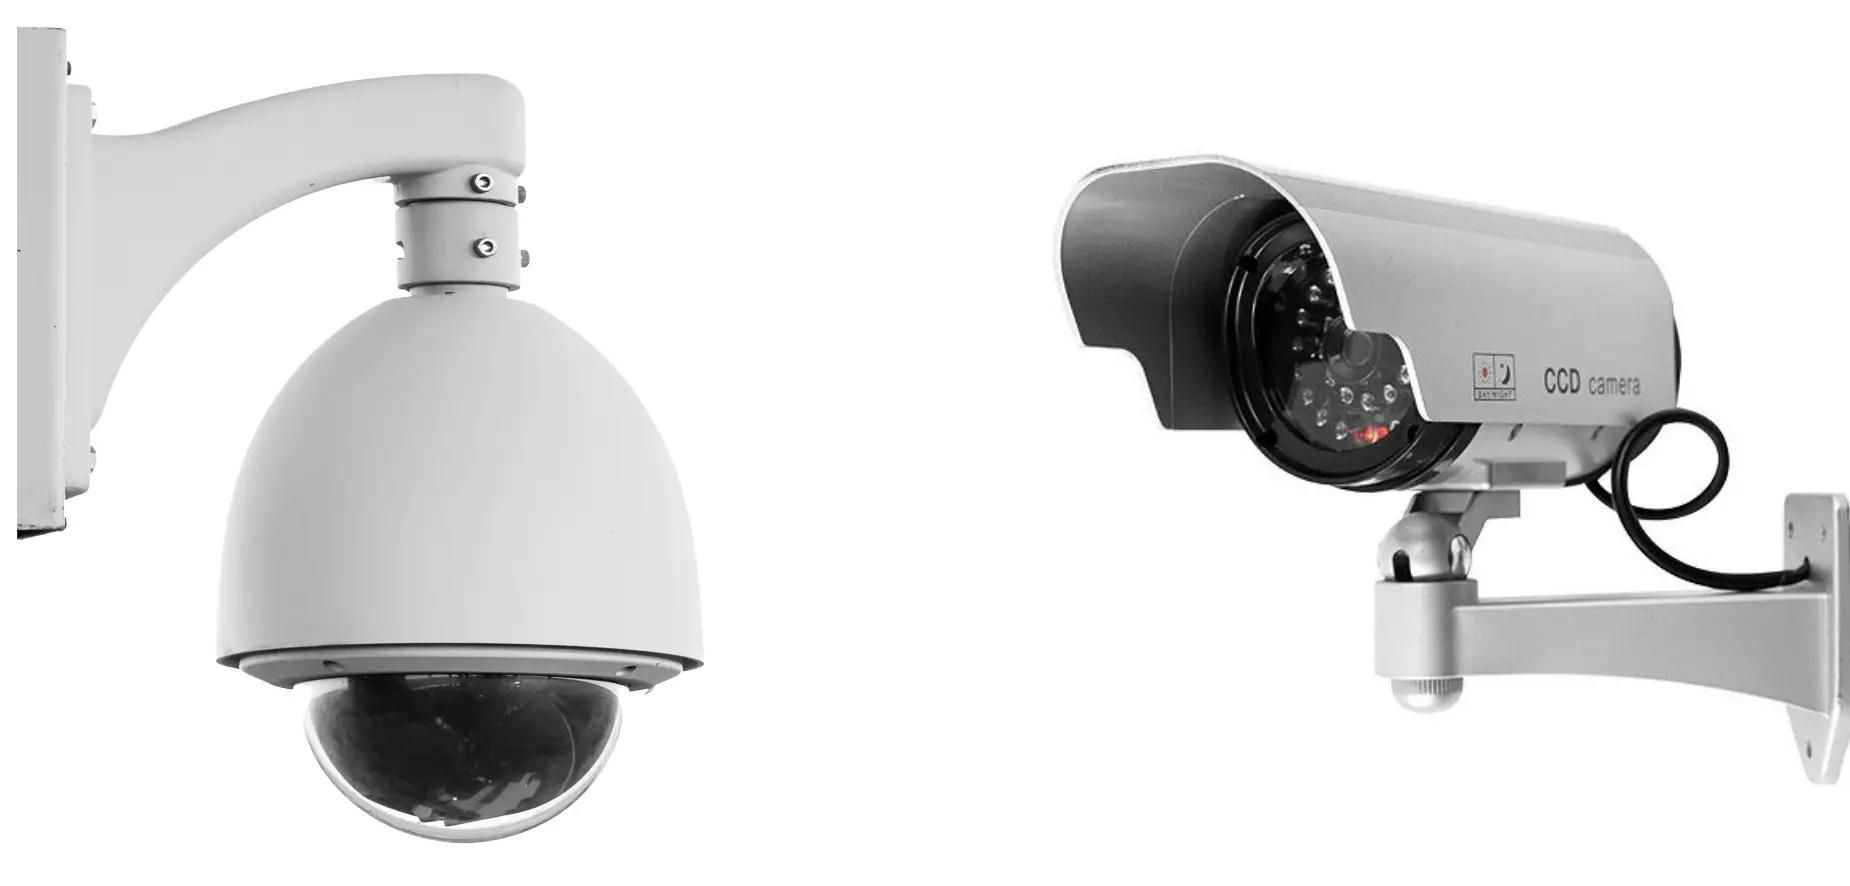
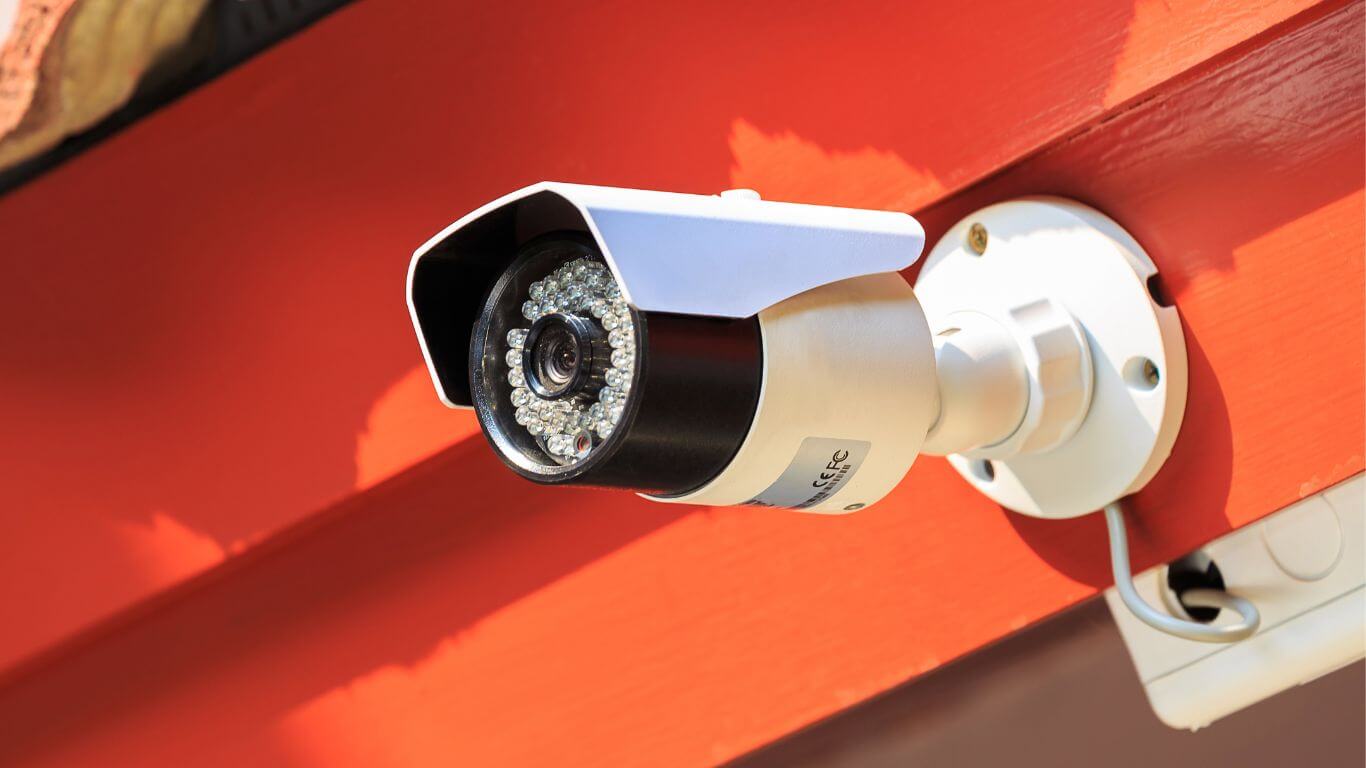
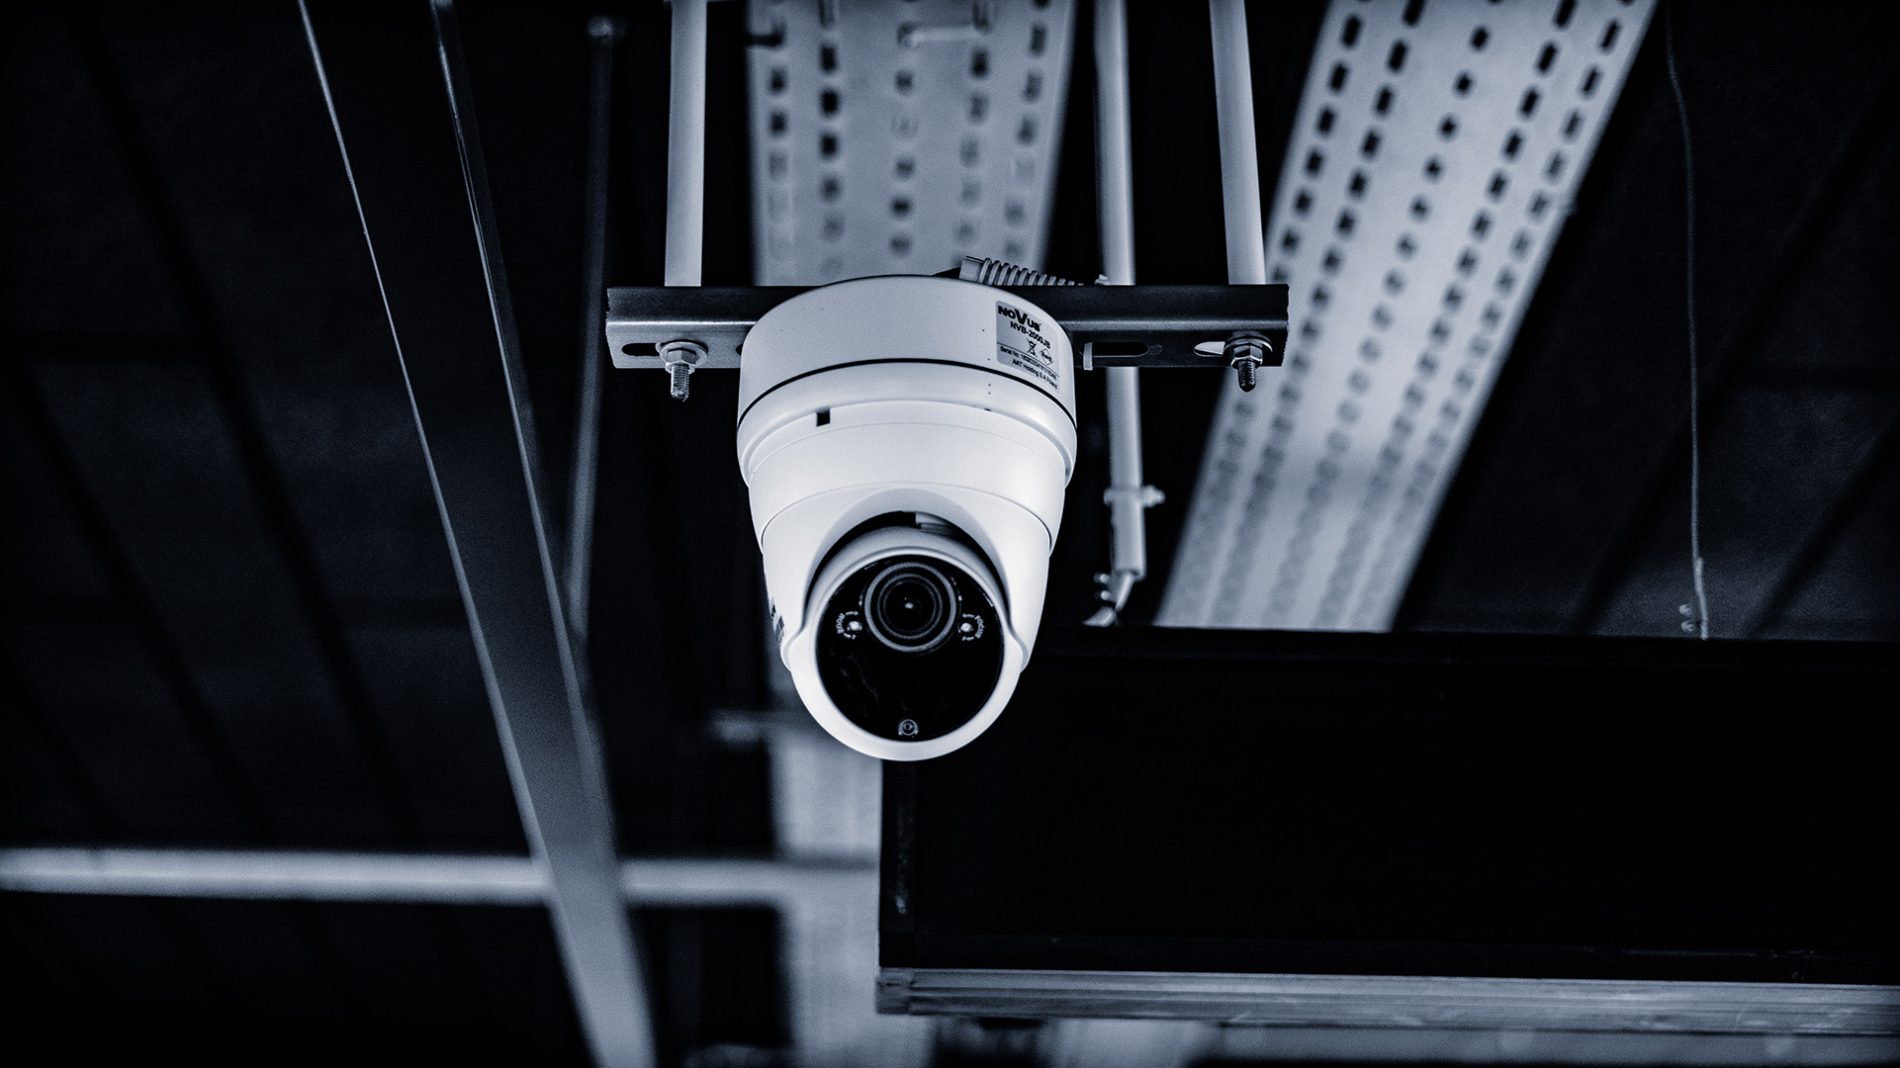
Hardware Malfunctions
Hardware malfunctions can be a significant factor in security cameras going offline. Several components within the camera can experience malfunction or damage, resulting in a loss of functionality. Here are some common hardware issues and their solutions:
- Camera Lens Problems: The camera lens plays a crucial role in capturing clear and accurate footage. If the lens becomes dirty or scratched, it can hinder the camera’s performance. Regularly clean the lens with a soft, lint-free cloth and avoid touching it directly to prevent smudges. If the lens is significantly damaged, consider replacing it with a new one.
- Image Sensor Failures: The image sensor is responsible for capturing video images. If the image sensor fails or becomes faulty, it can cause the camera to go offline or produce distorted footage. In such cases, it may be necessary to contact the manufacturer or a professional technician to repair or replace the image sensor.
- Cable Issues: Faulty or damaged cables can also lead to camera disconnections. Inspect the cables for any visible signs of wear or damage, such as fraying or exposed wiring. If a cable is damaged, replace it with a new one to restore the camera’s functionality.
In addition to these hardware issues, ensure that the mounting brackets and housing of your cameras are secure and in good condition. Loose or damaged mounts can affect the camera’s positioning and stability, leading to performance issues.
Regular maintenance and inspection of your camera’s hardware components are crucial in preventing malfunctions. If you are unsure about any hardware issues, it is recommended to consult with the camera manufacturer or seek professional assistance to resolve the problem.
By addressing hardware malfunctions, you can ensure the proper functioning of your security cameras and reduce the chances of them going offline.
Read more: Why Is My Wyze Outdoor Camera Offline
Software or Firmware Issues
Software or firmware issues can also contribute to security cameras going offline. It is important to keep your camera’s software and firmware up to date to ensure smooth operation. Here are some common software or firmware issues and their solutions:
- Outdated Software or Firmware: Manufacturers release software and firmware updates to improve camera performance, add new features, and address security vulnerabilities. It is crucial to regularly check for updates and install them promptly. Most cameras have a built-in update feature within their settings or management software.
- Software Incompatibility: In some cases, software updates may introduce compatibility issues with your camera or other devices in your system. If you experience camera disconnection after a software update, revert to the previous version or contact the manufacturer’s support for assistance.
- Firmware Corruption: Firmware corruption can occur due to power outages or interrupted updates. This can result in camera malfunctions or disconnections. If your camera’s firmware becomes corrupted, consult the manufacturer’s instructions for re-flashing the firmware or contact their support for guidance.
It is recommended to regularly check for software and firmware updates provided by the manufacturer. This ensures that your cameras remain up to date with the latest features and security enhancements. Additionally, always follow the manufacturer’s guidelines and instructions when updating the software or firmware to minimize the risk of potential issues.
If you encounter persistent software or firmware problems with your cameras, contacting the manufacturer’s support or seeking professional assistance is recommended. Their expertise can help diagnose and resolve any complex software-related issues.
By addressing software or firmware issues, you can maintain the stability and functionality of your security cameras, reducing the chances of them going offline.
External Factors
External factors can often contribute to security cameras going offline. These factors are typically beyond our control but can have a significant impact on camera performance. Here are some common external factors and ways to mitigate their effects:
- Weather Conditions: Extreme weather conditions such as heavy rain, snow, or extreme heat can damage cameras or obstruct their view. Make sure your cameras are properly sealed and weatherproofed. Additionally, position the cameras in areas where they are protected from direct exposure to harsh weather.
- Physical Obstructions: Objects like trees, buildings, or even new construction in the vicinity of your cameras can obstruct the camera’s view or interfere with the wireless signal. Consider adjusting the angle or position of your cameras to eliminate any physical obstructions that may be affecting their performance.
- Interference from Nearby Electronics: Certain electronic devices or appliances can cause interference with the camera’s signal. These may include microwave ovens, wireless speakers, or even fluorescent lights. Keep your cameras away from such devices or find alternative solutions to minimize interference.
- Maintenance Issues: Regular maintenance is crucial in ensuring the longevity and performance of your security cameras. Clean the lenses regularly, remove any debris or dirt that may accumulate around the cameras, and inspect the cables for any signs of damage. Performing routine maintenance can help identify and address potential issues before they cause your cameras to go offline.
While external factors may be challenging to control completely, understanding them and taking preventive measures can minimize their impact on your security cameras’ performance. Regular inspections and maintenance, along with appropriate positioning and weatherproofing, can help mitigate the effects of external factors.
By addressing these external factors, you can improve the reliability and stability of your security cameras, reducing the likelihood of them going offline.
Check the power source and internet connection of the security camera. Make sure the cables are secure and the Wi-Fi signal is strong. Restart the camera and router if needed.
Troubleshooting and Solutions
When your security cameras go offline, it can be frustrating and leave your home vulnerable. However, there are several troubleshooting steps you can take to identify and resolve the issue. Here are some common troubleshooting techniques and solutions:
- Power Source Check: Start by ensuring that your cameras are receiving a stable power supply. Check the power cables and connections to ensure they are securely plugged in. If using a power adapter, test it with a multimeter or try a different adapter to rule out any power-related issues.
- Network Troubleshooting: If the power is not the issue, focus on your network connectivity. Restart your router to refresh the connection and check if other devices on the network are experiencing similar connectivity problems. Consider adjusting the router’s settings or consulting with your ISP if the issue persists.
- Hardware Inspection: Inspect your cameras for any visible signs of damage or hardware malfunctions. Clean the lenses and check the cables for wear or fraying. Ensure that the camera housing and mounting brackets are secure and intact.
- Software and Firmware Updates: Check for software or firmware updates provided by the camera’s manufacturer. Install any available updates to ensure compatibility and address any known issues. Follow the manufacturer’s instructions and guidelines when updating the software or firmware.
- Environmental Factors: Assess any external factors that may be affecting your cameras. Adjust the camera position or angle to eliminate physical obstructions. Weatherproof your cameras and protect them from extreme weather conditions. Minimize interference from nearby electronics or appliances.
If the issue persists after performing these troubleshooting steps, it is recommended to contact the camera manufacturer’s support or consult with a professional. They can provide further assistance and guidance in diagnosing and resolving the problem.
Remember, consistently maintaining and monitoring your security cameras is essential to catch any potential issues early on and ensure their optimal performance.
By following these troubleshooting techniques and implementing the appropriate solutions, you can effectively address issues that cause your security cameras to go offline, allowing for continuous monitoring and protection of your home.
Power Source Check
When your security cameras go offline, one of the first troubleshooting steps is to check the power source. Power-related issues are a common cause of camera disconnections. Here are some steps to conduct a power source check:
- Verify Power Outlet: Ensure that the power outlet your cameras are connected to is functioning properly. You can test the outlet by plugging in another electronic device and checking if it powers on.
- Check Power Cables: Inspect the power cables connected to your cameras for any signs of damage, such as fraying or exposed wires. Make sure the cables are securely connected to both the camera and the power outlet.
- Test Power Adapter: If your cameras use a power adapter, check if it is functioning correctly. Use a multimeter to test the output voltage to ensure it matches the manufacturer’s specifications. Alternatively, try using a different power adapter of the same specifications to see if the camera powers on.
- Inspect Battery Backup or UPS: If your cameras are connected to a battery backup system or uninterruptible power supply (UPS), make sure that it is functioning properly. Check the battery status and connections to ensure they are secure and providing adequate power.
If you discover any power-related issues while conducting the power source check, here are some solutions:
- Replace Damaged Cables: If the power cables are damaged or worn out, replace them with new ones. Use cables of the appropriate length and gauge to ensure a proper power supply.
- Use a Different Power Adapter: If the power adapter is malfunctioning, try using a different one that matches the camera’s power requirements. Alternatively, contact the camera manufacturer for a replacement adapter.
- Reset or Replace Battery Backup or UPS: If your cameras are connected to a battery backup system or UPS, try resetting it according to the manufacturer’s instructions. If the battery is not holding a charge or the UPS is faulty, consider replacing it to ensure a stable power supply.
By conducting a thorough power source check and addressing any power-related issues, you can ensure that your cameras receive a stable power supply and minimize the risk of them going offline.
Read more: How To Use A GoPro As A Security Camera
Network Troubleshooting
When security cameras go offline, network connectivity issues are often to blame. Here are some steps to conduct network troubleshooting to identify and resolve the problem:
- Check Wi-Fi Signal Strength: Verify that your security cameras are within range of your Wi-Fi router and receiving a strong signal. Weak Wi-Fi signals can result in intermittent or lost connections. Consider moving the router or installing Wi-Fi range extenders to improve the signal strength in the cameras’ location.
- Restart Router: Restarting the router can help resolve temporary network issues. Power off the router, wait for a few seconds, then power it back on. Allow the router to reboot fully before checking if your cameras reconnect.
- Verify Internet Connection: Ensure that your home’s internet connection is stable. Check if other devices connected to the network are experiencing connectivity issues. If there is a problem, contact your internet service provider (ISP) to address any internet connection problems.
- Change Wi-Fi Channel: Interference from neighboring Wi-Fi networks can disrupt the signal to your security cameras. Access your router’s settings and try changing the Wi-Fi channel to a less congested one. This can help improve the Wi-Fi signal quality and reduce interference.
- Adjust Network Settings: Check your router’s network settings to ensure they are compatible with your security cameras. Verify that your cameras are using the appropriate Wi-Fi security protocols (e.g., WPA2) to protect against unauthorized access. Additionally, ensure that any firewall or security settings on the router are not blocking the camera’s connection.
- Consider Wired Ethernet Connection: Wi-Fi signals can be susceptible to interference, leading to camera disconnections. If possible, consider connecting your cameras to the router using wired Ethernet connections. This provides a more stable and reliable network connection, minimizing the chances of cameras going offline.
If the network troubleshooting steps above do not resolve the issue, it may be necessary to seek assistance from your router manufacturer or contact a networking professional. They can provide more advanced solutions and help diagnose any underlying network issues.
By conducting network troubleshooting and addressing any connectivity problems, you can ensure a stable network connection for your security cameras, reducing the risk of them going offline.
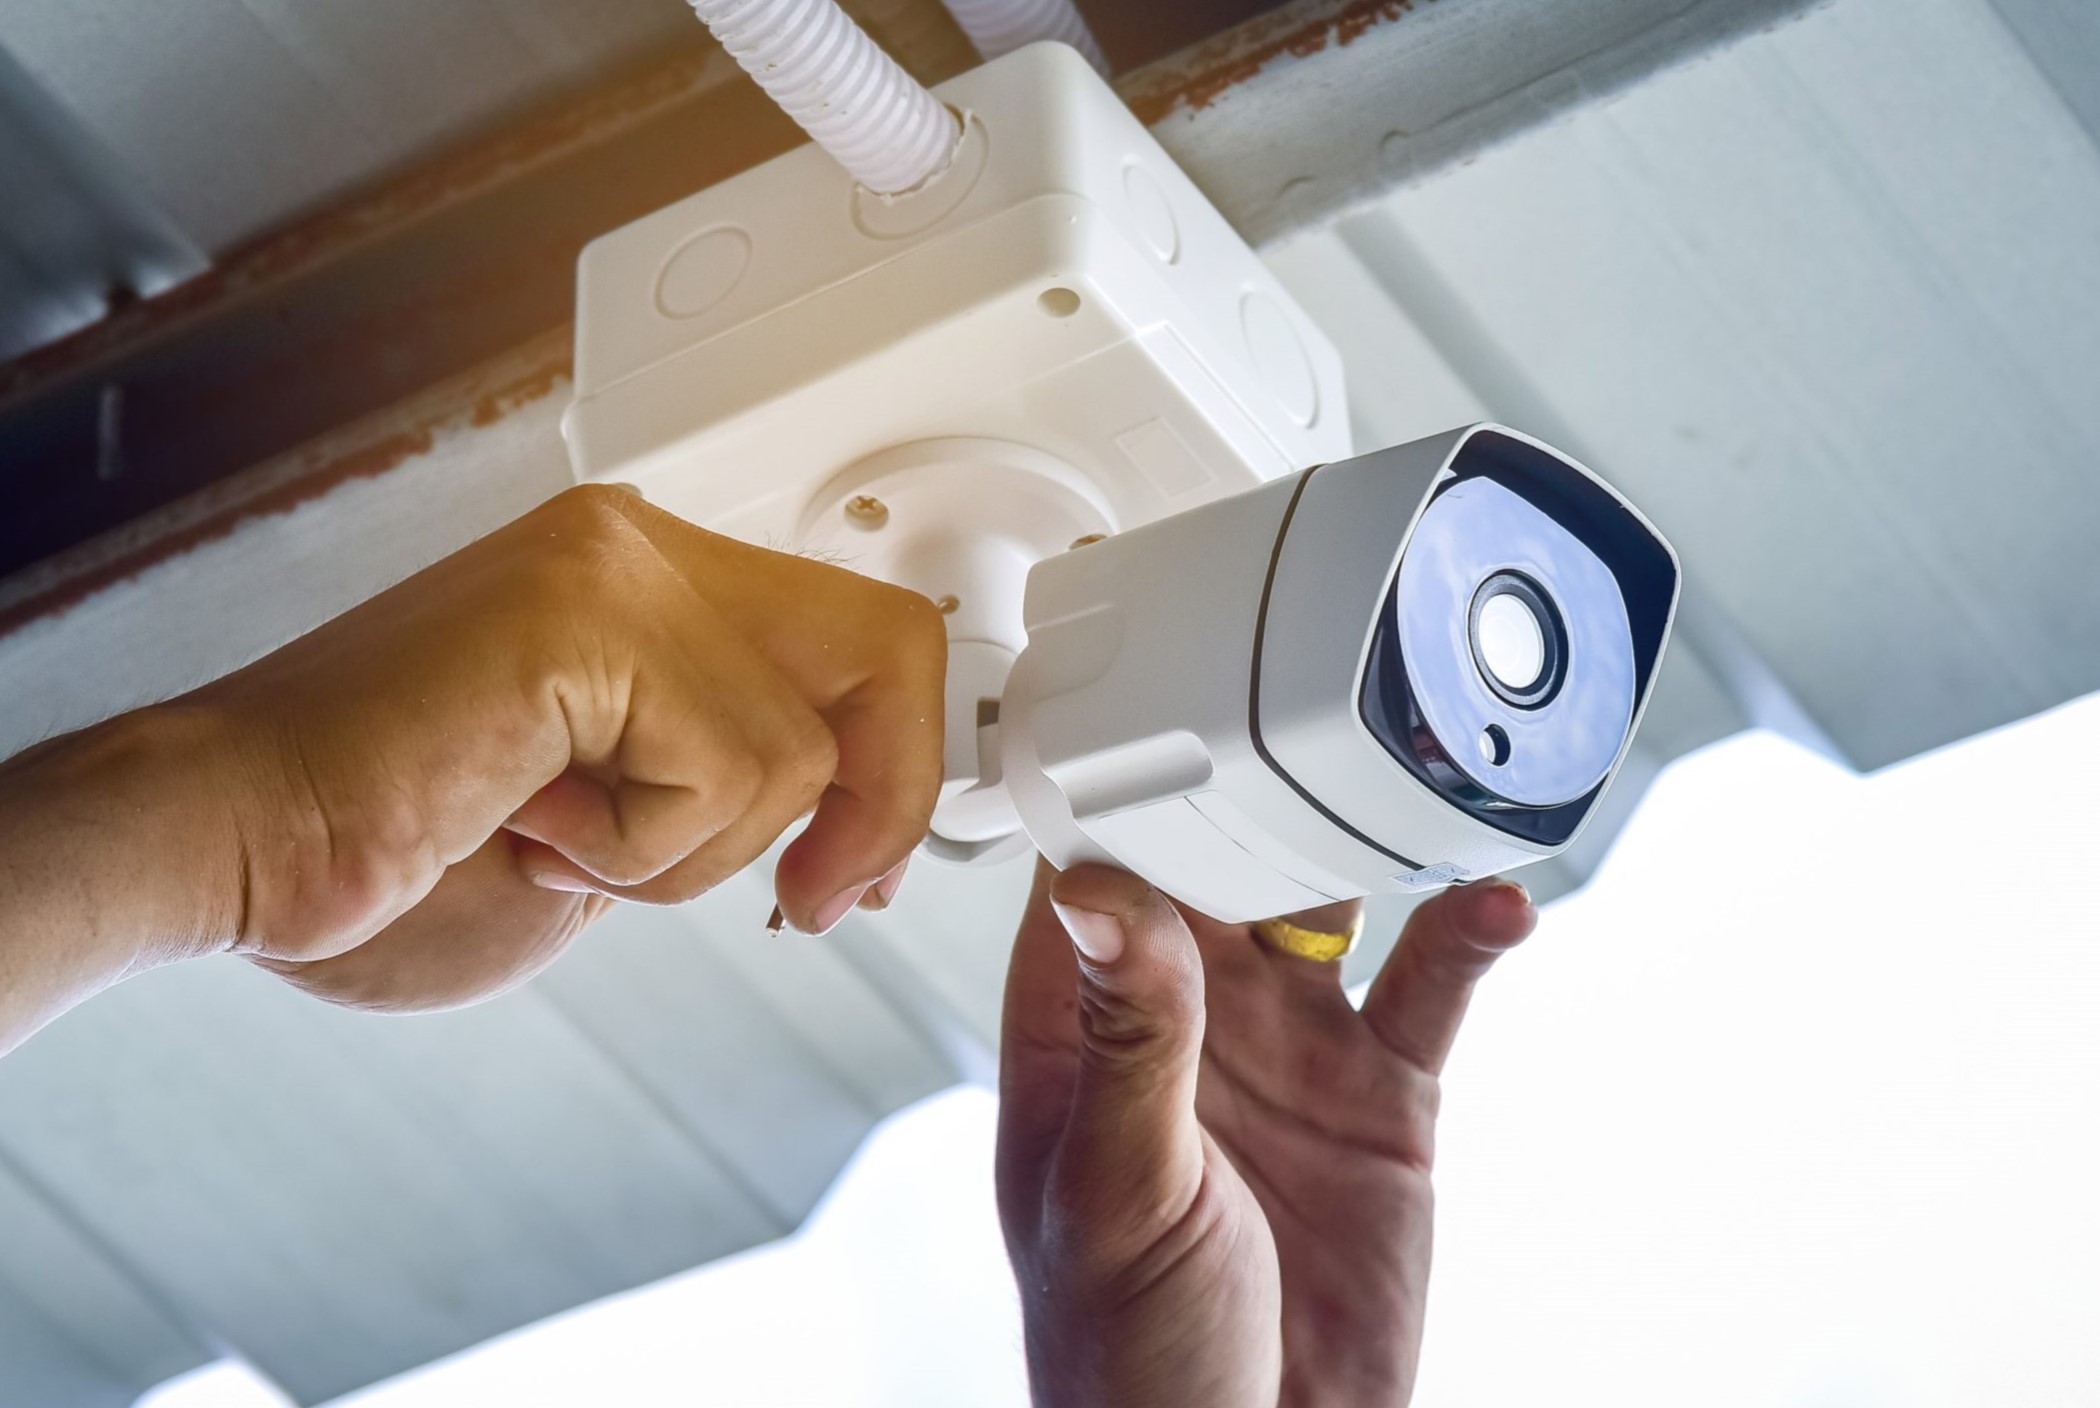
Hardware Inspection
When security cameras go offline, it is important to conduct a thorough hardware inspection to identify any issues with the camera components. Here are some steps to perform a hardware inspection:
- Inspect Camera Housing: Check the camera housing for any visible signs of damage or deterioration. Ensure that the housing is intact and free from cracks or breaks. If the housing is damaged, it may compromise the camera’s performance and expose it to environmental factors.
- Examine Camera Lens: Inspect the camera lens for any dirt, smudges, or scratches. Clean the lens gently with a soft, lint-free cloth to ensure clear vision. If there are significant scratches or damage to the lens, it may need to be replaced to restore proper functionality.
- Check Cable Connections: Inspect the cables connected to the camera for any signs of wear, fraying, or loose connections. Ensure that the cables are securely plugged into the camera and any associated devices or power sources.
- Inspect Mounting Brackets: Check the mounting brackets that hold the camera in place for stability and secure installation. Make sure the brackets are tightened correctly and that the camera is positioned at the desired angle without any slippage or movement.
- Verify Power Supply: Double-check that the camera is receiving a steady power supply. Ensure the power cables, adapters, or batteries are working properly. If using a power adapter, use a multimeter to test its output voltage to confirm it meets the manufacturer’s specifications.
If any hardware issues are identified during the inspection, here are some potential solutions:
- Replace Damaged Housing: If the camera housing is damaged, consider replacing it to protect the internal components from environmental factors.
- Replace or Repair Lens: If the camera lens is significantly scratched or damaged, it may need to be replaced to restore clear vision. Contact the camera manufacturer or a professional technician for assistance.
- Replace Faulty Cables: If the cables are worn out or damaged, replace them with new ones to ensure stable connections.
- Secure Mounting Brackets: Tighten the mounting brackets and ensure the camera is properly secured in its position. Consider additional reinforcements or adjustments if slippage or movement is detected.
- Verify Power Supply Compatibility: Ensure that the camera is receiving the correct voltage and power supply according to the manufacturer’s specifications. Replace any faulty power cables or adapters as necessary.
By conducting a thorough hardware inspection and addressing any issues, you can enhance the performance and reliability of your security cameras, minimizing the risk of them going offline.
Software and Firmware Updates
Maintaining up-to-date software and firmware is essential for the optimal performance and functionality of your security cameras. Here are some important steps to consider when updating your camera’s software and firmware:
- Check for Updates: Regularly check the manufacturer’s website or official support channels for any available software or firmware updates for your specific camera model. These updates often include bug fixes, performance improvements, new features, and security patches.
- Read Release Notes: Prior to installing any updates, carefully read the release notes or documentation provided by the manufacturer. This will give you an overview of the changes and improvements in the update, as well as any specific instructions or precautions you need to follow during the update process.
- Backup Configuration: Before performing any updates, it is wise to back up your camera’s configuration settings. This will allow you to easily restore your previous settings in case any issues arise during the update process.
- Follow Update Instructions: Manufacturers typically provide step-by-step instructions on how to perform the update. Follow these instructions carefully to ensure a smooth and successful update. This may involve downloading the update file, accessing the camera’s web interface, or using specialized software provided by the manufacturer.
- Allow Sufficient Time: Installing a software or firmware update may take some time. It is important to be patient and not interrupt the process. Interrupting the update can result in the camera malfunctioning or becoming inoperable.
- Restart and Verify: After the update is complete, restart your camera and verify that it is functioning properly. Check all the camera’s features and settings to ensure they are working as expected.
By keeping your camera’s software and firmware up to date, you can benefit from improved performance, security enhancements, and access to new features. Regularly checking for updates and following the manufacturer’s instructions will help ensure that your security cameras remain optimized and reliable.
If you encounter any issues during the update process or experience problems after the update, consult the manufacturer’s support channels for further guidance and assistance.
Remember to periodically check for new updates and perform the necessary updates to keep your security cameras in top form and minimize the risk of them going offline.
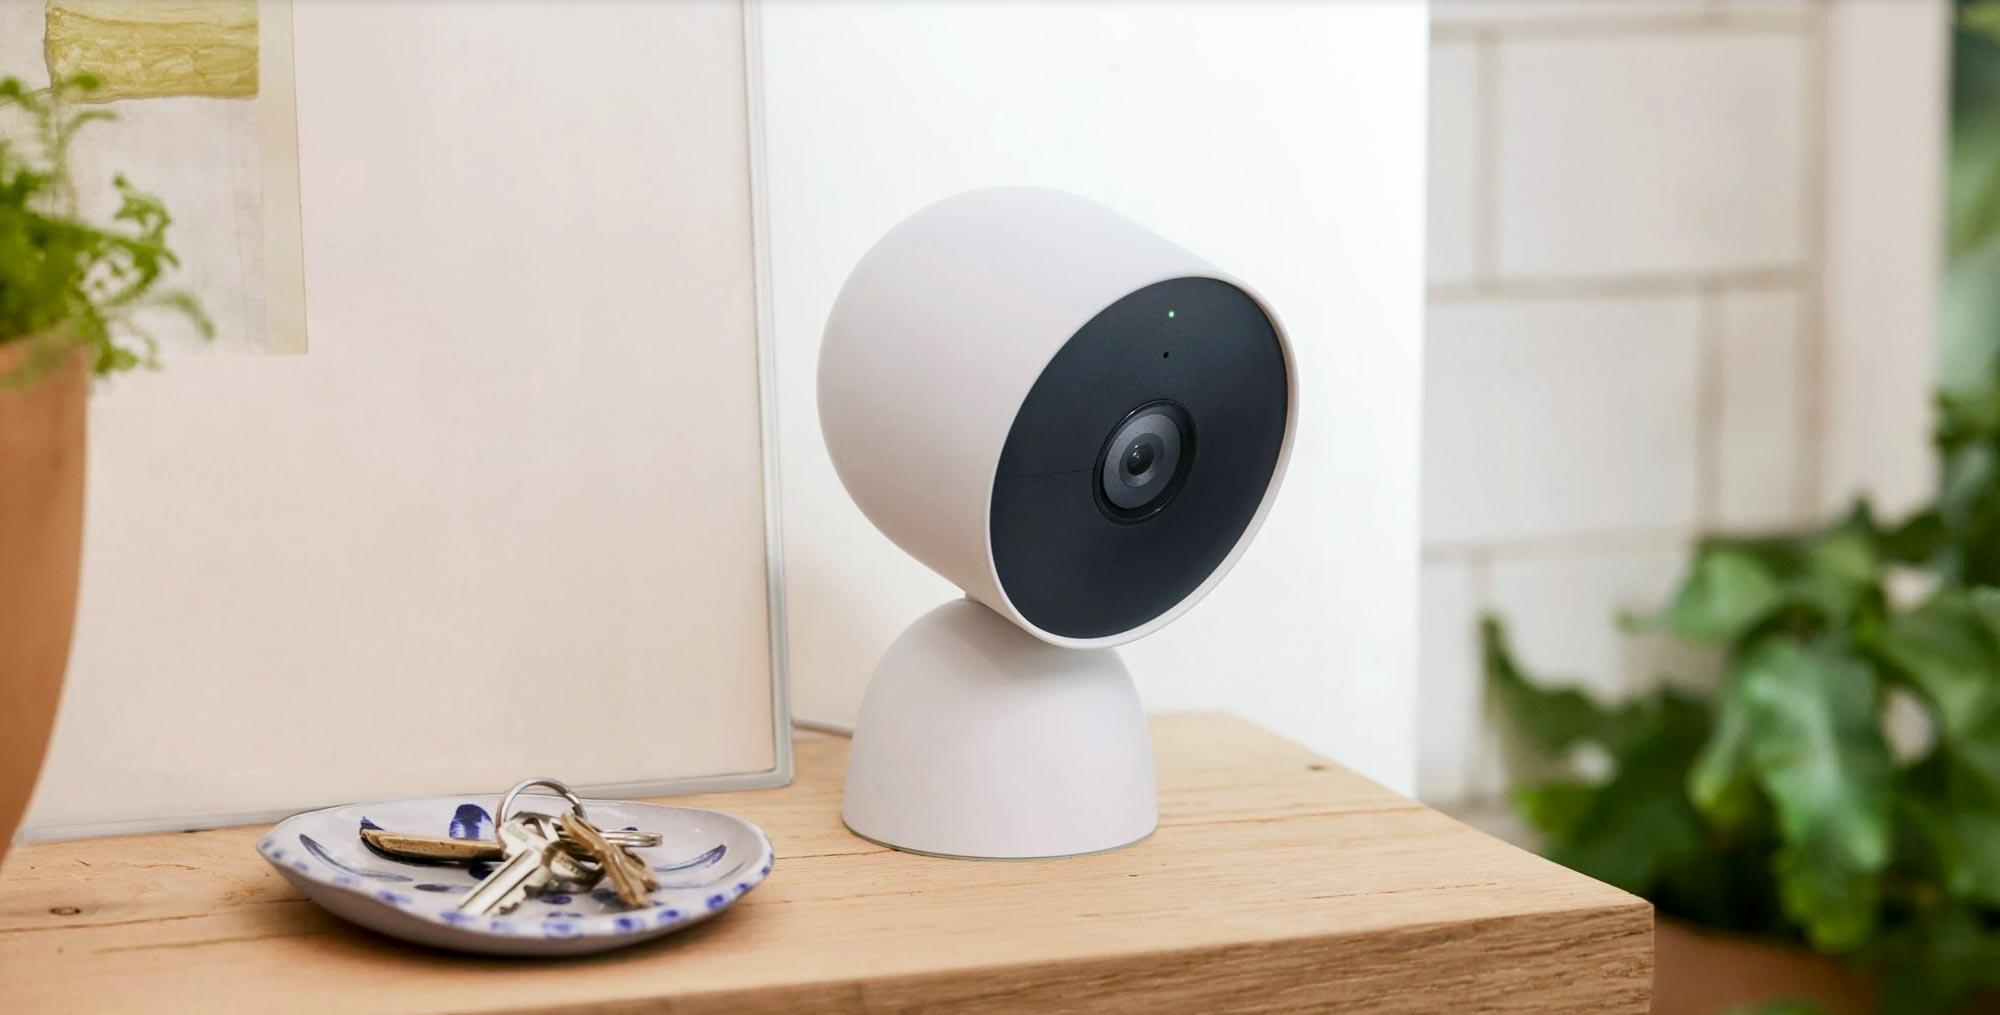
Environmental Factors
Environmental factors can have a significant impact on the performance and reliability of your security cameras. It’s important to consider and address these factors to minimize the risk of cameras going offline. Here are some common environmental factors and their solutions:
- Weather Conditions: Extreme weather conditions such as heavy rain, snow, or extreme heat can damage cameras or obstruct their view. To protect your cameras, ensure that they are installed in weatherproof housings designed to withstand the elements. Position the cameras in areas that are sheltered or use protective covers to shield them from direct exposure to harsh weather.
- Physical Obstructions: Objects like trees, buildings, or even new construction near your cameras can obstruct their view or interfere with the wireless signal. Regularly inspect the camera’s field of view and adjust the camera’s position or angle if necessary to avoid any obstructions. Maintain regular landscaping maintenance to prevent overgrown branches or foliage from obstructing the camera’s view.
- Interference from Nearby Electronics: Certain electronic devices or appliances can cause interference with the camera’s signal, leading to disconnections. Keep your cameras a sufficient distance away from devices such as microwave ovens, cordless phones, or wireless speakers. If interference persists, consider using cameras that operate on different frequency bands or use wired connections to eliminate the issue.
- Maintenance Issues: Proper maintenance is crucial to ensure the longevity and optimal performance of your security cameras. Regularly clean the camera lenses to prevent dirt or debris buildup that can affect image clarity. Check for any loose connections, damaged cables, or signs of wear and tear. Perform routine inspections and address any maintenance issues promptly to prevent downtime.
By addressing these environmental factors, you can enhance the performance and reliability of your security cameras, reducing the chances of them going offline. Regular maintenance, protection from extreme weather, and ensuring a clear line of sight will contribute to their continued operation and effectiveness.
Monitor the condition and surroundings of your security cameras regularly to identify and address any environmental factors that may compromise their performance. With proper care and attention, your cameras will provide continuous surveillance to keep your home safe and secure.
Read more: Why Are Security Cameras Good
Conclusion
Security cameras going offline can leave your home vulnerable and compromise the effectiveness of your surveillance system. Understanding the various causes behind this issue is crucial in troubleshooting and finding appropriate solutions. From power issues to network connectivity problems, hardware malfunctions, software or firmware issues, and environmental factors, there are several factors to consider when addressing camera disconnections.
By conducting a thorough power source check, troubleshooting network connectivity, inspecting the hardware, keeping software and firmware up to date, and addressing environmental factors, you can minimize the risk of your security cameras going offline.
Regular maintenance is crucial in ensuring the longevity and optimal performance of your cameras. Cleaning lenses, checking cables, and securing mounting brackets are necessary steps to prevent hardware malfunctions and address any potential issues. Additionally, staying up to date with software and firmware updates is essential to benefit from improved performance, new features, and enhanced security measures.
External factors such as severe weather conditions, physical obstructions, interference from nearby electronics, and maintenance issues should also be taken into account. By protecting your cameras from extreme weather, ensuring an unobstructed view, minimizing interference, and performing routine maintenance, you can enhance their reliability and effectiveness.
In conclusion, thorough troubleshooting, regular maintenance, and attention to the various factors that can cause security cameras to go offline are essential for the continuous protection and surveillance of your home. By addressing these issues, you can ensure that your security system operates at its optimal level, providing you with peace of mind and enhanced home security.
Frequently Asked Questions about Why Do Security Cameras Go Offline
Was this page helpful?
At Storables.com, we guarantee accurate and reliable information. Our content, validated by Expert Board Contributors, is crafted following stringent Editorial Policies. We're committed to providing you with well-researched, expert-backed insights for all your informational needs.