Home>Home Security and Surveillance>Why Does My Security Camera Say Offline
Home Security and Surveillance
Why Does My Security Camera Say Offline
Modified: March 6, 2024
Having trouble with your home security and surveillance system? Find out why your security camera says offline and how to fix it with our expert guide.
(Many of the links in this article redirect to a specific reviewed product. Your purchase of these products through affiliate links helps to generate commission for Storables.com, at no extra cost. Learn more)
Introduction
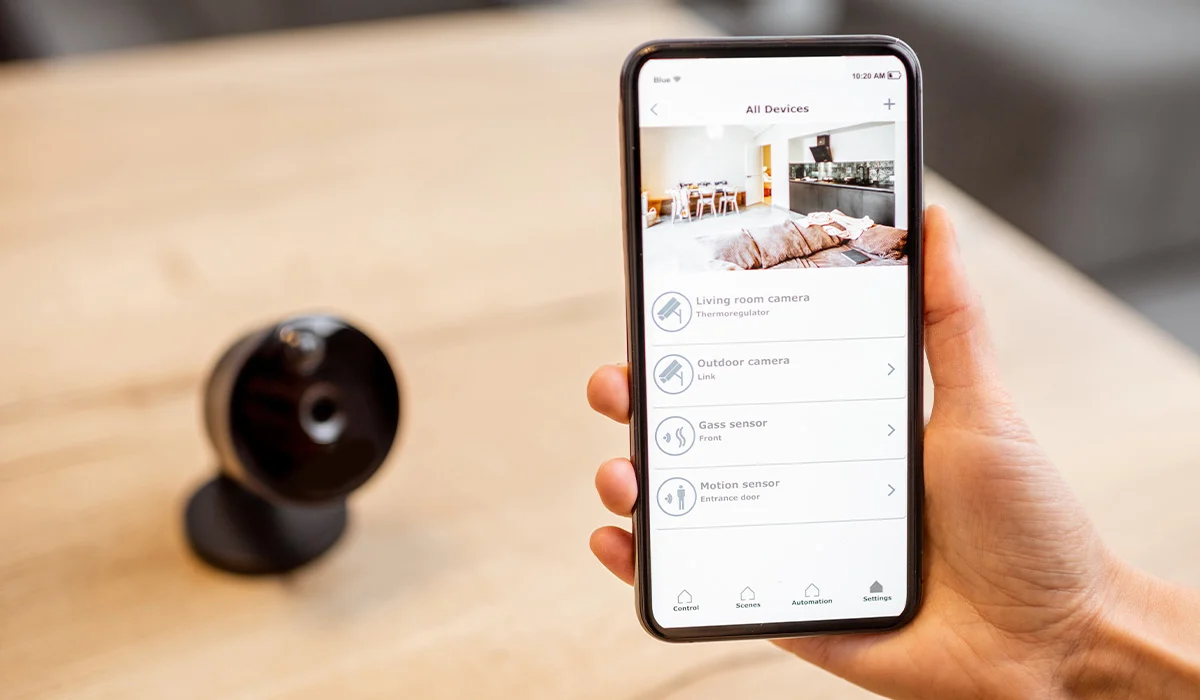
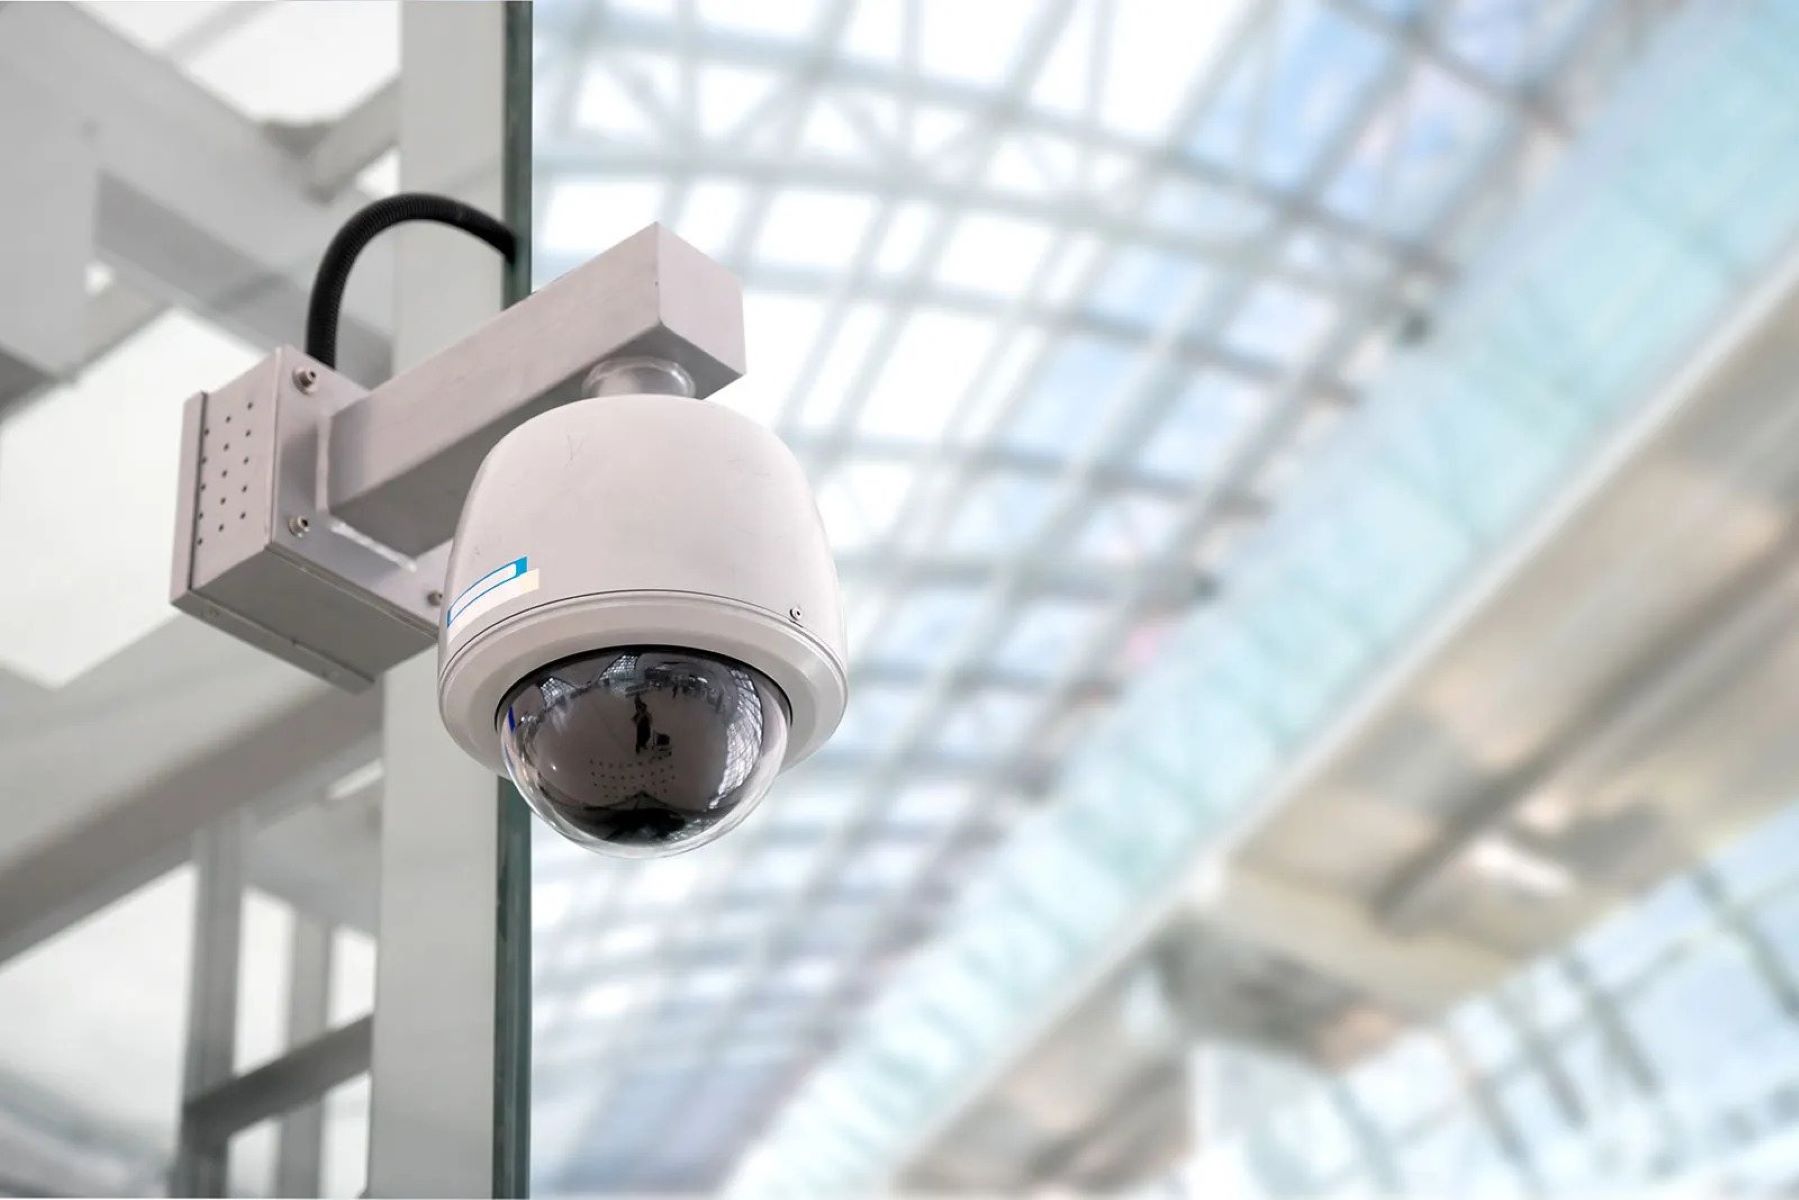
Welcome to the world of home security and surveillance, where advanced technology allows us to protect our homes and loved ones with ease. One of the key components of a home security system is the security camera. These devices play a crucial role in monitoring and recording activities in and around our homes, providing us with a sense of peace and security.
However, there may be times when you encounter the frustrating message “Security Camera Offline” on your device. This can leave you feeling helpless and concerned about the safety of your property. Don’t worry, though! In this article, we will explore the common causes for security cameras going offline and provide troubleshooting steps to help you resolve the issue.
A security camera going offline can occur due to various reasons, ranging from connectivity issues and power supply problems to camera firmware updates or hardware malfunctions. It is important to understand these causes so that you can effectively troubleshoot and resolve the issue.
Key Takeaways:
- Keep your security camera online by checking power supply, rebooting devices, verifying network settings, updating firmware, and ensuring proper installation and placement.
- Troubleshoot security camera offline issues with simple steps like checking power supply, rebooting devices, verifying network settings, updating firmware, and ensuring proper installation and placement.
Read more: Why Does My Sawgrass Printer Say Offline
Common Causes for Security Cameras to Go Offline
When your security camera goes offline, it can leave you feeling frustrated and concerned. Understanding the common causes for this issue can assist you in resolving the problem quickly and efficiently. Let’s take a closer look at some of the most common causes for security cameras to go offline:
- Connectivity Issues: A weak or unstable internet connection is one of the primary culprits when it comes to security cameras going offline. This can be caused by factors such as a Wi-Fi signal that is too weak or interference from other devices.
- Power Supply Problems: Another common cause is power supply issues. If your security camera is not receiving adequate power, it may disconnect from the network or shut down altogether. This can be due to a faulty power adapter, loose cables, or electrical problems.
- Camera Firmware Updates or Hardware Malfunctions: Sometimes, security cameras may need firmware updates to improve performance or address software bugs. During the update process, the camera may temporarily go offline. Similarly, hardware malfunctions, such as faulty camera components, can also cause the camera to disconnect from the network.
- Network Configuration and Settings: Incorrect network configuration and settings can lead to security cameras going offline. Issues such as incorrect IP address assignment, conflicting network settings, or firewall restrictions can prevent the camera from connecting to the network successfully.
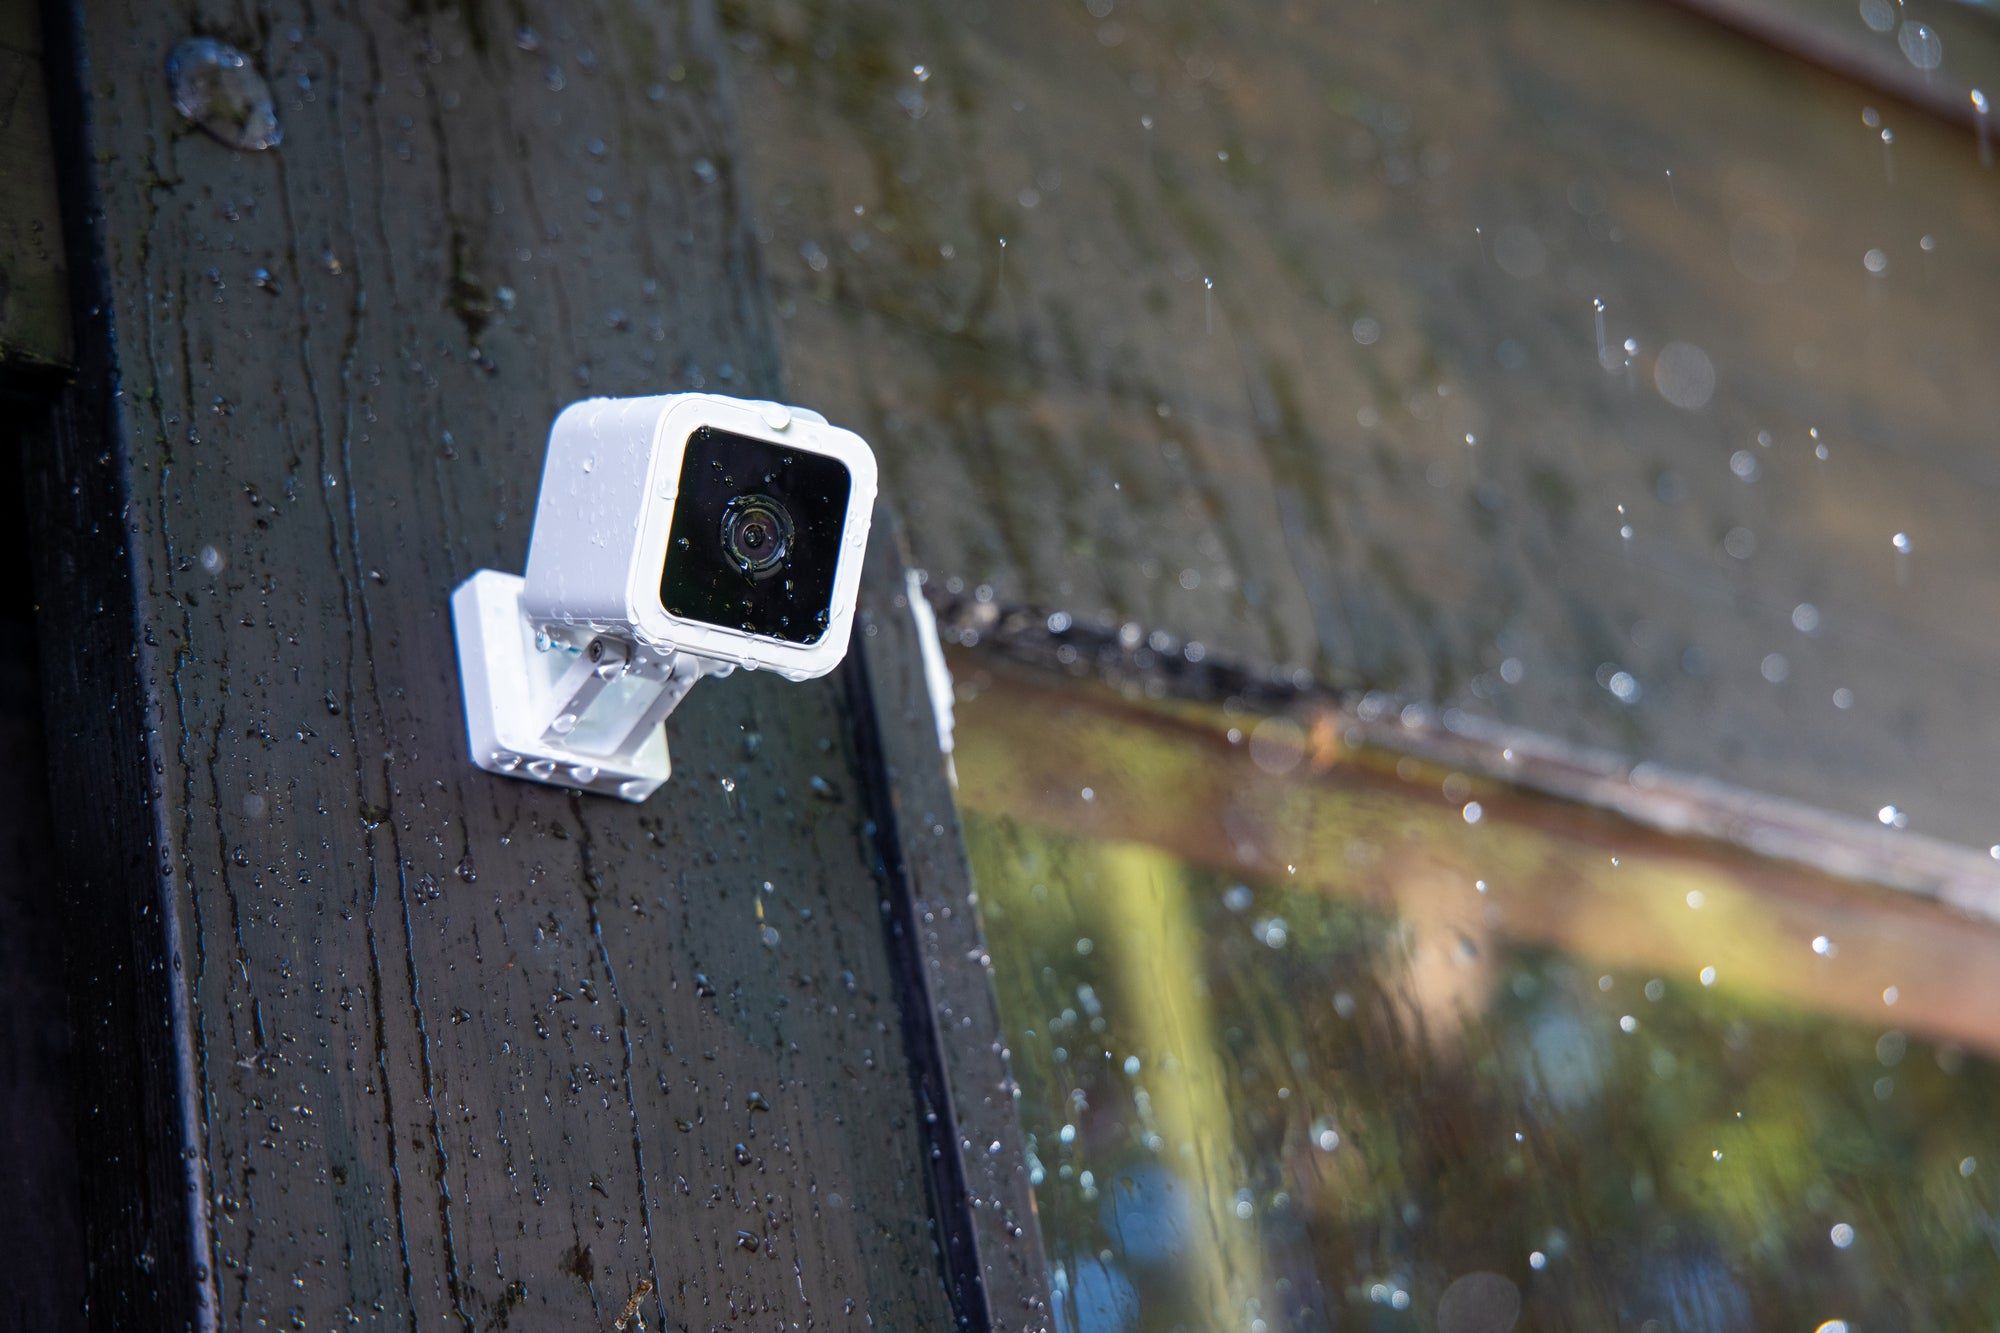
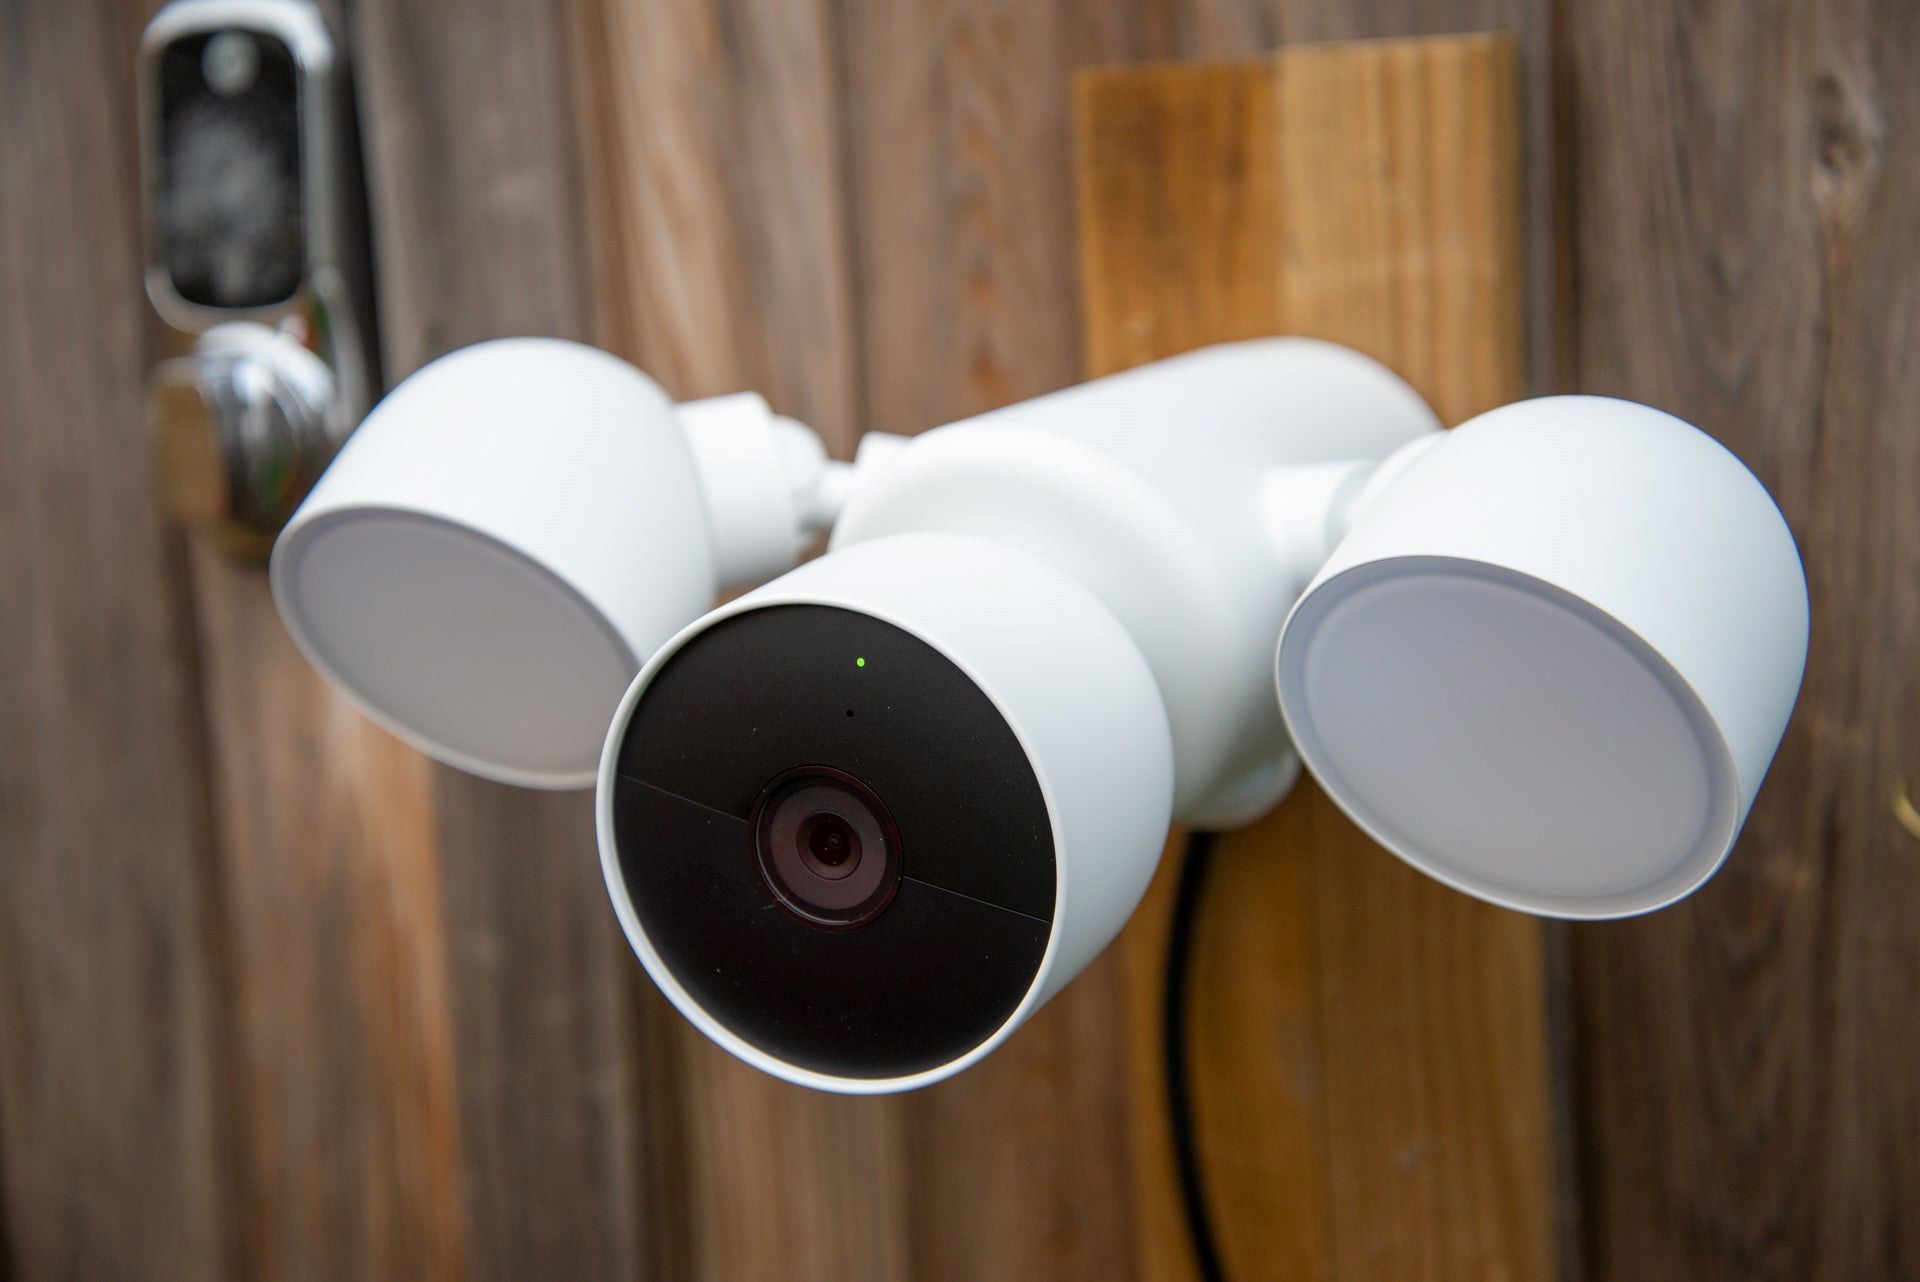
- Incorrect Camera Installation: Improper installation or placement of the security camera can also result in offline issues. For example, if the camera is placed too far away from the Wi-Fi router, it may struggle to maintain a stable connection. Similarly, incorrect camera positioning or obstructions can hinder the Wi-Fi signal.
By understanding these common causes, you can begin troubleshooting your offline security camera effectively. Next, we will explore the steps you can take to resolve the issue and bring your camera back online.
Connectivity Issues
Connectivity issues are one of the most frequent culprits behind security cameras going offline. A reliable and stable internet connection is essential for your camera to function properly. Here are a few common connectivity issues and steps you can take to address them:
- Weak Wi-Fi Signal: If your security camera is located far away from the Wi-Fi router, it may struggle to maintain a strong connection. To improve the signal strength, consider moving the router closer to the camera or using Wi-Fi range extenders to boost the signal. You can also try repositioning the camera to a location with better Wi-Fi coverage.
- Interference from Other Devices: Other electronic devices, such as cordless phones, microwave ovens, or Bluetooth devices, can cause interference with the Wi-Fi signal. Ensure that your camera is not placed near these devices, as they can disrupt the connection. Additionally, consider switching to a less congested Wi-Fi channel to minimize interference.
- Router Issues: A misconfigured router can lead to connectivity problems. Make sure that your router is compatible with your security camera’s specifications. Check if there are any firmware updates available for your router and install them to ensure optimal performance. Furthermore, verify that the router’s DHCP settings are properly configured to assign IP addresses to your devices.
- Internet Service Provider (ISP) Issues: At times, the issue may lie with your internet service provider (ISP). Contact your ISP to check for any network outages or maintenance activities in your area. They can also assist you in troubleshooting connection issues or provide guidance on optimizing your network setup.
By addressing connectivity issues, you can significantly improve the stability and reliability of your security camera’s connection. In the next section, we will explore power supply problems and how they can cause security cameras to go offline.
Power Supply Problems
Power supply problems can often be the reason behind security cameras going offline. Without a stable and adequate power supply, the camera may disconnect from the network or fail to function at all. Here are some common power supply issues and steps you can take to resolve them:
- Faulty Power Adapter: A faulty or damaged power adapter can prevent the camera from receiving enough power to stay online. Check the power adapter and cables for any visible signs of damage. Consider replacing the power adapter with a new one if necessary.
- Loose Connections: Ensure that all power connections are securely plugged in. Sometimes, loose cables or connectors can cause intermittent power supply issues. Check both ends of the power cable, including the camera and the power outlet, to ensure a snug and secure connection.
- Electrical Problems: Electrical issues, such as power surges or voltage fluctuations, can disrupt the power supply to your security camera. To protect your camera from such problems, consider installing surge protectors or uninterruptible power supply (UPS) devices. These devices can help regulate the voltage and provide backup power during outages.
By addressing power supply problems, you can ensure a consistent and uninterrupted power source for your security camera. In the next section, we will discuss camera firmware updates and hardware malfunctions and how they can affect the functioning of your camera.
Camera Firmware Updates or Hardware Malfunctions
Camera firmware updates and hardware malfunctions can both contribute to security cameras going offline. Let’s explore these causes in more detail and discuss potential solutions:
- Camera Firmware Updates: Security camera manufacturers regularly release firmware updates to enhance performance, add new features, and address any software bugs. During the update process, your camera may temporarily go offline. To check if there are any available firmware updates for your camera, visit the manufacturer’s website or consult the camera’s user manual. Follow the instructions provided by the manufacturer to update the firmware, ensuring that you have a stable power and internet connection during the process.
- Hardware Malfunctions: In some cases, hardware malfunctions can cause security cameras to go offline. This could be due to a faulty camera component or a physical issue within the device. If you suspect a hardware malfunction, contact the manufacturer’s customer support for assistance. They can guide you through troubleshooting steps or advise on whether the camera needs to be repaired or replaced.
Regularly updating your camera’s firmware and addressing hardware malfunctions can help maintain the performance and reliability of your security camera. In the next section, we will delve into network configuration and settings and how they can impact your camera’s connectivity.
Network Configuration and Settings
Incorrect network configuration and settings can often be the culprit behind security cameras going offline. Let’s explore some network-related issues and steps you can take to resolve them:
- IP Address Conflict: An IP address conflict occurs when two devices on the same network have the same IP address, causing connectivity issues. To resolve this, ensure that each device on your network has a unique IP address. You can do this by configuring your router’s DHCP settings to assign IP addresses automatically or by manually assigning static IP addresses to your devices.
- Firewall Restrictions: Firewalls are designed to protect your network from unauthorized access. However, if the firewall settings are too restrictive, they can interfere with your security camera’s connection. Check your router’s firewall settings and ensure that they allow incoming and outgoing traffic for your camera. You may need to create specific firewall rules or open certain ports to enable the camera’s communication with the network.
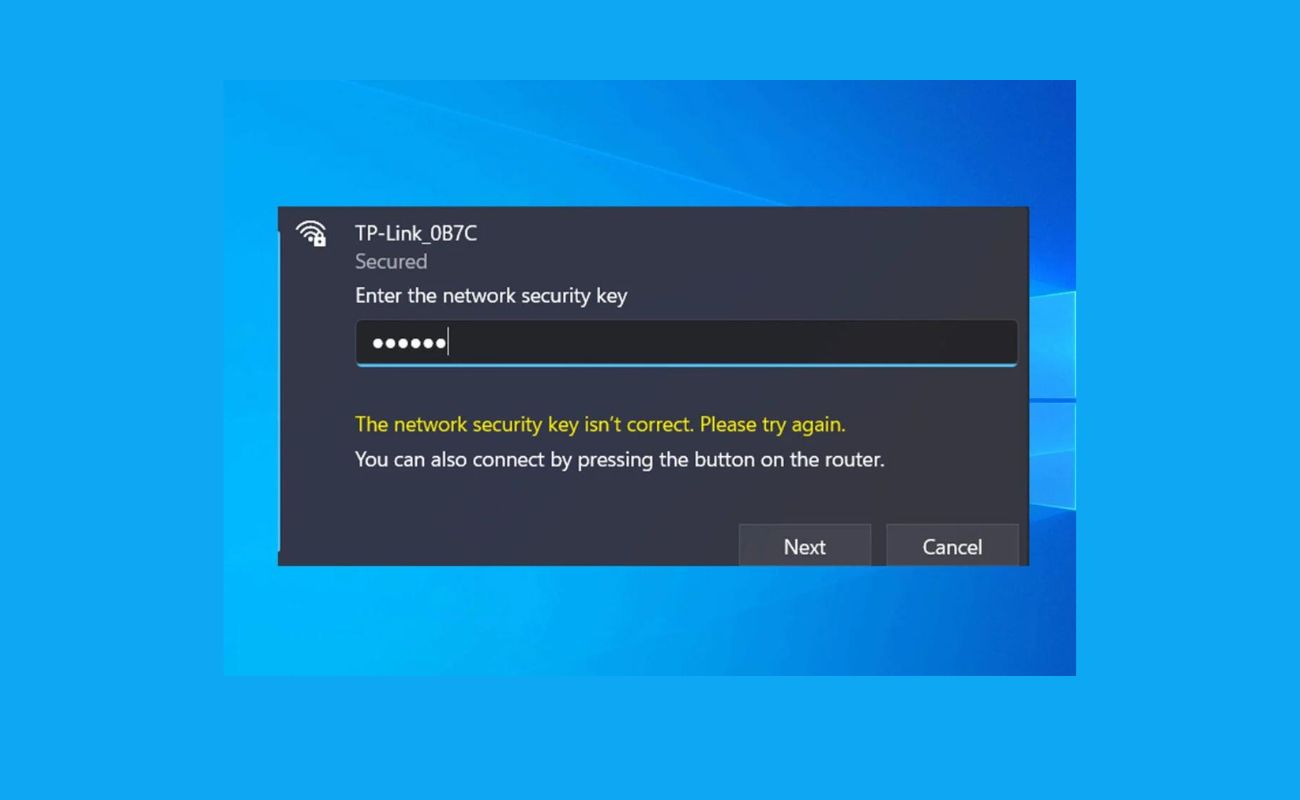
- Wi-Fi Password Mismatch: If you recently changed your Wi-Fi password, your camera may still be using the previous password to connect to the network. Double-check the Wi-Fi password configured on the camera and make sure it matches the current password set on your router. If necessary, update the Wi-Fi password on the camera to establish a successful connection.
- Wi-Fi Signal Interference: Network signal interference from other devices or neighboring Wi-Fi networks can weaken the connection to your security camera. Use a Wi-Fi analyzer tool to identify any sources of interference and adjust your Wi-Fi channel accordingly. Selecting a less congested channel can help improve the signal strength and stability for your camera.
By ensuring correct network configuration and settings, you can optimize the connectivity of your security camera and minimize the chances of it going offline. In the next section, we will discuss the importance of correct camera installation and placement.
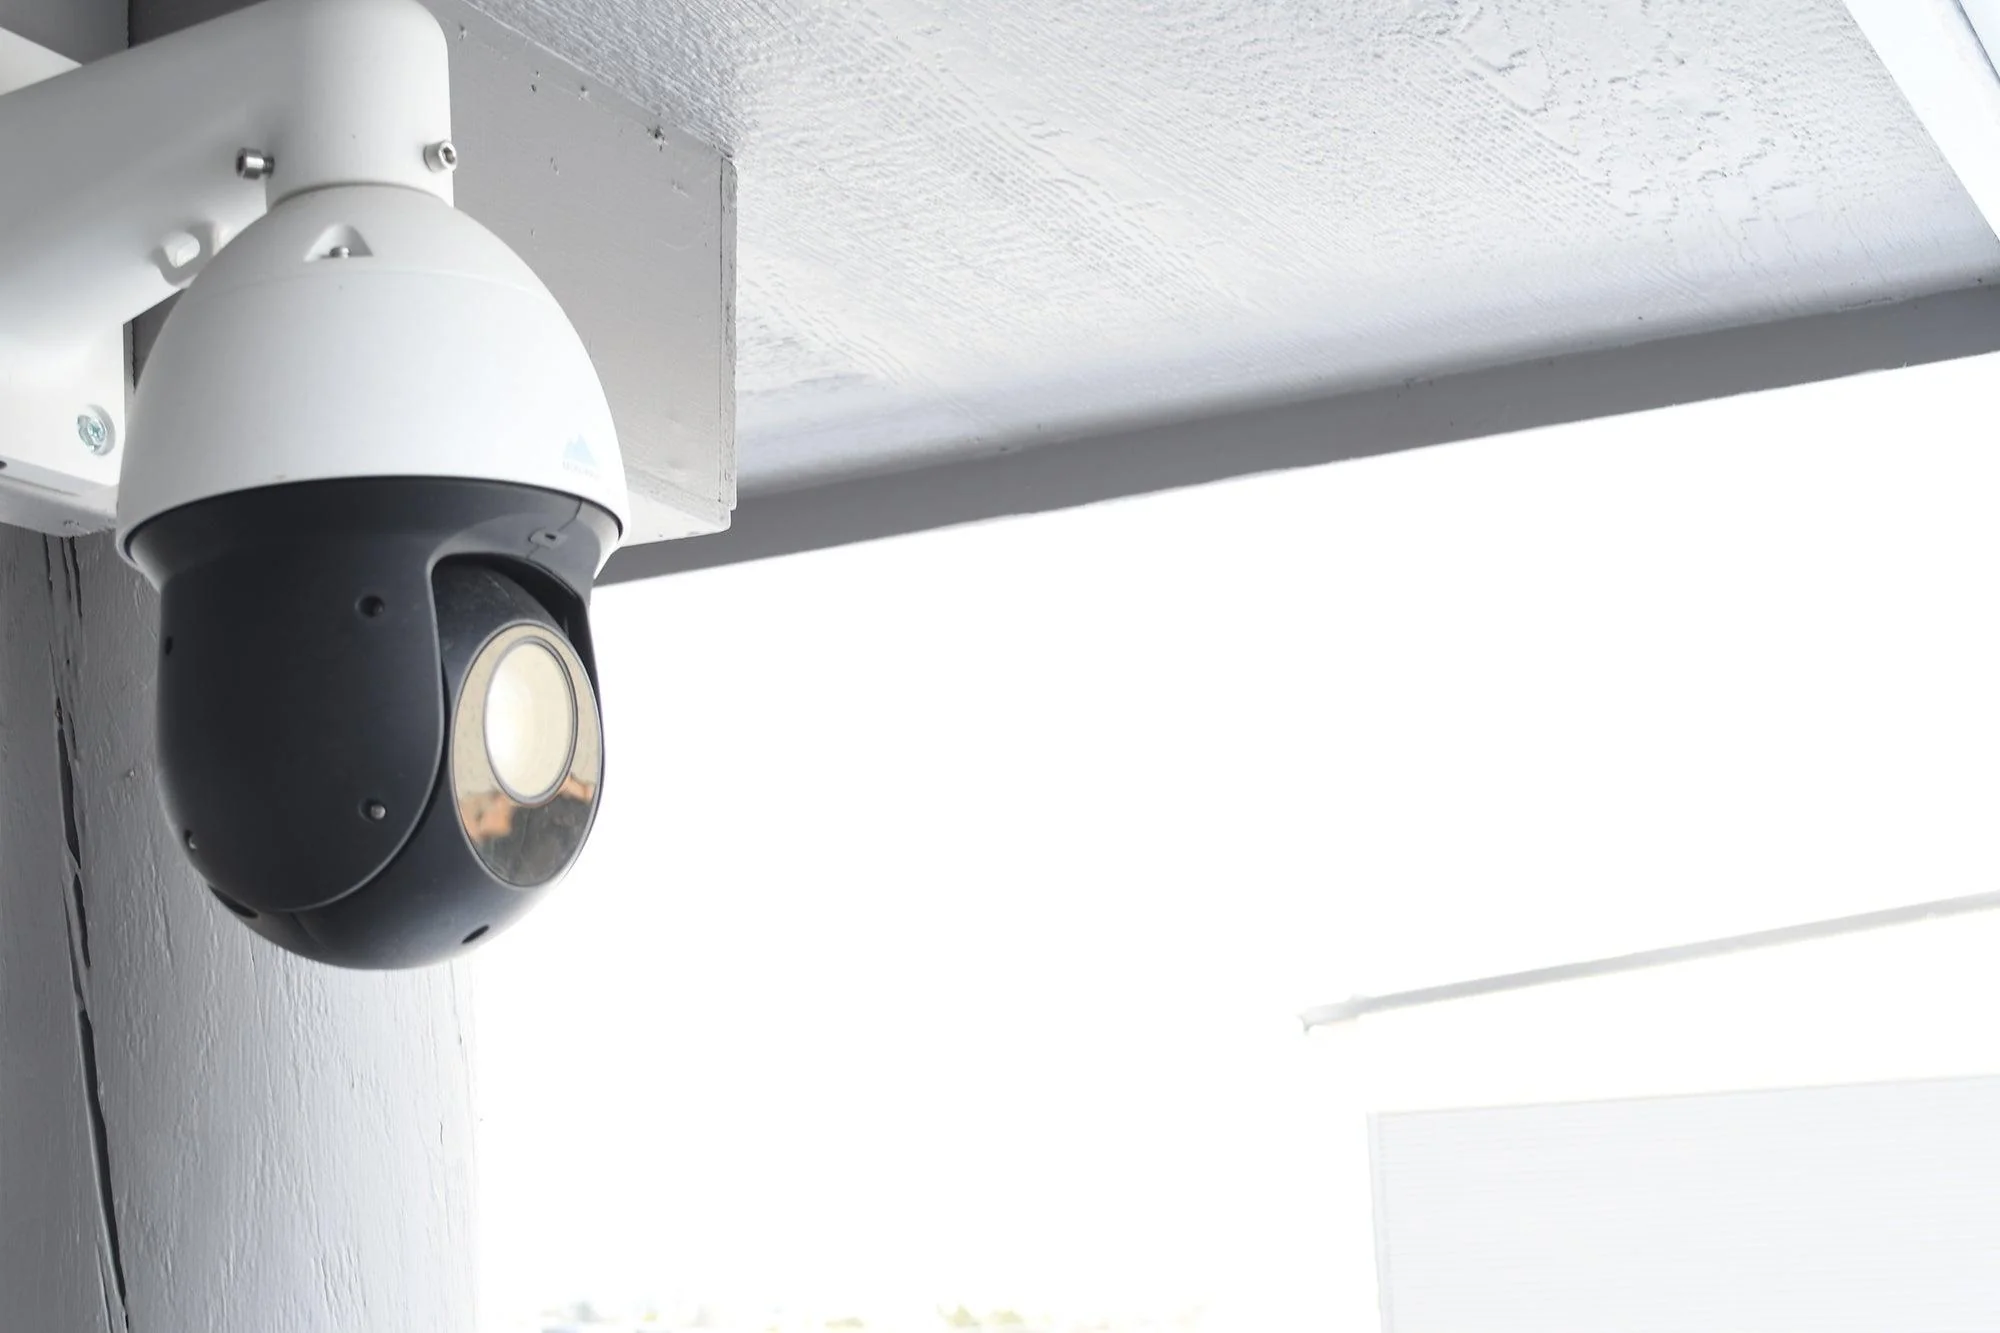
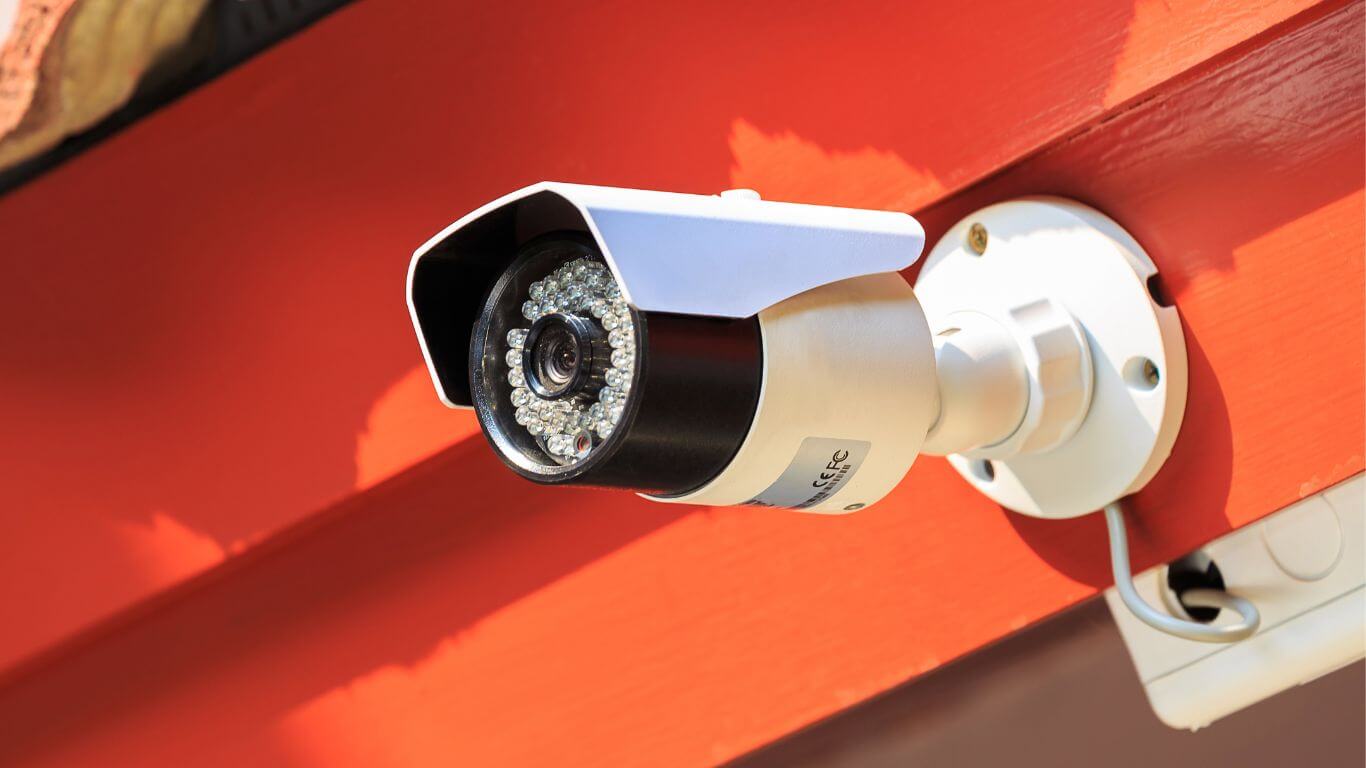
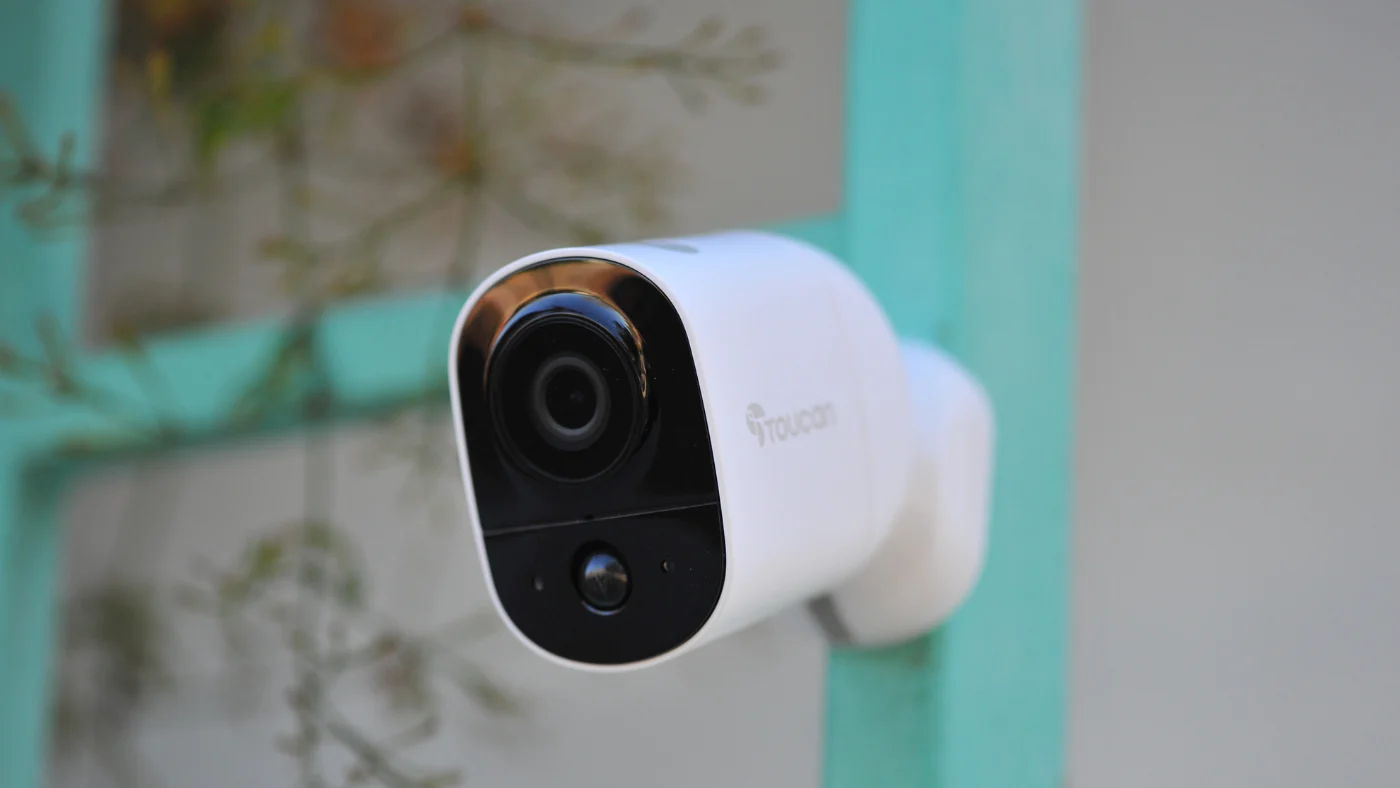
Incorrect Camera Installation
Improper camera installation or placement can also lead to security cameras going offline. It is important to ensure that your camera is installed correctly to maintain a stable connection. Let’s explore some installation-related issues and steps you can take to address them:
- Distance from Wi-Fi Router: One common mistake is placing the security camera too far away from the Wi-Fi router. This can result in a weak signal and poor connectivity. To improve the connection, consider moving the camera closer to the router or installing a Wi-Fi range extender to amplify the signal strength.
- Camera Positioning: The positioning of your security camera plays a crucial role in maintaining a reliable connection. Ensure that the camera is positioned correctly, providing a clear line of sight to the area you want to monitor. Avoid obstructing the camera’s view with objects, walls, or other obstacles that can interfere with the Wi-Fi signal.
- Incorrect Mounting: If the camera is not securely mounted, it can vibrate or move due to external factors like wind or vibrations, resulting in a disrupted connection. Make sure that the camera is firmly mounted on a stable surface or using proper mounting brackets. Check the camera’s mounting instructions provided by the manufacturer for the correct installation method.
- Wi-Fi Obstructions: Physical obstructions between the camera and the Wi-Fi router, such as walls, furniture, or appliances, can weaken the signal strength. Try adjusting the camera’s placement to eliminate or minimize these obstructions. If necessary, consider using Wi-Fi signal boosters or positioning the router and camera in locations with fewer obstructions.
By ensuring correct camera installation and placement, you can optimize the connectivity and performance of your security camera. In the next section, we will provide troubleshooting steps to help you resolve offline security camera issues.
Make sure your security camera is connected to a stable Wi-Fi network and has power. Check for any firmware updates for the camera and reset it if necessary. If the issue persists, contact the manufacturer for further assistance.
Troubleshooting Steps to Resolve Offline Security Camera Issues
If you’re facing the frustrating issue of your security camera going offline, there are several troubleshooting steps you can take to resolve the problem. Let’s walk through these steps to help you bring your camera back online:
- Check the Power Supply and Connection: Ensure that the camera is receiving power and that all power connections are secure. Replace any faulty power adapters or cables if necessary.
- Reboot the Camera and Network Devices: Sometimes, a simple reboot can resolve connectivity issues. Power off the camera and unplug it for a few seconds, then plug it back in and power it on. Additionally, restart your Wi-Fi router and any other network devices to refresh the connection.
- Verify Network Configuration and Settings: Double-check your network configuration and settings, including DHCP settings and firewall restrictions. Ensure that there are no IP address conflicts, and adjust firewall settings to allow the camera’s communication with the network.
- Update Camera Firmware: Check for any available firmware updates for your camera. Visit the manufacturer’s website or consult the camera’s user manual for instructions on how to update the firmware. Keep in mind that during the update process, the camera may temporarily go offline.
- Check Installation and Placement: Review the camera’s installation and placement to ensure that it is mounted securely and positioned correctly. Determine if any obstructions or distance from the Wi-Fi router are causing connectivity issues. Make any necessary adjustments to improve the camera’s connection.
By going through these troubleshooting steps, you can often identify and resolve the underlying issues causing your security camera to go offline. Remember to approach each step systematically and document any changes you make to track the progress and identify potential solutions.
If the issue persists despite your troubleshooting efforts, it’s advisable to contact the camera’s manufacturer or seek professional assistance. They can provide further guidance and support to help you bring your security camera back online.
By ensuring a stable and reliable connection, you can continue to enjoy the benefits of a robust home security and surveillance system, giving you peace of mind and protection.
Check the Power Supply and Connection
When a security camera goes offline, one of the first things to check is the power supply and connection. Ensure that the camera is receiving power and that all power connections are secure. Here’s a step-by-step guide to checking the power supply and connection:
- Inspect the Power Adapter: Examine the power adapter for any visible signs of damage such as frayed wires or bent connectors. If you notice any issues, it may be necessary to replace the power adapter with a new one. Ensure that the replacement adapter matches the voltage and current requirements of your camera.
- Check the Power Outlet: Plug the power adapter into a different power outlet or try using a different power socket to rule out any issues with the original outlet. Sometimes, faulty outlets can disrupt the power supply to the camera and cause it to go offline.
- Secure the Power Connections: Inspect the power cable connections at both ends, ensuring they are securely plugged into the camera and the power adapter. If the connections are loose, reinsert the cables and ensure a snug fit. Avoid using excessive force to avoid damaging the connectors.
- Power Cycle the Camera: Power cycling the camera can also help resolve power-related issues. Disconnect the power adapter from the camera, wait for about 10-15 seconds, and then reconnect it. This process can sometimes reset the camera and establish a stable power connection.
- Test with a Different Power Adapter: If you suspect that the power adapter is faulty, try using a different power adapter that is compatible with your camera. This will help determine if the original adapter is the source of the problem.
By thoroughly checking the power supply and connection, you can ensure that your security camera is receiving adequate power to function properly. In some cases, power-related issues may be the culprit behind the camera going offline, so resolving these issues can often bring it back online.
If the problem persists despite these troubleshooting steps, it may be necessary to contact the manufacturer’s customer support or seek professional assistance to further diagnose and resolve the issue.
Read more: Why Do Security Cameras Go Offline
Reboot the Camera and Network Devices
If your security camera is offline, one of the simplest and most effective troubleshooting steps is to reboot both the camera and your network devices. Rebooting can help refresh the connections and resolve any temporary glitches. Follow these steps to reboot the camera and network devices:
- Power Off the Camera: Locate the power source of your security camera and turn off the camera by disconnecting the power adapter or removing the power cable. Wait for about 10-15 seconds to ensure that the camera is completely powered off.
- Power Off the Network Devices: Power off your Wi-Fi router and any other network devices connected to the camera, such as network switches or extenders. Unplug them from the power source or use the power buttons to shut them down.
- Wait for a Few Minutes: Give the camera and network devices a few minutes to fully power down. This will allow any residual electricity to discharge, ensuring a fresh start when you power them back on.
- Power On the Network Devices: Plug in or power on your Wi-Fi router and other network devices. Wait for them to fully boot up and establish a stable network connection. This process may take a couple of minutes, so be patient.
- Power On the Camera: Reconnect the power adapter or power cable to the camera and turn it on. Wait for the camera to fully boot up and establish a connection with the network. This may take a few moments.
Once you have completed the reboot process, check if your security camera is back online. In many cases, this simple step can resolve any temporary connectivity issues and bring your camera back online.
If rebooting the camera and network devices didn’t resolve the issue, proceed to other troubleshooting steps or consider reaching out to the manufacturer’s customer support for further assistance.
Verify Network Configuration and Settings
When your security camera is offline, one possible cause is incorrect network configuration and settings. Checking and verifying the network settings can help you identify and resolve any issues that may be affecting the camera’s connection. Follow these steps to verify your network configuration and settings:
- Check IP Address Assignment: Ensure that each device on your network, including the security camera, has a unique IP address. IP address conflicts can cause connectivity issues. To resolve this, you can configure your router’s DHCP (Dynamic Host Configuration Protocol) settings to automatically assign IP addresses to connected devices. Alternatively, you can manually assign static IP addresses to your devices following the instructions provided by the router’s manufacturer.
- Verify Firewall Settings: Firewalls are built-in security measures designed to protect your network. However, overly restrictive firewall settings can block the camera’s communication with the network. Access your router’s firewall settings and ensure that they are not blocking the necessary ports or protocols for the camera’s connection. Create specific firewall rules, if needed, to allow the camera’s traffic.
- Double-Check Wi-Fi Password: If you recently changed your Wi-Fi password, make sure that you have updated it on the camera as well. Incorrect or outdated Wi-Fi passwords can prevent the camera from connecting to the network. Access the camera’s configuration settings and verify that the Wi-Fi password is correct and matches the password set on your router.
- Investigate Wi-Fi Signal Interference: Physical obstructions or interference from other devices can weaken the Wi-Fi signal. Analyze the area around the camera and the Wi-Fi router for potential sources of interference, such as walls, furniture, or electronic devices. Reposition the camera or router, if possible, to minimize obstructions and maximize signal strength. Additionally, consider changing the Wi-Fi channel on your router to avoid interference from neighboring networks.
- Reset Network Configuration: If you have made changes to your network settings in the past and are experiencing difficulties connecting the camera, consider resetting the network configuration to default. This will revert the router’s settings to their original state, allowing you to start fresh. Keep in mind that resetting the network configuration will erase any custom settings, so make sure to document or backup any important configurations.
By verifying your network configuration and settings, you can ensure that the camera has the necessary network access and permissions to connect and stay online. If the camera remains offline after verifying the settings, try other troubleshooting steps or consult the manufacturer’s documentation or customer support for further assistance.
Update Camera Firmware
Updating the camera firmware is an essential step in maintaining the optimal performance of your security camera. Firmware updates often include bug fixes, security enhancements, and new features that can address connectivity issues and improve overall functionality. Here’s how you can update the firmware of your camera:
- Check for Firmware Updates: Visit the manufacturer’s website or check the camera’s user manual to determine if there are any available firmware updates for your specific camera model. Manufacturers typically provide firmware files for download, along with instructions on how to update the firmware.
- Prepare for the Firmware Update: Before proceeding with the firmware update, ensure that you have a stable power supply and a reliable internet connection. It’s important to prevent any interruptions during the update process to avoid causing potential issues or bricking the camera.
- Download the Firmware Update: If a firmware update is available, download the latest firmware file from the manufacturer’s website. Make sure to download the correct firmware version specifically intended for your camera model.
- Follow the Firmware Update Instructions: Carefully read the firmware update instructions provided by the manufacturer. The steps may vary depending on the camera model and brand. Typically, the instructions will guide you on how to transfer the firmware file to the camera and initiate the update process.
- Monitor the Firmware Update: During the firmware update, the camera may temporarily go offline. Avoid interrupting the update process and allow sufficient time for the firmware to be installed. Be patient and ensure that both the power supply and internet connection remain stable.
- Verify the Firmware Update: Once the firmware update is complete, verify that the camera has successfully updated to the latest firmware version. Check the camera settings or consult the manufacturer’s documentation to confirm the updated firmware version number.
Updating the camera firmware can resolve compatibility issues, firmware bugs, and security vulnerabilities that may be interfering with the camera’s connectivity. It’s recommended to periodically check for firmware updates and keep your camera up to date to ensure optimal performance and stability.
If you encounter any difficulties during the firmware update process or need further assistance, refer to the manufacturer’s documentation or contact their customer support for guidance.
Check Installation and Placement
The installation and placement of your security camera play a vital role in its performance and connectivity. Incorrect installation or improper placement can cause the camera to go offline or experience weak signal strength. Follow these steps to check the installation and placement of your camera:
- Camera Positioning: Evaluate the camera’s position to ensure it provides an optimal view of the area you want to monitor. Make sure there are no physical obstructions, such as walls or objects, blocking the camera’s line of sight. Adjust the camera’s angle, if necessary, to capture the desired field of view.
- Distance from Wi-Fi Router: Check the distance between the camera and your Wi-Fi router. If the camera is located too far from the router, it may experience a weak Wi-Fi signal or disconnection issues. Consider moving the camera closer to the router or utilizing Wi-Fi range extenders to enhance the signal strength in that particular area.
- Maintain a Secure Mount: Ensure that the camera is securely mounted to its designated location. Loose or unstable mounts can cause vibrations or movement, disrupting the camera’s connection. Double-check that all mounting screws and brackets are tightened properly to provide a stable and secure installation.
- Examine Wi-Fi Signal Strength: Check the Wi-Fi signal strength in the area where the camera is installed. Poor signal strength can result in a weak or intermittent connection. Use a Wi-Fi analyzer app or software to measure the signal strength. If the signal is weak, consider repositioning the camera or using Wi-Fi signal boosters to improve the connection.
- Avoid Metallic Obstructions: Metallic objects or structures near the camera can interfere with Wi-Fi signals. If there are metal walls, doors, or appliances in close proximity to the camera, move it to a location with a clearer path for the Wi-Fi signal. This will help maintain a stronger and more stable connection.
Regularly checking the installation and placement of your security camera can ensure optimal performance and connectivity. By addressing any issues related to positioning, distance from the router, or signal obstacles, you can enhance the camera’s ability to stay connected and minimize the risk of it going offline.
If you continue to experience connectivity issues after checking the camera’s installation and placement, consider exploring other troubleshooting steps or contacting the manufacturer’s customer support for further assistance.
Conclusion
Ensuring the stability and reliability of your security camera is crucial for maintaining the safety and security of your home. When your camera goes offline, it can leave you feeling frustrated and concerned. However, understanding the common causes and implementing troubleshooting steps discussed in this article can help you resolve the issue and bring your camera back online.
We explored common causes for security cameras going offline, including connectivity issues, power supply problems, camera firmware updates or hardware malfunctions, network configuration and settings, and incorrect installation. By identifying the root cause, you can focus your troubleshooting efforts in the right direction.
We provided step-by-step instructions on troubleshooting, including checking the power supply and connections, rebooting the camera and network devices, verifying network configuration and settings, updating camera firmware, and checking the installation and placement of the camera. These steps help address potential issues and restore the camera’s connectivity.
Remember, a reliable and stable internet connection, proper power supply, correct network settings, updated firmware, and appropriate camera placement are key factors in maintaining a connected and functioning security camera.
If you have followed the troubleshooting steps outlined in this article and are still experiencing issues, it is recommended to reach out to the manufacturer’s customer support for further guidance and assistance.
By implementing these troubleshooting techniques, you can ensure that your security camera remains online, providing you with the peace of mind and protection you need to keep your home and loved ones safe.
Frequently Asked Questions about Why Does My Security Camera Say Offline
Was this page helpful?
At Storables.com, we guarantee accurate and reliable information. Our content, validated by Expert Board Contributors, is crafted following stringent Editorial Policies. We're committed to providing you with well-researched, expert-backed insights for all your informational needs.