Home>Ideas and Tips>DIY Guide: Installing A Bathroom Vanity

Ideas and Tips
DIY Guide: Installing A Bathroom Vanity
Modified: October 20, 2024
Learn how to install a bathroom vanity with our step-by-step DIY guide. Perfect for beginners looking to upgrade their bathroom.
(Many of the links in this article redirect to a specific reviewed product. Your purchase of these products through affiliate links helps to generate commission for Storables.com, at no extra cost. Learn more)
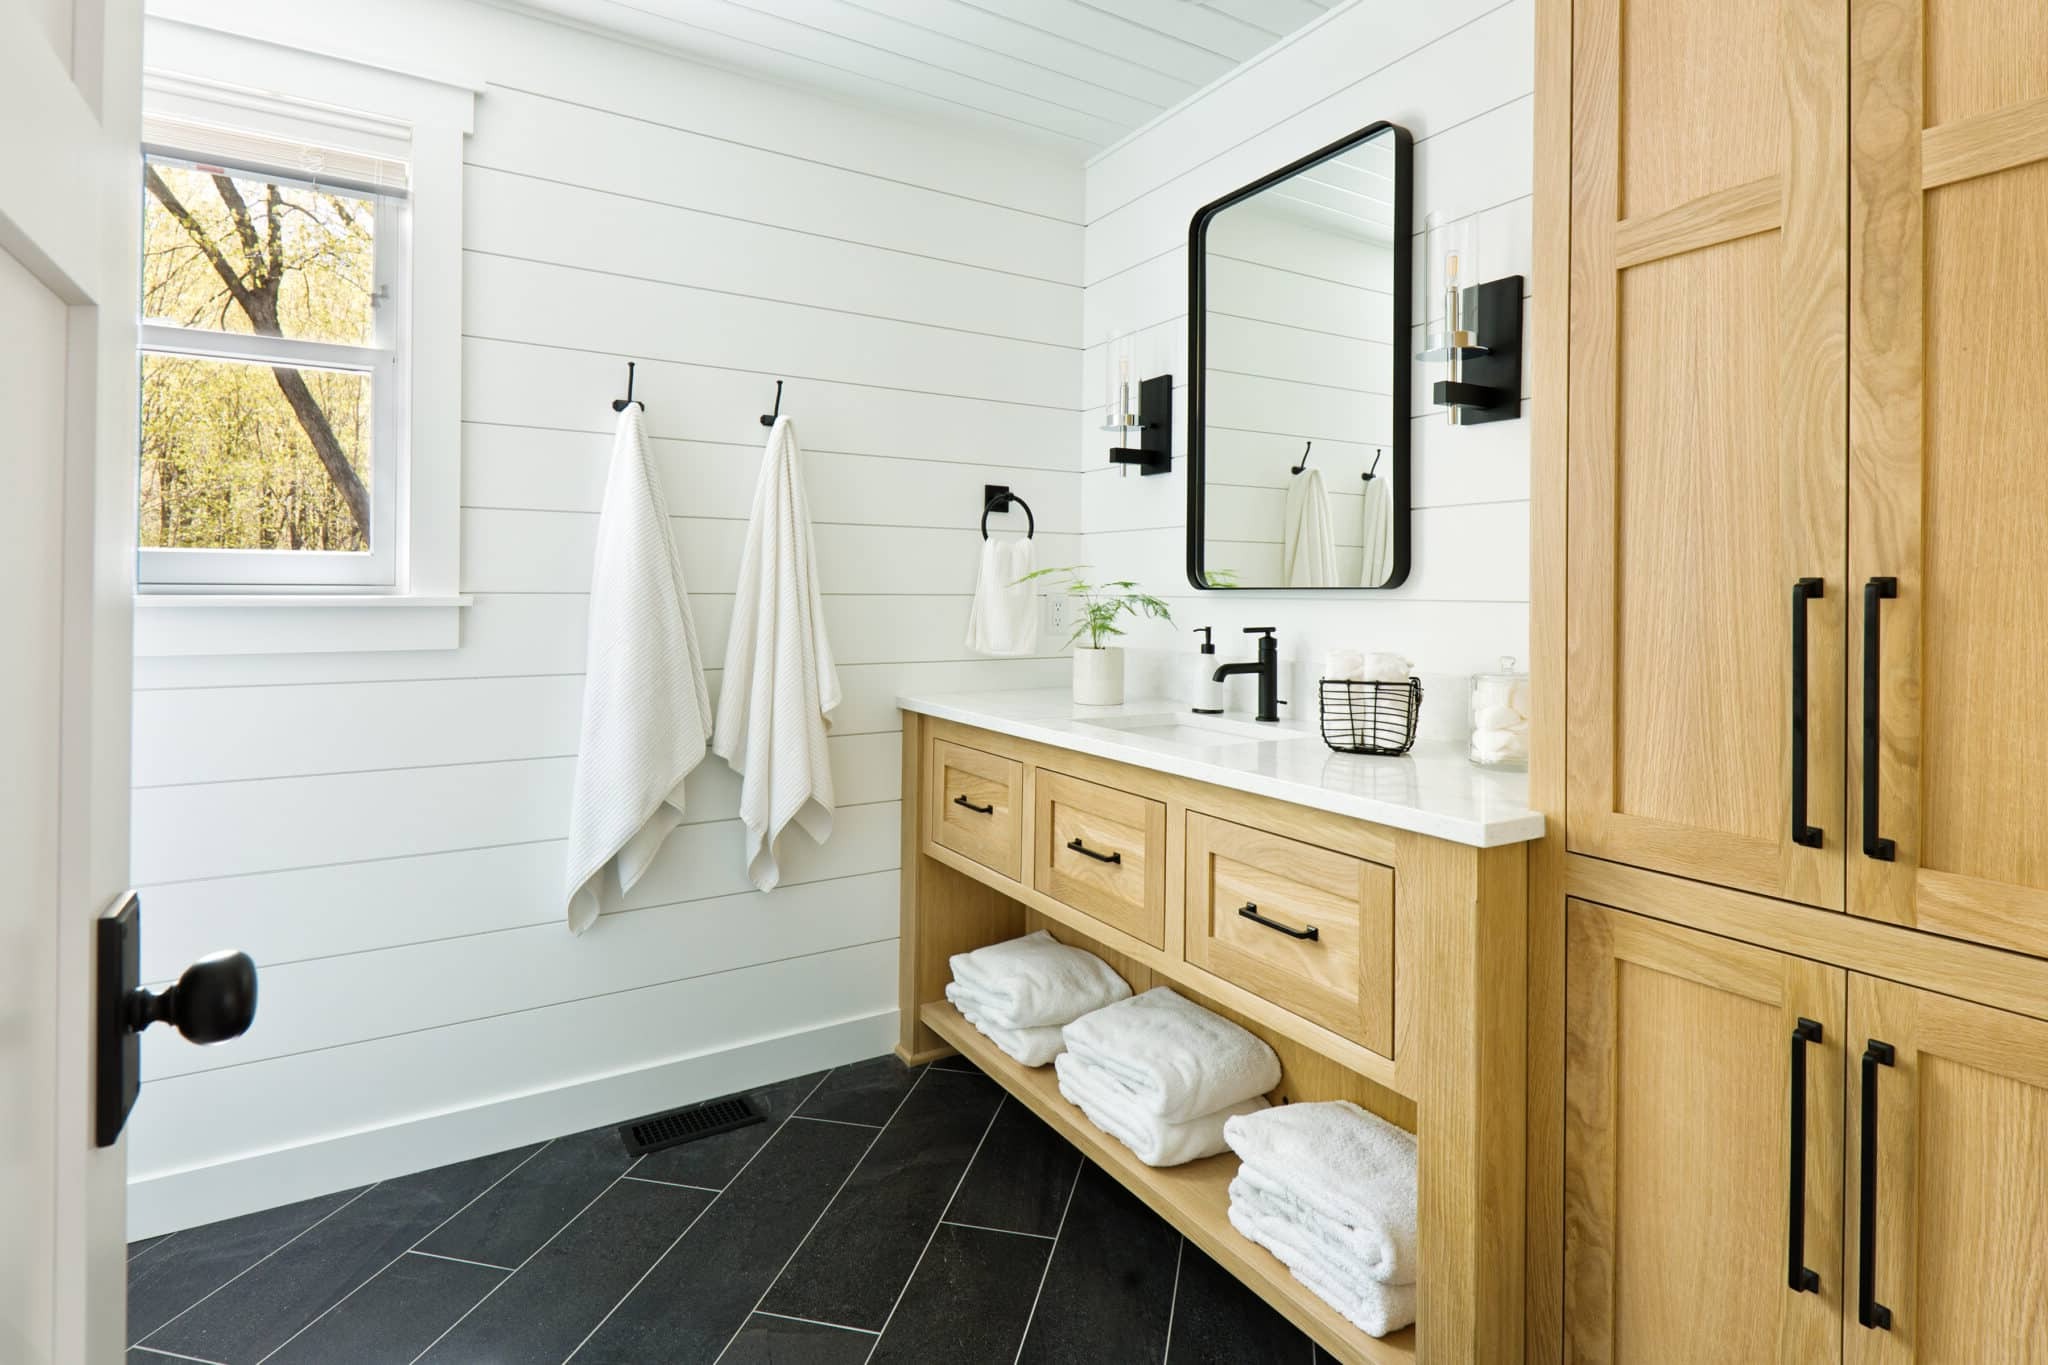
Installing a new bathroom vanity can be a daunting task, but with the right guidance, it can be a DIY-friendly project that adds a fresh look to your bathroom. This guide will walk you through each step of the process, from planning and preparation to the final installation.
Planning Your Project
Before you begin, it's essential to plan your project carefully. Here are some key steps to consider:
Read more: DIY Guide To Installing A Bathroom Vanity
Measure Your Space
The first step in installing a new bathroom vanity is to measure your space. You need to determine the width, height, and depth requirements or limitations of your bathroom. Measure the area where the vanity will go, including any obstructions like plumbing fixtures or electrical outlets.
Consider Clearances
Don't forget to take into consideration keeping enough space available for door and drawer clearances, as well as walking paths. This will ensure that your vanity fits comfortably in the space and doesn't obstruct movement.
Measure Plumbing Clearances
Measure the plumbing clearances and location of electrical outlets and switches. This information will help you determine where to place the vanity and how to route the plumbing.
Sketch Out a Plan
Sketch out a plan or have the numbers handy when you purchase your vanity. This will help you visualize how the new vanity will fit into your bathroom and ensure that it meets all necessary requirements.
Gather Materials and Tools
Gather all the necessary materials and tools so you don’t have to run to the store in the middle of your project. This includes the vanity itself, a faucet, plumbing supplies, shims, drywall screws, caulk, and any other tools required for the installation.
Choosing a Faucet
Choosing the right faucet is crucial for both functionality and aesthetics. Here are some tips:
Decide on Configuration
Decide what kind of vanity, sink, and faucet configuration is best for you. Options include under-mount, drop-in, vessel or integrated sinks which are molded into the countertop. Space considerations play a big part in sink choice.
Buy Compatible Faucet
Buy a faucet that’s compatible with your vanity and fits your aesthetic and desired handle configuration. A pre-manufactured vanity often dictates the number of faucet holes and their spacing.
Read more: How To Install Vanity Mirror
Disconnecting Plumbing
Disconnecting the plumbing is a critical step in installing a new bathroom vanity. Here’s how to do it safely:
Turn Off Water Supply
Turn off the water supply at the valve under your sink or at the main shutoff. Place a bucket under the valve to catch water from the P-trap and supply lines.
Disconnect P-trap
Loosen the slip nut at the top of the P-trap with your hands, a pipe wrench or large tongue-and-groove pliers. Don’t crank down too hard; plumbing fittings will crack.
Disconnect Water Supply Lines
Disconnect the water supply lines with an adjustable wrench or tongue-and-groove pliers.
Read more: DIY Guide To Installing Wainscoting
Removing the Old Vanity or Pedestal Sink
Removing the old vanity or pedestal sink is often the most challenging part of the process. Here’s how to do it:
Enlist a Helper
Enlist a helper for this part. Cutting around the old sink or vanity with a utility knife to separate it from the drywall or tile can be tricky.
Remove Screws or Bolts
Remove any screws or bolts holding the vanity to the wall. Pull the existing vanity or sink away from the wall and set it aside.
Paint or Patch the Wall
If necessary, paint or patch the wall where the old vanity was attached. This will ensure a smooth finish once the new vanity is installed.
Read more: How To Install A Backsplash On A Vanity
Installing the Faucet in the Vanity
Installing the faucet in the countertop before installing the vanity makes it easier:
Add Gaskets and Insert Faucet
Add gaskets and insert the faucet and/or handles into the holes on the vanity countertop. Secure as indicated in your faucet instructions using the nuts that came with the faucet.
Pro Tip: Choose Solid Brass Components
For best performance, look for faucets with solid brass components. Some faucet manufacturers are now making internal components with plastic parts to keep prices down and reduce shipping costs.
Preparing the Wall and Vanity
Preparing the wall and vanity involves several steps:
Read more: DIY Guide To Installing Floating Shelves
Slide Vanity into Place
Slide the vanity into place and add shims until level. Mark the top and sides of the vanity lightly with a pencil.
Measure Plumbing Cutouts
Remove the vanity and measure where the plumbing cutouts should be, using the pencil marks as references. Drill holes for plumbing connections using a hole saw.
Find Stud Locations
Find stud locations along the wall and mark them with a pencil. Use a stud-finding tool like a powerful, marble-sized magnet called a “stud ball” if you have one.
Installing the Vanity
Installing the vanity involves several key steps:
Read more: DIY Guide To Installing A Stair Runner
Follow Instructions
Follow all instructions that come with your vanity. Slide the vanity back into place and shim and level it.
Attach Vanity to Wall
Attach the vanity to the wall by driving in 3-inch drywall screws into the studs. Snap or cut off excess shim length.
Caulk Backsplash
Caulk the backsplash to prevent water intrusion, and add trim along the bottom if needed.
Securing Countertop to Vanity (Optional)
Some vanities are sold without the countertop attached. Here’s how to secure it:
Read more: DIY Guide To Installing A Kitchen Island
Test Fit Countertop
Test fit the countertop on the vanity. Remove it and apply a bead of silicone caulk or adhesive along the edge of the vanity (follow the vanity instructions to determine what caulk is best).
Set Countertop
Set the countertop on the vanity and press down. Allow the adhesive to cure before using the vanity.
Additional Tips and Considerations
Here are some additional tips and considerations to keep in mind:
Use Wall Anchors
If your vanity doesn’t come with an attached top, you can attach it to the cabinet with a thin bead of caulk. Use wall anchors if you don’t have a stud to drill into.
Read more: DIY Guide To Installing A French Door
Apply Plumbers Putty
Apply plumbers putty underneath the sink drain ring before attaching it to the sink.
Reattach P-trap and Water Lines
Reattach the P-trap and water lines after installing the faucet. Apply Teflon tape in a clockwise direction before attaching the water valve lines.
Turn Water On and Check for Leaks
Turn the water valves back on and check all connections for leaks. Your vanity is now installed and ready to use.
Conclusion
Installing a new bathroom vanity is a rewarding DIY project that can significantly enhance the look and functionality of your bathroom. By following these steps carefully, you can ensure a smooth installation process and enjoy your newly updated bathroom. Remember to always follow safety guidelines when working with plumbing and electrical systems, and don’t hesitate to seek professional help if you’re unsure about any part of the process.
Read more: How Much To Install A Bathroom Vanity
FAQs
Can you install a bathroom vanity yourself?
Yes, if you feel confident in your ability to complete simple plumbing tasks like reconnecting faucets and water lines. However, if the space is tight or if you need to reroute plumbing, it might be wise to call in a plumber.
Do you need a plumber to install a bathroom vanity?
Only if you don’t feel comfortable with disconnecting and reconnecting the existing plumbing fixtures or if there’s significant change that needs to be made to the pipes. If you do need to update your home’s plumbing, now is a good time to get it done before installing a new bathroom vanity.
Does bathroom vanity need to be attached to wall?
Yes, for safety reasons it’s essential that your bathroom vanity is secured to a wall, studs or the floor. Not securing your bathroom vanity could be a tip hazard which could injure you or a family member and rip the plumbing behind the vanity out from the wall.
How are bathroom vanities attached?
Most often they’re screwed directly into studs in the walls or are anchored to the wall. Use wall anchors if necessary and ensure that screws are driven into studs for maximum stability.
By following this detailed guide, you’ll be well-equipped to tackle your bathroom vanity installation project with confidence. Happy DIY-ing
Was this page helpful?
At Storables.com, we guarantee accurate and reliable information. Our content, validated by Expert Board Contributors, is crafted following stringent Editorial Policies. We're committed to providing you with well-researched, expert-backed insights for all your informational needs.


0 thoughts on “DIY Guide: Installing A Bathroom Vanity”