
Articles
How To Install A Backsplash On A Vanity
Modified: November 1, 2024
Discover step-by-step articles on installing a beautiful backsplash on your vanity. Explore tips, tools, and techniques to achieve professional results.
(Many of the links in this article redirect to a specific reviewed product. Your purchase of these products through affiliate links helps to generate commission for Storables.com, at no extra cost. Learn more)
Introduction
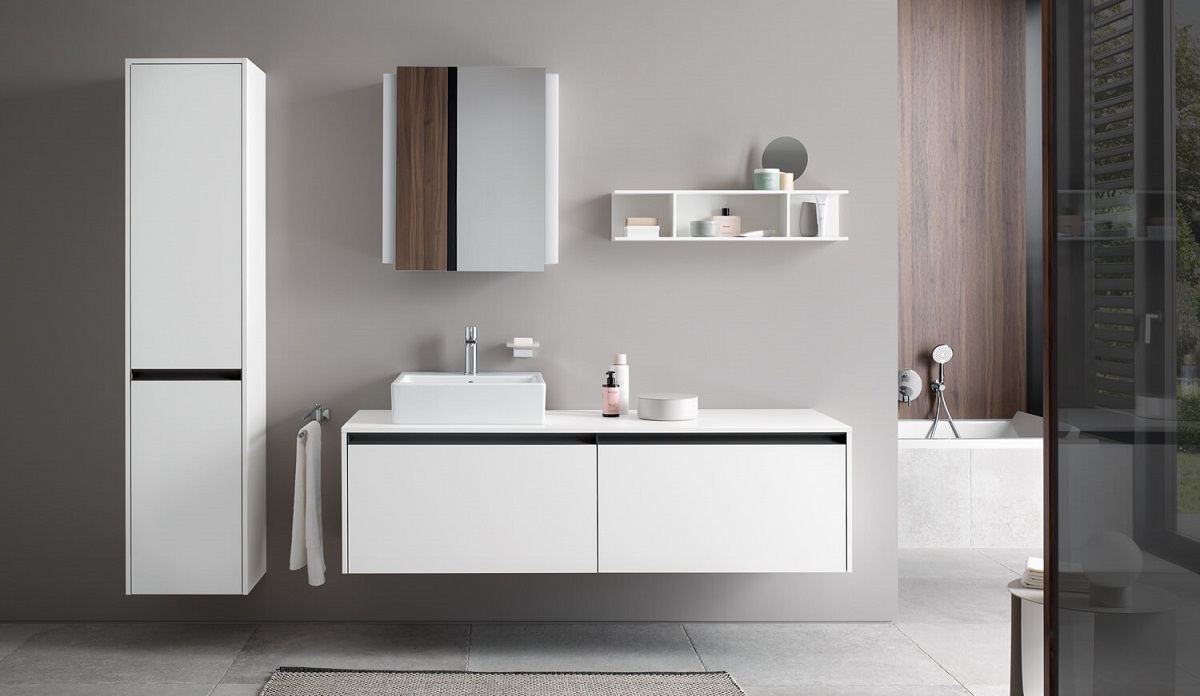
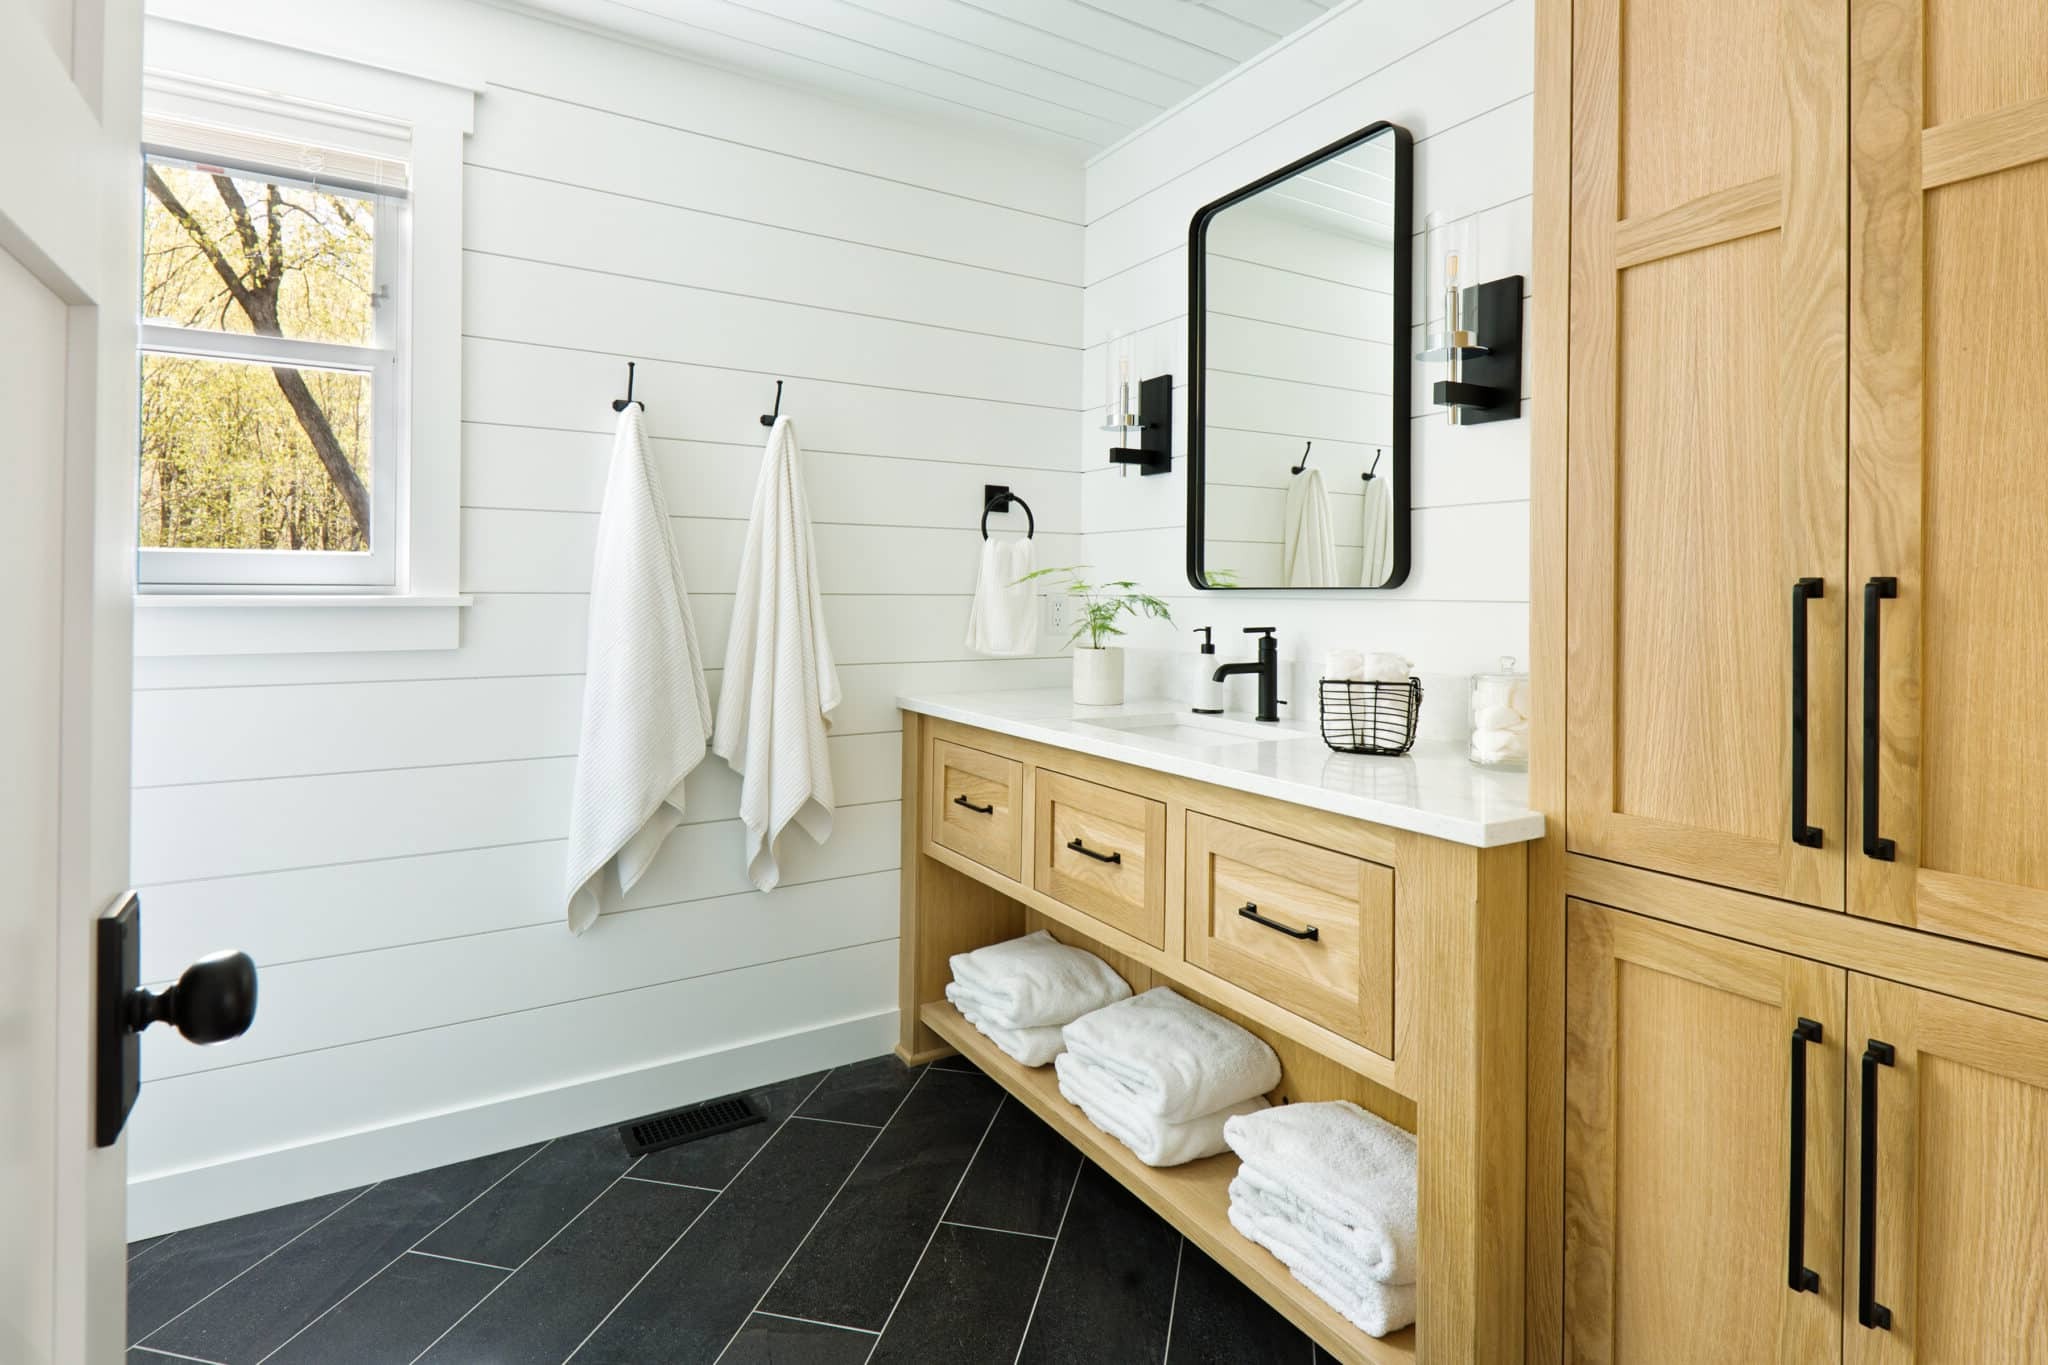
Installing a backsplash on a vanity is a great way to upgrade the look of your bathroom and add a touch of style and elegance. Not only does it protect the wall from splashes and stains, but it also serves as a focal point and enhances the overall aesthetic appeal of the space. Whether you’re a DIY enthusiast or a beginner, with the right tools and a little patience, you can easily install a backsplash on your own.
In this step-by-step guide, we will walk you through the process of installing a backsplash on a vanity. We will cover everything from gathering materials to cleaning and finishing. So, let’s get started and transform your bathroom into a stunning and functional space!
Key Takeaways:
- Elevate your bathroom with a DIY backsplash installation, adding style and protection. Gather materials, prep the surface, measure and cut tiles accurately, and finish with precision for a stunning result.
- Transform your vanity into a focal point with a professionally installed backsplash. Follow step-by-step guidance, from gathering materials to cleaning and finishing, to create a beautiful and functional space.
Read more: How To Attach Backsplash To Vanity
Step 1: Gather Materials
Before you begin the installation process, it’s important to gather all the necessary materials. Having everything you need on hand will make the process smoother and more efficient. Here’s a list of the materials you’ll need:
- Backsplash tiles: Choose the type of tiles that suit your style and bathroom decor. Ceramic, glass, or porcelain tiles are popular choices for backsplashes.
- Tile adhesive: Use a high-quality, waterproof adhesive that is recommended for use with the type of tiles you have chosen.
- Grout: Select a grout color that complements your tiles. Ensure that the grout is suitable for both the type of tiles and the application area.
- Tile spacers: These small, plastic cross-shaped pieces help maintain even spacing between the tiles during installation.
- Trowel: A notched trowel will be needed to spread the adhesive evenly on the wall.
- Tile cutter or wet saw: Depending on the type of tiles you choose, you may need a tile cutter or a wet saw to cut the tiles to the desired size and shape.
- Level: This tool will help you ensure that your tiles are installed straight and level.
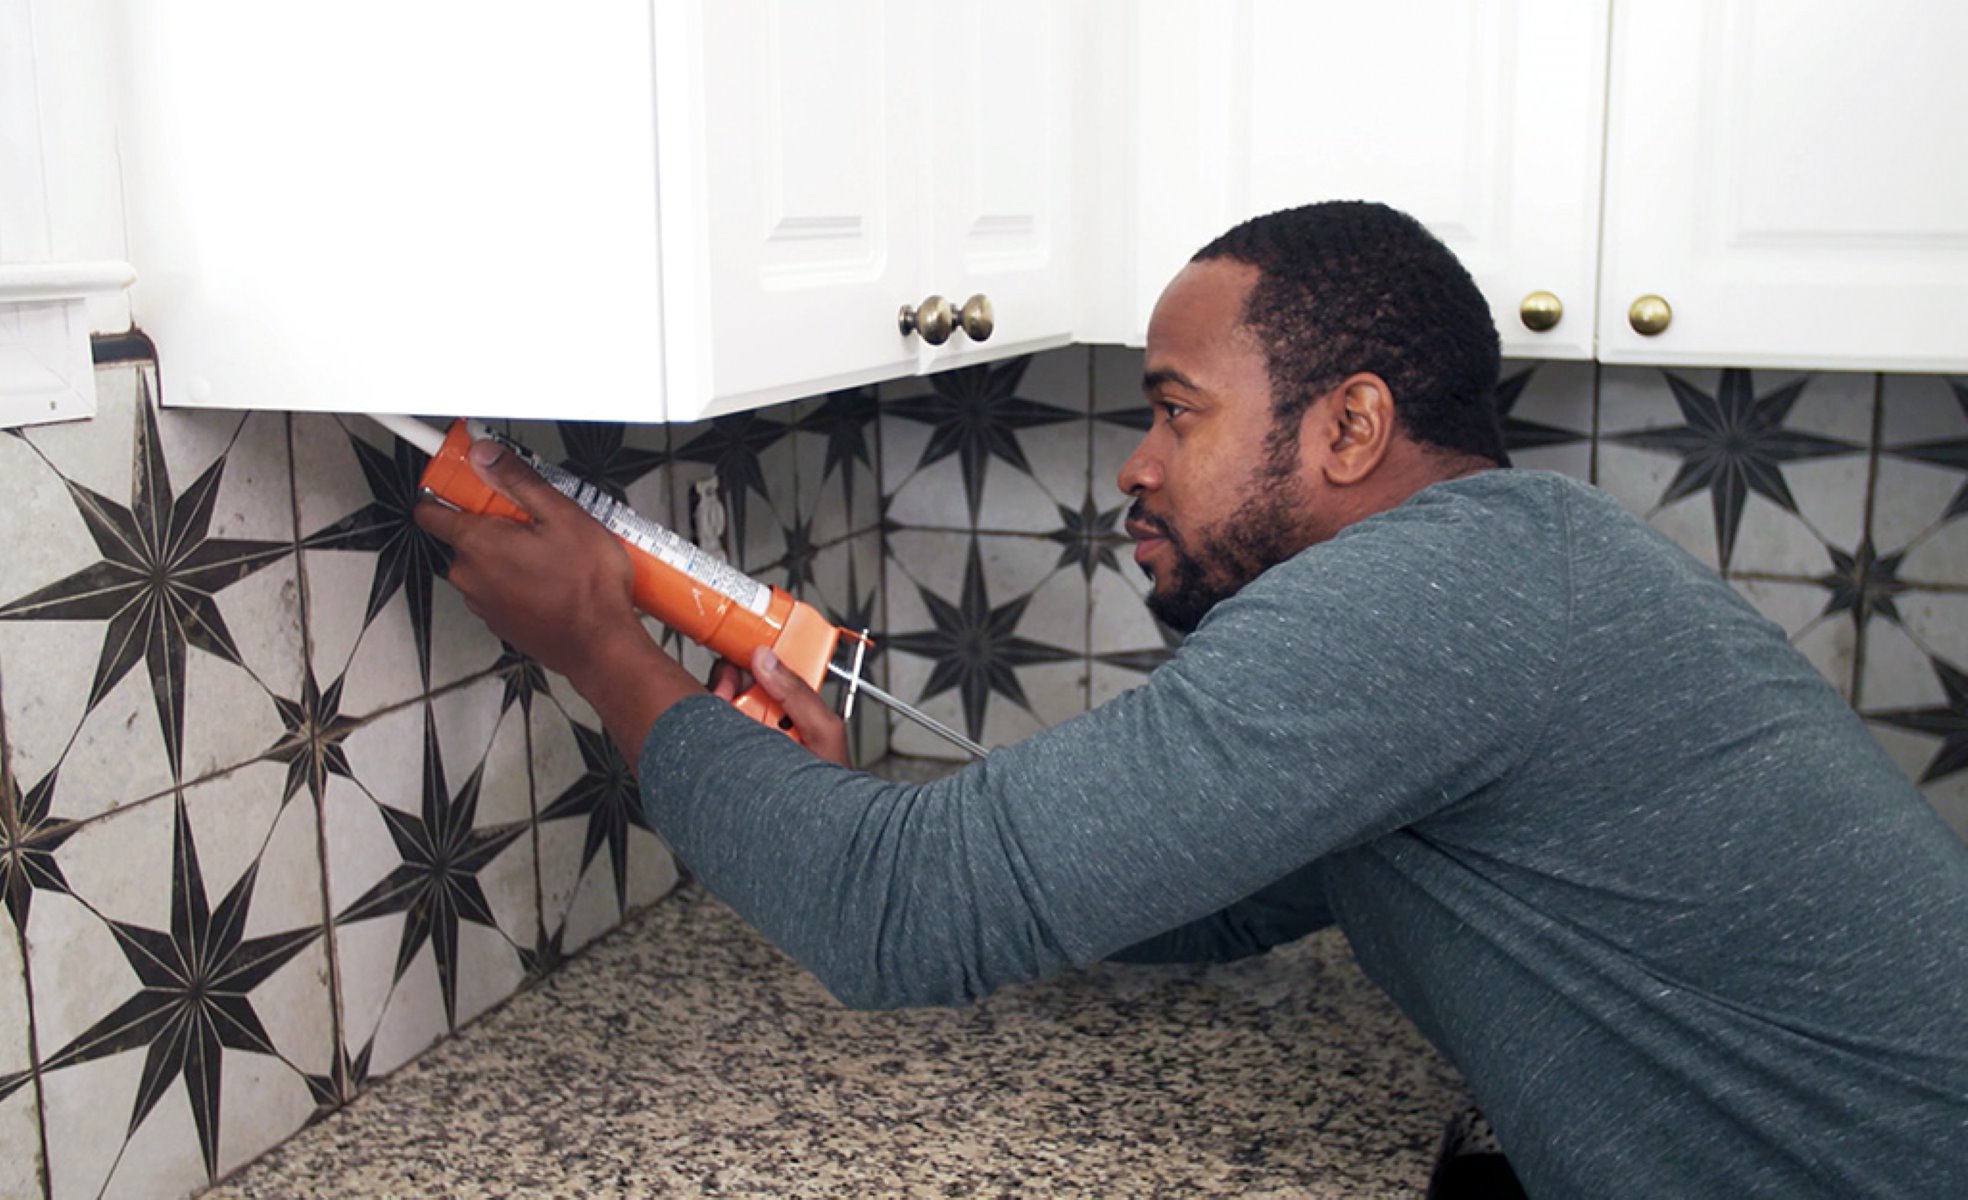
- Caulk gun: You will need a caulk gun to apply silicone caulk along the edges of the backsplash for a clean and watertight finish.
- Grout float: A grout float is essential for applying the grout evenly between the tiles.
- Sponge and clean rags: These will be used to clean up any excess adhesive or grout.
- Protective gear: Don’t forget to wear safety goggles and gloves to protect yourself during the installation process.
Once you have gathered all the necessary materials, you’ll be ready to move on to the next step: preparing the surface.
Step 2: Prepare the Surface
Preparing the surface is a crucial step in ensuring a successful backsplash installation. Follow these steps to properly prepare the wall for the backsplash:
- Clean the wall: Start by thoroughly cleaning the surface where the backsplash will be installed. Use a mild detergent and warm water to remove any dirt, grease, and grime. Allow the wall to dry completely before proceeding.
- Remove any existing backsplash or wallpaper: If there is an existing backsplash or wallpaper, it’s important to remove it before installing the new backsplash. Use a scraper or putty knife to gently scrape off the old material.
- Repair any damages: Inspect the wall for any cracks, holes, or uneven areas. Fill in any gaps or imperfections using spackling compound or a similar product. Smooth out the surface with sandpaper once the compound is dry.
- Apply a primer: To ensure proper adhesion of the backsplash, apply a coat of primer to the wall. Use a paint roller or brush to evenly apply the primer, following the manufacturer’s instructions. Allow the primer to dry completely.
By preparing the surface properly, you create an ideal foundation for the backsplash installation. This step helps to ensure that the tiles adhere securely and that the finished result is durable and long-lasting.
Once the surface is prepped and ready, move on to the next step: measuring and cutting the backsplash tiles.
Step 3: Measure and Cut the Backsplash
Accurate measurements and precise cuts are essential for a professional-looking backsplash installation. Follow these steps to measure and cut the backsplash tiles:
- Measure the area: Use a measuring tape to determine the dimensions of the space where the backsplash will be installed. Measure the height and width of the area, taking into account any obstacles such as electrical outlets or switches.
- Add extra tiles: To account for any mistakes or miscalculations, it’s recommended to purchase extra tiles. This will ensure you have enough tiles to complete the installation and have replacements if needed in the future.
- Plan the layout: Before making any cuts, plan the layout of the tiles. Start from the center of the vanity and work your way outwards. This will help create a balanced and visually appealing design.
- Mark the cuts: Using a pencil or marker, mark the tiles that need to be cut to fit around obstacles or along edges. Ensure to leave space for grout lines between the tiles.
- Cut the tiles: Depending on the type of tiles you are using, you will need a tile cutter or a wet saw. Follow the manufacturer’s instructions to make accurate cuts. Take proper safety precautions when using the cutting tools.
- Check the fit: After making the cuts, double-check the fit of the tiles. Place them against the wall to ensure they align properly and fit snuggly around obstacles. Make any necessary adjustments before moving on to the next step.
Remember, precision is key when measuring and cutting the backsplash tiles. Take your time and double-check your measurements to ensure a seamless installation.
With the tiles measured and cut correctly, it’s time to move on to the next step: applying adhesive to the wall.
When installing a backsplash on a vanity, be sure to measure and cut the tiles carefully to ensure a proper fit. Use a waterproof adhesive to secure the tiles in place and finish with a waterproof grout to prevent water damage.
Step 4: Apply Adhesive
Applying adhesive is a critical step in ensuring that your backsplash tiles adhere securely to the wall. Follow these steps to apply the adhesive:
- Prepare the adhesive: Read the manufacturer’s instructions on the adhesive packaging and mix it according to the recommended ratio. Use a clean bucket and a mixing paddle to ensure a smooth and consistent mixture.
- Start from the center: Begin applying the adhesive by starting from the center of the wall. Use a notched trowel to spread the adhesive evenly on the wall. Hold the trowel at a 45-degree angle and apply enough pressure to create ridges in the adhesive.
- Work in small sections: Apply the adhesive in small sections, working your way outwards. This allows you enough time to align the tiles properly before the adhesive starts to dry.
- Place the tiles: Press the tiles firmly into the adhesive, starting with the bottom row. Use tile spacers to ensure even spacing between the tiles. Check the level and adjust as needed to ensure that the tiles are straight and aligned.
- Continue with the next rows: Repeat the process for the remaining rows, applying adhesive and placing the tiles one by one. Use tile spacers to maintain consistent spacing between the tiles.
- Clean up excess adhesive: Use a damp sponge or a clean cloth to wipe off any excess adhesive that may have oozed out between the tiles. It’s important to clean it up while the adhesive is still wet to avoid any difficulty later on when grouting.
Take your time while applying the adhesive to ensure even coverage and a secure bond. It’s important to work efficiently, as the adhesive will start to dry after a certain period of time.
With the adhesive applied, it’s time to move on to the next step: installing the backsplash tiles.
Read more: How To Caulk Bathroom Vanity Backsplash
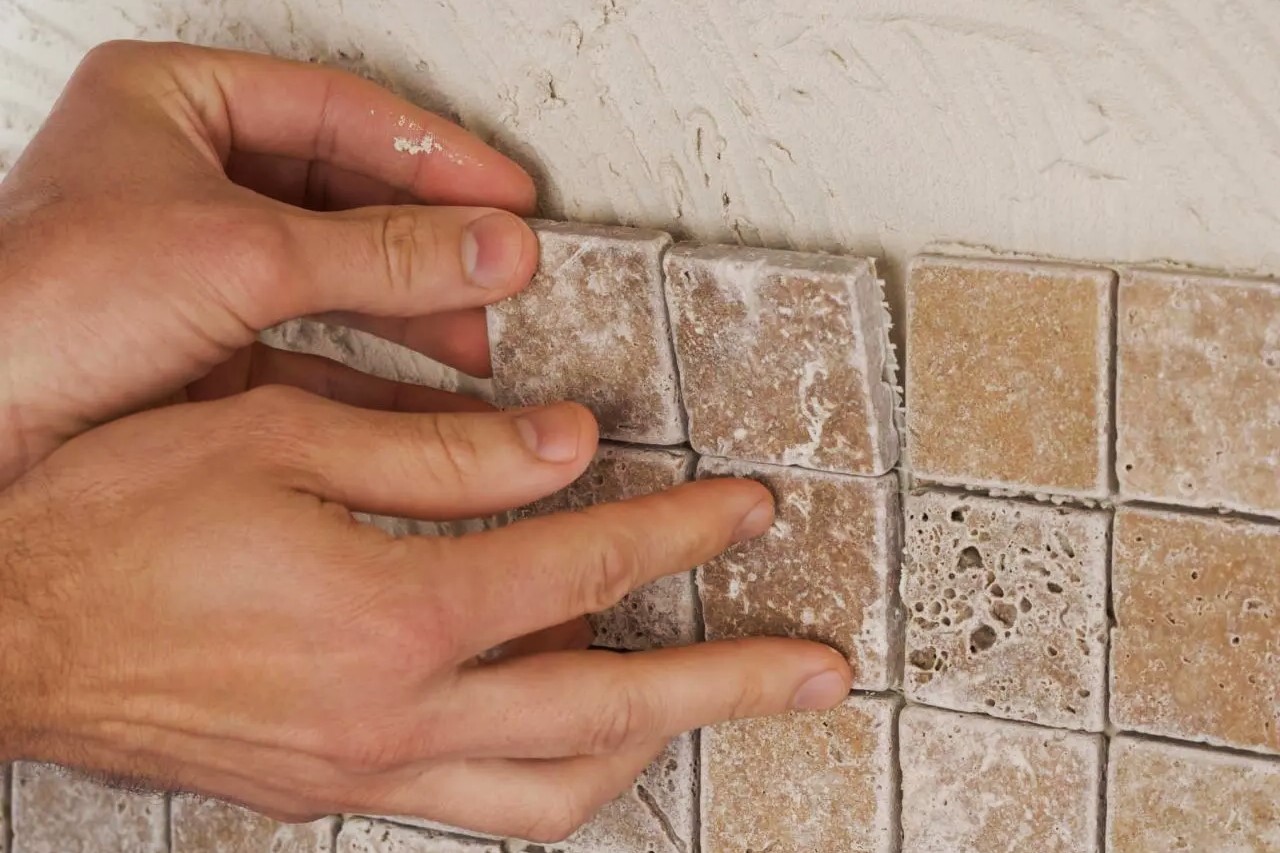
Step 5: Install the Backsplash
Now that the adhesive is applied, it’s time to install the backsplash tiles. Follow these steps to properly install the tiles:
- Start from the bottom: Begin by installing the bottom row of tiles. Press each tile firmly into place, using slight twisting motions to ensure a good bond with the adhesive.
- Use tile spacers: Place tile spacers between each tile to maintain consistent spacing and alignment. This will create even grout lines and a professional finish.
- Continue with the remaining rows: As you work your way up, continue installing the tiles row by row. Ensure that each tile is aligned properly and level with the ones around it.
- Check the level: Periodically use a level to ensure that the tiles are straight and even. Adjust as needed by gently tapping the tiles into place.
- Trim tiles if necessary: If you reach the top row and need to trim any tiles to fit, use a tile cutter or wet saw to make precise cuts. Remember to wear protective goggles and follow safety guidelines when using cutting tools.
- Allow the adhesive to dry: Once all the tiles are installed, allow the adhesive to dry for the time recommended by the manufacturer. Avoid touching or disturbing the tiles during this time.
Properly installing the backsplash tiles is crucial for a polished and professional look. Take your time and ensure that each tile is securely placed and aligned correctly.
With the tiles installed, it’s time to move on to the final step: cleaning and finishing the backsplash.
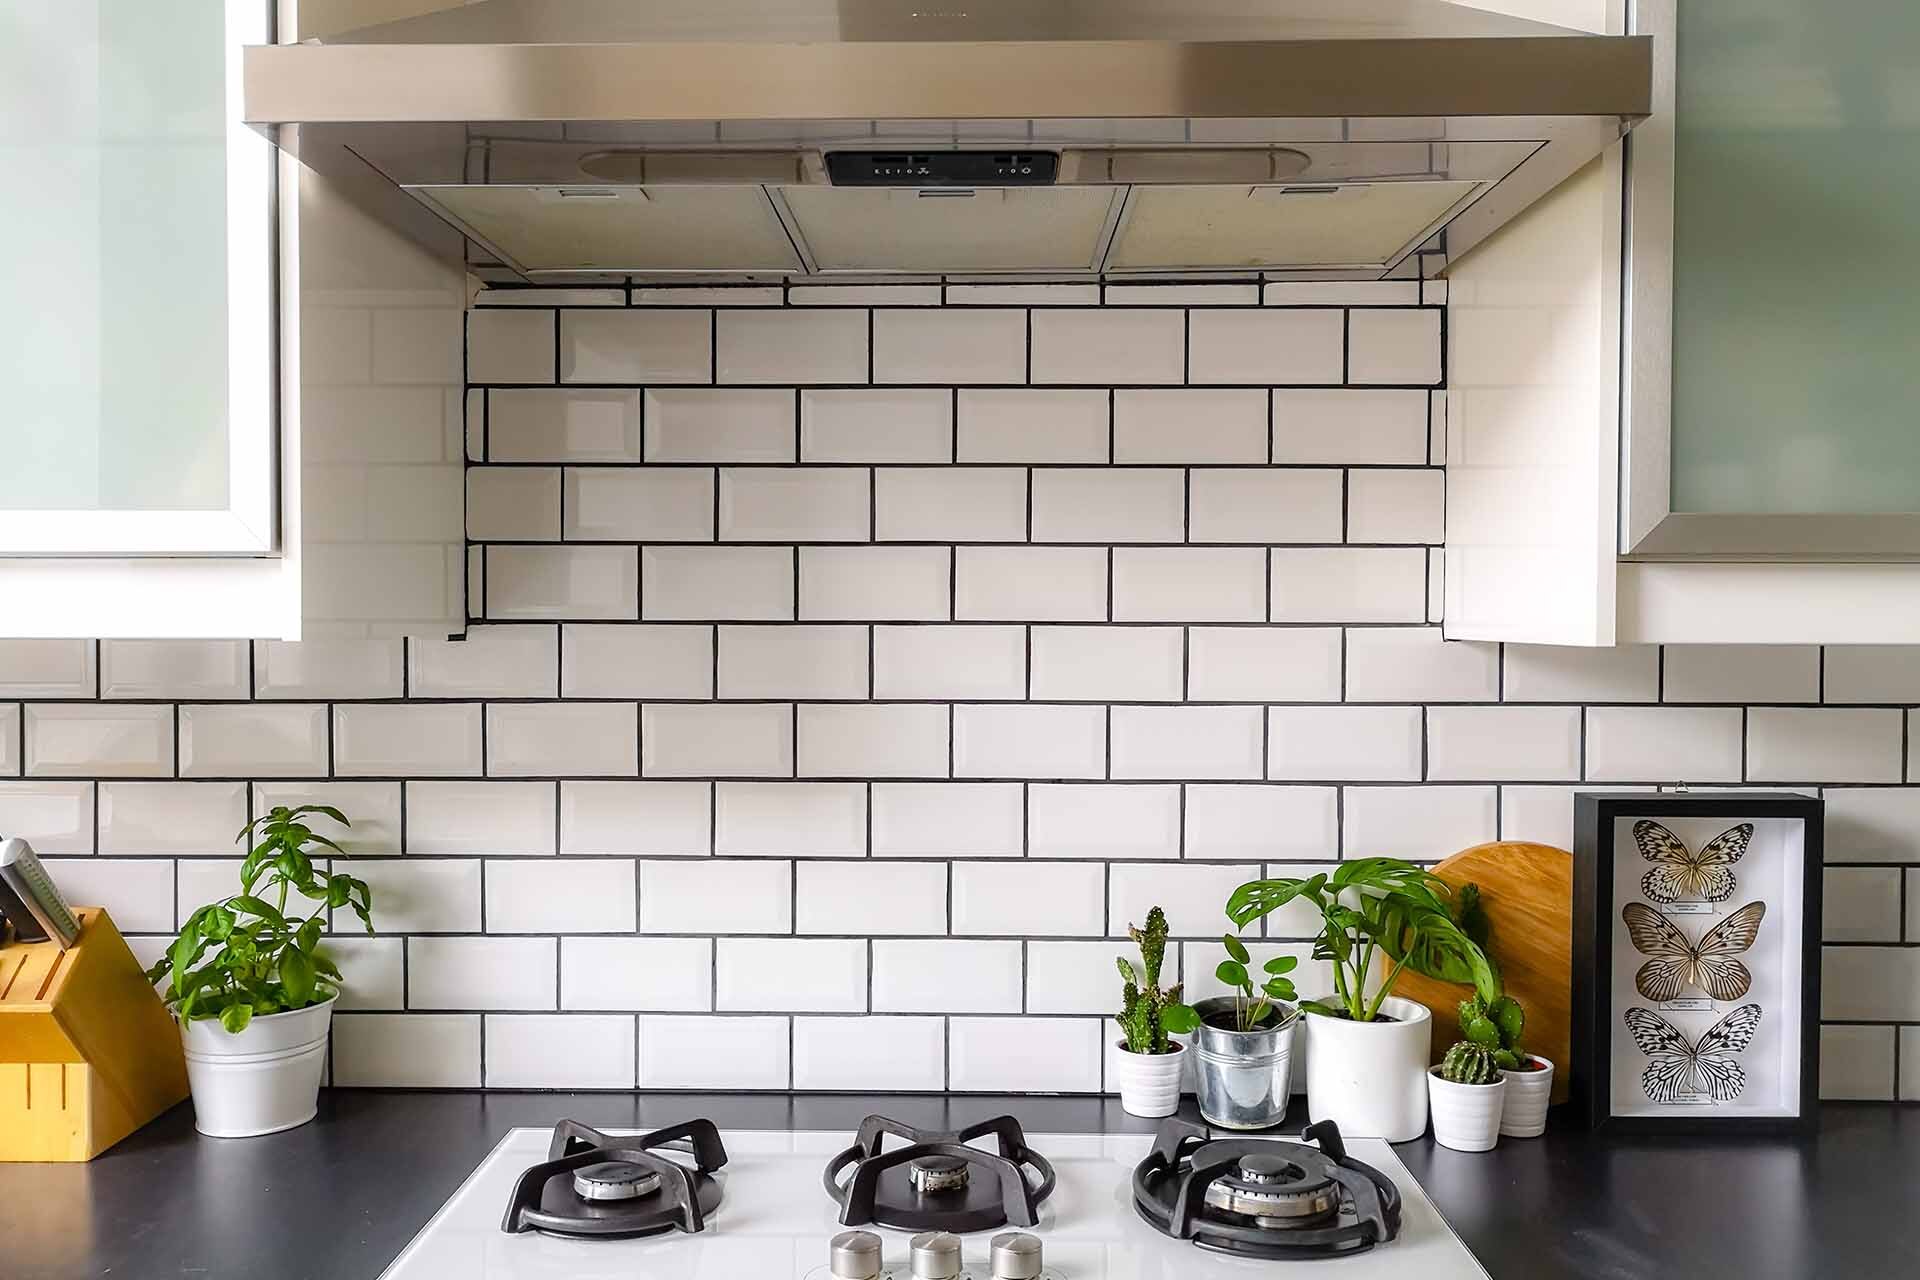
Step 6: Clean and Finish
The final step in installing a backsplash on a vanity is to thoroughly clean the tiles and apply the finishing touches. Follow these steps to complete the installation:
- Remove tile spacers: Carefully remove the tile spacers from between the tiles. Gently pull them out at an angle to avoid disturbing the tiles.
- Clean the tiles: Use a mild cleaner or a mixture of warm water and vinegar to clean the tiles. Wipe down the surface of each tile with a sponge or cloth, removing any adhesive residue or grime.
- Apply grout: Read the instructions on the grout packaging and mix the grout according to the recommended ratio. Use a grout float to apply the grout between the tiles, holding the float at an angle and pressing firmly to ensure full coverage.
- Remove excess grout: After applying the grout, use a damp sponge to gently wipe away the excess grout from the surface of the tiles. Rinse the sponge frequently and be careful not to remove too much grout from the joints.
- Let the grout dry: Allow the grout to dry for the time specified by the manufacturer. Keep the area well-ventilated to promote proper drying.
- Seal the grout: Once the grout is dry, consider sealing it with a grout sealer. This will help protect the grout from staining and make it easier to clean in the future.
- Apply caulk around edges: Finally, use a caulking gun to apply silicone caulk along the edges of the backsplash. This will create a watertight seal and give the backsplash a clean, finished look.
Completing these final steps will ensure that your backsplash is not only visually appealing but also durable and functional. Take your time to clean the tiles thoroughly and apply the finishing touches precisely.
With the backsplash clean and finished, give it some time to fully cure and set before using the vanity area. Enjoy your new beautiful and functional backsplash!
Overall, installing a backsplash on a vanity is a rewarding and relatively simple DIY project. By following these steps and taking your time, you can enhance the aesthetics of your bathroom while protecting the wall from potential damage. Remember to gather all the necessary materials, prepare the surface properly, measure and cut the tiles accurately, apply the adhesive evenly, install the tiles with precision, and clean and finish the backsplash for a professional look. Happy installing!
Conclusion
Installing a backsplash on a vanity is a fantastic way to elevate the look of your bathroom and add a touch of elegance and style. With the right materials and a step-by-step guide, you can successfully complete this project on your own.
We began by gathering all the necessary materials, including backsplash tiles, adhesive, grout, and tools. Properly preparing the surface was crucial to ensure a secure and long-lasting installation. We measured and cut the tiles with precision, taking into account any obstacles or edges. Then, we applied the adhesive and installed the tiles, ensuring they were level and aligned correctly.
After allowing the adhesive to dry, we moved on to cleaning and finishing the backsplash. We removed tile spacers, cleaned the tiles, applied grout, and wiped away any excess. Sealing the grout and applying caulk provided the finishing touches, resulting in a beautiful and functional backsplash.
By following these steps, you can transform your bathroom vanity into a stunning focal point. Remember to take your time, pay attention to detail, and always prioritize safety. With a little effort and creativity, you can create a personalized space that reflects your style and enhances the overall aesthetics of your bathroom.
Now, you’re ready to tackle the installation of a backsplash on your vanity. So, gather your materials, grab your tools, and start transforming your bathroom into a stylish and functional oasis!
Frequently Asked Questions about How To Install A Backsplash On A Vanity
Was this page helpful?
At Storables.com, we guarantee accurate and reliable information. Our content, validated by Expert Board Contributors, is crafted following stringent Editorial Policies. We're committed to providing you with well-researched, expert-backed insights for all your informational needs.


0 thoughts on “How To Install A Backsplash On A Vanity”