Articles
How To Install Wall Hung Vanity
Modified: August 26, 2024
Learn the step-by-step process of installing a wall hung vanity with our informative articles. Simplify your bathroom renovation project with our expert advice.
(Many of the links in this article redirect to a specific reviewed product. Your purchase of these products through affiliate links helps to generate commission for Storables.com, at no extra cost. Learn more)
Introduction
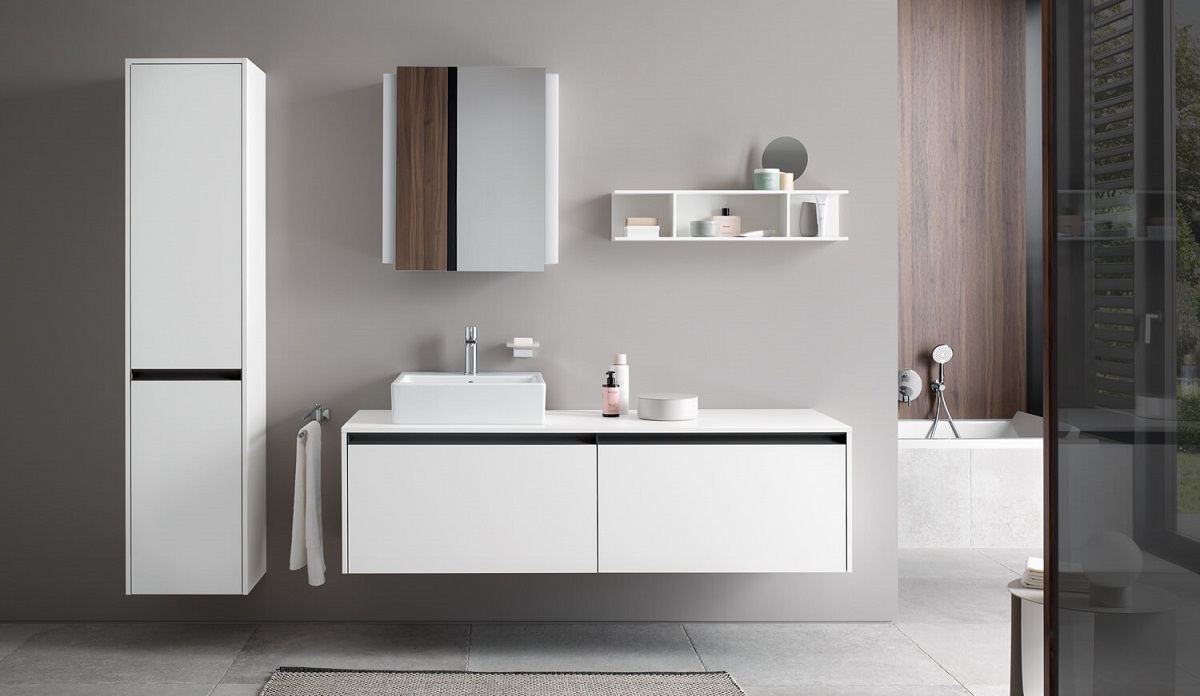
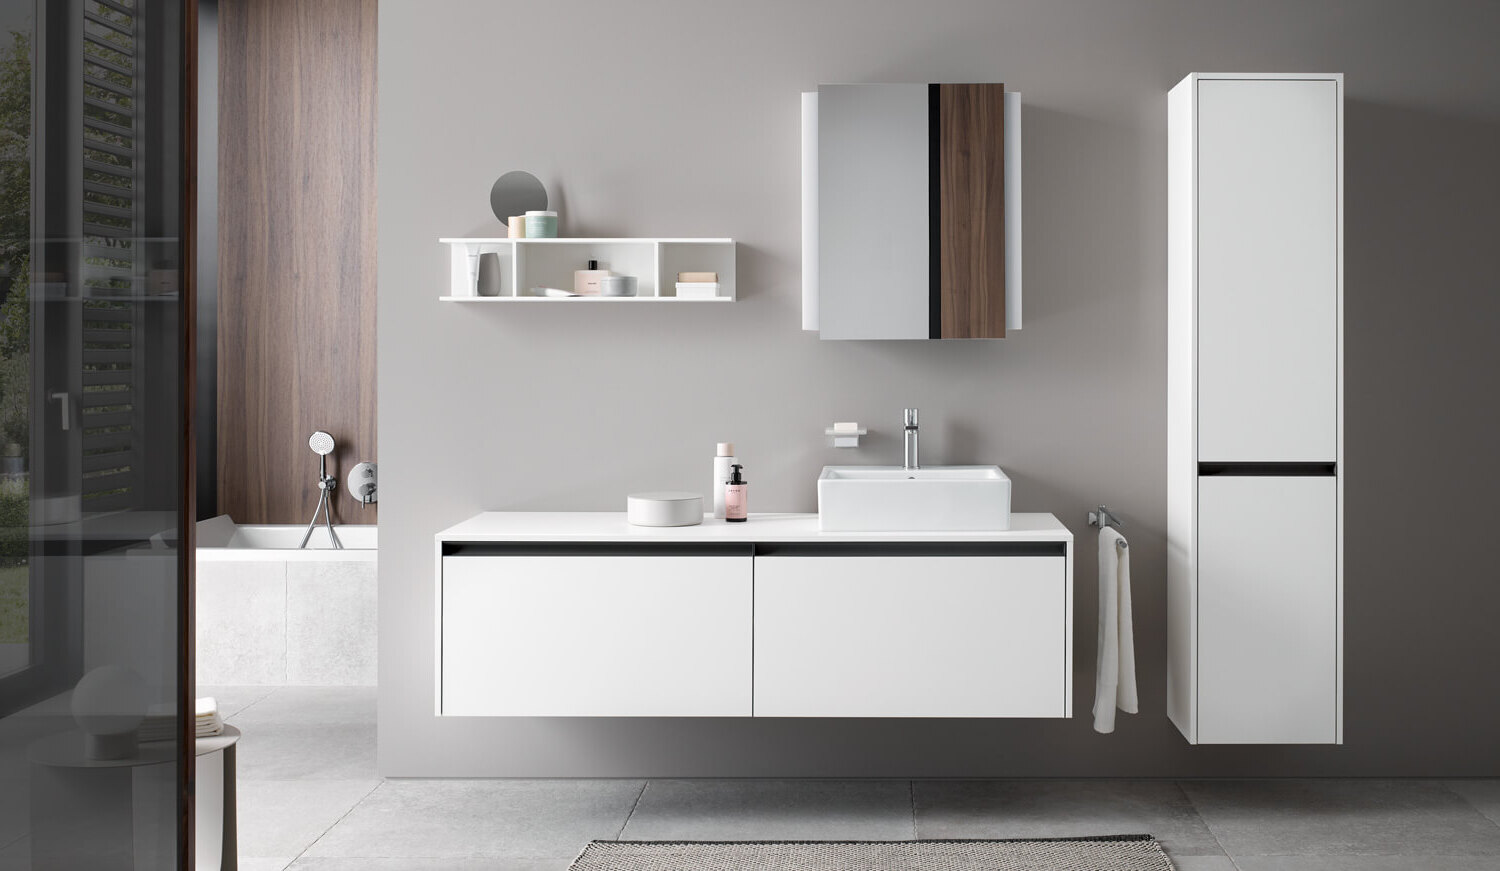
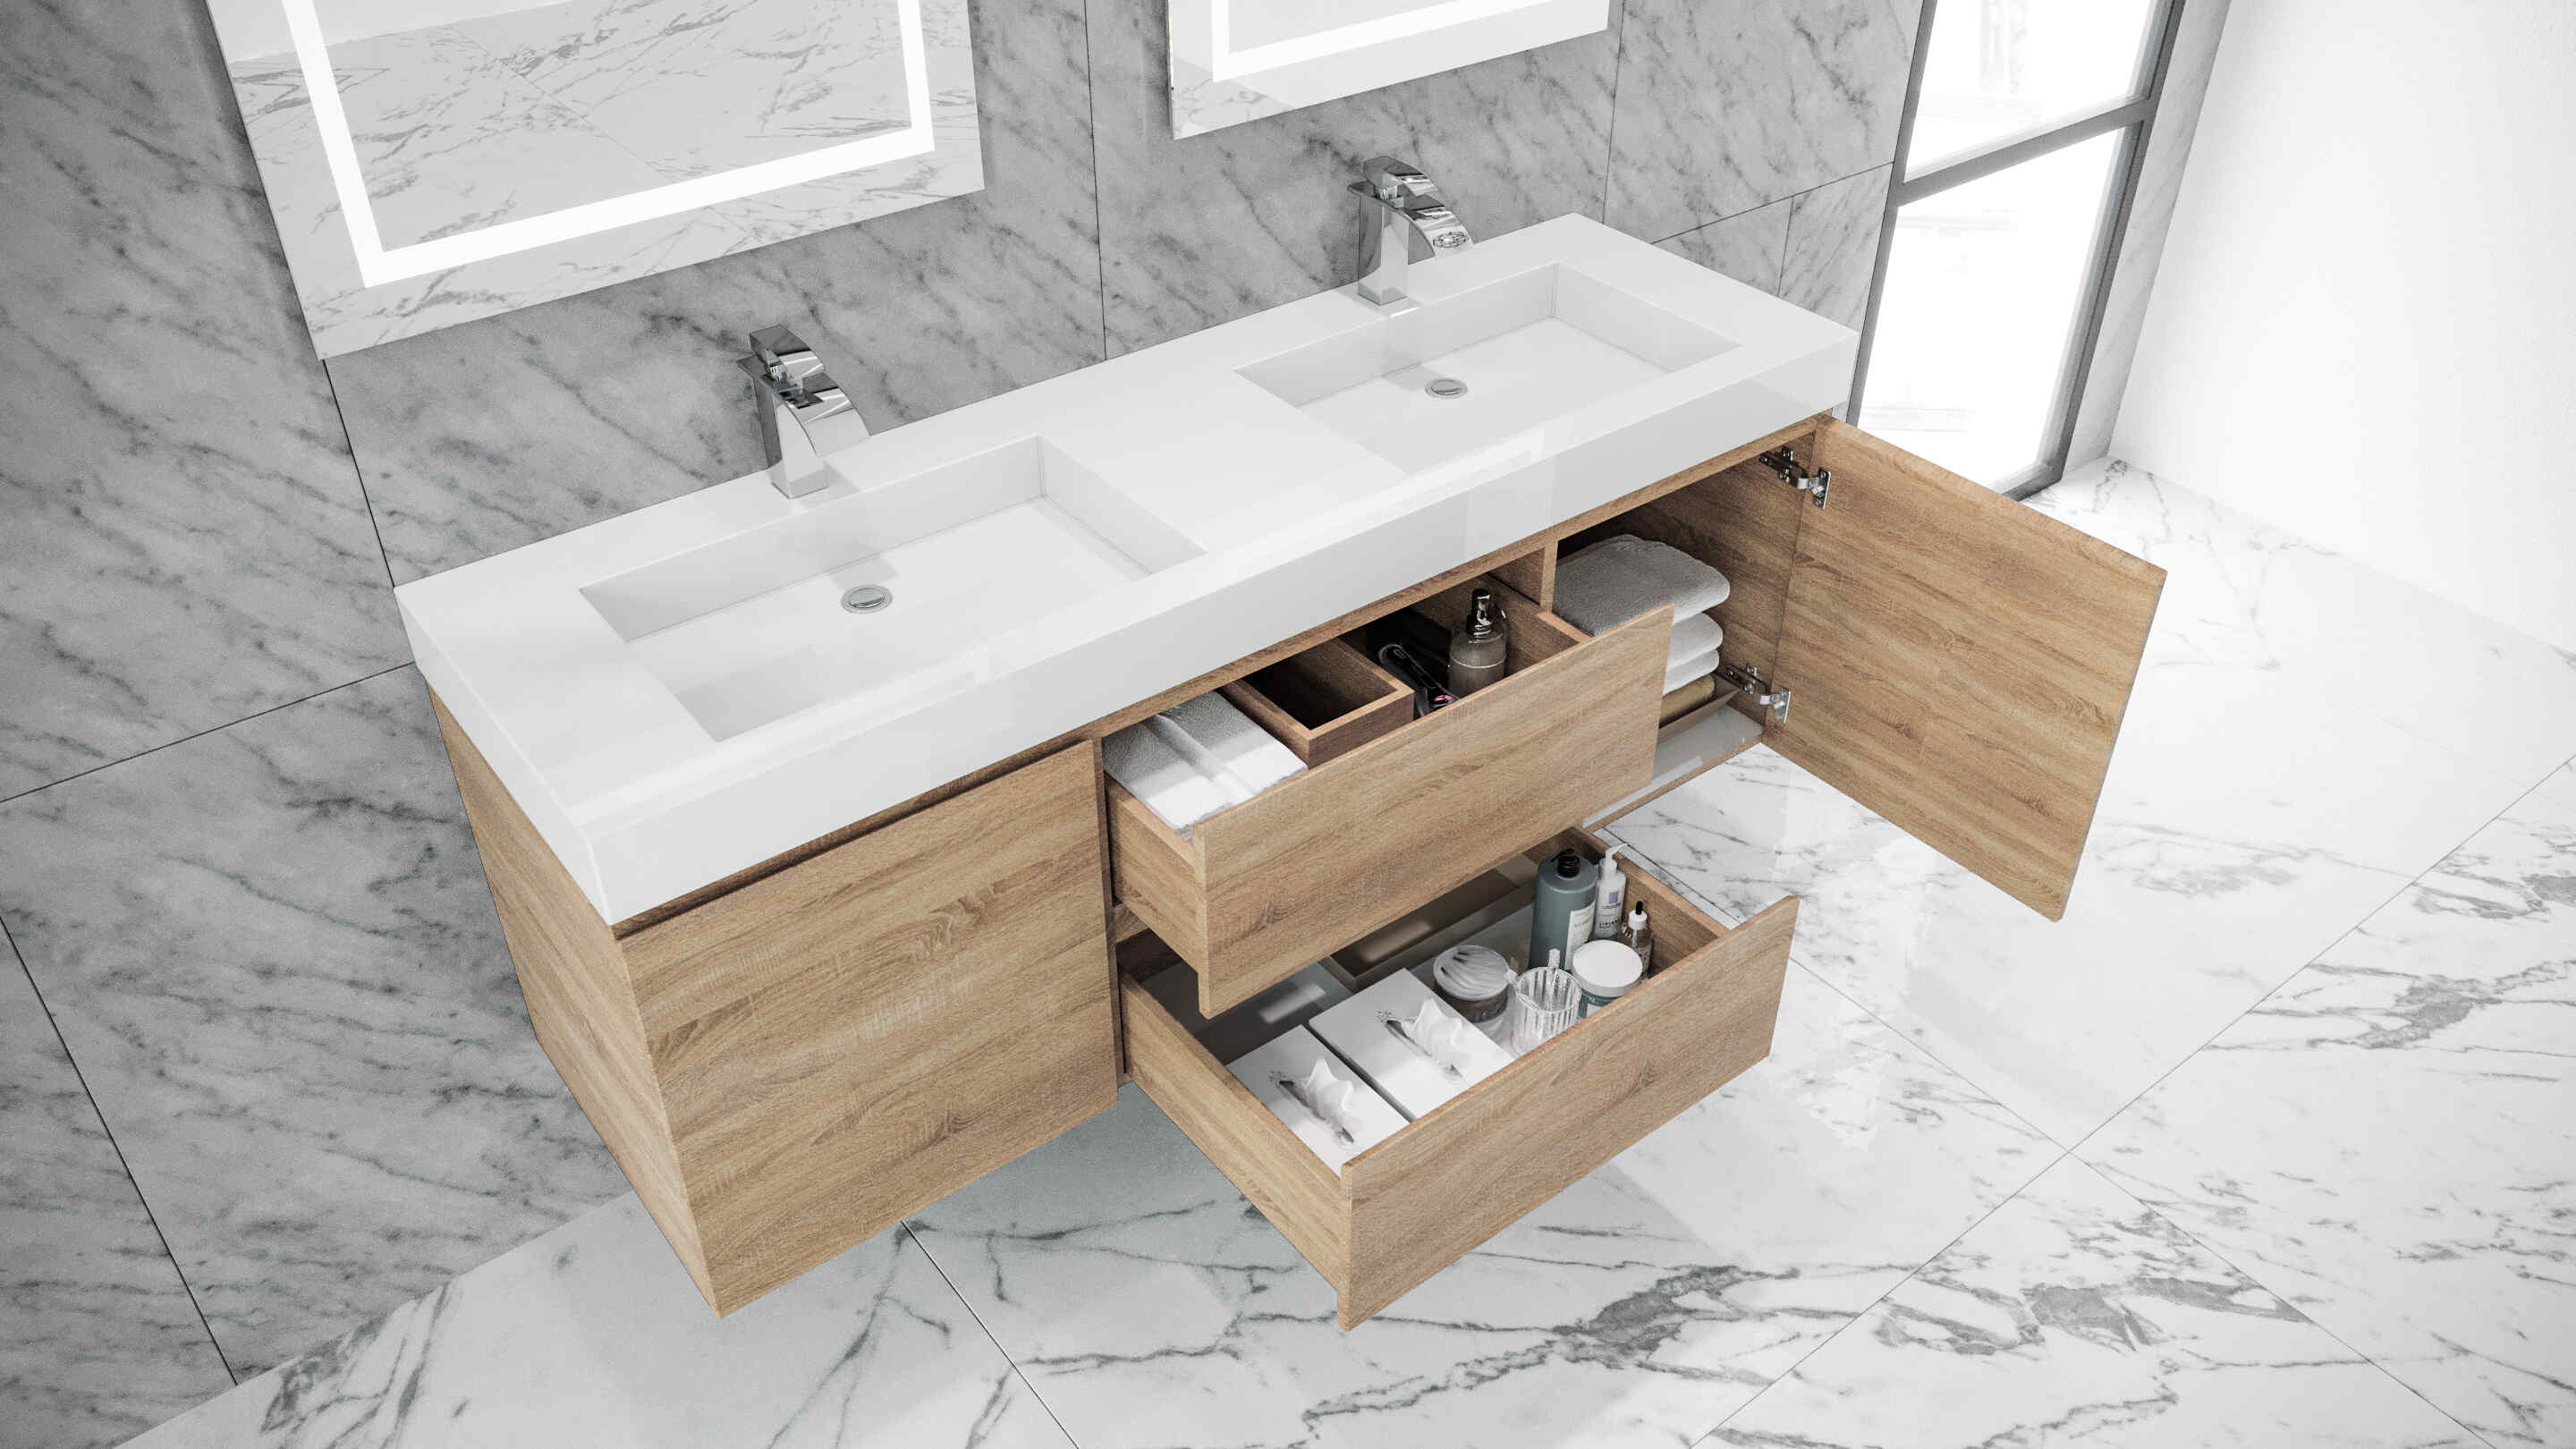
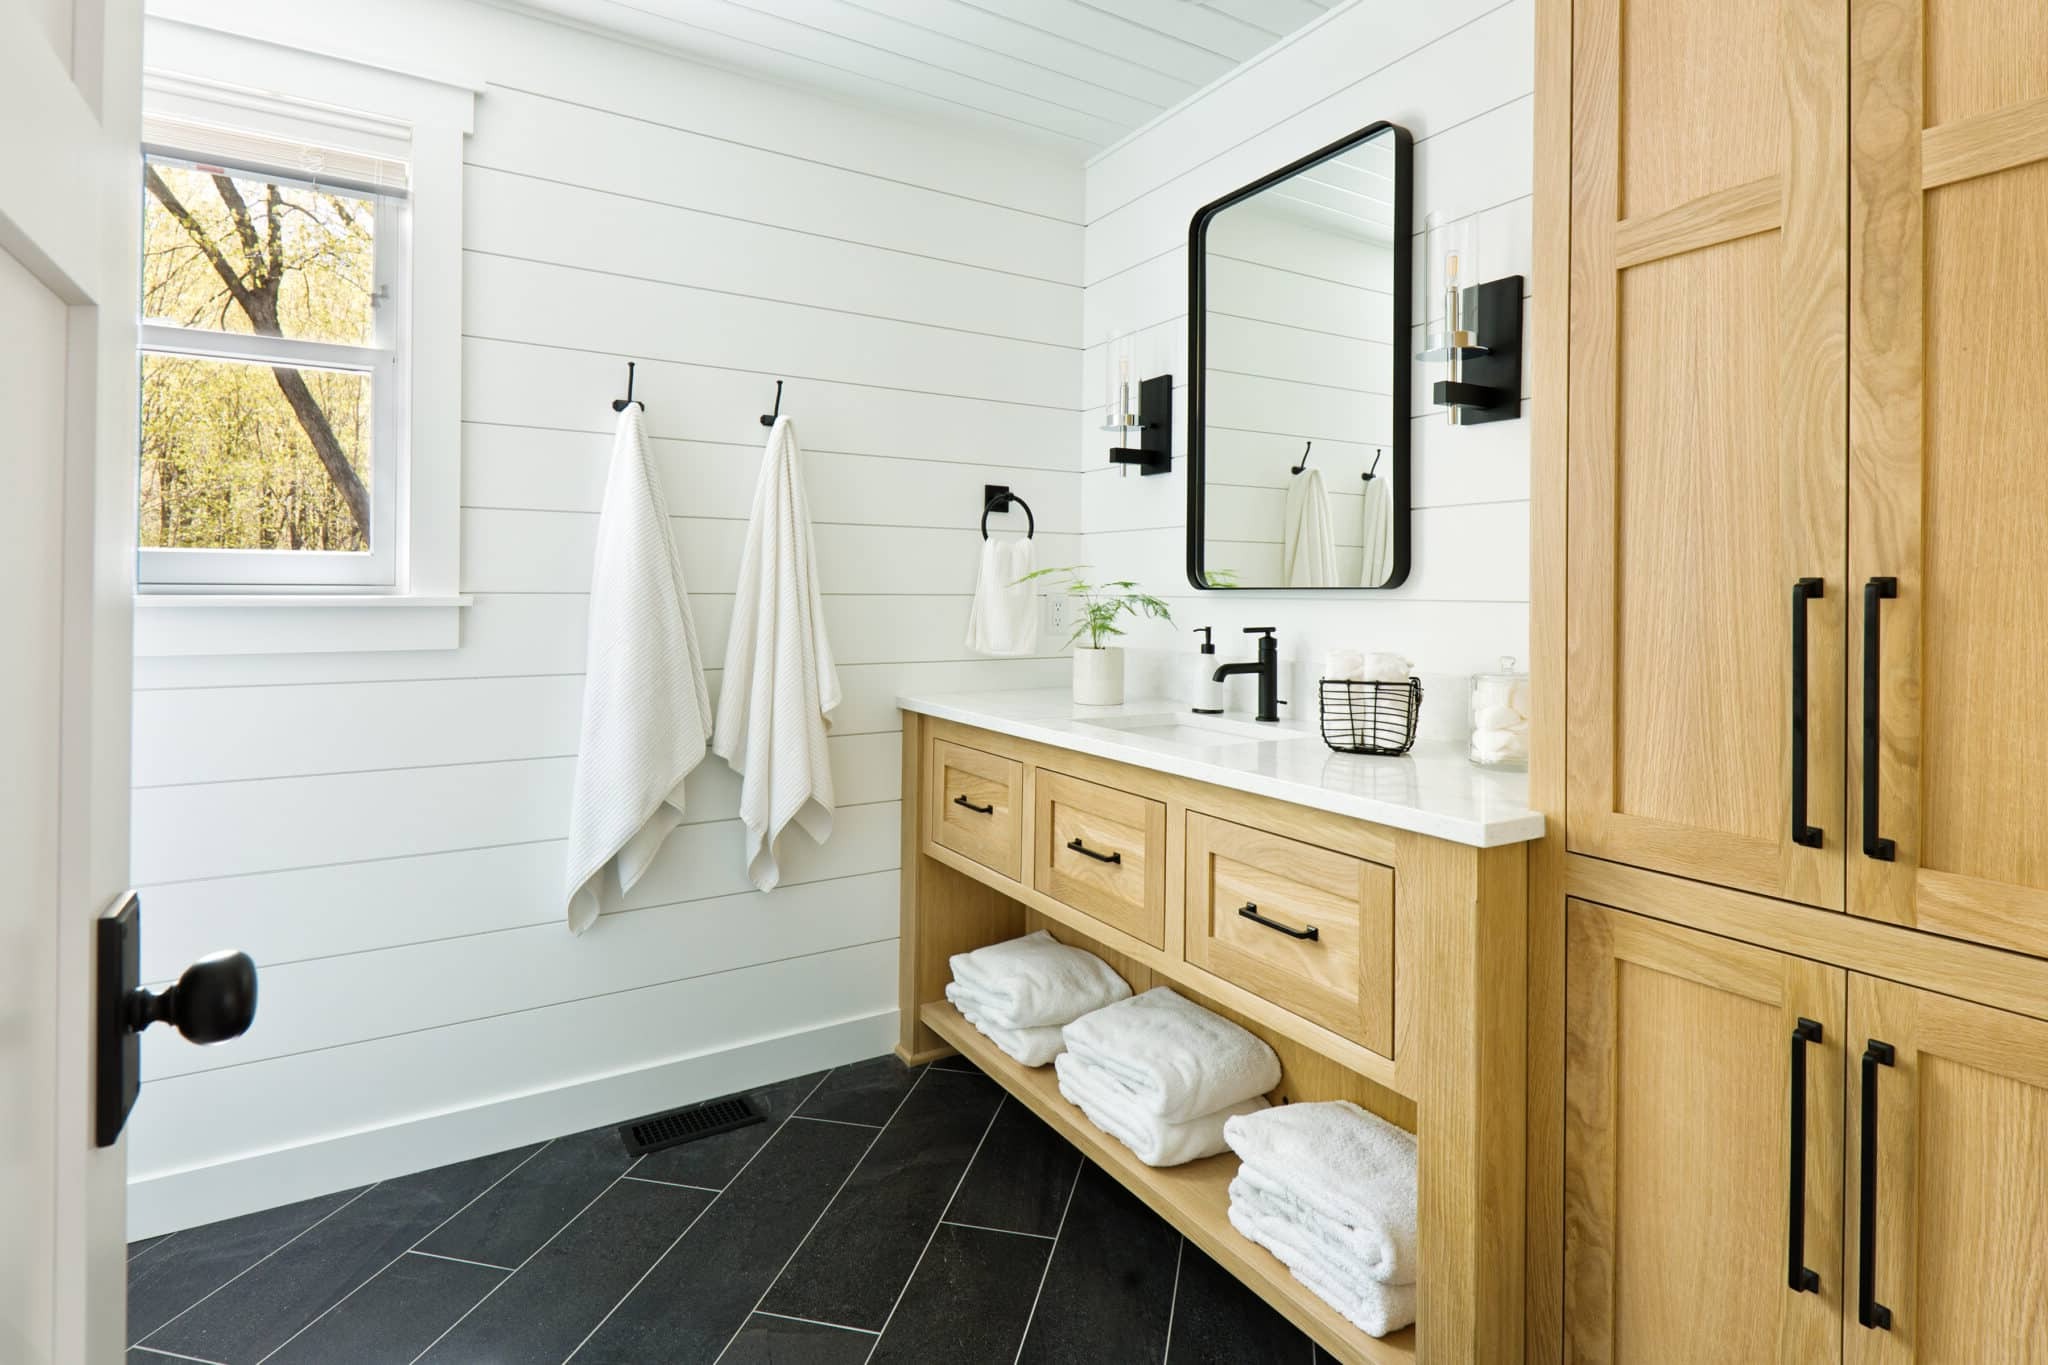
When it comes to bathroom renovations, installing a wall hung vanity can bring a touch of modern sophistication and maximize space. Not only does it create a clean and minimalist aesthetic, but it also offers practical benefits by freeing up floor space and making cleaning a breeze. Whether you’re a DIY enthusiast or a homeowner looking to upgrade your bathroom, this article will guide you through the step-by-step process of how to install a wall hung vanity.
Before we dive into the installation process, it’s important to note that this project requires some intermediate level of DIY skills. Make sure to read through the entire article and assess the feasibility of the installation based on your own capabilities. If you’re unsure or uncomfortable with any step, it’s always best to consult a professional.
Now, let’s gather our tools and materials and get ready to transform your bathroom!
Key Takeaways:
- Maximize space and modernize your bathroom by installing a wall hung vanity, creating a clean, minimalist aesthetic and simplifying the cleaning process.
- Ensure a secure and professional installation by following step-by-step preparation, measurement, and mounting processes, and take pride in your transformed bathroom space.
Read also: 14 Amazing Wall Hung Toilet for 2025
Step 1: Gather necessary tools and materials
Before you begin installing your wall hung vanity, it’s important to gather all the necessary tools and materials. This will ensure a smooth and efficient installation process. Here’s a list of what you’ll need:
- Electric drill
- Screwdriver
- Level
- Measuring tape
- Pencil
- Stud finder
- Adjustable wrench
- Plumber’s tape
- Wall anchors
- Vanity mounting bracket
- Screws
- Plumbing supplies (pipes, glue, etc.)
Ensure that you have all the tools listed above before you start the installation process. This will save you time and prevent any delays or interruptions.
Step 2: Prepare the wall
Preparing the wall is a crucial step in ensuring a secure and stable installation of your wall hung vanity. Follow these steps to properly prepare the wall:
- Locate the studs: Use a stud finder to locate the studs in the wall where you plan to mount the vanity. Mark the location of the studs with a pencil for reference.
- Remove any existing vanity or fixtures: If you have an existing vanity or fixtures on the wall, remove them carefully. Turn off the water supply before disconnecting any plumbing.
- Patch and repair any damaged areas: Inspect the wall for any holes, cracks, or other damage. Patch these areas with spackling compound and smooth them out. Allow the compound to dry completely before moving on to the next step.
- Paint or wallpaper the wall (optional): If desired, this is a good time to paint or wallpaper the wall behind where the vanity will be installed. Make sure to allow sufficient time for the paint or wallpaper to dry before proceeding.
By properly preparing the wall, you’ll create a solid foundation for the installation and ensure a professional finish.
Step 3: Measure and mark the placement of the vanity
Accurate measurements and markings are essential to ensure that your wall hung vanity is installed in the perfect position. Follow these steps to measure and mark the placement of the vanity:
- Measure the wall: Use a measuring tape to measure the width of the wall where you plan to install the vanity. This will help you determine the appropriate size of the vanity.
- Measure the height: Measure the height of the wall from the floor to the desired height of the vanity. Keep in mind any plumbing or electrical outlets that may affect the height.
- Mark the centerline: Use a pencil to draw a vertical line on the wall, marking the centerline of where the vanity will be installed. This line will serve as a guideline for the placement of the vanity.
- Mark mounting holes: Measure the distance between the mounting holes on the back of the vanity. Transfer those measurements onto the centerline you marked earlier. Use a level to ensure that the marks are straight and level.
- Double-check measurements: Before proceeding to the next step, double-check all your measurements to ensure accuracy. Make any necessary adjustments.
Properly measuring and marking the placement of the vanity will help you achieve a seamless and visually pleasing installation.
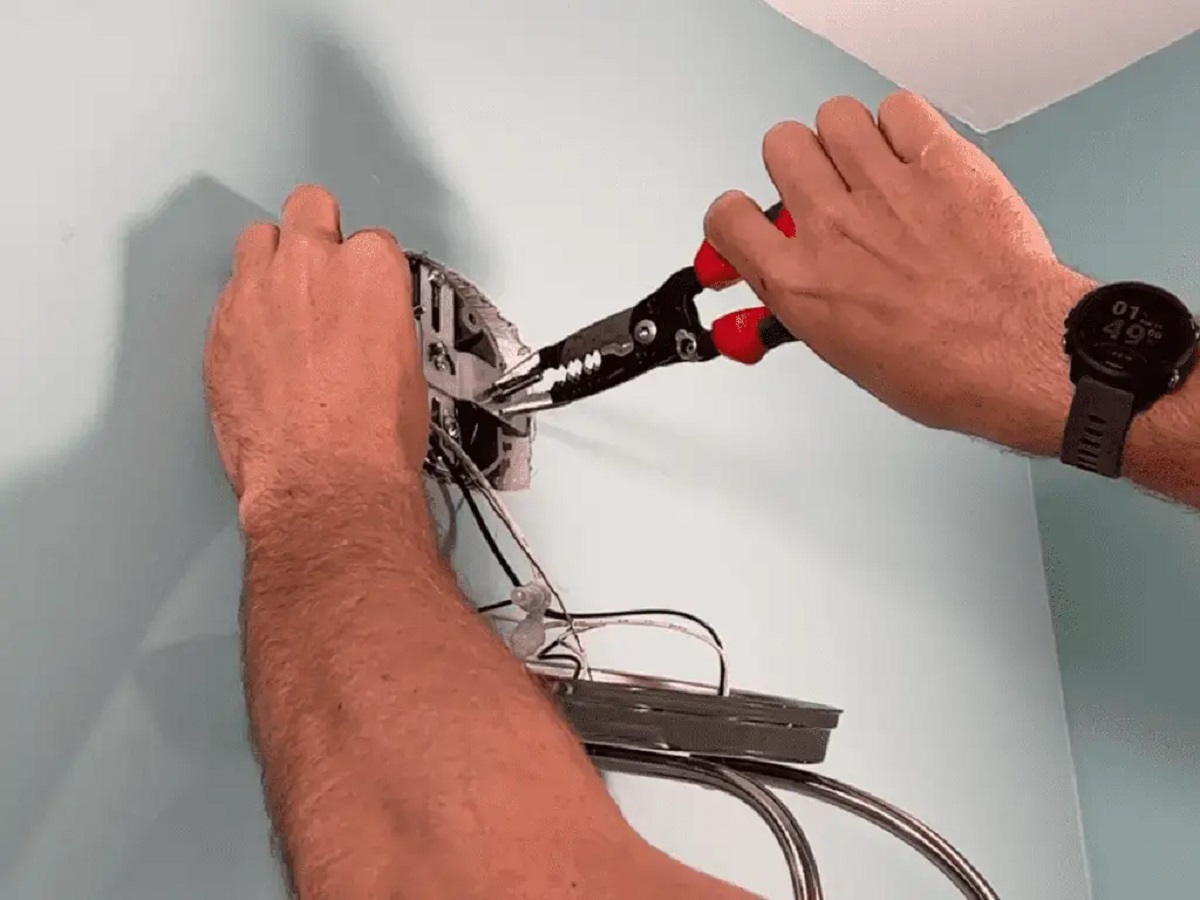
Step 4: Install the mounting bracket on the wall
Installing the mounting bracket is a critical step in securing the wall hung vanity and ensuring its stability. Follow these steps to install the mounting bracket:
- Position the bracket: Hold the vanity mounting bracket against the wall, aligning it with the marked mounting holes. Ensure that the top of the bracket is level with the centerline you marked earlier.
- Mark the screw holes: Using a pencil, lightly mark the screw holes of the bracket on the wall. This will serve as a guide when installing the screws.
- Pre-drill holes: Carefully remove the bracket from the wall and use an electric drill with an appropriate drill bit to pre-drill holes at the marked screw hole locations. This will prevent the wall from splitting or cracking when you install the screws.
- Attach the bracket: Hold the bracket back in position against the wall, aligning the pre-drilled holes with the screw holes on the bracket. Insert screws into the holes and tighten them using a screwdriver or an electric drill with a screwdriver bit. Ensure that the bracket is securely fastened to the wall.
Installing the mounting bracket properly is essential to provide a strong and reliable support system for your wall hung vanity.
Read more: How To Install Vanity Mirror
Step 5: Mount the vanity onto the bracket
With the mounting bracket securely installed, it’s time to mount the wall hung vanity. Follow these steps to ensure a proper and stable installation:
- Enlist a helping hand: Wall hung vanities can be heavy, so it’s advisable to have an assistant help you with this step.
- Align the vanity: Carefully lift the vanity and align the mounting holes at the back of the vanity with the screws on the bracket. Ensure that the vanity is level and centered on the wall.
- Lower the vanity onto the bracket: Gradually lower the vanity onto the bracket, making sure that the mounting holes on the vanity slide over the screws on the bracket. Double-check that the vanity is still level and centered.
- Secure the vanity: Once the vanity is properly aligned, use a screwdriver or an electric drill with a screwdriver bit to tighten the screws on the mounting holes. This will secure the vanity onto the bracket and ensure it stays in place.
By carefully mounting the vanity onto the bracket, you’ll create a sturdy and secure installation that will withstand the test of time.
When installing a wall-hung vanity, be sure to locate and mark the studs in the wall to ensure a secure and stable installation. Use a stud finder to easily locate the studs before mounting the vanity.
Step 6: Secure the vanity to the wall
Securing the wall hung vanity to the wall is crucial to ensure its stability and prevent any accidents or damage. Follow these steps to securely fasten the vanity:
- Locate the studs: Use a stud finder to locate the studs behind the wall where the vanity is mounted. Mark the locations of the studs with a pencil for reference.
- Pre-drill holes: Using an electric drill with an appropriate drill bit, pre-drill holes into the back of the vanity at the locations of the studs.
- Insert screws: Place screws into the pre-drilled holes and tighten them using a screwdriver or an electric drill with a screwdriver bit. Make sure the screws are firmly secured in the studs, providing a strong anchor for the vanity.
- Check for stability: Test the vanity to ensure that it is securely attached to the wall. Apply slight pressure to different parts of the vanity to check for any wobbling or movement. If it feels stable, you can proceed to the next step. If not, double-check the screws and adjust as necessary.
By securely fastening the vanity to the wall, you’ll create a safe and reliable installation that will withstand everyday use and provide peace of mind.
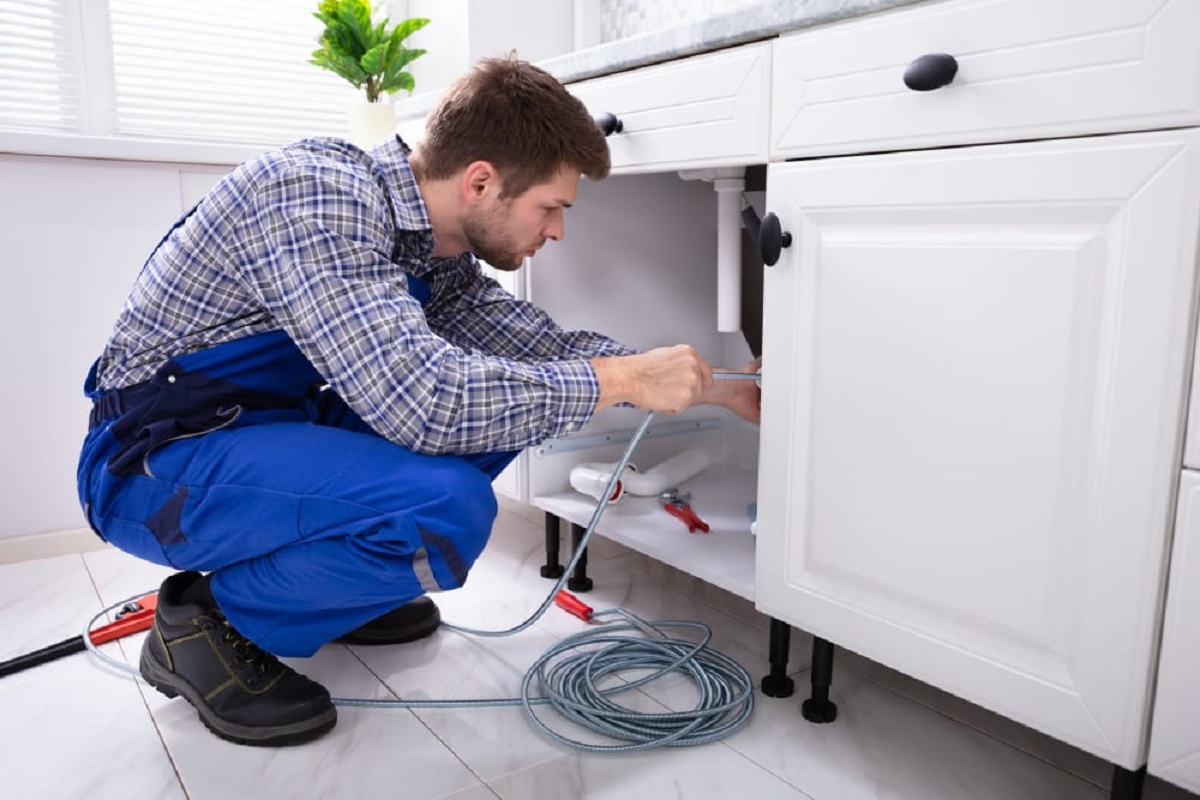
Step 7: Connect plumbing and drain
Connecting the plumbing and drain is the next important step in completing the installation of your wall hung vanity. Follow these steps to ensure a proper connection:
- Shut off the water supply: Before beginning any plumbing work, turn off the water supply to the bathroom. Locate the shut-off valves under the sink or near the main water supply.
- Install the faucet and drain assembly: Follow the manufacturer’s instructions to install the faucet and drain assembly onto the vanity. Use plumber’s tape to ensure a tight and leak-free connection.
- Connect the water supply lines: Carefully connect the water supply lines to the corresponding hot and cold water valves. Use an adjustable wrench to tighten the connections, but be careful not to overtighten as it can cause damage.
- Connect the drain pipe: Attach the drain pipe to the drain assembly at the back of the vanity. Use plumber’s tape to seal the connection and prevent any leaks.
- Turn on the water supply: Once all the connections are made, slowly turn on the water supply and check for any leaks. If you notice any leaks, tighten the connections further or consider using plumbing sealant.
Properly connecting the plumbing and drain ensures a functional and leak-free wall hung vanity installation. Take your time and double-check all connections to ensure a proper fit and prevent any water damage.
Step 8: Adjust and level the vanity
Adjusting and leveling the wall hung vanity is crucial to achieve a professional and aesthetically pleasing installation. Follow these steps to ensure the vanity is properly adjusted and level:
- Stand back and assess the vanity: Step back and take a look at the installed vanity. Check if it is hanging evenly and if it appears levelled. Make any necessary adjustments before proceeding.
- Adjust the mounting bracket: If the vanity is not level or not aligned properly, you may need to loosen the screws on the mounting bracket. This will allow you to make adjustments to the position of the vanity.
- Check levelness: Use a level to check if the vanity is perfectly level both horizontally and vertically. Adjust the position of the vanity accordingly by tightening or loosening the screws on the mounting bracket.
- Re-check measurements: After adjusting the vanity, double-check all the measurements and align it with the previously marked lines and studs on the wall.
- Secure the mounting bracket: Once the vanity is level and aligned, securely fasten the mounting bracket to the wall by tightening the screws. Ensure that the vanity does not wobble or shift from its desired position.
Properly adjusting and leveling the vanity will enhance its visual appeal and ensure a seamless integration with your bathroom décor.
Read more: How To Secure Vanity To Wall
Step 9: Finish installation and clean up
After completing the main installation process, there are a few final steps to wrap up the project and ensure a polished finish. Follow these steps to finish the installation and clean up:
- Trim excess sealant: If there is any excess sealant around the edges of the vanity or plumbing connections, use a utility knife or a scraper to carefully trim it away. This will give the installation a neater and more professional appearance.
- Reconnect plumbing: Double-check that all plumbing connections are secure and leak-free. Turn on the water supply and test the faucets and drain to ensure proper functionality.
- Clean the vanity: Use a mild cleaning solution to wipe down the surface of the vanity, inside and out. Make sure to clean any fingerprints, smudges, or debris that may have accumulated during the installation process.
- Check for any adjustments: Take one final look at the vanity to ensure that it is solidly anchored, level, and aligned. Make any necessary adjustments before considering the installation complete.
- Dispose of debris: Gather and dispose of any packaging materials, unused parts, or debris from the installation. Keep the work area clean and tidy.
By completing these final steps, you’ll ensure a professional and well-presented wall hung vanity installation. Take the time to clean up and admire your newly installed vanity!
Conclusion
Installing a wall hung vanity can completely transform the look and functionality of your bathroom. By following the step-by-step process outlined in this article, you can successfully install a wall hung vanity with confidence and achieve a professional finish.
Throughout the installation process, it is important to gather the necessary tools and materials, properly prepare the wall, measure and mark the placement of the vanity, install the mounting bracket securely, mount the vanity onto the bracket, and secure it to the wall. Additionally, connecting the plumbing and drain, adjusting and leveling the vanity, and finishing the installation with a thorough clean-up are vital steps to complete the project successfully.
While this guide provides a comprehensive overview of the installation process, it’s important to remember that every project may have its unique challenges. If you encounter any difficulties or feel unsure at any point, it is always recommended to seek professional assistance.
By successfully installing a wall hung vanity, you’ll enjoy its benefits for years to come. Not only will it add a modern and sophisticated touch to your bathroom, but it will also maximize space and make cleaning easier. Take pride in your accomplishment and enjoy your newly transformed bathroom!
Frequently Asked Questions about How To Install Wall Hung Vanity
Was this page helpful?
At Storables.com, we guarantee accurate and reliable information. Our content, validated by Expert Board Contributors, is crafted following stringent Editorial Policies. We're committed to providing you with well-researched, expert-backed insights for all your informational needs.


0 thoughts on “How To Install Wall Hung Vanity”