Home>Ideas and Tips>DIY Guide: Installing A Ceiling Fan

Ideas and Tips
DIY Guide: Installing A Ceiling Fan
Modified: October 31, 2024
Learn how to install a ceiling fan with our step-by-step DIY guide. Improve your home's look and air circulation in just a few hours.
(Many of the links in this article redirect to a specific reviewed product. Your purchase of these products through affiliate links helps to generate commission for Storables.com, at no extra cost. Learn more)
DIY Guide: Installing a Ceiling Fan
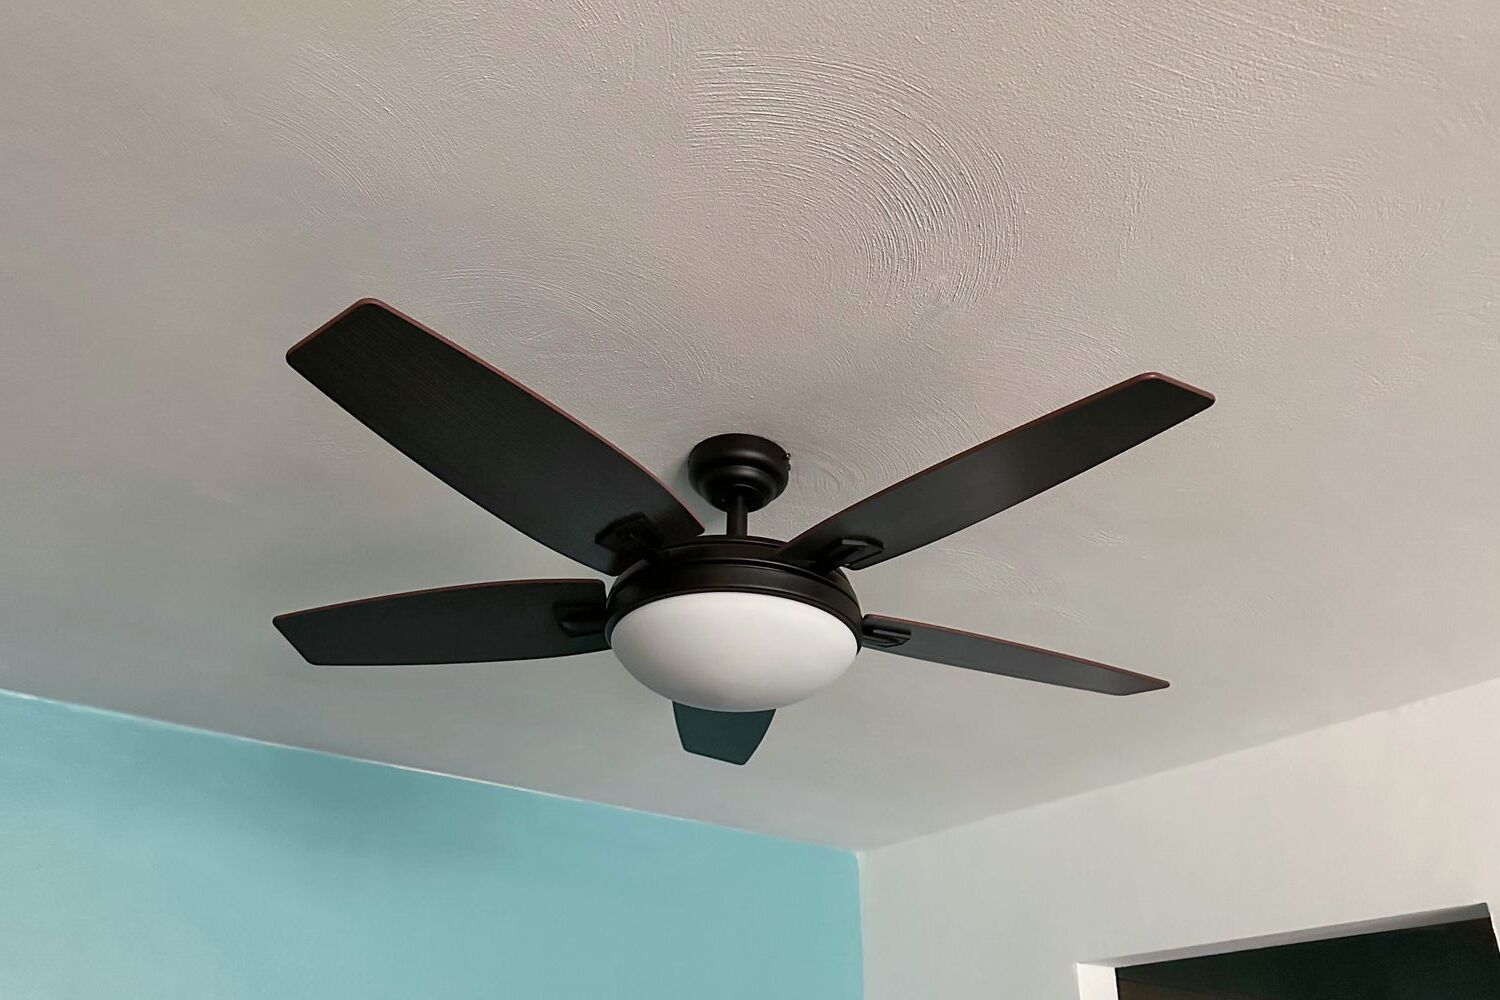
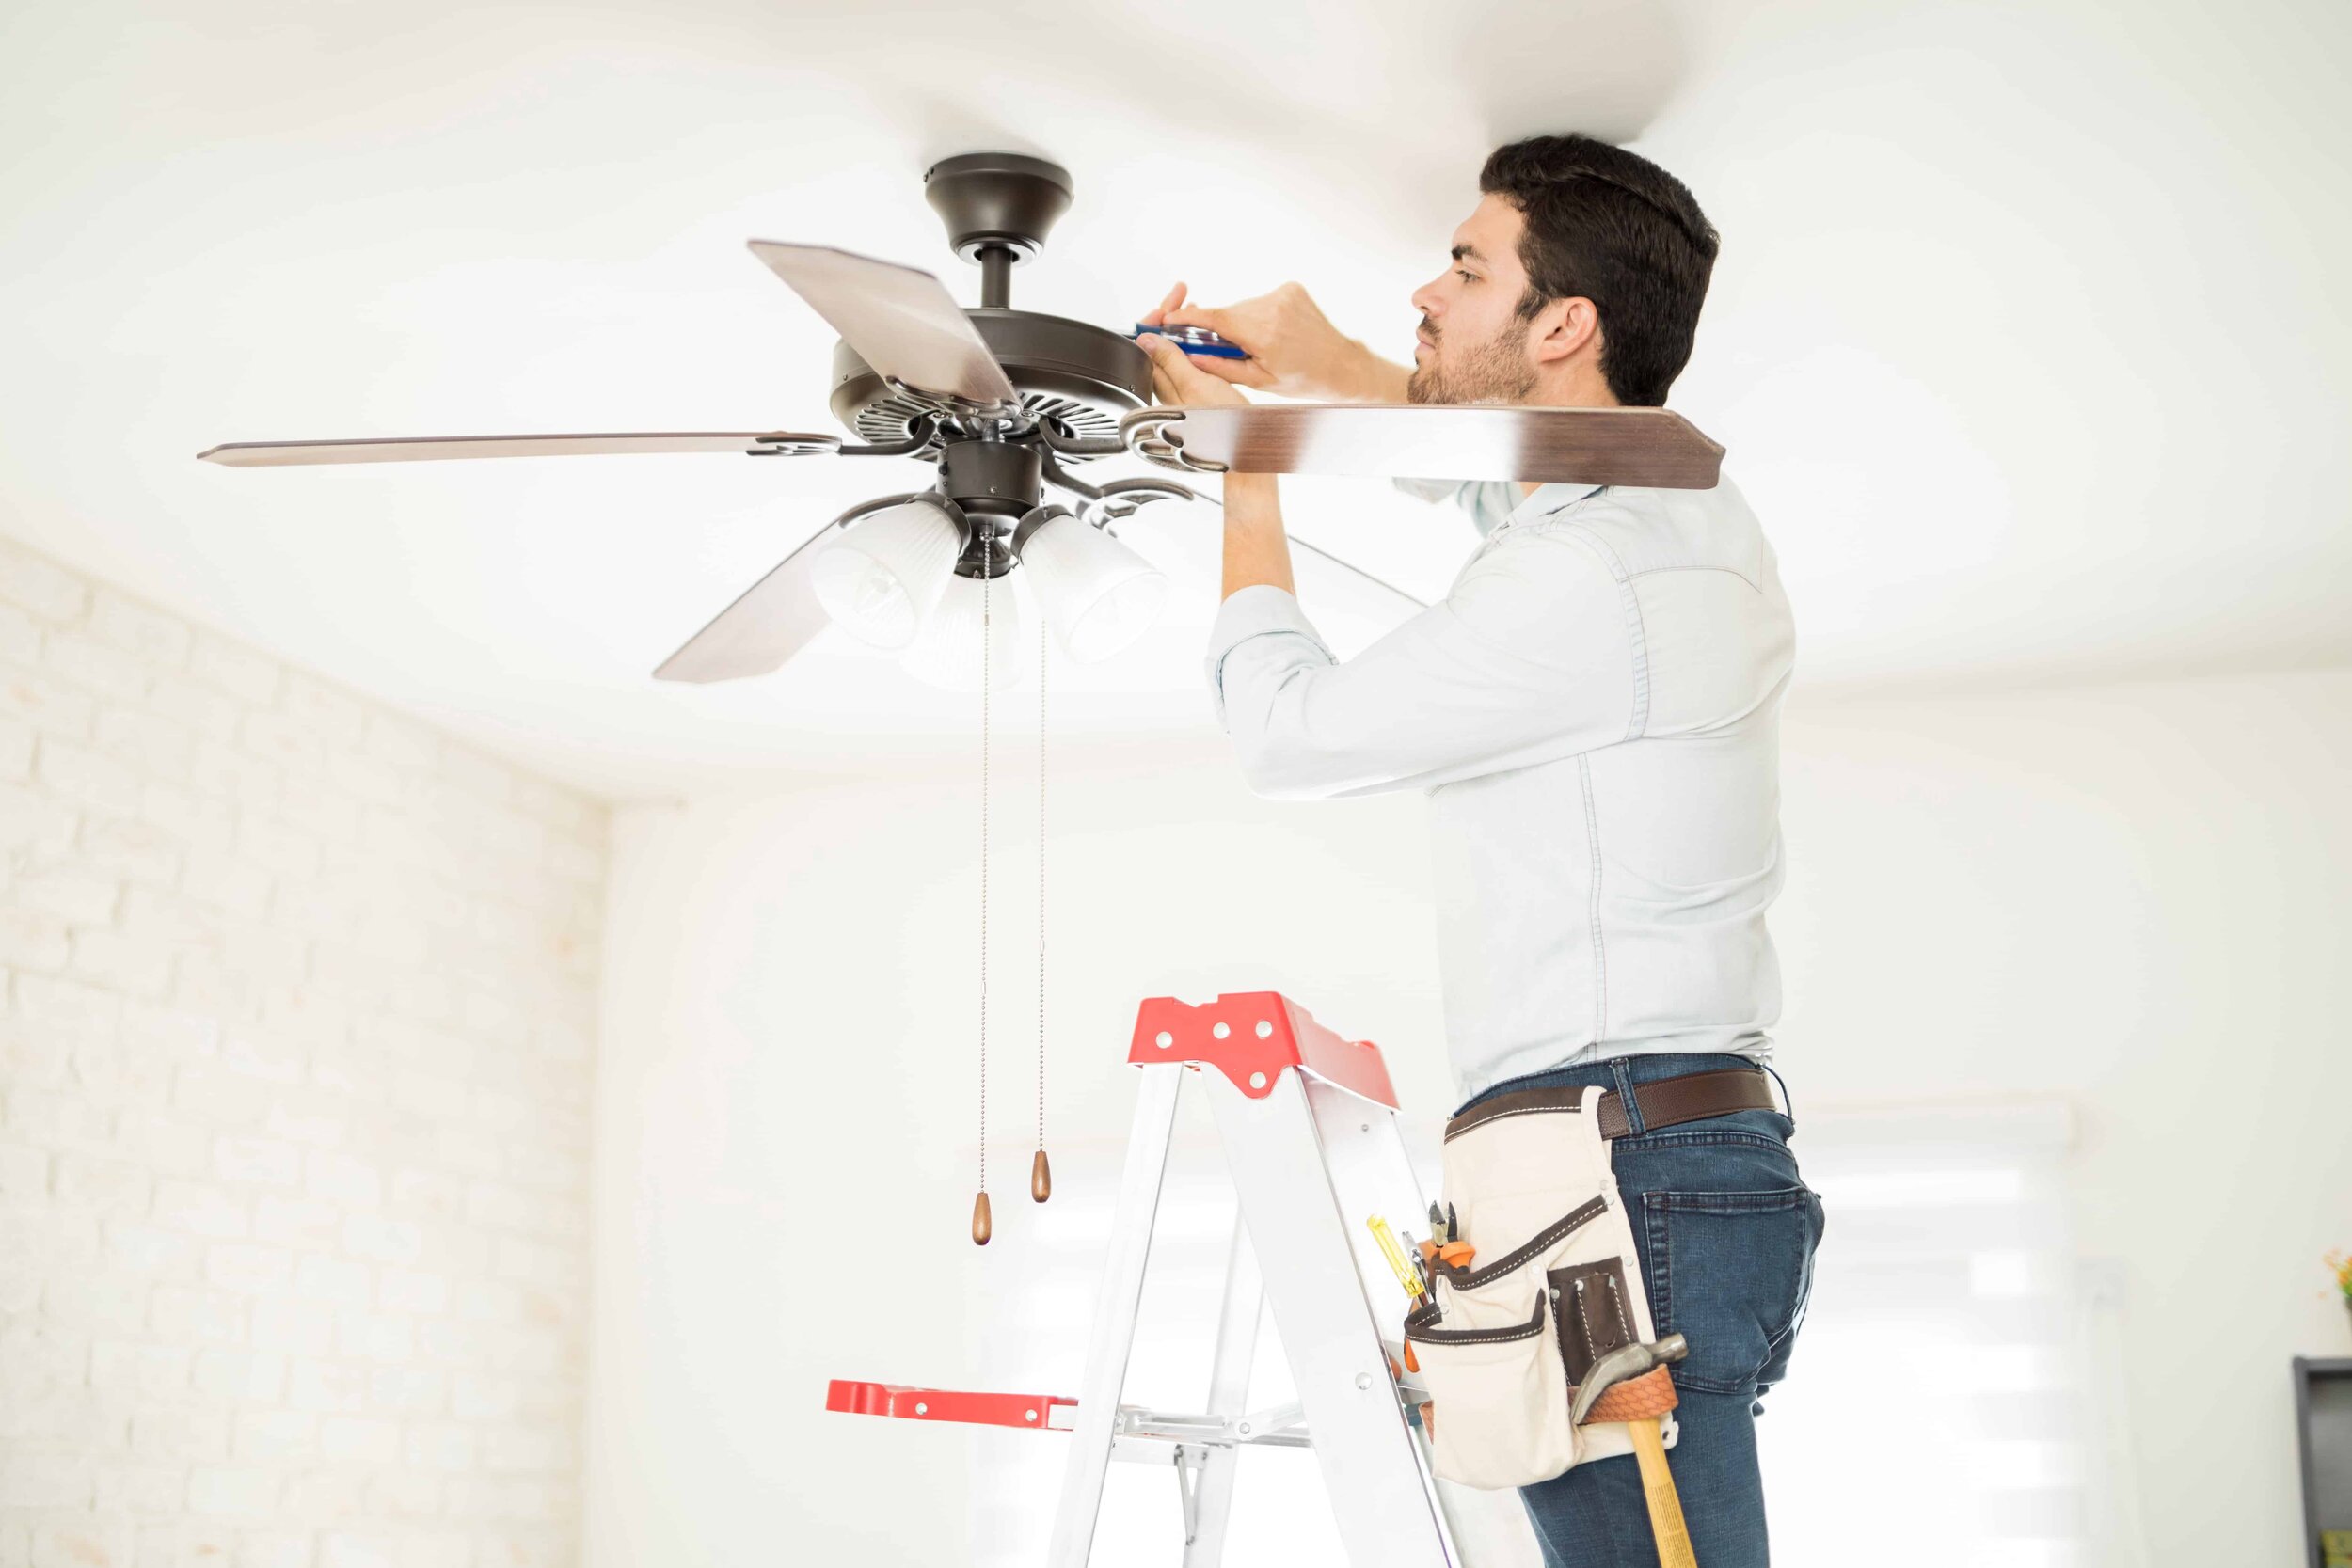
Installing a ceiling fan is a fantastic way to upgrade your home's look, improve air circulation, and lower your energy bill. With the right tools and careful attention to safety, most homeowners can successfully install a ceiling fan in just a few hours. In this comprehensive DIY guide, we will walk you through the process step-by-step, covering everything from selecting the right fan to safely connecting it to your home's wiring.
Choosing the Right Ceiling Fan
Before you start your project, it's essential to choose the right ceiling fan for your space. Ceiling fans come in various styles, sizes, and configurations to suit different rooms and preferences. Here are some common types of ceiling fans:
- Standard Fans: These are the most common type of ceiling fan. They typically have blades spanning 29–56 inches.
- Low-Profile Fans (Hugger Fans): These fans are ideal for rooms with low ceilings. They are designed to be flush-mounted, which means they sit directly against the ceiling.
- Outdoor Fans: These fans are designed to withstand moisture and weather conditions, making them perfect for patios or covered porches.
- Energy Star-Certified Fans: These models are more energy-efficient and can lead to significant energy bill savings.
When selecting a ceiling fan, consider the size of your room. A good rule of thumb is to divide the room's square footage by four to determine the ideal blade span in inches. For example, a 200-square-foot room is suited for a 50-inch fan.
Read more: DIY Guide To Installing A Ceiling Fan
Tools and Materials Needed
To ensure a smooth installation process, gather the right tools and materials before you begin. Here’s what you’ll need:
- Ceiling Fan Kit: This includes the fan, blades, mounting bracket, and hardware.
- Fan-Rated Electrical Box: If you’re replacing an existing box, make sure it’s rated for ceiling fan use. These metal boxes are usually labeled and designed to house extra wiring and support the weight of a fan.
- Ceiling Medallion (Optional): A decorative ceiling medallion can enhance the aesthetic of your ceiling fan installation.
- Adjustable Wrench: For tightening screws and adjusting the fan’s position.
- Drill with Bits: For drilling holes in the ceiling or electrical box.
- Drywall Saw (If Needed): If you need to cut a new hole in your ceiling.
- Electrical Tape: For securing wires.
- Ladder or Step Stool: For reaching high areas safely.
- Screwdrivers (Flathead and Phillips): For unscrewing retaining nuts and screws.
- Voltage Tester: To confirm that the power is off before starting your installation.
- Wire Strippers: For stripping wire ends.
- Downrod (If Necessary): If your ceiling height is greater than nine feet, you may need a downrod to operate the fan efficiently.
Preparing for Ceiling Fan Installation
Before you start installing your ceiling fan, follow these steps to prepare:
-
Turn Off Power:
Always follow safety best practices when working with electrical fixtures. Turn off the power at the main breaker panel and leave a note so no one accidentally restores power during installation. Use a voltage tester on the wires to confirm that the power is off. -
Inspect and Replace Electrical Box:
Ensure that the current electrical or junction box is rated for ceiling fan use. If it’s not, replace it with one that is. These metal boxes are usually labeled and designed to house extra wiring and support the weight of a fan. Check for signs of damage or wear that might compromise its integrity. Ensure the box is securely fastened to a ceiling joist or support beam. -
Measure and Plan:
Measure the square footage of your room and determine the ideal blade span. Plan the installation site carefully, ensuring there are at least 18 inches between the blades and any walls. For sloped ceilings, use a special mounting kit designed for angled installation.
Removing the Existing Fixture
Before installing your new ceiling fan, you’ll need to remove any existing light fixtures. This involves carefully detaching the old light and inspecting the electrical box to check that it’s suitable for fan installation.
-
Remove Glass Shades or Globes:
Carefully remove any glass shades or globes from the fixture. -
Unscrew Retaining Nuts or Screws:
Unscrew the retaining nut or screws holding the fixture to the ceiling. -
Lower and Hold the Fixture:
Lower and hold the fixture carefully. Be careful, as it may be heavy. -
Disconnect Wires:
Unscrew the wire nuts to disconnect the wires. Use a circuit tester to ensure there’s no electricity coming from bare wires.
Mounting the Ceiling Fan Bracket
With the existing fixture removed, you can now mount the ceiling fan bracket.
-
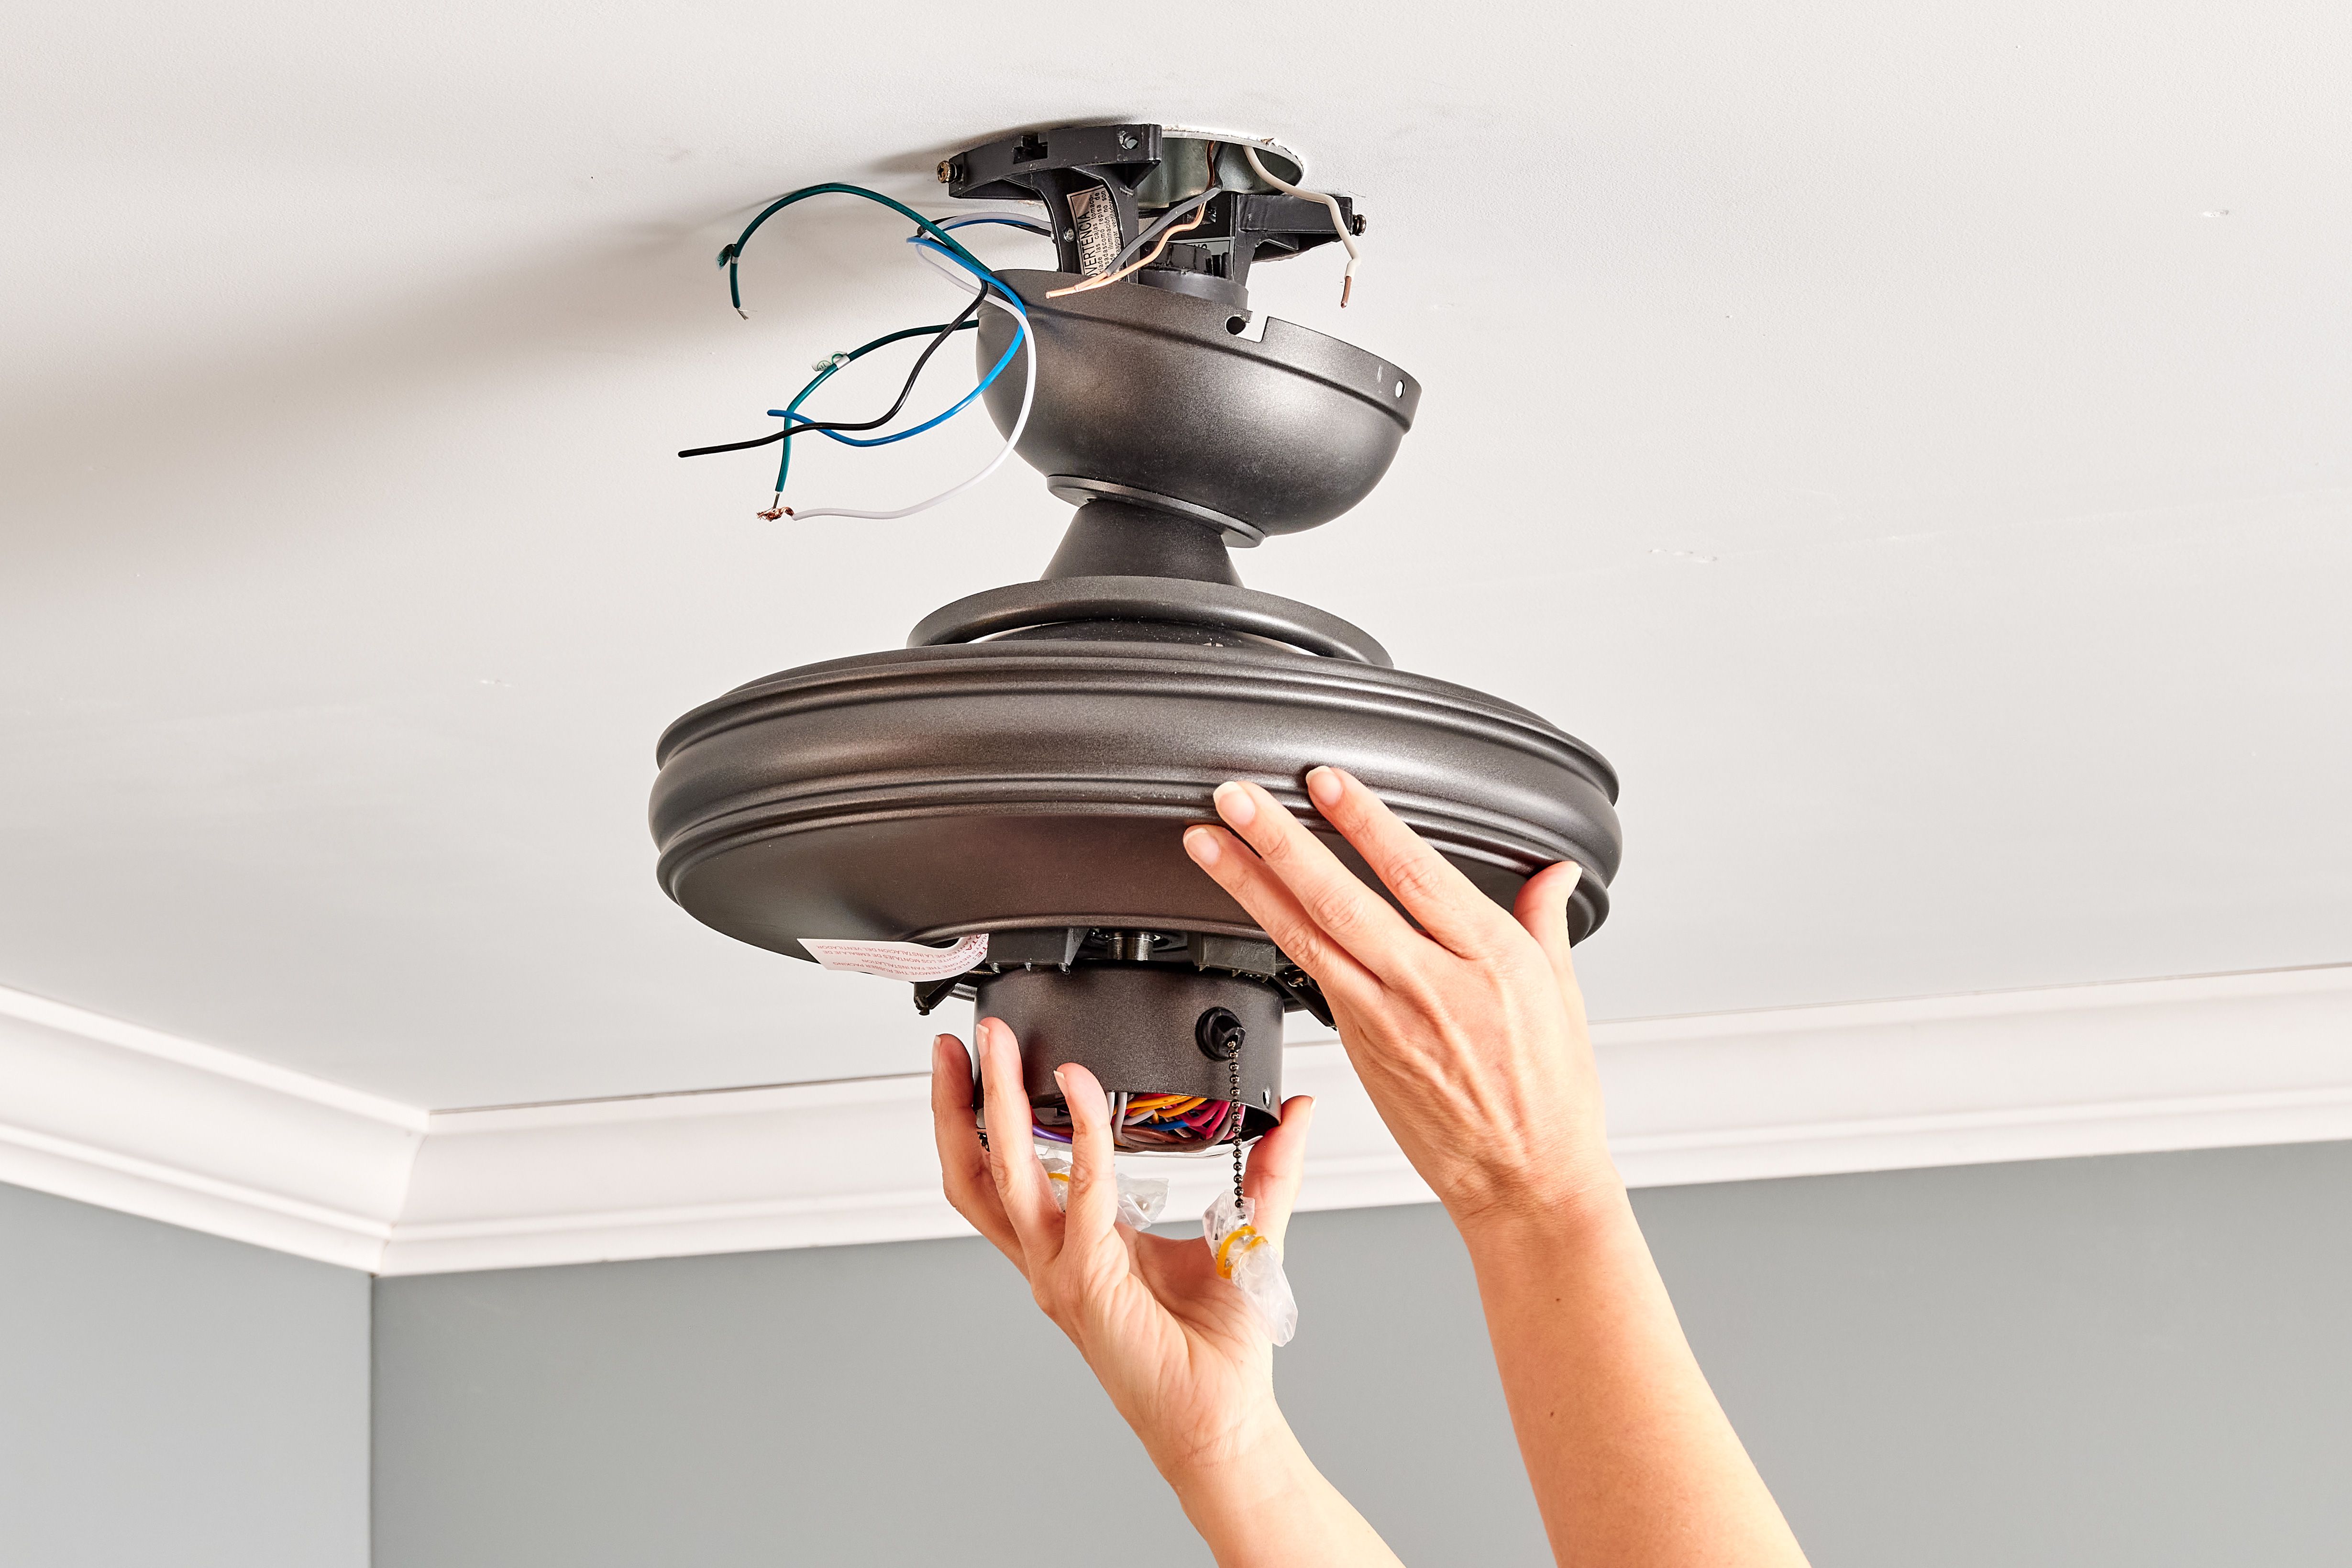
Thread Wires Through Bracket:
Thread the wires through the fan’s mounting bracket. Slide the bracket over the junction box’s mounting hardware and tighten the screws. -
Install Downrod (If Necessary):
If your ceiling height is greater than nine feet, you may need a downrod to operate the fan efficiently. Over a flat surface, slip the canopy onto the downrod and run the main wires through it. Insert the clevis and cotter pins to connect the downrod to the fan’s base. Trim any extra long wires that may not fit easily into the electrical box later. -
Attach Hanger Ball:
Attach the hanger ball at the top of the downrod to the mounting bracket on the ceiling.
Read more: DIY Guide To Installing Wainscoting
Wiring the Ceiling Fan
Wiring is a crucial step in installing a ceiling fan. Always match up color-coded wires and follow these steps:
-
Connect Green Wire:
The green wire runs to the copper ground wire. Connect it securely to ensure proper grounding. -
Connect Black Wire:
The fan’s black wire connects to the home’s black wire. This will power the motor of your ceiling fan. -
Connect White Wire:
The fan’s white wire connects to the home’s white or neutral wire. This will power any light kit you have installed. -
Connect Blue or Striped Wire (If Necessary):
If you have a light kit, look for a blue or striped wire. This will run to your home’s black supply wire. Once these wires are connected, push them up into the junction box.
Attaching Blades and Bulbs
With the wiring complete, you can now attach the blades and bulbs.
-
Attach Blades:
Place the keyhole slots over the fan’s mounting screws then pull outward on the blades until they click into place. Some units come with quick-install blades that make installation easier. -
Install Light Shades:
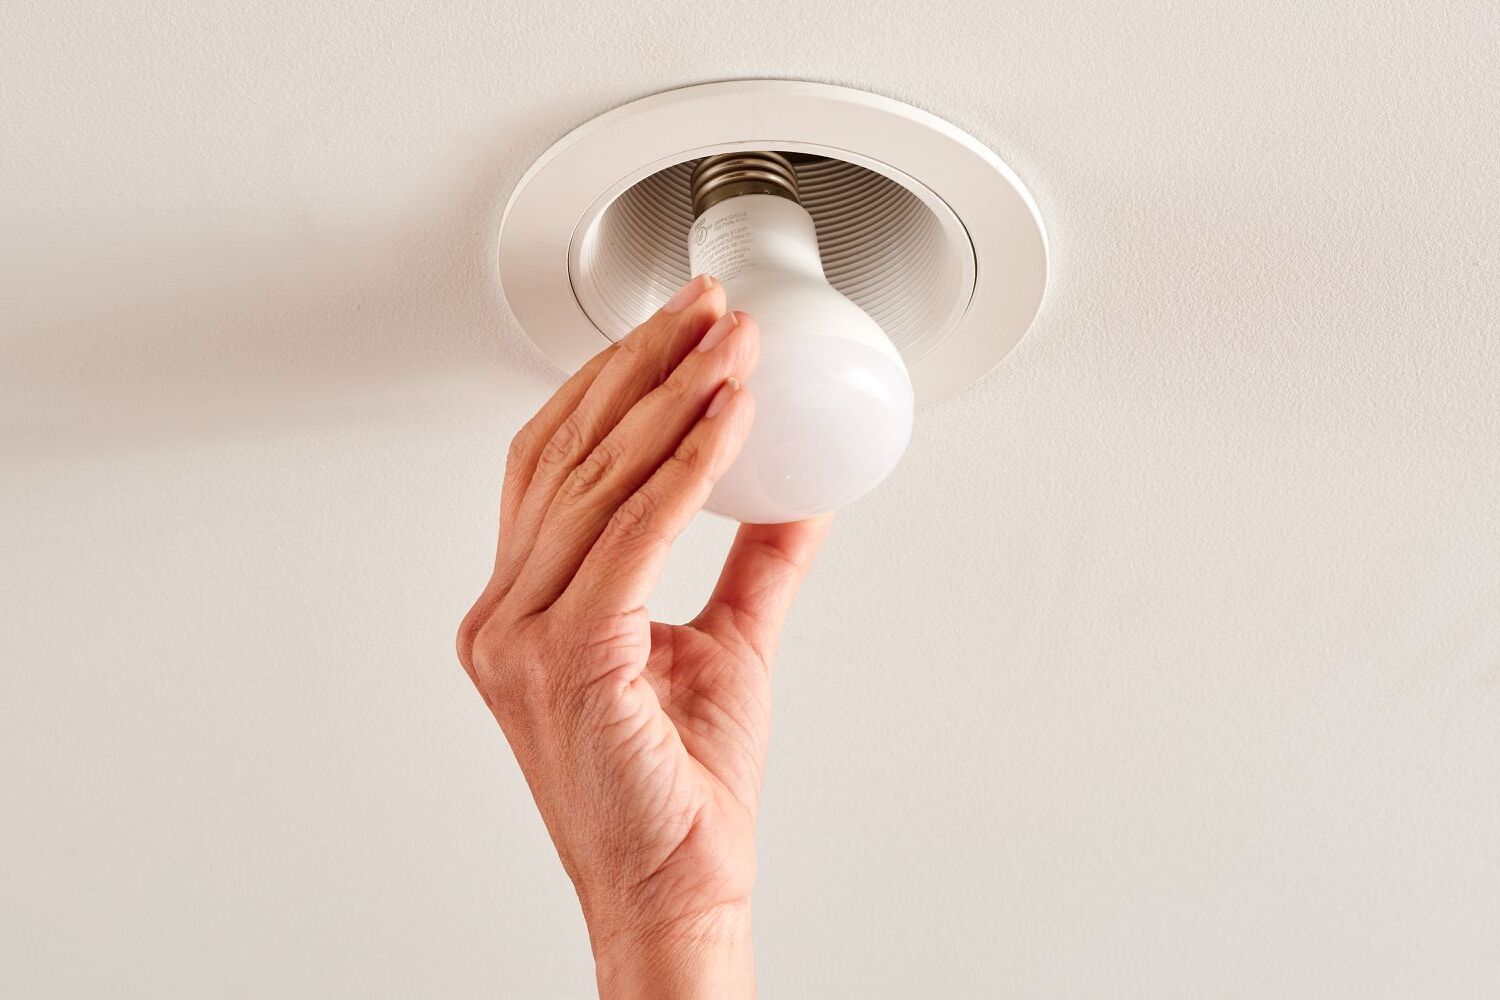
Install the light shades first, then screw in the appropriate light bulbs for your particular fan.
Final Steps
After restoring power at the breaker panel, test out your new fan both at the wall switch and using any remote control. With some planning and a little know-how, your ceiling fan installation should be a breeze.
Safety Considerations
Always prioritize safety when working with electricity:
- Turn Off Power: Always turn off power at the main breaker panel before starting your installation.
- Use Protective Gear: Wear protective gear like gloves and safety glasses when handling electrical components.
- Check for Electricity: Use a voltage tester to confirm that there’s no electricity coming from bare wires.
- Follow Manufacturer’s Instructions: Observe applicable building and electrical codes, and check if you need a permit for your project.
Read more: DIY Guide To Installing Floating Shelves
Conclusion
Installing a ceiling fan is a rewarding DIY project that can significantly enhance both the aesthetic appeal and functionality of your home. By following these steps carefully and ensuring all safety precautions are taken, you can successfully install a ceiling fan in just a few hours. Remember to choose the right fan for your space, prepare thoroughly, and follow all necessary safety guidelines to ensure a successful installation.
By following this detailed guide, you'll be well-equipped to tackle your ceiling fan installation project with confidence. Whether you're upgrading an existing light fixture or installing a brand-new fan, these steps will guide you through every aspect of the process. Happy DIY-ing
Was this page helpful?
At Storables.com, we guarantee accurate and reliable information. Our content, validated by Expert Board Contributors, is crafted following stringent Editorial Policies. We're committed to providing you with well-researched, expert-backed insights for all your informational needs.





0 thoughts on “DIY Guide: Installing A Ceiling Fan”