
Articles
How To Replace A Electrical Box
Modified: January 4, 2024
Learn how to replace an electrical box with this informative article. Step-by-step instructions and tips for a successful replacement.
(Many of the links in this article redirect to a specific reviewed product. Your purchase of these products through affiliate links helps to generate commission for Storables.com, at no extra cost. Learn more)
Introduction
Replacing an electrical box may seem like a daunting task, but with the right tools and a basic understanding of electrical systems, it can be a manageable DIY project. Electrical boxes are essential components of any electrical installation, providing a safe and secure enclosure for electrical connections and devices. Over time, these boxes may become outdated, damaged, or inadequate for the needs of your home or office. In such cases, replacing the electrical box is necessary to ensure the safety and functionality of your electrical system.
This article will guide you through the step-by-step process of replacing an electrical box. Before we delve into the specific steps, it is crucial to emphasize the importance of safety precautions when working with electricity. Always remember to turn off the power supply to the area you will be working in and use appropriate personal protective equipment (PPE), such as insulated gloves and safety glasses.
In addition to safety, having the right tools for the job is essential. Here are some of the tools you will need:
- Wire cutters and strippers
- Screwdrivers
- Needle-nose pliers
- Hammer
- Measuring tape
- Level
- Electrical tester
With these tools at your disposal, you are ready to begin the process of replacing an electrical box. Whether you are updating an existing box or installing a new one, follow the steps outlined in this article to ensure a successful and safe electrical box replacement.
Key Takeaways:
- Safety First
When replacing an electrical box, prioritize safety by turning off the power, using the right tools, and following step-by-step instructions. Always consult a professional if unsure. - DIY Confidence
With the proper tools and knowledge, replacing an electrical box can be a manageable DIY project. Follow the outlined steps, prioritize safety, and enjoy a successful replacement.
Read more: How To Replace Box Gutters
Step 1: Turn off the Power
Before you begin replacing an electrical box, it is crucial to turn off the power supply to the area you will be working in. This step is essential for your safety and to avoid any electrical accidents. Here’s how you can turn off the power:
- Locate the main electrical panel in your home or office. It is usually found in the basement, garage, or utility room.
- Open the panel door to access the circuit breakers.
- Identify the circuit breaker that controls the area where the electrical box is located. You can refer to the circuit breaker directory or use a non-contact voltage tester to confirm which breaker controls the power to the area.
- Flip the switch of the identified circuit breaker to the “Off” position. This will cut off the power supply to the electrical box.
- Double-check that the power is off by using a voltage tester. This device will detect the presence of electrical current and ensure that it is safe to proceed with the replacement.
Once you have confirmed that the power is off, you can proceed with confidence to the next steps of replacing the electrical box. However, it is important to remain cautious throughout the process and never assume that the power is off without proper confirmation. Safety should always be your top priority when working with electricity.
Step 2: Gather the Necessary Tools
Before you can start replacing an electrical box, it is important to gather all the necessary tools and equipment. Having the right tools at your disposal will not only make the process easier but also ensure that you can complete the job safely and efficiently. Here are the essential tools you will need:
- Wire cutters and strippers: These tools are used to cut and strip the insulation from electrical wires.
- Screwdrivers: You will need both flathead and Phillips-head screwdrivers of appropriate sizes to remove and install screws.
- Needle-nose pliers: These pliers come in handy for gripping, bending, and manipulating wires.
- Hammer: A hammer is useful for securing the electrical box in place.
- Measuring tape: This will help you ensure accurate measurements for the new electrical box and its mounting location.
- Level: A level is needed to ensure that the electrical box is installed straight and level.
- Electrical tester: An electrical tester, such as a non-contact voltage tester, is essential for verifying that the power is off before you begin working.
- Additional tools: Depending on the specific requirements of your electrical box replacement, you may also need a wire nut wrench, a knockout punch tool, a utility knife, and a pencil for marking measurements.
By gathering these tools beforehand, you will have everything you need for a successful electrical box replacement. Remember to use the appropriate safety equipment, such as insulated gloves and safety glasses, throughout the process. Additionally, always work in a well-lit area and follow proper safety protocols when handling electrical components.
Step 3: Remove the Old Electrical Box
Once you have gathered the necessary tools, you can proceed to remove the old electrical box. Removing the old box is a crucial step in the replacement process, as it allows you to create a clean slate for the installation of the new box. Follow these steps to remove the old electrical box:
- Ensure that the power supply to the area is turned off. Confirm this using a voltage tester.
- Remove any screws or fasteners that are securing the electrical box to the wall or ceiling.
- Carefully disconnect the wires connected to the old electrical box. Use a wire nut wrench to unscrew the wire nuts and separate the wires. Take note of the wire connections to ensure correct reinstallation.
- Once the wires are disconnected, gently pull the old electrical box out of the wall or ceiling. Be cautious not to damage the surrounding area.
- If there are any nails or staples holding the box in place, remove them using pliers or a claw hammer.
- Inspect the opening left behind by the old box. Check for any damage or debris that may need to be cleaned or repaired before installing the new electrical box.
It is important to handle the old electrical box and its components with care to avoid any injuries or damage. Dispose of the old box and its associated materials according to local regulations or recycling guidelines. Once the old box is removed, you are ready to move on to the next step of installing the new electrical box.
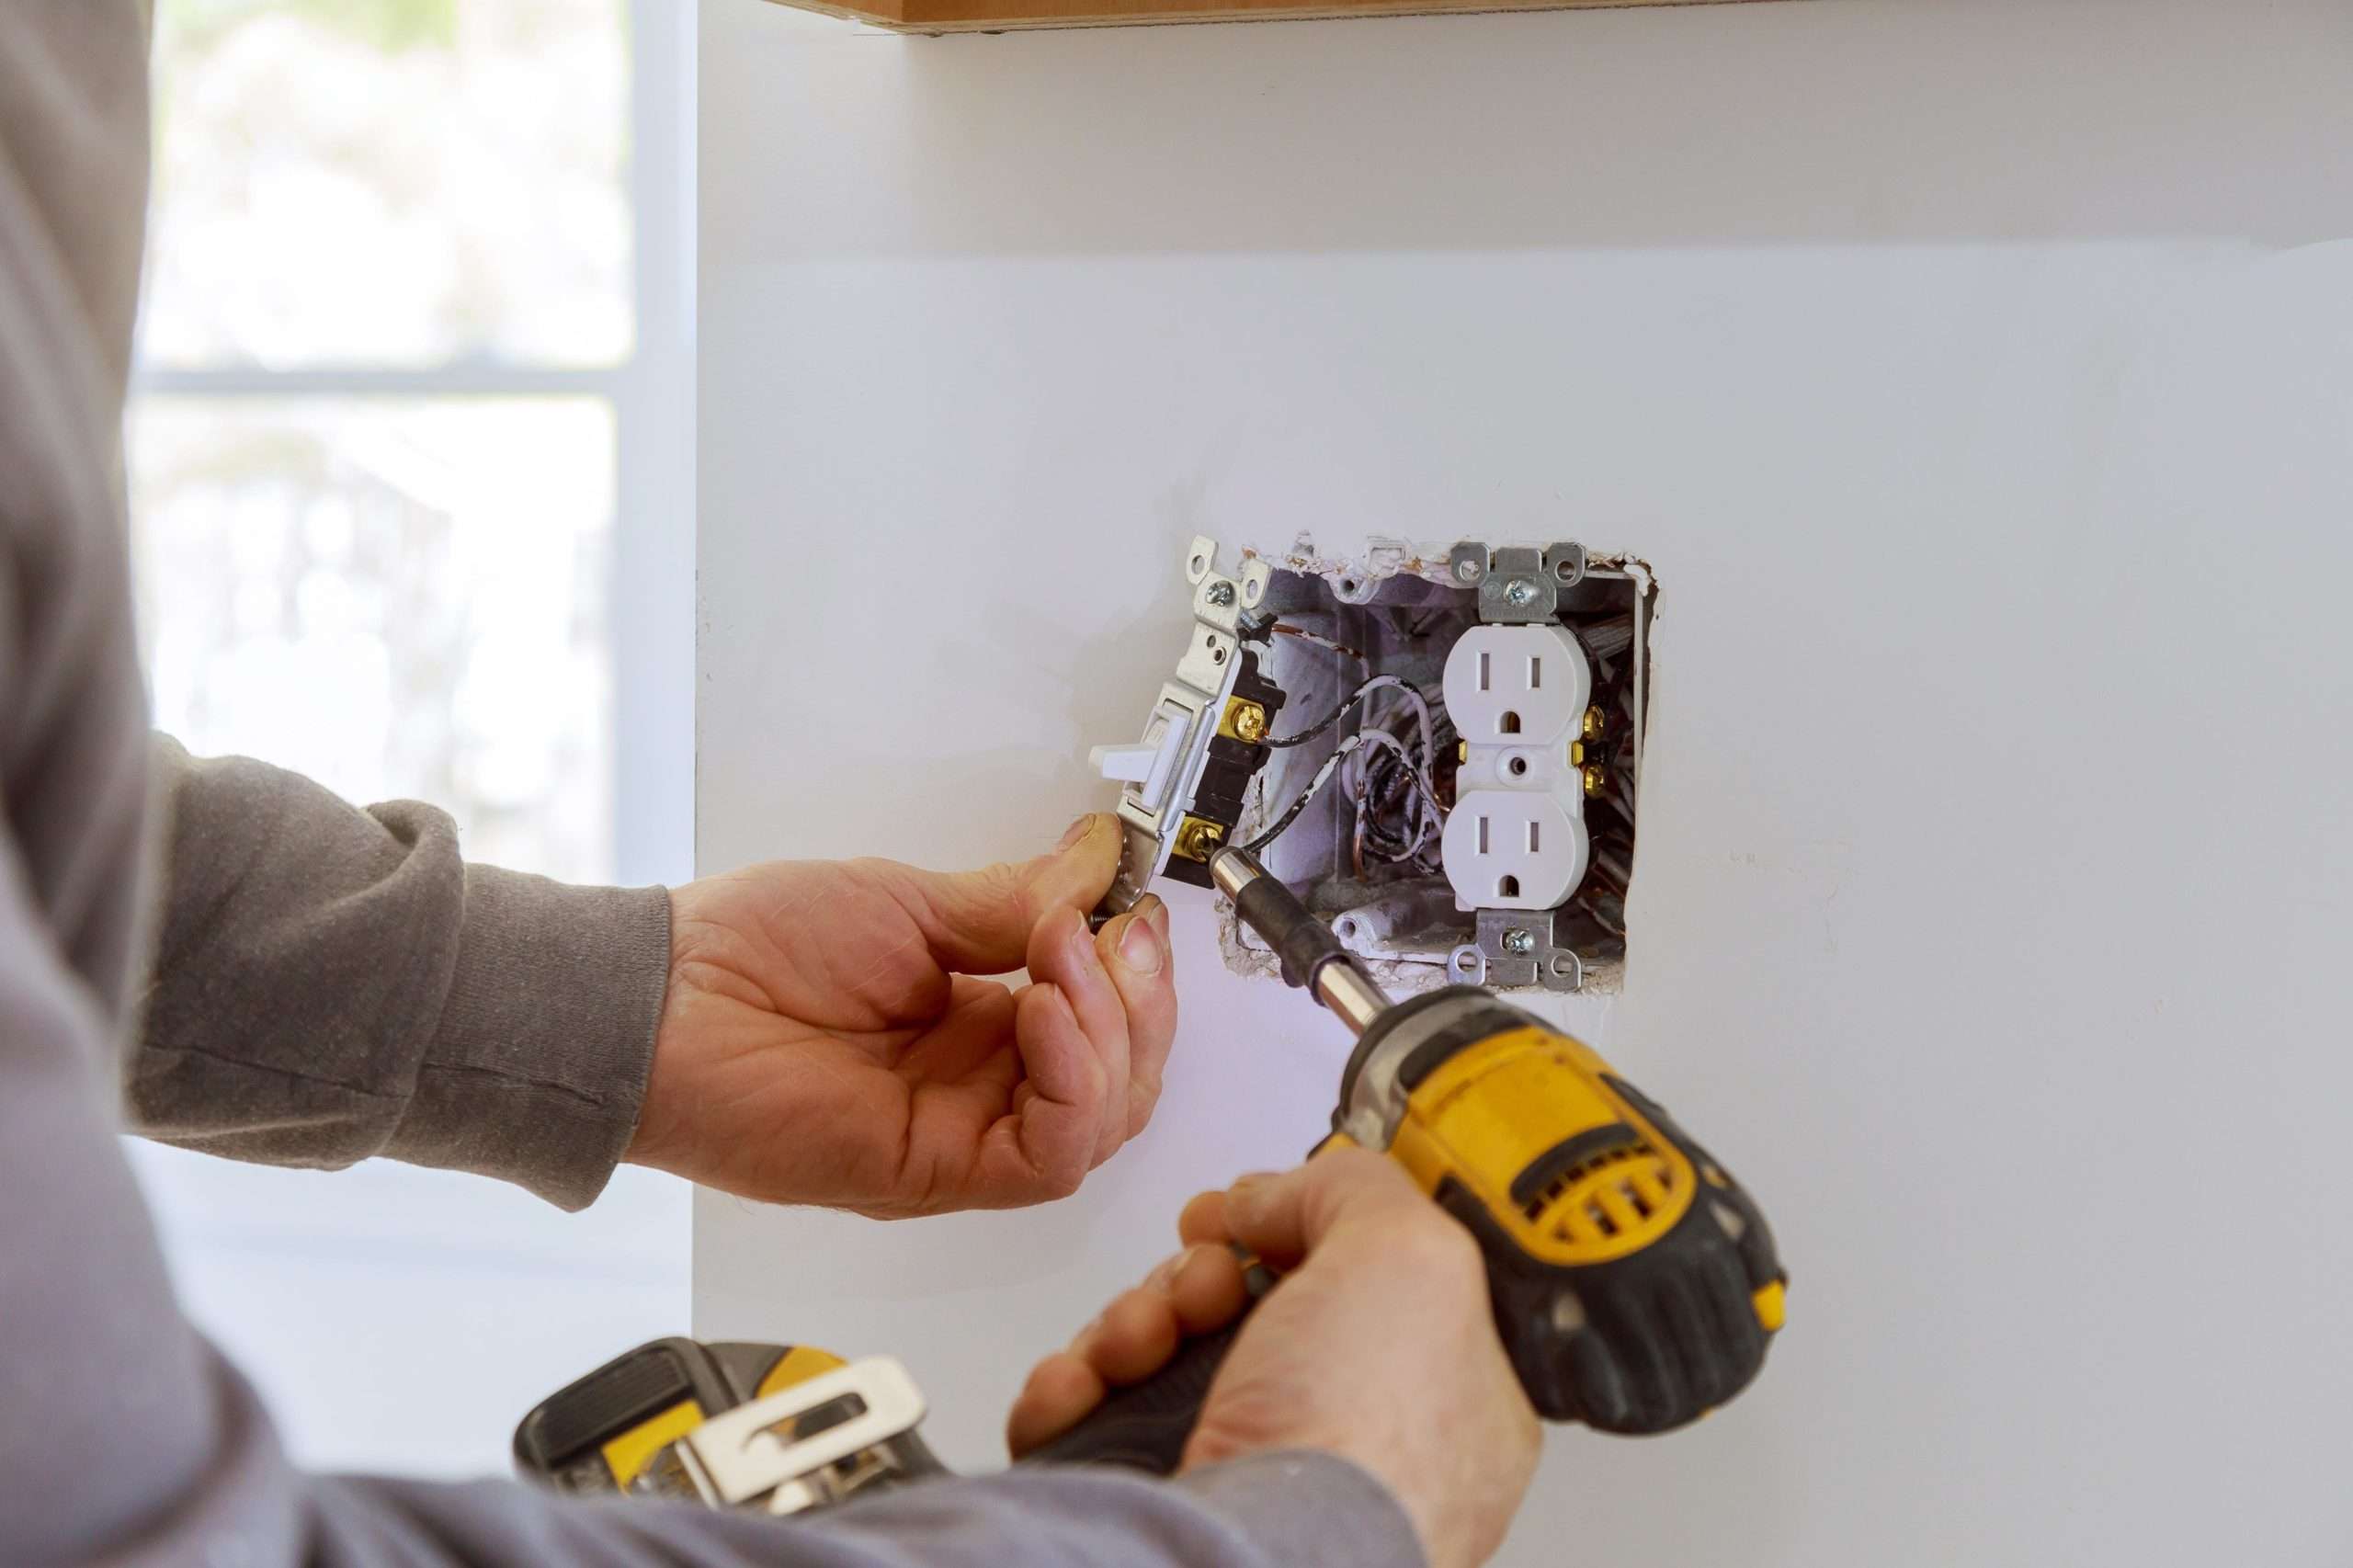
Step 4: Install the New Electrical Box
With the old electrical box removed, it’s time to install the new electrical box. The new box will provide a secure enclosure for your electrical connections and devices. Follow these steps to properly install the new electrical box:
- Measure and mark the location on the wall or ceiling where the new electrical box will be installed. Use a measuring tape, level, and pencil to ensure accurate placement.
- If necessary, use a knockout punch tool to remove any knockouts on the new box that will accommodate cables or conduit.
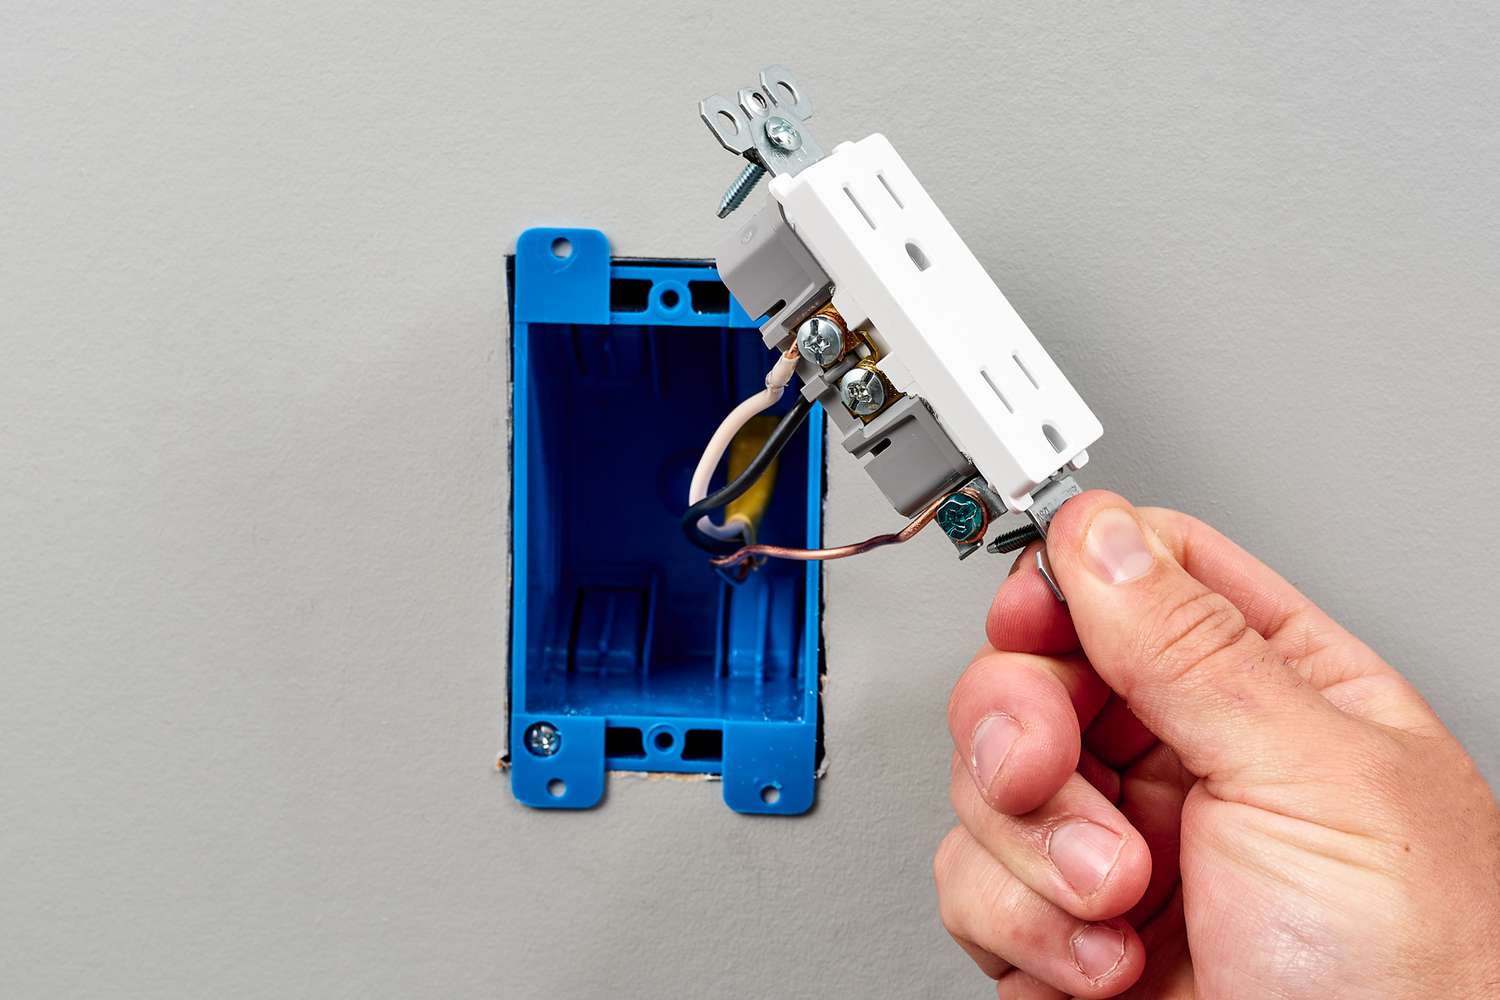
- Insert the new electrical box into the opening, making sure it fits securely and flush against the wall or ceiling.
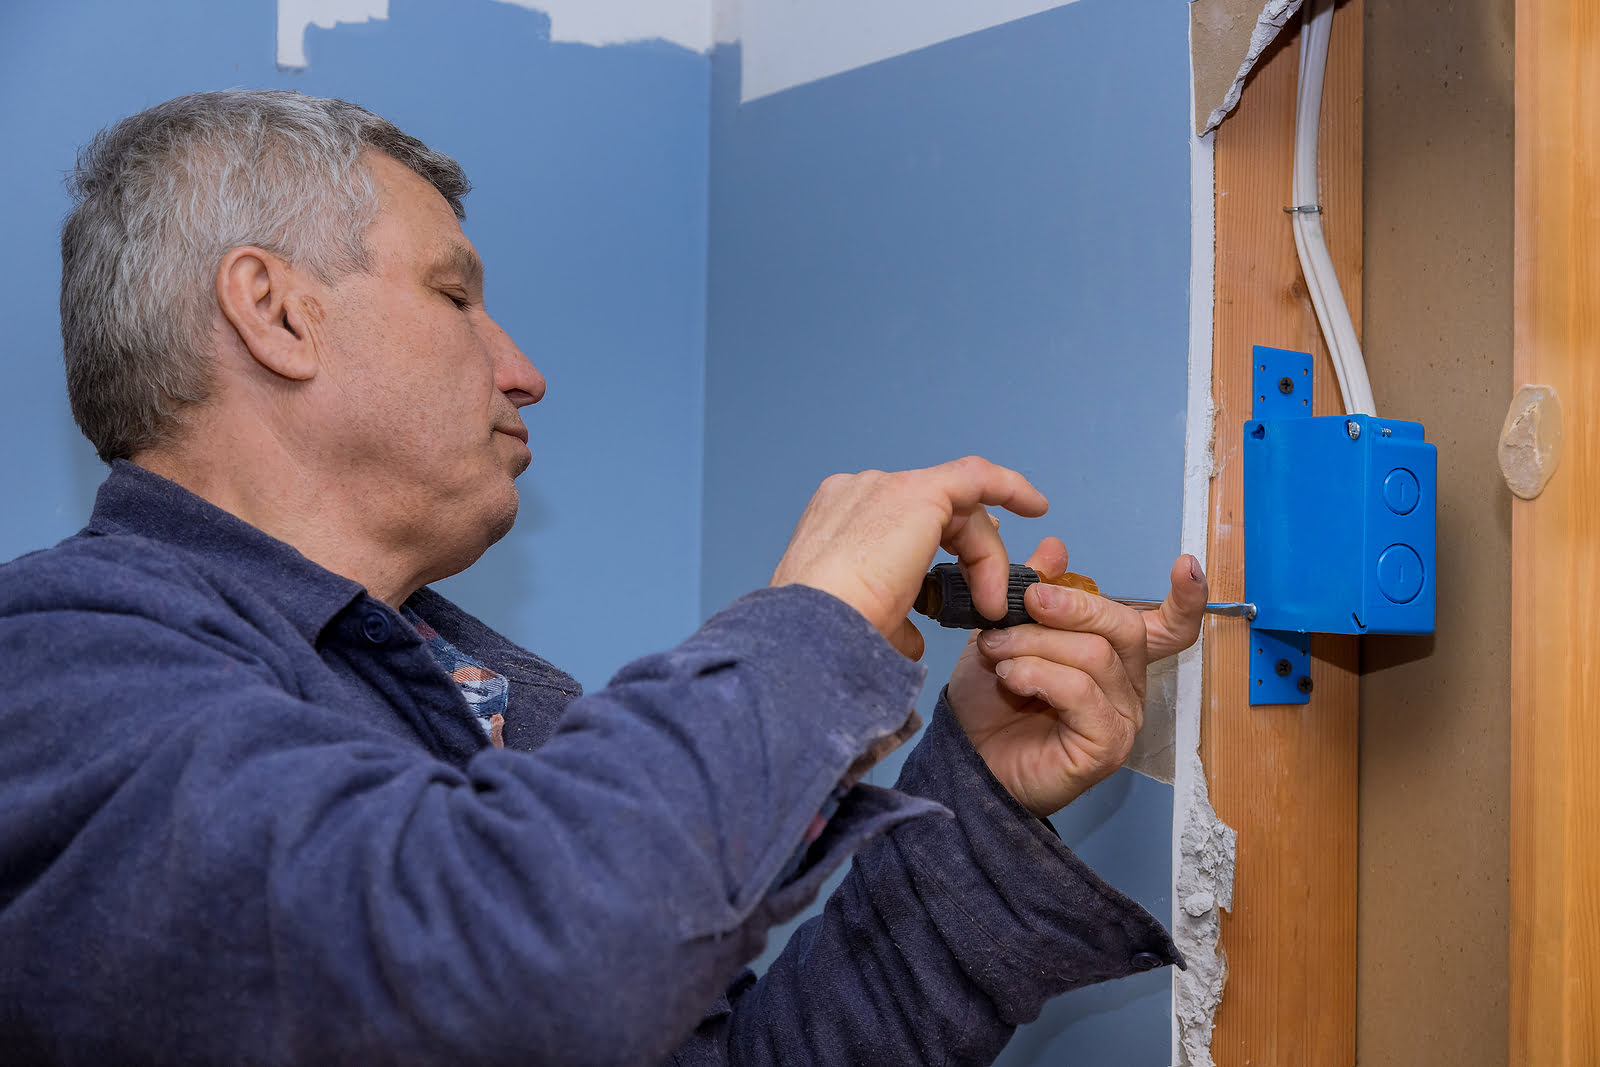
- Secure the box in place with screws or fasteners provided with the new electrical box. Ensure that the box is level and aligned properly.
- For wall-mounted boxes, use a hammer to secure any built-in clamps or brackets that are part of the box design.
- If required, attach a grounding wire to the grounding screw or clip inside the box. This connection is essential for ensuring the safety of your electrical system.
The installation of the new electrical box should be done with precision and attention to detail. It’s important to follow manufacturer’s instructions and local electrical codes to ensure a safe and compliant installation. Once the new box is securely in place, you are ready to move on to the next step of connecting the wires.
When replacing an electrical box, always turn off the power at the circuit breaker before starting. Use a voltage tester to ensure the power is off before touching any wires.
Read more: How To Replace Electrical Cord
Step 5: Connect the Wires
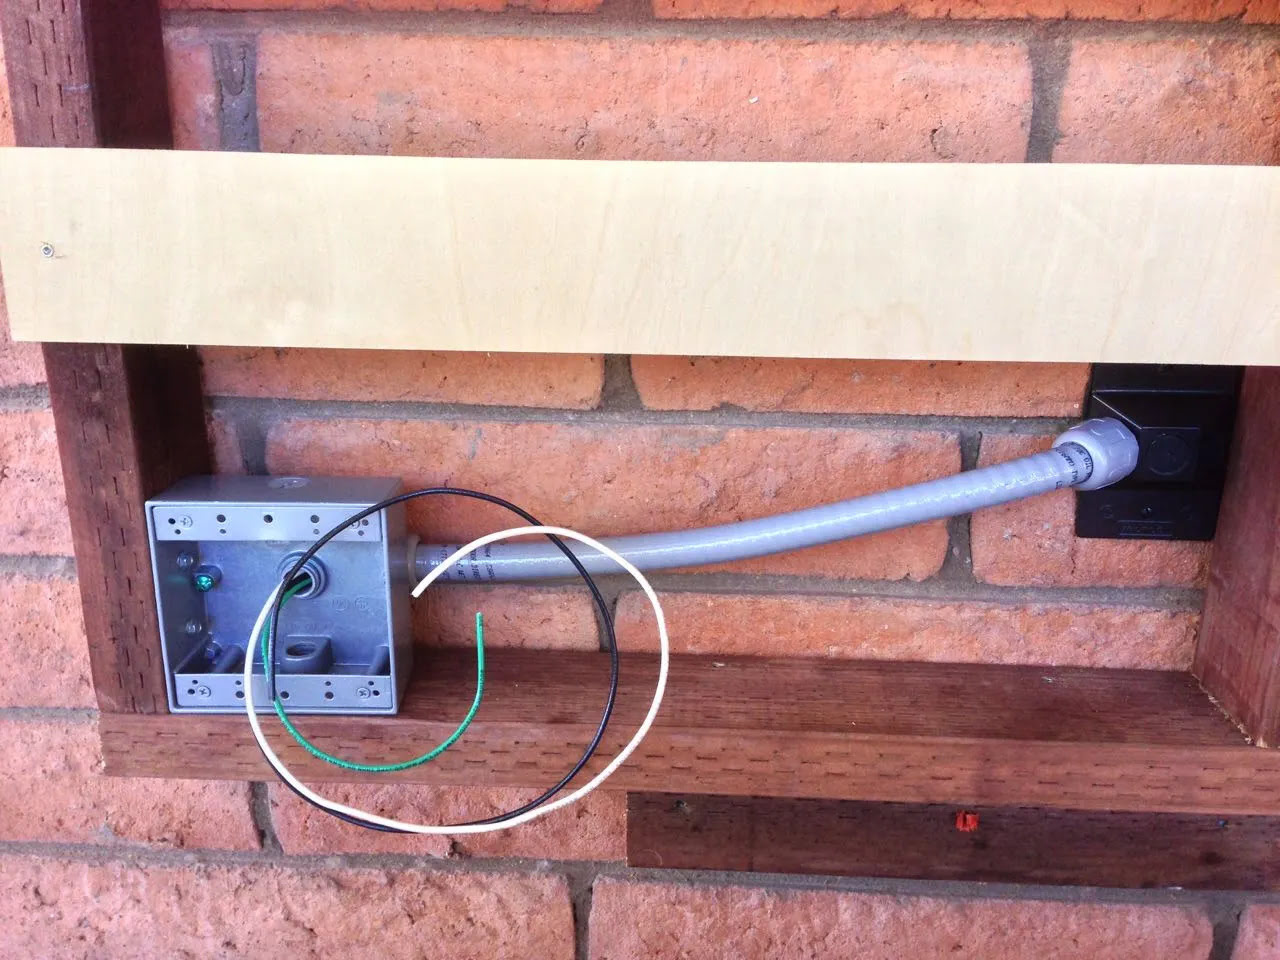
Now that the new electrical box is installed, it’s time to connect the wires. Properly connecting the wires ensures that your electrical system functions safely and efficiently. Follow these steps to connect the wires in the new electrical box:
- Start by identifying the type of wiring in your electrical system. Common types include copper, aluminum, or a combination of both.
- Strip the insulation from the ends of the wires using wire cutters/strippers. Be careful not to nick or damage the wire strands.
- Depending on the type of connection required, you may need to twist the exposed wire strands together or use wire nuts to securely connect the wires.
- Make sure to match the corresponding wires: hot (black), neutral (white), and ground (green or bare copper).
- For connections involving aluminum wiring, use appropriate connectors that are specifically designed for aluminum-to-copper connections.
- Once the wires are connected, gently push them into the back of the electrical box, ensuring they are not strained or crimped.
It’s crucial to be mindful of proper wire connections to prevent electrical hazards such as short circuits or loose connections. Taking the time to properly connect the wires will ensure the safety and functionality of your electrical system. Once the wires are connected, you can proceed to the next step of securing the electrical box.
Step 6: Secure the Electrical Box
Securing the electrical box is an important step to ensure that it remains stable and firmly in place. Properly securing the box also prevents any movement or vibrations that could potentially damage the connections or wiring. Follow these steps to securely fasten the electrical box:
- Ensure that all wires are neatly arranged inside the electrical box without any strain or tension.
- Using the provided screws or fasteners, attach the electrical box to the wall or ceiling. Make sure the box is level and flush with the surface.
- If your electrical box has built-in brackets or clamps, tighten them further to secure the box and prevent any movement.
- Check the stability of the electrical box by gently pushing or pulling on it. If there is any wobbling or movement, tighten the screws or fasteners further.
- Inspect the box to ensure that it is securely fastened and there are no visible gaps between the box and the wall or ceiling.
By securely fastening the electrical box, you can ensure the long-term stability and safety of your electrical system. Proper installation and secure attachment of the box minimize the risk of loose connections or accidental damage. Once the electrical box is securely in place, it’s time to move on to the final step: testing the connections.
Step 7: Test the Connections
After completing the installation and securing the electrical box, it is crucial to test the connections to ensure they are functioning properly. Testing the connections will help identify any potential issues or errors, allowing you to rectify them before they cause any problems. Follow these steps to test the connections in the electrical box:
- Ensure that the power supply to the area is still turned off.
- Inspect all the wire connections inside the electrical box to ensure they are secure and properly fastened.
- If you had to make any wire connections using wire nuts, ensure that they are tightly secured and there are no loose wires.
- Turn on the power supply to the area by flipping the circuit breaker switch to the “On” position.
- Using an electrical tester, check each wire and connection for proper voltage and continuity.
- If any issues or abnormalities are detected during testing, turn off the power supply immediately and consult a qualified electrician for troubleshooting and repairs.
It is crucial to thoroughly test the connections to ensure the safety and functionality of your electrical system. Any faulty connections or issues could lead to electrical hazards or malfunctions. If all the connections are working correctly and there are no issues detected, congratulations! You have successfully replaced the electrical box. However, it is crucial to periodically check and maintain the electrical box to ensure its continued functionality and safety.
Conclusion
Replacing an electrical box may seem like a complex task, but with the right tools, knowledge, and safety precautions, it can be a manageable DIY project. By following the step-by-step instructions outlined in this article, you can successfully replace an electrical box and ensure the safety and functionality of your electrical system.
Remember to always prioritize safety when working with electricity. Before starting the replacement process, turn off the power supply to the area and use appropriate personal protective equipment. Additionally, gather all the necessary tools to make the job easier and more efficient.
The step-by-step process includes turning off the power, removing the old electrical box, installing the new electrical box, connecting the wires, securing the box, and testing the connections. Each step plays a crucial role in ensuring a successful replacement.
Throughout the process, be attentive to detail and follow the manufacturer’s instructions and local electrical codes. If you encounter any issues or feel uncertain about any aspect of the replacement, it is recommended to consult a qualified electrician for assistance.
By replacing an outdated or damaged electrical box, you are taking an important step towards maintaining a safe and efficient electrical system in your home or office. Regular maintenance and periodic inspections are also essential to ensure the continued functionality and longevity of your electrical system.
Remember, if at any point during the replacement process you feel unsure or uncomfortable, it is important to seek professional help. Safety should always be the top priority when working with electricity.
With the knowledge gained from this article, you are now equipped to confidently approach the task of replacing an electrical box. Take your time, follow the steps carefully, and enjoy the satisfaction of a successful electrical box replacement.
Frequently Asked Questions about How To Replace A Electrical Box
Was this page helpful?
At Storables.com, we guarantee accurate and reliable information. Our content, validated by Expert Board Contributors, is crafted following stringent Editorial Policies. We're committed to providing you with well-researched, expert-backed insights for all your informational needs.


0 thoughts on “How To Replace A Electrical Box”