Articles
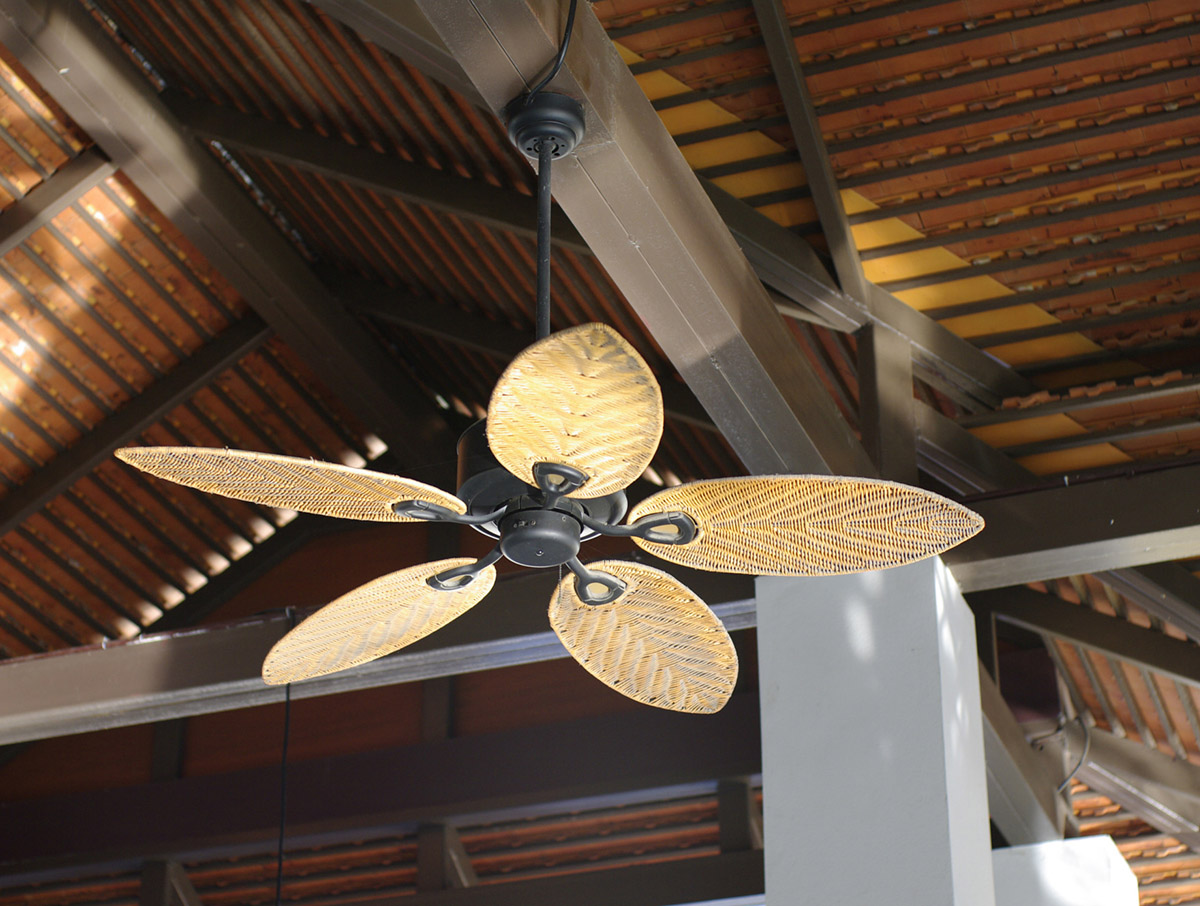
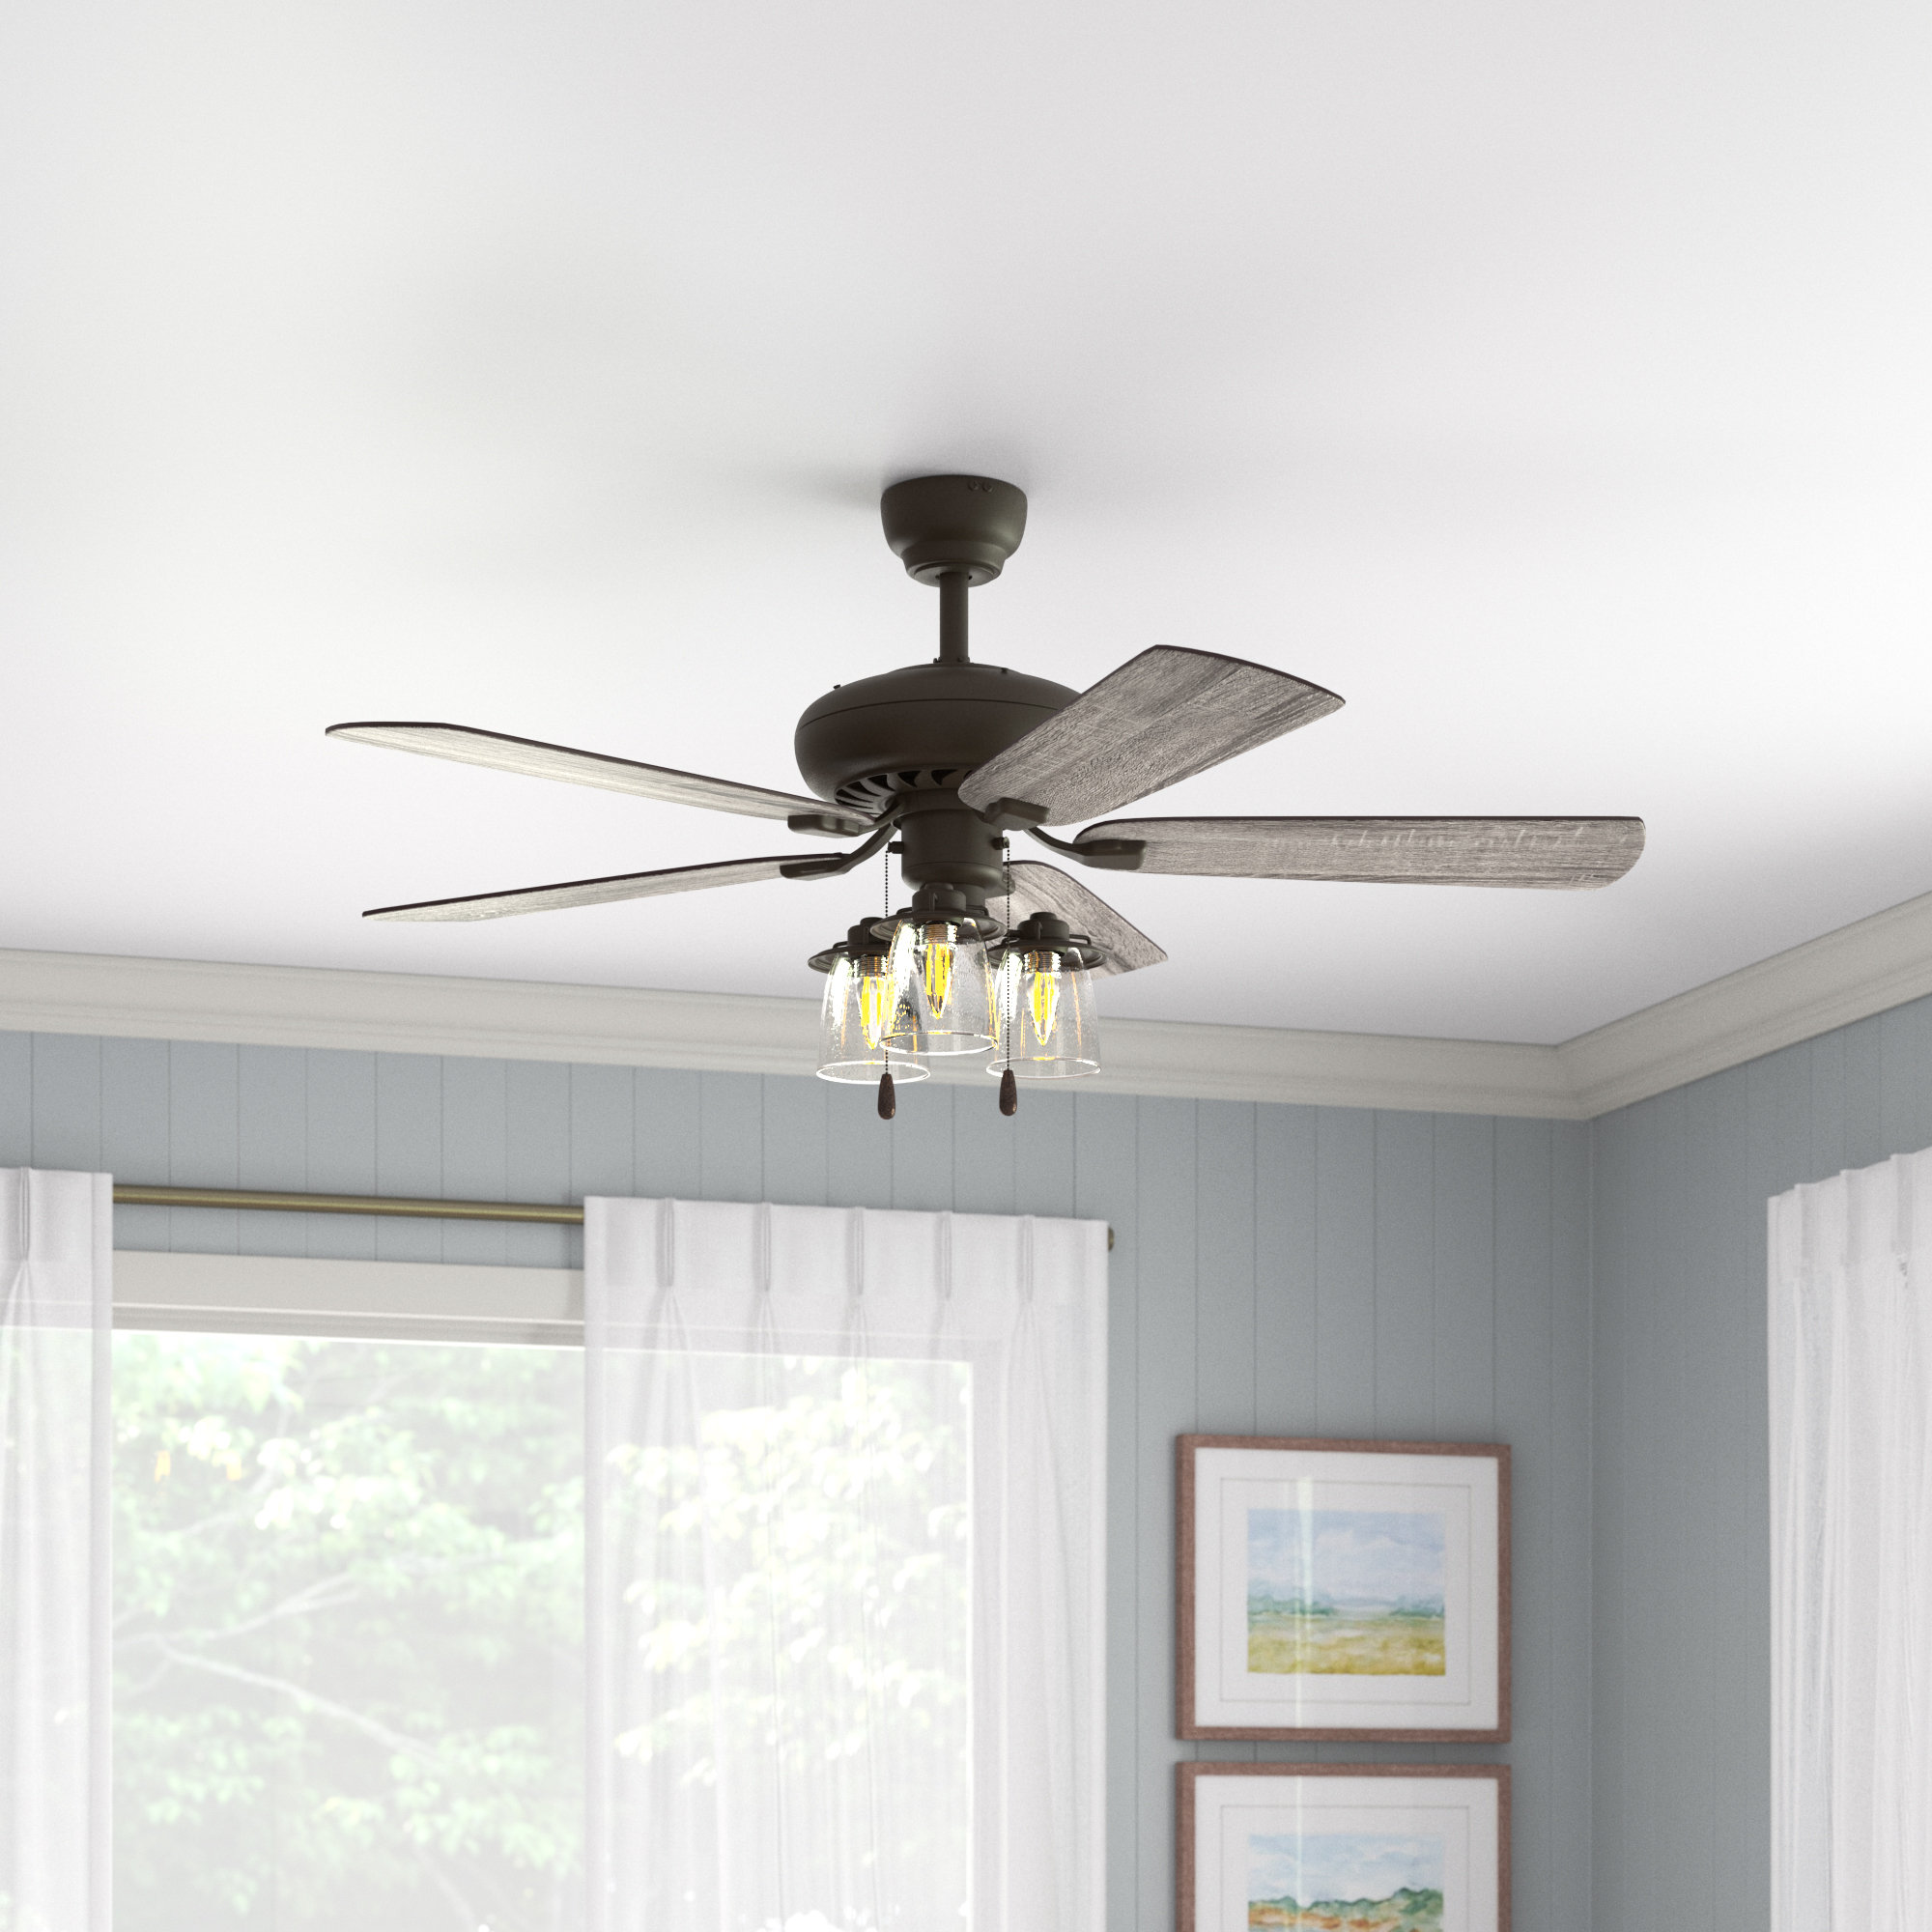
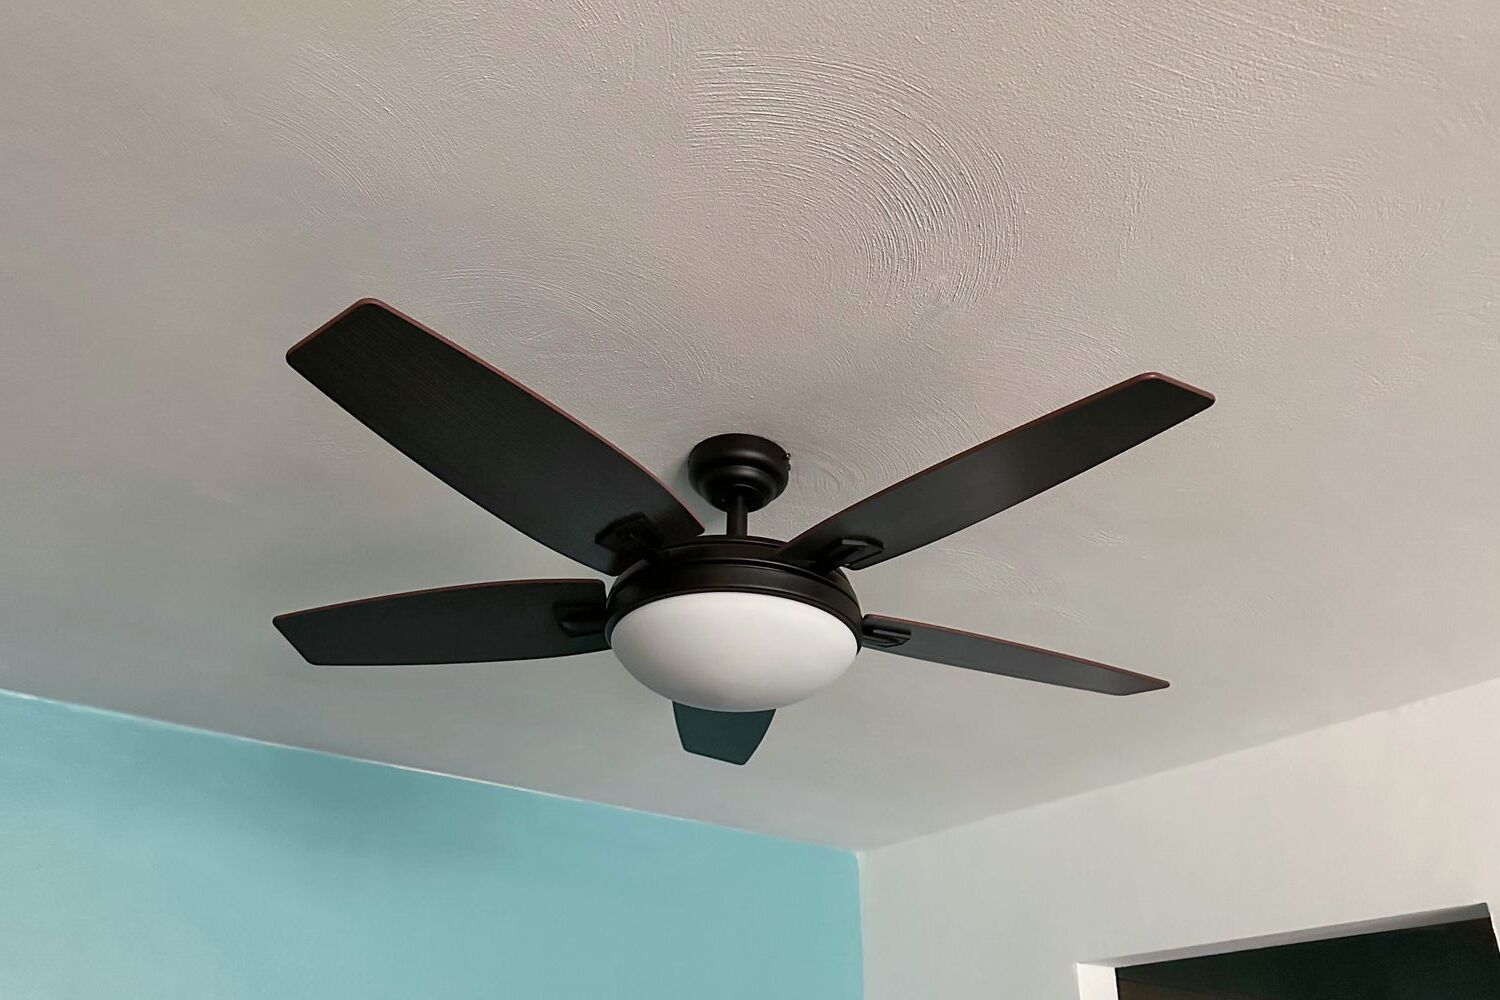
How To Install Ceiling Fan Where Light Was
Modified: September 2, 2024
Learn how to install a ceiling fan in a location where a light fixture was previously installed with our step-by-step guide. Find more articles on ceiling fan installation tips and tricks.
(Many of the links in this article redirect to a specific reviewed product. Your purchase of these products through affiliate links helps to generate commission for Storables.com, at no extra cost. Learn more)
Introduction
Welcome to our guide on how to install a ceiling fan where a light fixture used to be. Ceiling fans are a great addition to any room, providing both comfort and aesthetic appeal. Whether you are replacing an existing light fixture or installing a ceiling fan for the first time, this step-by-step guide will walk you through the process.
Before we begin, it is important to note that electrical work can be dangerous, and it is always recommended to consult a licensed electrician if you are unsure or uncomfortable with performing these tasks. Additionally, make sure to turn off the power to the circuit you will be working on to avoid any accidents.
In this guide, we will cover the necessary safety precautions, as well as each step of the installation process. From removing the old light fixture to mounting and testing the ceiling fan, by following these instructions, you will be able to enjoy a cool breeze in no time.
So let’s get started with the first step, which is ensuring your safety during the installation process.
Key Takeaways:
- Safety first! Always turn off the power and follow manufacturer’s instructions when installing a ceiling fan. Seek professional help if unsure.
- Enjoy the breeze! After installing and testing your ceiling fan, relax and revel in the comfort and beauty it brings to your space.
Read more: How To Install Ceiling Fan Light Kit
Safety Precautions
Before beginning any electrical work, it is crucial to prioritize safety. Here are some important precautions to follow when installing a ceiling fan:
- Turn off the power: Locate the circuit breaker that controls the room’s electrical supply and turn it off. Use a voltage tester to ensure that there is no power running to the wires before proceeding.
- Use proper tools and equipment: Make sure you have the necessary tools for the installation, such as a screwdriver, wire cutters, wire strippers, and pliers. Additionally, use a sturdy ladder or platform to reach the installation area safely.
- Read the manufacturer’s instructions: Each ceiling fan model may have specific instructions and requirements. It is essential to carefully read and follow the instructions provided by the manufacturer to ensure proper installation and safe operation.
- Securely mount the fan: When attaching the ceiling fan bracket and motor, ensure that they are securely fastened to the ceiling joist or support structure. A loose or unstable fan can pose a safety hazard.
- Properly connect the wiring: Take care to connect the wires correctly according to the manufacturer’s instructions. Avoid overloading the circuit by ensuring that the electrical box and wiring can handle the fan’s load.
- Avoid moisture and damp locations: If installing a ceiling fan in a bathroom or outdoor area, make sure it is rated for damp or wet locations. Using a fan not suitable for these conditions can be dangerous.
- Ask for help if needed: If you encounter any difficulties during the installation process or are unsure about any step, do not hesitate to seek assistance from a qualified electrician. Your safety should always be the top priority.
By following these safety precautions, you can minimize the risk of accidents and ensure a smooth and secure ceiling fan installation process. Now that you are aware of the safety measures, let’s move on to the first step: turning off the power.
Step 1: Turn off the Power
The first and most crucial step before starting any electrical work is to turn off the power. This will ensure your safety and prevent any electrical accidents during the installation process. Follow these steps to turn off the power:
- Locate the circuit breaker: Identify the circuit breaker that controls the room or area where the ceiling fan installation will take place. Typically, circuit breakers are located in the electrical panel or fuse box.
- Switch off the breaker: Once you have identified the correct circuit breaker, switch it off by flipping the corresponding switch to the “Off” position.
- Test for power: To be absolutely certain that the power is off, use a voltage tester to check for any electrical current. Simply place the tester against the wires or terminals that would be connected to the ceiling fan. If the tester does not indicate any voltage, you can proceed with the installation.
It is essential to take these precautions to ensure your safety while working with electrical components. Note that some homes may have multiple circuit breakers or fuses for different areas, so make sure you have identified and turned off the correct one.
Remember, electrical work can be dangerous, and if you are unsure or uncomfortable with performing these tasks, it is recommended to seek assistance from a licensed electrician. With the power turned off, we can now move on to the next step, which is removing the existing light fixture.
Step 2: Remove the Light Fixture
Now that the power is turned off, it’s time to remove the existing light fixture. Follow these steps to safely remove the light fixture:
- Remove the light bulbs: Start by unscrewing and removing any light bulbs that are currently in the fixture. Set them aside in a safe place.
- Detach the fixture from the electrical box: Depending on the type of light fixture, there may be screws or mounting brackets holding it in place. Carefully unscrew or detach these components, making sure to support the weight of the fixture while doing so.
- Disconnect the wiring: Before completely removing the fixture, disconnect the electrical wiring. This is usually done by loosening wire connectors or twist-on caps that secure the wires together. Carefully separate the wires and keep them separated.
- Remove the mounting bracket: In some cases, there may be a mounting bracket or plate attached to the electrical box. Unscrew and remove this bracket to fully detach the light fixture.
- Cap off the exposed wires: To ensure safety, use wire connectors or electric tape to cap off the exposed wires. This will prevent accidental contact and avoid any potential electrical hazards.
Once you have completed these steps, the old light fixture should be completely removed, and you are ready to proceed with the ceiling fan installation. Keep in mind the importance of safety and proper handling of electrical components throughout the process.
Next, we will move on to Step 3: installing the ceiling fan mounting bracket.
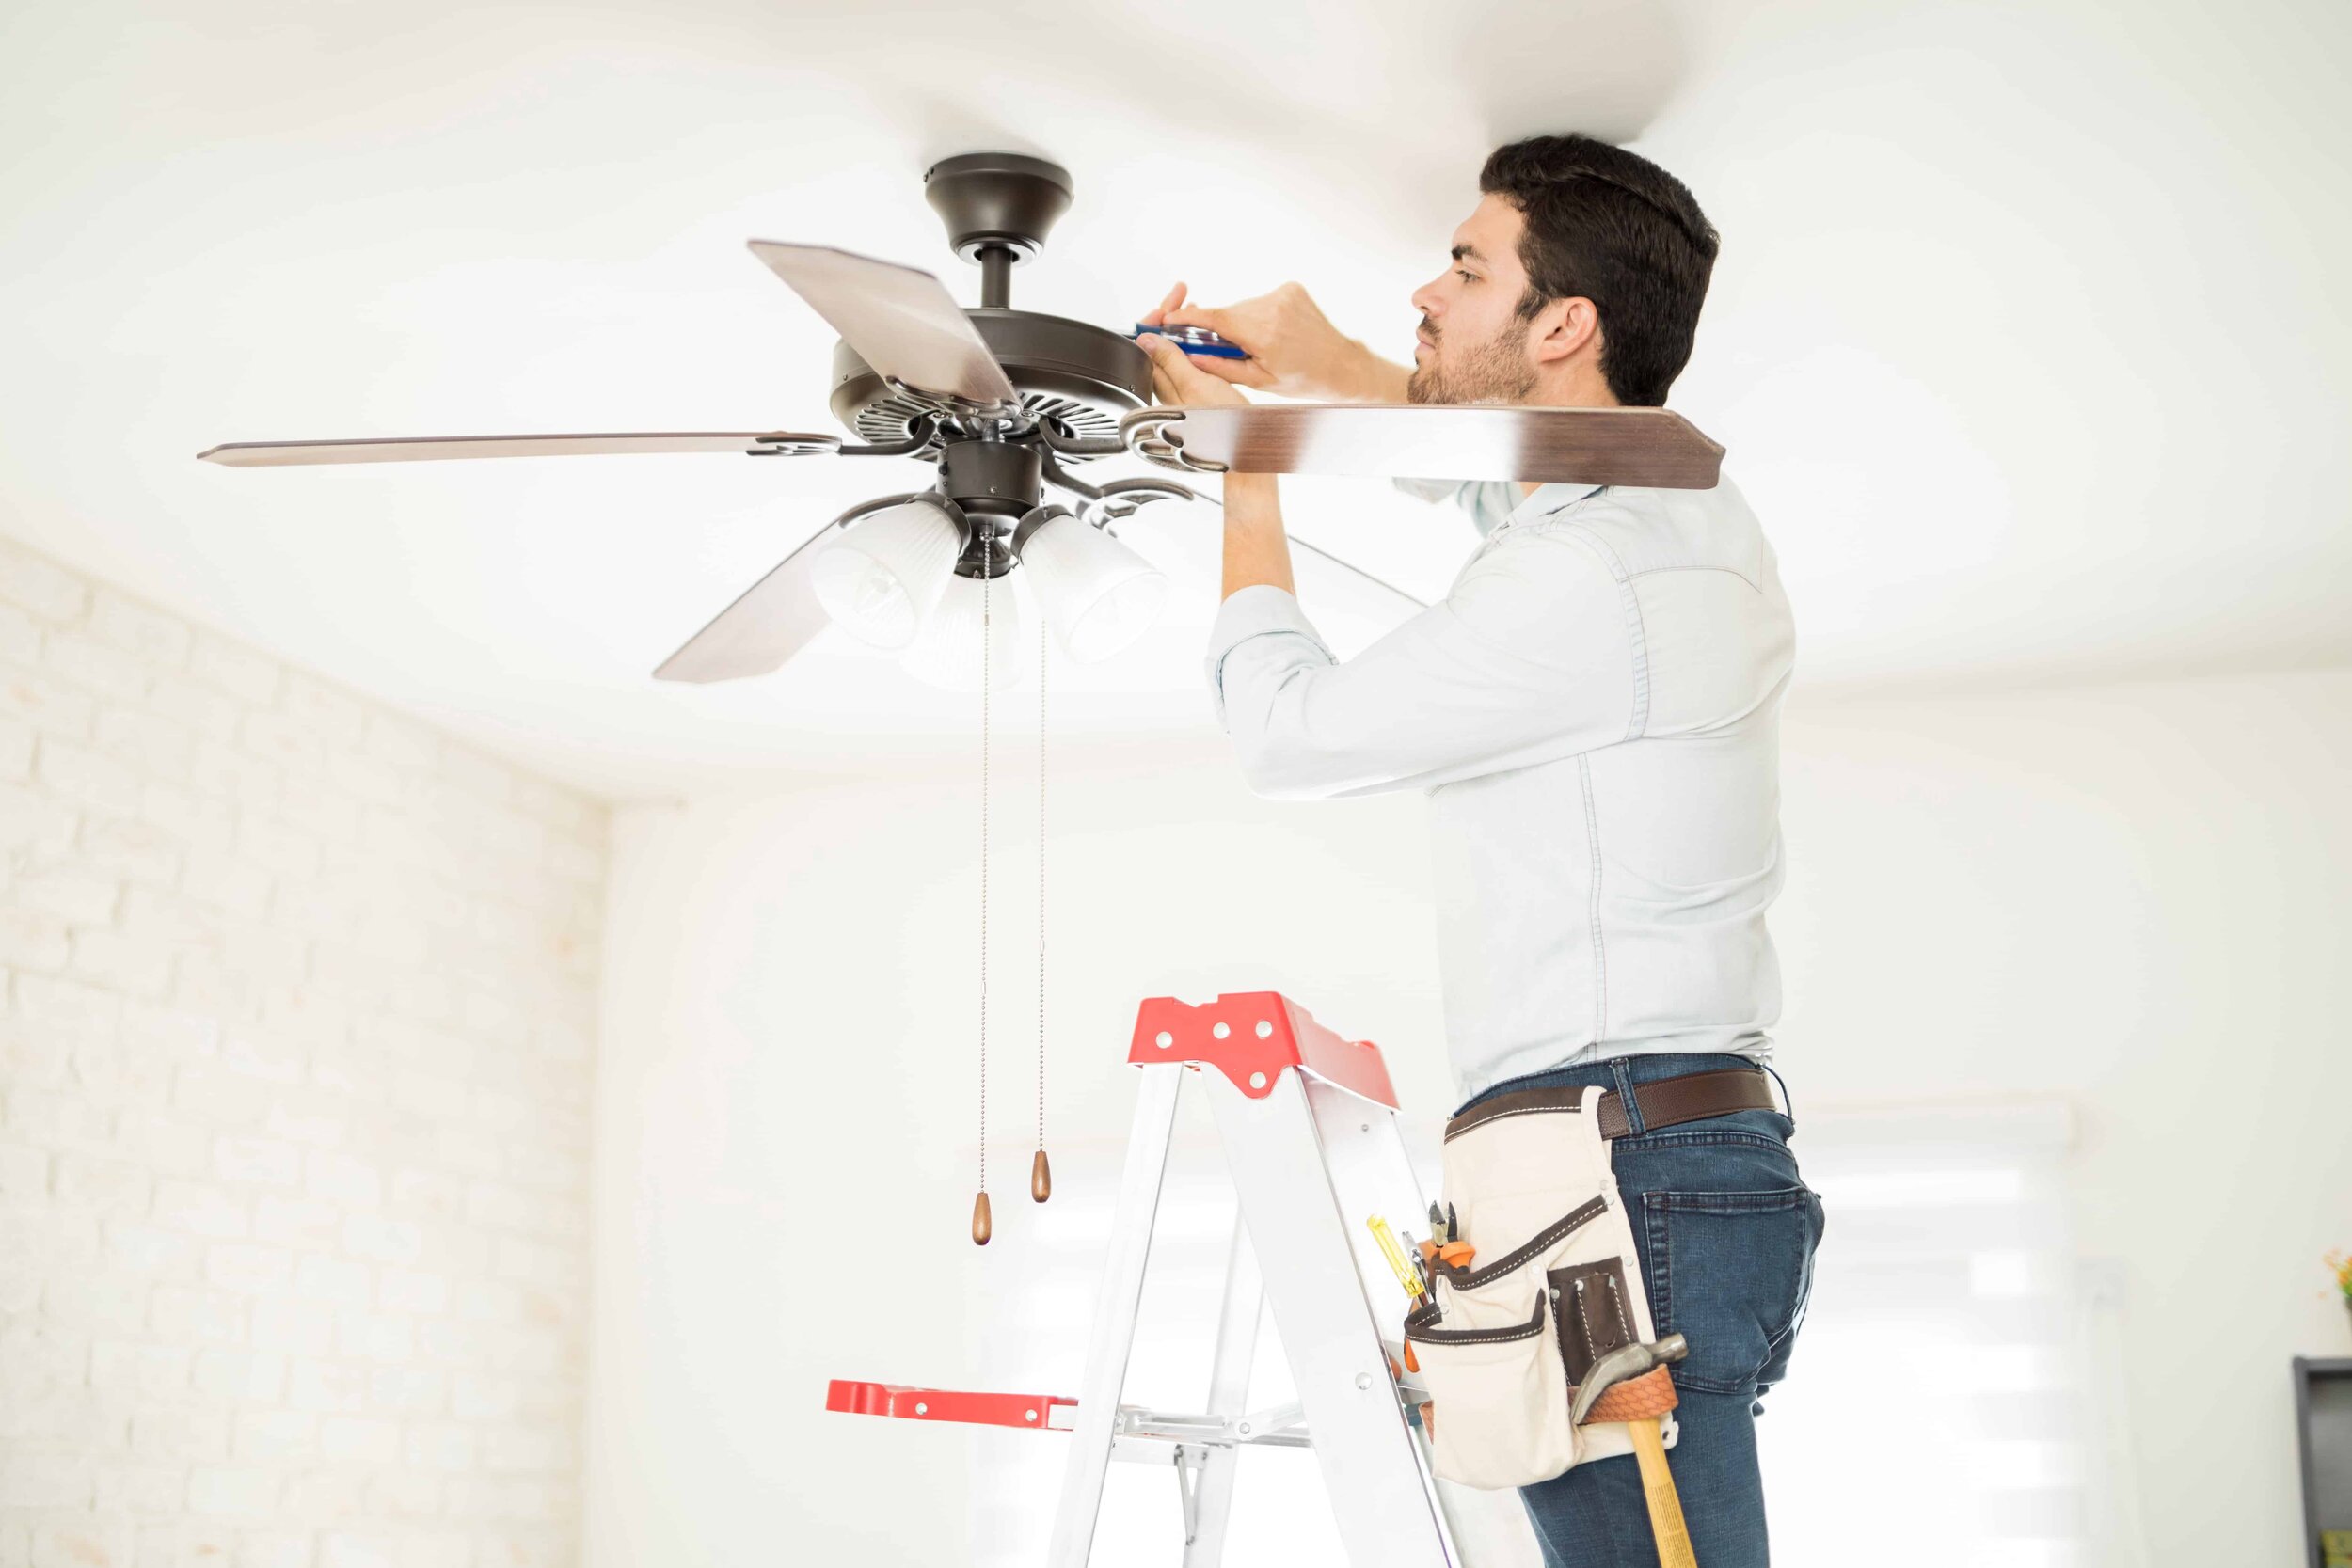
Step 3: Install Ceiling Fan Mounting Bracket
Now that the old light fixture has been removed, it’s time to install the ceiling fan mounting bracket. The mounting bracket provides the support necessary to hang the fan securely from the ceiling. Follow these steps to install the mounting bracket:
- Check for compatibility: Ensure that the mounting bracket you have is compatible with the ceiling fan you will be installing. Refer to the manufacturer’s instructions for any specific requirements or recommendations.
- Locate the ceiling joist: Use a stud finder to locate the ceiling joist where the mounting bracket will be secured. This is important for stability and proper weight distribution.
- Mark the position: Once you have located the ceiling joist, mark the position where the mounting bracket will be attached. Measure and align the bracket to ensure it is centered and level.
- Pre-drill pilot holes: To make it easier to screw in the mounting bracket, pre-drill pilot holes into the ceiling joist at the marked positions. Use a drill bit that is slightly smaller than the size of the screws provided with the bracket.
- Secure the mounting bracket: Align the mounting bracket with the pre-drilled holes and attach it to the ceiling joist using the screws provided. Make sure the bracket is securely fastened and flush against the ceiling.
Once the mounting bracket is properly installed, you have completed the third step in the ceiling fan installation process. The mounting bracket provides a stable foundation for hanging the ceiling fan motor. Now, let’s move on to Step 4: attaching the ceiling fan motor.
Read more: How Install Ceiling Fan
Step 4: Attach Ceiling Fan Motor
With the mounting bracket securely in place, it’s time to attach the ceiling fan motor. The motor is the main component of the fan that houses the blades and controls its operation. Follow these steps to attach the ceiling fan motor:
- Prepare the motor assembly: Remove any protective covers or packaging materials from the motor assembly. Familiarize yourself with the different parts of the motor, including the housing, downrod, and motor bracket.
- Locate the motor bracket: In most cases, the motor bracket is already attached to the fan motor. Align the motor bracket with the mounting bracket on the ceiling, ensuring that the screw holes are aligned.
- Secure the motor bracket: Once aligned, attach the motor bracket to the mounting bracket using the screws provided. Make sure the motor bracket is securely fastened and level.
- Attach the downrod: If your ceiling fan includes a downrod, slide it into the motor housing until it locks into place. Use the screws provided to secure the downrod to the motor assembly.
- Connect wiring: Carefully pull the electrical wires from the motor assembly through the downrod. Follow the manufacturer’s instructions to connect the wires from the fan to the corresponding wires in the ceiling.
- Secure wire connections: Once the wiring is properly connected, use wire connectors or twist-on caps to secure the wire connections. Make sure the connections are tight and insulated.
- Verify motor stability: Gently shake the fan motor to ensure it is securely attached to the mounting bracket. If there is excessive movement or instability, double-check the attachment points and make any necessary adjustments.
By following these steps, you have successfully attached the ceiling fan motor to the mounting bracket. The motor is now securely in place, ready to support the fan blades and provide cooling air circulation. In the next step, we will cover how to connect the wiring for proper functioning of the ceiling fan.
Before installing a ceiling fan where a light was, make sure to turn off the power at the breaker. Remove the existing light fixture and install a fan-rated junction box. Follow the fan’s instructions for wiring and assembly.
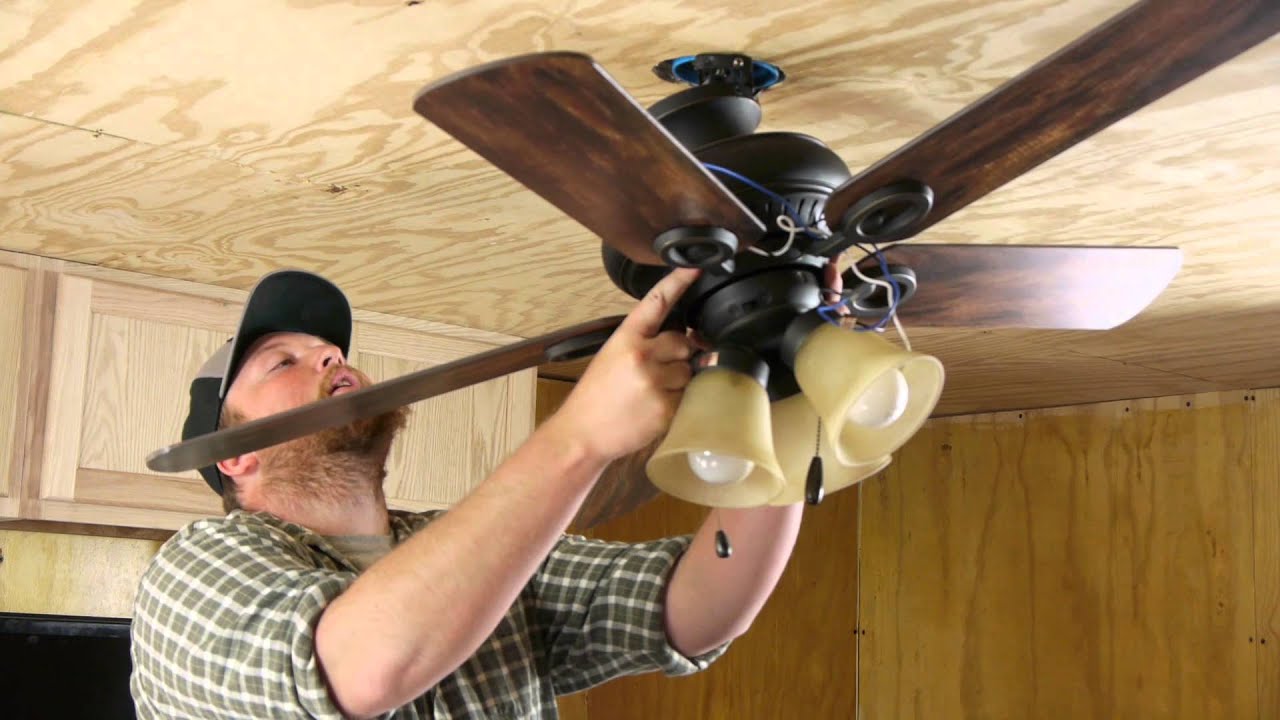
Step 5: Connect Wiring
Now that the ceiling fan motor is securely attached, it’s time to connect the wiring. Properly connecting the wires is essential for the fan to function correctly and safely. Follow these steps to connect the wiring:
- Identify the wires: Locate the wires coming from the ceiling and the wires from the fan motor. The typical wiring colors include black (hot), white (neutral), and green or copper (ground).
- Match wire colors: Match the corresponding wire colors from the ceiling to the wires from the fan motor. In most cases, black wires are connected to black wires, white wires to white wires, and green or copper wires to green or copper wires.
- Make a secure connection: To connect the wires, strip about half an inch of insulation from the end of each wire. Twist the exposed ends of the wires together in a clockwise direction. For added security, use wire connectors or twist-on caps to secure the wire connections.
- Insulate the connections: After connecting the wires, gently tug on each wire to ensure they are tightly connected. Use electrical tape to insulate the wire connectors or twist-on caps, covering the exposed wire ends.
- Secure the wiring: Using zip ties or electrical tape, secure the wiring to the fan motor or downrod to prevent it from hanging loose or interfering with the fan’s operation.
It is crucial to follow the manufacturer’s instructions and any relevant electrical codes when connecting the wiring. If you are unsure about any step in the process, consult a licensed electrician for assistance.
Once the wiring is securely connected and insulated, you have completed the fifth step in installing the ceiling fan. The next step will cover how to secure the ceiling fan blades for optimal performance and safety.
Step 6: Secure the Ceiling Fan Blades
After connecting the wiring, it’s time to secure the ceiling fan blades. The blades are responsible for generating airflow and cooling the room. Follow these steps to properly secure the fan blades:
- Identify the blade mounting brackets: Locate the blade mounting brackets that are included with your ceiling fan. These brackets are usually attached to the motor housing and are designed to hold the fan blades.
- Attach the blades to the brackets: Align each fan blade with its corresponding mounting bracket. Insert the blade into the bracket and secure it using the screws provided. Make sure to tighten the screws securely to ensure the blades are firmly attached.
- Balance the fan blades (optional): For optimal performance, it may be necessary to balance the fan blades. This can be done using a blade balancing kit, which typically includes weighted clips or adhesive weights. Follow the manufacturer’s instructions for balancing the blades if needed.
- Check for proper alignment: After attaching all the blades, check to ensure that they are evenly spaced and aligned. This will help to minimize noise and vibrations while the fan is in operation.
- Rotate the blades manually: Gently rotate each fan blade by hand to ensure that they can move freely without any obstruction. This will help identify any issues or interferences that may need to be addressed before operating the fan.
By securely attaching and aligning the ceiling fan blades, you have completed the sixth step in the installation process. The next step will cover how to install a light kit, if desired, to add a lighting element to your ceiling fan.
Step 7: Install Light Kit (Optional)
If you wish to have a lighting component on your ceiling fan, you can proceed with installing a light kit. Not all ceiling fans come with a light kit, but many models offer the option to add one. Follow these steps to install a light kit:
- Check compatibility: Ensure that the light kit you have is compatible with your ceiling fan model. Refer to the manufacturer’s instructions for any specific requirements or recommendations.
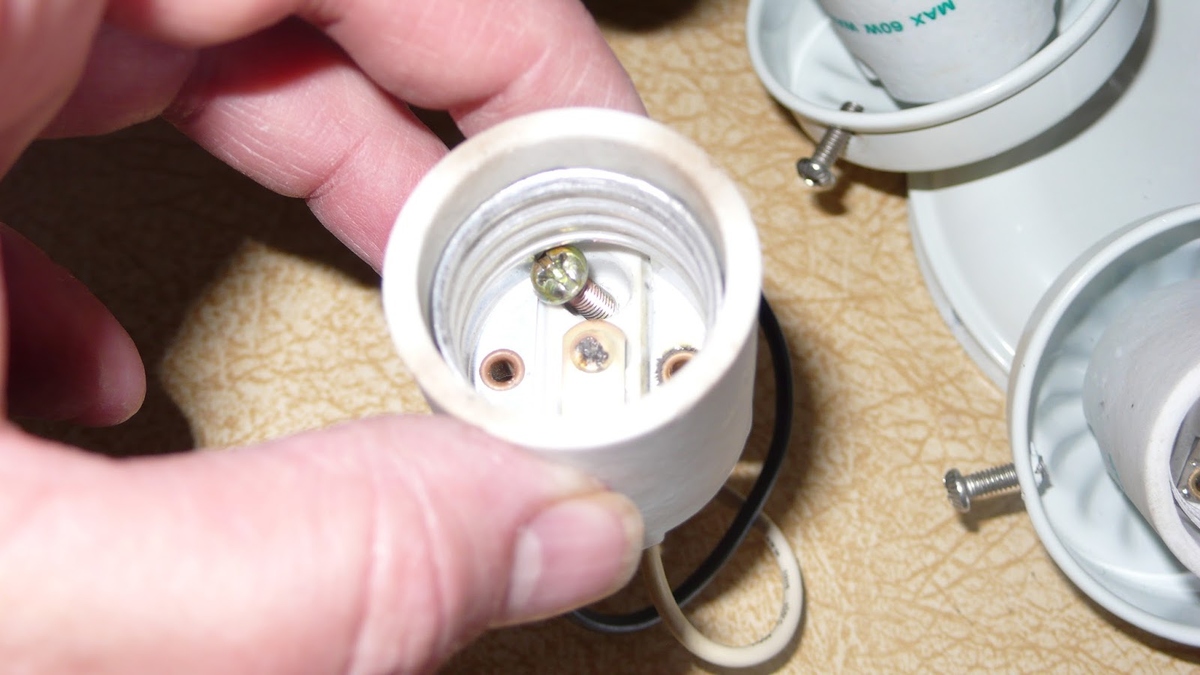
- Prepare the light kit: Remove any protective covers or packaging from the light kit components. Familiarize yourself with the different parts, including the light fixture, light sockets, and any accompanying hardware.
- Attach the light fixture: Position the light fixture onto the designated area provided on the fan motor or downrod. Align the screw holes and secure the light fixture using the screws provided with the kit.
- Connect the wiring: Follow the manufacturer’s instructions for wiring the light kit. Typically, this involves connecting the wires from the light kit to the corresponding wires hanging from the ceiling fan motor or downrod.
- Secure the wire connections: After making the wire connections, use wire connectors or twist-on caps to secure the wiring. Make sure the connections are tight and insulated.
- Install the light bulbs: Insert the recommended light bulbs into the light sockets of the light kit. Refer to the manufacturer’s instructions for the maximum wattage and type of bulbs suitable for your fan.
- Test the light kit: Before fully securing the light kit, turn on the power and test the light fixtures to ensure they are functioning correctly. If the lights do not turn on, check the wiring connections and bulb installation.
- Secure the light kit: Once you have verified the proper functioning of the light kit, secure it to the fan motor or downrod using the provided screws. Make sure the light kit is firmly attached and stable.
By following these steps, you have successfully installed a light kit on your ceiling fan. The addition of the light kit provides both illumination and versatility to your fan. The next step will cover how to mount and secure the fan canopy, completing the installation process.
Step 8: Mount and Secure the Fan Canopy
After installing the light kit (if applicable), the next step is to mount and secure the fan canopy. The fan canopy covers the electrical components and provides a finished look to your ceiling fan. Follow these steps to mount and secure the fan canopy:
- Position the fan canopy: Take the fan canopy and position it over the mounting bracket on the ceiling. Ensure that the mounting bracket is centered within the opening of the canopy.
- Align the screw holes: Align the screw holes on the fan canopy with the screw holes on the mounting bracket. Make sure everything is properly aligned before proceeding.
- Secure the fan canopy: Insert the screws provided with the fan canopy into the aligned screw holes. Use a screwdriver or drill to tighten the screws, but be careful not to overtighten, as this could damage the canopy or the mounting bracket.
- Check for proper alignment: Once the fan canopy is secured, double-check to ensure that it is level and parallel to the ceiling. Make any necessary adjustments to achieve a balanced and aesthetic appearance.
- Inspect for stability: Gently shake the fan canopy to ensure that it is securely attached to the mounting bracket. If there is any excessive movement or looseness, check the screws and connections to ensure everything is properly tightened.
Once the fan canopy is mounted and secured, you have completed the eighth step in the installation process. The next step will cover how to test the ceiling fan to ensure it operates smoothly and effectively.
Step 9: Test the Ceiling Fan
Congratulations, you are almost done with the installation process! The final step is to test the ceiling fan to ensure it is functioning properly. Follow these steps to test the ceiling fan:
- Turn on the power: Go to the circuit breaker or electrical panel and turn on the power to the circuit that controls the ceiling fan. Make sure you have followed all necessary safety precautions.
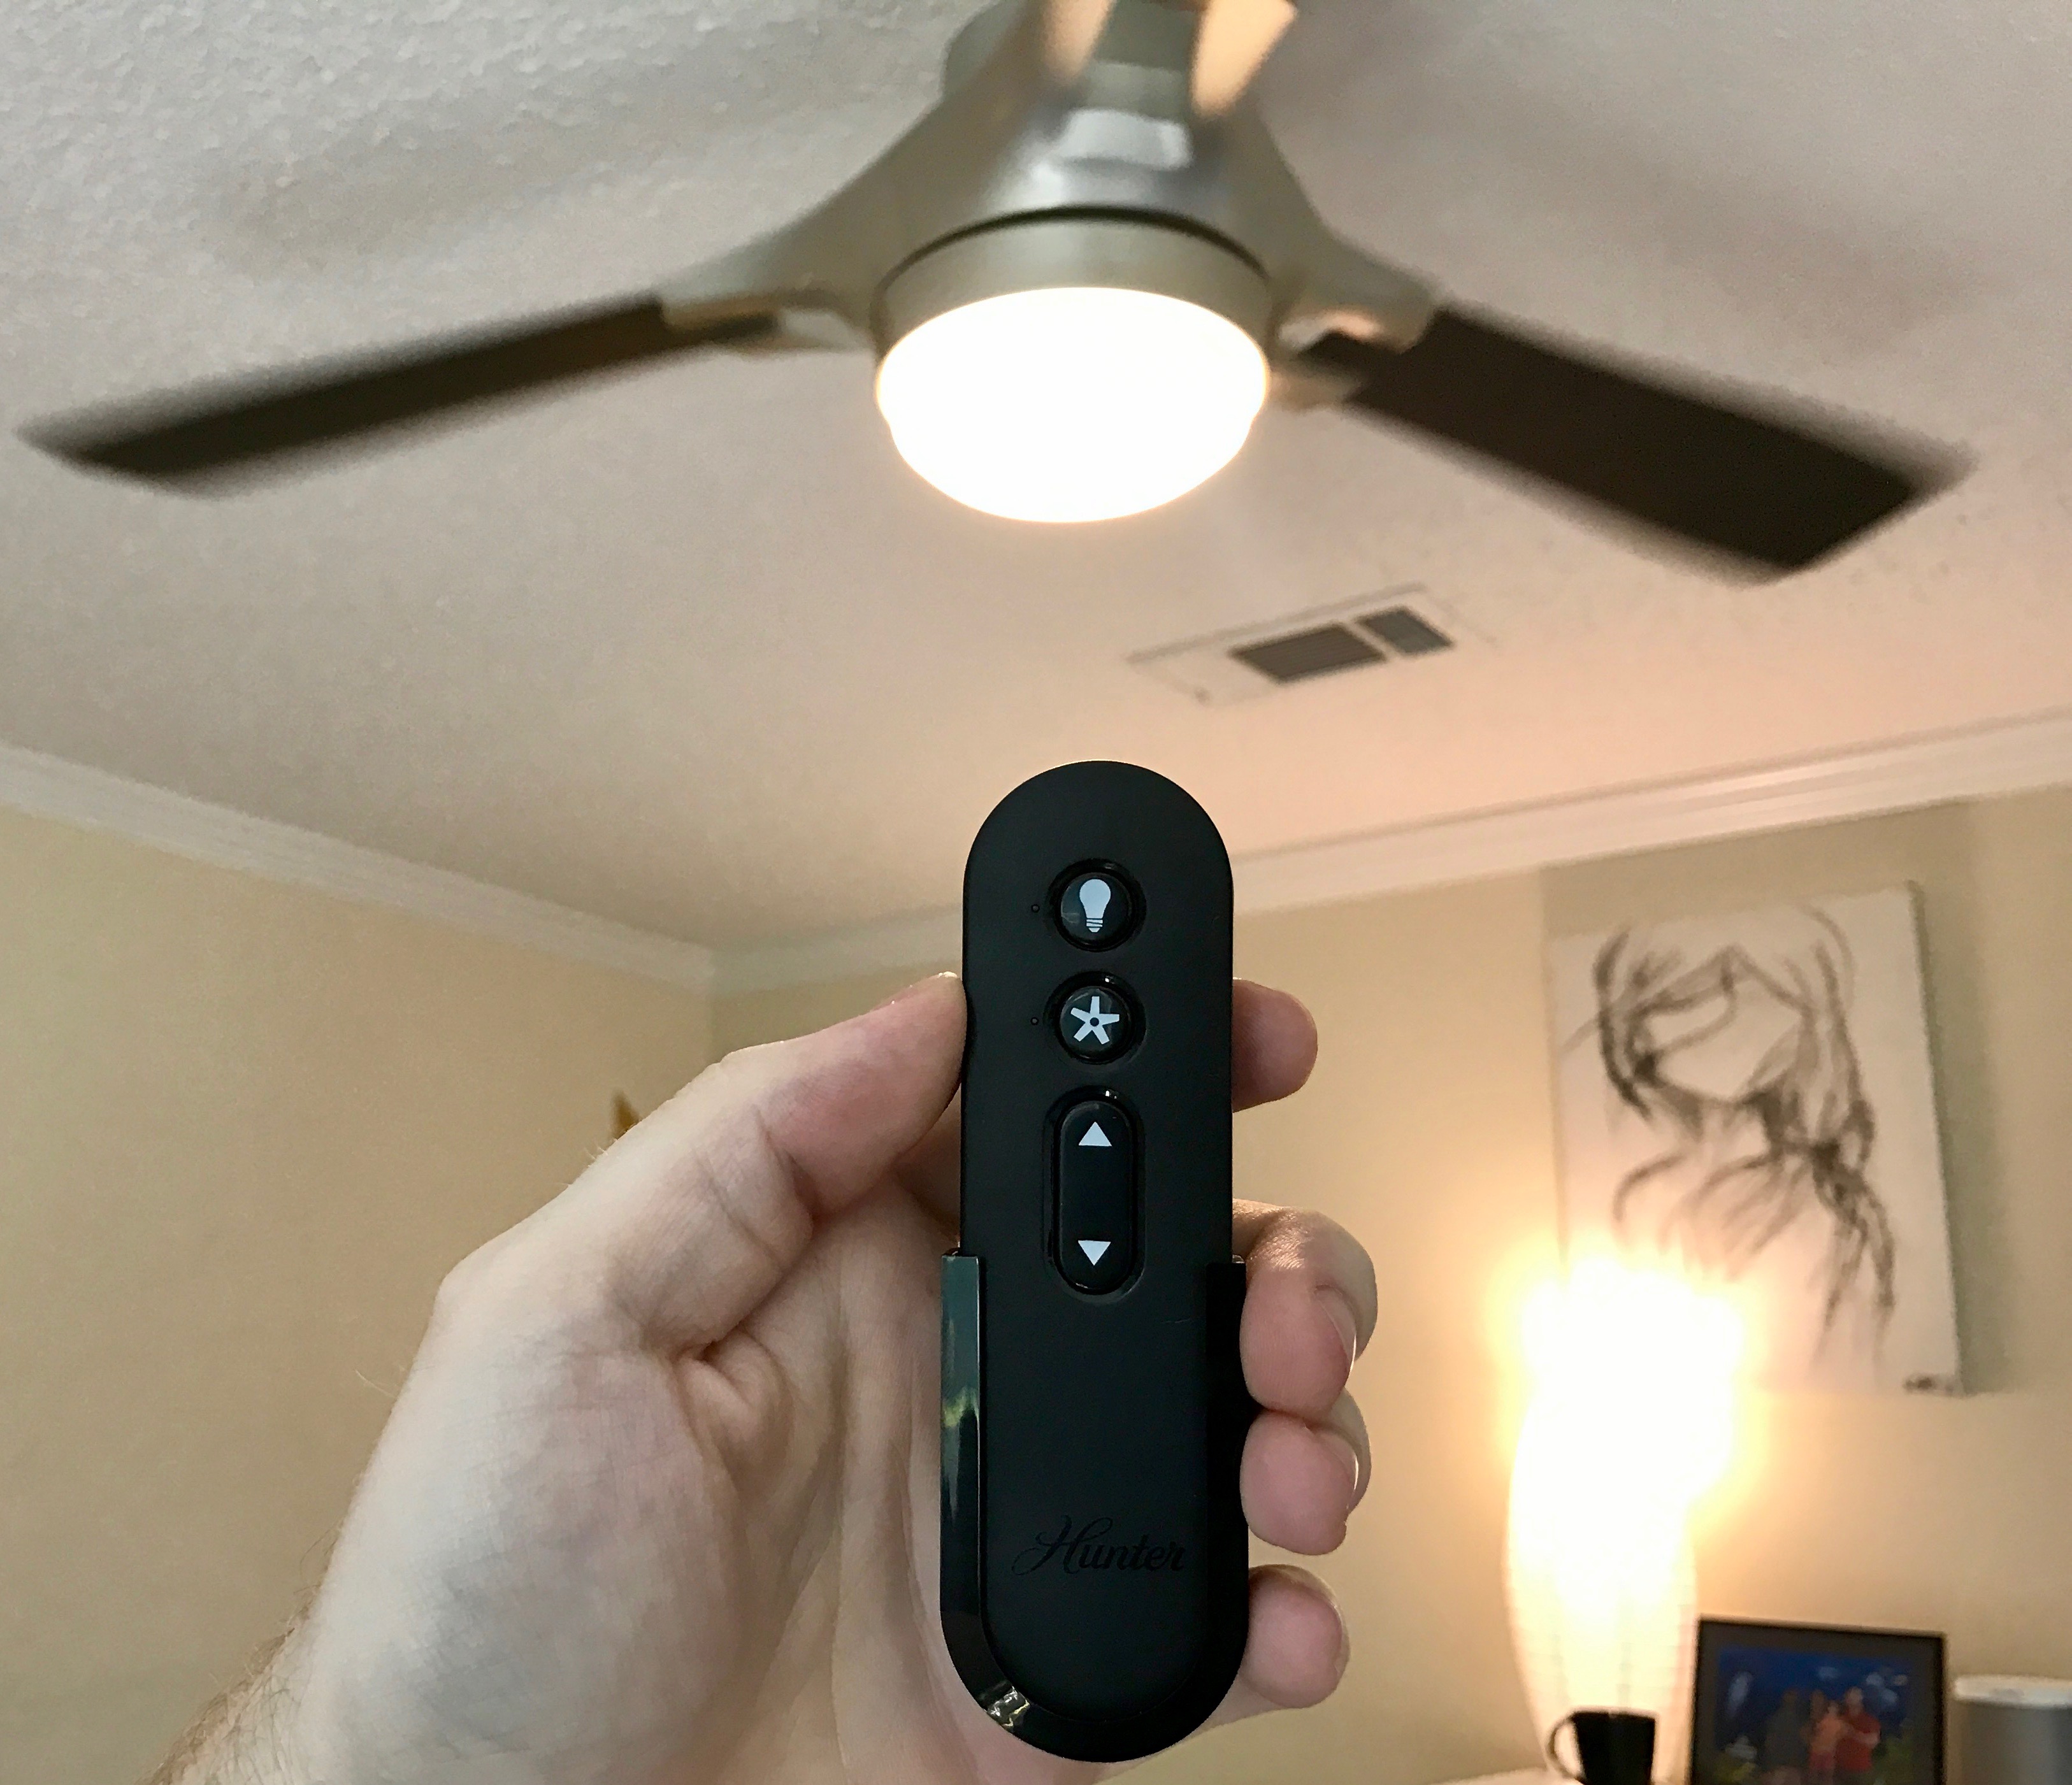
- Check the fan controls: If your ceiling fan has a remote control or wall switch, ensure that it is properly configured and functioning. Test the various fan speeds, as well as any additional features like reverse airflow or lighting options.
- Turn on the fan: Use the fan controls to turn on the ceiling fan. Observe the fan blades to ensure they are rotating smoothly and without any wobbling or unusual noises. If you notice any issues, turn off the fan immediately and identify the problem.
- Monitor airflow and cooling: Stand beneath the ceiling fan and feel the airflow to assess its strength and direction. Make sure that the fan is effectively circulating air throughout the room and providing a comfortable breeze.
- Verify the light functionality (if applicable): If you have installed a light kit, test the light fixtures to ensure they are turning on and off as expected. Check for any flickering or dimness that may indicate a wiring issue.
- Make any necessary adjustments: If you encounter any issues during the testing phase, such as wobbling or noisy operation, consult the manufacturer’s instructions for troubleshooting steps. You may need to balance the fan blades or tighten any loose screws or connections.
By thoroughly testing the ceiling fan, you can ensure that it is operating smoothly, providing optimum airflow, and meeting your desired functionality. If you encounter any persistent problems or concerns, it is advisable to consult a professional electrician for assistance.
Congratulations! You have successfully completed the installation process for your ceiling fan. Now, sit back, relax, and enjoy the comfort and beauty that your newly installed ceiling fan brings to your space.
Conclusion
Installing a ceiling fan where a light fixture used to be is a rewarding project that can enhance the comfort and aesthetics of your space. By following the step-by-step guide outlined in this article, you should now have the knowledge and confidence to successfully install a ceiling fan on your own.
Throughout the installation process, we emphasized the importance of safety precautions, including turning off the power and seeking professional help if needed. Remember, electrical work can be dangerous, so it’s vital to exercise caution at all times.
We covered each step in detail, from turning off the power and removing the existing light fixture, to installing the mounting bracket, attaching the motor, connecting the wiring, securing the fan blades, and optional steps like installing a light kit and mounting the fan canopy. Each step contributes to the overall functionality and aesthetics of your ceiling fan.
Once the installation is complete, it’s crucial to test the ceiling fan to ensure it operates smoothly, without wobbling or unusual noises. By monitoring airflow and verifying light functionality (if applicable), you can ensure a satisfying end result.
Remember, if you encounter any issues or are unsure about any step along the way, it’s always best to consult a professional electrician for assistance. Your safety and the proper functioning of your ceiling fan are of utmost importance.
Now that your ceiling fan is installed and tested, it’s time to sit back, relax, and enjoy the comfort and beauty it brings to your living space. Whether it’s cooling you down on a hot day or adding a gentle breeze to a cozy room, your ceiling fan will provide both functionality and style throughout the year.
Frequently Asked Questions about How To Install Ceiling Fan Where Light Was
Was this page helpful?
At Storables.com, we guarantee accurate and reliable information. Our content, validated by Expert Board Contributors, is crafted following stringent Editorial Policies. We're committed to providing you with well-researched, expert-backed insights for all your informational needs.


0 thoughts on “How To Install Ceiling Fan Where Light Was”