Home>Ideas and Tips>DIY Guide To Installing A Kitchen Pot Filler Faucet

Ideas and Tips
DIY Guide To Installing A Kitchen Pot Filler Faucet
Modified: October 20, 2024
Learn how to install a kitchen pot filler faucet with our step-by-step DIY guide. Enhance your kitchen's functionality and style effortlessly.
(Many of the links in this article redirect to a specific reviewed product. Your purchase of these products through affiliate links helps to generate commission for Storables.com, at no extra cost. Learn more)
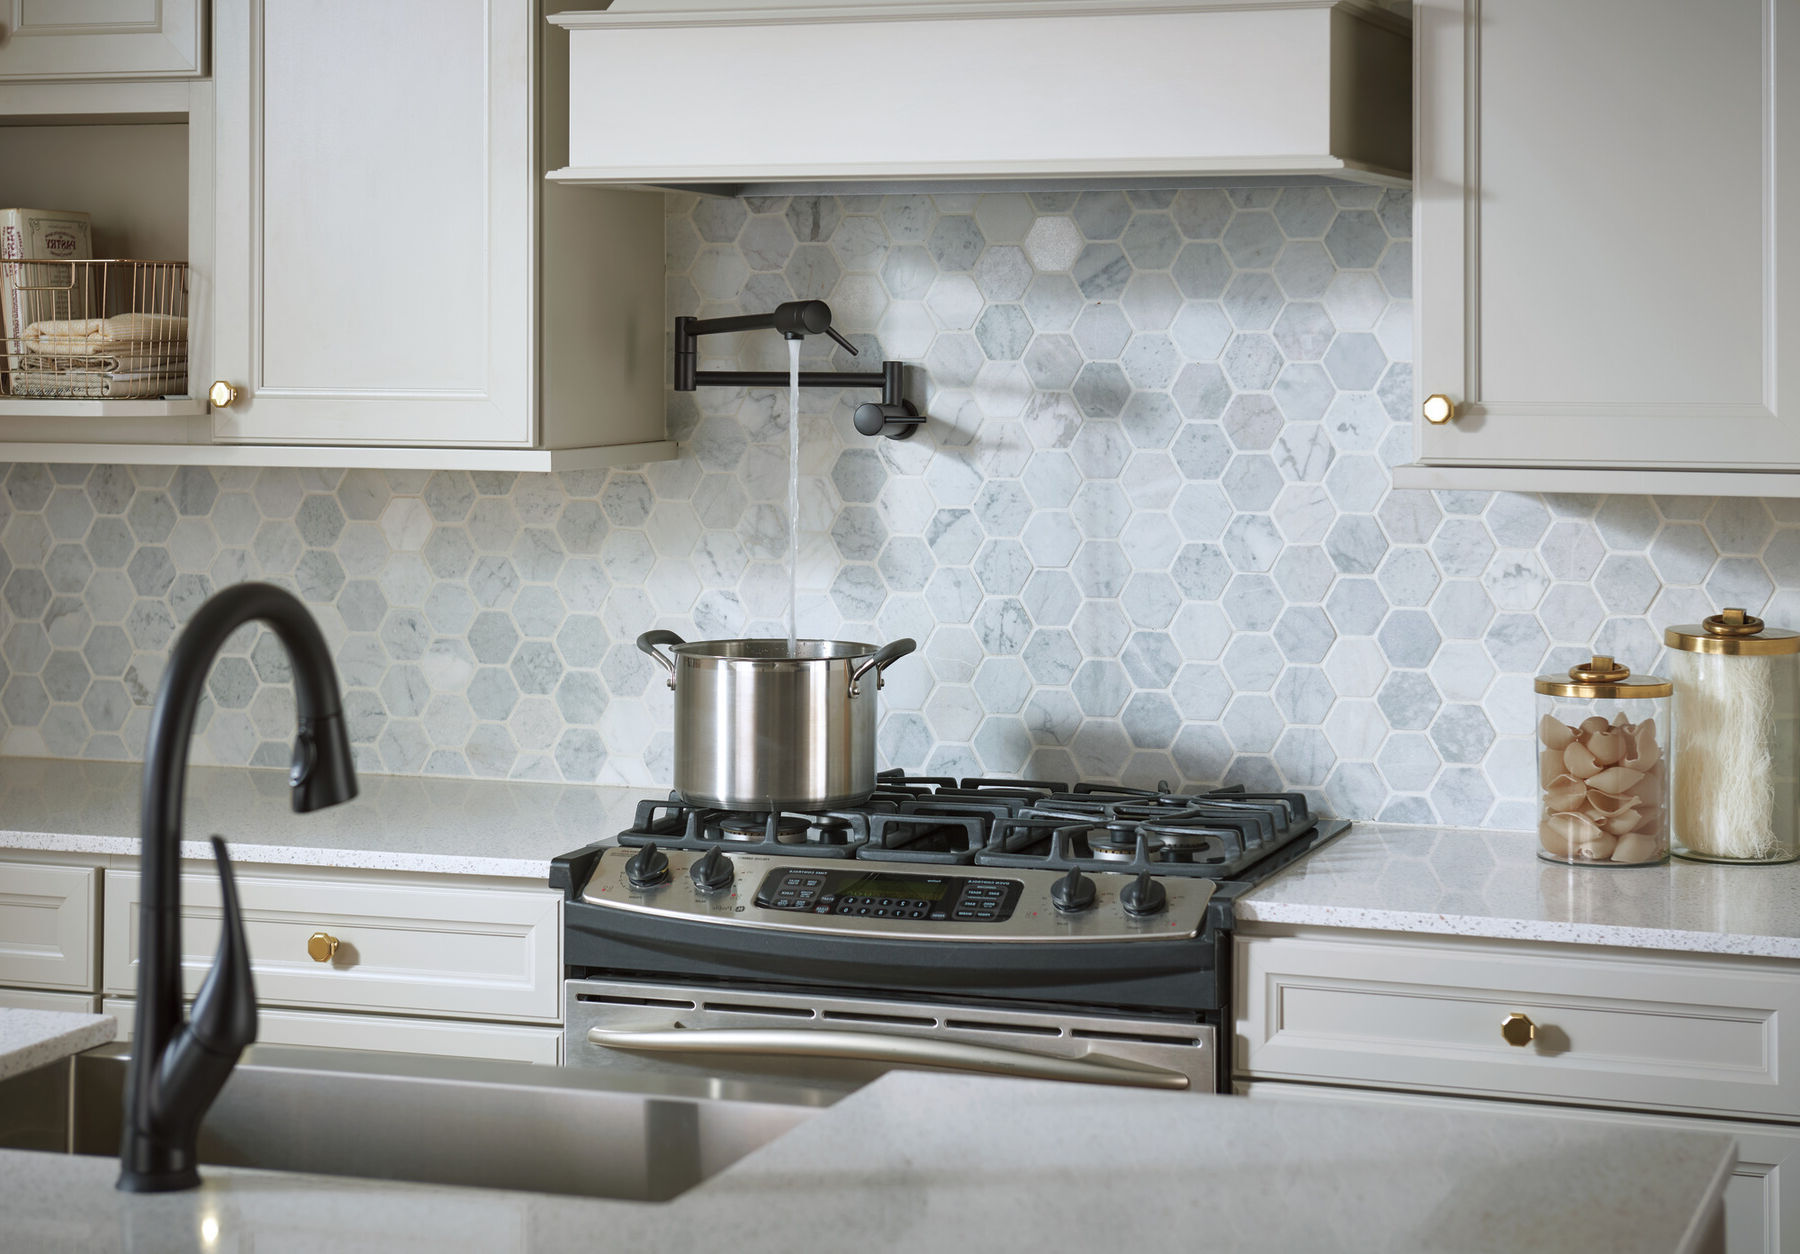
Installing a pot filler faucet in your kitchen can be a fantastic way to enhance both the functionality and style of your cooking area. These faucets are designed to provide easy access to water at the stove, making it convenient for tasks like filling large pots or cooking methods that require continuous water flow. However, installing a pot filler faucet can seem daunting if you're not familiar with plumbing or DIY projects. In this comprehensive guide, we'll walk you through the step-by-step process of installing a pot filler faucet, covering everything from preparation to final touches.
Preparing for Installation
Before diving into the installation process, there are several steps you need to take to ensure that your project goes smoothly.
1. Measure and Plan
The first step is to measure the distance between your stove and the water source. This measurement will help you determine the correct size and placement of your pot filler faucet. Make sure to consider the height at which you want the faucet to be installed. Typically, it should be high enough to clear the highest pots you will be using, such as canning pots.
2. Choose the Right Kit
When purchasing a pot filler faucet kit, it's often more convenient to buy a complete kit rather than individual supplies. These kits usually include all the necessary components like the faucet, wall-mounting hardware, and pipes. This can help eliminate guesswork during assembly and ensure compatibility with your kitchen setup.
3. Check Local Plumbing Codes
It's crucial to check local plumbing codes and regulations before starting your project. Different areas have specific requirements for plumbing installations, and failing to comply can result in costly repairs or even necessitate removal of the installed faucet.
4. Understand Your Kitchen Layout
Understanding the layout of your walls is essential to avoid hitting electrical wires or plumbing lines when drilling. Take note of any obstructions like electrical outlets or pipes that you'll need to navigate around.
Step-by-Step Installation Guide
Step 1: Determine the Height
The height of your pot filler faucet is critical for functionality. You need to ensure it is high enough to clear the highest pots you will be using. Typically, this is around 17 inches above the oven top, but this can vary depending on your specific needs and kitchen layout.
Step 2: Replace Hood Fan (If Necessary)
If your current hood fan does not provide enough clearance for your pot filler faucet, you may need to replace it with a smaller profile hood fan. This will ensure that there is sufficient space for the faucet without compromising on ventilation.
Step 3: Drill Hole for the Pot Filler
Using a diamond drill bit, drill a 1-inch or 3 cm hole for the brass nipple that will connect to the supply line. This hole should be drilled through the back of the wall where you plan to mount the faucet.
Step 4: Remove Drywall
Remove enough drywall to allow easy access to the back of the pot filler hole. This will give you space to mount the water line and other components without any obstructions.
Step 5: Make Pot Filler Backer
Cut a piece of lumber (like 2×4) to act as a backing for the water line as well as filler blocks if needed. If you have a double wall like many kitchens do, you'll need these blocks to extend the backing into the inside of the wall.
Step 6: Run Plumbing
Connect your PEX or copper pipes according to your kit's instructions. For PEX pipes, use Quick Connect fittings that automatically seal once clipped into place. Ensure all connections are secure and there are no leaks.
Step 7: Install Pot Filler
Mount the drop ear connector onto the backing lumber ensuring it is at the correct depth, height, centered, level to the ground, and square to the finished wall. Connect your PEX or copper pipes to this connector.
Read more: How To Install A Pot Filler Faucet
Step 8: Test for Leaks
Pressure test your plumbing system using a brass plug or similar device. This step is crucial to ensure there are no leaks before proceeding further.
Step 9: Repair Wall
Once you've completed testing and ensured there are no leaks, repair any holes or gaps in your drywall. Use acoustic sealant where necessary to prevent water noise from reaching other parts of your home.
Step 10: Install Backsplash (Optional)
If you're planning to install a backsplash around your pot filler faucet, now is the time to do it. Ensure it's square to your brass nipple for proper alignment.
Additional Tips and Considerations
Mounting Location
Determine whether you want the stub out centered over your oven or if you prefer having the arm of the pot filler centered. This decision will affect how you position your mounting hardware.
Water Hammer Arrestor
Consider installing a water hammer arrestor if you're teeing off from an existing water line like a fridge line. This can help prevent sudden pressure changes that might cause noise or damage.
Accessibility
Make sure you have an accessible shut-off valve nearby whether it's behind the oven, in the basement, or near another appliance like the fridge. This will make it easier to turn off water supply if needed during maintenance or repairs.
Pipe Dope and Aerators
Be aware that pipe dope can get into your pot filler faucet. Run with the aerator off initially to clear out any debris before turning it back on.
Read more: DIY Guide To Installing A Kitchen Pot Rack
Mounting Screws
Know exactly where your mounting screws are going to avoid hitting any PEX lines which could cause leaks or other issues.
Electrical Safety
Always be cautious around electrical wires and avoid drilling near them as it could be dangerous and potentially fatal.
Common Challenges and Solutions
Drilling Through Drywall
If you encounter issues like cracked glass tiles during drilling, use epoxy glue to reconnect them as shown in some DIY videos online.
PEX Pipe Installation
For tough sections with PEX pipes, use string and a shop vac to guide them through tight spaces like cabinets behind ovens.
Mounting Base
To avoid cutting into new walls prematurely, consider running a piece of 2x lumber between wall studs as a mounting base before installing drywall.
Weight Distribution
Pot fillers can be heavy (up to 10 pounds), so ensure they are securely mounted using proper hardware like drop ear connectors and screws.
Conclusion
Installing a pot filler faucet in your kitchen can be a rewarding DIY project if approached systematically. By following these steps carefully and considering potential challenges ahead of time, you'll be able to enhance both functionality and style in your cooking area without breaking the bank or hiring professional help. Remember always to check local plumbing codes and regulations before starting any plumbing project for compliance purposes.
Whether you're upgrading from an old kitchen setup or simply looking for ways to make cooking easier and more enjoyable, this guide should provide all necessary information needed for successful installation of a kitchen pot filler faucet.
Read more: DIY Guide To Installing Wainscoting
Final Thoughts
While installing a pot filler faucet may seem daunting at first glance, breaking down the process into manageable steps makes it much more accessible even for beginners. Remember patience is key when working with plumbing systems as small mistakes can lead to significant issues down the line.
If you're still unsure about any part of this process or feel uncomfortable tackling it yourself due to lack of experience or specific concerns related to your kitchen layout or plumbing setup, consider consulting professional plumbers who specialize in such installations.
By following this comprehensive guide meticulously while keeping safety first in mind throughout each step will ensure that not only do you complete this project successfully but also enjoy years of hassle-free use from your newly installed kitchen pot filler faucet
Was this page helpful?
At Storables.com, we guarantee accurate and reliable information. Our content, validated by Expert Board Contributors, is crafted following stringent Editorial Policies. We're committed to providing you with well-researched, expert-backed insights for all your informational needs.





0 thoughts on “DIY Guide To Installing A Kitchen Pot Filler Faucet”