Home>Ideas and Tips>DIY Guide To Painting Kitchen Cabinets

Ideas and Tips
DIY Guide To Painting Kitchen Cabinets
Modified: October 20, 2024
Transform your kitchen on a budget with our DIY guide to painting kitchen cabinets. Learn step-by-step tips for a professional finish.
(Many of the links in this article redirect to a specific reviewed product. Your purchase of these products through affiliate links helps to generate commission for Storables.com, at no extra cost. Learn more)
Painting your kitchen cabinets is a fantastic way to give your kitchen a fresh new look without breaking the bank. This DIY guide will walk you through the entire process, from preparation to completion, providing you with the tools and techniques needed to achieve professional-looking results.
Why Paint Your Kitchen Cabinets?
Painting your kitchen cabinets is worth your time and effort for several reasons. First off, it's cost-effective. Replacing cabinets can cost a small fortune, often upwards of $5,000 for a small kitchen. On the other hand, painting them can be done for under $200. That’s a huge saving!
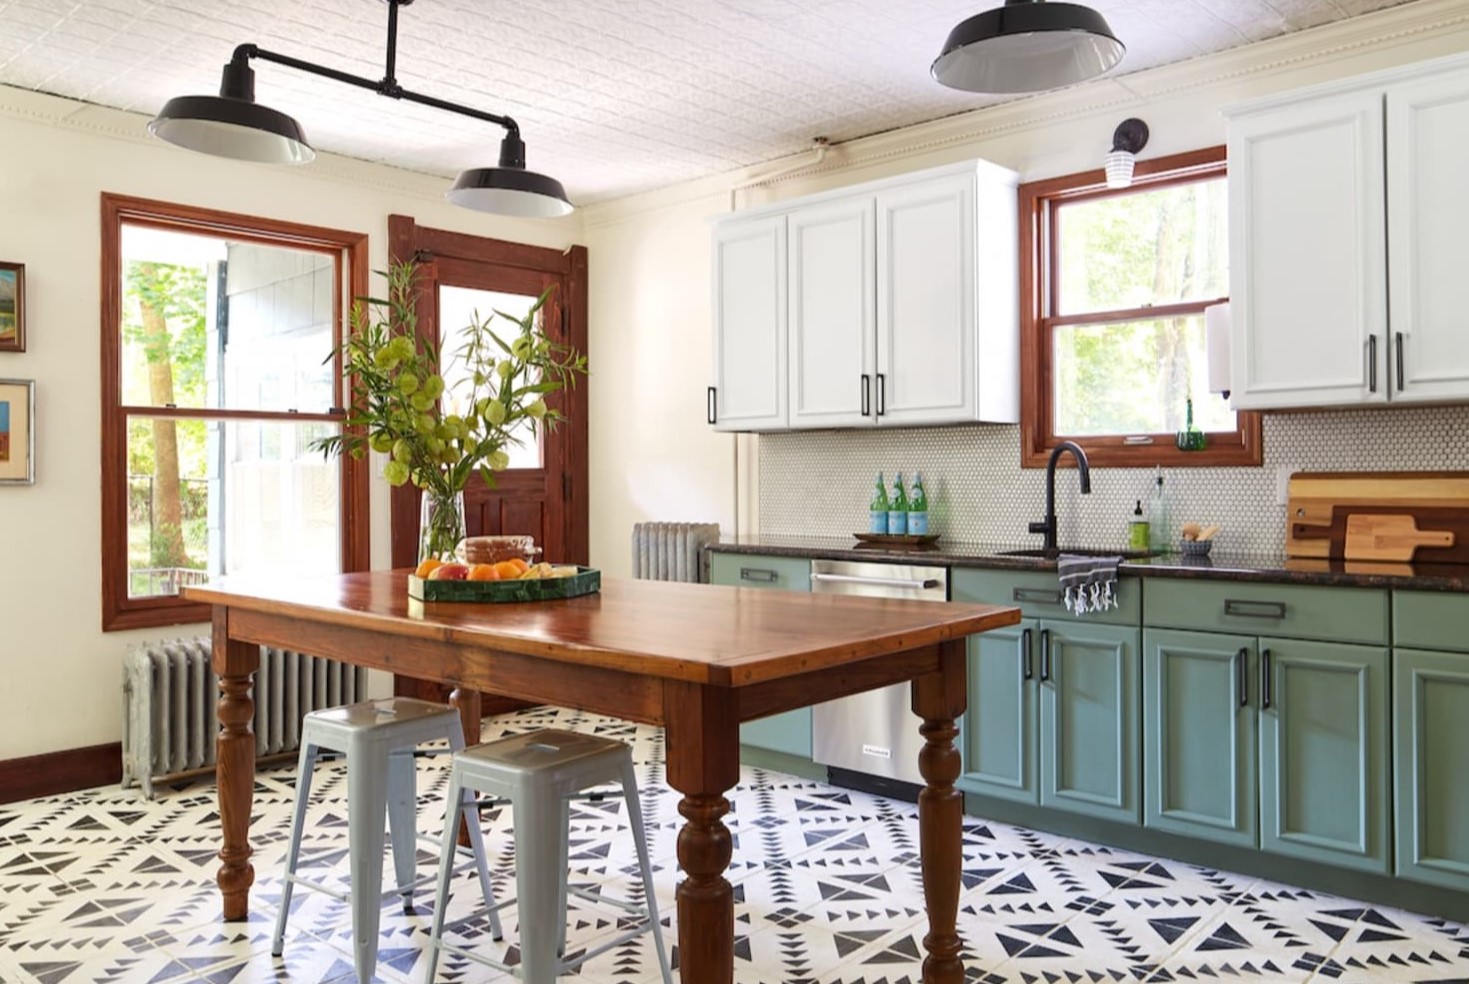
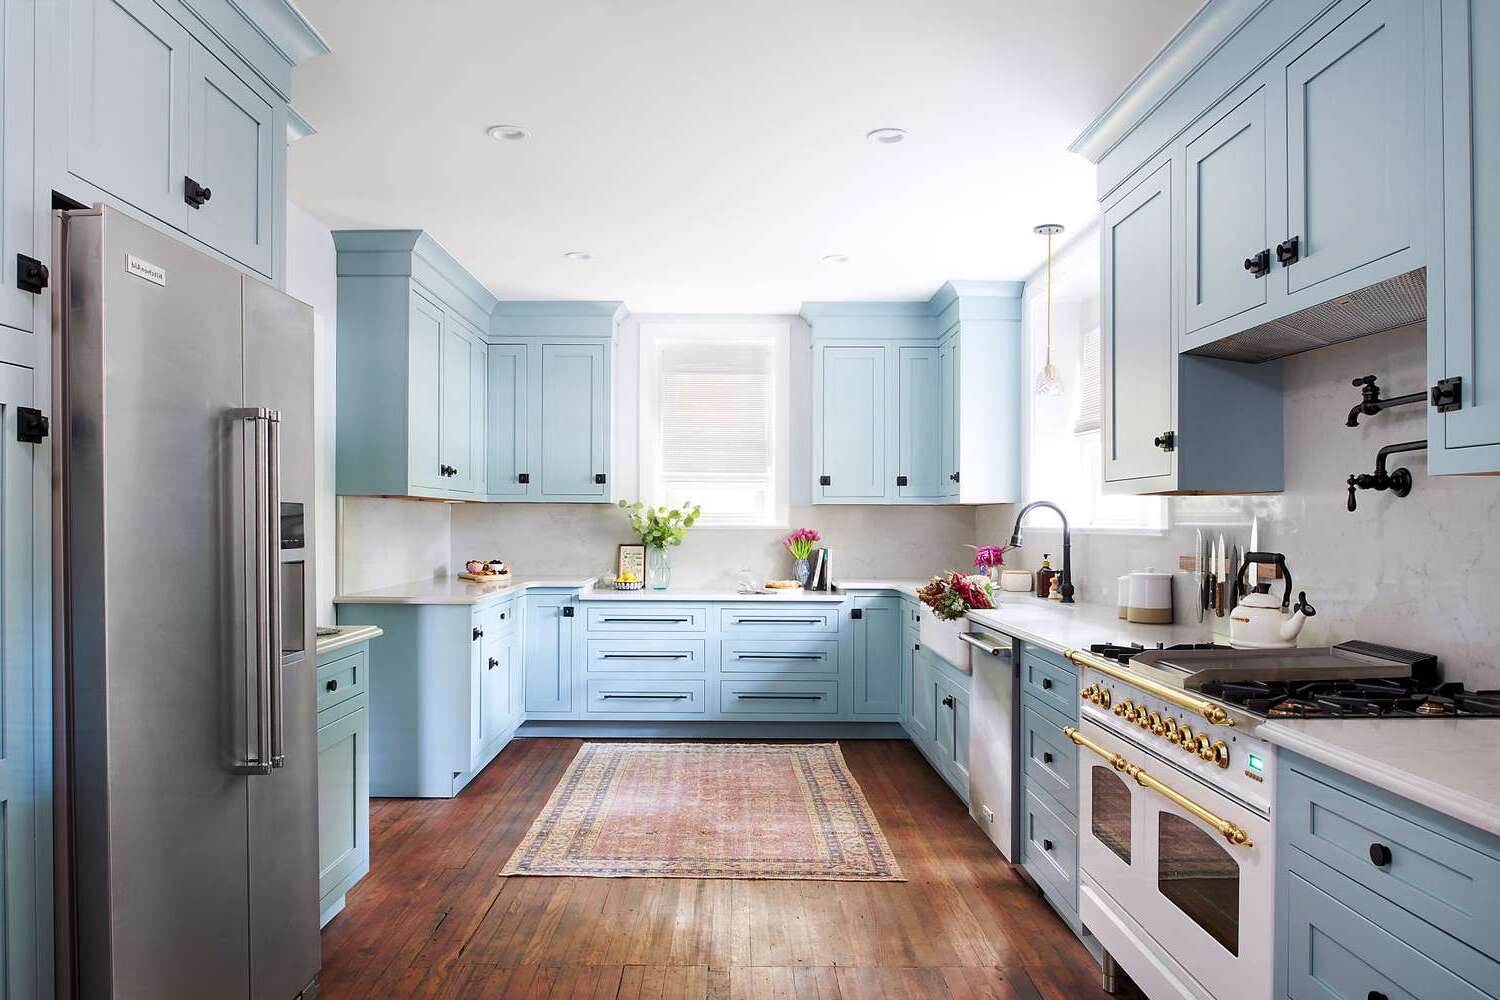
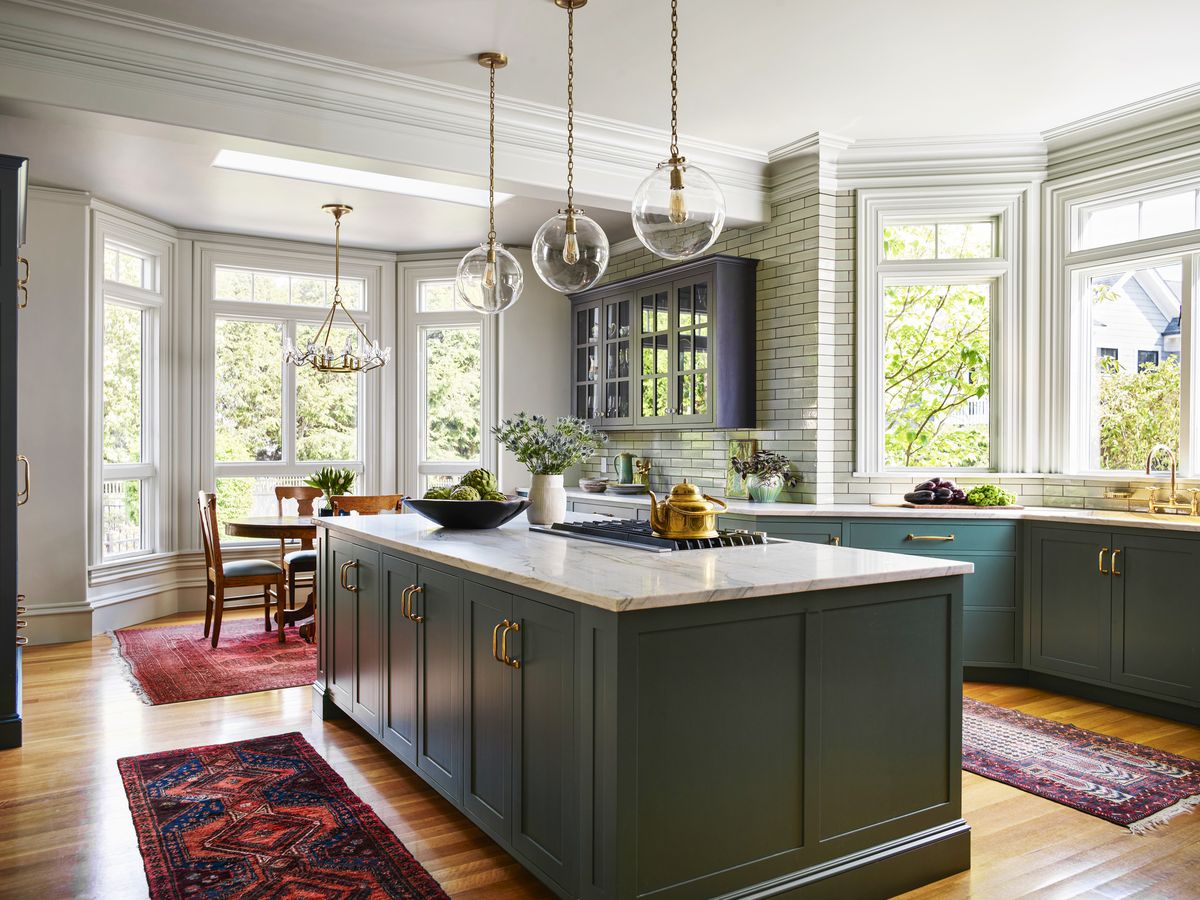
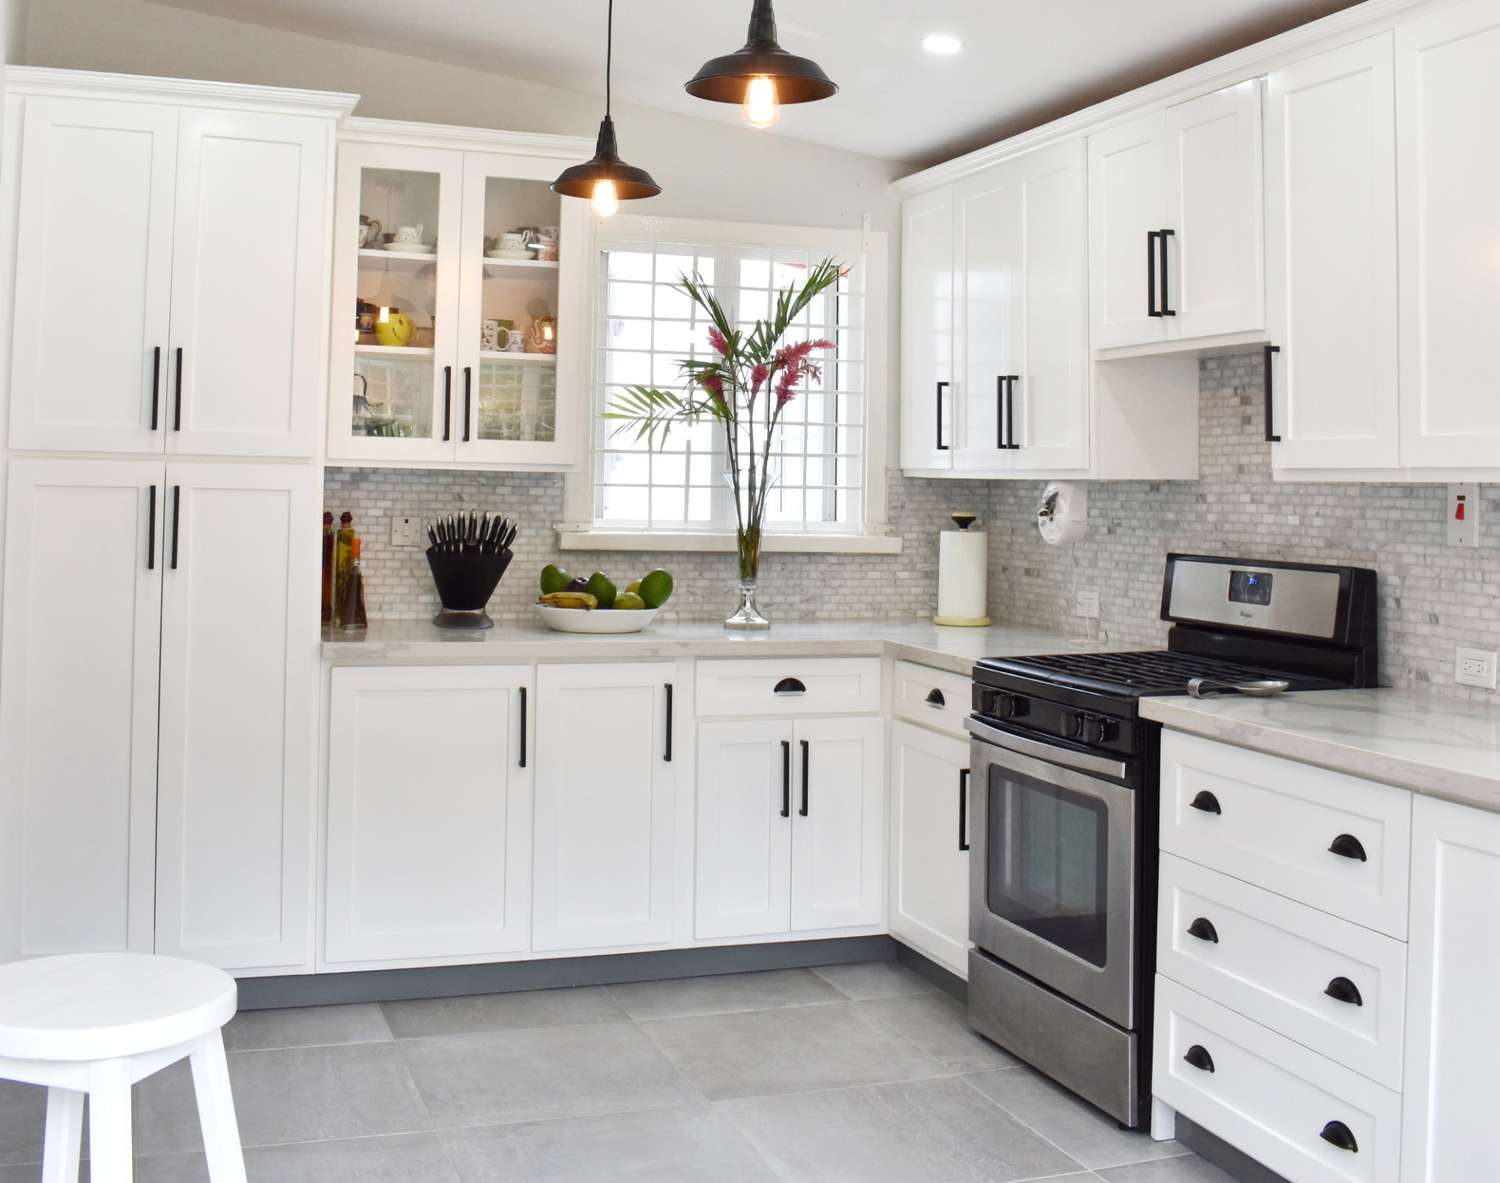
Next, the transformative impact is undeniable. A fresh coat of paint can dramatically change the appearance of your kitchen, making it look modern and updated without the need for extensive renovations. You can go from drab to fab in just a weekend.
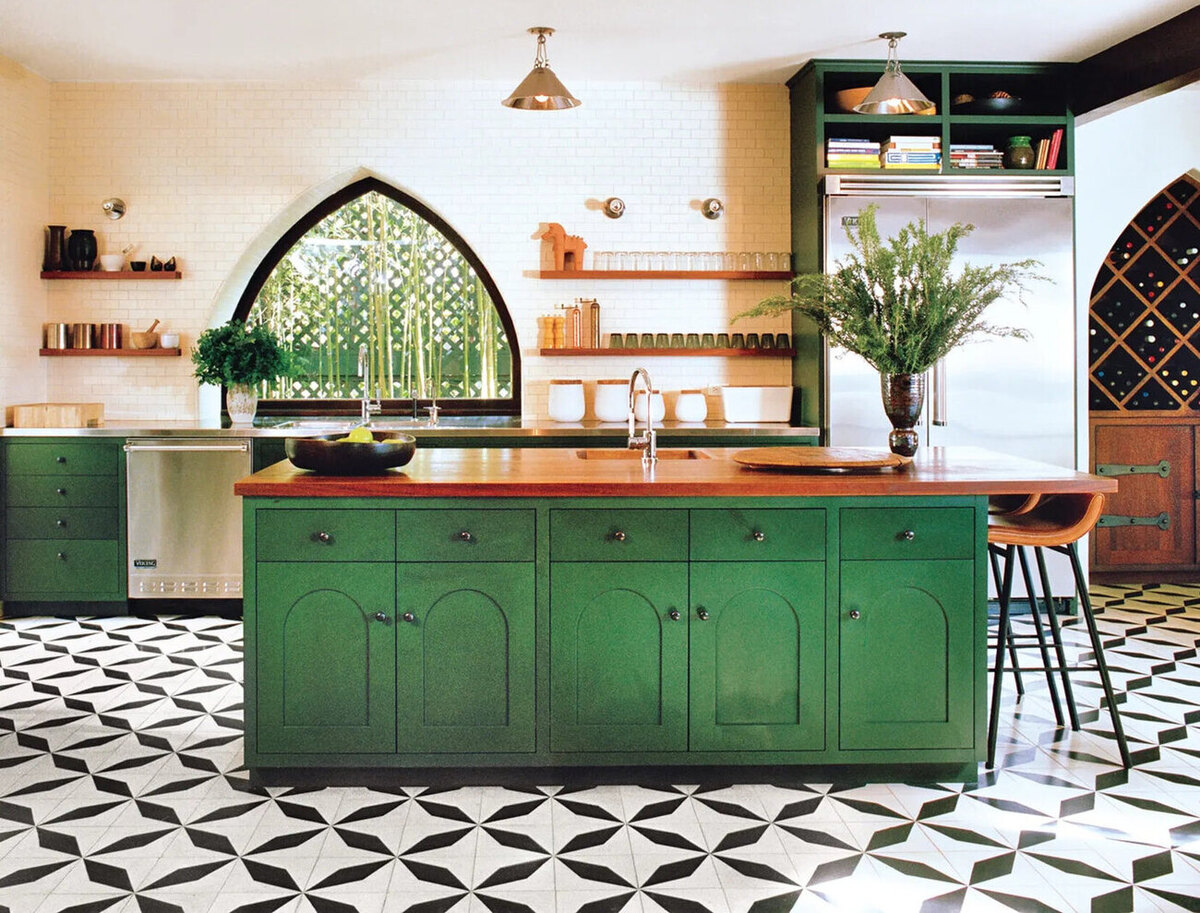
Then there's the customization factor. With a wide range of colors and finishes available, you can choose a paint that perfectly matches your kitchen's style and decor. Whether you want a sleek, modern look or a cozy, rustic vibe, the choice is yours.
Lastly, let’s not forget the environmental benefits. Repurposing existing cabinets reduces waste and supports sustainable living practices. Instead of sending old cabinets to the landfill, you’re giving them a new lease on life.
Preparing for the Project
Before you start painting, it’s crucial to prepare your kitchen and cabinets properly. Here’s a step-by-step guide to get you started:
Gather Your Supplies
To ensure a smooth and successful project, you'll need the following supplies:
- Paint: Choose a high-quality cabinet paint specifically designed for this purpose. Brands like DecoArt and General Finishes are popular choices.
- Primer (Optional): If your cabinets have a glossy finish or are made of a material that requires extra preparation, consider using a primer.
- Painter’s Tape: For protecting surfaces around the cabinets.
- Painter’s Paper or Plastic: For covering floors, countertops, and other areas that shouldn’t be painted.
- Drop Cloths: To protect your floors from paint spills.
- Brushes and Rollers: For applying paint evenly.
- Spray Paint (Optional): For achieving a smooth finish.
- Knot Blocking Product (Optional): To fill in any knots or holes in the wood.
- Denatured Alcohol: For cleaning surfaces before painting.
Clean the Cabinets
Thoroughly clean your cabinets to remove any grease, grime, or old wax. This will ensure better paint adhesion. Use a mixture of warm water and mild detergent, then rinse and let dry completely.
Protect the Surrounding Area
Use painter’s tape to cover any areas you don’t want to paint, such as countertops, appliances, and floors. Apply painter’s paper or plastic for additional protection. Trust me, you don’t want to skip this step unless you enjoy cleaning up paint splatters.
Remove Hardware
Take out the hardware (knobs and handles) from your cabinets to avoid getting paint on them. Set them aside for reinstallation later. It’s a small step that makes a big difference in the final look.
Prepare the Paint
If using a primer, apply it according to the manufacturer’s instructions. If not using a primer, proceed directly to painting. Make sure to stir the paint well to ensure an even color.
Painting Your Cabinets
Now that your cabinets are prepared, it’s time to start painting:
Apply Base Coat
Using a high-quality brush or roller, apply the base coat of paint evenly across the cabinets. Work in sections to maintain even coverage and avoid drips. Thin, even coats are the way to go.
Allow Drying Time
Let the first coat dry completely before applying additional coats. This can take anywhere from 30 minutes to several hours depending on the type of paint you're using. Patience is key here.
Apply Additional Coats
Continue applying coats until you achieve the desired color and finish. It’s better to apply thin coats rather than thick ones to avoid drips and unevenness. Usually, two to three coats will do the trick.
Paint Edges of Cabinet Doors
While waiting for the frames to dry, paint around the edges of your cabinet doors and drawers to ensure they don’t stick together once reattached. This step is often overlooked but is crucial for a polished look.
Reattach Doors and Drawers
Once everything is dry, reattach your cabinet doors and drawers. This might require some contortionist moves but is crucial for maintaining their functionality. Make sure everything lines up properly.
Add Hardware
Reinstall any hardware you removed earlier, making sure it’s securely attached. This is the finishing touch that brings everything together.
Tips for Achieving a Smooth Finish
A smooth finish is crucial for making your painted cabinets look professional. Here are some tips to help you achieve this:
-
Use High-Quality Paint: Choose paints specifically designed for cabinets as they are formulated to adhere well and provide a durable finish.
-
Apply Thin Coats: Avoid applying too much paint at once as it can lead to drips and unevenness. Instead, apply thin coats allowing each one to dry before adding more.
-
Use a Paint Sprayer: If you're comfortable with using a paint sprayer, it can give you an incredibly smooth finish by covering large areas quickly and evenly.
-
Fill Knots (Optional): If your cabinets have knots or holes that need filling, use a knot blocking product before painting.
-
Clean Surfaces: Always clean surfaces thoroughly before painting to ensure better adhesion of the paint.
-
Allow Drying Time: Be patient and allow each coat sufficient drying time before proceeding with additional coats or reattaching doors/drawers.
Common Mistakes to Avoid
While painting your kitchen cabinets can be a rewarding DIY project, there are common mistakes that can ruin the outcome:
-
Insufficient Preparation: Failing to clean surfaces properly or not protecting surrounding areas can lead to uneven paint application and messes.
-
Incorrect Paint Choice: Using regular household paint instead of cabinet-specific paint can result in poor adhesion and durability issues.
-
Inadequate Drying Time: Rushing through the drying process can cause coats to blend together improperly or lead to chipping over time.
-
Poor Hardware Reinstallation: Failing to properly reinstall hardware can cause it to come loose over time, affecting cabinet functionality.
Conclusion
Painting your kitchen cabinets is an excellent way to give your kitchen a fresh new look without breaking the bank. By following these steps and tips, you can achieve professional-looking results that will transform your kitchen into a modern and stylish space. Remember always to prepare thoroughly, use high-quality materials, and allow sufficient drying time for each coat of paint.
Whether you're looking for a quick weekend project or a more extensive makeover, this DIY guide has provided you with everything you need to know about painting your kitchen cabinets successfully.
Additional Resources
For further guidance or inspiration, here are some additional resources you might find helpful:
- The Palette Muse: Offers an easy method for painting kitchen cabinets without sanding, using DecoArt Satin Enamel paints.
- Style by Emily Henderson: Provides a detailed step-by-step guide on how to paint kitchen cabinets with a factory smooth finish.
- Designer Trapped: Shares tips on how to paint kitchen cabinets without sanding or priming using specific products like General Finishes milk paint.
- This Old House: Offers expert advice on how much it costs to paint kitchen cabinets and provides step-by-step instructions for achieving a smooth finish.
By following these resources and tips outlined in this guide, you'll be well on your way to creating beautifully painted kitchen cabinets that will enhance the overall aesthetic of your home.
Was this page helpful?
At Storables.com, we guarantee accurate and reliable information. Our content, validated by Expert Board Contributors, is crafted following stringent Editorial Policies. We're committed to providing you with well-researched, expert-backed insights for all your informational needs.


0 thoughts on “DIY Guide To Painting Kitchen Cabinets”