Home>Articles>How To Treat A Big Pantry Cabinet In A Painted Kitchen
Articles
How To Treat A Big Pantry Cabinet In A Painted Kitchen
Modified: January 9, 2024
Discover effective tips and techniques for treating a large pantry cabinet in a painted kitchen with our informative articles. Transform your space with expert advice!
(Many of the links in this article redirect to a specific reviewed product. Your purchase of these products through affiliate links helps to generate commission for Storables.com, at no extra cost. Learn more)
Introduction
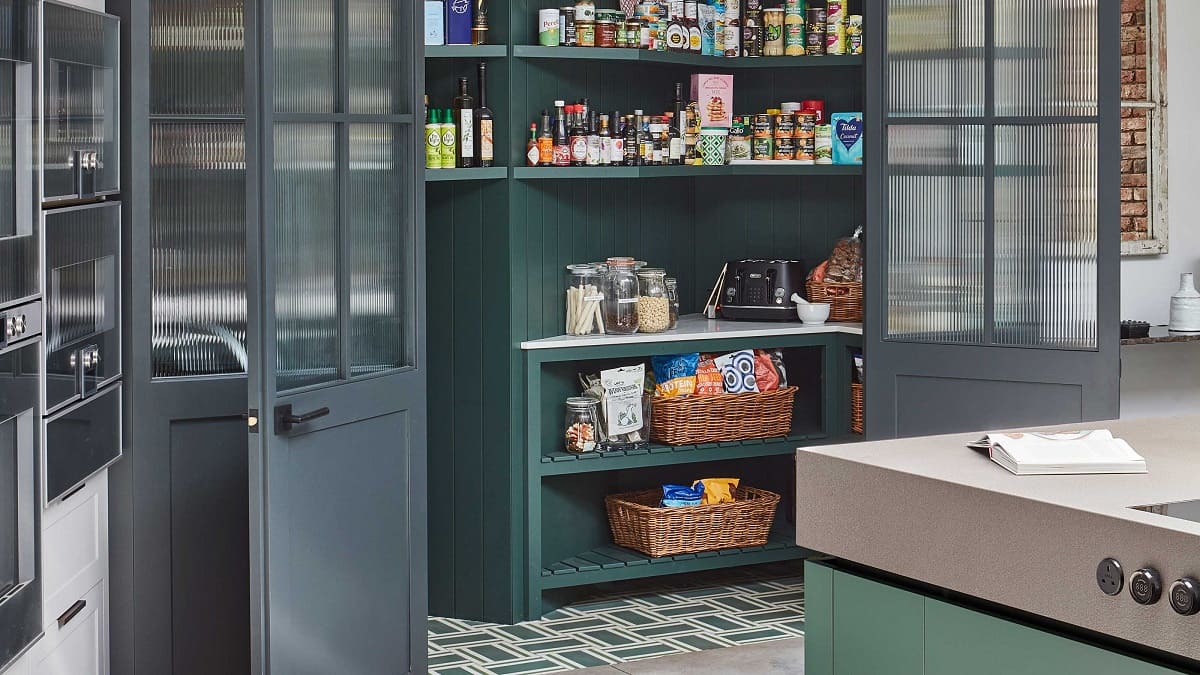
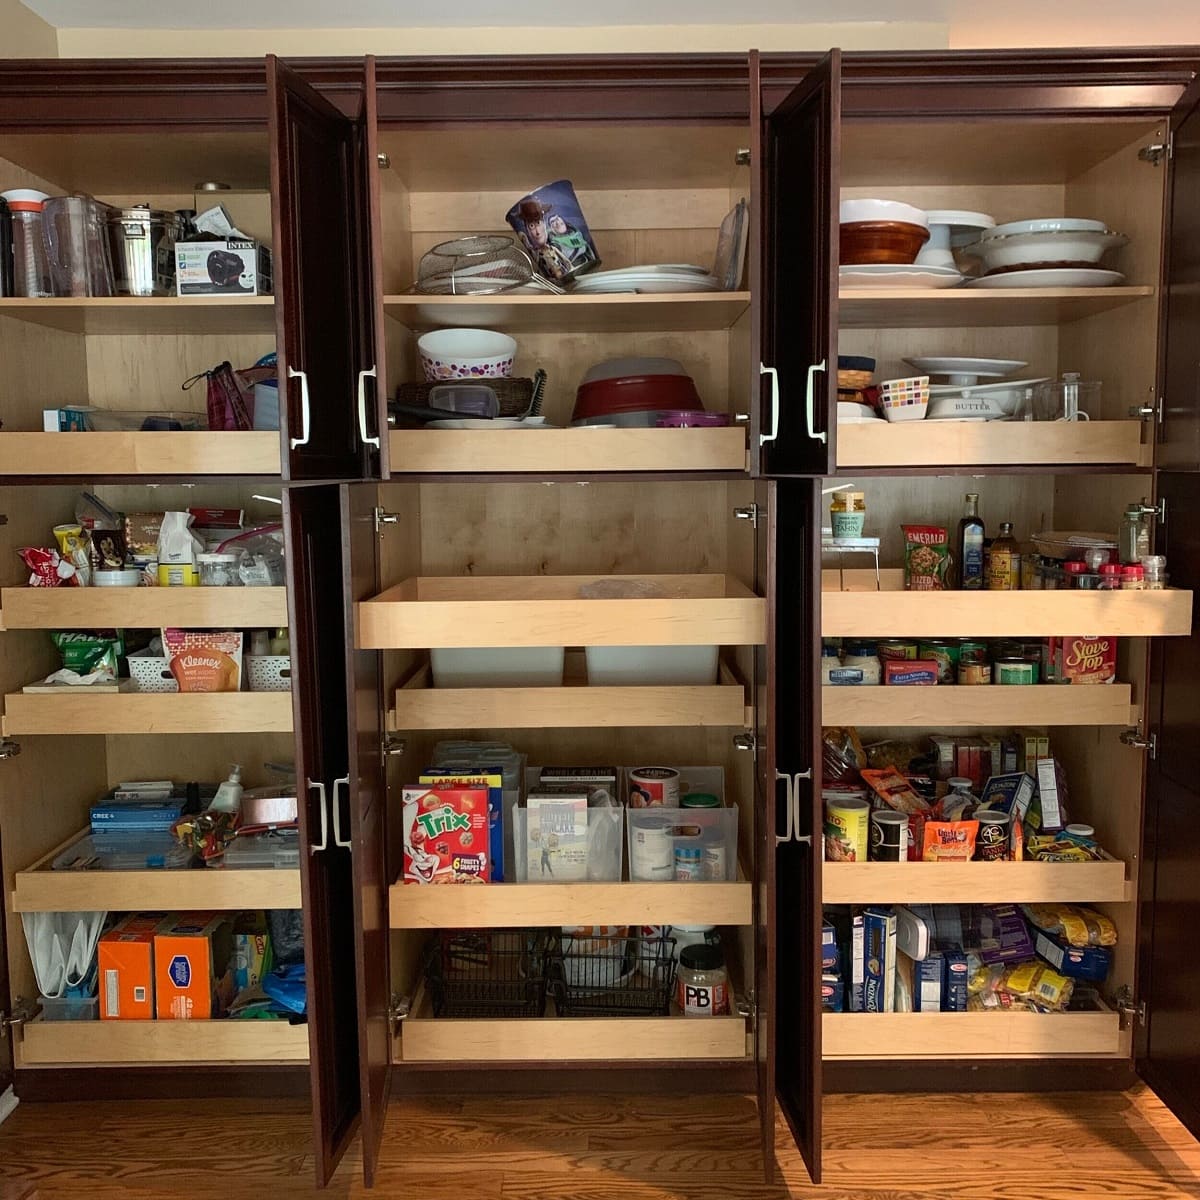
A big pantry cabinet in a painted kitchen can be a stylish and functional addition to any home. Whether you’re looking to update the look of your existing pantry cabinet or give it a fresh new coat of paint, this article will guide you through the steps to achieve a professional-looking finish.
Having a well-maintained pantry cabinet not only enhances the overall aesthetics of your kitchen but also ensures that your food items are stored in a clean and organized manner. Painting your pantry cabinet can also be a cost-effective alternative to replacing it entirely.
Before you begin, it’s important to assess the condition of your pantry cabinet. Look for any signs of damage such as cracks, peeling paint, or water stains. These issues need to be addressed before you start the painting process.
This article will outline a step-by-step guide to treating a big pantry cabinet in a painted kitchen. From assessing the condition of the cabinet to applying the final touches, you’ll learn all the necessary steps to transform your pantry cabinet into a stunning focal point in your kitchen.
So grab your painting supplies and let’s dive into the process of treating a big pantry cabinet in a painted kitchen!
Key Takeaways:
- Transforming a pantry cabinet in a painted kitchen is a rewarding DIY project that enhances aesthetics and functionality. Proper assessment, cleaning, painting, and maintenance are key for a stunning and durable finish.
- Regular maintenance, gentle cleaning, and prompt touch-ups are essential for preserving the beauty and functionality of a painted pantry cabinet. With care and attention, it can remain a stunning focal point in the kitchen for years to come.
Read more: What Is A Pantry Cabinet
Step 1: Assessing the Condition of the Pantry Cabinet
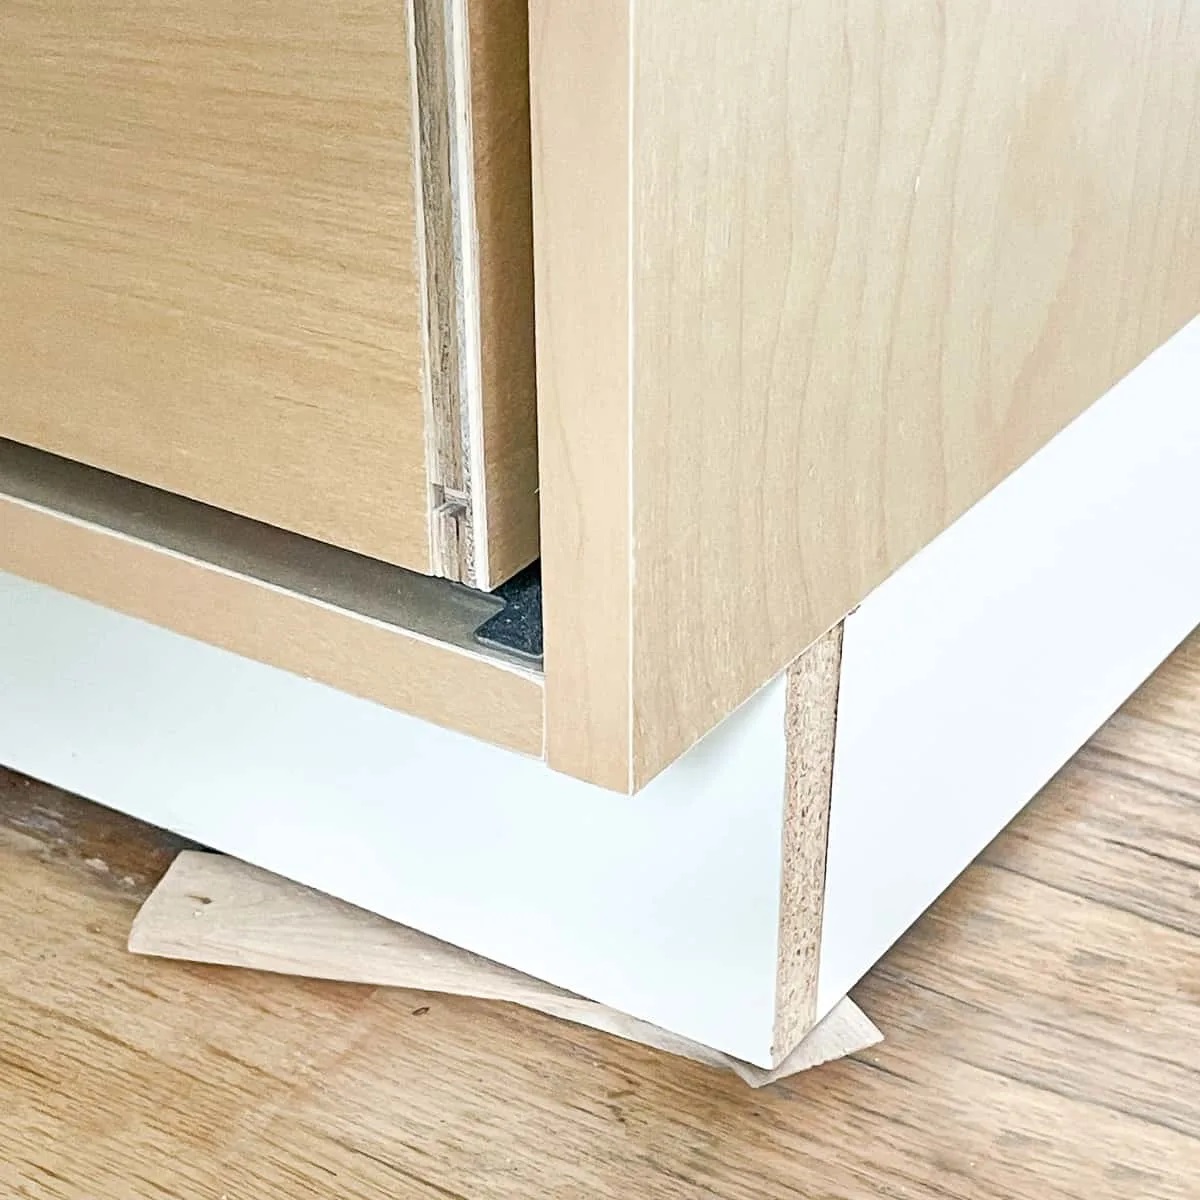
Before you begin any painting project, it’s crucial to assess the condition of your pantry cabinet. This step will help you identify any areas that require repair or special attention before you start the painting process.
Start by inspecting the cabinet for any visible signs of damage. Look for cracks, dents, or loose hinges. If you notice any structural issues, it’s important to address them before moving forward. Repair any cracks or dents with wood filler and tighten any loose hardware.
Next, examine the surface of the cabinet. Check for any peeling or chipped paint. If you find any, remove the loose paint using a paint scraper or sandpaper. This will ensure that the new paint adheres properly to the surface.
In addition to checking for damage, take note of any stains or discoloration on the cabinet. If you spot water stains, mold, or mildew, it’s crucial to address these issues before painting. Clean and treat the affected areas with a mildew remover or bleach solution to prevent any further growth.
Once you’ve assessed the condition of the pantry cabinet and addressed any necessary repairs or cleaning, you’re ready to move on to the next step. Preparing the cabinet for painting is essential to achieve a smooth and long-lasting finish.
Step 2: Cleaning and Preparing the Cabinet
After assessing the condition of your pantry cabinet, it’s time to thoroughly clean and prepare it for painting. This step is crucial to ensure that the paint adheres properly and the final result is smooth and flawless.
Start by removing all the items from the pantry cabinet. This will not only make it easier to clean but also protect your belongings from any cleaning agents or paint splatters. Wipe down the interior and exterior surfaces of the cabinet with a damp cloth to remove any dust, dirt, or grease.
For tough stains or grease buildup, you can use a mild detergent mixed with warm water. Scrub gently with a sponge or soft brush, paying attention to corners and crevices. Rinse the cabinet thoroughly with clean water and allow it to dry completely before proceeding.
Once the cabinet is dry, it’s time to prepare the surface for painting. Start by using painter’s tape to mask off any areas that you want to protect, such as the hinges or handles. This will ensure clean lines and prevent paint from reaching unwanted areas.
Next, lightly sand the entire surface of the cabinet using fine-grit sandpaper. This will create a rough texture that allows the paint to adhere better. Be sure to sand in the direction of the wood grain to avoid causing any scratches or damage to the surface.
After sanding, use a tack cloth or a damp cloth to remove any dust or debris from the cabinet. This step is essential to achieve a smooth and even paint finish. Once the cabinet is clean and free from dust, you’re ready to move on to the next step: removing the old paint.
Step 3: Removing Old Paint from the Cabinet
Before you can apply a fresh coat of paint to your pantry cabinet, it’s important to remove any old paint that may be peeling or chipping. Removing the old paint will ensure a smooth and even surface for the new paint to adhere to.
There are several methods you can use to remove old paint from your cabinet, depending on the type of paint and the level of adherence. Here are a few commonly used techniques:
1. Scraping: If the old paint is loose or flaking, you can use a paint scraper or putty knife to remove it. Start at one corner and gently scrape the paint away, working your way across the entire surface of the cabinet. Be careful not to apply too much pressure or you may damage the wood underneath.
2. Sanding: If the paint is stubborn and does not easily scrape off, you can use sandpaper to sand away the old paint. Start with a coarse-grit sandpaper to roughen the surface, then switch to a finer-grit sandpaper for a smoother finish. Sand in the direction of the wood grain to avoid causing any scratches.
3. Chemical Paint Strippers: For thicker layers of paint or hard-to-reach areas, you can use chemical paint strippers. Follow the manufacturer’s instructions carefully and wear protective gloves and goggles. Apply the paint stripper to the cabinet and let it sit for the recommended amount of time. Then, use a scraper or brush to remove the softened paint.
4. Heat Gun: A heat gun can also be used to remove old paint, especially if it is stubborn or layered. Hold the heat gun a few inches away from the cabinet and move it back and forth to heat the paint. Once the paint starts to bubble, scrape it away with a paint scraper or putty knife.
After removing the old paint, use a tack cloth or a damp cloth to remove any residue or dust from the cabinet. This step is crucial to ensure a clean and smooth surface before moving on to the next step: sanding the cabinet.
Step 4: Sanding the Cabinet
Once you have successfully removed the old paint from your pantry cabinet, the next step is to sand the cabinet. Sanding will smooth out any rough surfaces and create a texture that allows the new paint to adhere properly.
Start by ensuring that the cabinet is clean and free from any dust or debris. Use a tack cloth or a damp cloth to wipe down the entire surface of the cabinet, including any nooks and crannies.
Next, choose a medium-grit sandpaper, such as 120-grit or 150-grit. Wrap the sandpaper around a sanding block or use a power sander to make the sanding process more efficient.
Begin sanding the cabinet with long, even strokes, following the direction of the wood grain. Take care not to apply too much pressure, as this can damage the wood surface. The goal is to create a smooth and even surface for the paint.
If you encounter any stubborn areas or rough patches, you can switch to a finer-grit sandpaper, such as 220-grit, for a smoother finish. Continue sanding until the entire surface of the cabinet feels smooth to the touch.
After sanding, use a tack cloth or a damp cloth once again to remove any sanding dust. It’s important to thoroughly clean the cabinet before moving on to the next step.
Once the cabinet is clean and dry, you’re ready to proceed to the next step: priming the cabinet.
Step 5: Priming the Cabinet
Priming the pantry cabinet is an essential step in the painting process. Primer creates a smooth, even base for the paint to adhere to and helps to seal the wood, preventing any stains or discoloration from bleeding through the paint.
Before starting the priming process, make sure the cabinet is clean and free from any dust or debris. Use a tack cloth or a damp cloth to wipe down the entire surface of the cabinet, ensuring that it is dry before proceeding.
Next, choose a high-quality primer that is suitable for the type of paint you will be using. There are various types of primers available, such as oil-based or water-based. Ensure that the primer is specifically formulated for use on wood surfaces.
Using a paintbrush or a foam roller, apply a thin and even coat of primer to the pantry cabinet. Start by applying the primer to the flat surfaces, working your way from the top down. Use smooth and consistent strokes to avoid brush marks or roller lines.
Pay extra attention to any areas with knots or imperfections in the wood, as these areas may require additional coats of primer to ensure an even finish. Allow the primer to dry completely according to the manufacturer’s instructions before applying additional coats or moving on to the next step.
After the primer has dried, inspect the cabinet for any areas that may require touch-ups or additional coats of primer. Sand lightly with a fine-grit sandpaper, if necessary, to smooth out any raised areas or rough spots before applying another layer of primer.
Once you are satisfied with the primed surface, clean your paintbrush or roller thoroughly with water or the appropriate cleaner, depending on the type of primer used.
With the cabinet now primed, you’re ready to move on to the exciting step of painting the cabinet and bringing it to life with a fresh new color!
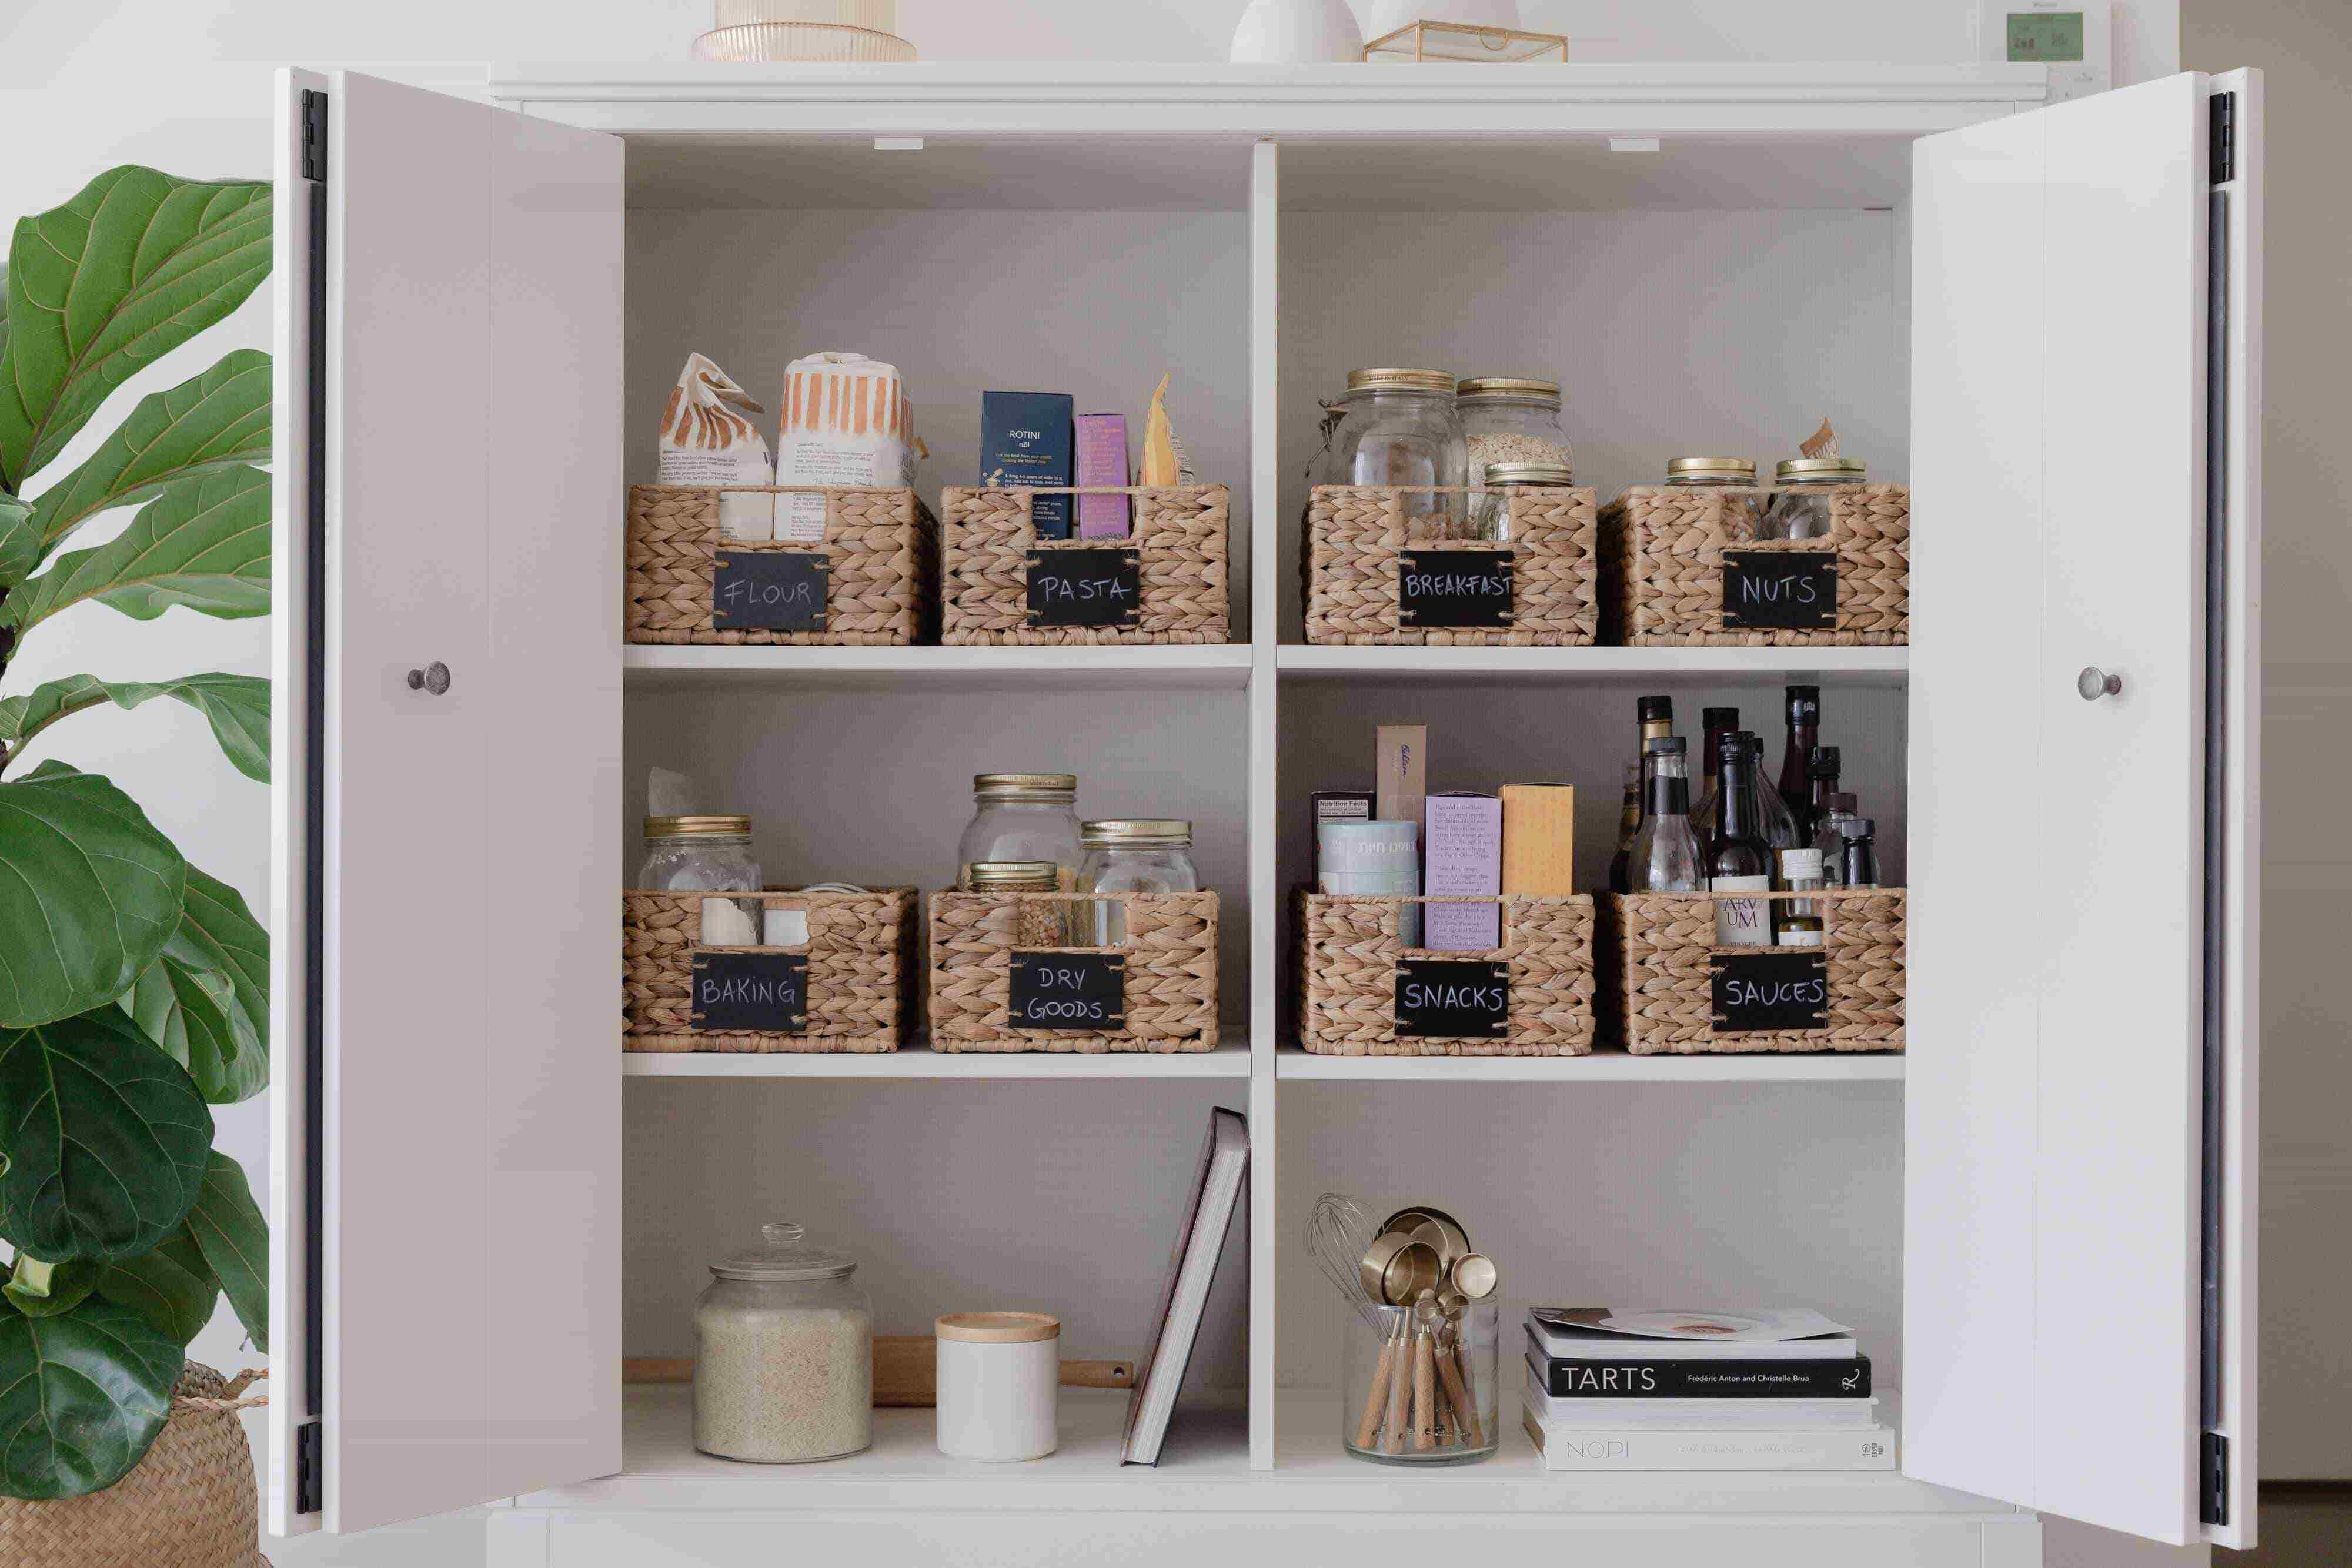
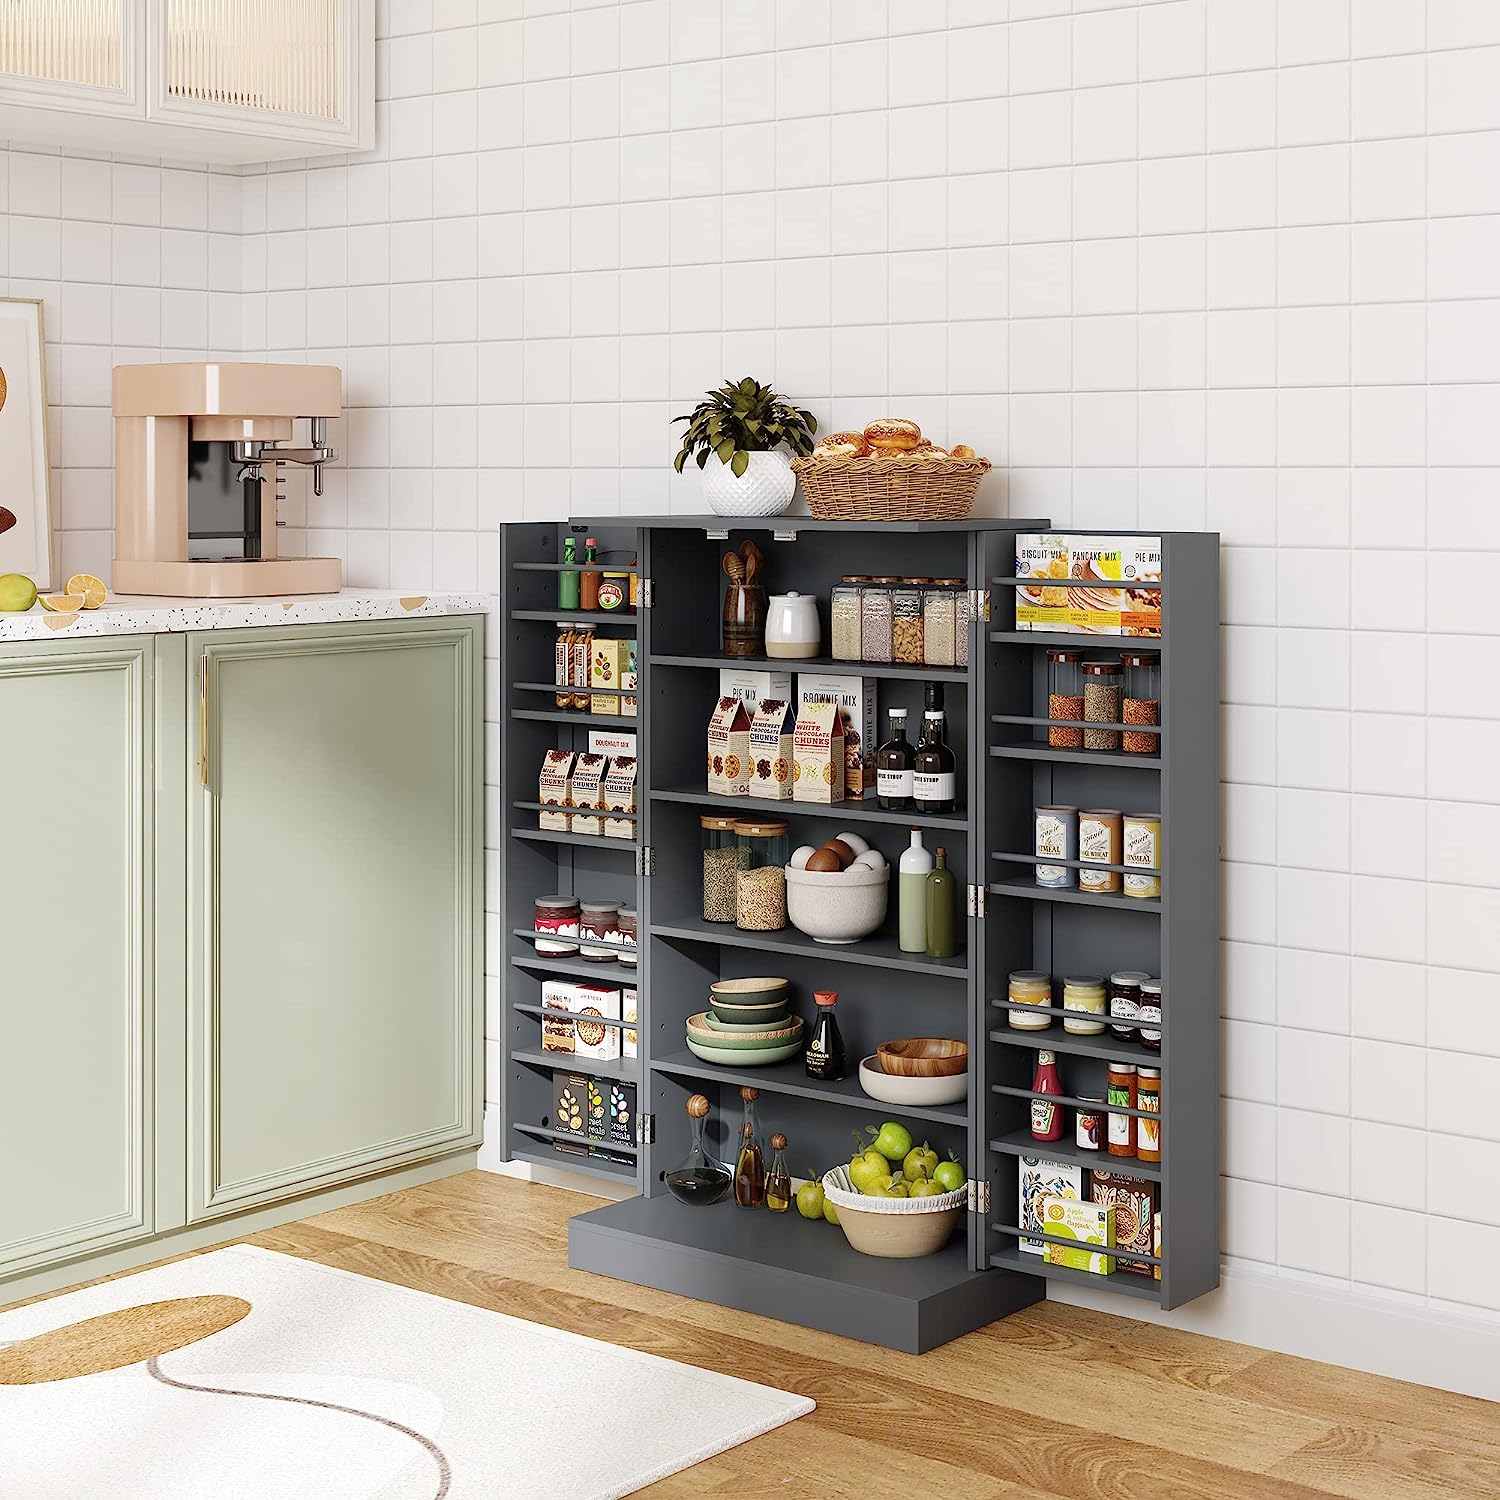
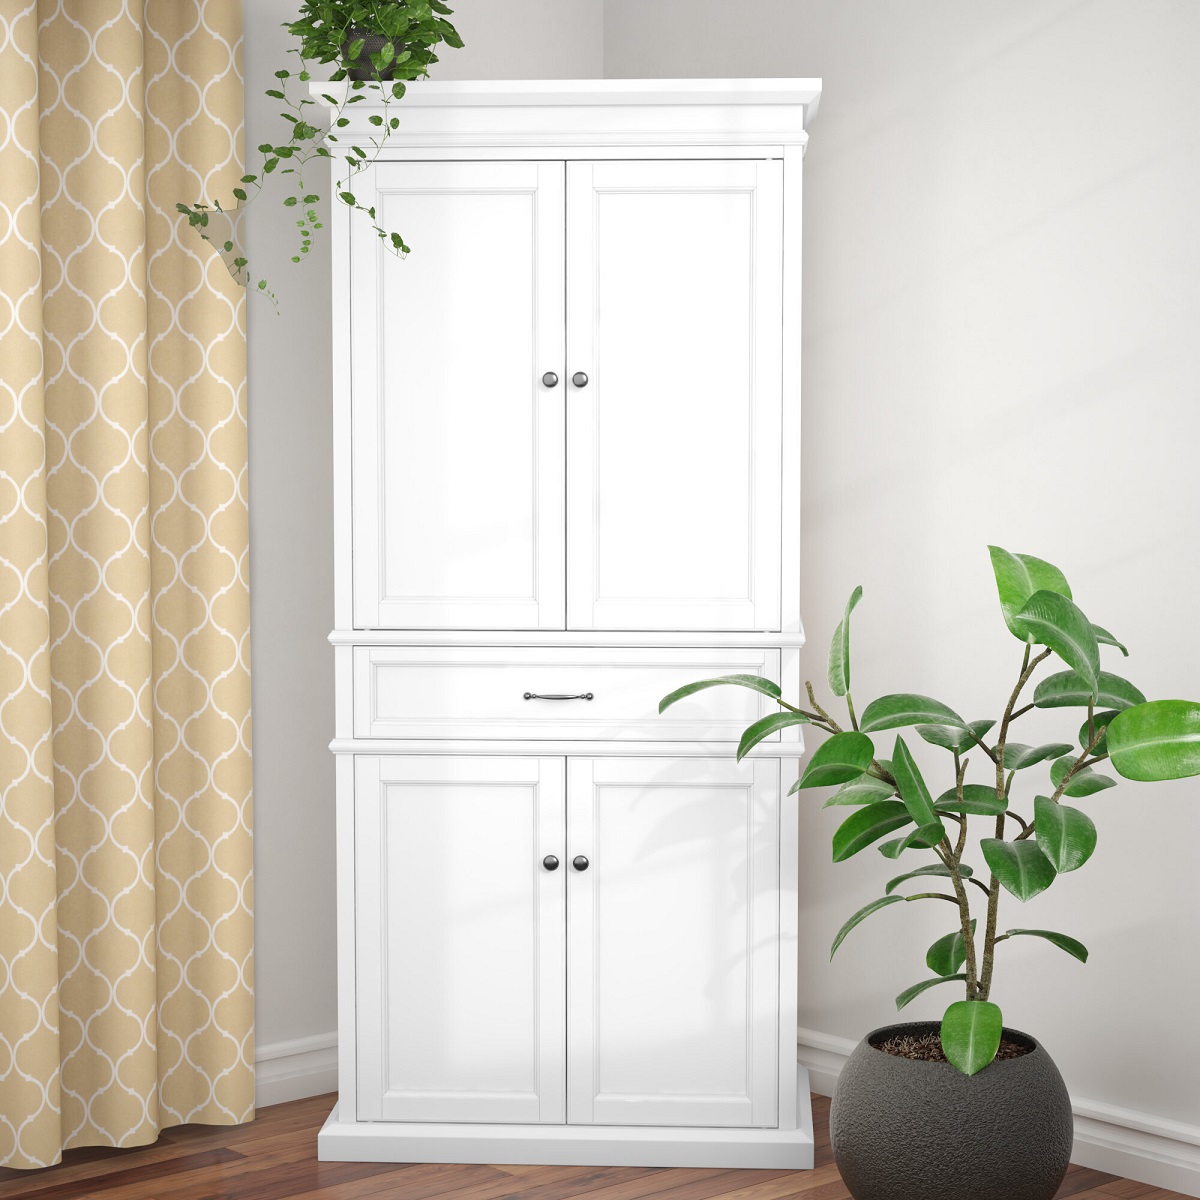
Consider using a combination of open shelving and closed cabinets to break up the visual bulk of a large pantry cabinet in a painted kitchen. This will create a more balanced and visually appealing look.
Step 6: Painting the Cabinet
Now that your pantry cabinet is properly primed, it’s time to paint! Painting will transform the look of your cabinet and give it a fresh, new appearance that matches your desired style and decor.
Before you begin painting, ensure that the cabinet is clean and free from any dust or debris. Use a tack cloth or a damp cloth to wipe down the entire surface of the cabinet, making sure it is dry before proceeding.
Choose a high-quality paint that is suitable for the type of cabinet you have. Acrylic latex paint is a popular choice for kitchen cabinets, as it is durable and easy to clean. Consider using a semi-gloss or satin finish for a smooth and stylish result.
Start by applying paint to the flat surfaces of the cabinet using a paintbrush or a foam roller. Begin at the top and work your way down, using long, even strokes for a smooth and consistent finish. Take care to avoid leaving brush marks or roller lines.
For corners, edges, and intricate details, use a small paintbrush to ensure precision and to reach areas that a roller may not cover. Take your time and be patient during the painting process to achieve the best results.
Apply thin and even coats of paint, allowing each coat to dry completely before applying the next. This will help to avoid drips and ensure a professional-looking finish. Depending on the color and type of paint, you may need to apply multiple coats to achieve the desired depth of color and coverage.
Once you have painted all the surfaces of the cabinet, step back and inspect your work. Look for any areas that may require touch-ups or additional coats of paint. Use a fine-grit sandpaper to lightly sand any imperfections and then apply the necessary touch-up paint.
After you are satisfied with the paint coverage and finish, allow the cabinet to dry completely according to the manufacturer’s instructions. This will ensure that the paint is fully cured and ready for the next step: applying a top coat for added protection.
Painting your pantry cabinet can be a rewarding and creative process. It allows you to bring your personal style into your kitchen and transform the look of the space. Now, let’s move on to the next step of applying a top coat to protect and enhance the longevity of your beautiful new cabinet!
Step 7: Applying a Top Coat
Applying a top coat to your painted pantry cabinet is an important step that adds an extra layer of protection and enhances the longevity of the finish. The top coat acts as a sealant, safeguarding the paint from scratches, stains, and daily wear and tear.
Before you start applying the top coat, make sure the cabinet is clean and free from any dust or debris. Use a tack cloth or a damp cloth to wipe down the entire surface of the cabinet, ensuring that it is dry before proceeding.
Choose a clear, water-based polyurethane top coat that is specifically formulated for painted surfaces. Consider using a satin or semi-gloss finish, depending on your preference and the desired level of sheen.
Using a clean paintbrush or foam roller, apply a thin and even coat of the top coat to the pantry cabinet. Start at the top and work your way down, using long, smooth strokes. Take care to avoid overlapping or applying too much top coat, as it can result in an uneven finish.
If necessary, lightly sand the cabinet between coats of top coat using a fine-grit sandpaper. This will help to create a smoother finish and ensure proper adhesion of subsequent layers. Be sure to wipe away any sanding dust with a tack cloth or a damp cloth before applying additional coats.
Apply multiple thin coats of top coat, allowing each coat to dry completely before applying the next. Follow the manufacturer’s instructions for the recommended drying time between coats. This will help to achieve a durable and long-lasting finish.
After applying the final coat of top coat, allow the pantry cabinet to dry completely according to the manufacturer’s instructions. This will ensure that the top coat is fully cured and ready for use.
Applying a top coat to your painted pantry cabinet not only adds a protective layer, but it also enhances the overall appearance, giving it a smooth and professional finish. Now that your cabinet has been painted and protected, it’s time to move on to the next step: reassembling the cabinet.
Step 8: Reassembling the Cabinet
Now that your painted pantry cabinet is fully dried and protected, it’s time to reassemble it and bring it back to its functional state in your kitchen. This step involves putting all the components of the cabinet back together and making sure everything is properly aligned and functional.
Begin by gathering all the hardware and components that you removed during the painting process. This includes hinges, handles, knobs, and any other accessories attached to the cabinet.
Before attaching the hardware, inspect each piece to ensure it is clean and free from any paint or residue. Use a damp cloth or mild cleaner if necessary to remove any traces of paint or debris.
Next, carefully align the hinges and attach them to the cabinet doors and the frame. Make sure they are securely fastened and that the doors open and close smoothly. If needed, adjust the hinges or tighten the screws to ensure proper alignment.
Once the hinges are in place, attach the handles, knobs, or other hardware to the cabinet doors and drawers. Ensure they are aligned properly and securely attached.
After reassembling the hardware, take a moment to check the functionality of the cabinet. Open and close the doors and drawers to make sure they move smoothly and without any obstructions. If you encounter any issues, make adjustments and tighten any loose hardware as needed.
Finally, step back and admire your reassembled pantry cabinet. Take a moment to appreciate the fresh new look and the hard work you’ve put into transforming it.
Now that your pantry cabinet is fully reassembled, it’s time to move on to the final step: adding the finishing touches and some maintenance tips to keep your newly painted cabinet looking its best.
Step 9: Final Touches and Maintenance Tips
Congratulations on successfully treating and painting your pantry cabinet! As a final step, let’s discuss some important final touches and maintenance tips to keep your cabinet looking as good as new for years to come.
1. Clean and Dust Regularly: To maintain the cleanliness and appearance of your painted cabinet, make it a habit to clean and dust it regularly. Use a soft cloth or a duster to remove any dust or debris that may accumulate on the surface.
2. Avoid Harsh Chemicals: When cleaning your painted pantry cabinet, avoid using harsh chemicals or abrasive cleaners. Instead, opt for mild soap and water solution or a cleaner specifically formulated for painted surfaces. Test any cleaner on a small, inconspicuous area first to ensure it does not damage the paint.
3. Handle with Care: While the top coat provides protection to the painted surface, it’s important to handle your pantry cabinet with care. Avoid banging or scratching the cabinet with sharp objects, and use caution when placing or removing items from the shelves to prevent any accidental damage.
4. Address Spills and Stains Promptly: If you encounter any spills or stains on your cabinet, be sure to clean them up promptly. This will prevent the stain from setting into the paint and causing discoloration or damage. Use a soft cloth or sponge and a mild cleaning solution to gently clean the affected area.
5. Touch-Ups as Needed: Over time, your painted pantry cabinet may experience minor wear and tear, such as small chips or scratches. Keep some extra paint on hand for touch-ups, and promptly address any areas that may need attention. Lightly sand the affected area, apply touch-up paint, and allow it to dry before applying a protective top coat.
6. Regular Inspections: Periodically inspect your pantry cabinet for any signs of damage or wear. Check for any loose hinges or hardware, and tighten them as needed. Look for any peeling or chipped paint, and address it with touch-up paint and a top coat.
By following these maintenance tips and giving your pantry cabinet the care it deserves, you can ensure that it remains a beautiful and functional addition to your kitchen for years to come.
With the final touches and maintenance tips in mind, you have now completed the journey of treating and painting your pantry cabinet. Enjoy the fresh look and functionality it brings to your kitchen!
Conclusion
Treating a big pantry cabinet in a painted kitchen is a rewarding project that can transform the look and functionality of your kitchen space. By following the step-by-step guide outlined in this article, you have learned how to assess the condition of the cabinet, clean and prepare it, remove old paint, sand the surface, prime it, paint it with care, apply a top coat for protection, reassemble the cabinet, and add the finishing touches.
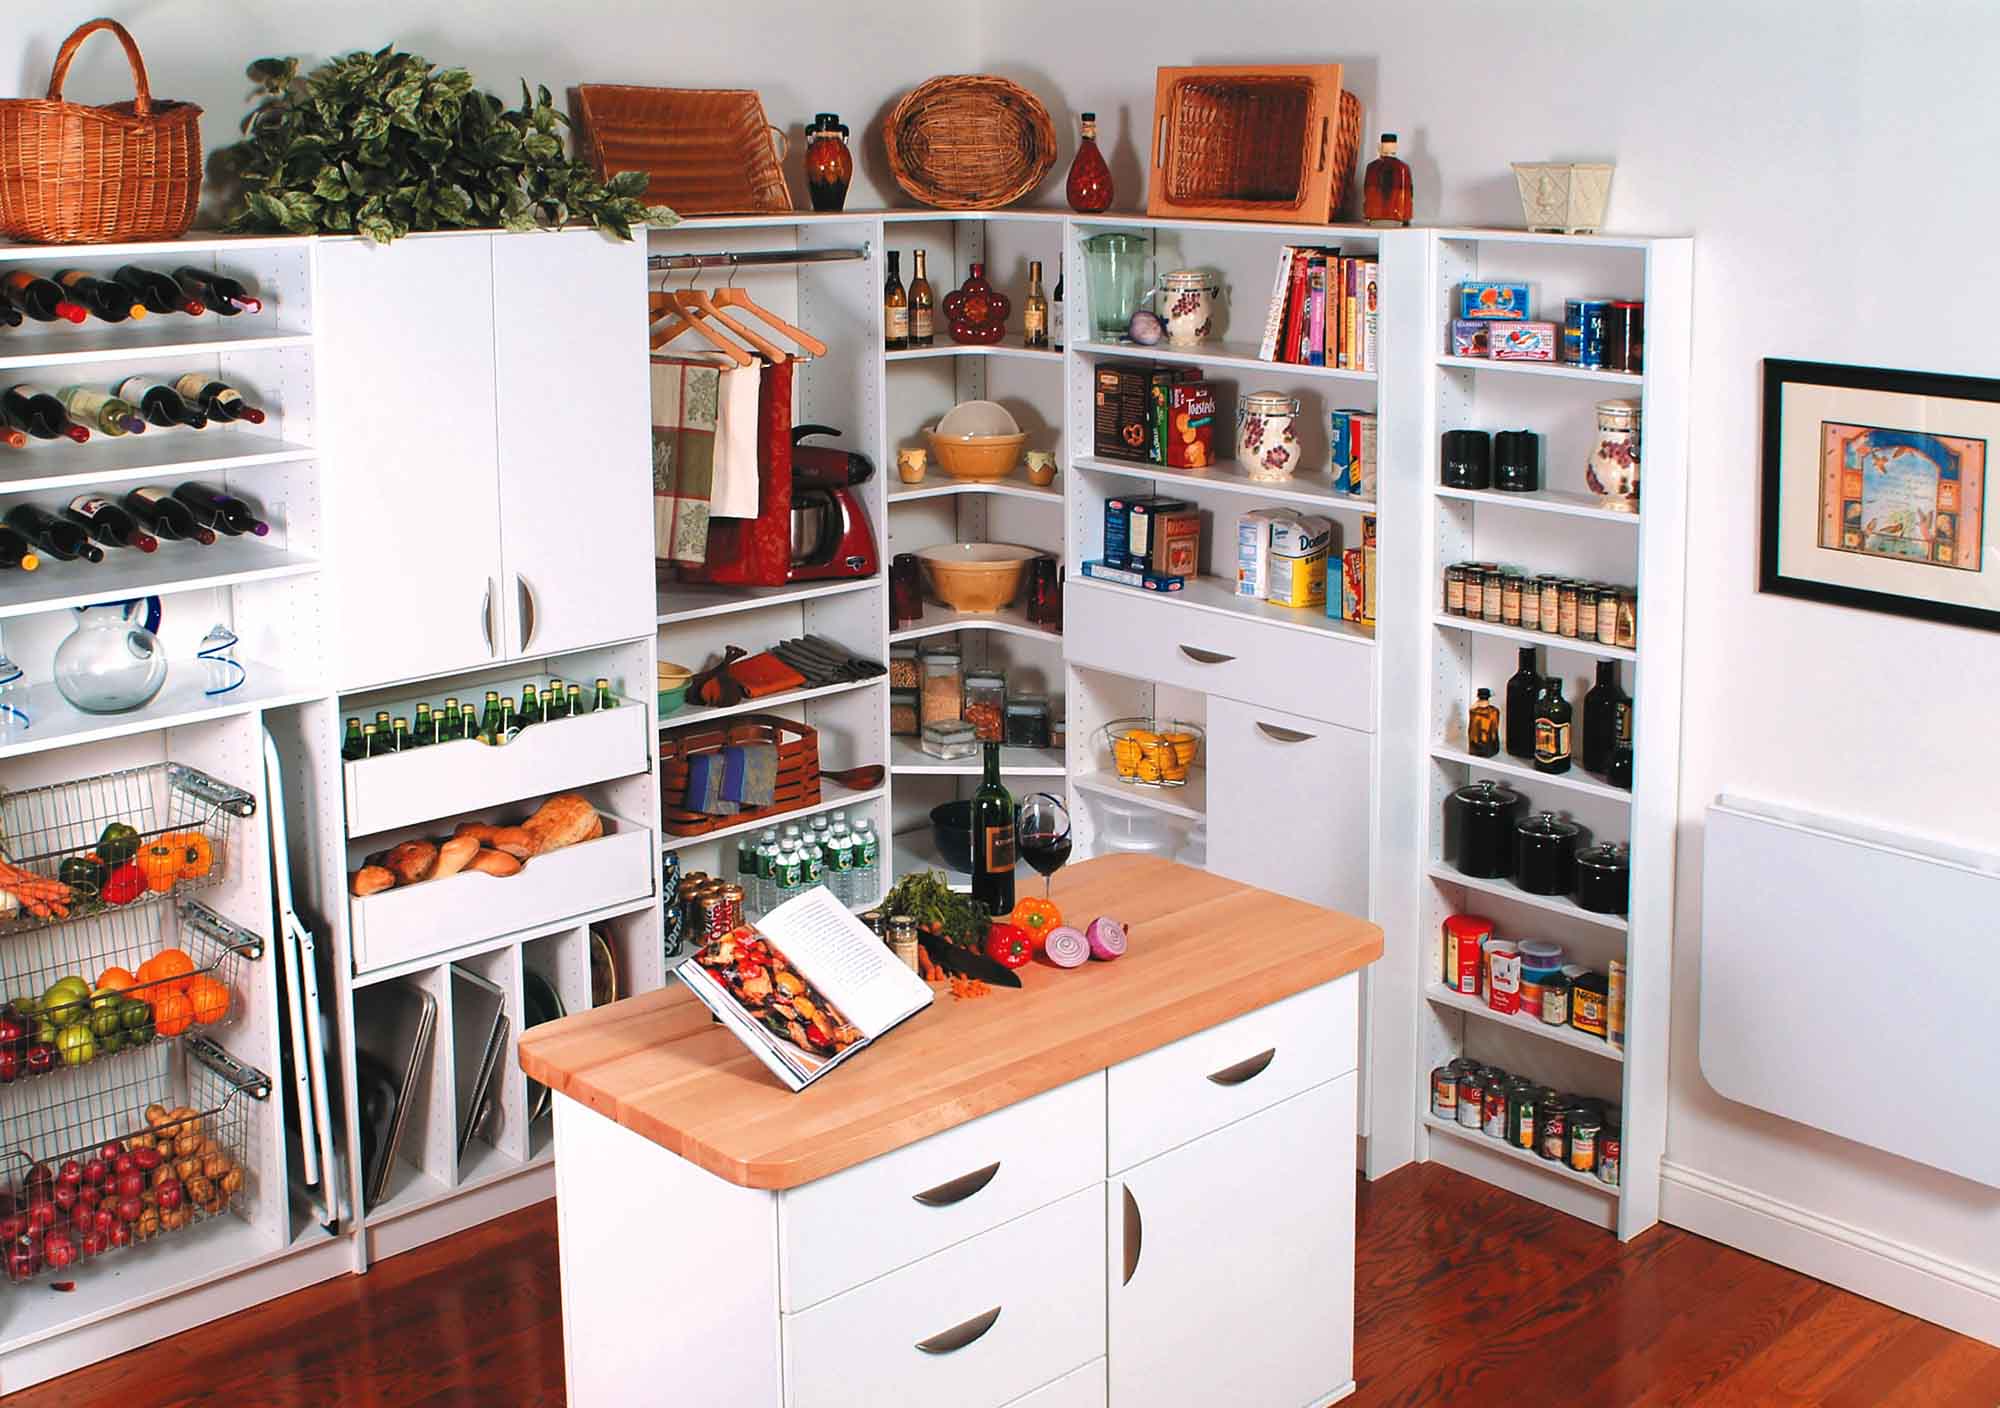
By investing time and effort into properly treating and painting your pantry cabinet, you have not only enhanced its aesthetics but also extended its lifespan and improved its functionality. Your pantry cabinet can now serve as a beautiful focal point in your kitchen, providing ample storage space for your food items while seamlessly blending in with your overall kitchen design.
Remember to clean and maintain your pantry cabinet regularly, using mild cleaning solutions and avoiding harsh chemicals. Handle it with care to prevent any accidental damage, promptly address any spills or stains, and perform regular inspections to catch any signs of wear and tear.
With the knowledge and skills acquired from this article, you are now equipped to tackle any pantry cabinet painting project with confidence and achieve professional-looking results. Be sure to share your transformed kitchen space with family and friends, and take pride in the hard work you have put into creating a beautiful and functional pantry cabinet in a painted kitchen.
Enjoy the new look and functionality of your pantry cabinet, and let it become the heart of your kitchen for years to come!
Frequently Asked Questions about How To Treat A Big Pantry Cabinet In A Painted Kitchen
Was this page helpful?
At Storables.com, we guarantee accurate and reliable information. Our content, validated by Expert Board Contributors, is crafted following stringent Editorial Policies. We're committed to providing you with well-researched, expert-backed insights for all your informational needs.


0 thoughts on “How To Treat A Big Pantry Cabinet In A Painted Kitchen”