Home>Ideas and Tips>DIY Vintage Garden Trellis To Transform Your Backyard

Ideas and Tips
DIY Vintage Garden Trellis To Transform Your Backyard
Published: November 3, 2024
Create a charming, eco-friendly garden with a DIY vintage trellis. Learn how to repurpose materials for a unique and functional backyard upgrade.
(Many of the links in this article redirect to a specific reviewed product. Your purchase of these products through affiliate links helps to generate commission for Storables.com, at no extra cost. Learn more)
Creating a beautiful and functional garden trellis can be a fun and rewarding DIY project. Not only does it add a touch of elegance to your backyard, but it also provides a supportive structure for climbing plants to thrive. In this article, we will explore the process of building a vintage garden trellis using repurposed materials, offering you a unique and sustainable way to enhance your outdoor space.
Why Choose a Vintage Garden Trellis?
Before diving into the project, let's discuss why a vintage garden trellis is an excellent choice for your backyard. Here are some compelling reasons:
- Sustainability: Repurposing old materials reduces waste and supports eco-friendly gardening practices.
- Unique Aesthetic: A vintage trellis adds a charming, rustic touch to your garden, making it stand out from more conventional designs.
- Functional: It provides a sturdy support system for climbing plants, allowing them to grow and flourish.
- Cost-Effective: Using thrifted or salvaged materials can significantly reduce the cost of the project.
Gathering Materials
The first step in creating your DIY vintage garden trellis is to gather the necessary materials. Here’s a list of what you’ll need:
- Vintage Garden Tools: Look for old garden spades, forks, and other tools that can serve as the base of your trellis.
- Scrap Wood: Visit a Habitat ReStore or salvage yard to find suitable wood trim or planks that can be used as cross slats.
- Draw Knife or Chisel: These tools will help you taper the handles of the garden tools to make them easier to insert into the soil.
- Jute Twine: This adds an extra layer of support and can be used to wrap around the connections for a decorative touch.
- Screws and Drill: For attaching the cross slats to the garden tools.
- Matte Top Coat: To waterproof the handles and cross slats.
Preparing the Vintage Garden Tools
Once you have gathered your materials, it’s time to prepare the vintage garden tools. Here’s how you can do it:
- Tapering the Handles: Use a draw knife or chisel to shave off the ends of each handle, making them more stake-like. This will make it easier to insert them into the soil.
- Cleaning and Sanding: Clean any dirt or debris from the tools and sand down any rough edges to ensure smooth handling.
Building the DIY Garden Trellis
Now that your tools are prepared, it’s time to start building your trellis:
- Arranging the Tools: Lay out all the garden tools on the ground in a V-shape arrangement. This will form the base of your trellis.
- Adding Cross Slats: Place the scrap wood over the handles of the tools, determining how many cross slats you need. Three slats are ideal for stability and plant support.
- Cutting and Sanding: Cut down the scrap wood to size and sand off any rough edges.
- Attaching Cross Slats: Use screws to attach each cross slat to the back of a garden tool, starting with the center tool and working your way outwards.
- Wrapping with Jute Twine: Wrap jute twine around each connection/joint as tightly as possible for added support and a decorative touch.
Tips and Variations
Here are some additional tips and variations to enhance your DIY vintage garden trellis:
- Center Stake: Make sure one of your garden tools is longer than the others, acting as a central stake. This will help stabilize the trellis and provide additional support for climbing plants.
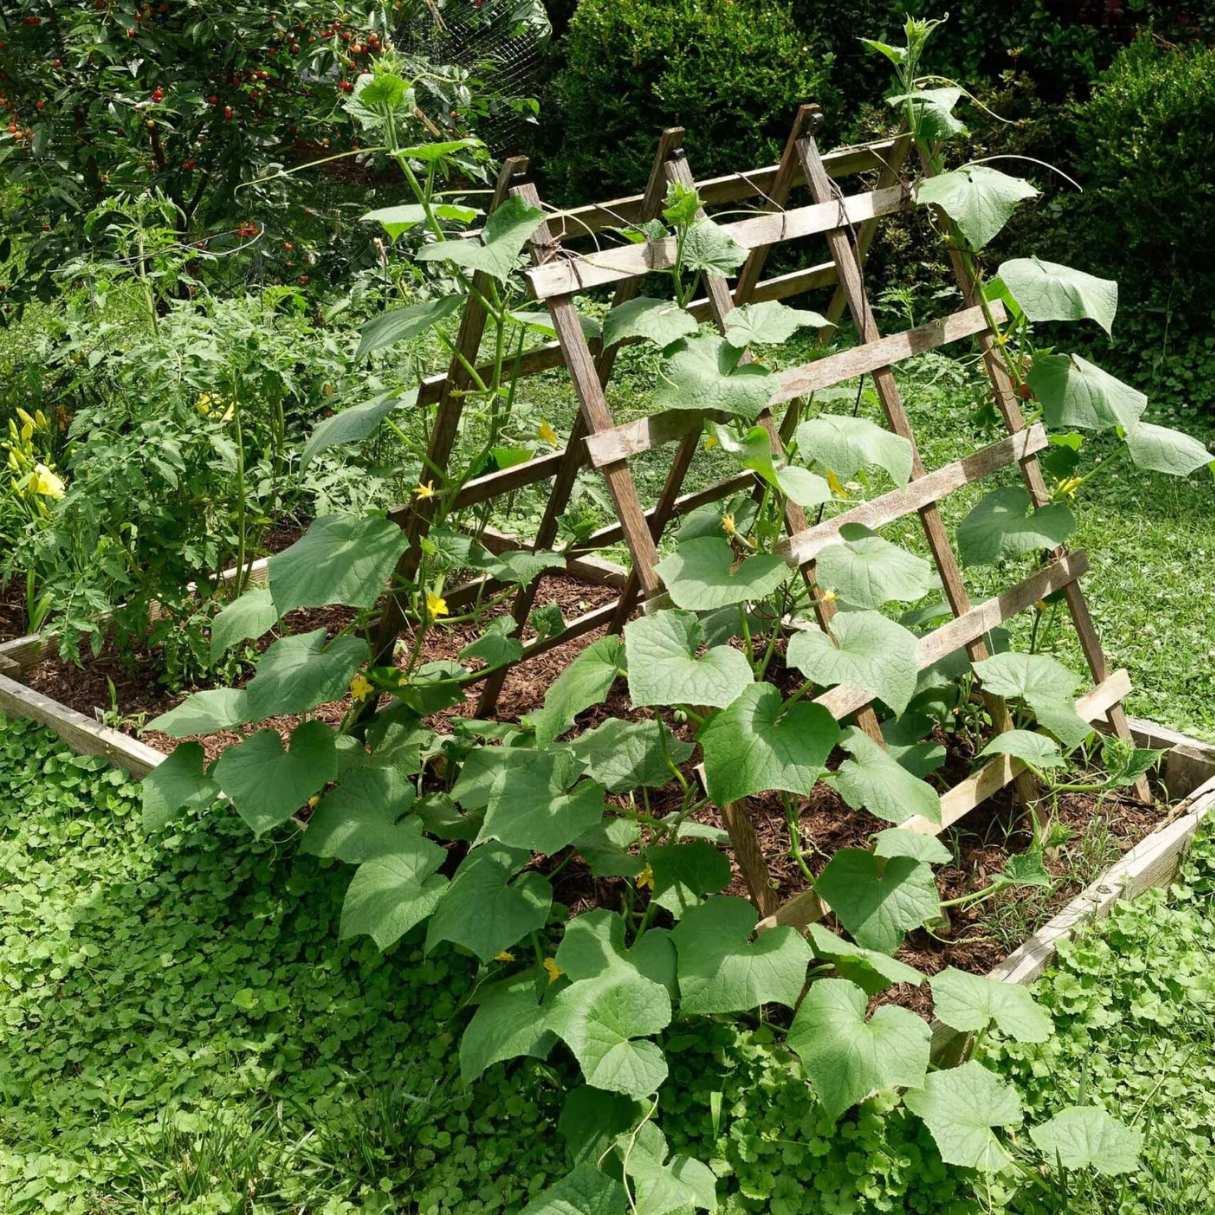
- Plant Selection: Choose plants that thrive on trellises such as morning glories, clematis, or climbing roses.
- Waterproofing: Spray a matte top coat over the handles and cross slats to waterproof them and extend their lifespan.
- Decorative Touches: Consider adding small sculptures or gazing balls at the top of each stool for added visual appeal.
Other DIY Trellis Ideas
If you're looking for more inspiration or want to explore different materials and designs, here are some other DIY trellis ideas:
- Salvaged Window Trellis: Use an old window frame filled with chicken wire as a unique trellis for climbing flowers or fruit vines.
- Branches and Twine Trellis: Forage large sticks from your garden and tie them together with twine for a rustic look suitable for annuals like sweet peas or morning glories.
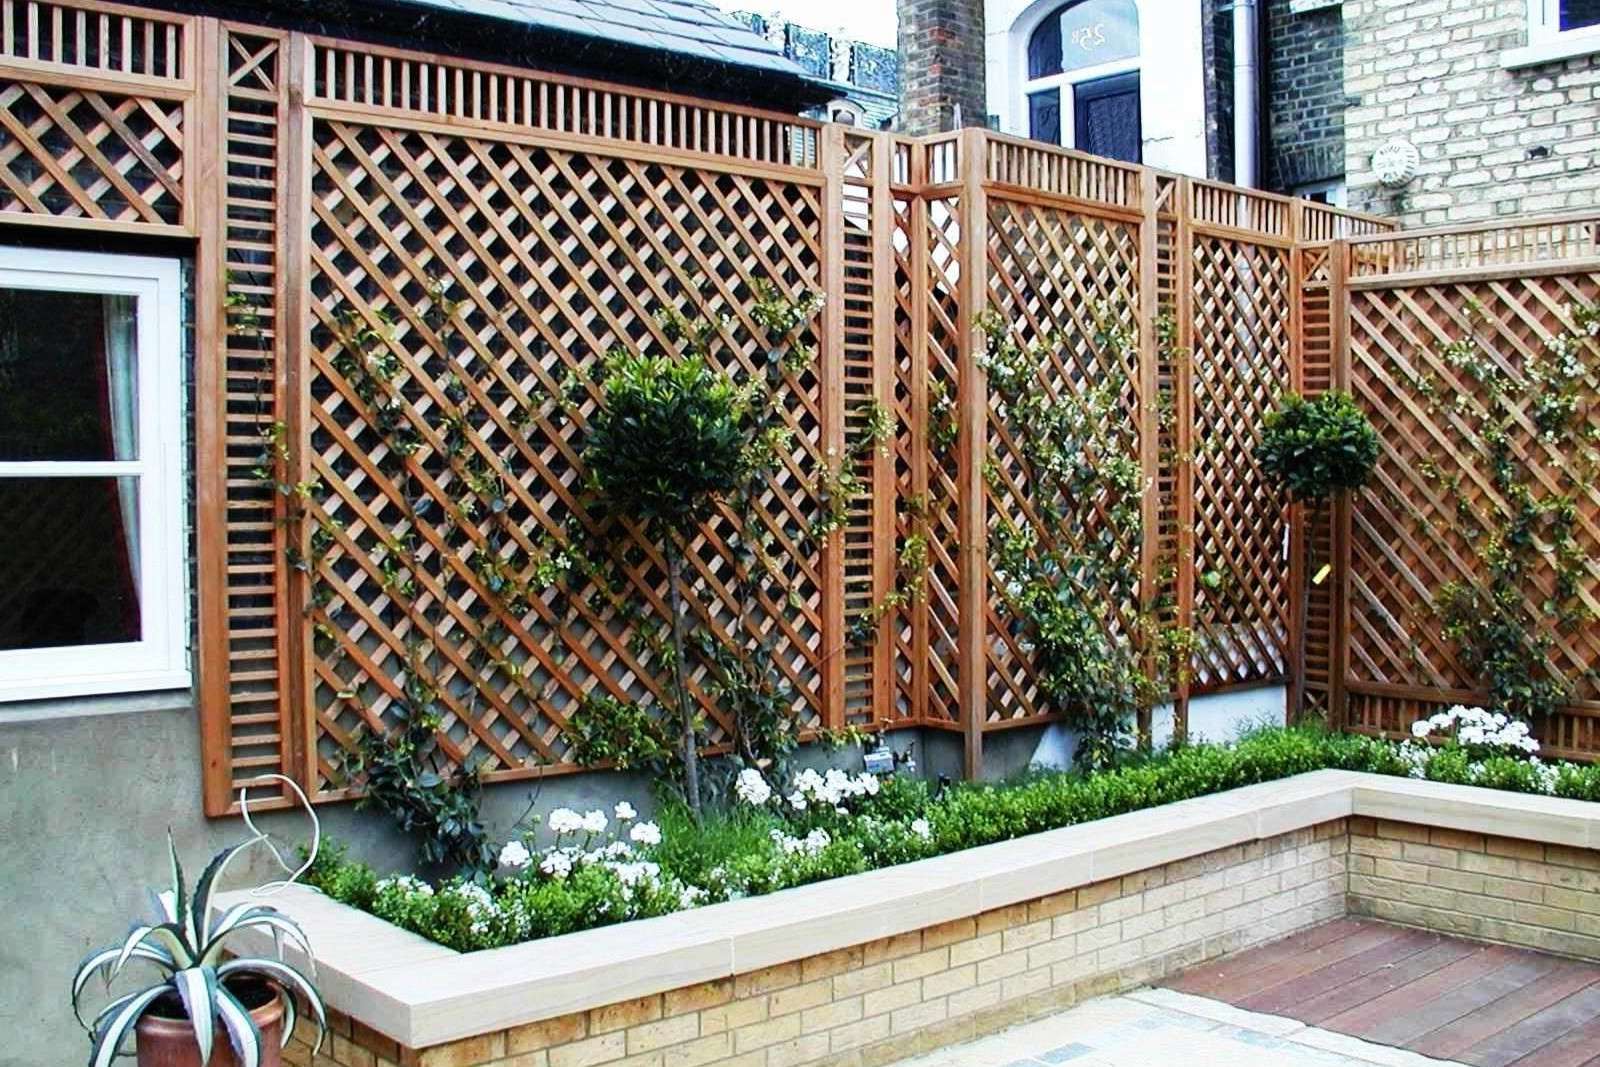
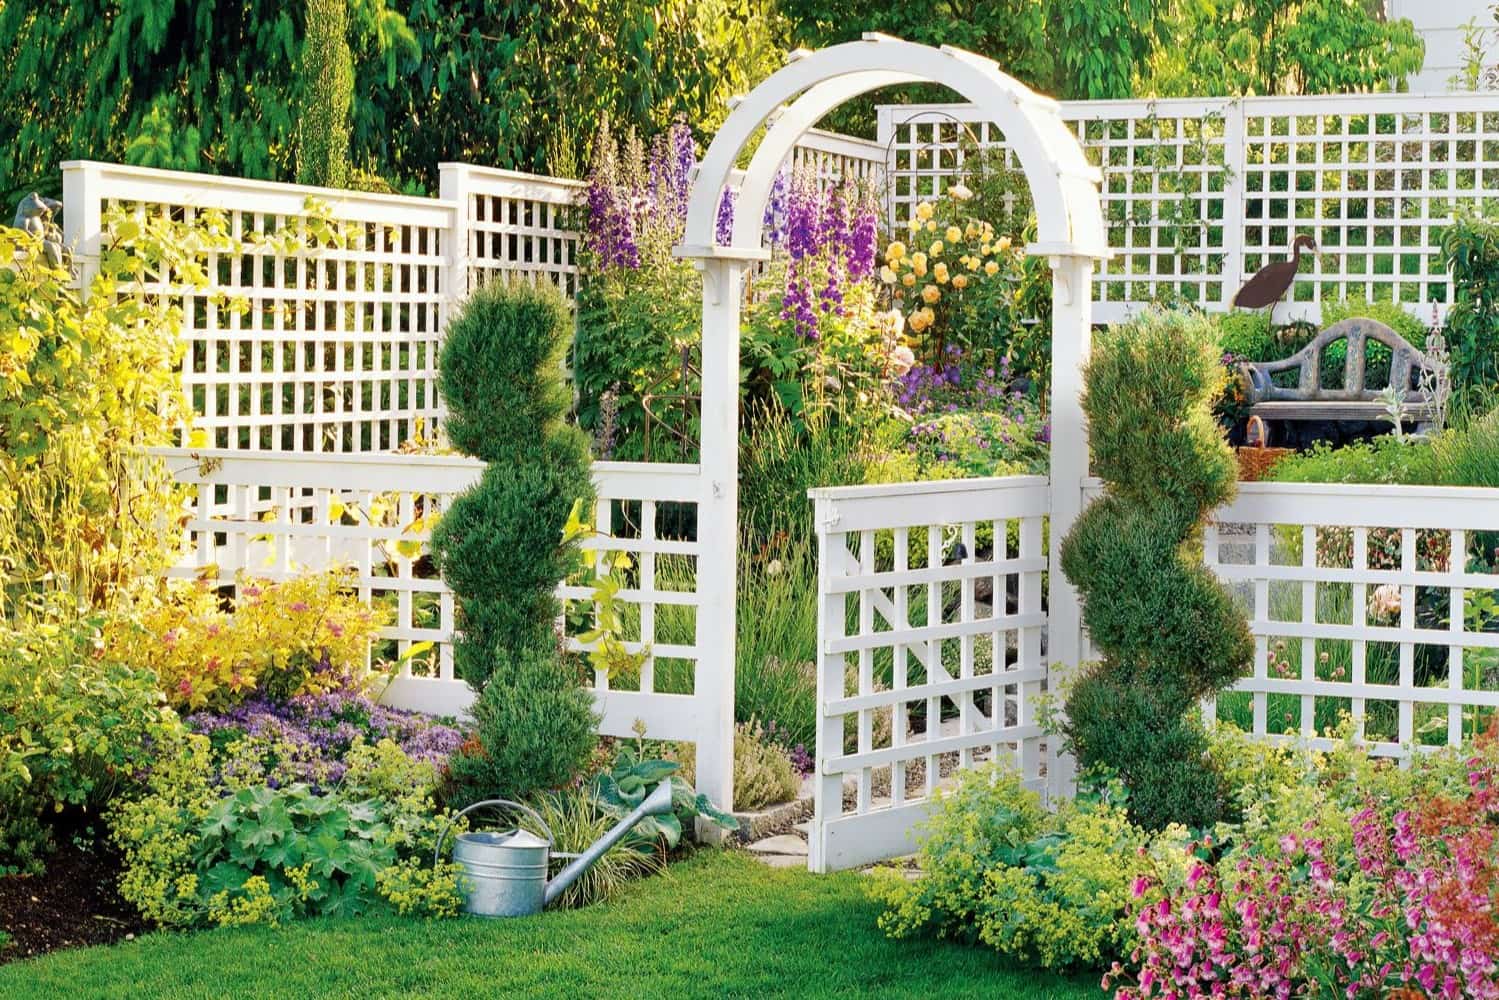
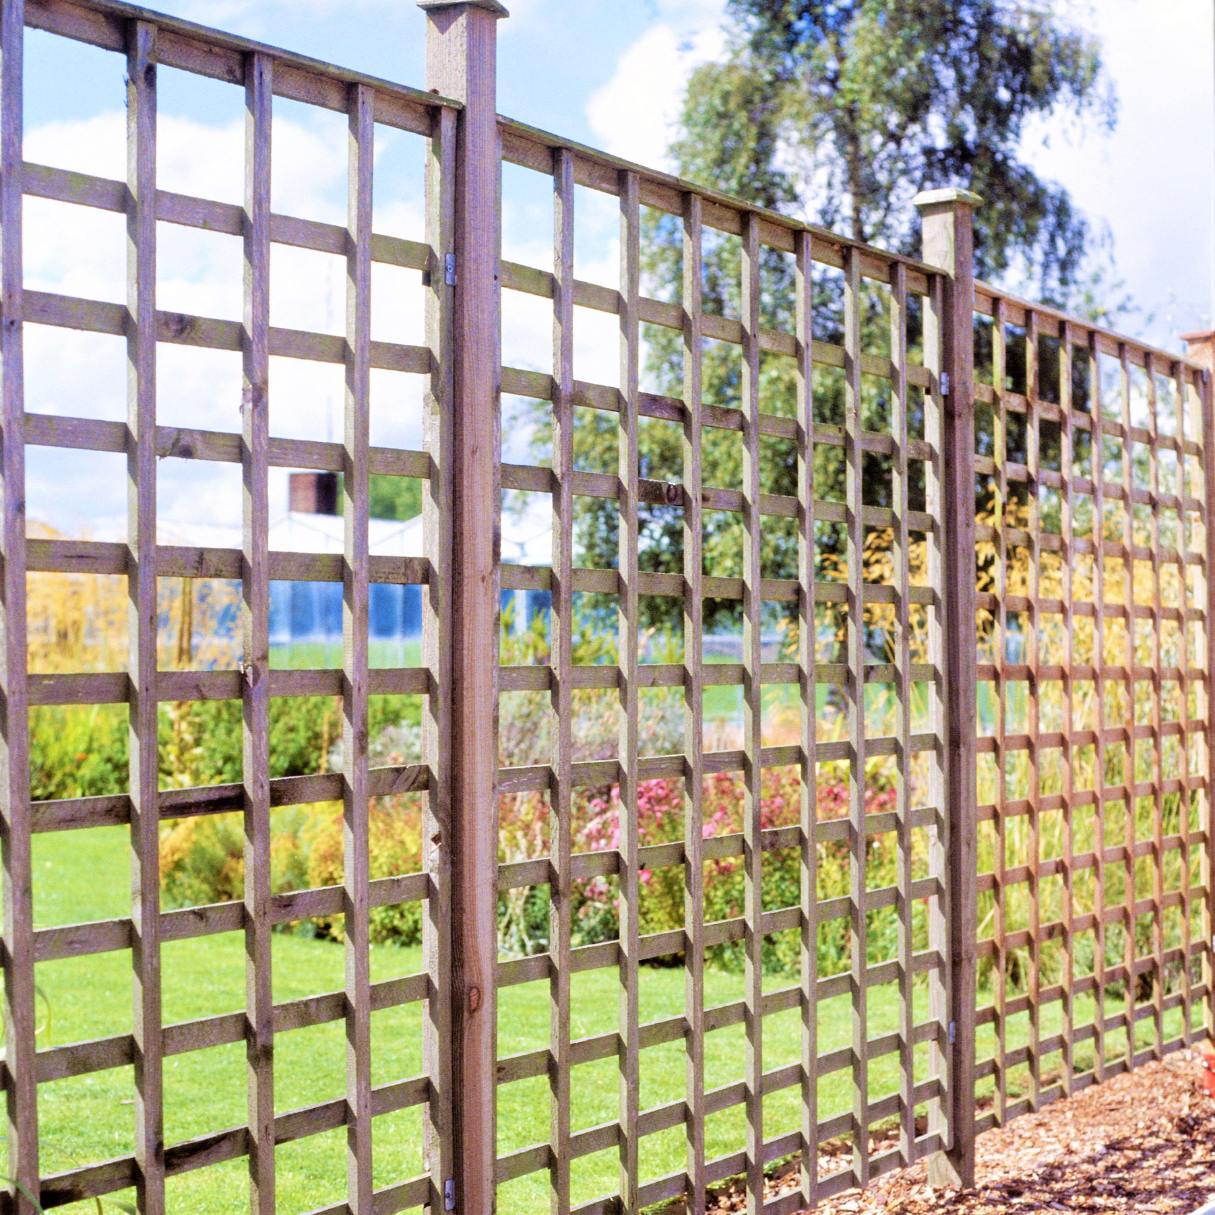
- Vintage Fence Trellis: Lean a vintage fence piece against your house for an easy solution to support climbing plants.
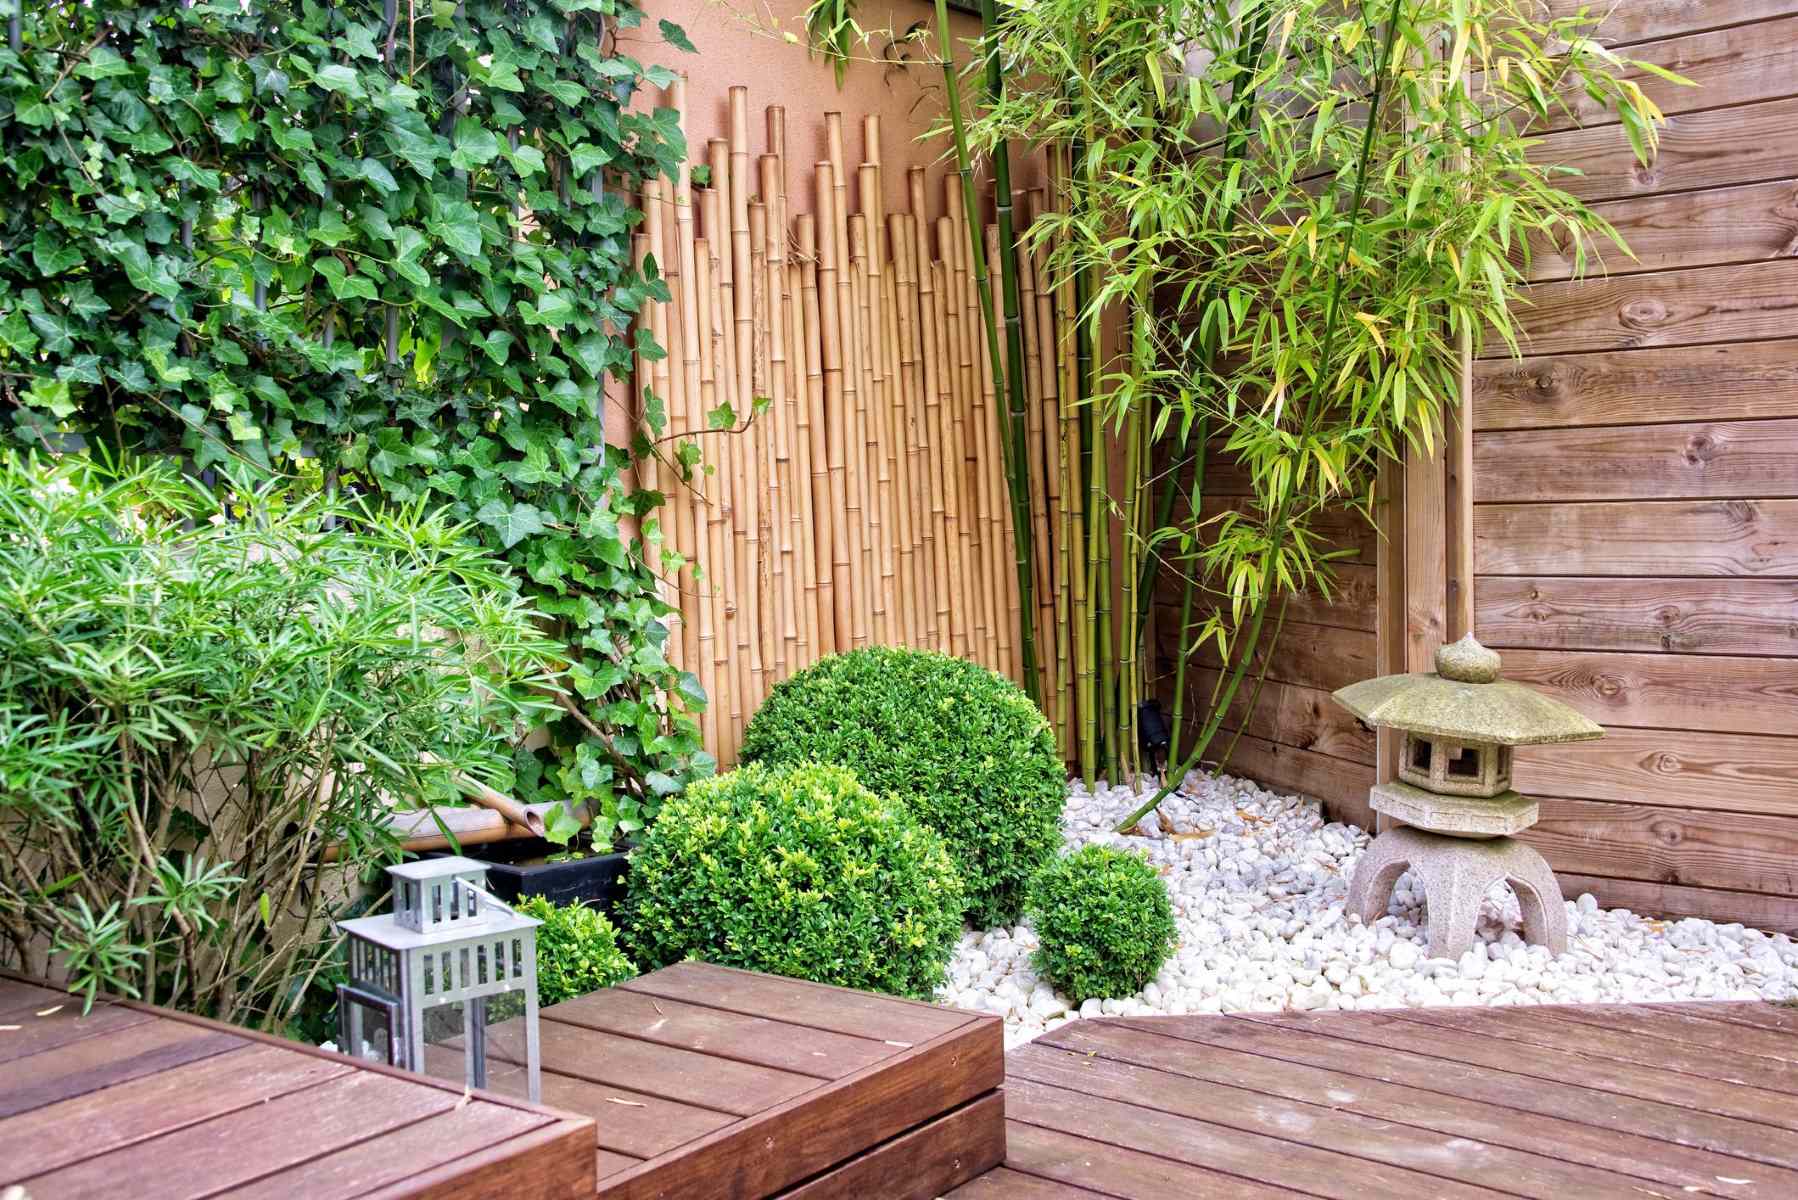
- Bamboo Trellis: Use bamboo pieces to create a bean tunnel that can be disassembled and stored easily during winter months.
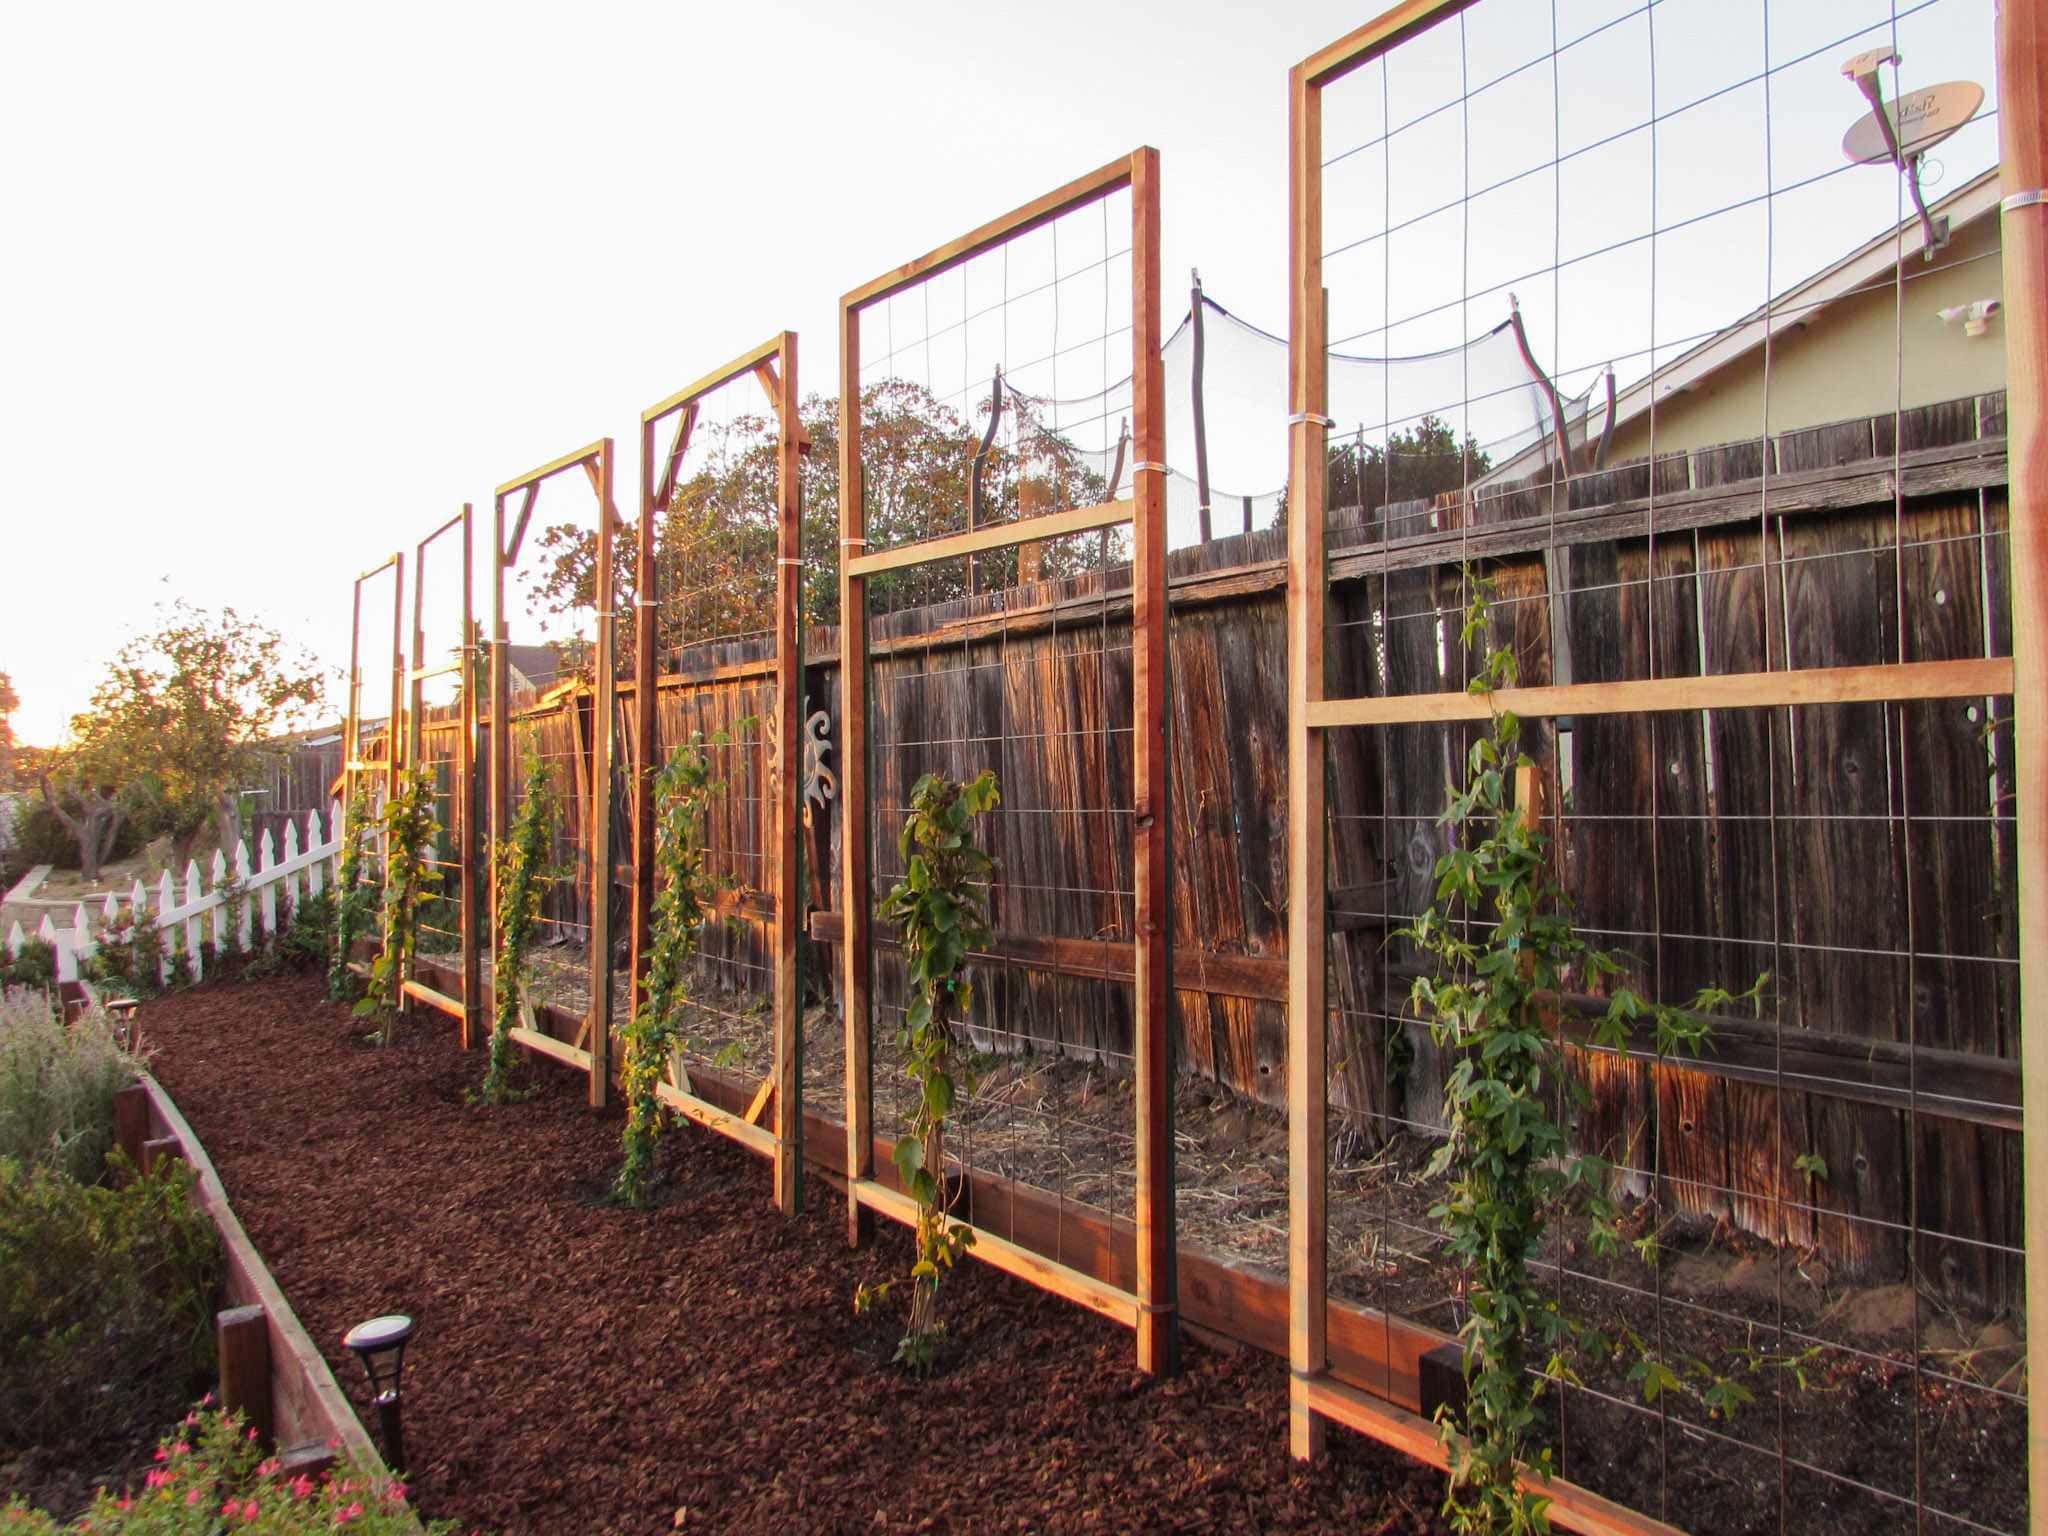
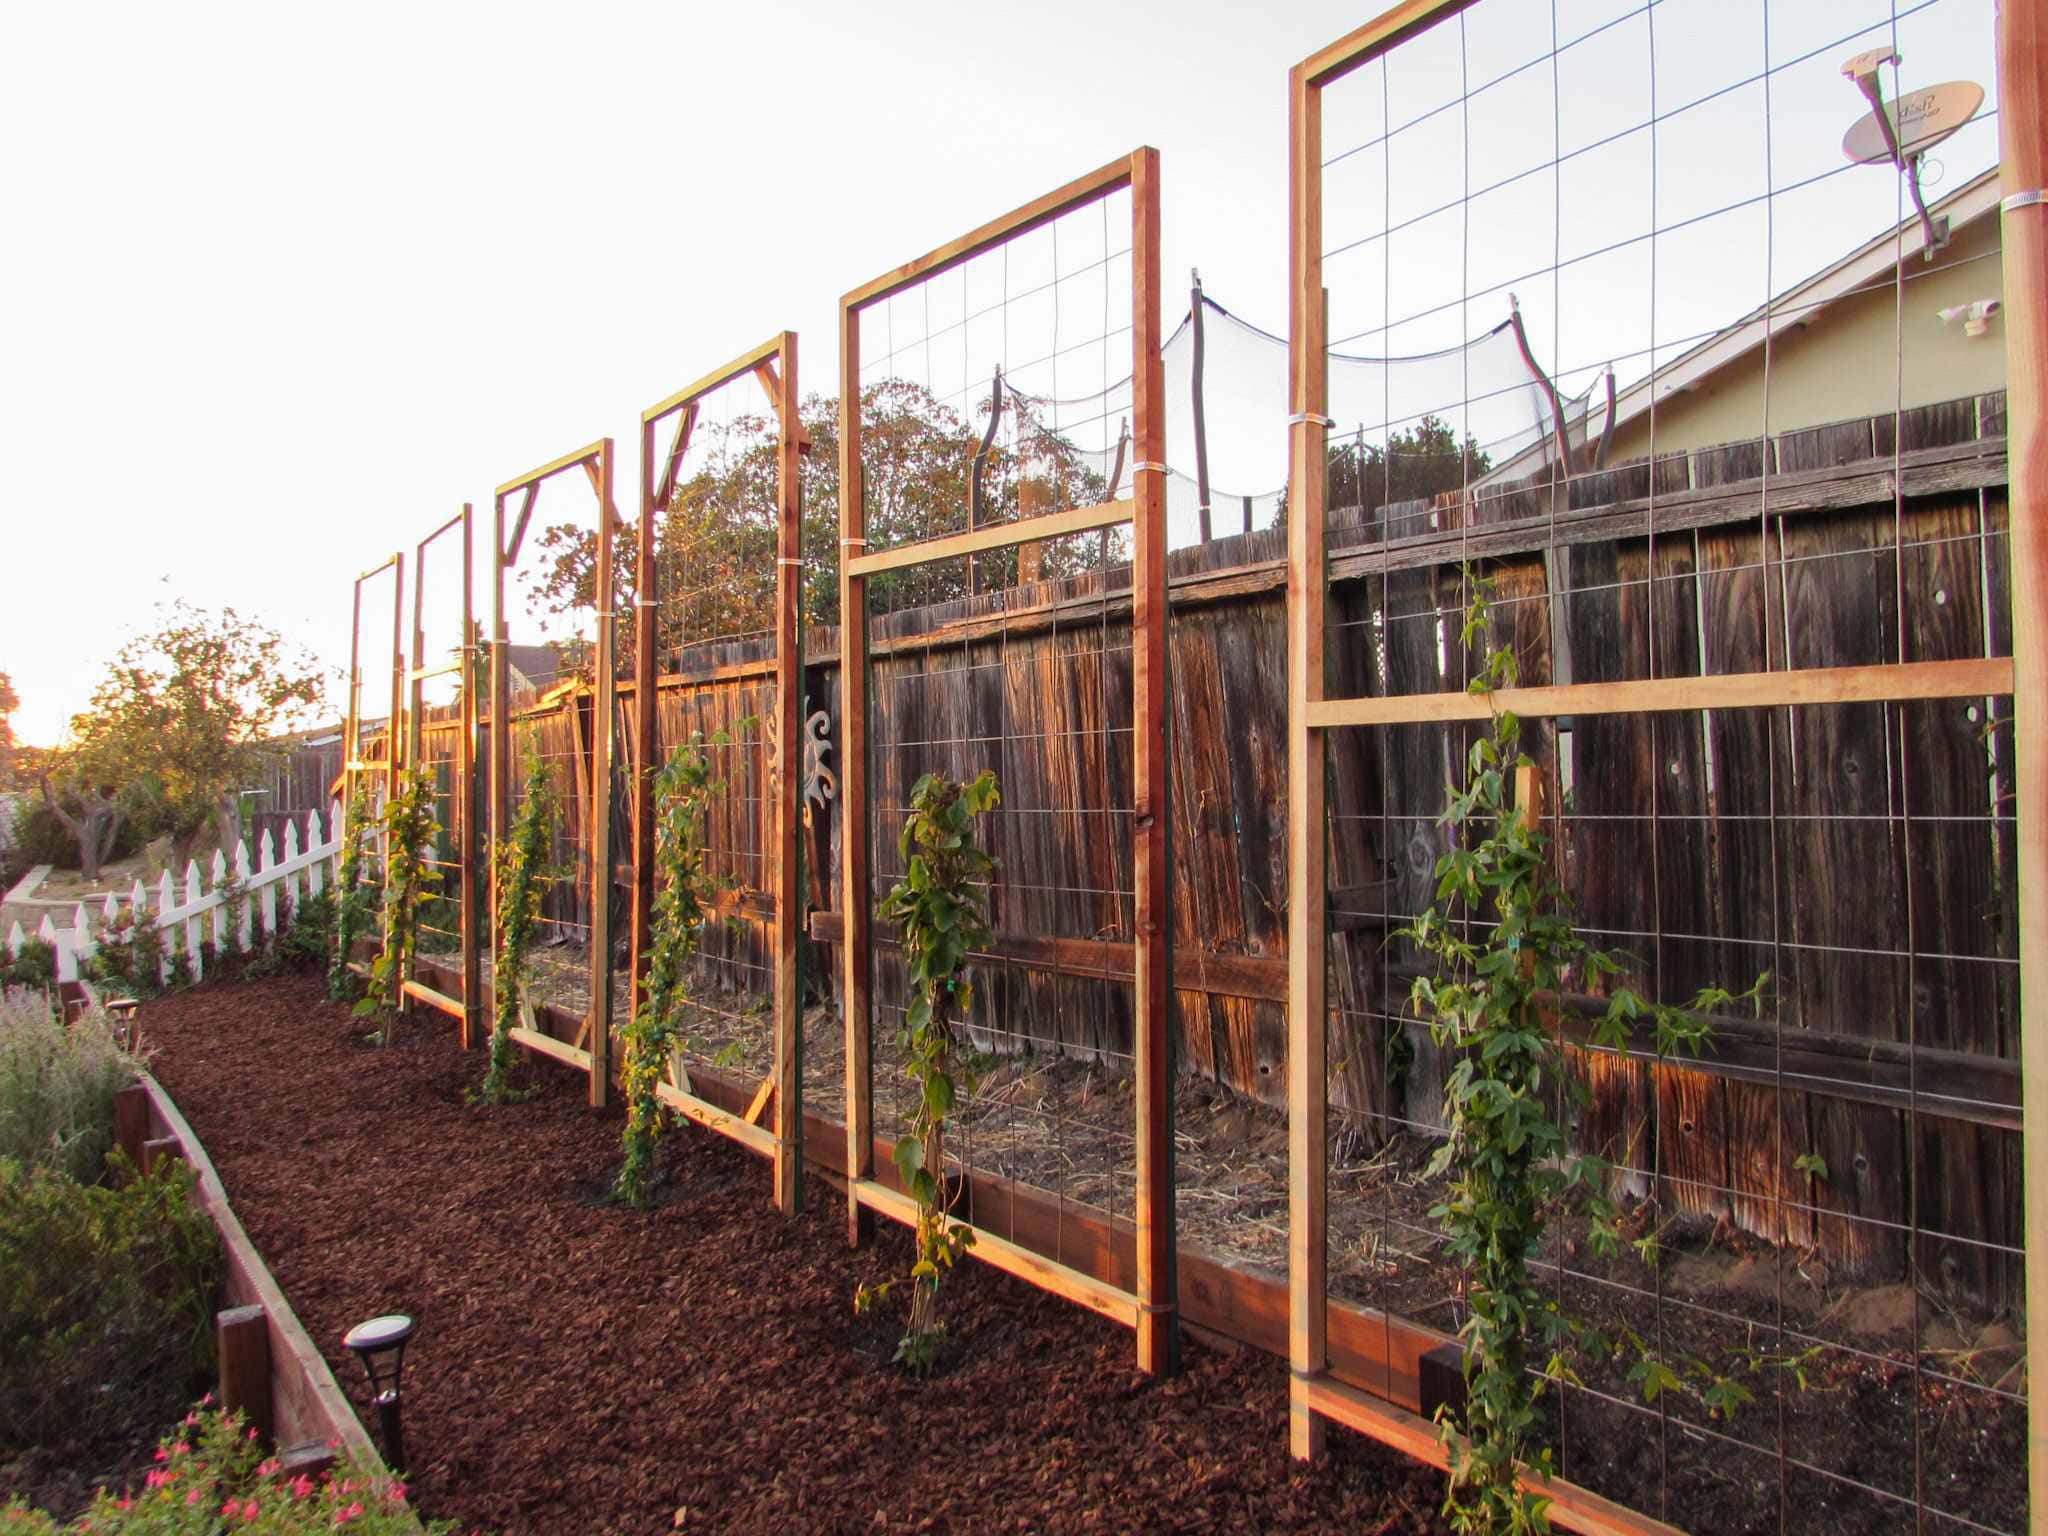
- Wire Wall Trellis: Create a wire trellis using masonry anchors, eye hooks, and cable wire to add greenery to brick walls.
Conclusion
Creating a DIY vintage garden trellis is not only an eco-friendly way to enhance your backyard but also a fun and rewarding project that adds unique charm and functionality to your outdoor space. By repurposing old materials and following these steps, you can transform your garden into a beautiful oasis that supports climbing plants while providing a stunning visual element.
Whether you choose to use vintage garden tools or explore other materials like salvaged windows or bamboo, the process remains largely the same: gather materials, prepare them appropriately, build the structure, and add decorative touches as desired. With these steps and tips in mind, you’re ready to start your own DIY vintage garden trellis project today!
Additional Resources
For more inspiration and detailed tutorials on various DIY trellis designs, consider checking out these resources:
- Sadie Seasongoods’ DIY Garden Trellis Tutorial: A step-by-step guide on creating a trellis from vintage garden tools.
- YouTube’s 100 DIY Garden Trellis and Arbor Ideas: A video featuring numerous creative trellis designs for different styles and spaces.
- Centsational Style’s DIY Trellis Designs: A collection of various trellis ideas including slatted privacy trellises and geometric screens.
- Country Living’s 33 Simple Garden Trellis Ideas: Practical yet stylish trellis designs perfect for patios or porches.
- Miss Mustard Seed’s Large Vintage-Style Garden Trellis Tutorial: Free woodworking plans and tutorials for building large vintage-style trellises using cedar boards.
These resources will provide you with ample inspiration and guidance as you embark on your own DIY vintage garden trellis project
Was this page helpful?
At Storables.com, we guarantee accurate and reliable information. Our content, validated by Expert Board Contributors, is crafted following stringent Editorial Policies. We're committed to providing you with well-researched, expert-backed insights for all your informational needs.



0 thoughts on “DIY Vintage Garden Trellis To Transform Your Backyard”