
Articles
How To Make A Garden Trellis
Modified: October 19, 2024
Learn how to make a garden trellis and enhance your gardening skills. Discover tips and techniques to create a beautiful and functional trellis for your plants.
(Many of the links in this article redirect to a specific reviewed product. Your purchase of these products through affiliate links helps to generate commission for Storables.com, at no extra cost. Learn more)
Introduction
Welcome to the world of gardening! Whether you are a seasoned gardener or just starting out, creating a garden trellis is a fantastic way to enhance your outdoor space. Not only does a trellis provide a support structure for your climbing plants, but it also adds beauty and visual interest to your garden.
In this article, we will guide you through the process of making a garden trellis from scratch. We will cover everything from choosing the location and selecting the design to gathering the materials and installing the trellis. So, roll up your sleeves and let’s get started!
Before we dive into the step-by-step instructions, let’s take a quick look at the materials and tools you will need for this project.
Key Takeaways:
- Elevate your gardening game by creating a custom garden trellis to support climbing plants and enhance your outdoor space. From selecting the perfect location to adding finishing touches, this guide has got you covered.
- Unleash your creativity and gardening skills by crafting a sturdy and visually appealing garden trellis. With the right materials, tools, and step-by-step instructions, you can create a beautiful vertical garden display for your climbing plants.
Materials and Tools Needed
Before you start building your garden trellis, you will need to gather the following materials and tools:
Materials:
- Wooden or metal posts
- Wooden or PVC crossbeams
- Wire mesh or lattice panels
- Nails or screws
- Wood glue
- Stain or paint (optional)
- Clear sealant (if using wood)
- Gravel or concrete mix (for post installation)
- Plant ties or twine
Tools:
- Tape measure
- Level
- Post hole digger or shovel
- Hammer or screwdriver
- Saw
- Drill
- Pliers or wire cutters
- Paintbrush or roller (if staining or painting)
Make sure you have all the necessary materials and tools before you begin. This will help ensure a smooth and efficient construction process.
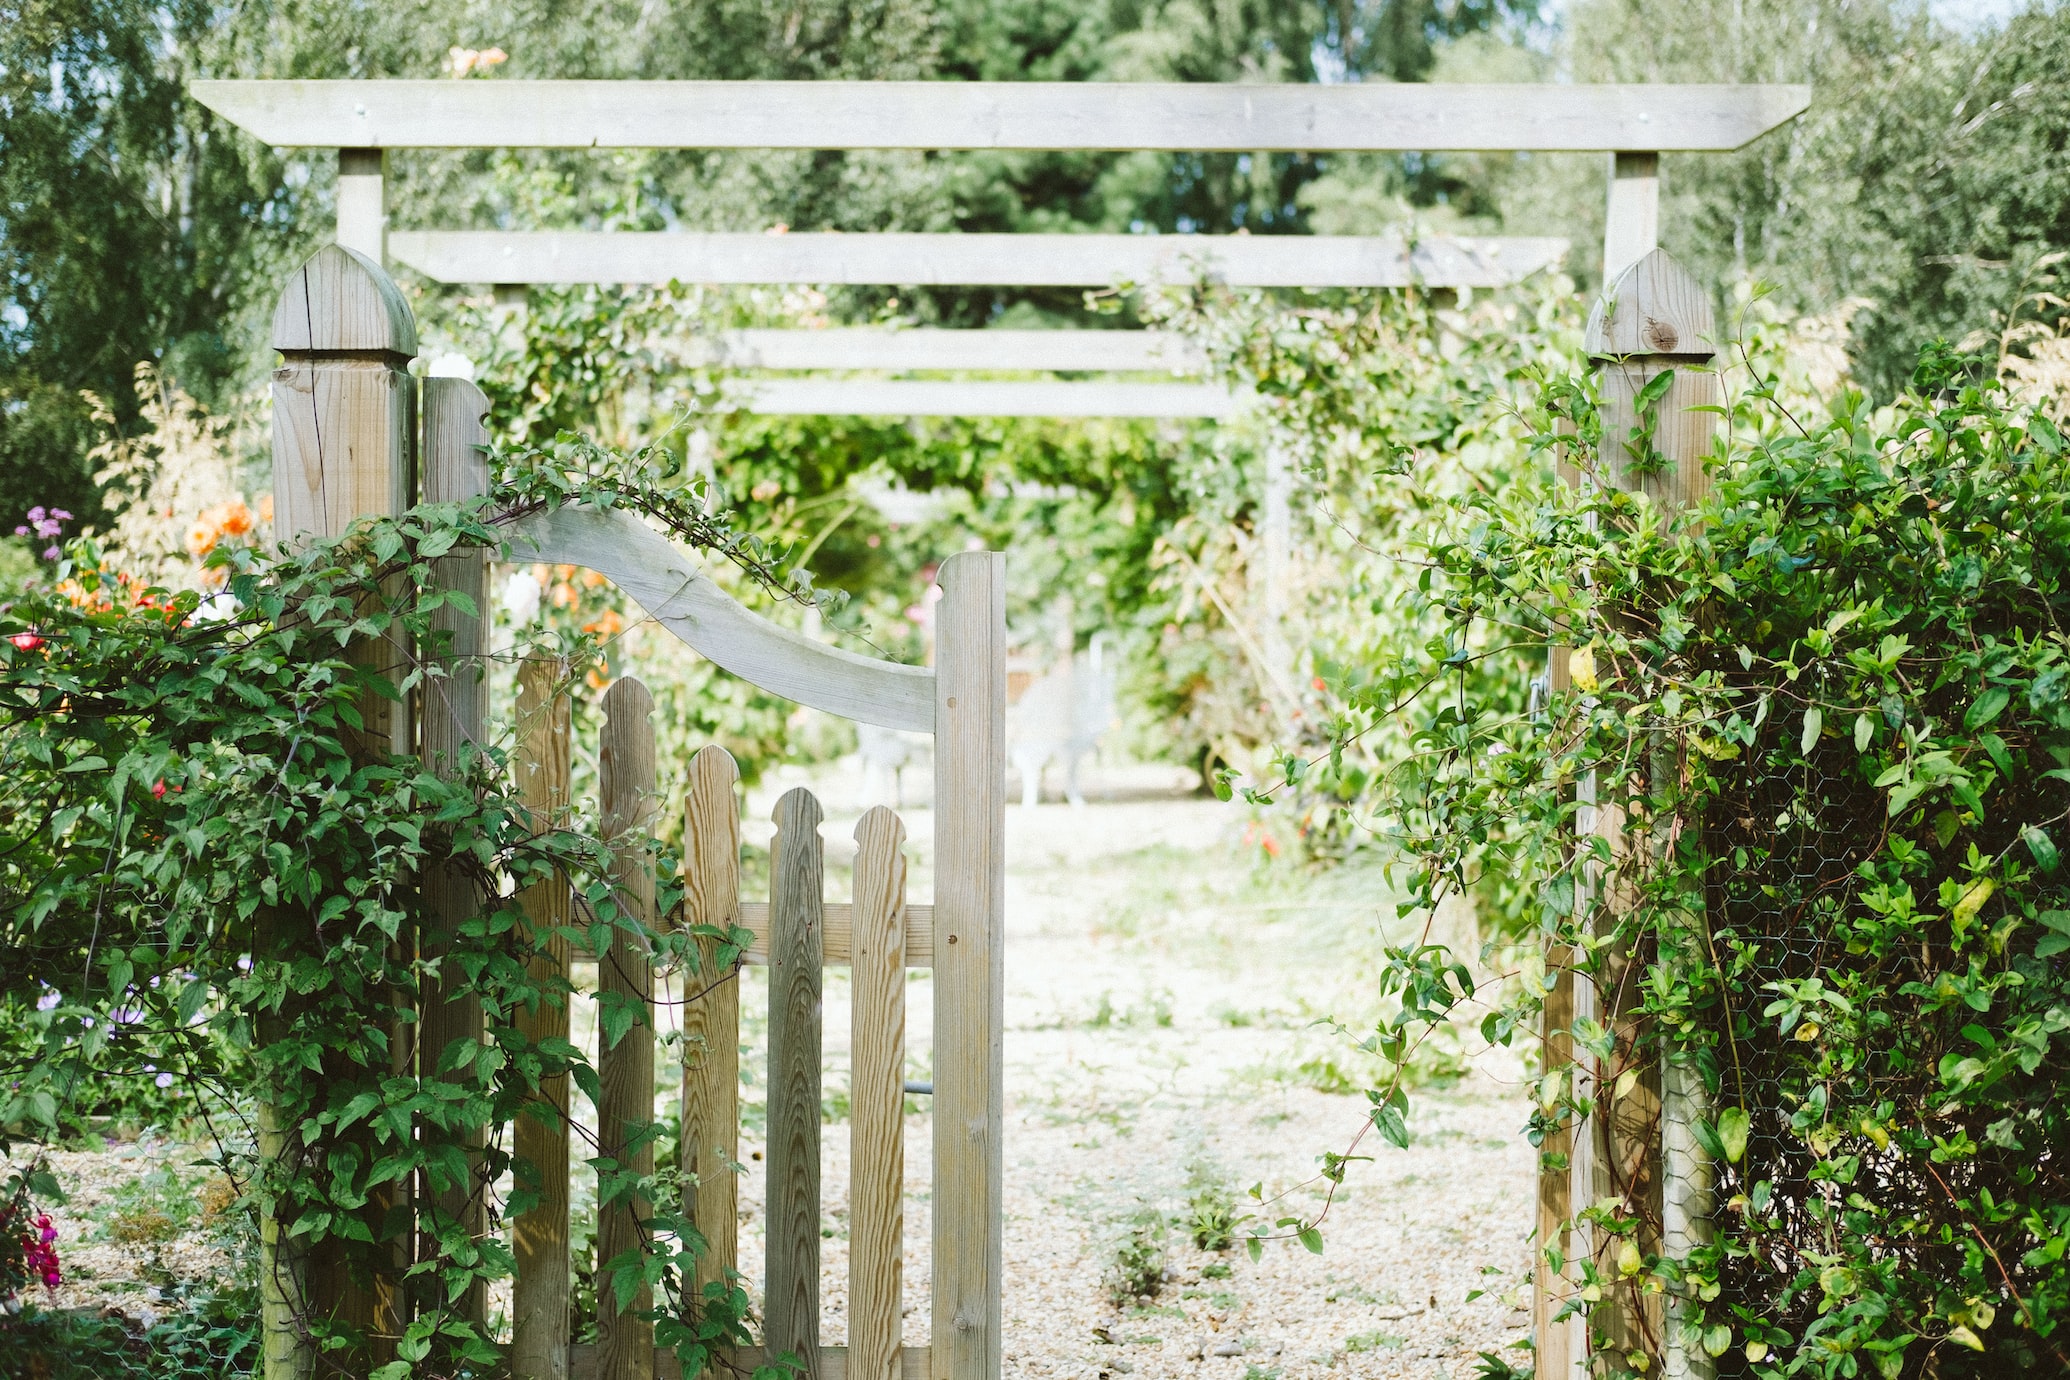
Step 1: Choosing the Location
The first step in making a garden trellis is selecting the perfect location for it in your garden. Consider the following factors when choosing the spot:
Sunlight: Most climbing plants thrive in full sunlight, so look for an area with at least 6-8 hours of direct sunlight per day.
Space: Determine how much space you have available for the trellis. Take into account the height and width of the trellis, as well as the potential growth of the climbing plants.
Existing structures: Consider any existing structures, such as fences, walls, or pergolas, that could serve as a support for your trellis. This can save you time and effort in building additional support posts.
Aesthetics: Think about how the trellis will fit with the overall aesthetic of your garden. Choose a location where the trellis will enhance the visual appeal of the space.
Once you have chosen the ideal location, mark the area where the trellis will be installed. This will help you visualize the final result and plan accordingly for the construction process.
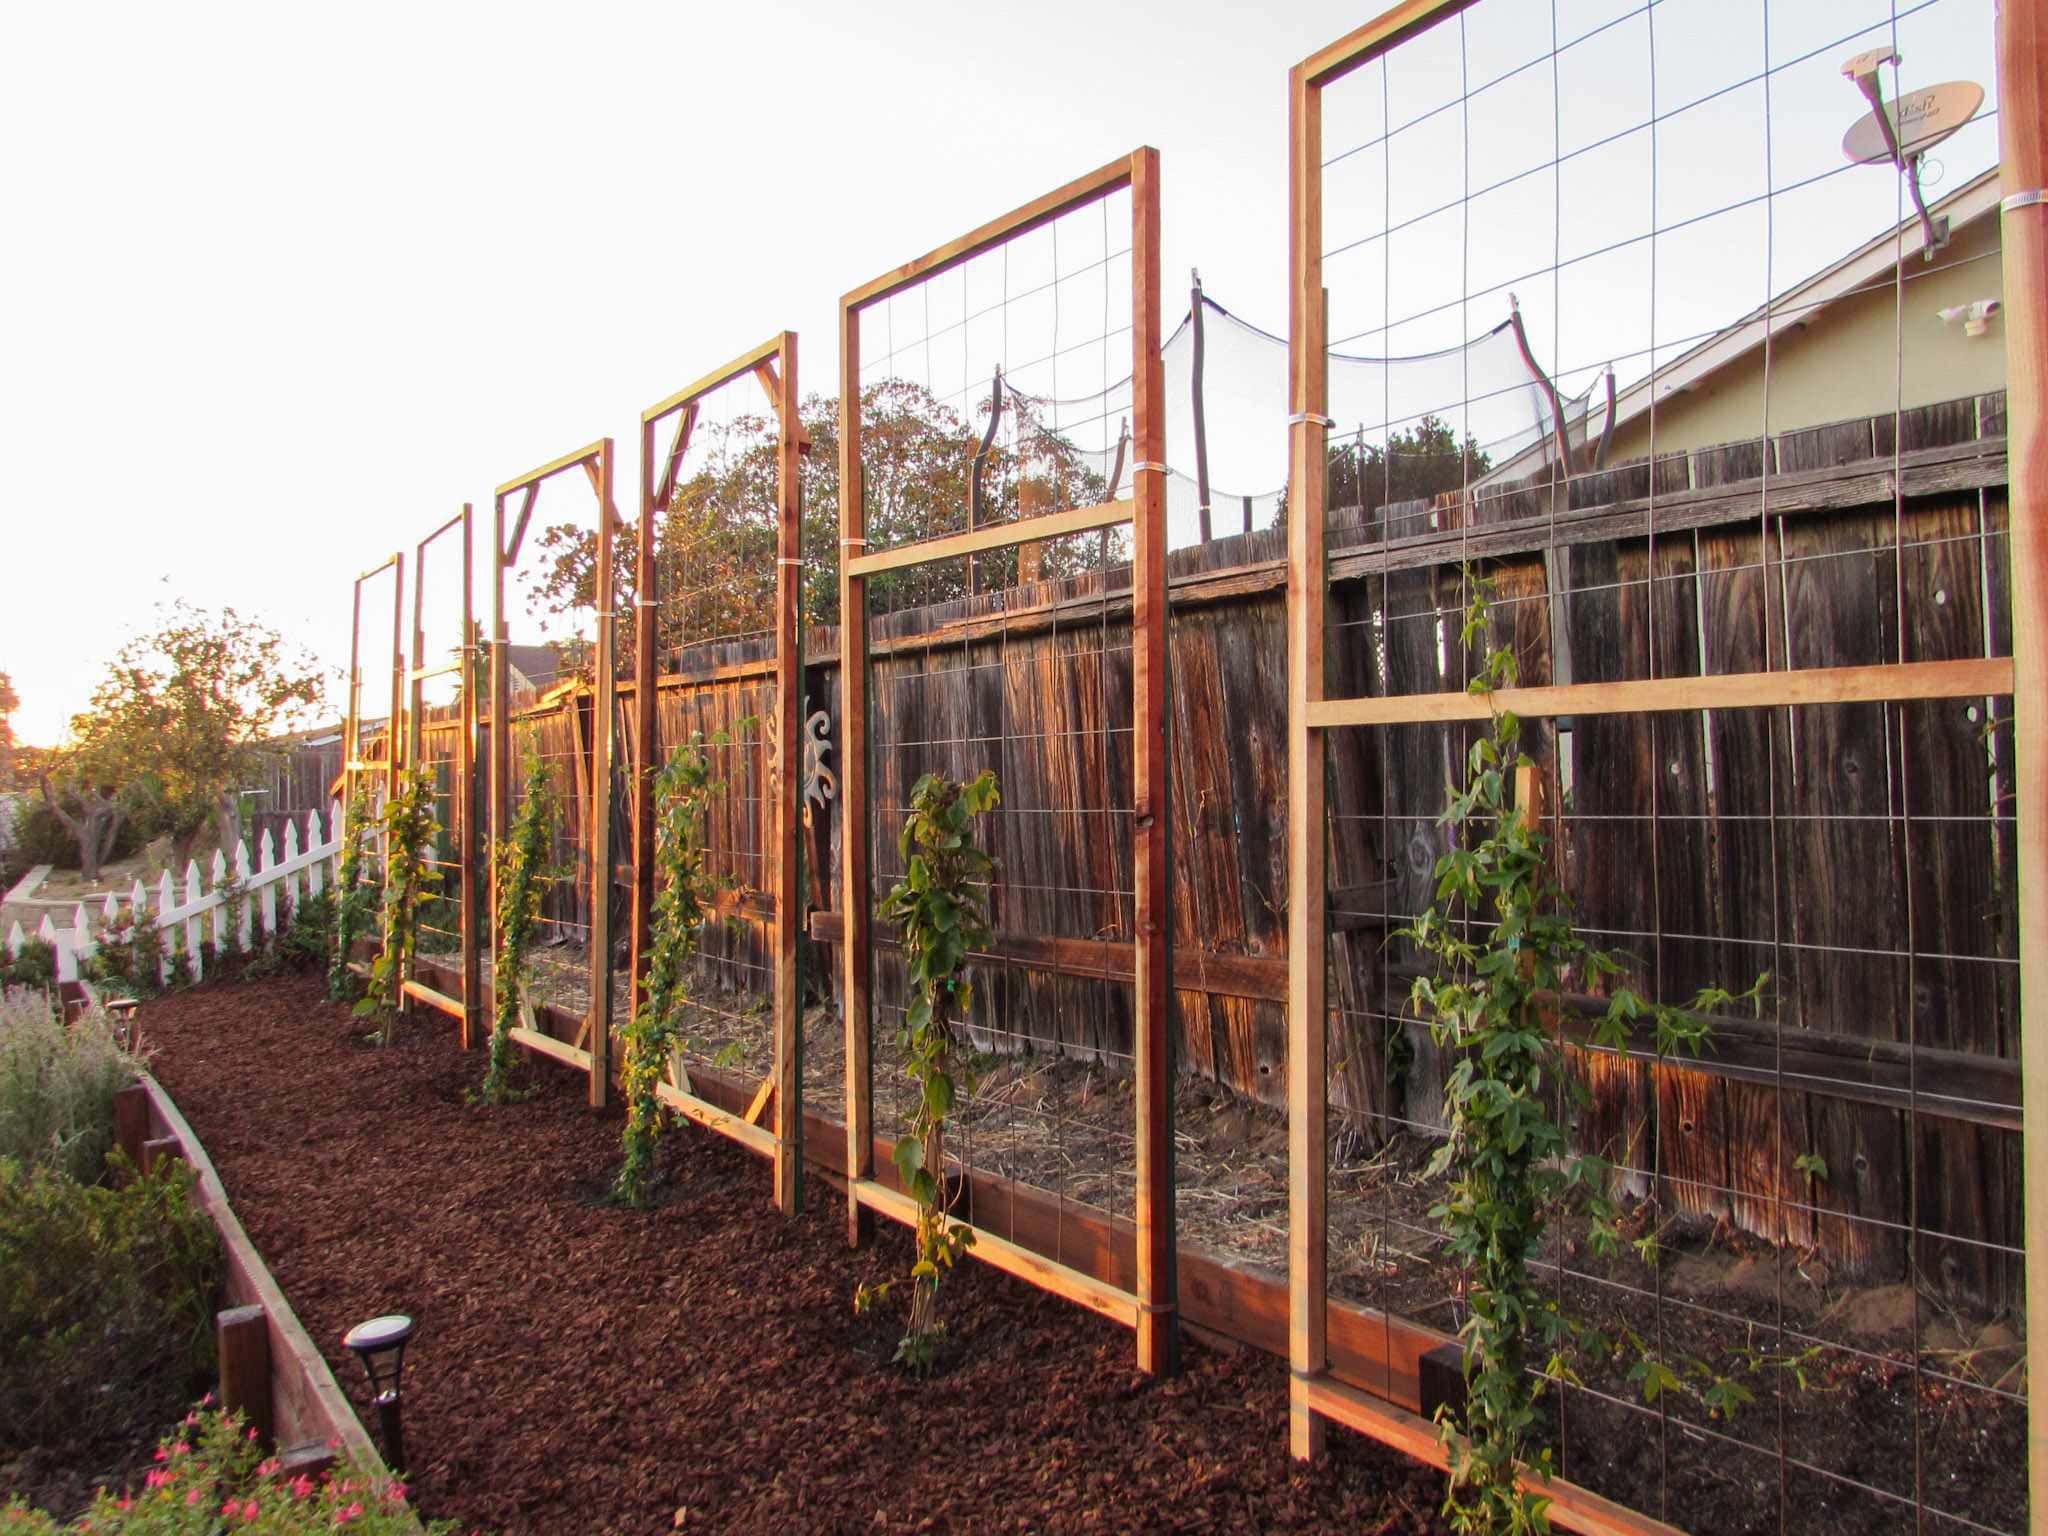
Step 2: Selecting the Trellis Design
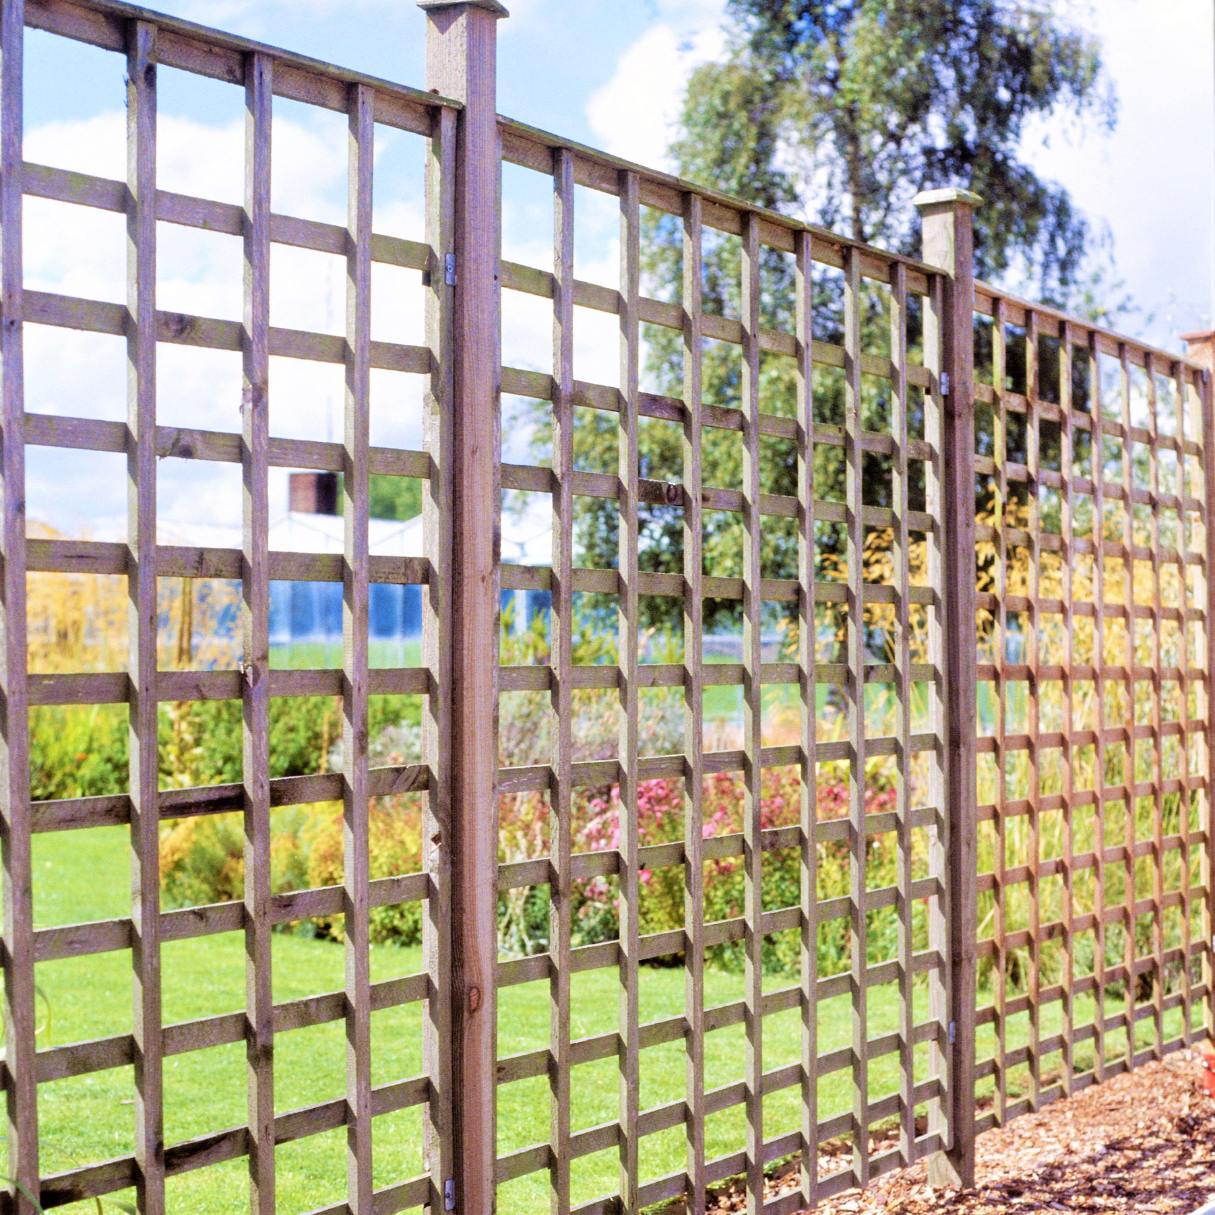
After determining the location, it’s time to select a trellis design that suits your garden style and the needs of your climbing plants. Here are a few popular trellis designs to consider:
- Classic Lattice Trellis: This design features a square or diagonal lattice pattern and is perfect for supporting climbing roses, clematis, or jasmine.
- Arched Trellis: An arched trellis adds a touch of elegance to your garden and provides an ideal structure for vines like wisteria or grapevines.
- Modern Geometric Trellis: If you prefer a contemporary look, a geometric trellis made of metal or wood can create a stunning focal point in your garden.
- Obelisk Trellis: An obelisk trellis is a tall, pyramid-shaped structure that works well for smaller climbing plants or providing vertical interest in flower beds.
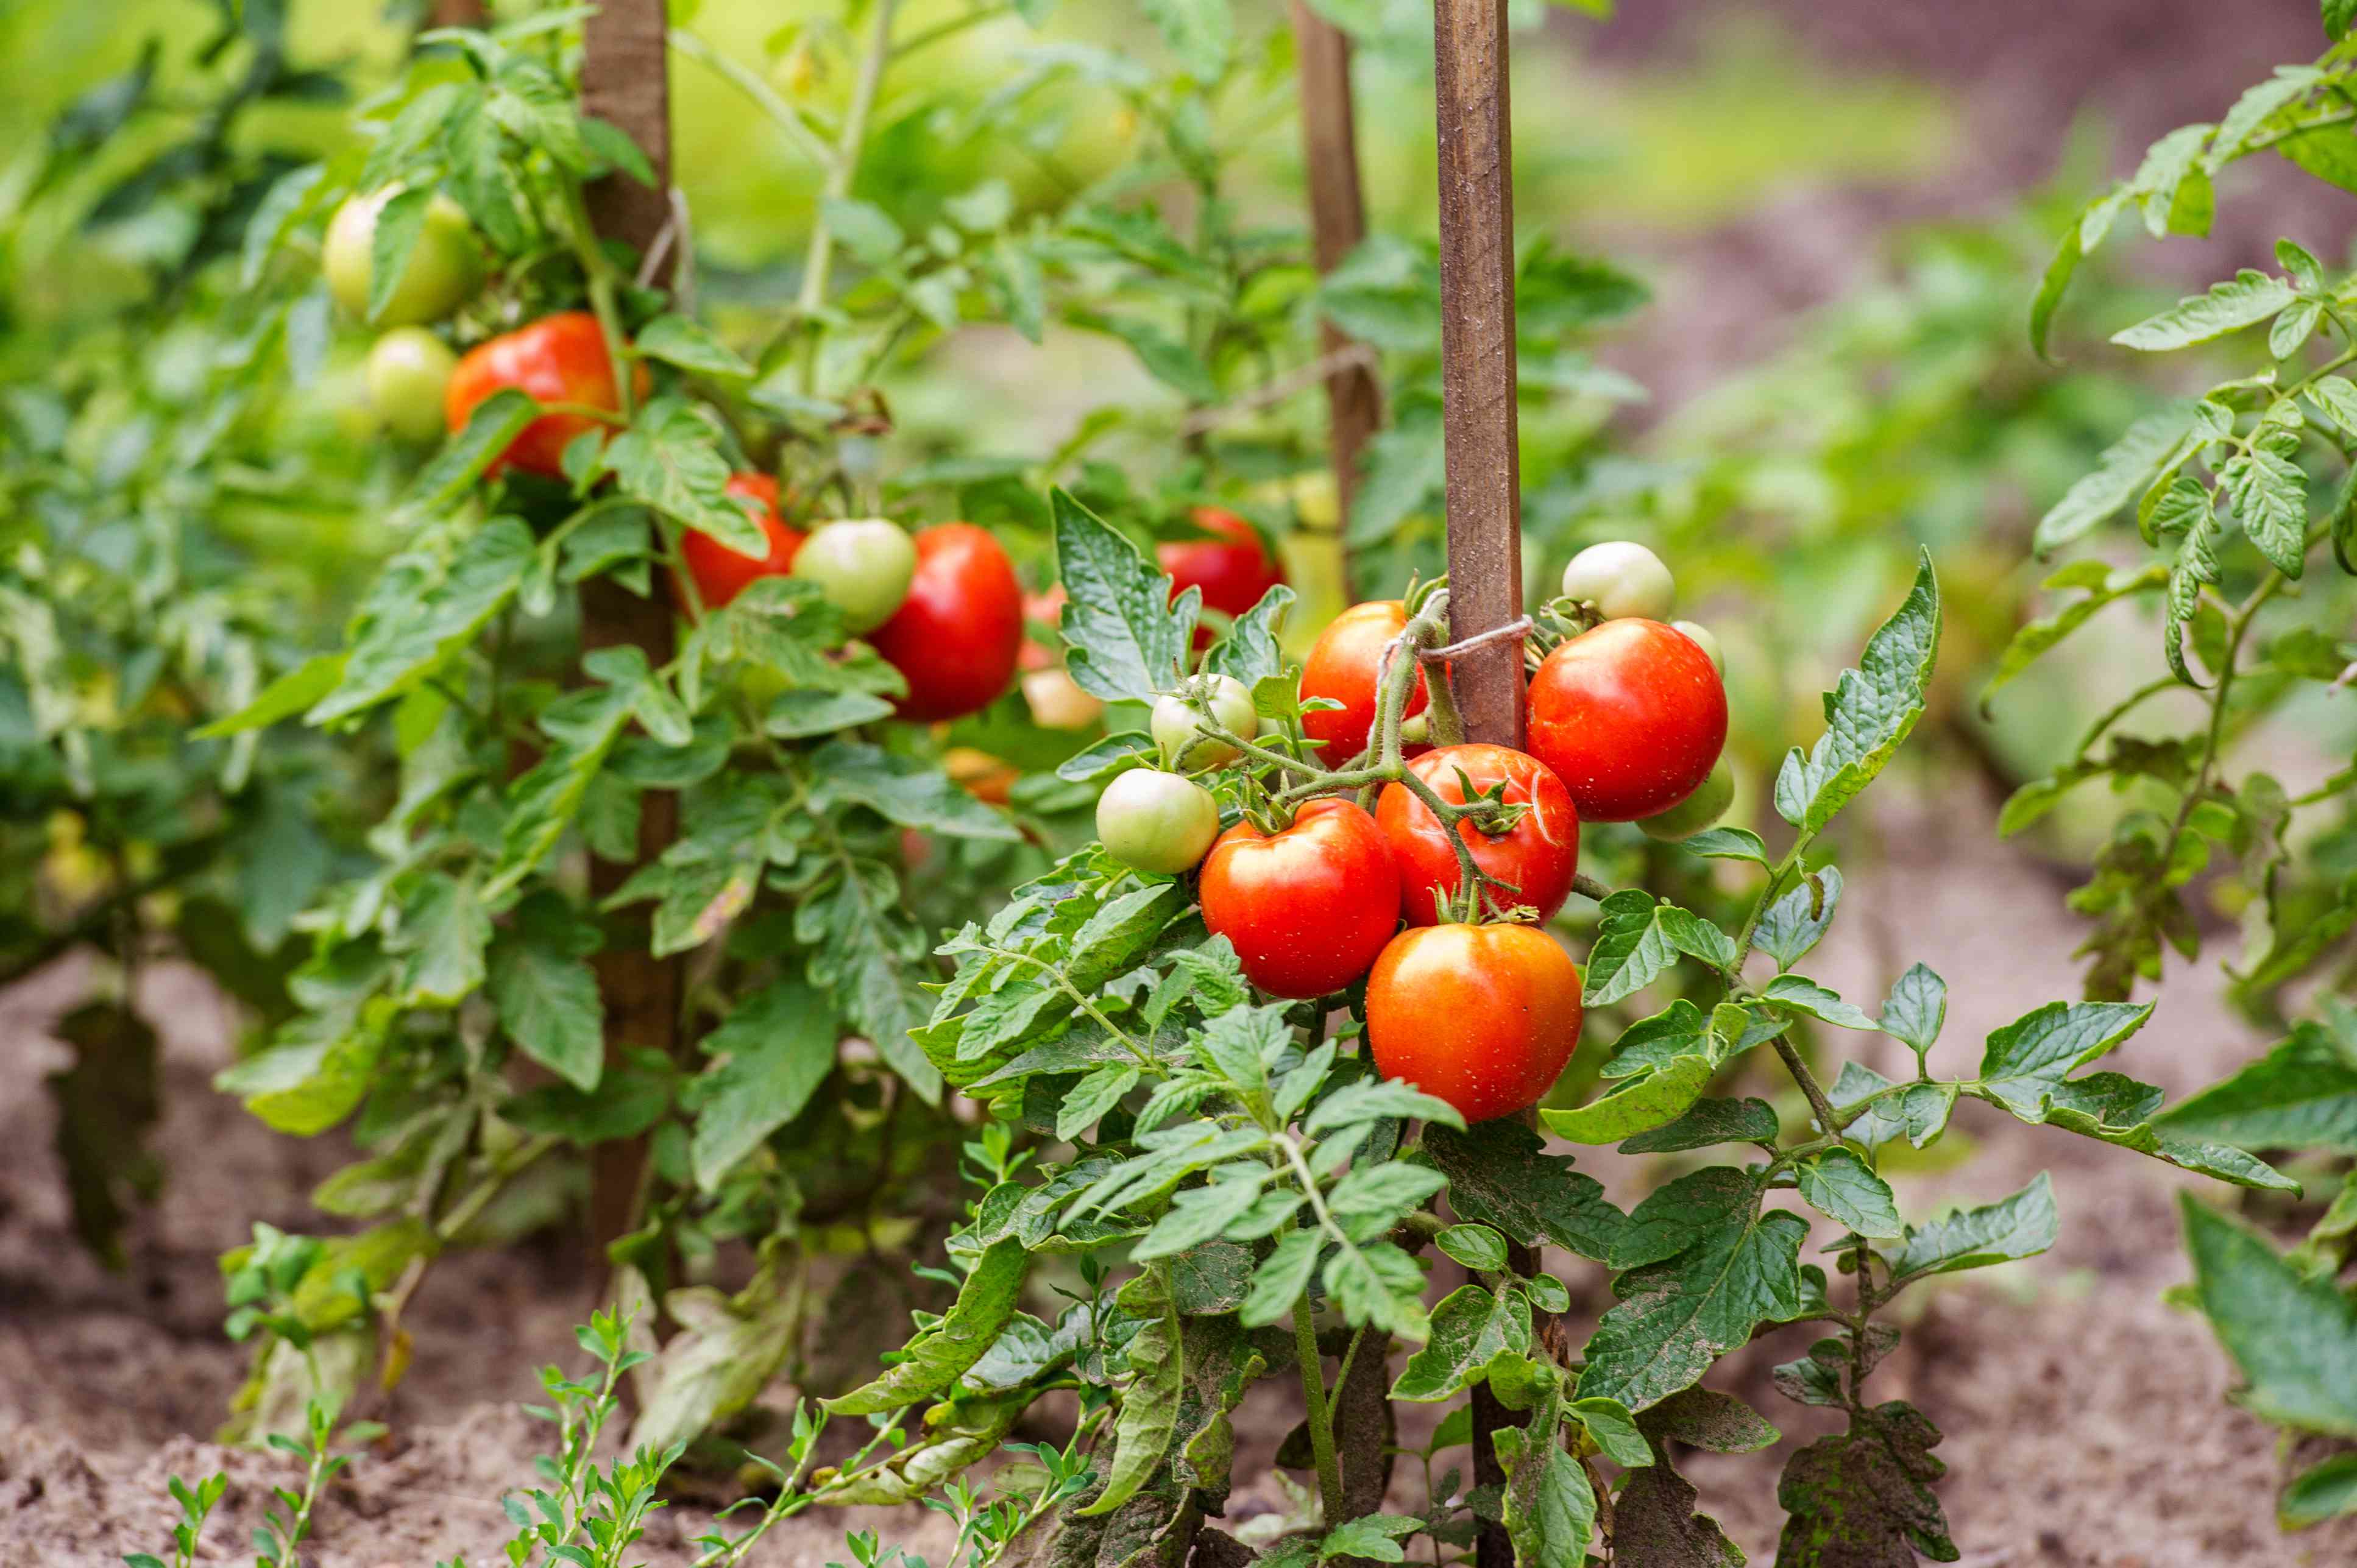
- Triangular Trellis: This design is formed by three angled posts with crossbeams and is great for training climbing vegetables like cucumbers or beans.
Remember to select a trellis design that complements the scale and style of your garden. Consider the height and width of the trellis, the spacing between the lattice panels, and the overall stability of the design.
Take some time to research different trellis designs and choose the one that best suits your preferences and gardening needs. Once you have decided on a design, you can move on to gathering the necessary materials for construction.
Step 3: Gathering the Materials
Now that you have chosen a trellis design, it’s time to gather all the materials you will need for the construction process. Here’s a list of the main materials required for building a garden trellis:
Support Posts: Decide whether you want to use wooden or metal posts for your trellis. Wooden posts provide a natural look, while metal posts offer durability and strength.
Crossbeams: Depending on the design you’ve chosen, you will need wooden or PVC crossbeams to connect the support posts. These crossbeams will provide stability and structure to the trellis.
Lattice Panels/Wire Mesh: Select the appropriate material for the lattice panels or wire mesh. Lattice panels are commonly made of wood and come in various designs, while wire mesh provides a sturdy support structure.
Nails or Screws: Opt for nails or screws to secure the crossbeams and lattice panels to the support posts. Make sure they are suitable for outdoor use and are long enough to provide a secure attachment.
Wood Glue: If you choose to use wooden lattice panels, consider using wood glue to reinforce the joints for added stability.
Stain or Paint (Optional): If you want to add a pop of color or protect the wood from weather elements, consider applying stain or paint to the trellis. Choose a color that complements your garden’s aesthetic.
Clear Sealant: If you decide to use wood for your trellis, applying a clear sealant will help protect it from moisture and prolong its lifespan.
Gravel or Concrete Mix: Depending on the stability of your chosen location, you may need gravel or concrete mix to secure the support posts into the ground.
Plant Ties or Twine: To train your climbing plants to grow along the trellis, you will need plant ties or twine to secure their stems and encourage upward growth.
Take precise measurements and ensure you have all the necessary materials before starting the construction process. This way, you can avoid interruptions and complete the project smoothly.
Step 4: Preparing the Ground
Before you start installing the trellis, it’s important to prepare the ground to ensure a stable foundation for your structure. Follow these steps to prepare the ground:
1. Clear the Area: Remove any weeds, rocks, or debris from the chosen location. This will provide a clean and level surface for the trellis.
2. Mark the Post Locations: Use a tape measure to mark the exact spots where the support posts will be placed. Measure and mark the desired height of the trellis as well.
3. Dig Post Holes: Use a post hole digger or shovel to dig holes for the support posts. The depth of the holes will depend on the height and stability required for your trellis. Generally, a depth of 1/3 to 1/2 the height of the post is recommended for stability.
4. Add Gravel or Concrete Mix: If the soil is loose or unstable, add a layer of gravel or pour concrete mix into the post holes. This will provide additional support and stability for the trellis.
5. Level the Holes: Use a level to ensure that the post holes are level and plumb. Adjust the depth or add/remove gravel or concrete as needed. A level trellis is essential for proper plant growth and structure.
6. Let the Concrete Set (If Using): If you opted for concrete mix, allow it to set as per the manufacturer’s instructions before moving on to the next step. This will ensure that the posts are firmly secured.
Once the ground is prepared, you are ready to move on to the installation of the support posts. Preparing the ground properly will provide a solid foundation, ensuring the stability and longevity of your garden trellis.
When making a garden trellis, choose a durable and weather-resistant material such as cedar or pressure-treated wood to ensure longevity and stability in your garden.
Step 5: Installing the Support Posts
With the ground prepared, it’s time to install the support posts for your garden trellis. Follow these steps for a secure and stable installation:
1. Place the Posts: Position the support posts in the marked locations and ensure they are straight and upright. Use a level to double-check their alignment.
2. Secure the Posts: If you are using wooden posts, drive them into the ground or onto the gravel/concrete mix. Ensure they are firmly set in place. For metal posts, use brackets or anchors to secure them to the ground or existing structures if applicable.
3. Check for Stability: Give the posts a gentle shake to test their stability. If they wobble or feel loose, adjust the gravel or concrete mix, or add additional support around the base of the posts.
4. Allow Time for Setting: If you used concrete mix to secure the posts, allow it to set completely according to the manufacturer’s instructions before proceeding with the next steps.
Proper installation of the support posts is crucial for the overall stability of your trellis. Take your time to ensure that the posts are securely in place before moving on to the next steps. This will provide a strong foundation for the rest of the construction process.
Step 6: Attaching the Crossbeams
Now that the support posts are securely in place, it’s time to move on to attaching the crossbeams. The crossbeams will provide the structure and support for your trellis panels. Follow these steps:
1. Measure and Cut: Measure the distance between the support posts horizontally and vertically, and cut the crossbeams accordingly. Use a saw to achieve clean and precise cuts.
2. Position the Crossbeams: Place the crossbeams on top of the support posts, aligning them horizontally or diagonally depending on your chosen trellis design. Ensure that they are level and centered.
3. Attach the Crossbeams: Use nails or screws to attach the crossbeams to the support posts. Drive them through the crossbeams and into the posts, ensuring a secure connection. Alternatively, you can use brackets or metal connectors for added stability.
4. Check for Levelness: Use a level to ensure that the crossbeams are horizontal or angled as desired. Make any necessary adjustments to achieve a level and visually appealing trellis structure.
Attaching the crossbeams is a critical step in the construction process as it provides the framework for your trellis panels. Take your time to ensure that the crossbeams are securely attached and properly aligned. This will contribute to the overall stability and functionality of your garden trellis.
Step 7: Adding the Trellis Panels
With the crossbeams securely in place, it’s time to add the trellis panels that will support your climbing plants. Follow these steps to attach the trellis panels:
1. Measure and Cut: Measure the dimensions of each trellis panel and mark them on the lattice or wire mesh material. Use a saw or wire cutters to carefully cut the panels to the desired size.
2. Position the Panels: Place the trellis panels between the crossbeams, aligning them with the frame you’ve created. Ensure that the panels sit evenly and snugly within the support structure.
3. Attach the Panels: Use nails or screws to attach the trellis panels to the crossbeams. Drive the fasteners through the panels and into the crossbeams, ensuring a secure and stable connection. Space the nails or screws evenly along the edges of the panels.
4. Reinforce with Wood Glue (if using wooden lattice): If you’re using wooden lattice panels, consider applying wood glue to reinforce the joints between the lattice and the crossbeams. This will provide additional strength and stability to your trellis.
Adding the trellis panels is an exciting step as it brings your garden trellis to life. Take care to align the panels properly and secure them firmly in place. This will ensure that your climbing plants have a sturdy and reliable support system to thrive on.
Read more: How To Make Trellis For Vertical Garden
Step 8: Securing the Trellis to the Posts
Now that the trellis panels are attached to the crossbeams, it’s time to secure the entire structure to the support posts. This step will ensure that your garden trellis is stable and able to withstand the weight of climbing plants. Follow these steps:
1. Align the Trellis: Check that the trellis is centered and aligned with the support posts. Make any necessary adjustments to achieve a symmetrical and visually appealing placement.
2. Secure Using Nails or Screws: Select the appropriate fasteners based on the material of your support posts and trellis panels. Use nails or screws to attach the trellis to the support posts, ensuring a strong and secure connection.
3. Drive the Fasteners: Drive the nails or screws through the trellis panels and into the support posts. Space them evenly along the edges of the trellis, ensuring that they are driven in securely but not too tightly to avoid damaging the trellis material.
4. Double-Check Stability: After securing the trellis, give it a gentle shake to test the stability. Ensure that it is firmly attached and does not wobble. If needed, make any necessary adjustments or add additional fasteners to improve stability.
Securing the trellis to the support posts is a crucial step in the construction process, as it ensures the overall stability of your garden trellis. Take your time to properly align and secure the trellis, ensuring a solid and reliable structure for your climbing plants.
Step 9: Finishing Touches
Now that your garden trellis is securely installed, it’s time to add some finishing touches to enhance its appearance and functionality. Consider the following steps:
1. Stain or Paint: If desired, apply a coat of stain or paint to the trellis. Choose a color that complements your garden’s aesthetic and provides protection to the wood. Allow the stain or paint to dry completely before proceeding.
2. Apply Clear Sealant (for wooden trellis): To protect a wooden trellis from weather elements and prolong its lifespan, apply a clear sealant. This will help prevent rot and decay caused by moisture. Follow the manufacturer’s instructions for application and drying time.
3. Train Climbing Plants: Once the trellis is complete, it’s time to train your climbing plants to grow along the structure. Use plant ties or twine to secure the stems of the plants to the trellis. Encourage them to grow along the trellis by gently guiding the vines or tendrils.
4. Regular Maintenance: Keep an eye on your trellis and climbing plants as they grow. Prune and trim the plants as necessary to maintain their shape and promote healthy growth. Check the trellis periodically for any loose or damaged components and make repairs as needed.
By adding these finishing touches, you can enhance the visual appeal of your garden trellis and ensure the optimal growth of your climbing plants. Regular maintenance and care will help prolong the life of your trellis and keep it looking beautiful for years to come.
Conclusion
Congratulations! You have successfully learned how to make a garden trellis from scratch. By following the step-by-step instructions in this guide, you have created a sturdy structure that will provide support for your climbing plants and add beauty to your garden.
From choosing the perfect location to selecting a trellis design, gathering materials, and going through the construction process, you have gained the knowledge and skills to create a trellis that suits your gardening needs and personal style.
Remember to carefully prepare the ground, install the support posts, attach the crossbeams, add the trellis panels, and secure the structure to ensure stability. Additionally, apply finishing touches such as staining or painting, and train your climbing plants to grow along the trellis.
Enjoy the process of watching your climbing plants flourish and weave their way through the trellis, creating a stunning vertical garden display. Regular maintenance and care will ensure the longevity and beauty of your garden trellis.
Get creative with your trellis by experimenting with different climbing plants and designs. Whether you’re cultivating a vibrant flower garden, growing delicious fruits and vegetables, or creating a serene and green corner, your trellis will be a focal point of your garden.
So, go ahead and get started on your garden trellis project. Let your imagination soar as you create an enchanting and functional space for your climbing plants. Happy gardening!
Frequently Asked Questions about How To Make A Garden Trellis
Was this page helpful?
At Storables.com, we guarantee accurate and reliable information. Our content, validated by Expert Board Contributors, is crafted following stringent Editorial Policies. We're committed to providing you with well-researched, expert-backed insights for all your informational needs.
0 thoughts on “How To Make A Garden Trellis”