Articles
Free Trellis Plan
Modified: January 8, 2024
Looking for free trellis plans? Check out our collection of articles on how to build your own trellis for your garden. Start your DIY project today!
(Many of the links in this article redirect to a specific reviewed product. Your purchase of these products through affiliate links helps to generate commission for Storables.com, at no extra cost. Learn more)
Introduction
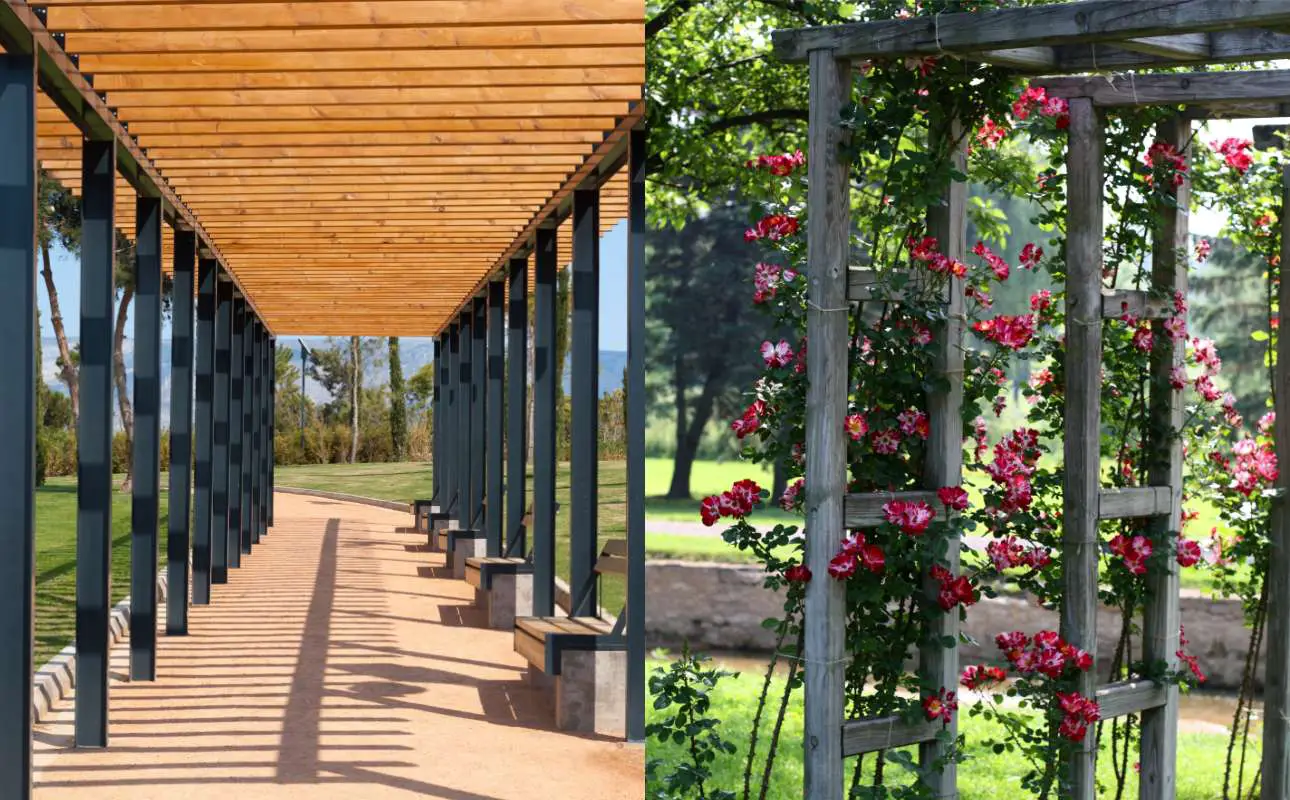
Welcome to our comprehensive guide on building a free trellis plan for your garden. A trellis is a versatile and functional addition to any outdoor space, providing support for climbing plants, creating visual interest, and even serving as a privacy screen. In this article, we will walk you through the materials you’ll need and the step-by-step process to build your own trellis, all without spending a dime!
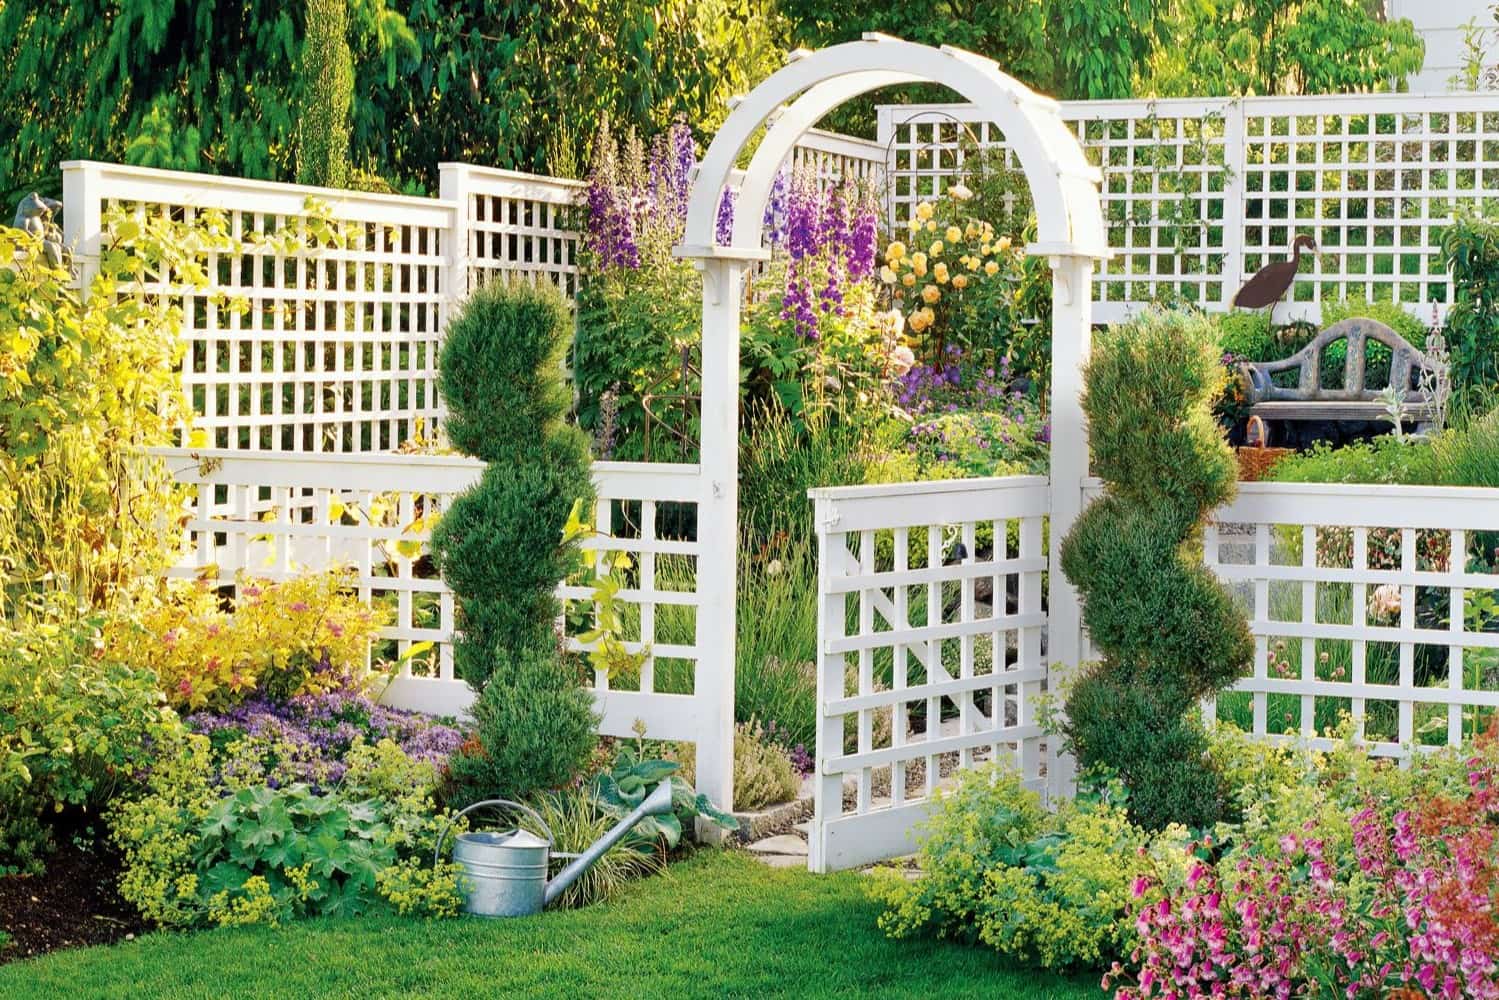
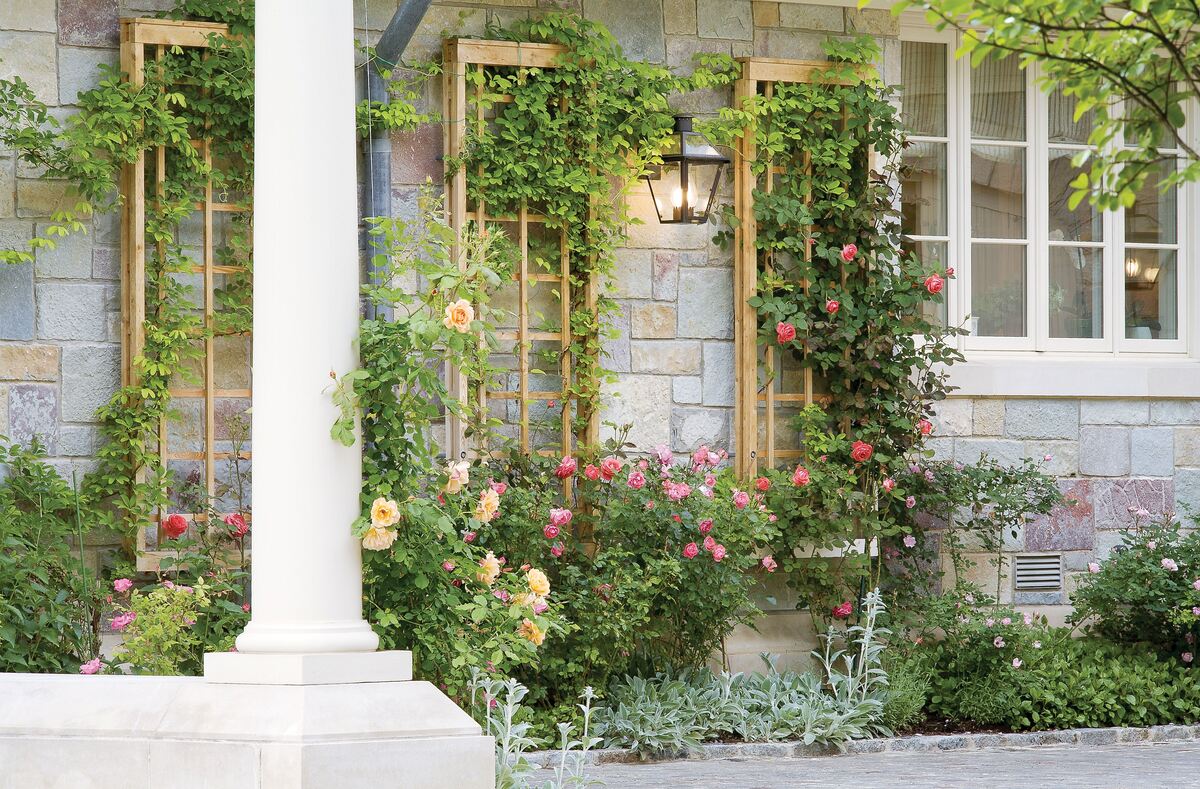
A trellis not only adds beauty and charm to your garden but also maximizes your planting area by utilizing vertical space. Whether you want to grow cucumbers, tomatoes, or flowering vines, a trellis offers the perfect structure to encourage healthy growth and keep your plants neat and organized.
The best part about this trellis plan is that you can create it using materials that are readily available or repurposed from existing items in your backyard or garage. Not only will you save money, but you’ll also contribute to reducing waste and giving new life to old materials. So, let’s gather our materials and get started on this exciting DIY project!
Before we begin, please note that the specific materials and dimensions mentioned in this guide are just a suggestion. Feel free to modify them according to your particular needs and available resources. Let’s dive in and learn how to build a free trellis for your garden!
Key Takeaways:
- Build a free trellis using repurposed materials like wooden pallets and scrap wood. Save money, reduce waste, and create a functional, visually appealing structure for your climbing plants.
- Customize your trellis design and experiment with different climbing plants. Enjoy the process of building and maintaining your trellis, and share your DIY success with fellow garden enthusiasts.
Read more: How To Create A Floor Plan For Free
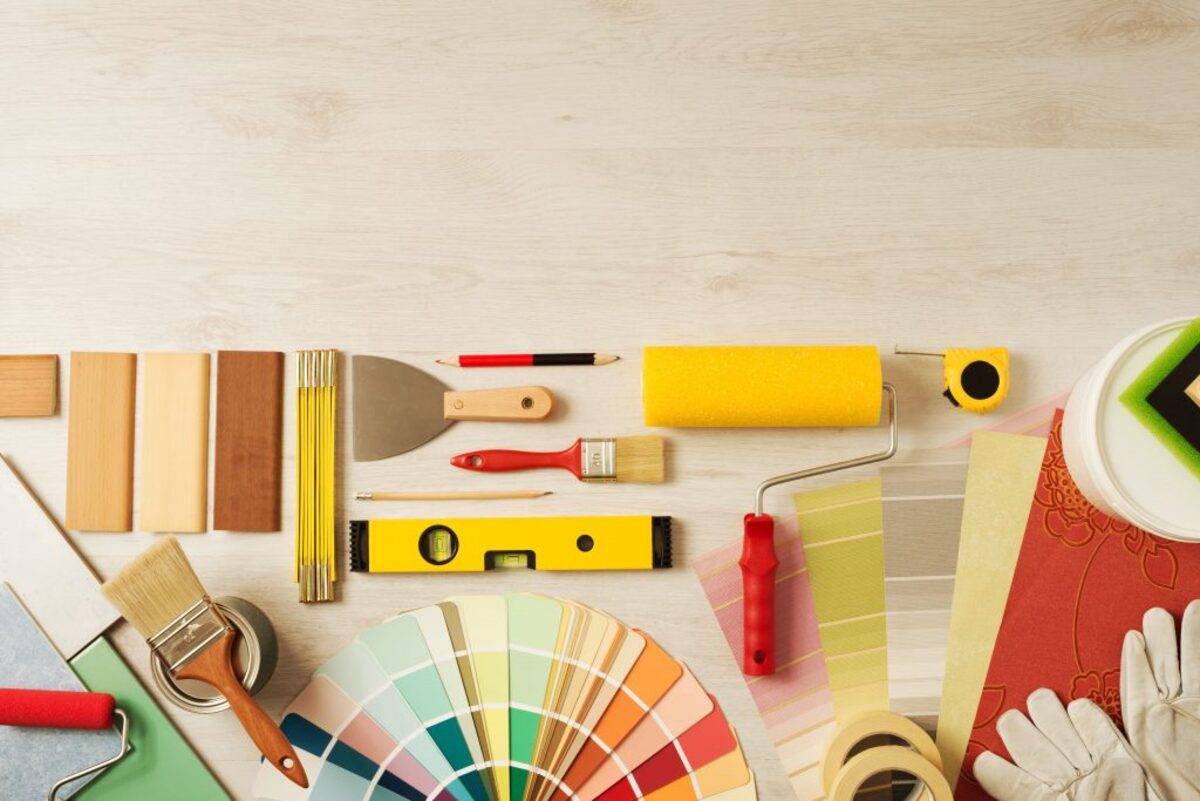
Materials Needed
To build your free trellis, here are the materials you will need:
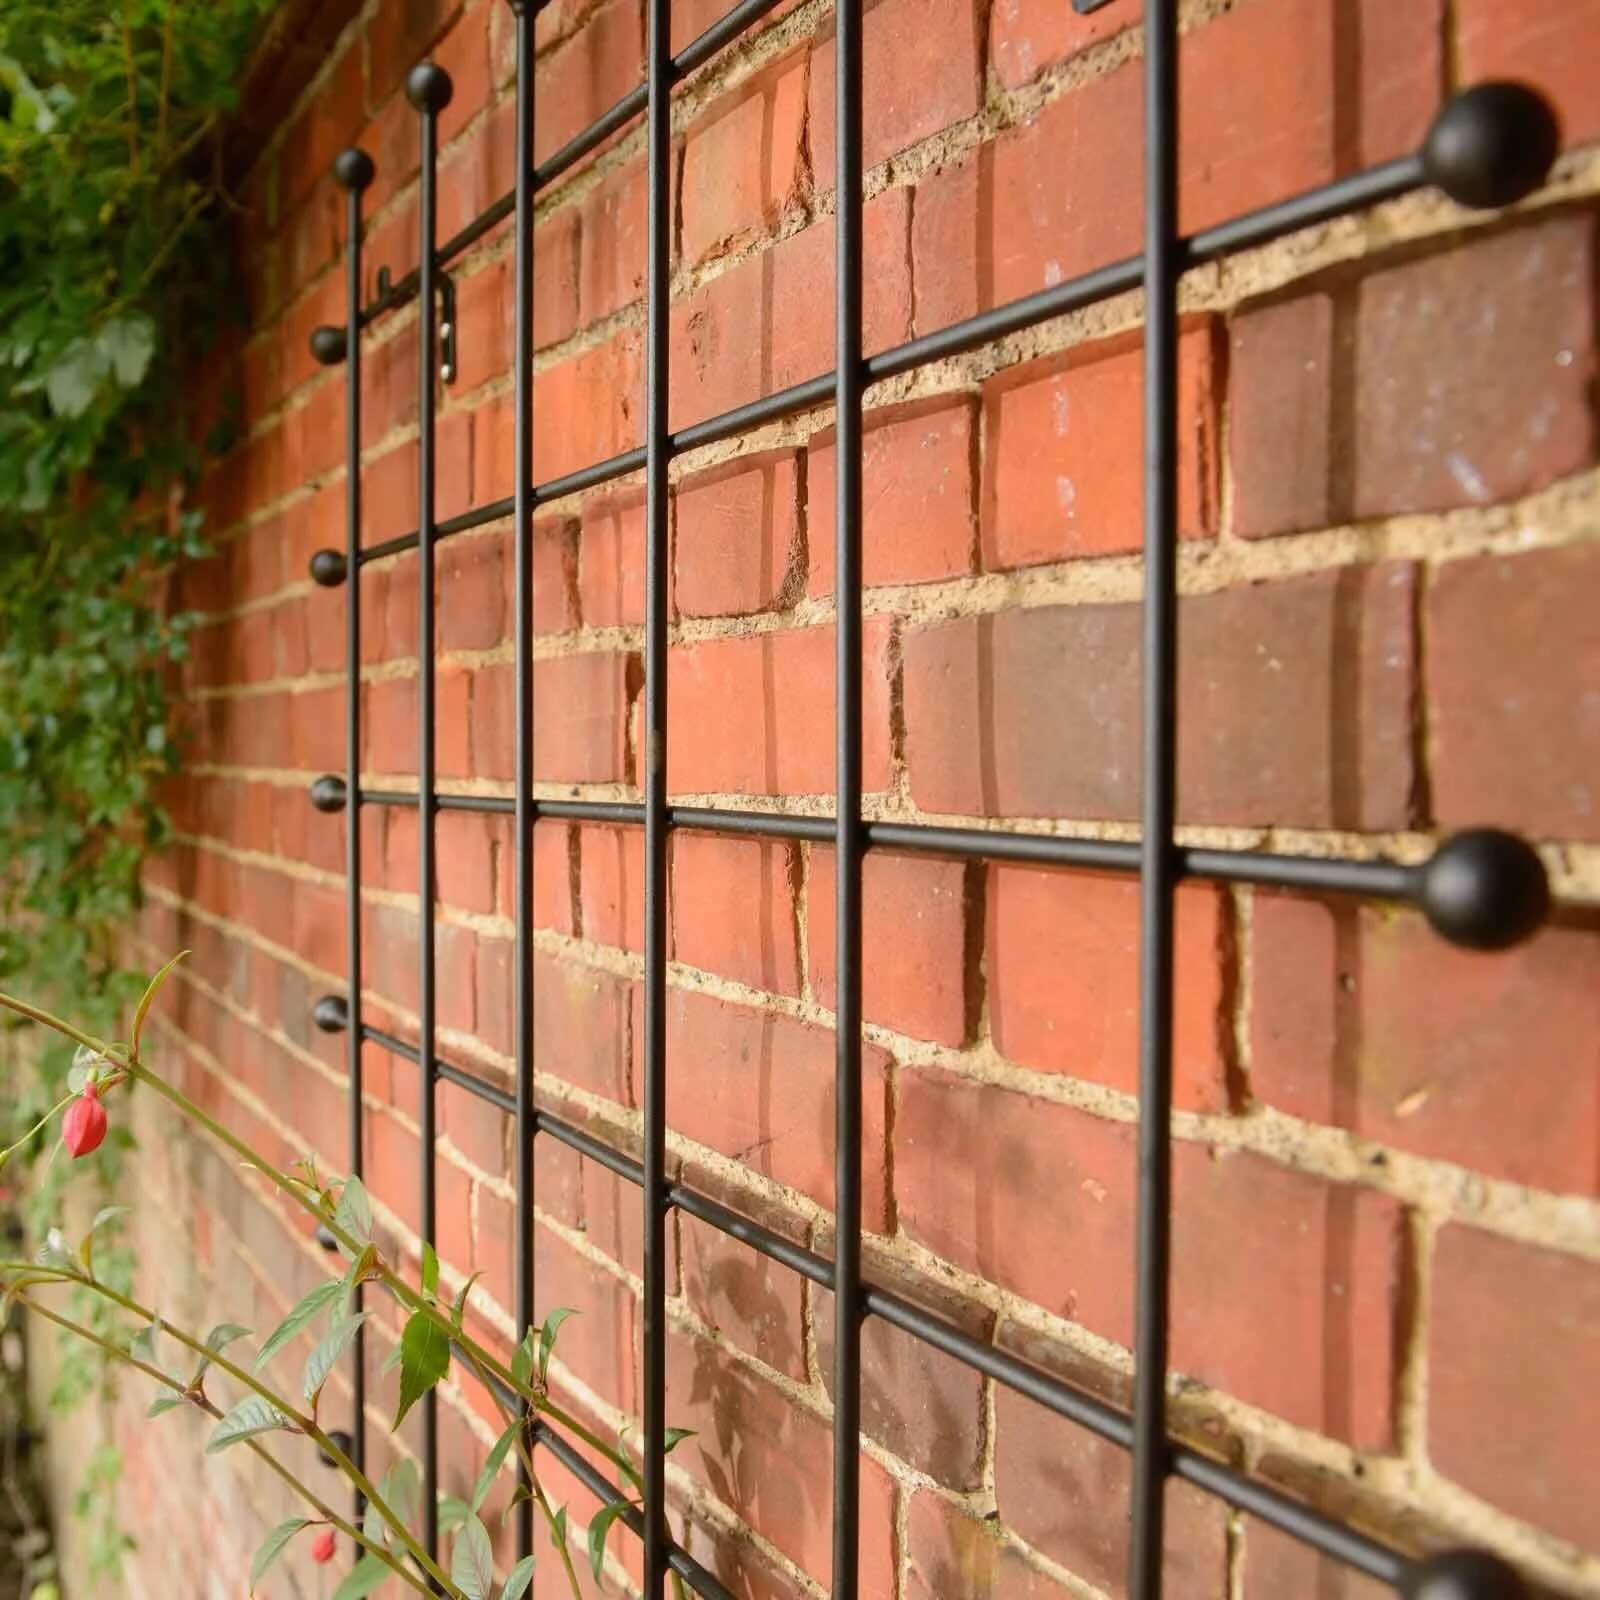
- Wooden Pallets or Scrap Wood: Look for discarded wooden pallets or any scrap wood you have lying around. These will serve as the main structure of the trellis.
- Screws or Nails: Depending on the type of wood you are using, gather screws or nails to secure the trellis together. Make sure they are long enough to provide a secure hold.
- Measuring Tape: You will need a measuring tape to ensure accurate dimensions and proper alignment of the trellis.
- Saw: A saw will be necessary to cut the wooden pallets or scrap wood to the desired size and shape.
- Drill: If you choose to use screws, a drill will be needed to create pilot holes for easier installation.
- Level: A level will help you ensure that the trellis is straight and properly aligned when installing it.
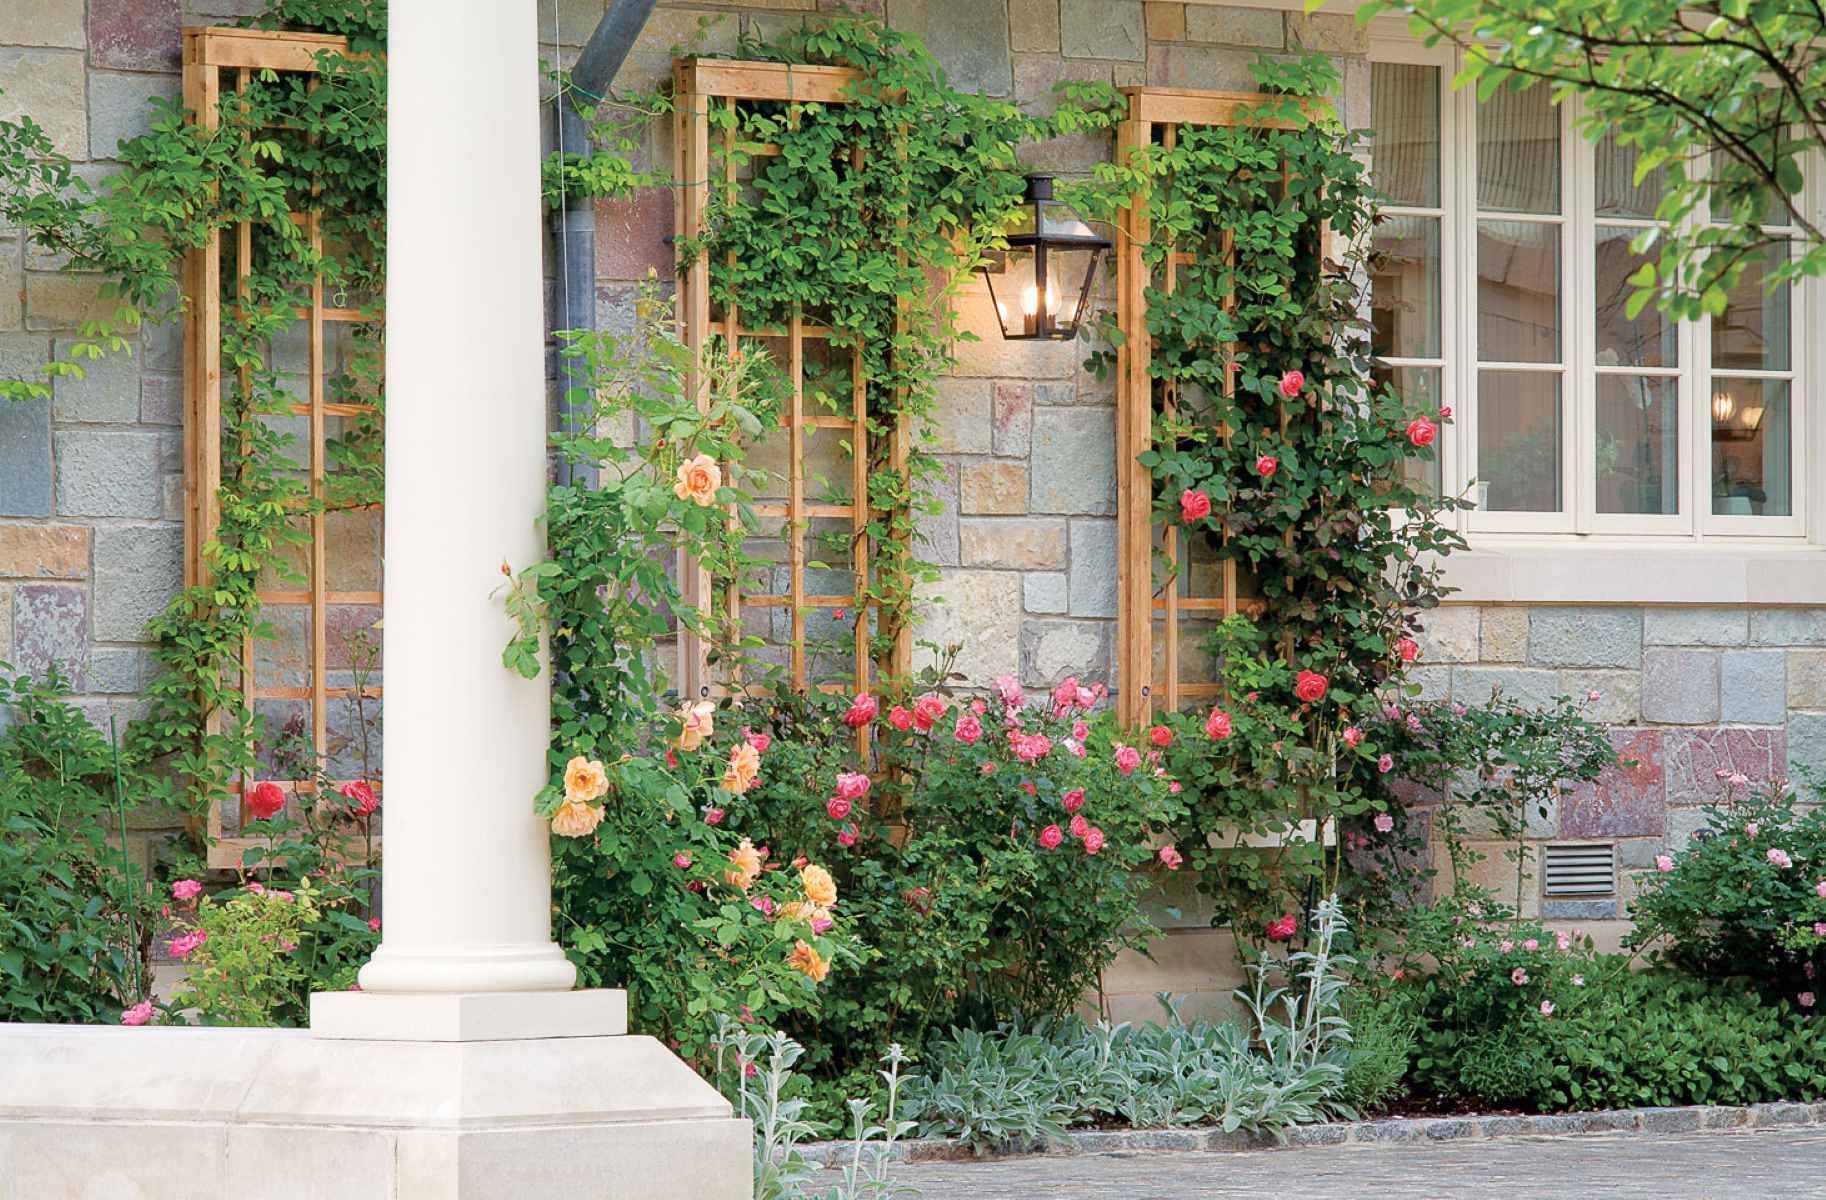
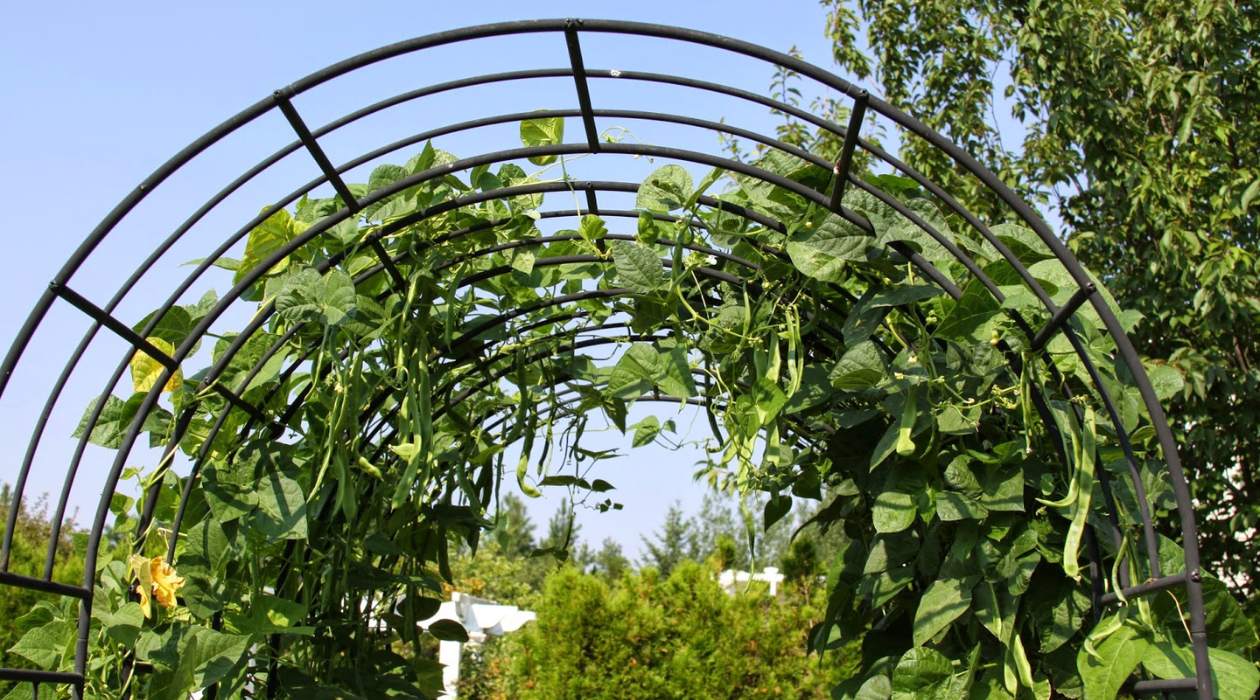
- Climbing Plants: Decide on the climbing plants you want to grow on your trellis, whether it’s vibrant flowers, vegetables, or even fragrant jasmine.
- Gardening Gloves: It’s always a good idea to protect your hands while working in the garden. Invest in a pair of quality gardening gloves.
These materials are easily accessible and may even be available in your own backyard or from local scrap yards. Remember, the goal is to create a trellis without spending any money, so get creative and make the most of what you have!
Steps to Build
Now that you have gathered all the necessary materials, let’s go through the step-by-step process to build your free trellis:
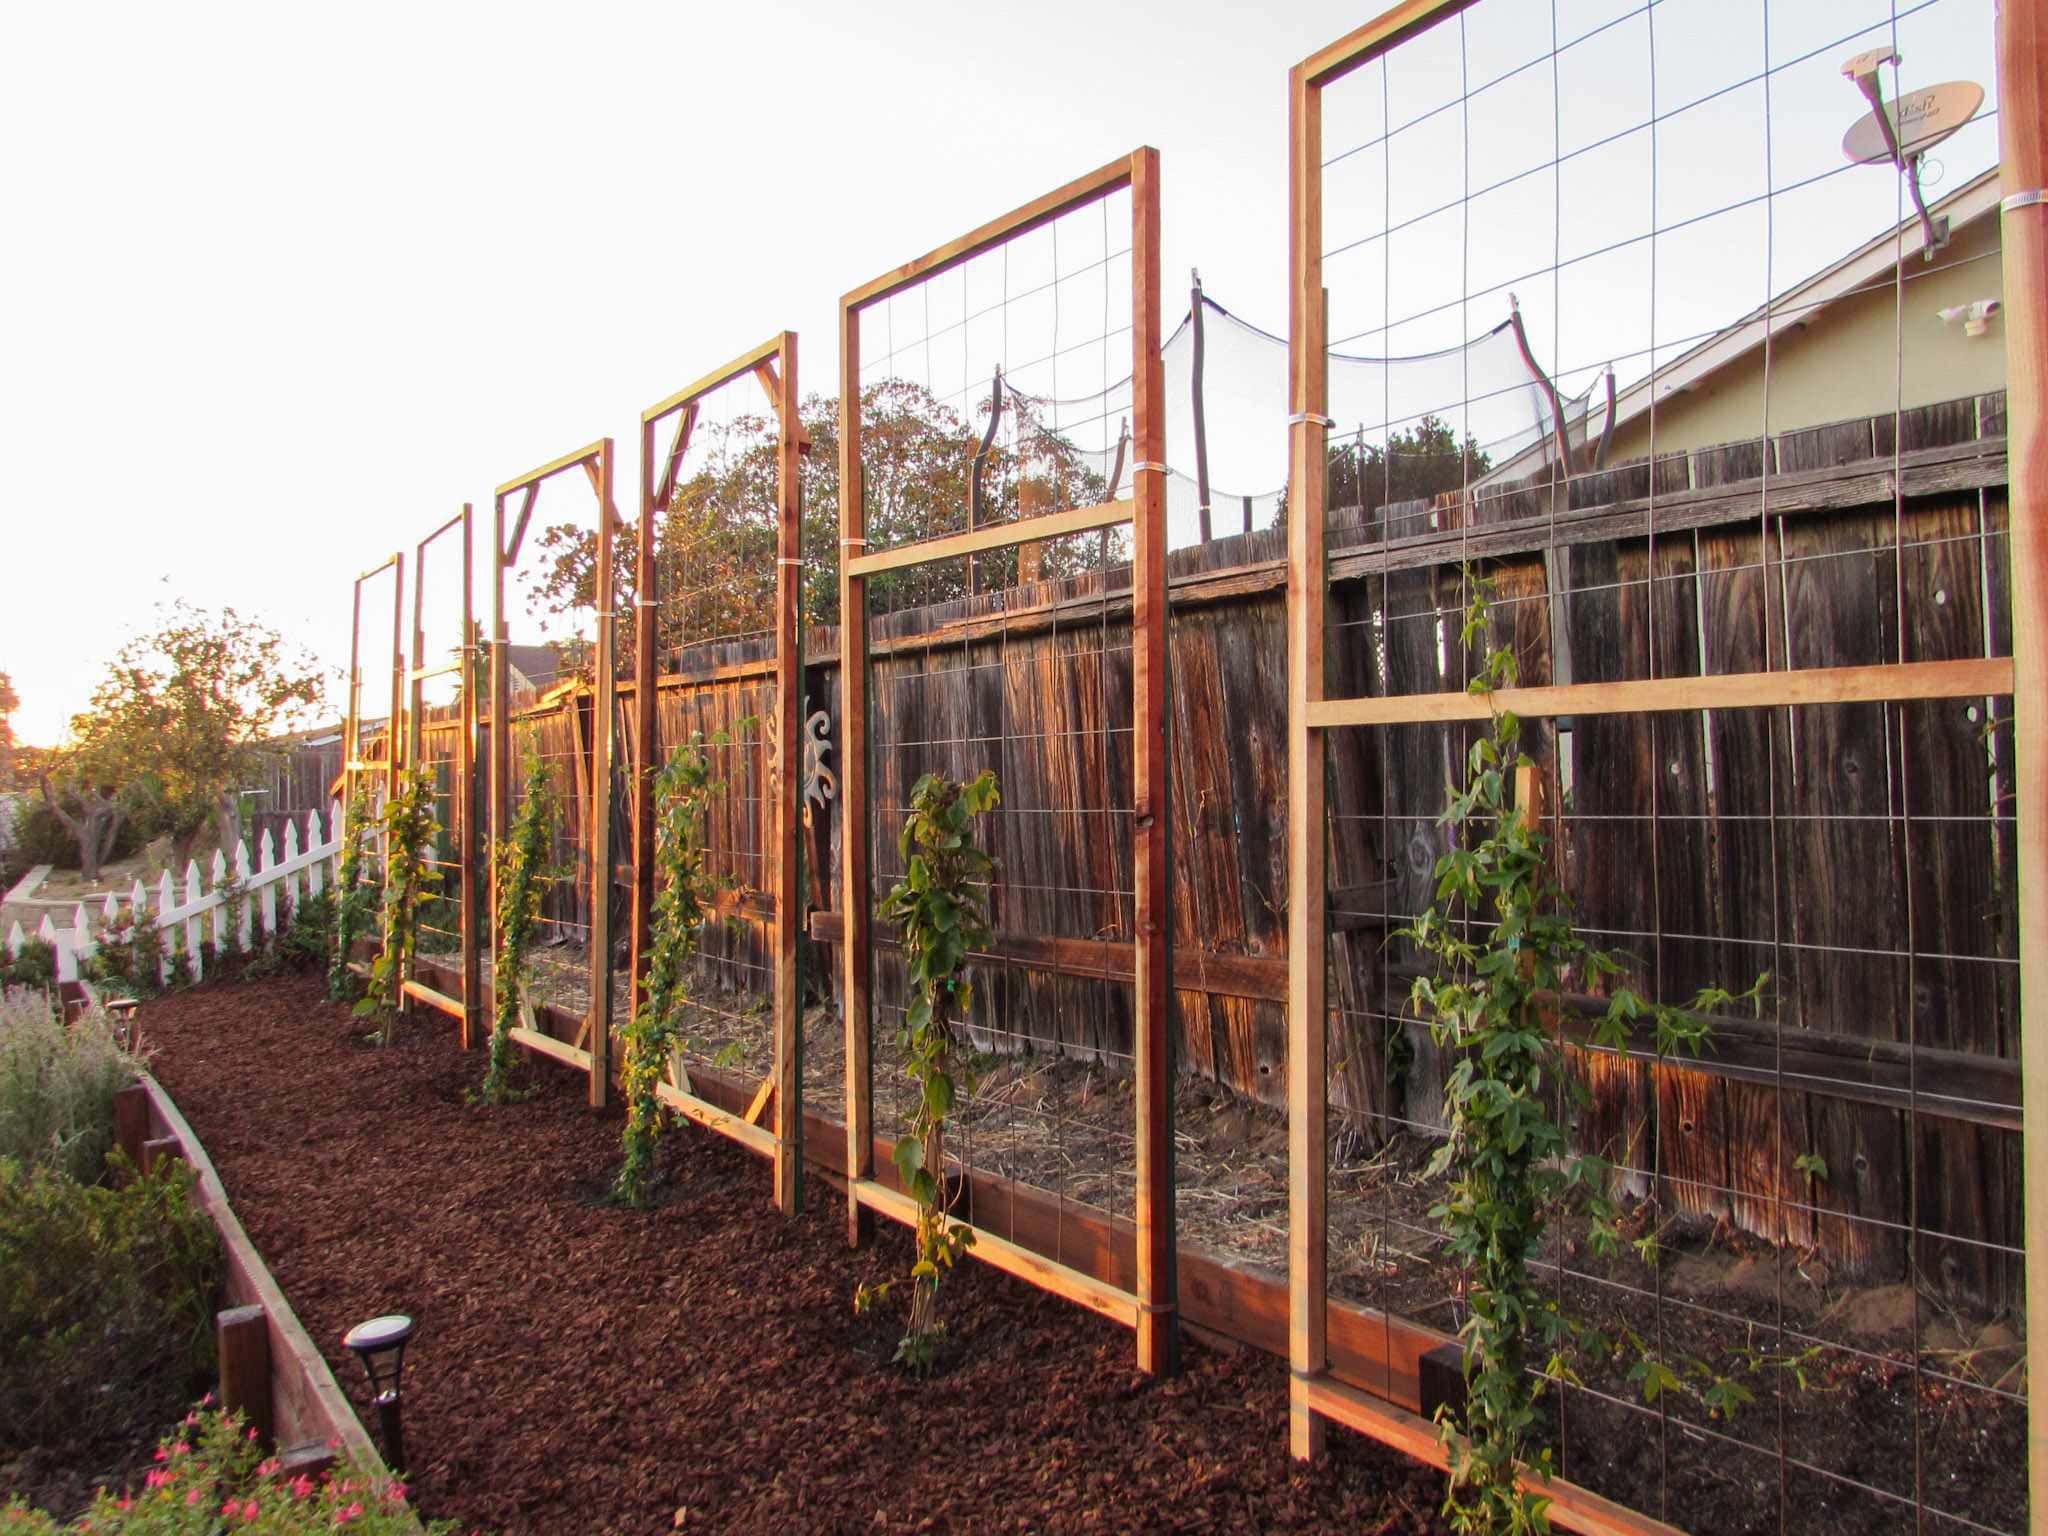
- Measure and Cut the Wood: Using a measuring tape, determine the desired height and width of your trellis. Mark the measurements on the wooden pallets or scrap wood and use a saw to cut them to size. You may need multiple pieces of wood to create the desired height and width.
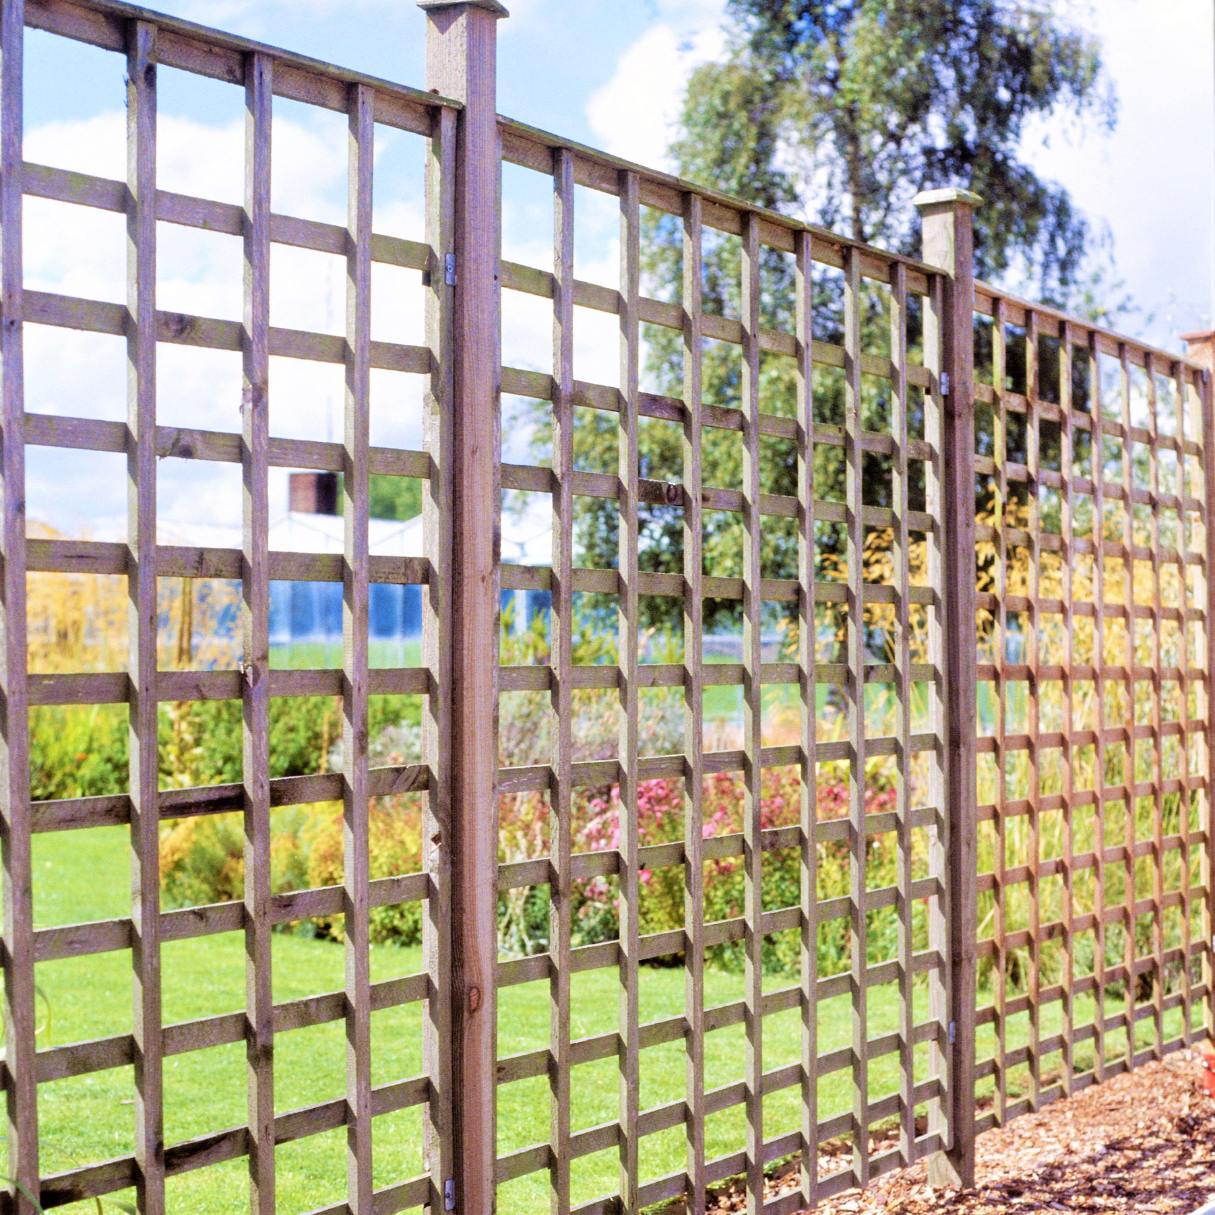
- Arrange the Wood: Lay the cut pieces of wood on the ground and position them according to your desired design. You may choose a classic grid pattern or experiment with a more creative arrangement. Ensure that the pieces are aligned and evenly spaced.
- Secure the Wood: Once you are satisfied with the arrangement, use screws or nails to secure the pieces of wood together at the points where they intersect. Make sure the connections are strong and sturdy.
- Prepare the Location: Identify where you want to install your trellis in your garden. Clear the area of any obstacles or debris to ensure a smooth installation process.
- Install the Trellis: With the help of a friend, hold the trellis upright in the chosen location. Use a level to ensure it is straight and adjust as needed. If the trellis is freestanding, you may need to secure it to the ground by driving stakes or burying the base for stability.
- Plant Your Climbing Plants: Now comes the exciting part – it’s time to plant your favorite climbing plants! Dig holes at the base of the trellis and carefully place your plants, ensuring that they have ample space to grow and attach themselves to the trellis.
- Maintain and Enjoy: As your plants grow, regularly check for any tendrils that need guidance or pruning. Water and fertilize your plants as recommended to keep them healthy and thriving. Sit back and enjoy watching your trellis come to life with beautiful climbing plants!
Remember, personalization is key! Feel free to add your own creative touches to the design and adapt the steps based on your specific needs and preferences. Now that you know how to build a free trellis, it’s time to get your hands dirty and create a beautiful structure for your garden!
When building a trellis, be sure to choose a sturdy and durable material such as cedar or pressure-treated wood to ensure longevity and stability.
Conclusion
Congratulations! You have successfully learned how to build a free trellis for your garden. By repurposing wooden pallets or scrap wood, you have created a functional and visually appealing structure that will support your climbing plants and add beauty to your outdoor space.
Building your own trellis not only saves you money but also gives you the freedom to customize the design to suit your specific needs and style. Plus, by reusing materials, you are making a positive impact on the environment by reducing waste.
As your plants grow and twine themselves around the trellis, you’ll witness the transformation of your garden into a lush and vibrant oasis. Don’t forget to regularly maintain and care for your trellis and the plants that call it home.
Building a free trellis is just the beginning of your gardening journey. Now, you can explore various climbing plants and experiment with different combinations to create a unique and stunning display. Whether you choose fragrant flowers, luscious vegetables, or a mix of both, your trellis will serve as a backdrop for nature’s beauty.
So, gather your materials, put on your gardening gloves, and dive into this exciting DIY project. Enjoy the process and the satisfaction of knowing that you built something beautiful with your own hands.
Remember, your garden is a reflection of your creativity and love for nature. Let your trellis be a focal point of your garden and a testament to your green thumb. Happy gardening!
Additional Tips
Here are some additional tips to consider when building your free trellis:
- Choose the Right Location: Consider the sunlight and wind patterns in your garden when deciding where to install your trellis. Most climbing plants require ample sunlight to thrive.
- Paint or Stain the Wood: If desired, you can paint or stain the wood to enhance its appearance and protect it from weathering. Use non-toxic, outdoor-grade paint or stain to ensure the safety of your plants.
- Space the Wood Properly: Make sure to leave enough space between the pieces of wood to allow air circulation and prevent overcrowding of your plants.
- Train Your Plants: As your climbing plants grow, gently guide them to attach themselves to the trellis. This will help them climb and spread evenly, creating a full and beautiful display.
- Regularly Inspect for Maintenance: Check your trellis regularly for any loose screws or nails that may need tightening. Prune any excess growth or damaged leaves to keep your plants healthy.
- Add Decorative Features: Consider adding decorative elements such as hanging baskets, wind chimes, or outdoor lights to enhance the visual appeal of your trellis.
- Reuse and Repurpose: Keep an eye out for other materials you can repurpose for your trellis, such as old wire fencing or bamboo poles. Get creative and let your imagination run wild!
- Experiment with Different Plants: Don’t limit yourself to just one type of climbing plant. Explore different varieties and combinations to add diversity and interest to your trellis.
- Share Your Success: Take pride in your creation and share your trellis-building journey with friends, family, and fellow garden enthusiasts. Inspire others to embark on their own DIY projects!
Remember, building a trellis is a rewarding and enjoyable experience. Let your creativity shine, and have fun transforming your garden into a thriving and delightful space!
Read more: What Is The Best Free Floor Plan Software
Frequently Asked Questions
Here are some commonly asked questions about building a free trellis:
- Can I use any type of wood for the trellis?
- How can I secure the trellis to the ground?
- What are the best plants to grow on a trellis?
- How do I care for the plants on my trellis?
- Can I expand or modify my trellis in the future?
- How long will my trellis last?
- Can I use a trellis for indoor plants?
Yes, you can use any type of wood for your trellis as long as it is sturdy enough to support the weight of your climbing plants. However, it is recommended to avoid treated or chemically-treated wood, as it can be harmful to your plants.
If your trellis is freestanding, you can secure it to the ground by driving stakes into the soil on either side and attaching the trellis to the stakes. Alternatively, you can bury the base of the trellis in the ground for added stability.
There are many plants that thrive on trellises, including climbing roses, cucumbers, tomatoes, peas, beans, morning glories, jasmine, and many more. Choose plants that are suitable for your climate and light conditions.
Regularly water your plants and provide them with the necessary sunlight and nutrients. Keep an eye out for pests or diseases and take appropriate measures to protect your plants. Prune and train your plants as needed to maintain their shape and encourage healthy growth.
Absolutely! Your trellis is a flexible structure that can be expanded or modified as your gardening needs evolve. You can add additional sections or connect multiple trellises together to create a larger structure.
The durability of your trellis depends on the type of wood used and how well it is maintained. With proper care and maintenance, a well-built trellis can last for many years.
Yes, trellises can also be used indoors to support climbing houseplants like pothos, philodendron, or ivy. Ensure that the trellis is appropriately sized for the indoor space.
These answers should address some of the common queries you may have about building and maintaining a trellis. If you have any further questions, feel free to reach out to experienced gardeners or do additional research for specific plant requirements and trellis designs.
Frequently Asked Questions about Free Trellis Plan
Was this page helpful?
At Storables.com, we guarantee accurate and reliable information. Our content, validated by Expert Board Contributors, is crafted following stringent Editorial Policies. We're committed to providing you with well-researched, expert-backed insights for all your informational needs.


0 thoughts on “Free Trellis Plan”