Home>Ideas and Tips>Heated Bathroom Flooring Installation: Benefits
Ideas and Tips
Heated Bathroom Flooring Installation: Benefits
Modified: October 28, 2024
Discover the comfort and efficiency of heated bathroom flooring. Learn about installation steps, types of systems, and the benefits of radiant heat.
(Many of the links in this article redirect to a specific reviewed product. Your purchase of these products through affiliate links helps to generate commission for Storables.com, at no extra cost. Learn more)
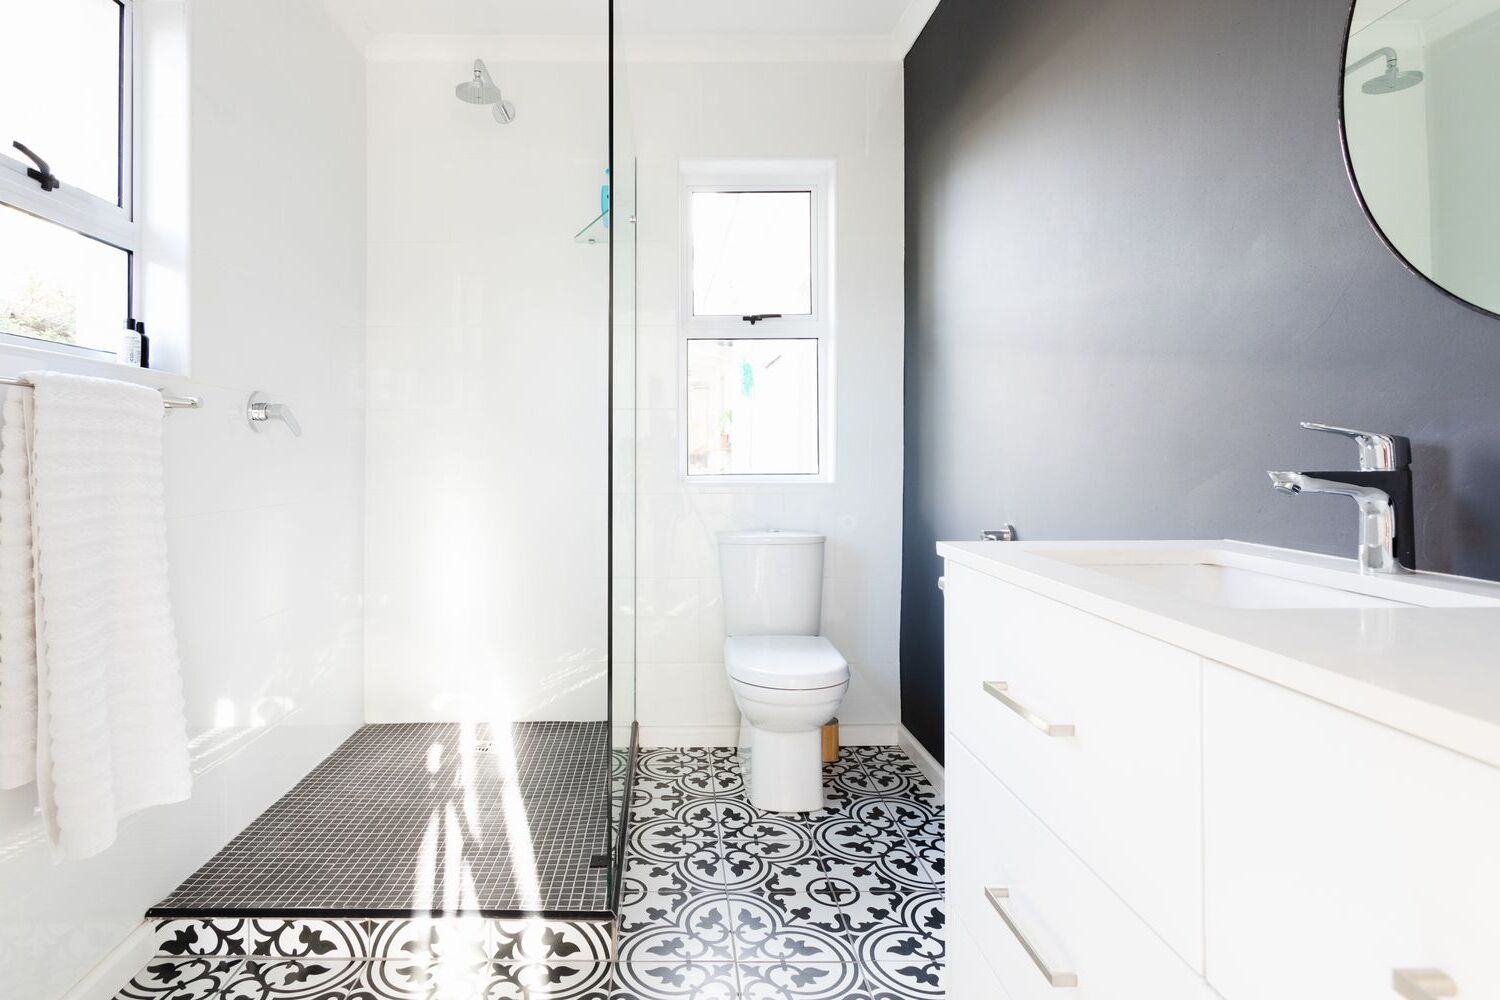
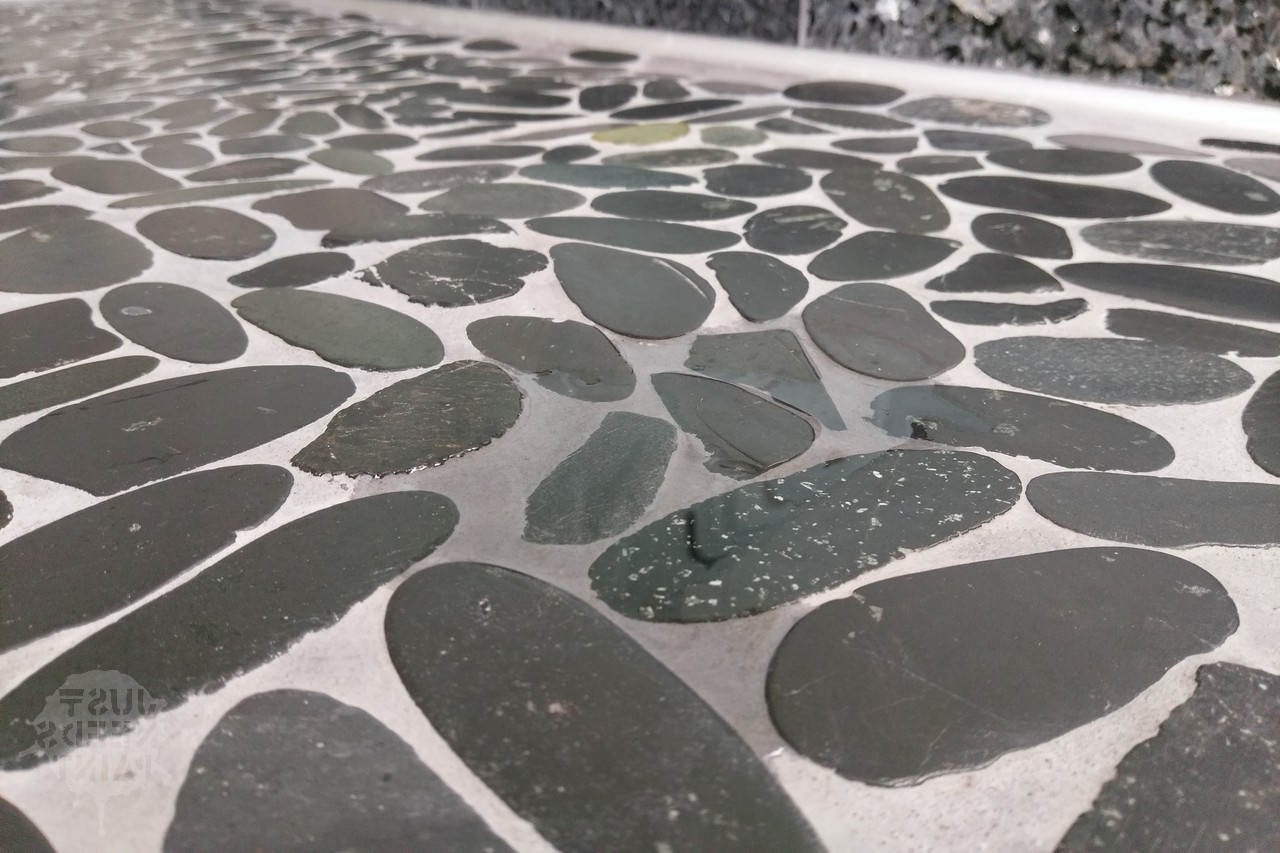
Installing heated bathroom flooring can be a fantastic way to enhance the comfort and functionality of your bathroom. This type of flooring not only provides warmth but also offers several benefits that can make your bathroom experience more enjoyable. In this article, we will delve into the process of installing heated bathroom flooring, discuss the different types of systems available, and highlight the advantages of using such a system.
Introduction to Heated Flooring
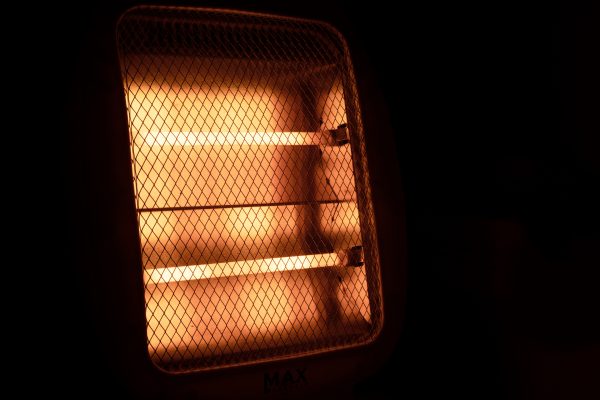
Heated flooring, often referred to as radiant heat, is a method of warming a space by circulating hot water or electricity through mats or tubes embedded in the floor. This technology has been around for decades and is gaining popularity due to its efficiency and comfort. Unlike traditional heating methods that rely on blowing hot air through vents or using baseboard radiators, in-floor radiant heat warms the entire floor, providing a more even and cozy warmth.
Types of Heated Flooring Systems
There are two primary types of heated flooring systems: hydronic and electric.
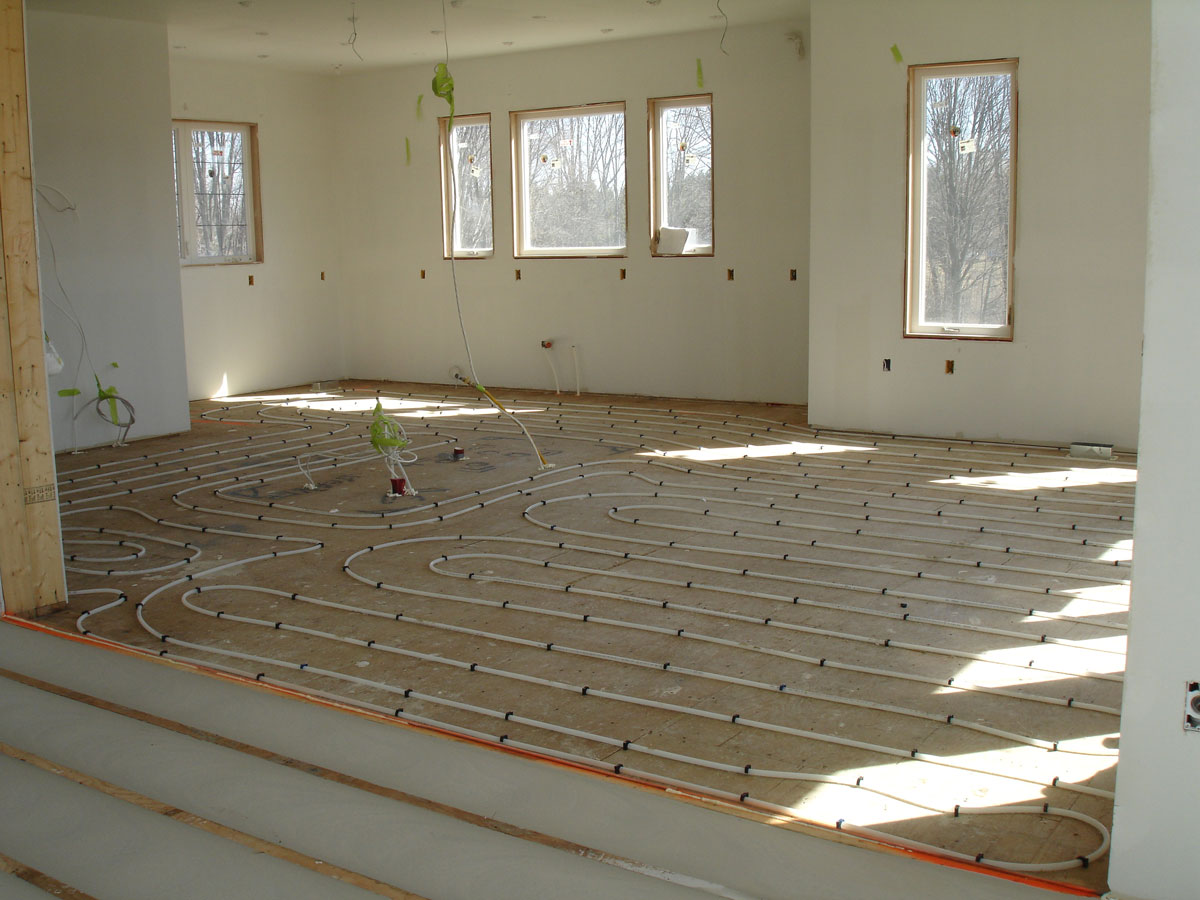
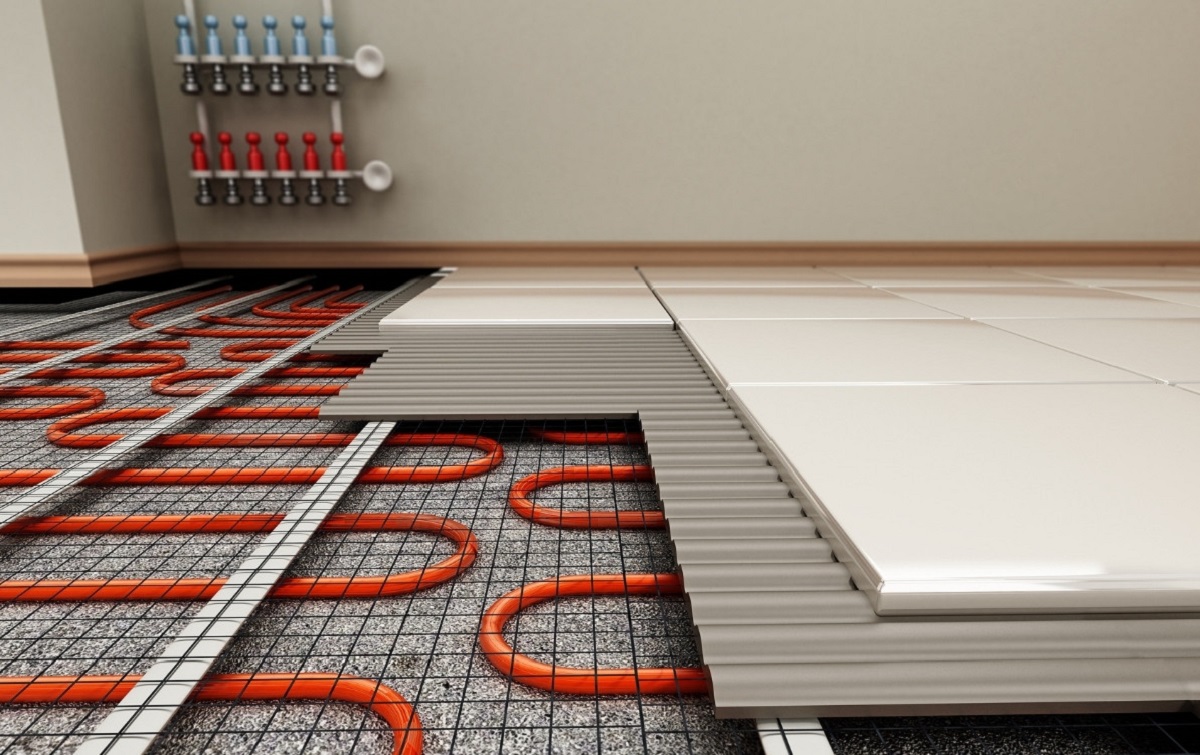
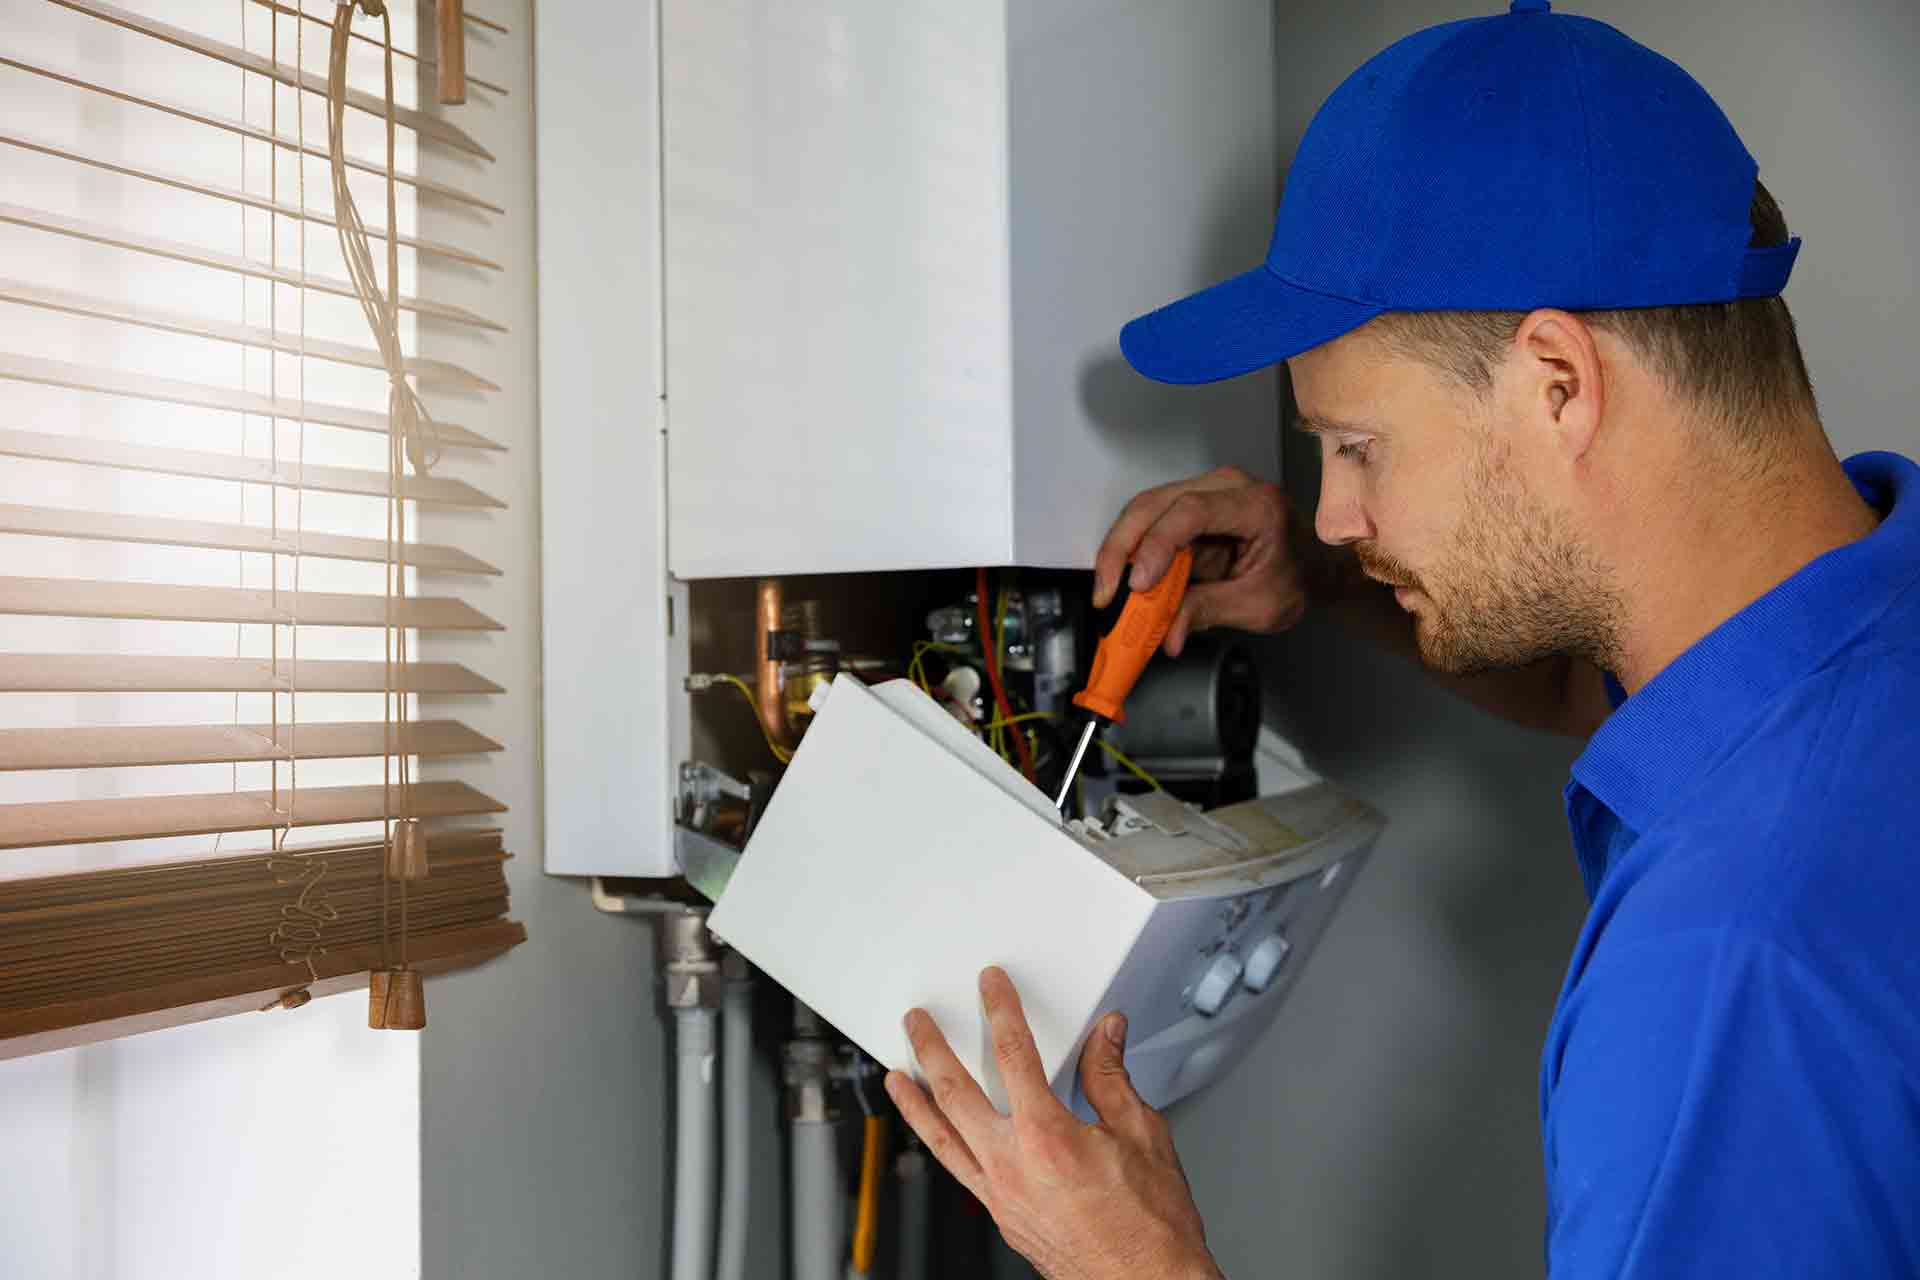
Hydronic Radiant Heat
Hydronic radiant heat involves circulating hot water through plastic tubing installed in the subfloor. This system requires a boiler and circulator pumps to circulate the water. The tubing is typically embedded in the subfloor, which can be made of wood or concrete. However, this method can be more complicated due to the need for a boiler and the potential for raising the height of the finished floor by about 3/4 inch or more.
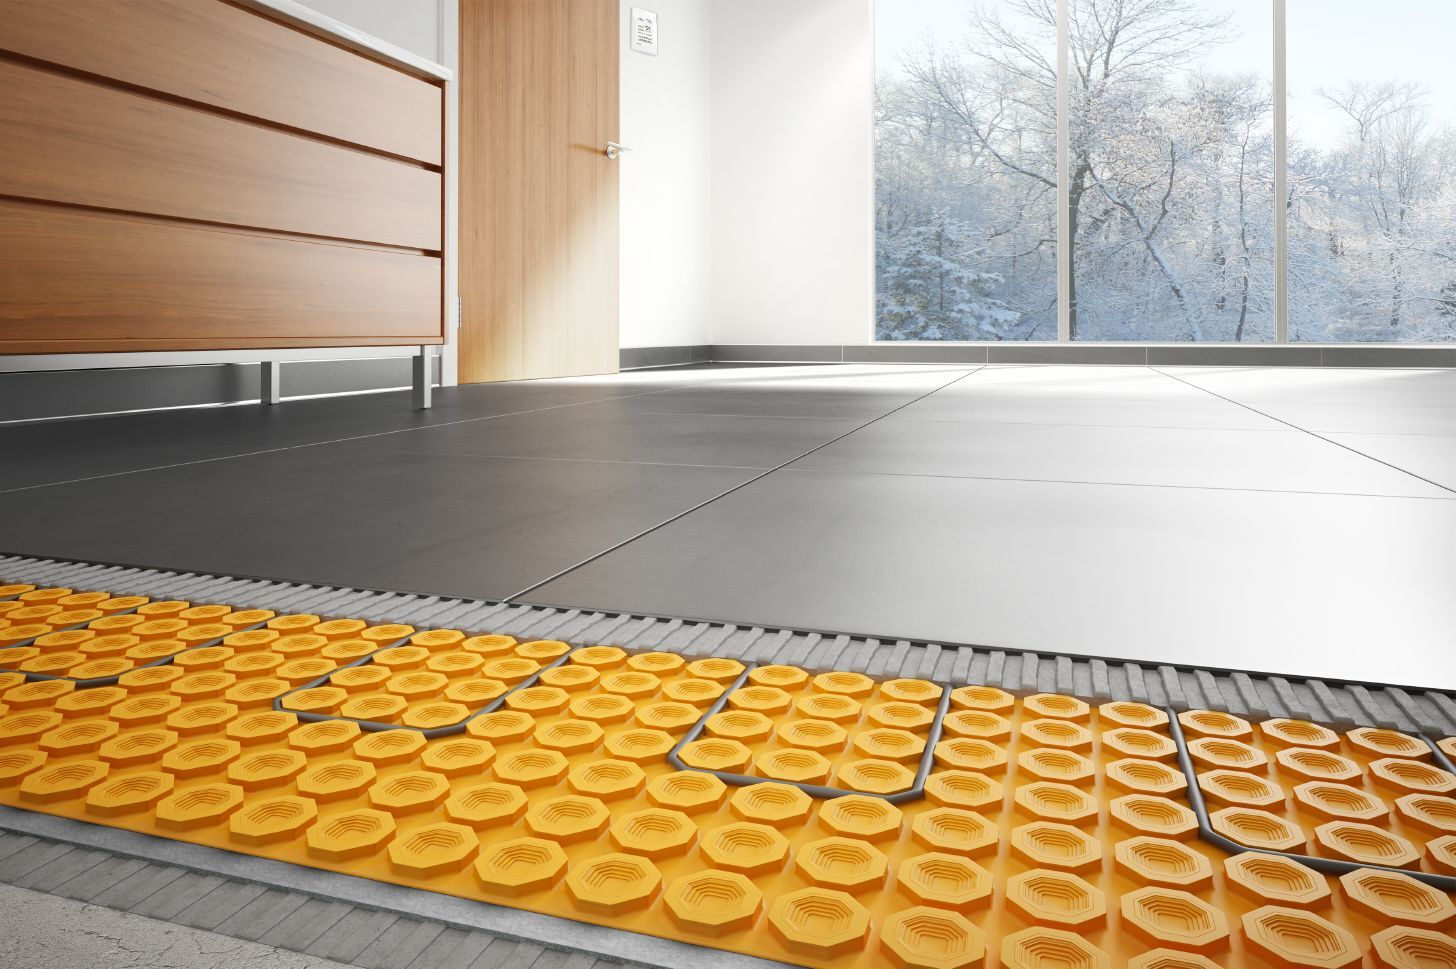
Electric Radiant Heat
Electric radiant heat uses thin wires embedded in mats made out of fabric or mesh. These mats come in various sizes and can be custom-made to fit specific rooms and configurations. Electric floor heat is generally easier to install compared to hydronic systems and does not require the installation of a boiler or circulator pumps.
Tools and Materials Needed
Before starting your project, it's essential to gather all the necessary tools and materials. Here’s a list of what you’ll need:
- Cordless Drill: For drilling holes in the subfloor if necessary.
- Hot Melt Glue Gun: For securing the heating mat to the subfloor.
- Margin Trowel: For applying thinset mortar.
- Trowel: For spreading and smoothing out the thinset mortar.
- Utility Knife: For cutting the heating mat if needed.
- Volt-Ohm Meter (or Continuity Tester): To test the resistance and continuity of the heating mat.
- Cement Board Underlayment: To provide a smooth surface for the tile.
- Grout: To fill gaps between tiles.
- Radiant Heat Mat: The core component of your heated flooring system.
- Thermostat: To control the temperature of your heated floor.
- Thin-Set Mortar: To secure the heating mat to the subfloor.
- Tile: The final layer that covers your heated floor.
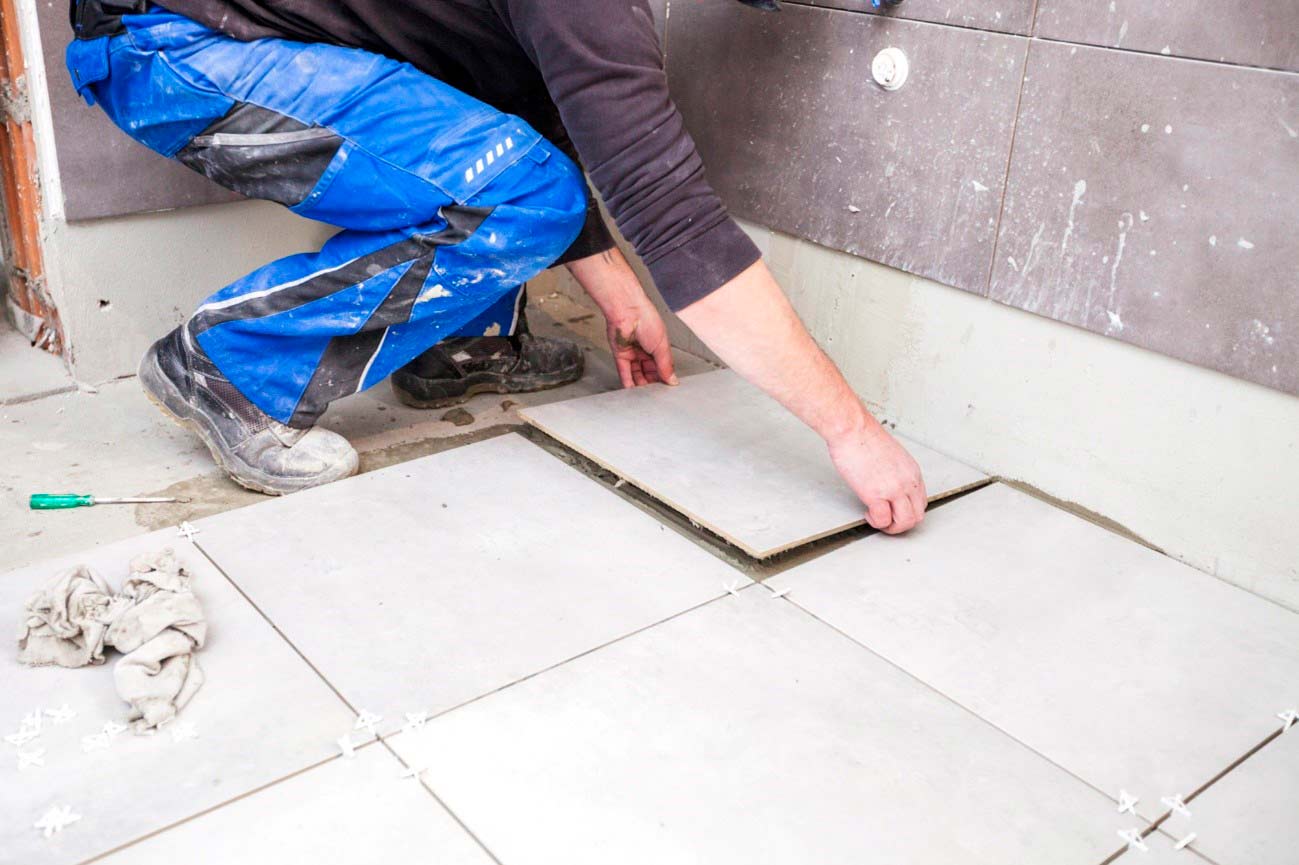
Step-by-Step Installation Guide
Preparing the Subfloor
- Inspect the Subfloor: Ensure that the subfloor is clean and free from any debris, screws, nails, or other obstructions that could damage the heating elements.
- Apply Thinset Mortar: Use a margin trowel to apply a layer of thinset mortar to the subfloor. This will provide a smooth surface for the heating mat.
Installing the Heating Mat
- Unroll the Heating Mat: Carefully unroll the heating mat and press it into the thinset mortar using a rubber float.
- Secure the Mat: Use hot melt glue to secure the mat to the subfloor, ensuring it is evenly spread and not wrinkled.
- Test the Mat: Use a volt-ohm meter to test the resistance and continuity of the heating mat. Follow the manufacturer’s instructions for any specific testing requirements.
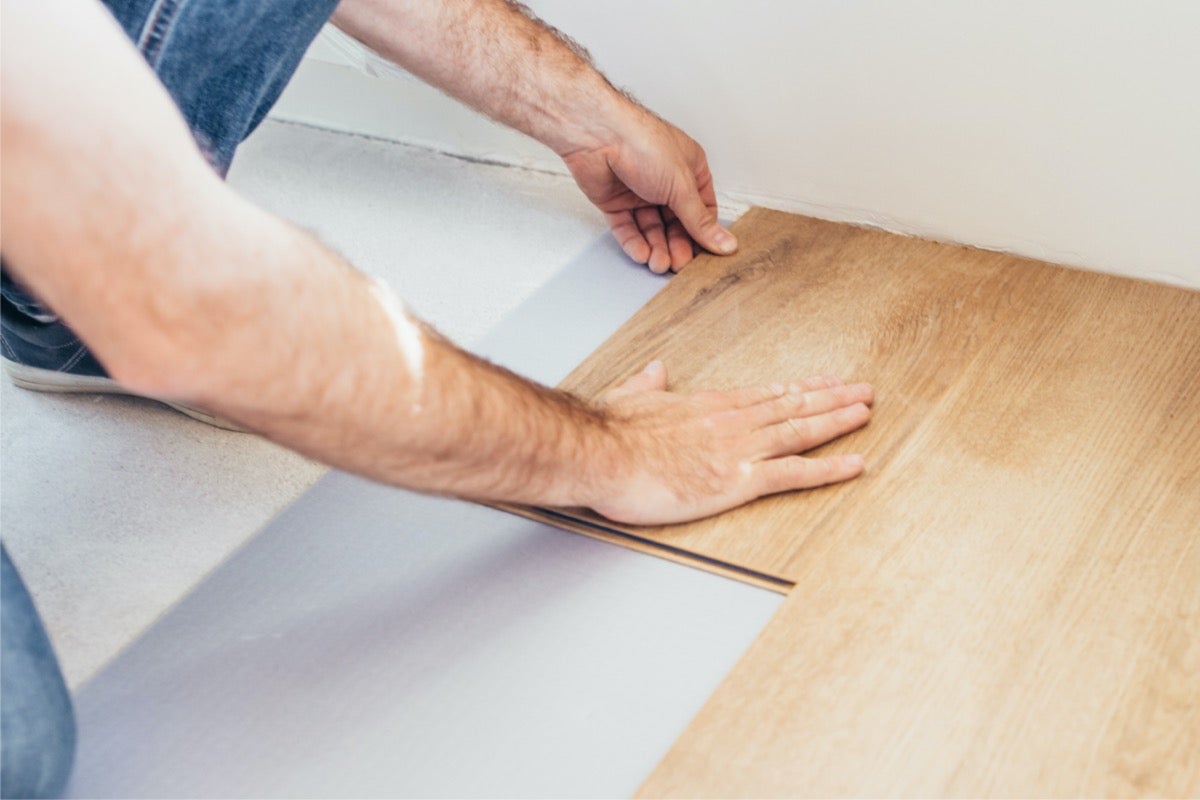
Laying Tile
- Apply Thinset Mortar: Use a trowel to apply a layer of thinset mortar over the heating mat.
- Lay Tiles: Begin laying tiles, ensuring they are evenly spaced and aligned properly.
- Grout Between Tiles: Once all tiles are laid, use grout to fill gaps between them.
Wiring and Thermostat Installation
- Wire Thermostat: Follow the manufacturer’s instructions for wiring the thermostat. Typically, this involves connecting individual pigtails from the power lead and cable running from the main panel.
- Power Up System: Power up the system for 10-15 minutes to ensure it functions correctly, then turn it off and keep it off for two to four weeks while the mastic and grout cure and harden.
Special Considerations
Avoiding Excessive Heat Buildup
When installing heated flooring in bathrooms, it's crucial to avoid placing heating elements under fixtures like vanities or pedestal sinks. This can cause excessive heat buildup, potentially damaging these fixtures or creating safety hazards.
Cable Placement
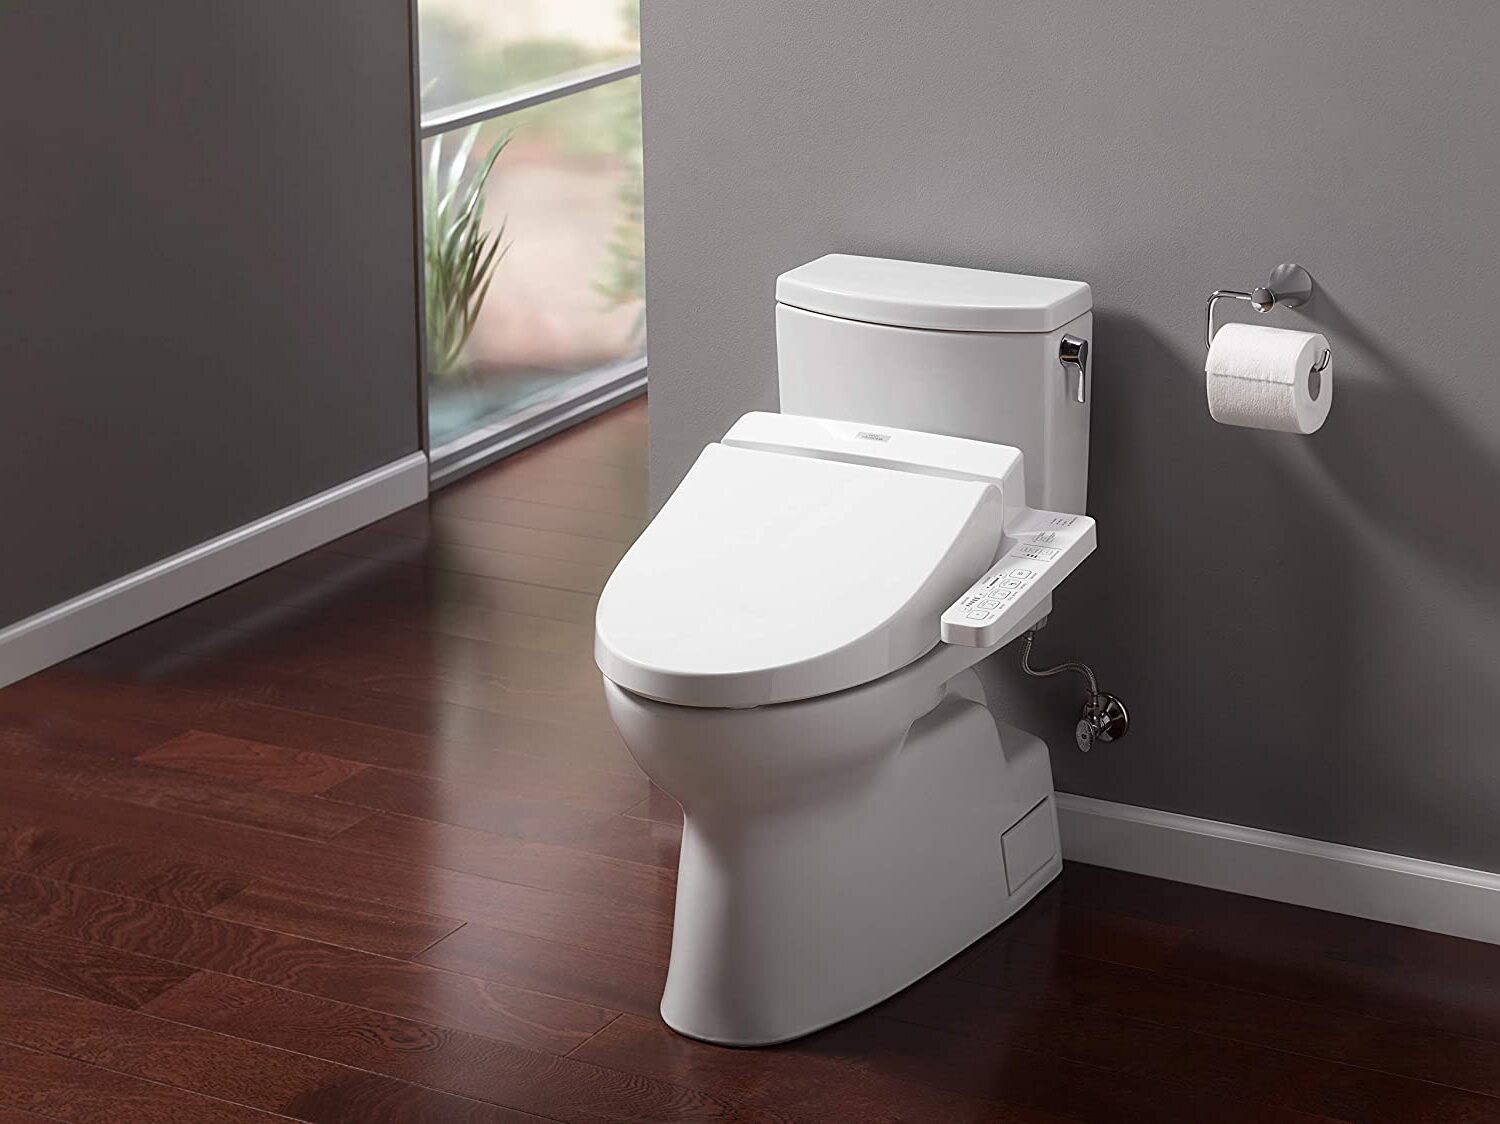
When using electric mats, ensure that the heating cable is placed at least seven studs away from the toilet flange to avoid melting the wax ring. Similarly, keep it at least four studs away from HVAC vents to prevent overheating.
Read more: How To Install Heated Floors
Benefits of Heated Flooring
Heated flooring offers several benefits that make it an attractive option for bathroom renovations:
Comfort
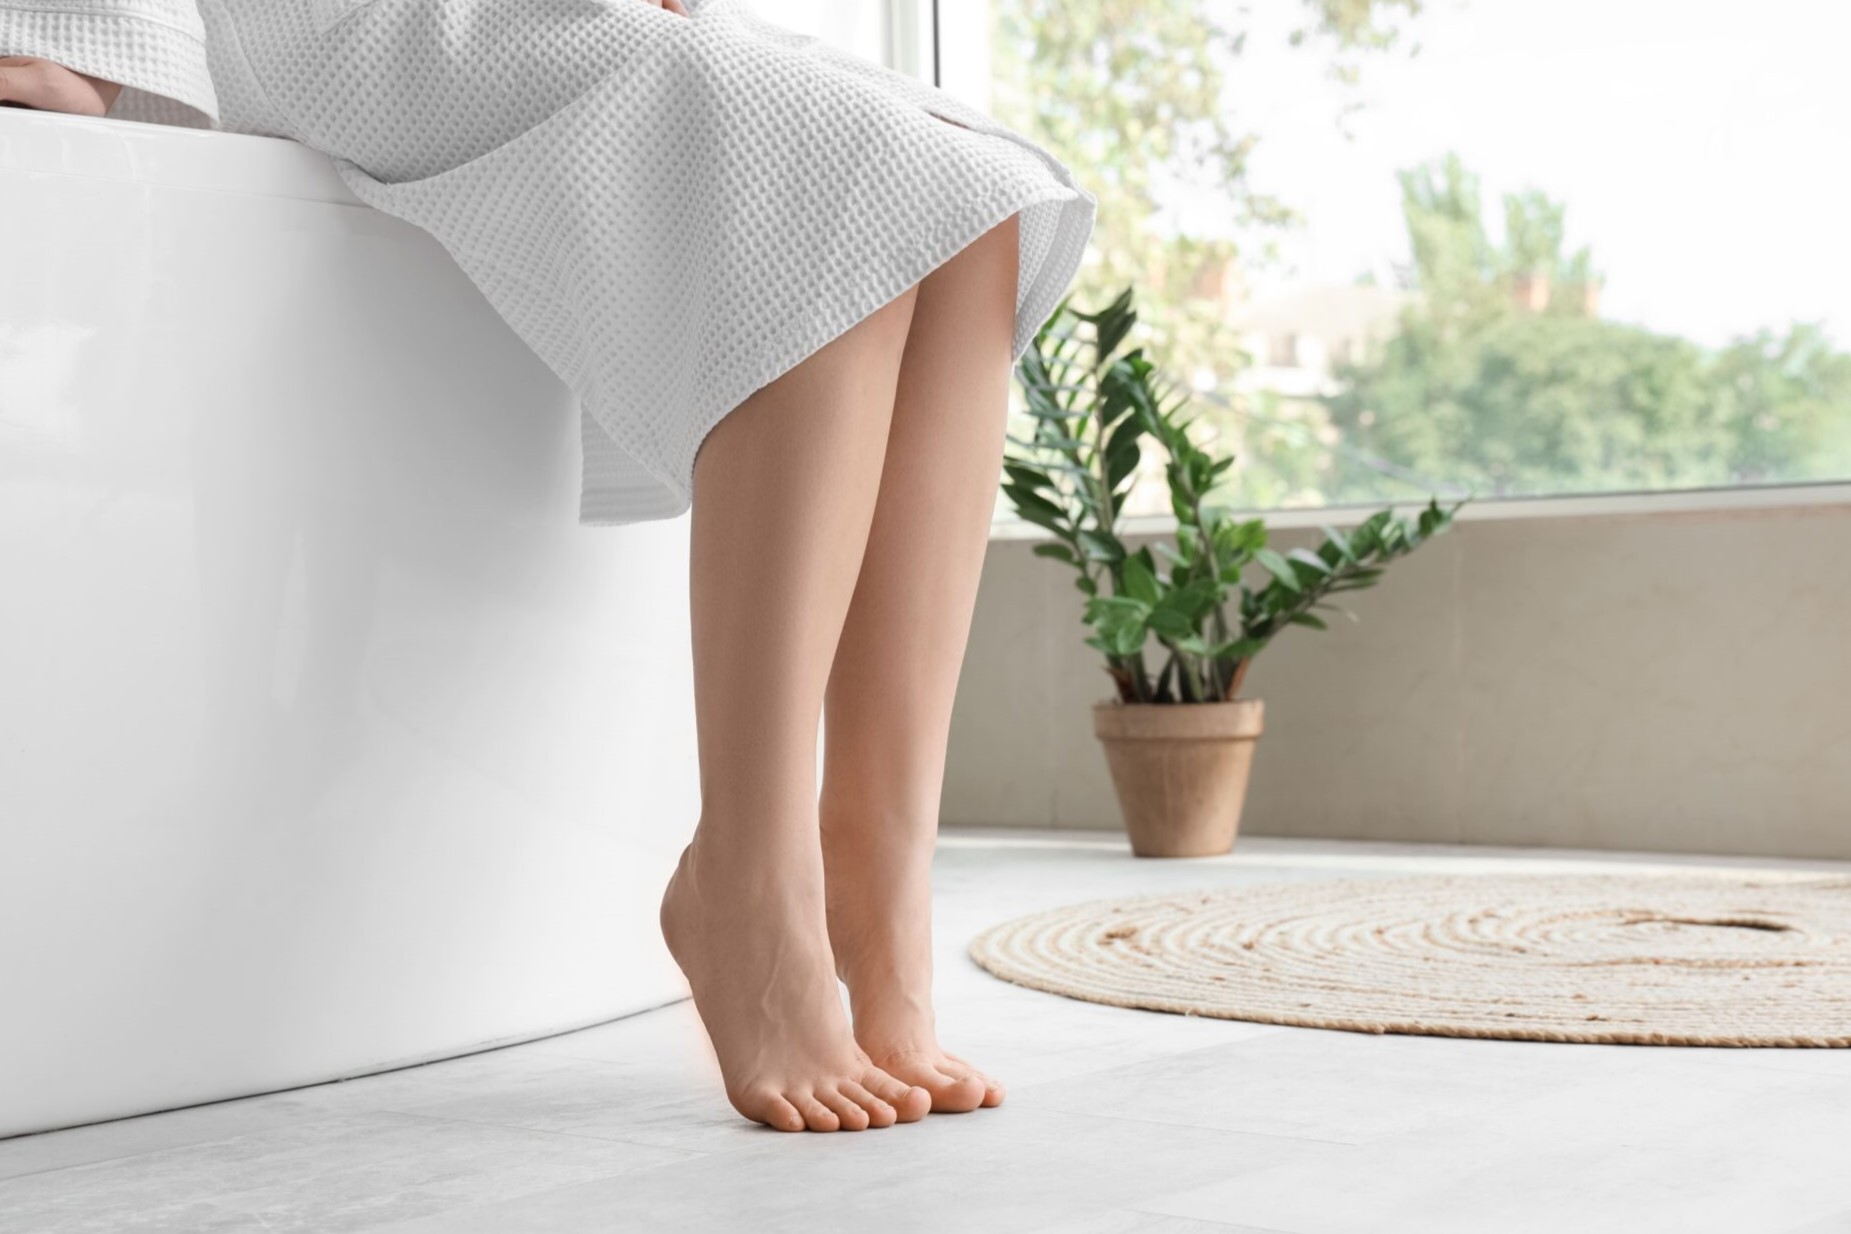
Heated flooring provides a warm and cozy surface that can significantly enhance your bathroom experience. When your feet are warm, your entire body feels more comfortable, making it ideal for cold winter mornings or relaxing after a shower.
Energy Efficiency
Heated flooring is generally energy-efficient compared to traditional heating methods. At 12 watts per square foot, it uses about the same amount of power as an electric blanket or large TV.
Space-Saving
Unlike bulky radiators, heated flooring takes up zero space. This means you can remove old radiators and gain valuable square footage in your bathroom.
Versatility
Heated flooring can be used as supplemental heat or as the primary heat source for an entire room. It's particularly useful in newly remodeled or added spaces where traditional heating systems might lack the necessary oomph.
Conclusion
Installing heated bathroom flooring is a rewarding project that offers numerous benefits. Whether you choose hydronic or electric radiant heat, the process involves careful preparation of the subfloor, proper installation of the heating mat, and ensuring all electrical connections are secure. By following these steps and considering special precautions like avoiding excessive heat buildup and proper cable placement, you can enjoy a warm and comfortable bathroom experience all year round.
In summary, heated flooring is not just a luxury; it's a practical solution for enhancing comfort and functionality in your bathroom. With its ease of installation, energy efficiency, space-saving design, and versatility, it's no wonder why more homeowners are turning to this innovative technology for their home improvement projects.
Was this page helpful?
At Storables.com, we guarantee accurate and reliable information. Our content, validated by Expert Board Contributors, is crafted following stringent Editorial Policies. We're committed to providing you with well-researched, expert-backed insights for all your informational needs.


0 thoughts on “Heated Bathroom Flooring Installation: Benefits”