Articles
How To Install In Floor Heating In Concrete
Modified: October 31, 2024
Learn how to install in-floor heating in concrete with our comprehensive articles. Get expert tips and advice on heating your floors for maximum comfort.
(Many of the links in this article redirect to a specific reviewed product. Your purchase of these products through affiliate links helps to generate commission for Storables.com, at no extra cost. Learn more)
Introduction
Welcome to the world of in-floor heating! If you’ve ever stepped onto a warm floor on a chilly morning, you know the feeling of pure comfort it brings. In-floor heating, also known as radiant floor heating, is a popular method to keep your home cozy and warm during the colder months.
Installing in-floor heating in a concrete slab can seem like a daunting task, but with proper planning and execution, it can be a rewarding and worthwhile project. In this article, we will guide you through the steps involved in installing in-floor heating in a concrete floor.
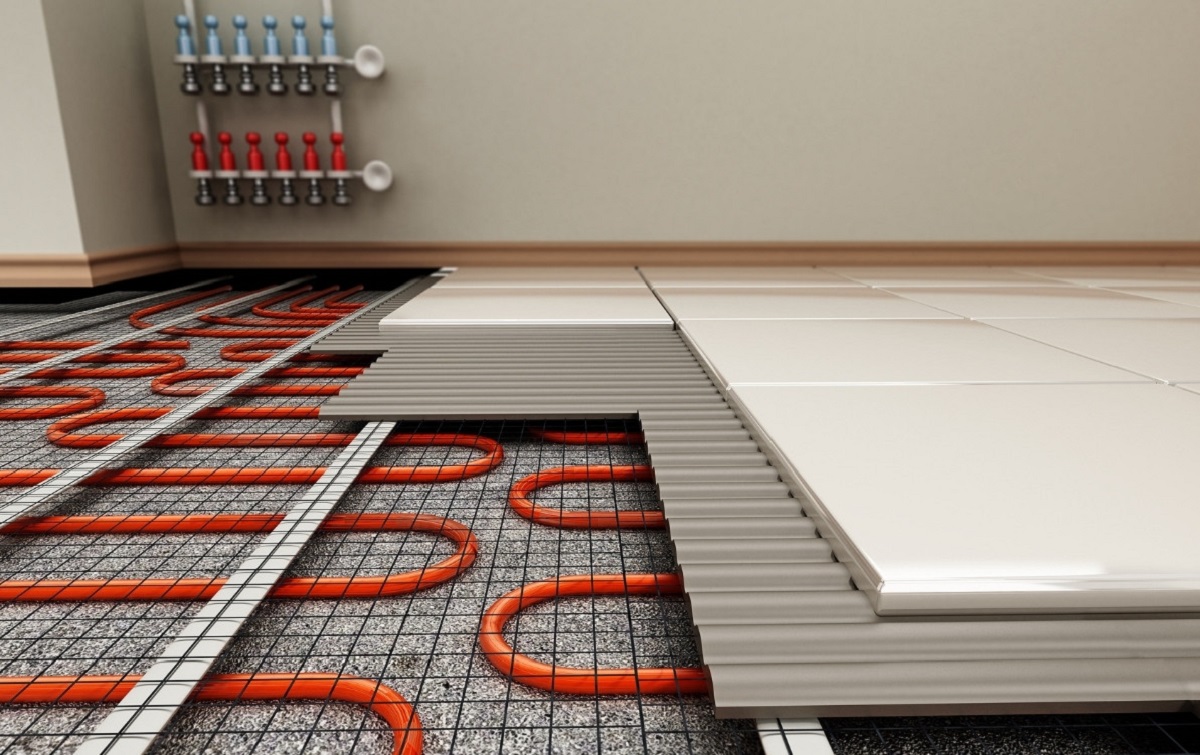
Before we dive into the details, it’s important to understand how in-floor heating works. In-floor heating systems operate by either circulating heated water through pipes or by using electric heating cables embedded in the concrete slab. The heat generated radiates evenly across the floor, providing efficient and comfortable heating. Now, let’s get started with step one – preparing the concrete slab.
Key Takeaways:
- Transform your concrete floor into a cozy oasis with in-floor heating. Proper preparation, layout planning, and insulation installation are key for efficient and reliable warmth throughout your home.
- Enjoy the luxury of a toasty warm floor all year round. From pouring concrete to adding finishing touches, follow the step-by-step guide for a rewarding in-floor heating installation in your concrete slab.
Read more: How To Install Heated Floors On Concrete
Step 1: Preparing the Concrete Slab
The first step in installing in-floor heating in a concrete slab is to prepare the surface properly. This preparation ensures that the heating system works efficiently and lasts for a long time.
Here are the key steps to preparing the concrete slab:
- Clean the surface: Start by removing any debris, dust, or loose particles from the concrete slab. Sweep or vacuum the area to ensure a clean surface for the heating installation.
- Repair any cracks: Inspect the concrete slab for any cracks or damage. Use a concrete repair compound to fill in any cracks and create a smooth and even surface. This step is crucial to prevent any future issues with the heating system.
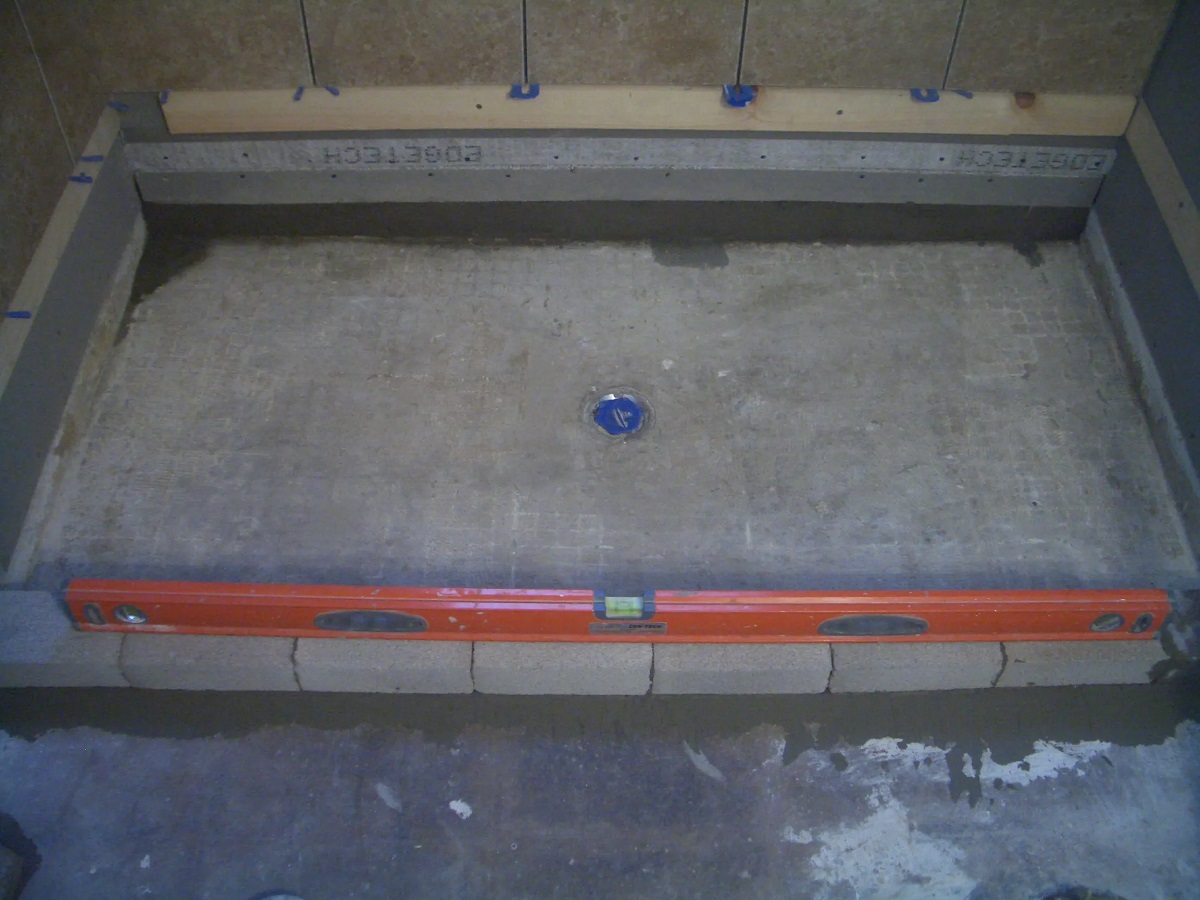
- Level the floor: Check the floor for any uneven areas or high spots. Use a self-leveling compound to even out the surface. This will provide a stable foundation for the heating system and prevent any hot or cold spots on the floor.
- Apply a moisture barrier: Concrete has a relatively high moisture content, which can be detrimental to the heating system. Apply a moisture barrier, such as a specialized primer or epoxy coating, to protect the heating elements from moisture and ensure their longevity.
Once you have completed these steps, the concrete slab is ready for the next stage – planning the layout of the heating system. Proper planning is essential to ensure efficient heating and uniform warmth throughout the floor.
In the next step, we will discuss how to plan the layout for your in-floor heating system. So, let’s move on to step two!
Step 2: Planning the Layout
Planning the layout of your in-floor heating system is crucial for optimal performance and efficiency. A well-designed layout ensures that heat is distributed evenly across the entire floor surface. Here’s how you can plan the layout:
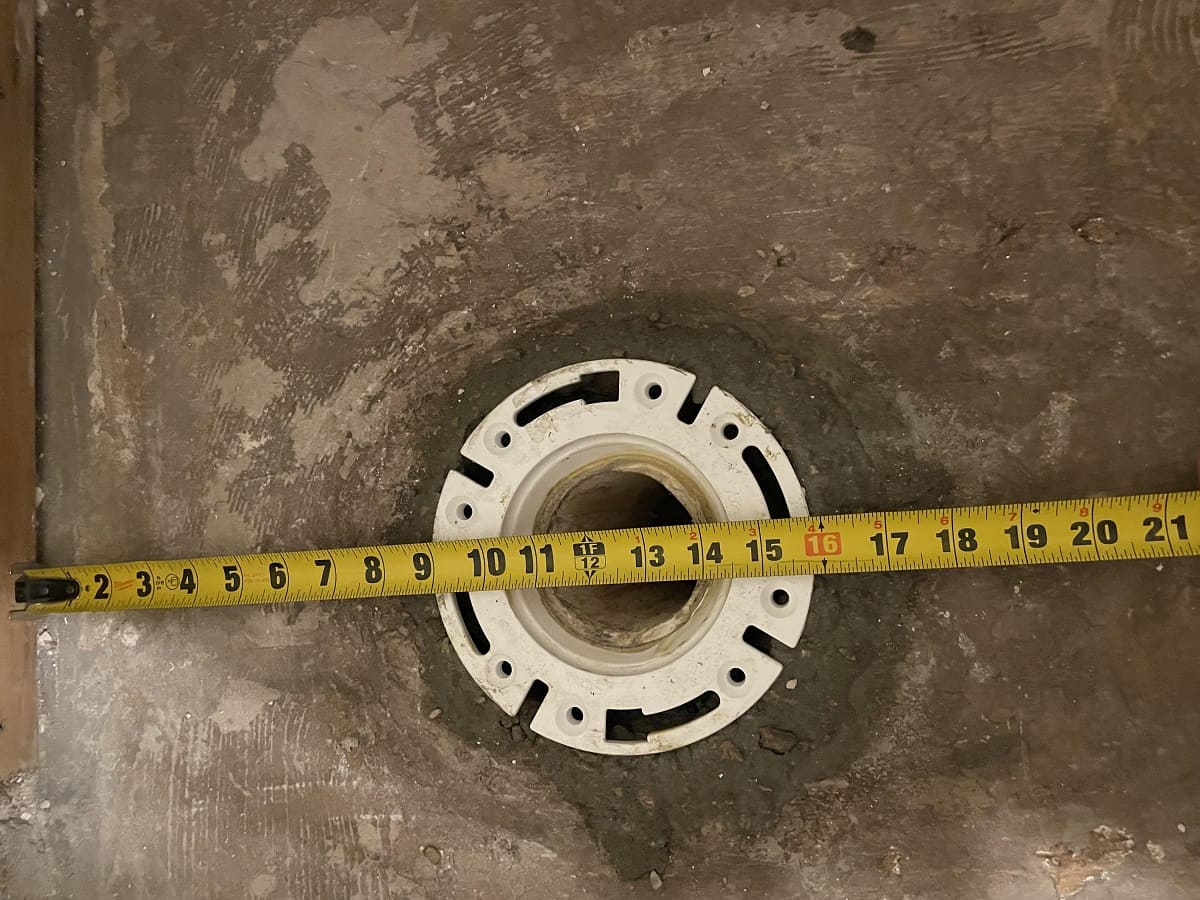
- Measure the room: Start by measuring the dimensions of the room where you’ll be installing the in-floor heating system. This will help you determine the amount of heating cable or piping needed.
- Create a layout plan: Use graph paper or a computer-aided design (CAD) software to create a scale drawing of the room. Mark the locations of fixed furniture, like cabinets or permanent fixtures, as you’ll want to avoid installing heating elements beneath them.
- Determine heating zones: Divide the room into heating zones based on your heating needs and usage patterns. For example, you may want to have separate heating zones for the kitchen, living room, and bedrooms. This allows for greater control and energy savings, as you can adjust the temperature individually in each zone.
- Consider spacing: Decide on the spacing between the heating cables or pipes. The spacing will depend on factors such as the heat output of the system, the desired temperature, and the insulation of the floor. Follow the manufacturer’s guidelines for the specific system you’re using.
- Avoid obstacles: Ensure that the layout avoids any obstacles like furniture legs, doorways, or fixtures. This will prevent damage to the heating elements and ensure uniform heating throughout the room.
- Consult an expert: If you’re uncertain about the layout or have a complex floor plan, it’s advisable to consult an expert. They can provide guidance and ensure that your heating system is optimized for your specific requirements.
Once you have planned the layout and have a clear understanding of the zoning and spacing requirements, you can proceed to the next step – installing the insulation. Insulation plays a vital role in preventing heat loss and improving energy efficiency. Let’s move on to step three!
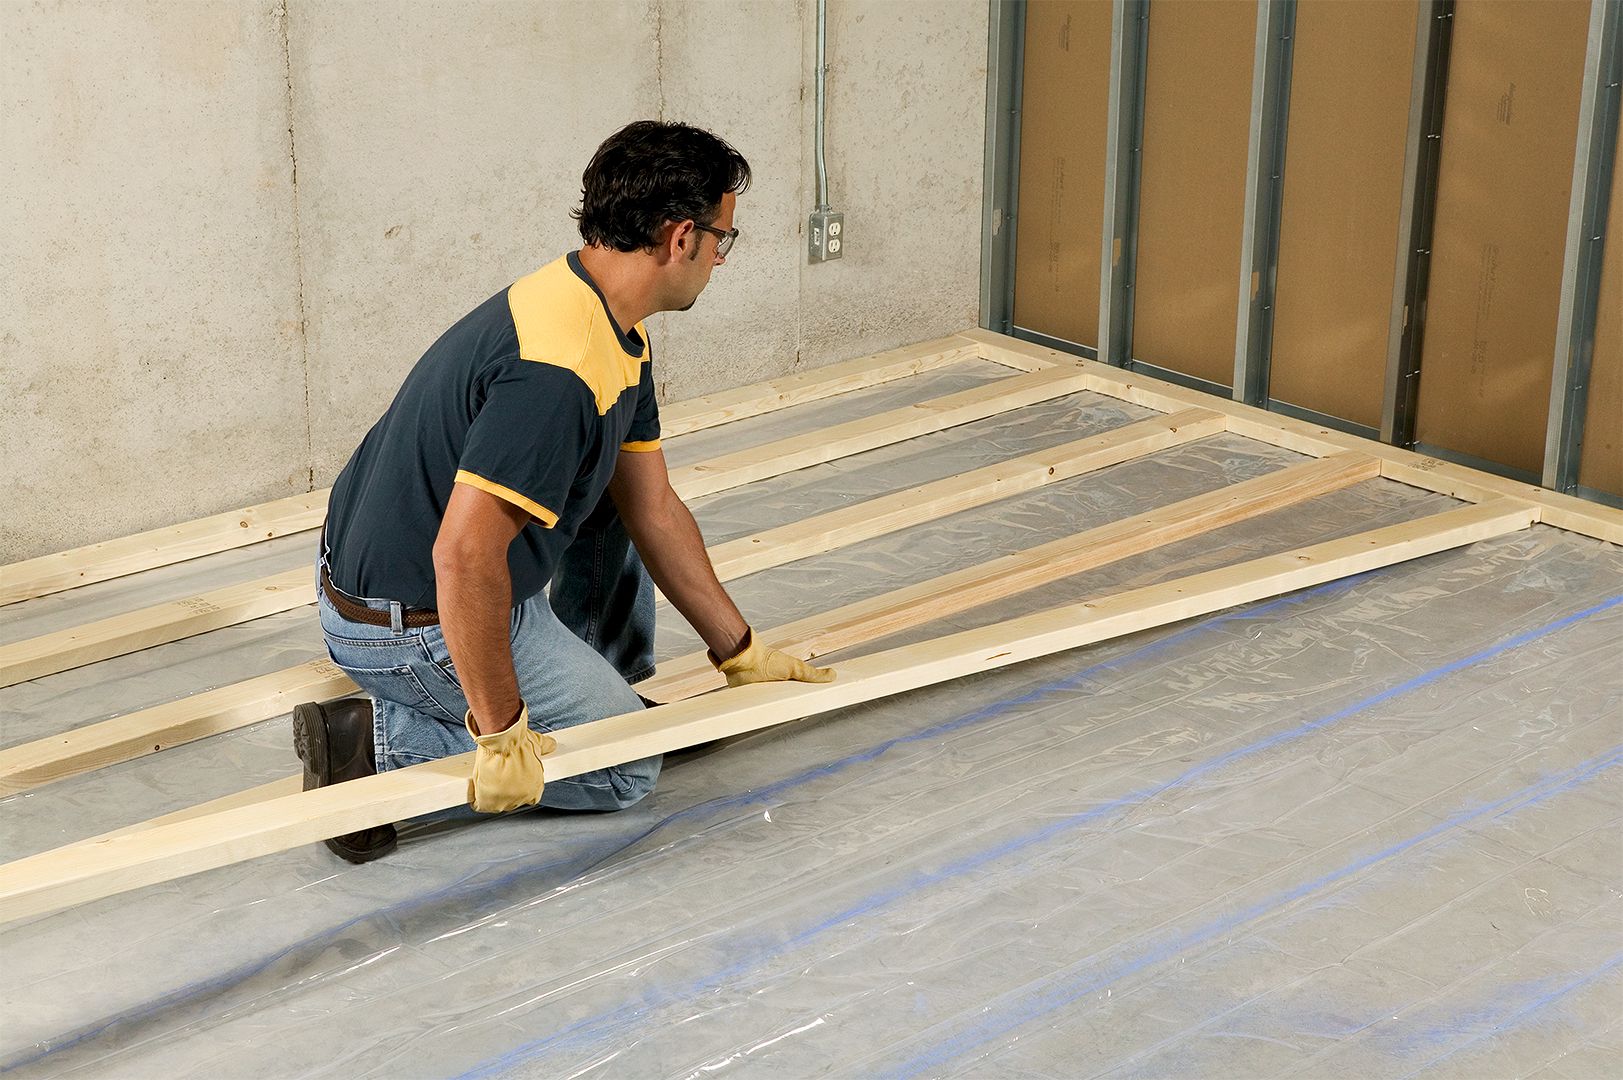
Step 3: Installing the Insulation
Installing insulation is a crucial step in the process of in-floor heating installation. Insulation helps to prevent heat loss and improve the overall energy efficiency of your heating system. It creates a thermal barrier between the heated floor and the ground, ensuring that the heat is directed upwards towards your living space. Here’s how you can install insulation for your in-floor heating system:
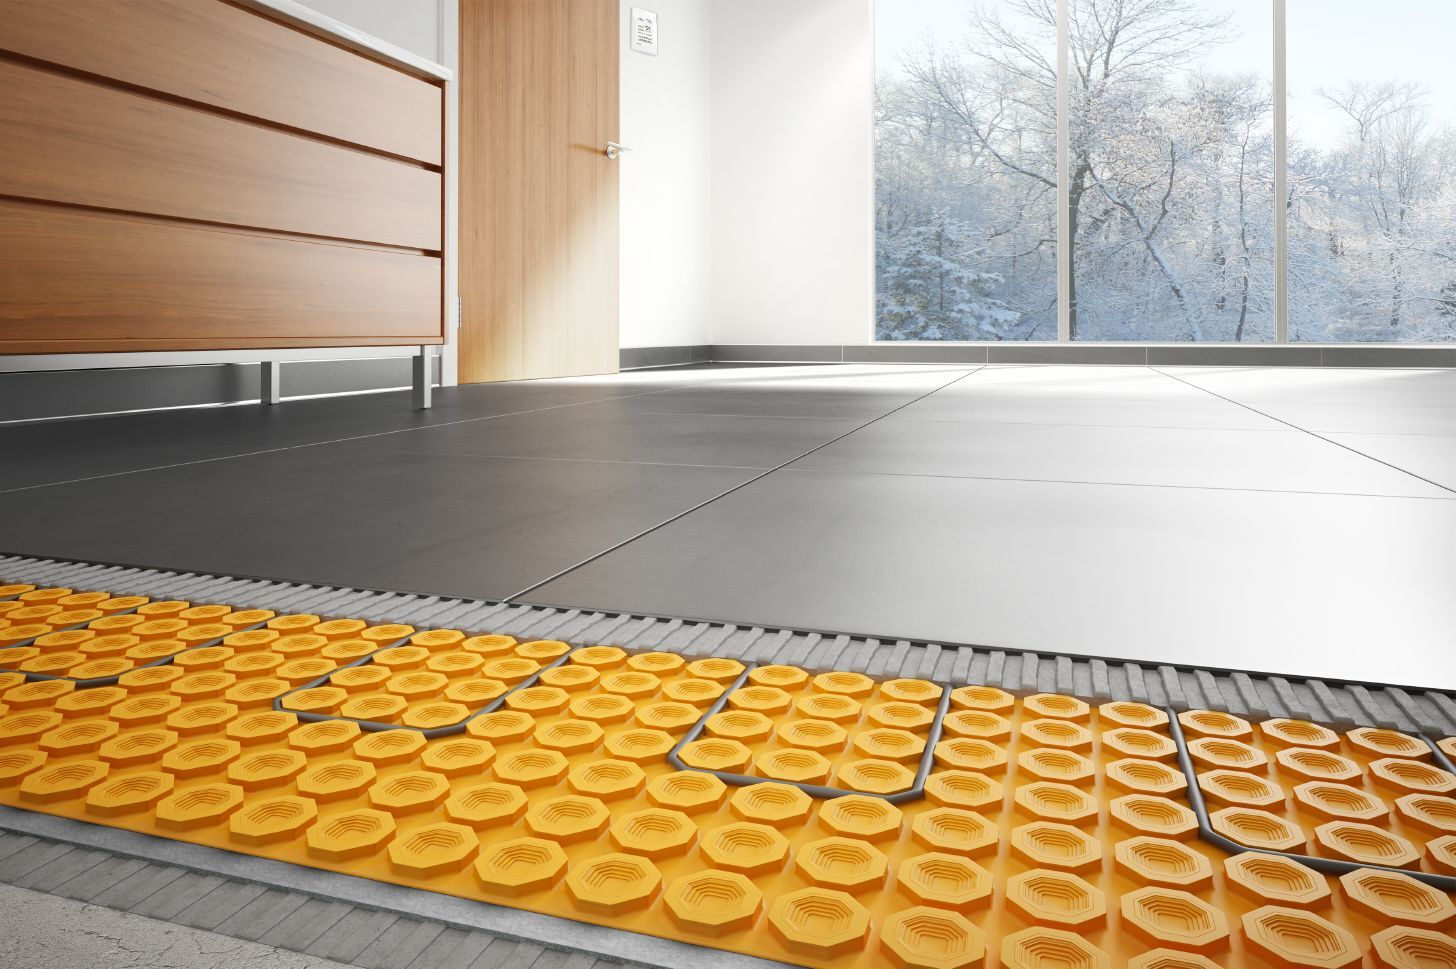
- Choose the right insulation: Select an insulation material that has good thermal properties and is suitable for use with in-floor heating. Common insulation options include foam boards, reflective insulation, and insulation mats. Consult with a professional to determine the most appropriate insulation for your specific application.
- Prepare the surface: Clean the concrete slab thoroughly and make sure it is free from any debris or moisture. This will ensure proper adhesion of the insulation material.
- Install the insulation: Cut the insulation material into the desired dimensions to fit the room. Lay the insulation sheets or mats over the entire floor surface, ensuring that there are no gaps or overlaps. Use adhesive or tape to secure the insulation in place.
- Seal the joints: Pay close attention to the joints between insulation pieces. Seal them with insulation tape or caulk to create an airtight barrier and prevent any heat loss through these gaps.
- Inspect for any gaps: Once the insulation is installed, inspect the entire area to ensure that there are no gaps or areas without proper insulation. Address any gaps or missed sections, as these can compromise the performance of your in-floor heating system.
Proper insulation installation will not only enhance the efficiency of your in-floor heating but also help in reducing energy consumption and heating costs. Once the insulation is in place, you’re ready to move on to the next step – laying the heating cables or pipes. Let’s continue with step four!
Step 4: Laying the Heating Cables or Pipes
Laying the heating cables or pipes is a critical step in the installation of your in-floor heating system. The method you choose will depend on whether you’re using an electric heating system or a hydronic (water-based) heating system. Here’s how you can lay the heating cables or pipes:
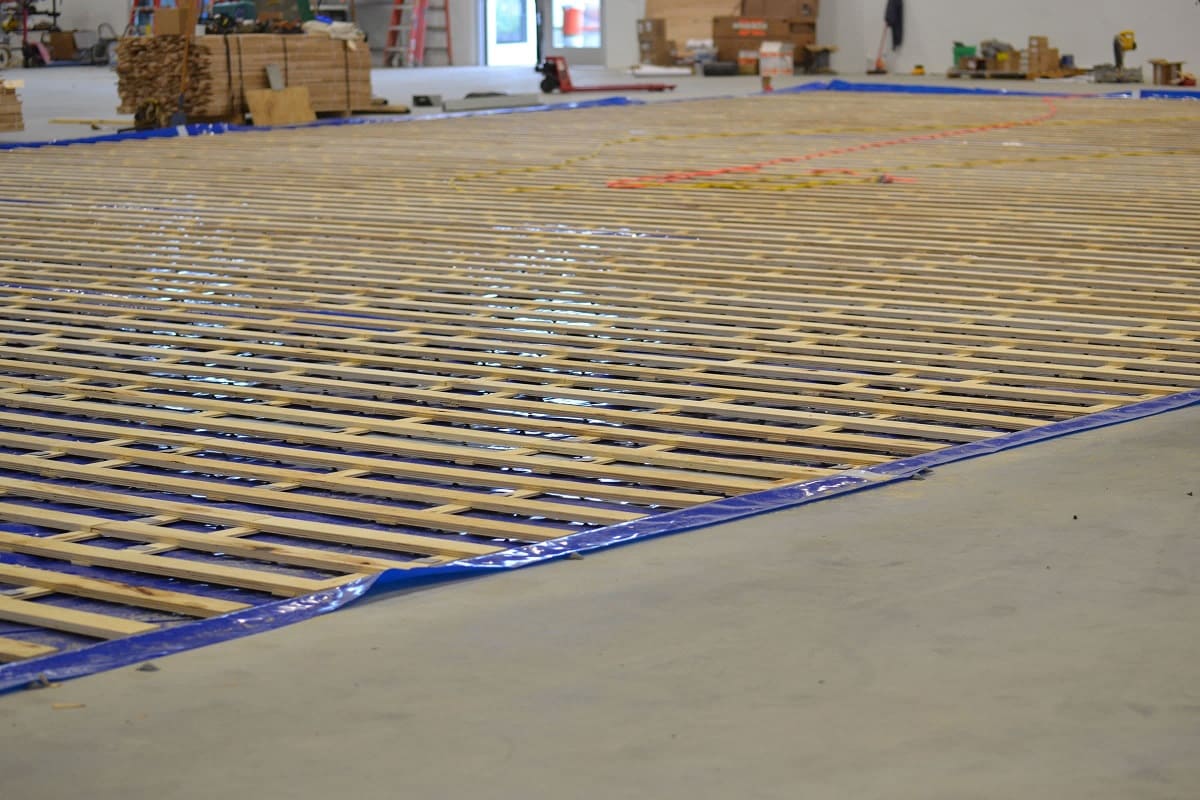
- Electric heating system: If you have chosen an electric heating system, start by marking the layout plan on the floor. Begin at the starting point and lay the heating cable according to the specified spacing and pattern. Secure the cable using adhesive or specialized fasteners designed for in-floor heating. Follow the manufacturer’s instructions for proper installation and ensure the cable is positioned evenly across the entire area.
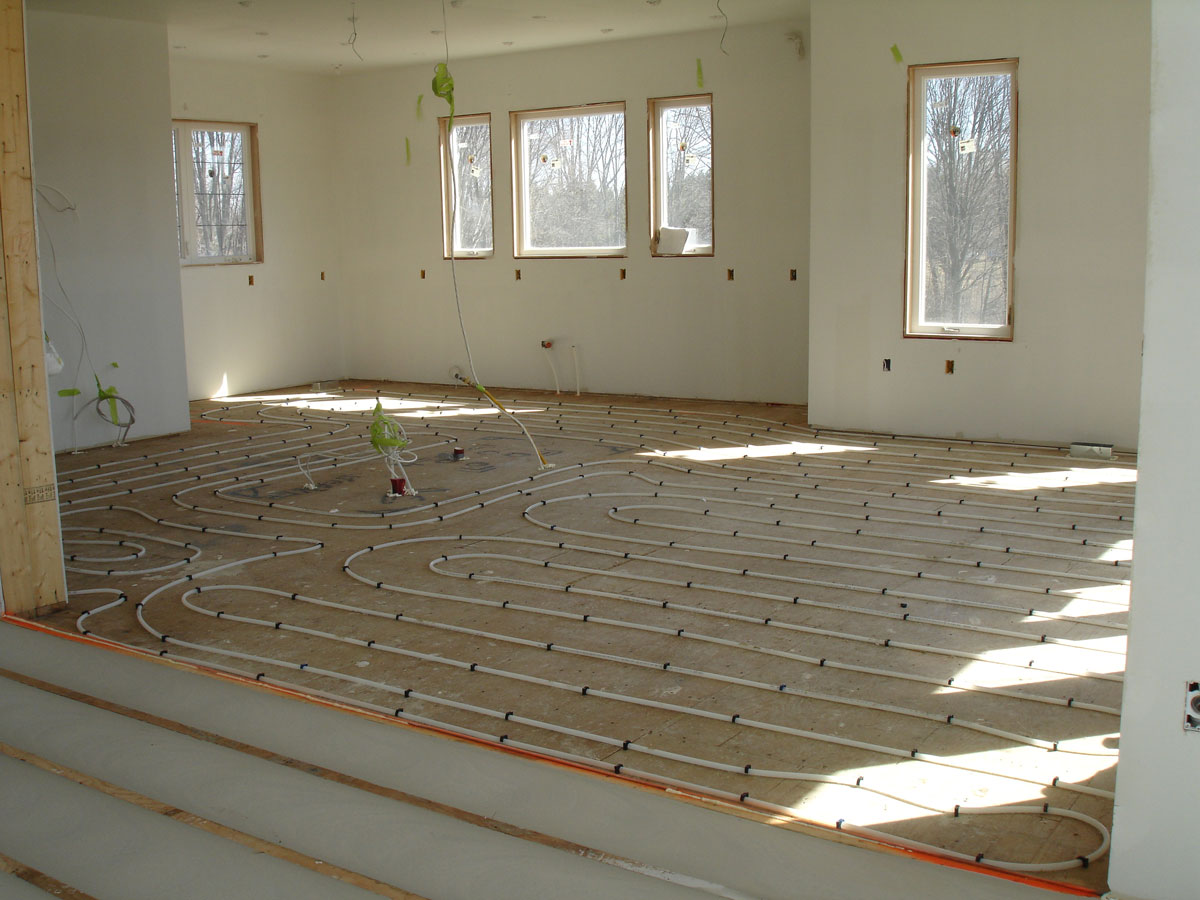
- Hydronic heating system: For a hydronic heating system, the process involves laying PEX (cross-linked polyethylene) pipes in a serpentine pattern. Begin at the starting point and lay the pipes in the designated zones. Use pipe clamps or specialized fixing systems to secure the pipes to the insulation. Make sure the pipe loops are evenly spaced according to the recommended design and spacing guidelines.
- Connect the heating elements: Once the cables or pipes are laid, connect them to the thermostat or control panel. Follow the manufacturer’s instructions for proper wiring and connection. It is recommended to hire a licensed electrician or plumber for this step if you’re not experienced in electrical or plumbing work.
- Perform a continuity test: Before proceeding further, perform a continuity test to ensure that the heating cables or pipes are installed correctly and functioning properly. This test verifies that there are no breaks or faults in the system that could affect its performance.
It’s essential to be cautious and precise during the installation of the heating cables or pipes, as any errors or damage can impact the effectiveness of your in-floor heating system. Once the cables or pipes are laid, it’s time to move on to the next step – pouring the concrete. Let’s explore step five!
Before pouring concrete, lay down the in-floor heating system with proper insulation. This will ensure even heat distribution and prevent heat loss.
Read more: How To Install Heated Floors
Step 5: Pouring the Concrete
Pouring the concrete is a significant step in the installation of your in-floor heating system. The concrete acts as a thermal mass, storing and distributing the heat evenly across the floor. Here’s a step-by-step guide on how to pour the concrete:
- Prepare the concrete mix: Choose a concrete mix suitable for your application, such as a high-strength or self-leveling mix. Follow the manufacturer’s instructions for the correct water-to-mix ratio and mixing procedure.
- Protect the heating elements: Before pouring the concrete, take extra precautions to protect the heating cables or pipes. Use a specialized mesh reinforcement or a non-metallic screed board to keep the heating elements in place and prevent them from shifting during the concrete pouring process.
- Pour the concrete: Start pouring the concrete from one corner of the room, working your way towards the exit. Use a screed board or a bull float to level the concrete and ensure a smooth and even surface. Pay attention to the thickness of the concrete, as it should be sufficient to cover the heating elements adequately.
- Smooth and finish: After pouring the concrete, use a trowel or a power float to smooth and finish the surface. This will result in a seamless and polished floor. Allow the concrete to cure for the recommended amount of time before proceeding to the next steps.
- Monitor and maintain: During the curing process, it’s important to monitor the concrete’s moisture levels and maintain a proper curing environment. This may involve covering the floor with plastic sheets, spraying it with water, or applying a curing compound. Follow the guidelines provided by the concrete manufacturer for optimum curing.
It’s essential to follow proper concrete pouring techniques to ensure a durable and stable floor for your in-floor heating system. Once the concrete has fully cured, you’re ready to move on to the next step – testing the system. Let’s proceed to step six!
Step 6: Testing the System
Testing the in-floor heating system is a crucial step to ensure that everything is functioning correctly before you start using it. Proper testing will help identify any issues and allow for necessary adjustments or repairs. Here’s how you can test your in-floor heating system:
- Check the connections: Ensure that all electrical or plumbing connections are secure and properly insulated. Double-check the wiring or piping connections between the heating elements and the control panel or thermostat.
- Power up the system: Turn on the power to the heating system and set the thermostat to its lowest setting. Gradually increase the temperature to test the responsiveness of the system. Monitor the heat output and ensure that it reaches the desired temperature in a reasonable amount of time.
- Verify even heat distribution: Walk barefoot or use an infrared thermometer to check for any uneven heat distribution on the floor. All areas should feel uniformly warm with no hot or cold spots. Adjust the controls or make any necessary modifications if you notice any inconsistencies.
- Check for leaks or malfunctions: If you have a hydronic heating system, inspect the pipes for any leaks or malfunctions. Look for any signs of water leakage, such as drips or damp areas. Address any issues promptly to prevent further damage.
- Perform a full heating cycle: Run the heating system through a complete heating cycle to ensure its stability and reliability. Monitor the performance of the system over a period of time to ensure it consistently provides the desired warmth.
By thoroughly testing your in-floor heating system, you can identify and address any issues early on, giving you peace of mind and ensuring optimum performance. Once you’re satisfied with the system’s functionality, you can proceed to the final step – adding the finishing touches. Let’s move on to step seven!
Step 7: Finishing Touches
Adding the finishing touches to your in-floor heating installation will not only enhance the aesthetics of your space but also ensure the longevity and efficiency of the system. Here are some important finishing touches to consider:
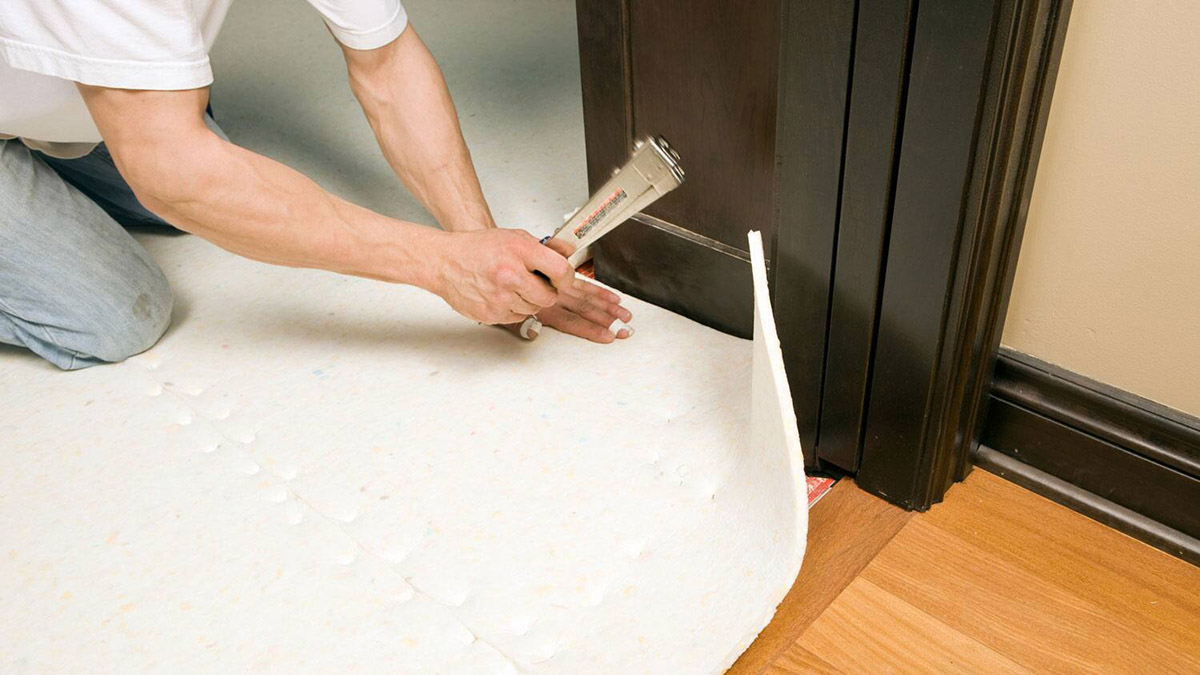
- Install flooring materials: Choose suitable flooring materials that complement your in-floor heating system. Certain flooring types, such as tile, laminate, vinyl, or engineered wood, are compatible with in-floor heating systems. Follow the manufacturer’s instructions for installation to avoid damaging the heating elements.
- Seal the floor: Applying a sealant to the floor can help protect it from moisture and stains. Choose a sealant that is compatible with your flooring material. Follow the manufacturer’s instructions for proper application and curing time.
- Set up the control system: Install and configure the thermostat or control panel for your in-floor heating system. Follow the manufacturer’s instructions to program and set the desired temperature and heating schedules. Consider using smart thermostats that allow you to control the system remotely and maximize energy efficiency.
- Maintain the system: Regular maintenance is essential to keep your in-floor heating system in excellent condition. Follow the manufacturer’s guidelines for cleaning and maintenance, including periodic checks for any issues or malfunctions.
- Enjoy the warmth: Once all the finishing touches are completed, it’s time to sit back, relax, and enjoy the cozy warmth of your in-floor heating system. Revel in the comfort it provides during the colder months, and experience the joy of walking on a toasty floor.
Remember, proper installation, maintenance, and usage of your in-floor heating system will ensure its efficient operation and prolong its lifespan. So, take the time to add those essential finishing touches before you start enjoying the benefits of your new heating system.
Congratulations! You have successfully completed the installation of in-floor heating in your concrete slab. Now you can bask in the comfort and warmth of your cozy space all year round.
As a final note, consider consulting with a professional or an experienced contractor throughout the installation process to ensure a smooth and efficient installation and to address any specific challenges or requirements you may have.
Enjoy the ultimate comfort and luxury of in-floor heating in your home!
Conclusion
Installing in-floor heating in a concrete slab is a rewarding project that brings exceptional comfort and warmth to your home. By following the step-by-step guide outlined in this article, you can successfully install an efficient and reliable in-floor heating system.
Starting with preparing the concrete slab and planning the layout, you ensure a strong foundation and optimal heat distribution. The installation of insulation provides energy efficiency and prevents heat loss. Laying the heating cables or pipes in a well-thought-out configuration allows for even heat distribution throughout the floor.
Pouring the concrete encapsulates the heating elements and forms the thermal mass, while proper testing ensures the system’s functionality and performance. Adding the finishing touches, such as installing compatible flooring and configuring the control system, completes the installation process and enhances the overall aesthetics.
Remember to consult with professionals and adhere to manufacturer guidelines throughout the installation process. Regular maintenance and care will help prolong the life of your in-floor heating system.
Now, you can enjoy the luxury and comfort of a toasty warm floor on those chilly mornings, creating a cozy and inviting atmosphere in your home. Say goodbye to cold feet and welcome the ultimate in-home heating solution that brings both practicality and comfort to your living space.
So, go ahead and embark on your in-floor heating installation journey. It’s time to transform your concrete floor into a comforting oasis that you’ll cherish for years to come.
Frequently Asked Questions about How To Install In Floor Heating In Concrete
Was this page helpful?
At Storables.com, we guarantee accurate and reliable information. Our content, validated by Expert Board Contributors, is crafted following stringent Editorial Policies. We're committed to providing you with well-researched, expert-backed insights for all your informational needs.


0 thoughts on “How To Install In Floor Heating In Concrete”