Home>Home Appliances>Heating & Cooling>How To Install Heated Floors On Concrete

Heating & Cooling
How To Install Heated Floors On Concrete
Modified: August 16, 2024
Learn how to install heated floors on concrete for efficient heating and cooling. Follow our step-by-step guide for a comfortable and energy-efficient home.
(Many of the links in this article redirect to a specific reviewed product. Your purchase of these products through affiliate links helps to generate commission for Storables.com, at no extra cost. Learn more)
Introduction
Are you tired of stepping onto icy cold floors during the winter months? Imagine waking up on a chilly morning and being greeted by a comfortably warm floor beneath your feet. With the installation of a radiant heating system, this luxurious experience can become a reality. In this comprehensive guide, we will explore the step-by-step process of installing heated floors on a concrete subfloor, allowing you to transform your living space into a cozy haven of warmth and comfort.
Heated floors, also known as radiant floor heating, offer an efficient and effective way to heat your home while eliminating the need for unsightly radiators or vents. By utilizing the natural properties of heat transfer, radiant floor heating provides consistent warmth throughout the room, creating a comfortable and inviting environment for you and your family.
Whether you are renovating an existing space or building a new home, the process of installing heated floors on a concrete subfloor can be a rewarding endeavor. While it may seem like a complex undertaking, with the right guidance and a bit of planning, you can enjoy the luxurious comfort of heated floors in no time.
In the following steps, we will delve into the process of preparing the concrete subfloor, installing the radiant heating system, adding insulation, and finally, laying down the flooring material. By following these steps, you can ensure a successful and efficient installation, bringing warmth and comfort to your home for years to come.
Now, let's embark on this exciting journey and learn how to install heated floors on a concrete subfloor, turning your living space into a cozy retreat during the colder months.
Key Takeaways:
- Say goodbye to cold floors! Follow these steps to install heated floors on concrete and enjoy cozy warmth all winter long.
- Transform your living space into a cozy retreat by installing heated floors on a concrete subfloor. Enjoy luxurious comfort and efficient heating.
Read more: How To Install In Floor Heating In Concrete
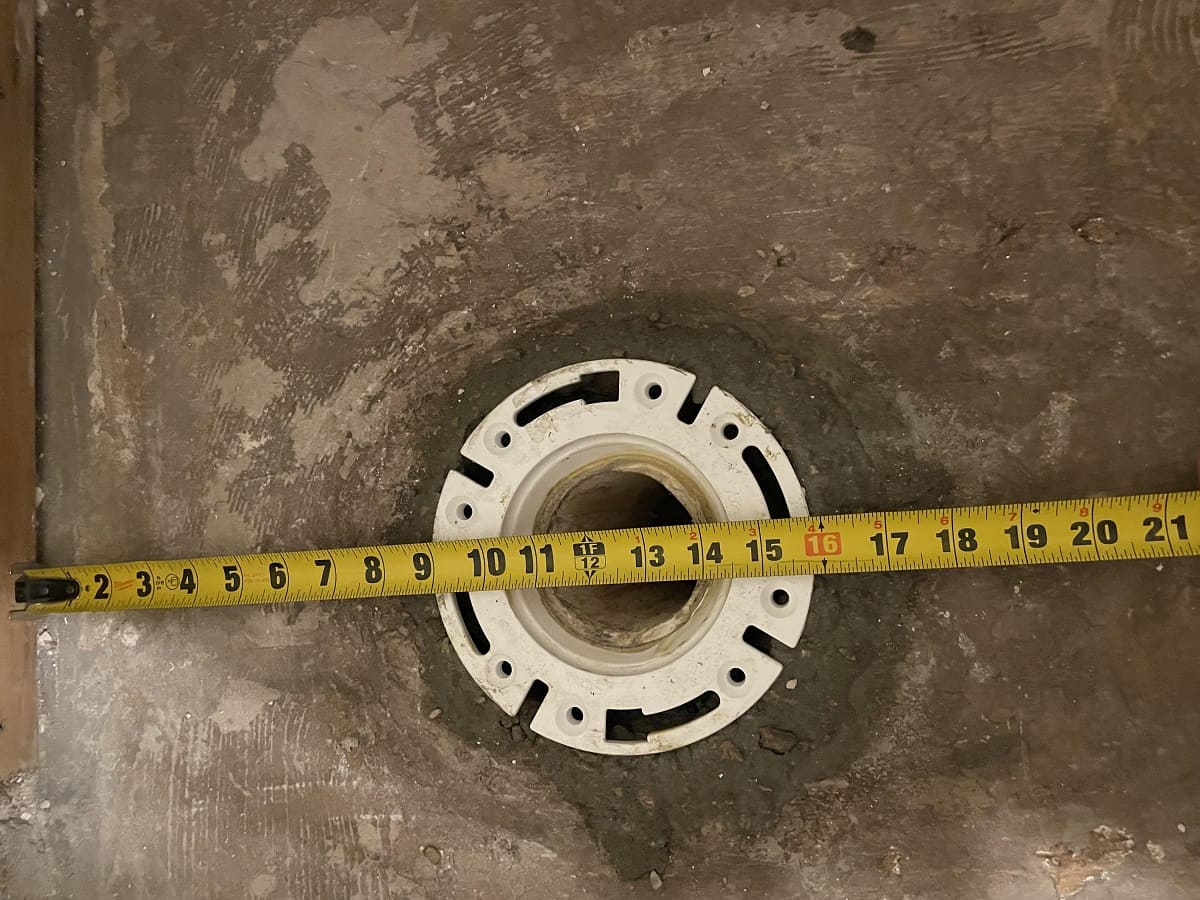
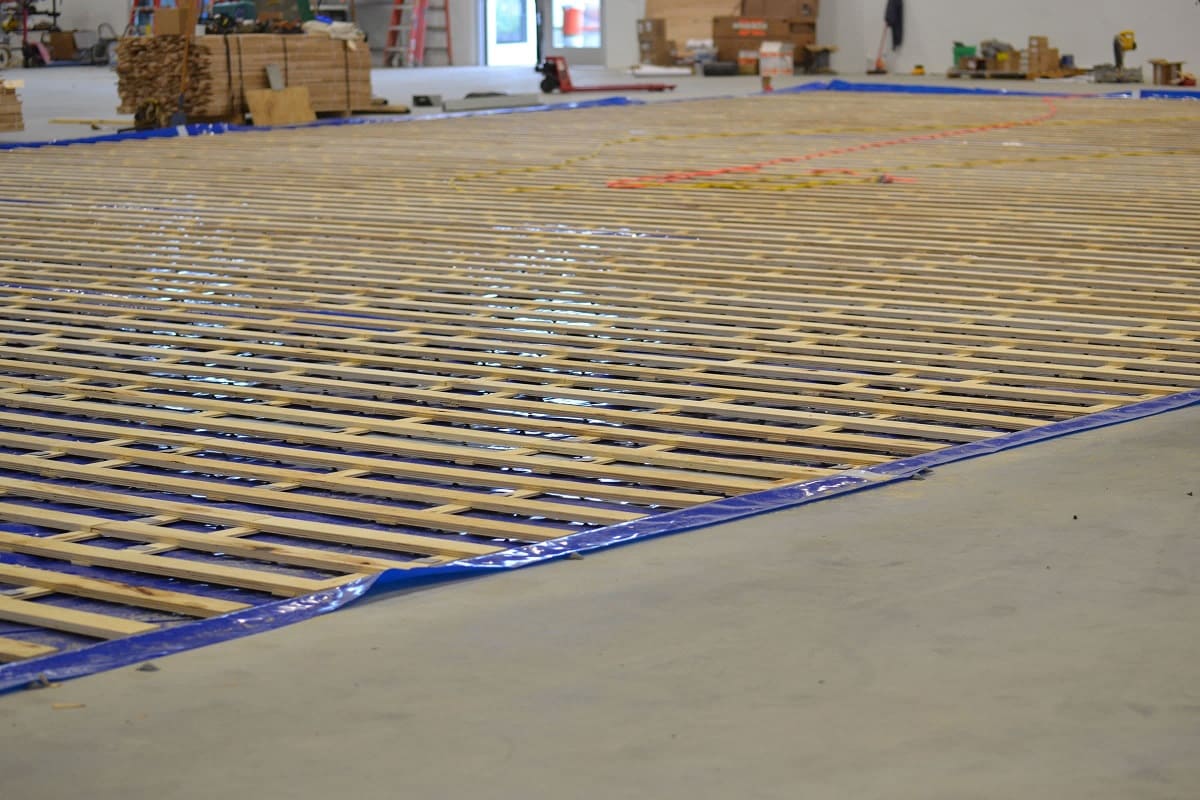
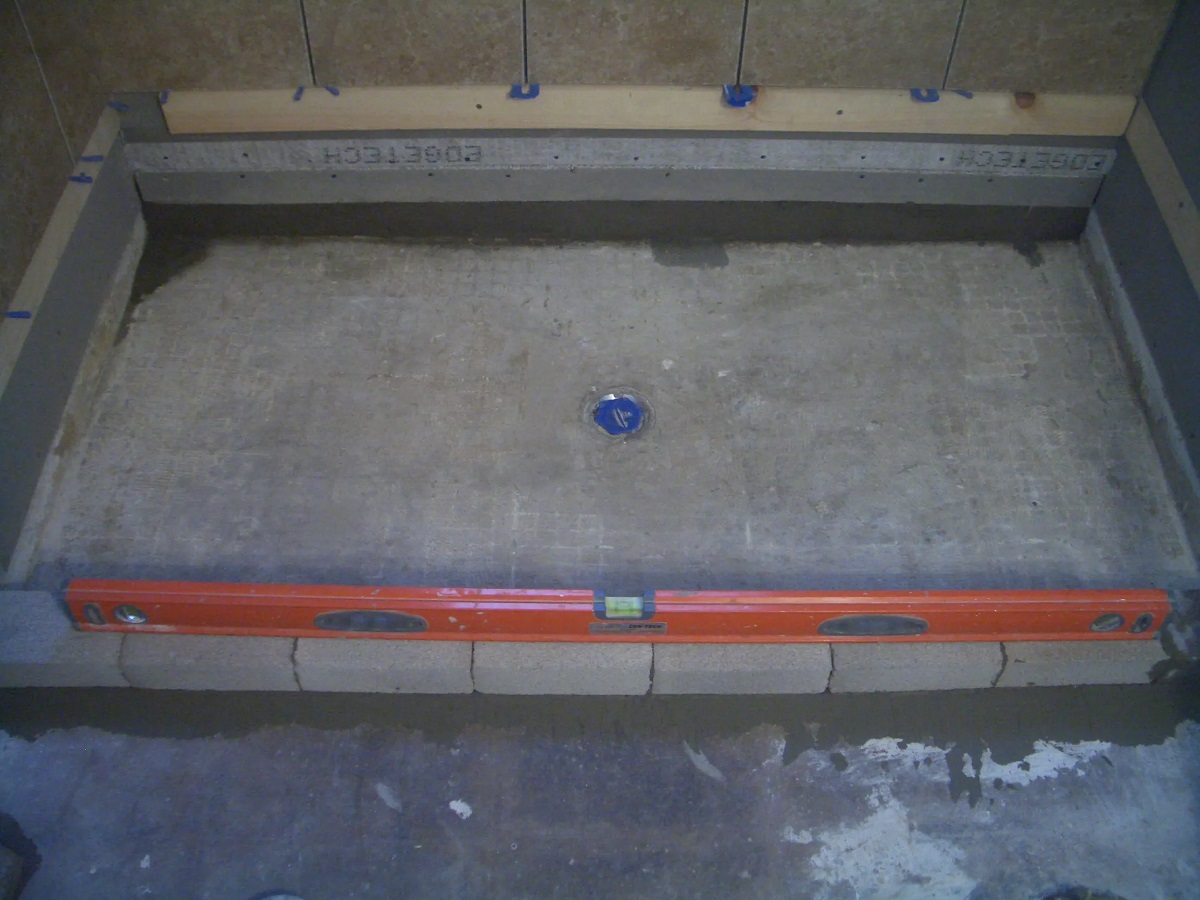
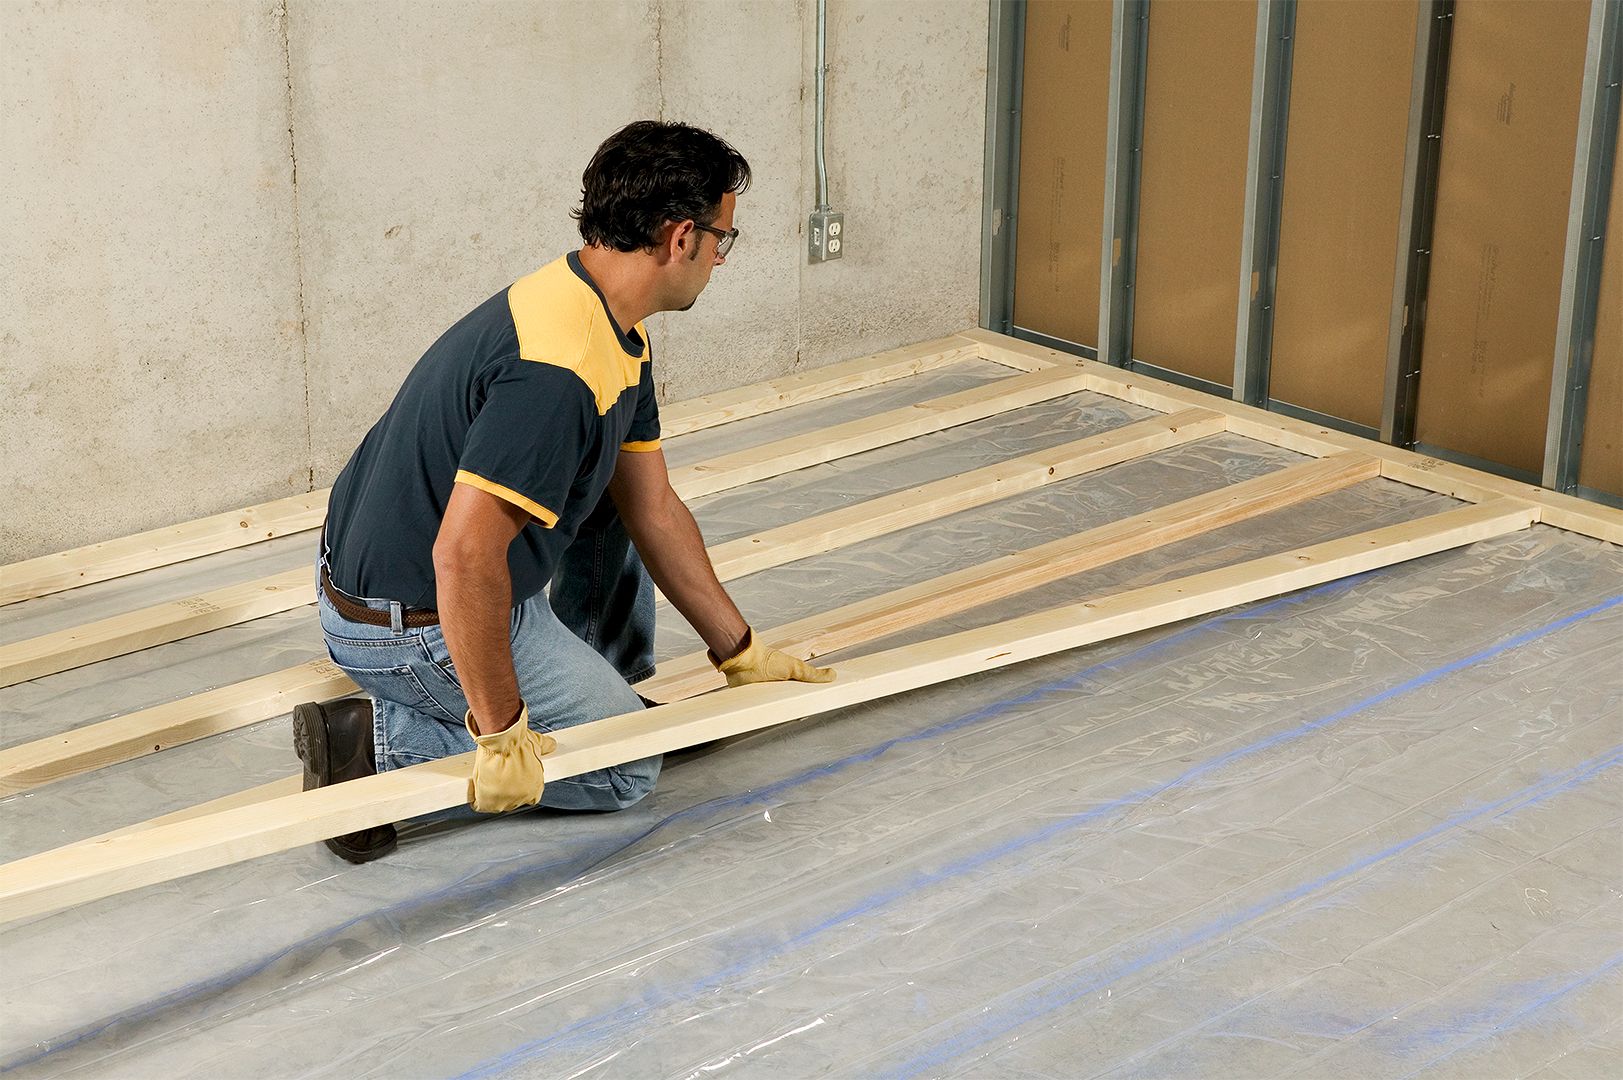
Step 1: Preparing the Concrete Subfloor
Before embarking on the installation of heated floors, it is crucial to prepare the concrete subfloor to ensure a smooth and efficient process. Proper preparation not only facilitates the installation of the radiant heating system but also contributes to its long-term performance and durability. Here are the essential steps to prepare the concrete subfloor:
- Clean the Subfloor: Begin by thoroughly cleaning the concrete subfloor, removing any debris, dust, or existing flooring materials. A clean and smooth surface is essential for the successful installation of the radiant heating system.
- Inspect for Cracks and Damage: Carefully examine the concrete subfloor for any cracks, uneven areas, or structural damage. Addressing these issues before proceeding with the installation is crucial to prevent future complications.
- Repair and Level the Subfloor: If any cracks or uneven surfaces are identified, it is imperative to repair and level the subfloor. Utilize suitable concrete patching materials to fill in cracks and create a level surface, ensuring optimal contact between the radiant heating system and the subfloor.
- Moisture Barrier Installation: In areas where moisture infiltration is a concern, such as basements or bathrooms, installing a moisture barrier is essential. This barrier helps prevent moisture from reaching the heating system and ensures its long-term functionality.
- Allow for Drying Time: After completing the necessary repairs and installations, allow the subfloor to dry completely before proceeding with the next steps. Adequate drying time is crucial to ensure the effectiveness of the radiant heating system and the subsequent layers of insulation and flooring materials.
By meticulously preparing the concrete subfloor, you set the stage for a successful installation of heated floors, laying the foundation for a warm and inviting living space. With the subfloor primed and ready, you can now move on to the next crucial step: installing the radiant heating system.
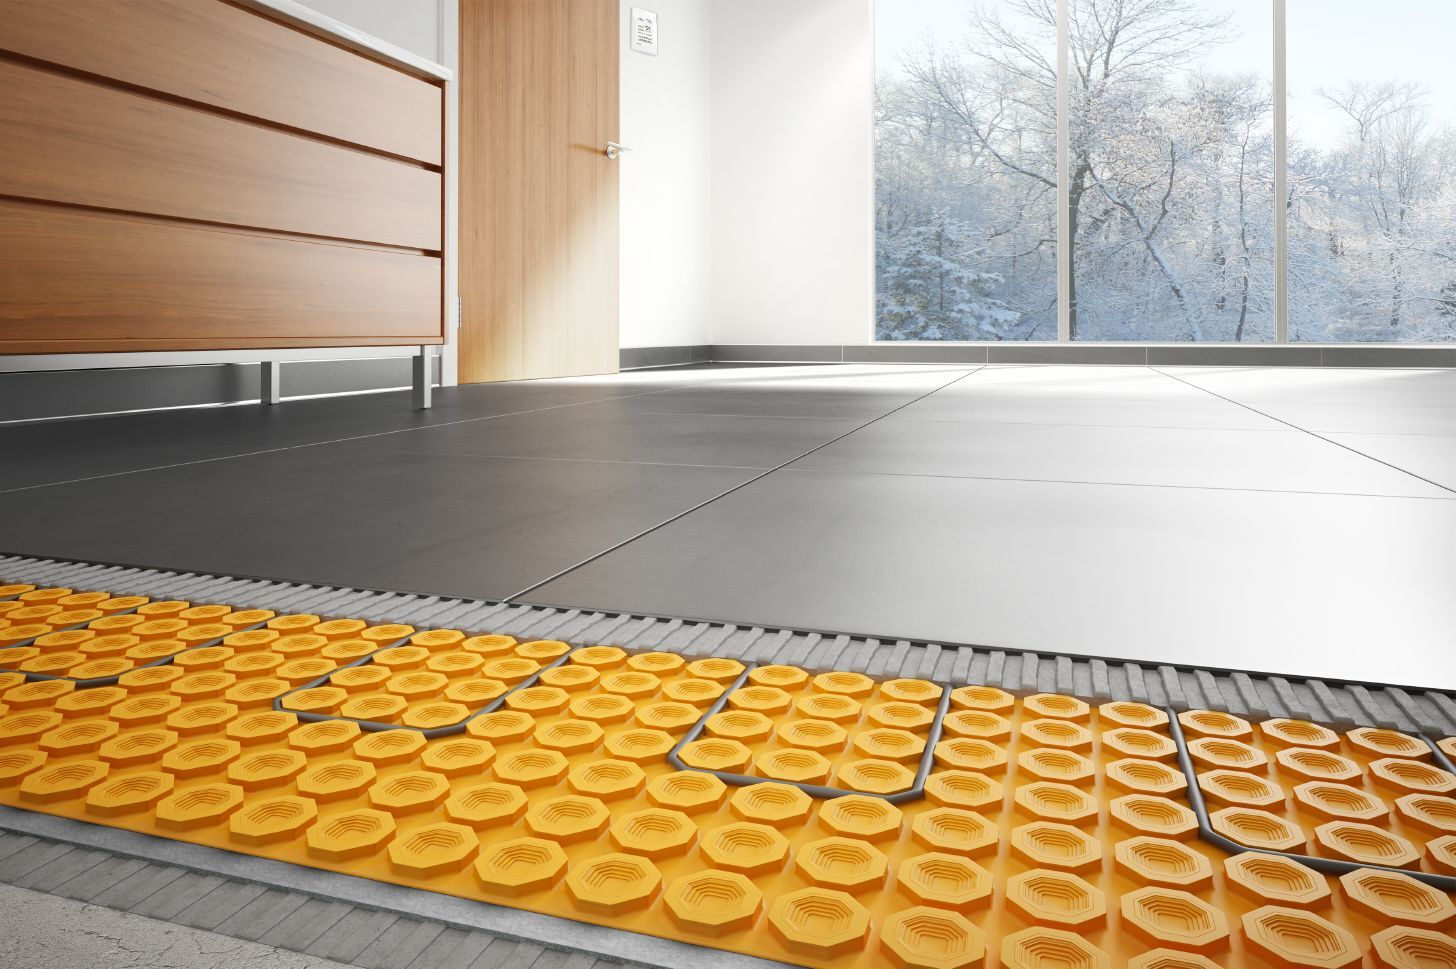
Step 2: Installing the Radiant Heating System
With the concrete subfloor meticulously prepared, the next pivotal step in the installation process is the installation of the radiant heating system. This innovative heating solution offers a luxurious and efficient way to warm your living space while maintaining a discreet and unobtrusive presence. Here are the key elements involved in installing the radiant heating system:
- Selecting the Heating System: Choose the most suitable type of radiant heating system for your space, considering factors such as the room size, insulation, and your specific heating requirements. Options include electric radiant floor heating systems and hydronic (water-based) systems, each offering unique advantages and considerations.
- Layout and Placement: Plan the layout and placement of the heating elements, ensuring comprehensive coverage of the floor area while accommodating any room features, such as fixtures or furniture placement. Careful planning is essential to maximize the heating efficiency and comfort of the space.
- Installation of Heating Elements: Whether utilizing electric radiant heating mats or hydronic tubing, follow the manufacturer’s guidelines for the proper installation of the heating elements. Secure them in place according to the predetermined layout, ensuring uniform coverage and consistent heat distribution.
- Connection and Testing: Once the heating elements are in place, connect them to the designated power source or hydronic heating system. Prior to proceeding with additional layers, conduct thorough testing to ensure the proper functionality and performance of the radiant heating system.
- Thermostat Installation: Install a programmable thermostat to regulate the radiant heating system, allowing for precise control over temperature settings and energy efficiency. A well-calibrated thermostat enhances the overall effectiveness and convenience of the heated floors.
By meticulously executing the installation of the radiant heating system, you pave the way for a cozy and inviting living space, where warmth emanates from the floor, creating a comfortable environment for everyday activities. With the heating system in place and operational, it’s time to enhance its efficiency and performance through the addition of insulation, the next crucial step in the installation process.
Before installing heated floors on concrete, make sure the concrete is clean, level, and free of any cracks or damage. Use a high-quality floor heating system designed for concrete installation to ensure proper performance and longevity.
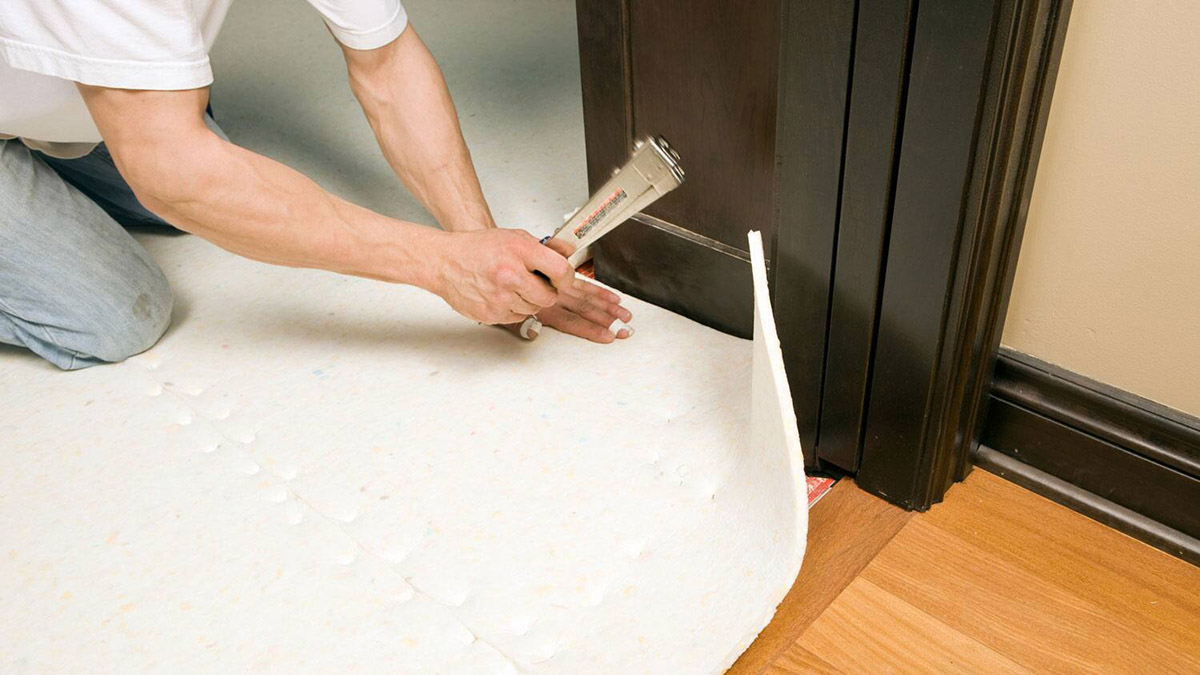
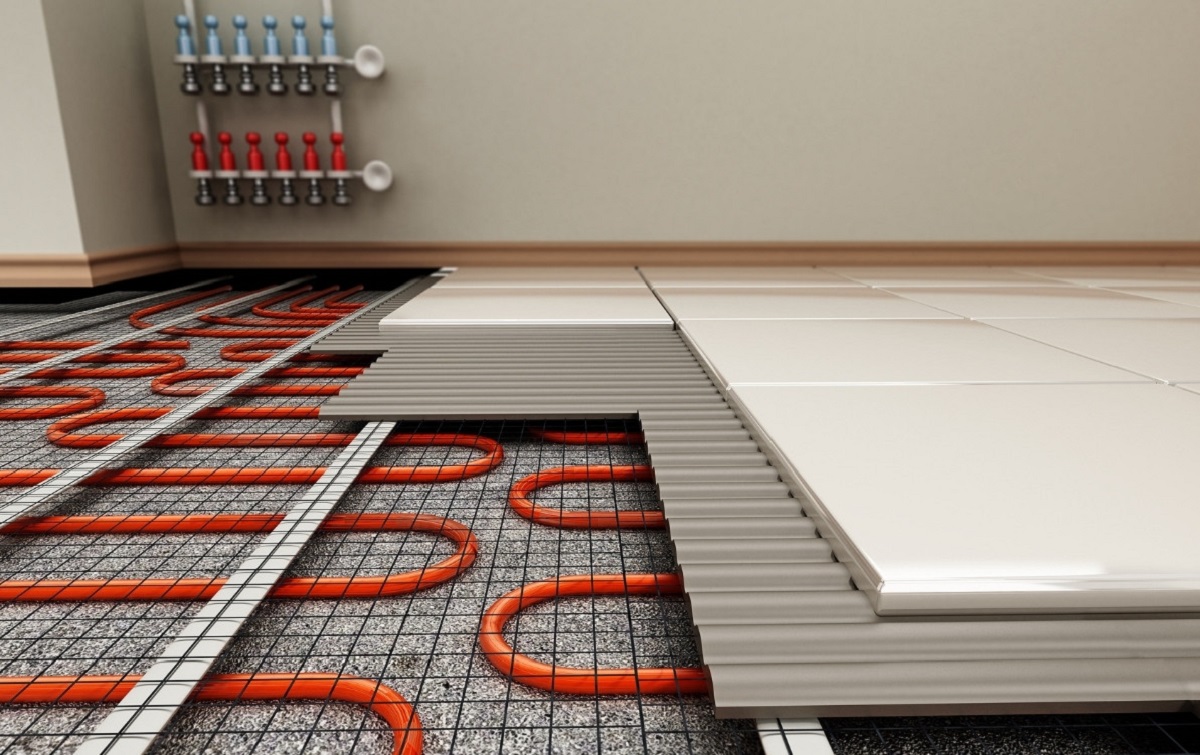
Step 3: Adding Insulation
As you progress in the installation of heated floors on a concrete subfloor, the addition of insulation plays a pivotal role in maximizing the efficiency and performance of the radiant heating system. Proper insulation not only enhances the warmth and comfort of the living space but also contributes to energy conservation and cost-effectiveness. Here are the essential aspects of adding insulation to the radiant heating system:
- Insulating Underlayment: Install an insulating underlayment over the radiant heating system to minimize heat loss and maximize the upward heat transfer into the living space. The underlayment serves as a thermal barrier, directing the heat upward while preventing it from being absorbed into the subfloor.
- Thermal Reflective Insulation: Consider utilizing thermal reflective insulation, which effectively reflects heat back into the room, further enhancing the efficiency of the radiant heating system. This type of insulation helps maintain a consistent and comfortable temperature within the living space.
- Insulation R-Value: Pay attention to the insulation’s R-value, which indicates its thermal resistance. Select insulation materials with an appropriate R-value to suit the specific heating requirements of the space, ensuring optimal energy efficiency and warmth retention.
- Vapor Barrier Installation: In areas where moisture control is crucial, such as basements or bathrooms, installing a vapor barrier over the insulation helps prevent moisture from affecting the radiant heating system and the subsequent flooring materials.
- Seam and Edge Sealing: Ensure proper sealing of seams and edges of the insulation to create a continuous thermal barrier, preventing heat loss and optimizing the performance of the entire heated floor system.
By meticulously incorporating insulation into the installation process, you bolster the effectiveness and energy efficiency of the radiant heating system, ensuring that the warmth generated by the heated floors permeates the living space consistently and comfortably. With the insulation in place, it’s time to embark on the final step: installing the flooring material to complement the luxurious comfort of the heated floors.
Step 4: Installing the Flooring Material
As you approach the final phase of the installation process for heated floors on a concrete subfloor, the selection and installation of the flooring material play a crucial role in complementing the luxurious comfort and warmth provided by the radiant heating system. The right flooring material not only enhances the aesthetic appeal of the space but also facilitates efficient heat transfer and long-term durability. Here are the key considerations for installing the flooring material:
- Choosing Heat-Conductive Flooring: Opt for flooring materials that are conducive to heat transfer, such as ceramic or porcelain tiles, natural stone, or engineered wood. These materials allow the warmth generated by the radiant heating system to permeate the surface, creating a cozy and inviting environment.
- Underlayment Compatibility: Ensure that the selected flooring material is compatible with the radiant heating system and the insulating underlayment. Verify the manufacturer’s recommendations to guarantee seamless integration and optimal heat distribution.
- Professional Installation: Consider engaging professional installers with experience in working with heated floors to ensure the proper placement and alignment of the flooring material. Precise installation is essential to maximize the heat transfer and overall performance of the radiant heating system.
- Grout and Adhesive Selection: When installing tile-based flooring, select grout and adhesive products that are suitable for use with heated floors. These specialized products accommodate the expansion and contraction associated with the heating system, maintaining the integrity of the flooring installation.
- Regular Maintenance: Implement a regular maintenance routine to preserve the condition and functionality of the flooring material, ensuring its longevity and continued compatibility with the radiant heating system.
By thoughtfully selecting and installing the flooring material, you elevate the comfort and aesthetics of the living space, creating a harmonious environment where the luxurious warmth of the heated floors seamlessly integrates with the overall design. With the flooring material in place, you can now revel in the delightful comfort and ambiance of your newly installed heated floors, transforming your living space into a cozy retreat during the colder months.
Read more: How To Install Heated Floors
Conclusion
Congratulations on completing the installation of heated floors on your concrete subfloor! By following the comprehensive steps outlined in this guide, you have embarked on a transformative journey that has culminated in the creation of a warm, inviting, and luxurious living space. As you revel in the comfort and coziness provided by your newly installed heated floors, it’s essential to reflect on the numerous benefits and the meticulous process that has led to this remarkable outcome.
Heated floors, also known as radiant floor heating, offer a host of advantages beyond their primary function of providing warmth. From energy efficiency and even heat distribution to the elimination of cold spots and the freedom from conventional heating fixtures, your decision to install heated floors has ushered in a new era of comfort and convenience within your home.
Throughout the installation process, you have witnessed the careful preparation of the concrete subfloor, the strategic placement of the radiant heating system, the integration of insulation to optimize efficiency, and the selection and installation of flooring materials conducive to heat transfer. Each step has contributed to the seamless and effective operation of your heated floors, ensuring a consistent and delightful warmth that enriches your daily life.
As you bask in the luxurious comfort of your heated floors, take pride in the knowledge that you have not only enhanced the comfort and value of your home but also embraced a modern and efficient heating solution that elevates your living experience. Whether you are walking barefoot on a chilly morning or hosting gatherings in a cozy ambiance, your heated floors will continue to be a source of joy and comfort for years to come.
Thank you for embarking on this rewarding journey of installing heated floors on a concrete subfloor. May your home be filled with warmth, comfort, and the delightful embrace of radiant floor heating, creating cherished moments and cherished memories for you and your loved ones.
Frequently Asked Questions about How To Install Heated Floors On Concrete
Was this page helpful?
At Storables.com, we guarantee accurate and reliable information. Our content, validated by Expert Board Contributors, is crafted following stringent Editorial Policies. We're committed to providing you with well-researched, expert-backed insights for all your informational needs.


0 thoughts on “How To Install Heated Floors On Concrete”