
Articles
How To Install Hardwood Floors
Modified: October 20, 2024
Learn how to properly install hardwood floors with our informative articles. Find step-by-step guides, tips, and techniques to achieve a flawless finish.
(Many of the links in this article redirect to a specific reviewed product. Your purchase of these products through affiliate links helps to generate commission for Storables.com, at no extra cost. Learn more)
Introduction
Putting hardwood floor in your home is a great way to add beauty, warmth, and value to your space. Nothing quite matches the timeless elegance and durability of hardwood flooring. Whether you’re replacing old flooring or starting from scratch, installing hardwood floor can be a rewarding and satisfying project. However, it can also be a daunting task if you’re not familiar with the process.
In this article, we will guide you through the step-by-step process of putting hardwood floor in your home. From preparation to installation, we will provide you with all the necessary information to ensure a successful and professional-looking result. So grab your tools and let’s get started!
Key Takeaways:
- Proper preparation, acclimation, and precise installation are crucial for a successful hardwood floor project. Take the time to measure, cut, and secure the planks to achieve a professional and durable finish.
- Attention to detail, from addressing corners and obstacles to trimming door jambs, ensures a seamless and polished hardwood floor installation. Embrace the timeless beauty and warmth of hardwood in your space.
Read more: DIY Guide To Installing Hardwood Floors
Step 1: Preparation
Before you start installing hardwood floor, it’s important to properly prepare the area to ensure a smooth and seamless installation. Here are a few key steps to take during the preparation stage:
- Clean the area: Start by removing any existing flooring materials, such as carpet, tile, or laminate. Ensure that the subfloor is clean and free from debris.
- Check the subfloor: Inspect the subfloor for any damage or unevenness. Repair or replace any damaged areas and ensure that the subfloor is level. This will provide a stable base for your hardwood flooring.
- Acclimate the hardwood planks: Hardwood planks need time to adjust to the temperature and humidity of the room they’ll be installed in. Leave the planks in the room for a few days to allow them to acclimate. This will prevent any warping or buckling of the floorboards after installation.
By properly preparing the area, you’ll ensure that your hardwood floor installation goes smoothly and that the end result is a beautiful and long-lasting floor. Take the time to clean, inspect, and acclimate the materials before moving on to the next steps.
Step 2: Acclimation of Hardwood
Acclimating hardwood planks is a crucial step in the installation process. Wood is a natural material that expands and contracts with changes in temperature and humidity. By allowing the hardwood planks to acclimate to the room’s conditions, you minimize the risk of complications like warping, buckling, or gaps between the boards.
Here’s how to properly acclimate your hardwood:
- Unpack the flooring: Remove the hardwood planks from their packaging and lay them flat in the room where they will be installed. Ensure that there is enough space between the boards to allow air circulation.
- Monitor the conditions: Track the temperature and humidity levels in the room during the acclimation period. Aim for a temperature range of 60-80°F (15-27°C) and a relative humidity of 30-50%. Use a hygrometer to measure the humidity accurately.
- Allow time for acclimation: The duration of acclimation will vary depending on the manufacturer’s recommendations and the conditions of your room. Typically, hardwood planks need to acclimate for at least 3-5 days. Follow the specific guidelines provided by the manufacturer.
- Keep the planks protected: During the acclimation period, cover the planks with a breathable material, such as a tarp or builder’s paper, to protect them from dirt, dust, and potential damage.
Remember, proper acclimation is essential for a successful hardwood floor installation. Rushing this step can lead to problems down the line. Take the time to allow the planks to adjust to the room’s conditions, ensuring a stable and long-lasting flooring installation.
Step 3: Tools and Materials Required
Before starting the installation process, it’s essential to gather all the necessary tools and materials. Having everything you need on hand will make the installation process smoother and more efficient. Here’s a list of the essential tools and materials you’ll need for installing hardwood floor:
- Hardwood Flooring: Purchase enough hardwood flooring to cover the area you plan to install. Consider buying extra to account for any mistakes or future repairs.
- Underlayment/Vapor Barrier: Depending on your subfloor type, you may need to install an underlayment or vapor barrier to provide moisture protection and sound insulation.
- Measuring Tape: A measuring tape is crucial for accurately measuring the room’s dimensions and the hardwood planks.
- Chalk Line: Use a chalk line to mark reference lines on the subfloor for aligning the first row of planks.
- Saw: Invest in a quality saw that can make precision cuts. A table saw or circular saw with a carbide-tipped blade is ideal for cutting hardwood planks.
- Hammer and Nails: A hammer and nails are essential for securing the planks to the subfloor. Alternatively, you can use a pneumatic nail gun for faster installation.
- Flooring Nailer: If you choose to use a pneumatic nail gun, make sure to have a flooring nailer specifically designed for hardwood flooring.
- Level: A level is necessary for ensuring the floor is installed evenly and without any noticeable slopes or dips.
- Tapping Block and Pull Bar: These tools are used to gently tap the planks into place and connect them together.
- Safety Gear: Don’t forget to protect yourself during the installation process. Safety glasses, gloves, and knee pads will help prevent any injuries.
These are the basic tools and materials required for installing hardwood floor. Depending on your specific installation needs or preferences, you may require additional tools or accessories. Always refer to the manufacturer’s guidelines and recommendations when choosing your materials and tools.
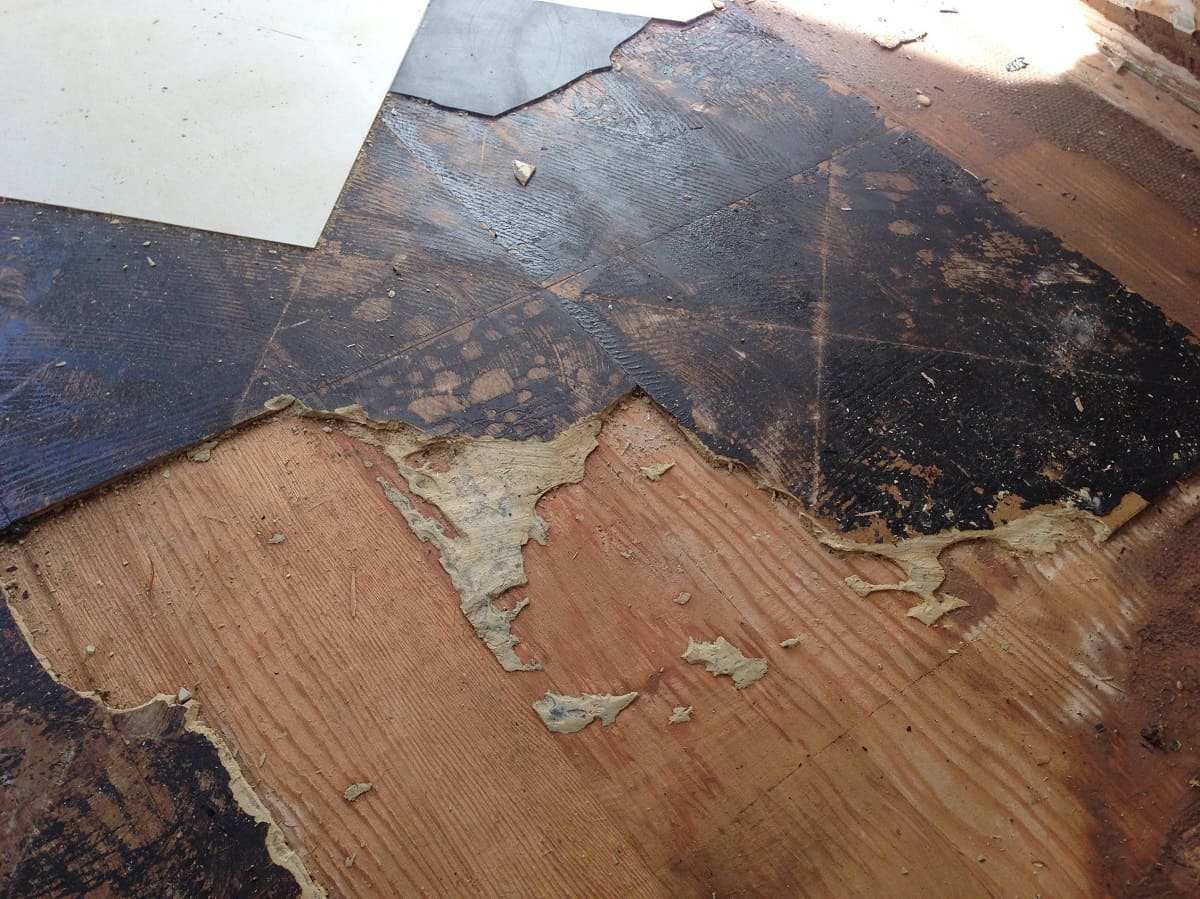
Step 4: Removing Existing Flooring
If you have existing flooring in the room where you plan to install hardwood, you’ll need to remove it before proceeding. Removing the existing flooring is necessary to create a clean and level surface for the hardwood installation. Here’s how to remove different types of flooring:
- Carpet: Start by removing the carpet by cutting it into manageable sections. Use a utility knife to slice the carpet into strips and roll them up for easy disposal. Remove any carpet padding or tack strips that may be underneath.
- Tile or Stone: Use a chisel and hammer to carefully remove the tiles or stones from the floor. Start by breaking a few tiles and then pry them up. Be cautious not to damage the subfloor.
- Laminate or Vinyl: Laminate or vinyl flooring is typically floating, held together by interlocking edges or adhesive. Start by removing any baseboards or trim around the edges, then gently lift and disconnect the flooring sections.
- Hardwood or Engineered Wood: If there is existing hardwood or engineered wood flooring, it may be possible to install the new hardwood floor directly over it. However, it’s essential to ensure the existing floor is in good condition, without any noticeable damage or unevenness.
Once you’ve removed the existing flooring material, thoroughly clean the subfloor to remove any debris, adhesive residue, or nails. Check the subfloor for any damage or unevenness. If necessary, make any repairs or adjustments to ensure a smooth and level surface for the new hardwood floor installation. Taking the time to properly prepare the subfloor will result in a better end result and avoid any issues with the final flooring installation.
Read more: How To Install Engineered Hardwood Floor
Step 5: Preparing the Subfloor
Once you’ve removed the existing flooring, it’s important to prepare the subfloor to ensure a solid foundation for your hardwood floor. Preparing the subfloor involves several key steps:
- Clean the Subfloor: Remove any dust, dirt, or debris from the subfloor. Use a broom, vacuum, or damp cloth to ensure it’s clean and free from any loose particles.
- Inspect for Damage: Carefully examine the subfloor for any signs of damage or weaknesses, such as rot or water damage. If you notice any issues, repair or replace the damaged sections.
- Address Unevenness: Ensure that the subfloor is level and smooth. Use a level tool to check for any slopes or dips. If you find any uneven areas, sand them down or use a self-leveling compound to create a flat surface.
- Secure Loose Boards: If you encounter any loose or squeaky boards, secure them with screws or nails to prevent movement or noise under the hardwood flooring.
By properly preparing the subfloor, you create a stable and even surface for the hardwood floor installation. This ensures that the flooring will lay flat and securely, reducing the risk of any future issues or damage. Take the time to address any subfloor issues before moving on to the next steps of the installation process.
Step 6: Installation of Vapor Barrier
Installing a vapor barrier is an important step in the hardwood floor installation process, especially if you’re working on a concrete subfloor or in an area with high moisture levels. A vapor barrier helps to prevent moisture from seeping into the hardwood, which can lead to warping, buckling, or mold issues. Here’s how to install a vapor barrier:
- Clean and Dry the Subfloor: Ensure that the subfloor is clean and completely dry before installing the vapor barrier. Any moisture trapped beneath the barrier can cause problems in the long run.
- Roll Out the Vapor Barrier: Start at the farthest corner of the room and roll out the vapor barrier along the length of the wall. Leave a 2-3 inch overlap against the wall to ensure proper coverage.
- Secure the Barrier: Use a heavy-duty tape, such as moisture-resistant tape, to secure the vapor barrier seams. This will prevent any moisture from seeping through the gaps.
- Trim Excess Barrier: Use a utility knife to trim any excess vapor barrier along the edges of the room. Make sure the barrier is snugly fitted against the walls, allowing enough room for the hardwood flooring to be installed.
- Inspect for Tears or Gaps: Check the installed vapor barrier for any tears or gaps. Ensure that it is fully intact and covering the entire subfloor area. Address any issues before proceeding with the hardwood installation.
By installing a vapor barrier, you create an additional layer of protection for your hardwood flooring. It helps to maintain a stable moisture environment, ensuring the longevity and durability of your hardwood floor. Take the time to properly install the vapor barrier before moving on to the next steps of the installation process.
Before installing hardwood floors, make sure the subfloor is clean, level, and dry. Acclimate the wood to the room’s temperature and humidity for at least 72 hours before installation to prevent warping. Use the proper tools and techniques to ensure a professional finish.
Step 7: Measuring and Cutting Hardwood Planks
Accurate measurements and precise cutting are essential for a successful hardwood floor installation. Taking the time to measure and cut your hardwood planks correctly will ensure a seamless and professional-looking result. Here’s how to measure and cut hardwood planks:
- Measure the Room: Use a measuring tape to determine the length and width of the room. Multiply these measurements to calculate the total square footage needed for the hardwood flooring.
- Account for Wastage: It’s recommended to purchase around 5-10% more hardwood flooring than the calculated square footage to account for wastage, mistakes, and future repairs. This will ensure that you have enough material to complete the installation.
- Plan the Layout: Plan the direction in which you’ll install the hardwood planks. Consider the layout of the room and the natural light source to determine the most aesthetically pleasing arrangement.
- Mark and Cut: Use a pencil or chalk to mark the plank where you need to make the cut. For straight cuts, use a table saw or circular saw with a carbide-tipped blade. For more intricate cuts, such as around doorways or obstacles, use a jigsaw or coping saw.
- Measure Twice, Cut Once: Double-check your measurements before making any cuts. It’s better to be safe than sorry, as mistakes can waste both time and materials.
- Test Fit the Planks: After cutting a plank, test fit it in place to ensure it fits properly. Make any necessary adjustments before moving on to the full installation.
Remember, precision is key when measuring and cutting hardwood planks. Take your time and double-check your measurements to ensure accurate cuts and a smooth installation. By doing so, you’ll achieve a professional-looking hardwood floor with minimal waste and a seamless appearance.
Step 8: Installing the First Row
The first row of hardwood planks sets the foundation for the rest of the installation. It’s crucial to install this row correctly to ensure a straight, level, and secure base for the remaining planks. Here’s how to install the first row of hardwood:
- Start with a Straight Reference Line: Use a chalk line to create a straight reference line along the longest wall of the room. This line will guide the placement of the first row of planks.
- Apply Wood Glue: Apply a thin bead of wood glue along the tongue edge of the first plank. This will help to secure it to the subfloor and provide additional stability.
- Align and Place the Plank: Starting at one end of the reference line, carefully place the first plank with its groove edge facing the wall. Align it with the chalk line, ensuring a tight fit against the wall.
- Secure the Plank: Use a flooring nailer or hammer and finish nails to secure the plank to the subfloor. Place the nails at an angle through the face of the plank, near the grooved edge, to avoid interfering with future plank installation.
- Continue the First Row: Repeat the previous steps, applying wood glue to the tongue edge of each subsequent plank and connecting them together. Use a tapping block and mallet to gently tap the planks together, ensuring a snug and secure fit.
- Trim the Last Plank: Measure and cut the last plank of the first row to fit against the wall, leaving a 1/2-inch expansion gap. This gap allows for natural expansion and contraction of the hardwood due to changes in temperature and humidity.
By properly installing the first row of hardwood planks, you establish a solid and aligned foundation for the rest of the flooring. Take your time to ensure that the planks are securely fastened and properly aligned with the reference line. Once the first row is in place, you can proceed to install the subsequent rows of hardwood flooring.
Step 9: Installing Subsequent Rows
Now that the first row of hardwood planks is securely in place, it’s time to continue the installation by adding subsequent rows. Installing the subsequent rows correctly will ensure a seamless and professional-looking hardwood floor. Here’s how to install the subsequent rows:
- Apply Wood Glue: Apply a thin bead of wood glue to the tongue edge of the first plank in the second row. This will help secure it to the groove edge of the first row.
- Insert and Lock the Planks: Place the first plank of the second row at a slight angle to the first row. Insert the tongue edge into the groove edge of the first row and gently press it down to lock it in place. Use a tapping block and mallet to ensure a tight fit.
- Continue Installing Planks: Repeat the previous step, applying wood glue to the tongue edge of each subsequent plank and connecting them to the previous row. Use the tapping block and mallet to tap the planks together, maintaining a snug and secure fit.
- Stagger the Planks: To create a more visually appealing and structurally sound floor, stagger the end joints of the planks in each row. Avoid lining up the end joints vertically to create a more natural look and distribute weight more evenly.
- Trim the Last Plank: Measure and cut the last plank of each row as needed to fit against the wall, leaving the necessary expansion gap. Use a pry bar and pull bar to gently fit and connect the planks together, ensuring a tight and uniform installation.
- Check for Gaps or Misalignment: Periodically check the installation for any gaps, misalignment, or protruding nails. Use a rubber mallet and tapping block to adjust any problem areas and create a uniform surface.
By following these steps, you can continue installing subsequent rows of hardwood planks, gradually working your way across the room. Take care to ensure that the planks are properly aligned, securely connected, and that the end joints are staggered. This will result in a visually appealing and structurally sound hardwood floor.
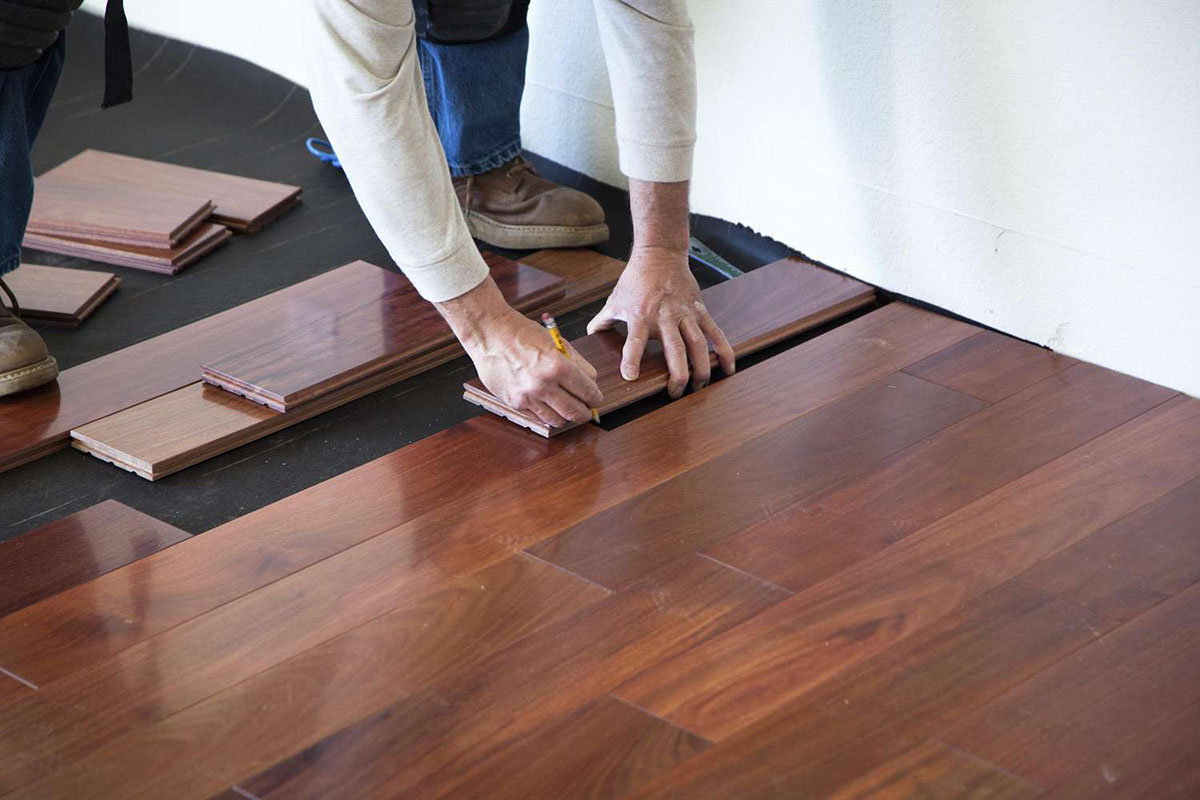
Step 10: Dealing with Corners and Obstacles
When installing hardwood flooring, you will likely encounter corners, doorways, and other obstacles that require special attention. Properly addressing these areas ensures a seamless and professional-looking installation. Here’s how to deal with corners and obstacles:
- Corners: For inside corners, measure and cut the planks to fit against the wall, leaving the necessary expansion gap. Apply wood glue to the tongue edge of the last plank in the row, and carefully fit it into place. Secure the plank with nails or a flooring nailer. For outside corners, use a miter saw to accurately cut the planks at a 45-degree angle for a clean and precise fit.
- Doorways: When reaching a doorway, the hardwood planks will need to be cut to fit around the door frame. Measure and mark the planks accordingly, ensuring a proper fit. Use a jigsaw or coping saw to make the necessary cuts, allowing the planks to fit snugly against the door frame.
- Obstacles: If you encounter any obstacles, such as pipes or floor vents, mark the planks accordingly to accommodate them. Use a drill to create holes or a jigsaw to make precise cuts. Ensure that the planks fit around the obstacles smoothly and snugly.
- Transitions: If transitioning from hardwood flooring to another type of flooring material, such as carpet or tile, you may need to install transition strips. Measure and cut the transition strips to fit and secure them according to the manufacturer’s instructions. This will create a seamless and visually pleasing transition between different flooring types.
Take your time when dealing with corners and obstacles to ensure accurate measurements and precise cuts. Properly fitting the hardwood planks around these areas will result in a professional and polished finish. Don’t rush this step, as it can significantly impact the overall look of your hardwood floor.
Step 11: Trimming Door Jambs
Trimming door jambs is an important step when installing hardwood flooring, as it allows the planks to fit neatly against the door frames for a seamless and professional finish. Here’s how to trim door jambs for hardwood flooring:
- Prepare the Tools: Gather the necessary tools, such as a handsaw, a chisel, a utility knife, and a hammer. These tools will help you trim the door jambs accurately.
- Place a Piece of Underlayment or Scrap Flooring: To ensure proper height alignment, place a piece of underlayment or scrap flooring next to the door jamb. This will act as a guide for trimming.
- Mark the Height: Use a utility knife to mark the height of the flooring on the door jamb. Hold the knife flat against the underlayment or scrap flooring and cut along the edge to create a straight and accurate mark.
- Cut the Door Jamb: Use a handsaw to carefully cut along the marked line on the door jamb. Make sure to cut slowly and steadily to avoid splintering or damaging the surrounding areas.
- Chisel and Trim: After making the initial cut, use a chisel to remove any remaining wood near the bottom of the door jamb. This will create a clean and even space for the hardwood flooring to slide underneath.
- Test the Fit: Slide a hardwood plank or a scrap piece of flooring underneath the trimmed door jamb to check the fit. It should slide easily and snugly without any obstructions or misalignment. Make any necessary adjustments if needed.
- Repeat for Other Door Jambs: Repeat the process for each door jamb in the room where the hardwood flooring is being installed. Take your time to ensure each jamb is properly trimmed for a consistent and professional finish.
Trimming door jambs is an essential step in achieving a seamless and professional-looking hardwood floor installation. By following these steps and using the right tools, you can ensure that the hardwood planks fit neatly against the door frames, creating a polished and cohesive appearance.
Step 12: Completing the Installation
After going through the previous steps of preparation, acclimation, cutting, and fitting, you’re now ready to complete the hardwood floor installation. The final steps will help ensure a finished look and a long-lasting, beautiful floor. Here’s how to complete the installation:
- Install the Final Rows: Continue installing the remaining rows of hardwood planks, following the same process of applying adhesive, connecting the tongue and groove edges, and securing the planks to the subfloor. Use a rubber mallet and tapping block to tightly fit the planks together.
- Fill in the Expansion Gaps: Once the majority of the floor is installed, remove any spacers and fill in the 1/2-inch expansion gap around the perimeter of the room with a matching wood filler or an extension joint compound. Wipe away any excess filler with a clean cloth.
- Install Baseboards and Trim: Install baseboards or trim along the walls to cover the expansion gap and create a finished look. Use a nail gun or finish nails to secure the baseboards or trim to the wall, making sure they do not obstruct the movement of the hardwood floor.
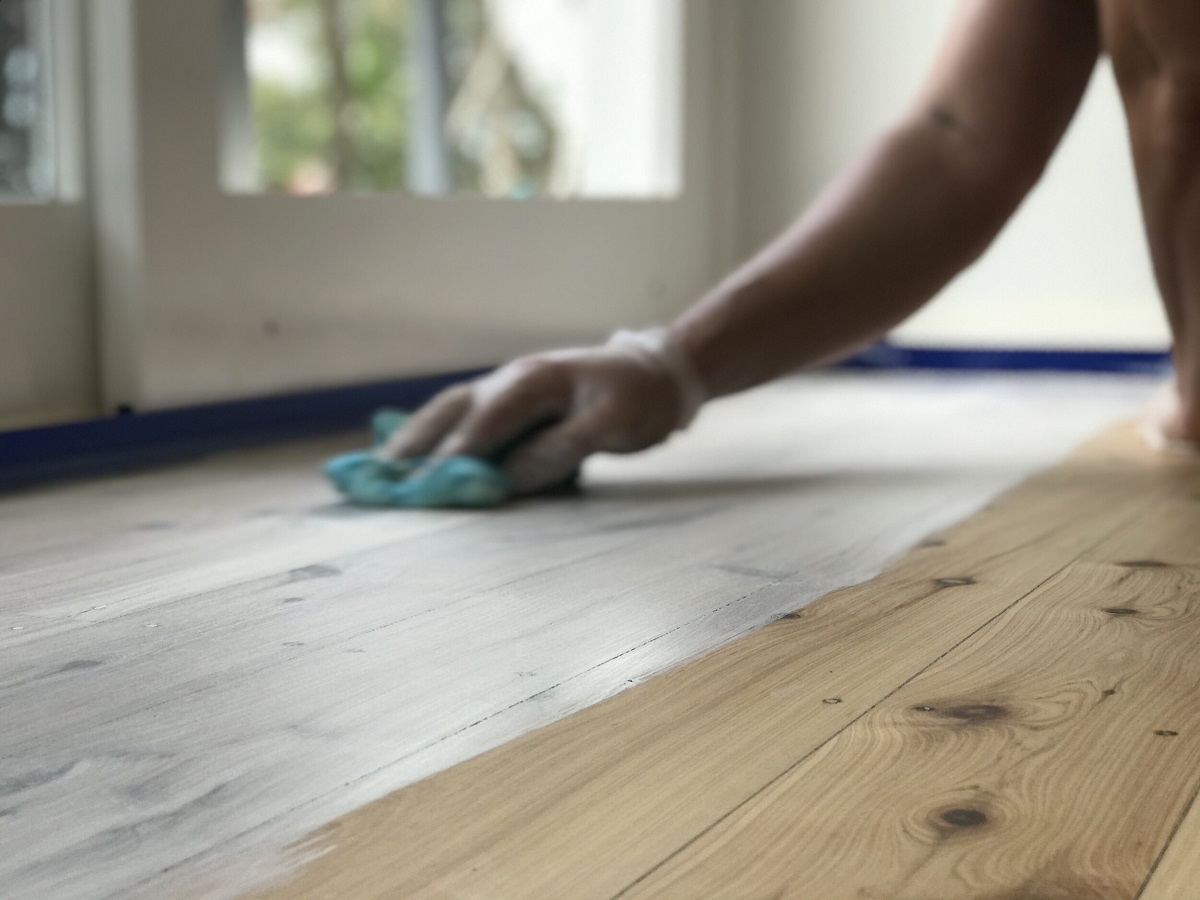
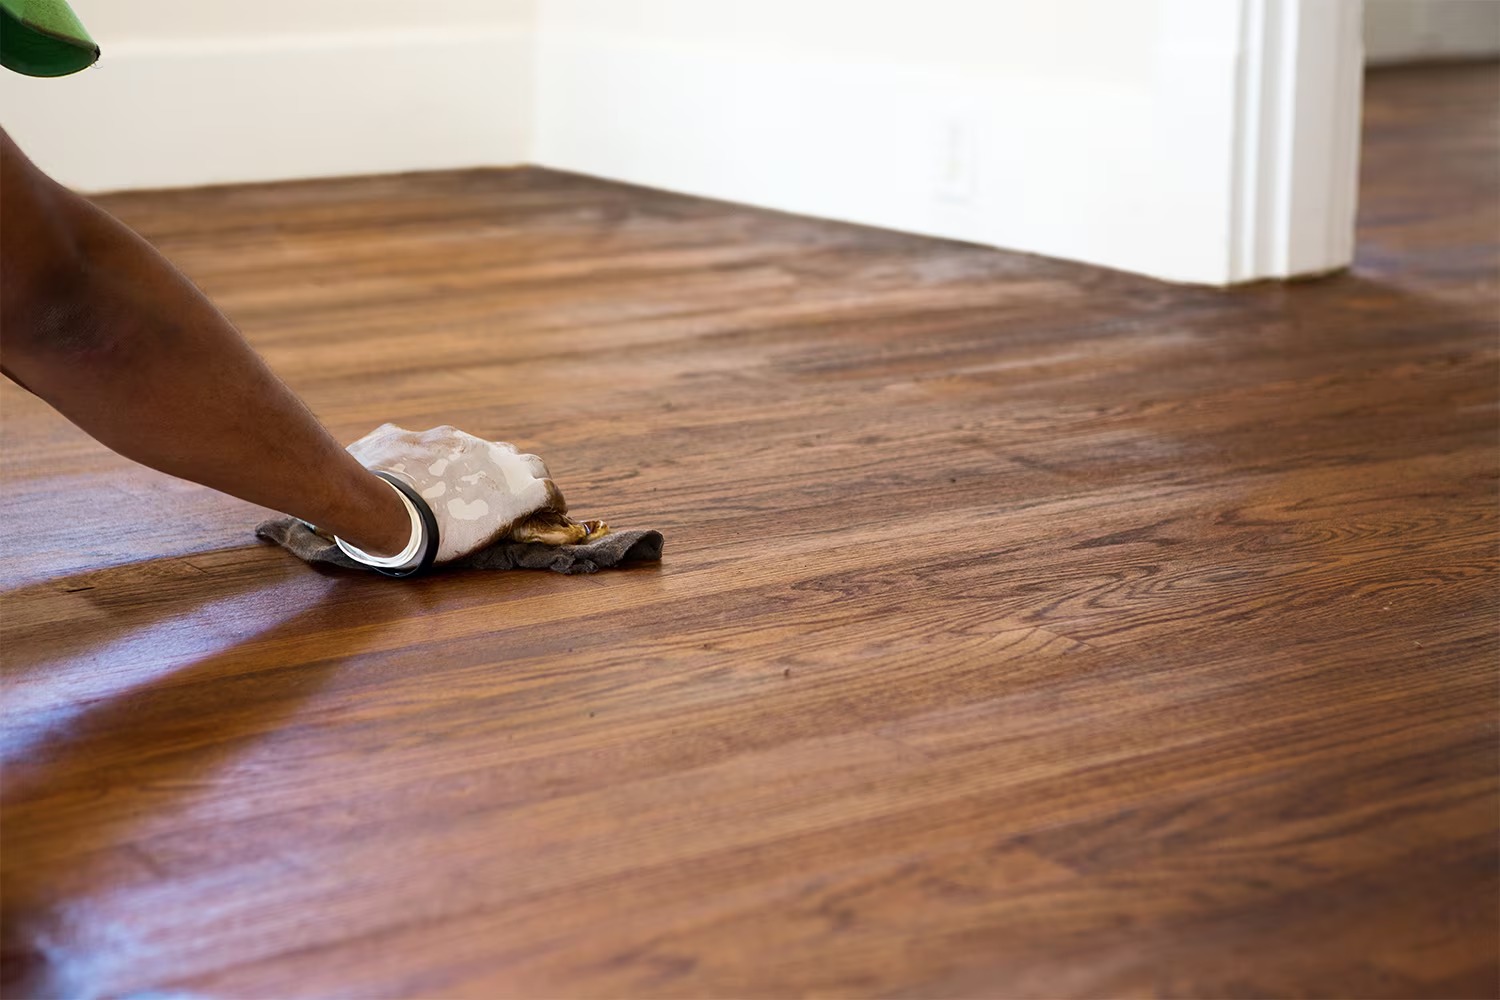
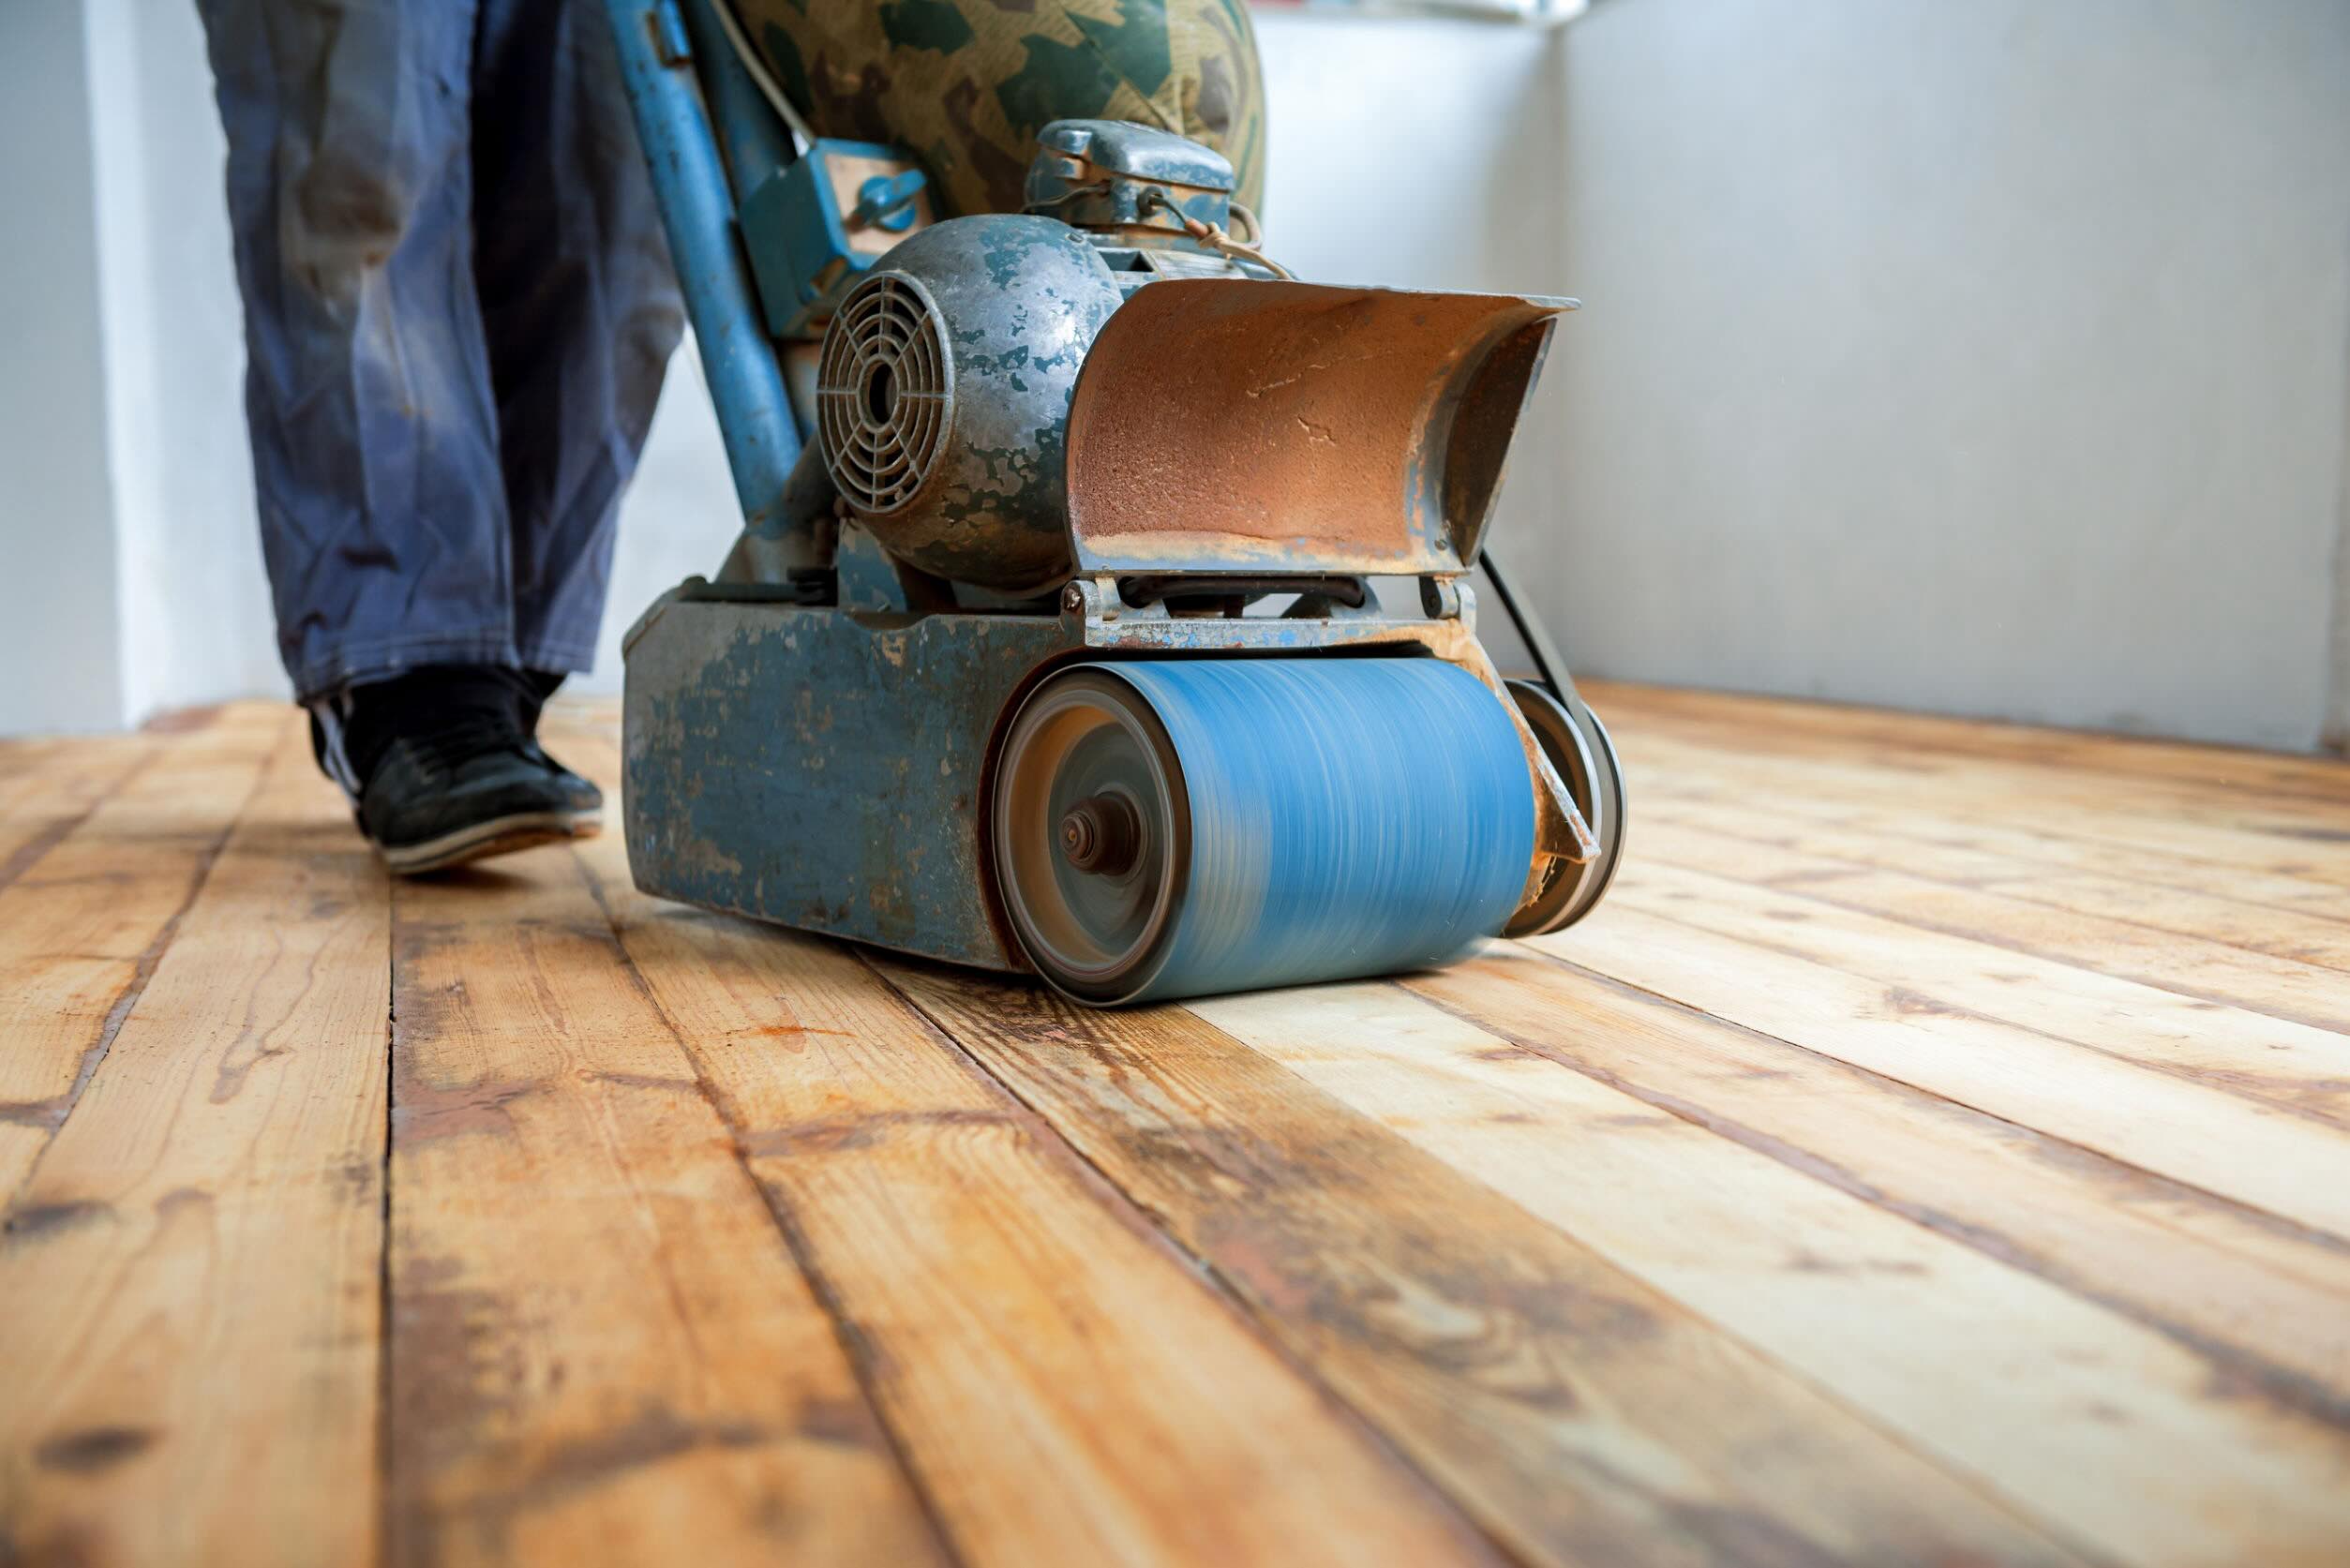
- Apply a Finish: Depending on the type of hardwood flooring you’re using, you may need to apply a finish. Follow the manufacturer’s instructions for applying an appropriate finish, such as polyurethane, to protect and enhance the natural beauty of the wood.
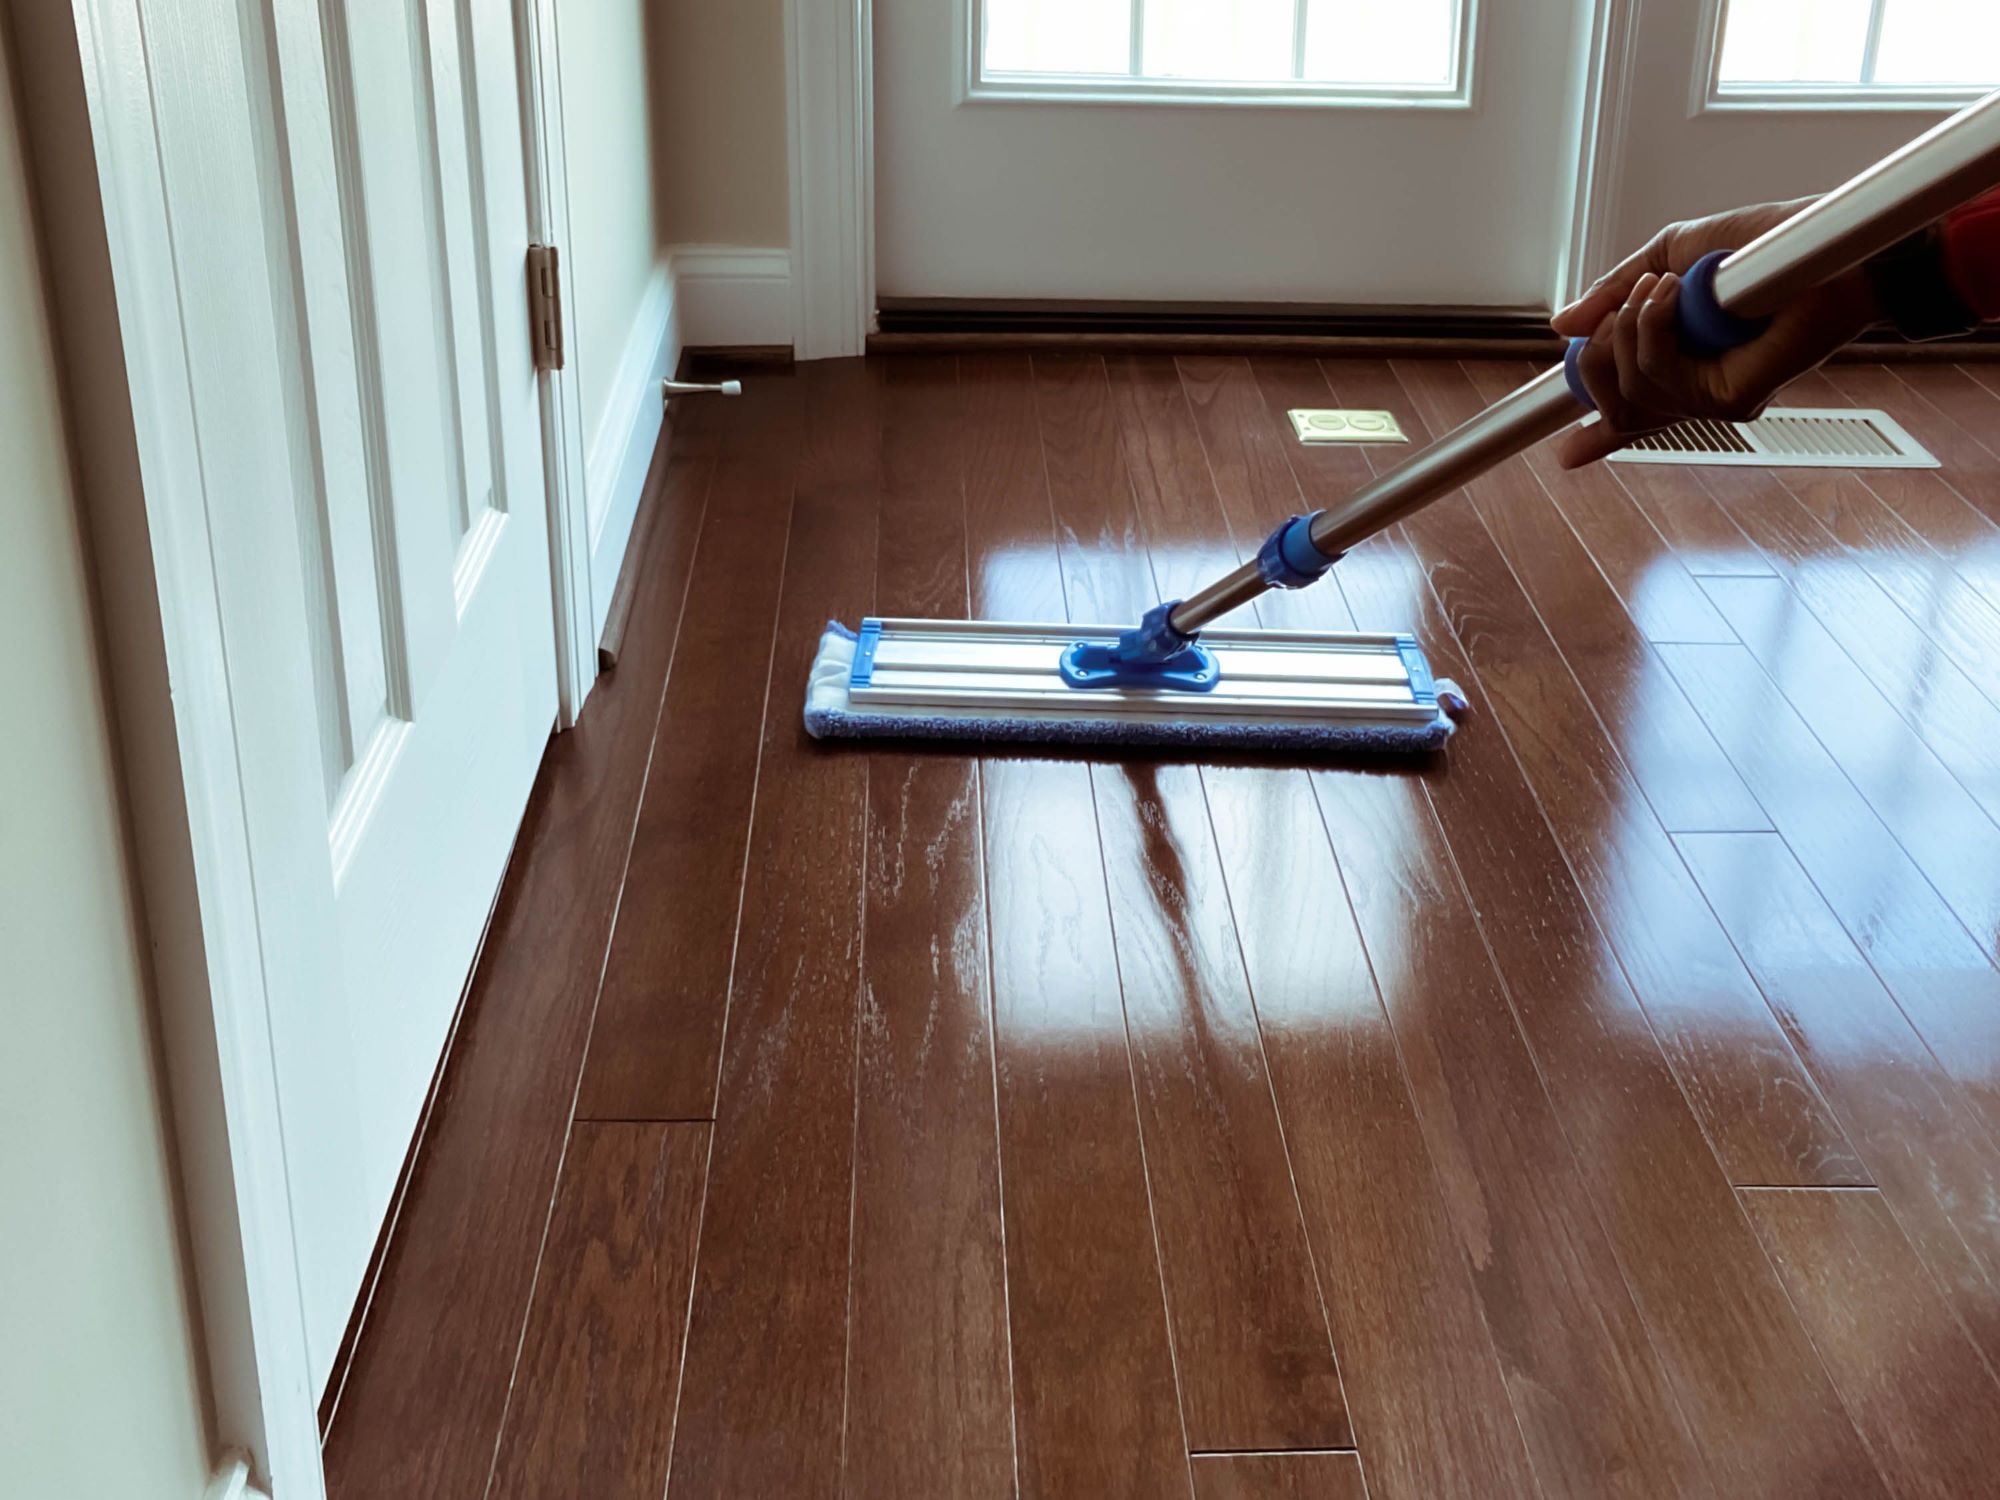
- Clean Up: Thoroughly clean up the installation area, removing any debris, dust, or excess adhesive. Use a damp cloth or mop to wipe the surface of the floor, ensuring it’s clean and ready to be enjoyed.
- Allow for Curing Time: Give the flooring time to properly cure and acclimate before walking on it or moving furniture back into the room. Follow the manufacturer’s guidelines for specific curing times.
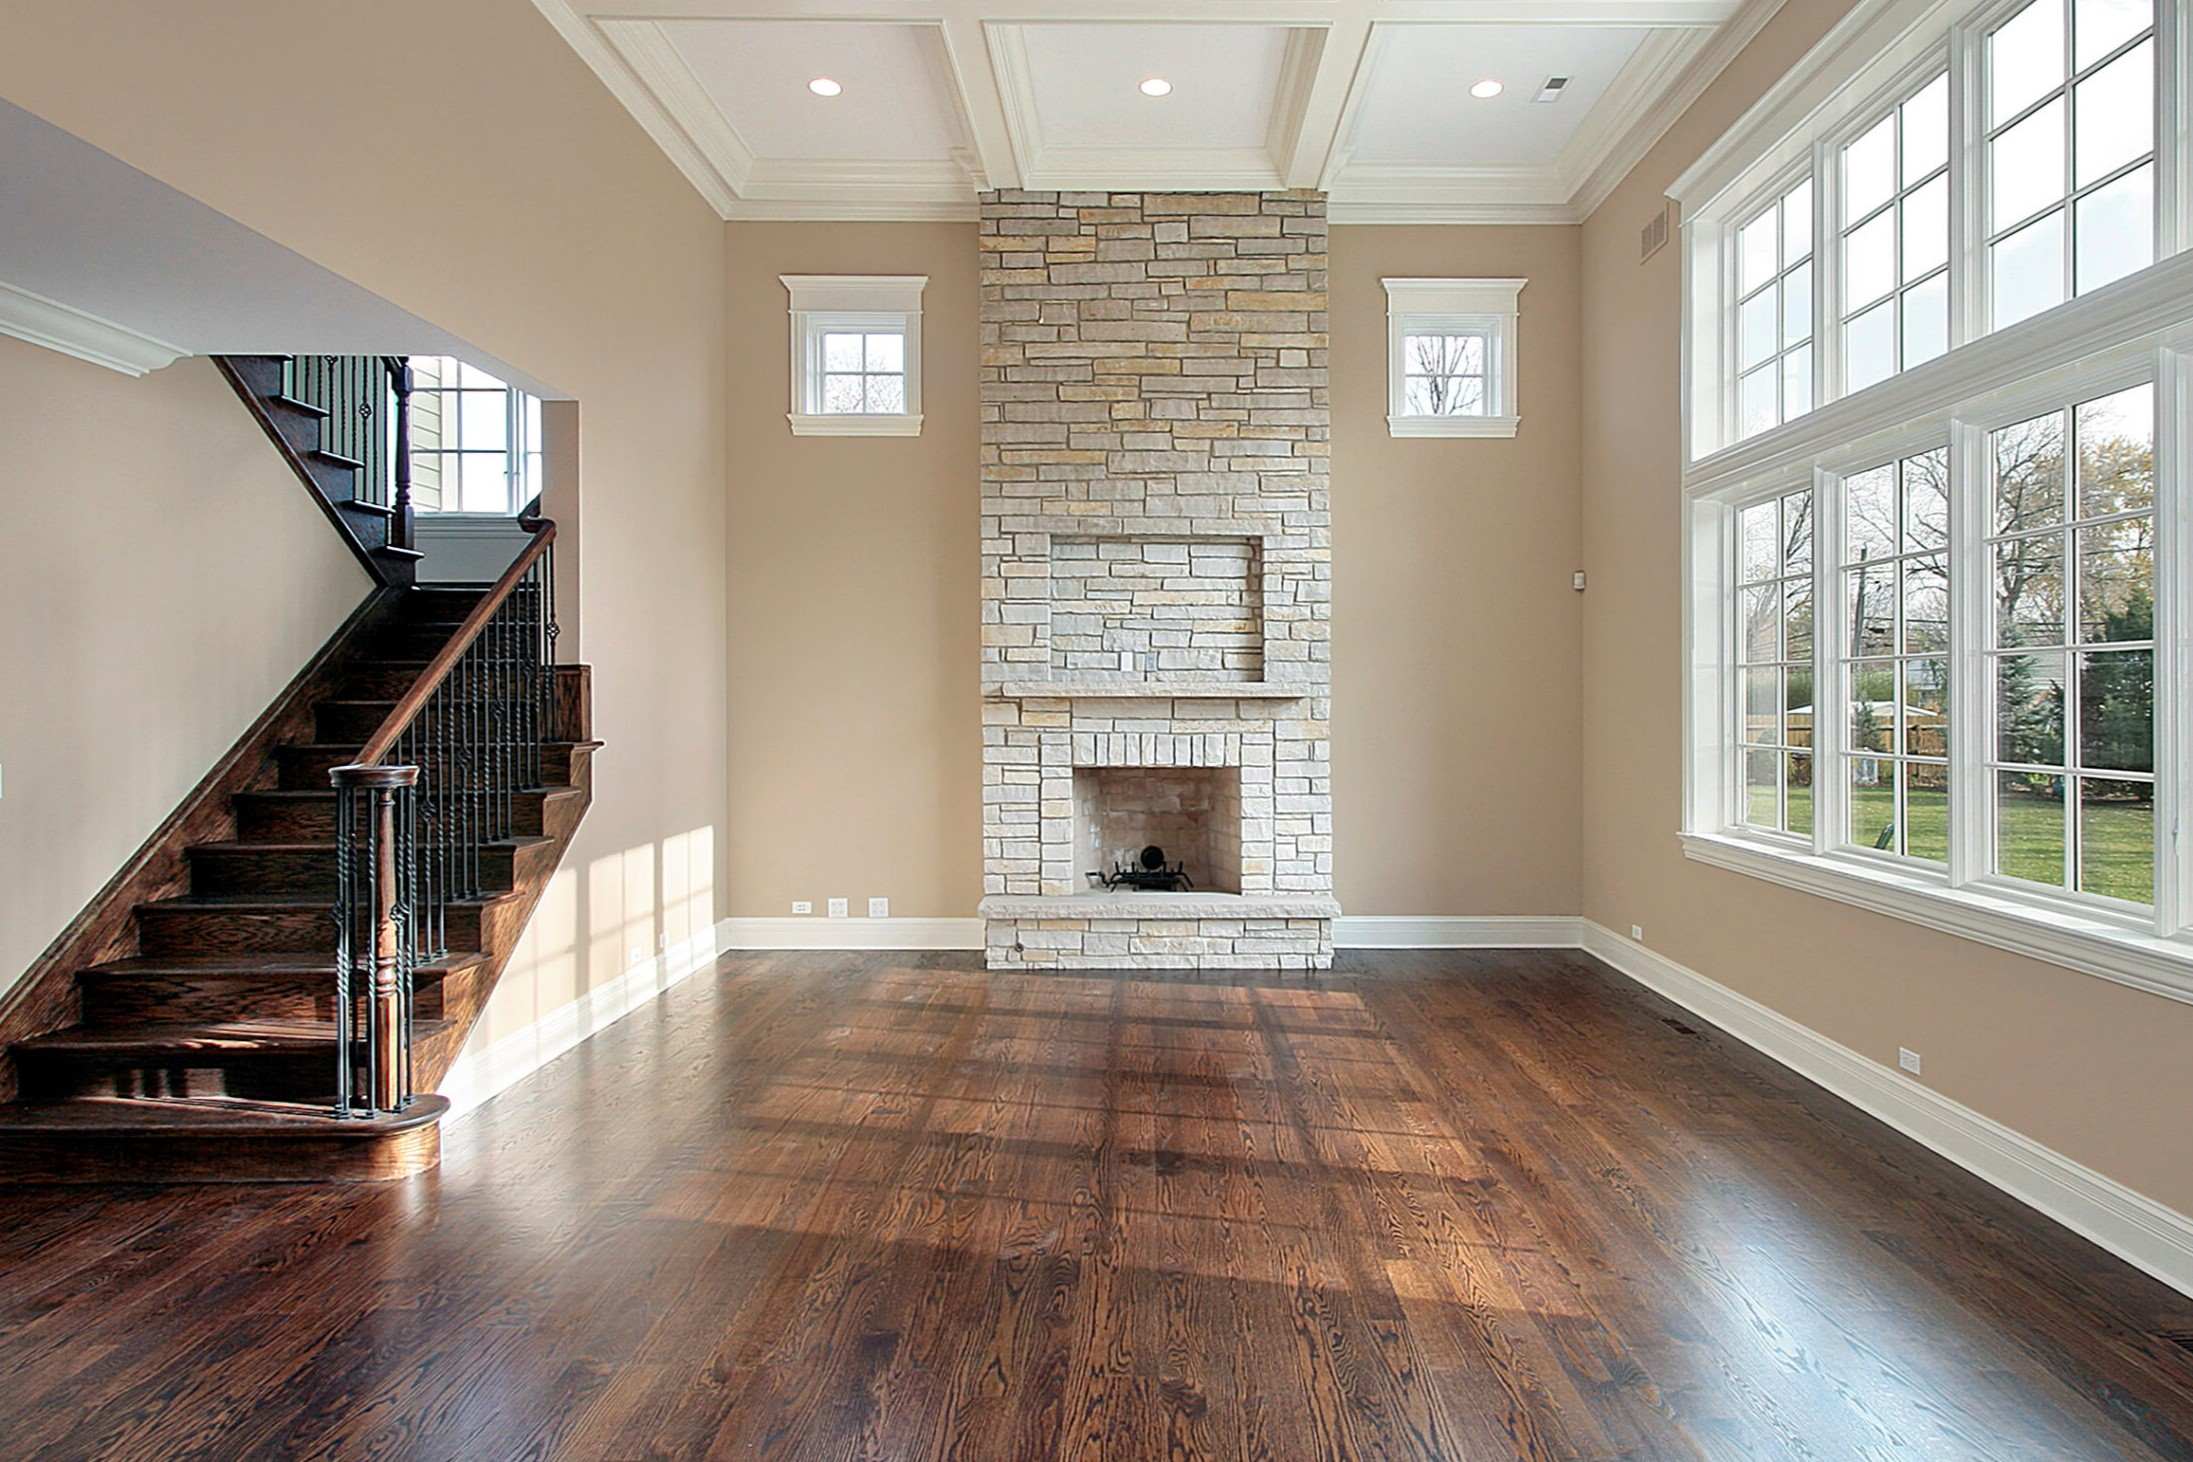
By following these final steps, you’ll complete the hardwood floor installation and have a stunning, durable, and long-lasting floor. Admire the beauty of your new hardwood floor and enjoy the warmth and elegance it brings to your space.
Conclusion
Congratulations! You’ve successfully learned how to install hardwood flooring in your home. By following the step-by-step process outlined in this guide, you’ve transformed your space with the timeless beauty and durability of hardwood floors.
Throughout the installation process, you’ve prepared the area, acclimated the hardwood, gathered the necessary tools, removed existing flooring, prepared the subfloor, installed a vapor barrier, measured and cut the hardwood planks, and installed them row by row. You’ve also learned how to deal with corners, obstacles, and door jambs, ensuring a seamless and professional finish.
Remember, proper preparation and attention to detail are key when installing hardwood flooring. Take the time to acclimate the hardwood planks, measure accurately, cut with precision, and ensure a level and clean subfloor. By following these steps, you’ve established a solid foundation for your hardwood floor installation.
Now, sit back and admire the remarkable transformation of your space. The rich, natural beauty of hardwood flooring adds warmth and elegance to any room while increasing the value of your home. Enjoy the benefits of a durable, long-lasting floor that will continue to impress for years to come.
Thank you for following this guide on how to install hardwood flooring. We hope this information has been helpful and empowers you to tackle your own flooring projects confidently. Happy home improvement!
Frequently Asked Questions about How To Install Hardwood Floors
Was this page helpful?
At Storables.com, we guarantee accurate and reliable information. Our content, validated by Expert Board Contributors, is crafted following stringent Editorial Policies. We're committed to providing you with well-researched, expert-backed insights for all your informational needs.


0 thoughts on “How To Install Hardwood Floors”