Home>Ideas and Tips>Smart Light Switch Dimmer Installation for Mood Lighting Control

Ideas and Tips
Smart Light Switch Dimmer Installation for Mood Lighting Control
Modified: November 2, 2024
Learn how to install a smart light switch dimmer to enhance mood lighting, save energy, and enjoy remote control convenience in your home.
(Many of the links in this article redirect to a specific reviewed product. Your purchase of these products through affiliate links helps to generate commission for Storables.com, at no extra cost. Learn more)
Introduction
In the world of home improvement, one of the most significant advancements in recent years has been the integration of smart technology into our daily lives. One of the most popular and versatile applications of this technology is the smart light switch dimmer. These devices not only enhance the ambiance of your home but also offer a range of benefits, including energy efficiency and remote control capabilities. In this article, we will guide you through the process of installing a smart dimmer switch, exploring its features, and discussing the various options available in the market.
Why Choose a Smart Dimmer Switch?
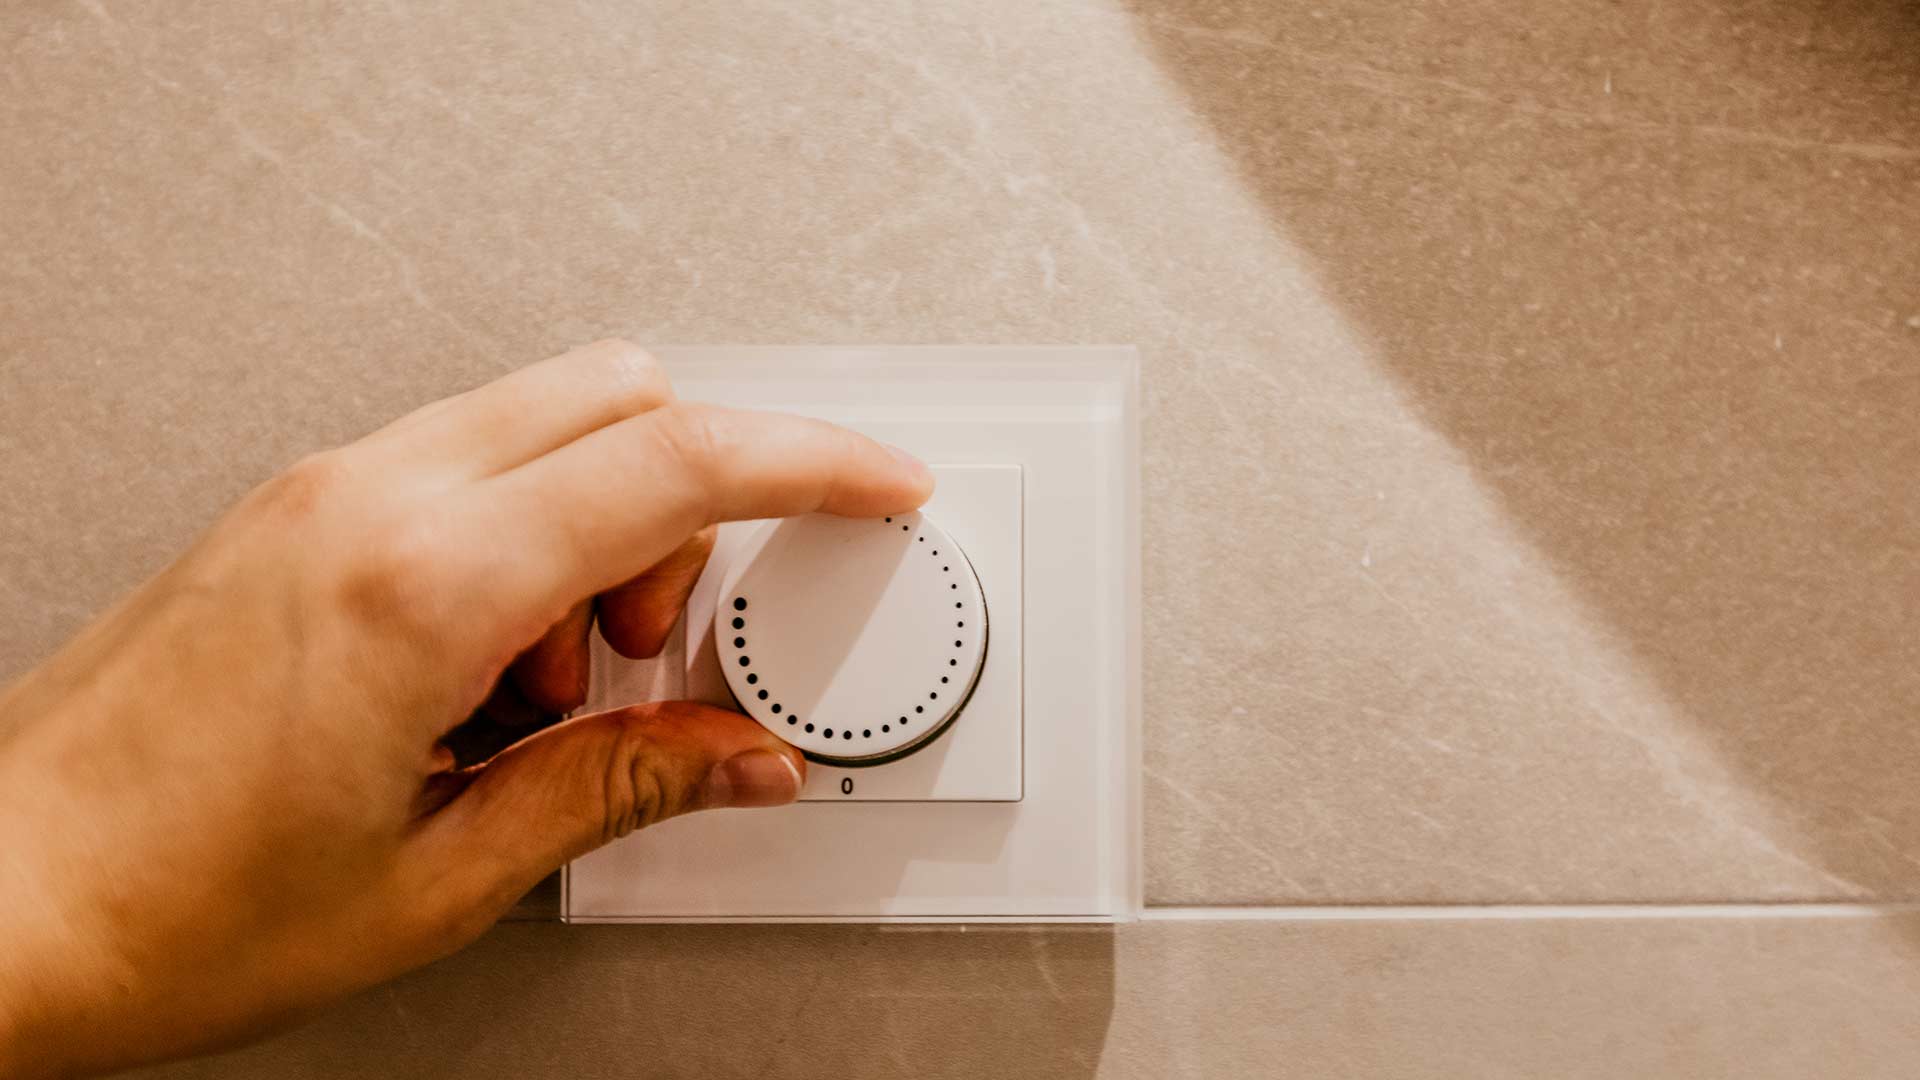
Smart dimmer switches have revolutionized the way we control our lighting. Since their invention in 1959, light dimmers have been a staple in home decor, providing an elegant way to adjust the brightness of your lights. However, traditional dimmers have limitations, such as being manual and sometimes incompatible with newer LED light bulbs. Smart dimmers address these issues by offering a range of features that make them a must-have for any modern home.
Energy Efficiency
One of the primary benefits of smart dimmer switches is their ability to conserve energy. By allowing you to adjust the brightness of your lights, you can significantly reduce electricity consumption. According to various sources, smart dimmers can help reduce electricity consumption by 5–25%. This not only saves you money on your utility bills but also contributes to a more sustainable environment.
Convenience and Control
Smart dimmer switches offer unparalleled convenience and control. With these devices, you can adjust the brightness of your lights using your smartphone, voice commands, or even motion sensors. This level of control allows you to create different ambiance settings for various times of the day or occasions. For example, you can set your lights to dim automatically as the sun sets or brighten up when you enter a room.
Compatibility and Safety
Smart dimmer switches are designed to be compatible with a wide range of light bulbs, including LEDs, incandescent bulbs, and halogen bulbs. This means you don't have to worry about compatibility issues when upgrading your lighting system. Additionally, these devices are equipped with safety features such as voltage testers and wire caps to ensure safe installation and operation.
Read more: How To Install A Smart Dimmer Switch
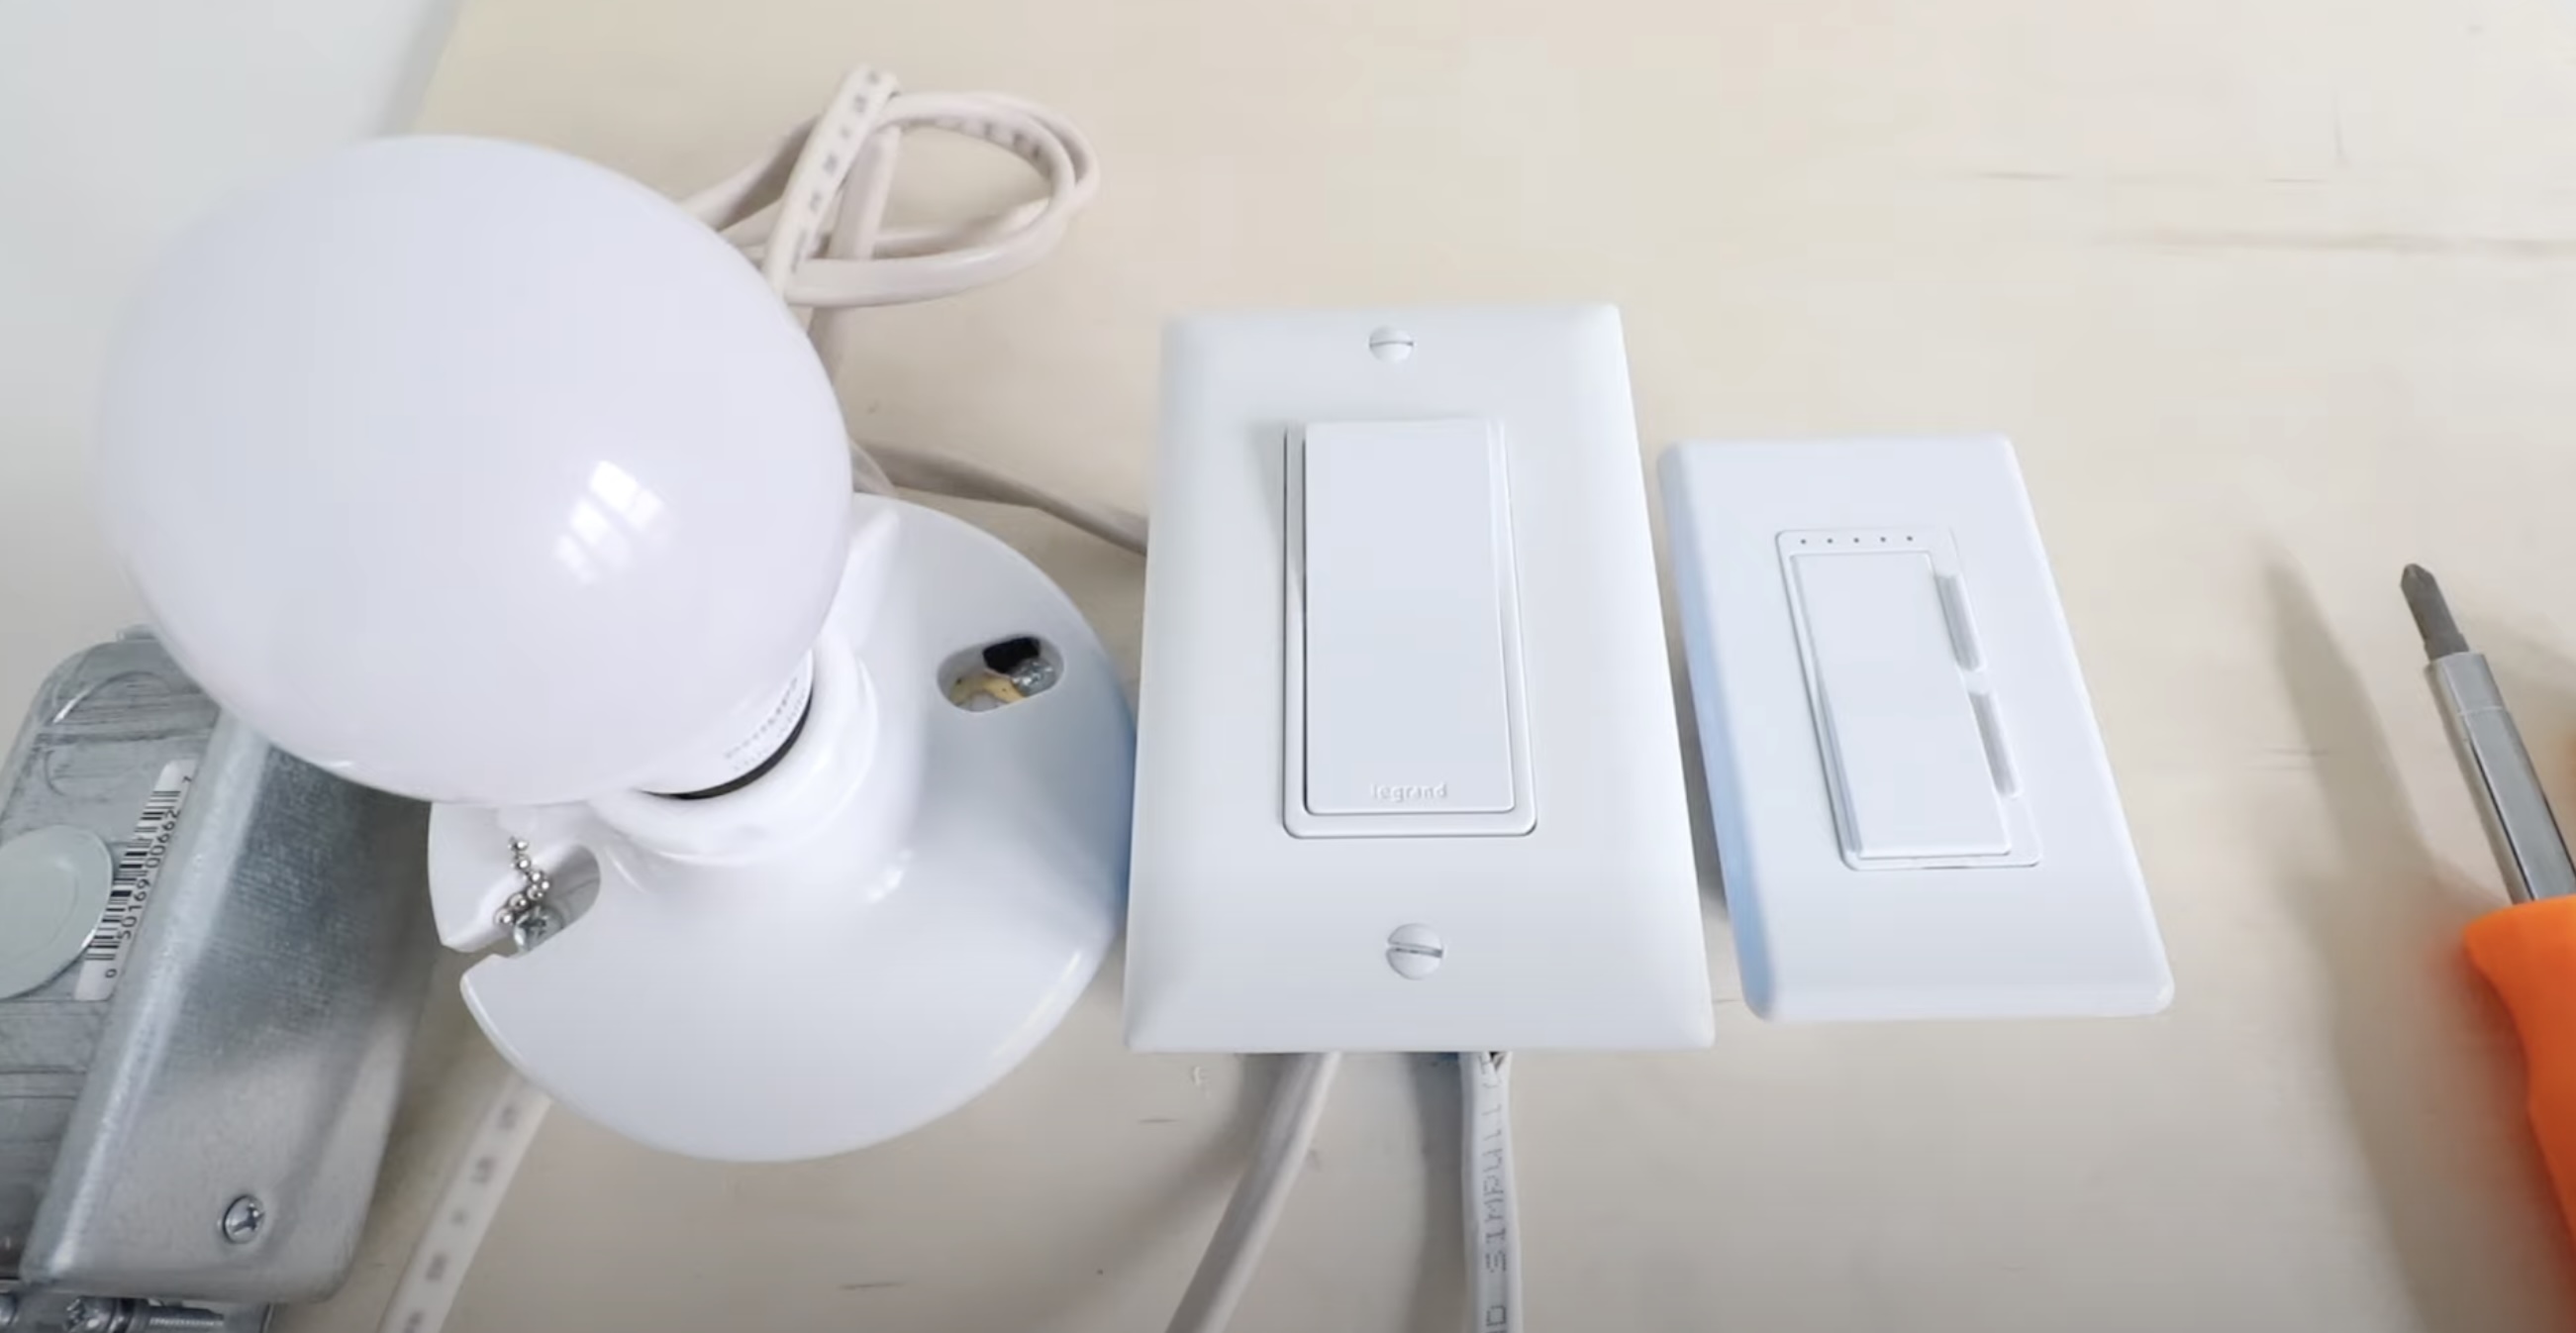
What You’ll Need
Before you start the installation process, it’s essential to gather all the necessary tools and materials. Here’s a list of what you’ll need:
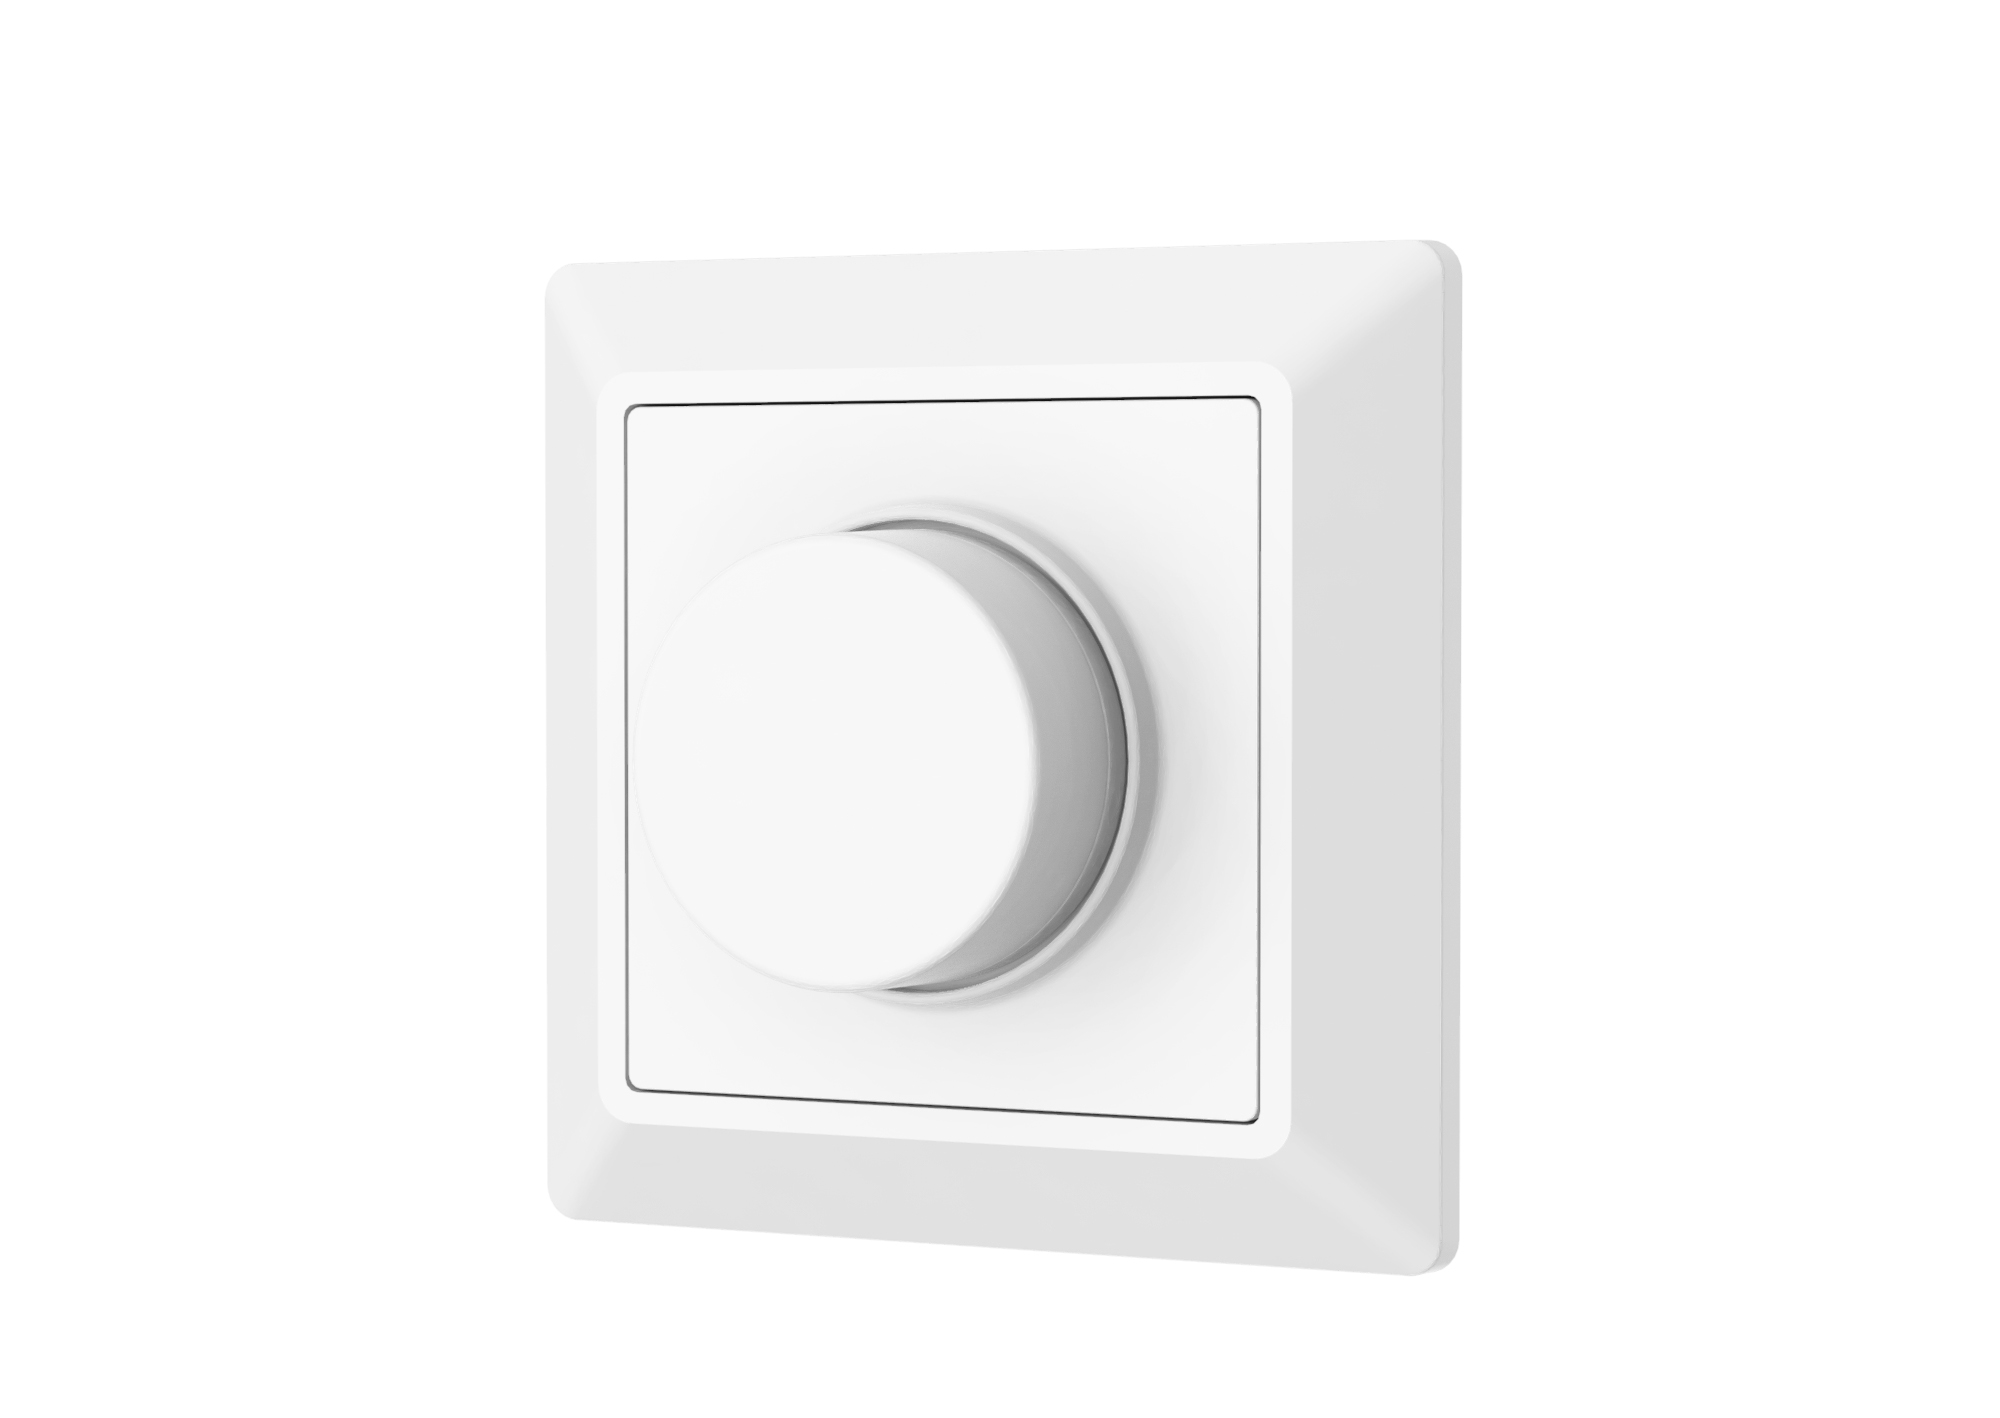
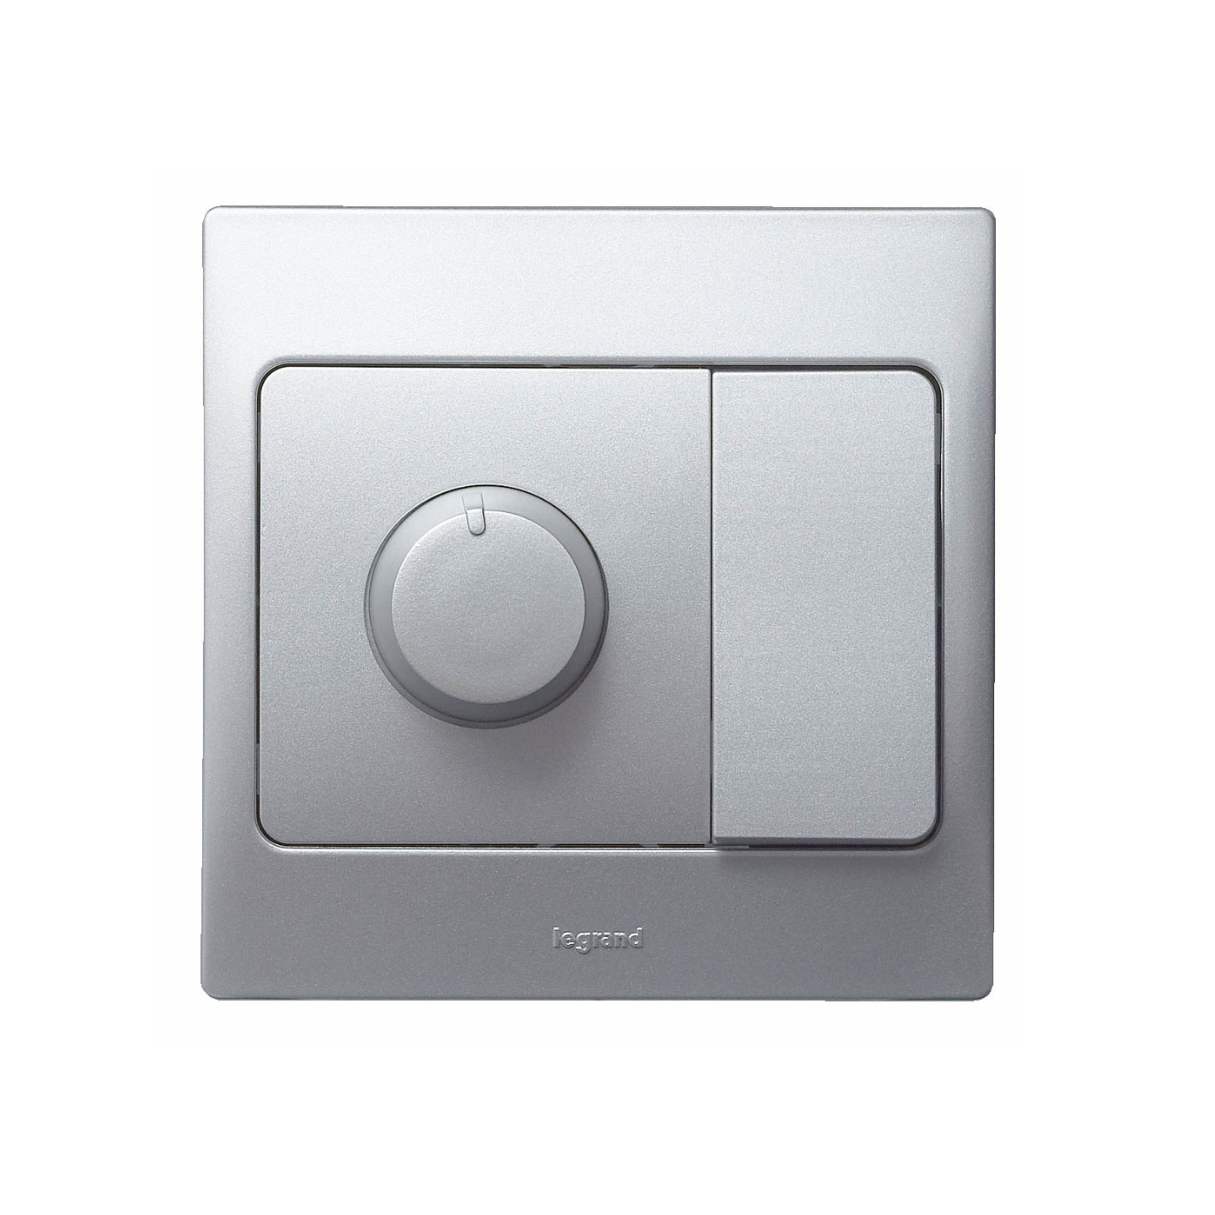
- Smart Dimmer Switch with Wire Caps: This is the core component of your smart lighting system. Make sure it is compatible with your existing light bulbs.
- Screwdrivers (Phillips and Flathead): These are used for removing the old switch and mounting the new one.
- Electrical Pliers: These are handy for stripping wires if needed.
- Voltage Tester: This is crucial for ensuring that the power is off before you start working on the wiring.
- Smart Home System (e.g., Hubspace): This connects your smart dimmer switch to your smartphone or voice assistant.
- Optional: Wire Stripper: If your wires are covered with plastic coating, you may need a wire stripper to expose the tips.
Before You Start
Choosing Your Dimmer
When selecting a smart dimmer switch, consider several factors:
- Type of Light: Ensure that the dimmer is compatible with your light bulbs. Many older dimmers are not compatible with LED light bulbs and can cause lights to “flicker” when used.
- Number of Switches: Determine how many switches you need to upgrade and choose a dimmer that can handle that number.
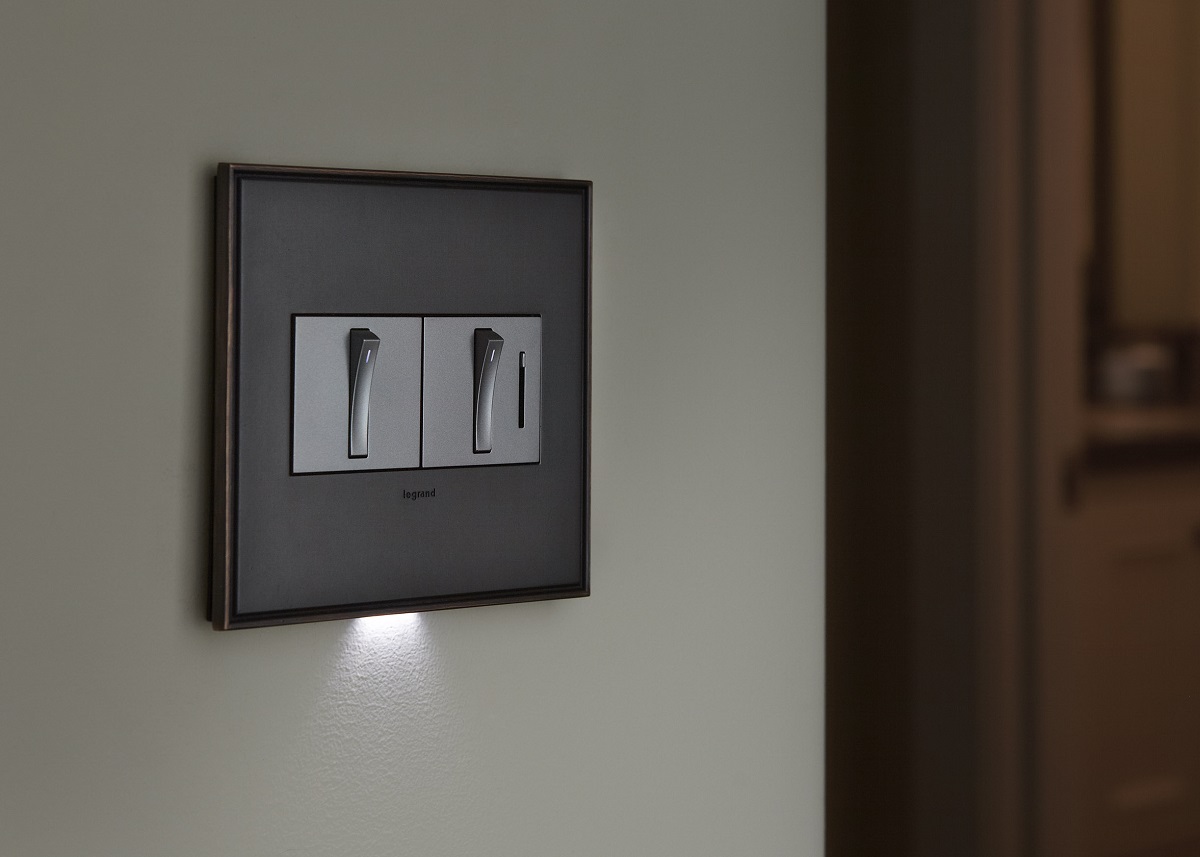
- Additional Features: Consider features like voice or motion activation, which can enhance the functionality of your smart lighting system.
Deciding Where to Install
Evaluate your home to determine where you’d like to place your dimmer switch(es). Using dimmers in more occupied spaces like the living room or kitchen can make a space cozier at night. In contrast, using them in spaces like bedrooms and bathrooms can aid in winding down at bedtime and lessen the shock of bright light early in the morning.
Read more: What Is A Smart Dimmer Switch
Safety Check
Ensure that your voltage tester works correctly before using it to prevent any electrical hazards. If you don’t have a voltage tester, double-check that the light switch is not working once you’ve turned off the power.
Installation Steps
Safety First
- Turn Off Power: Switch off the power to the switch at your circuit breaker. Double-check with your voltage tester to confirm that there is no power flowing through the circuit.
- Confirm No Power: If you don’t have a voltage tester, ensure that the light switch is not working once you’ve turned off the power.
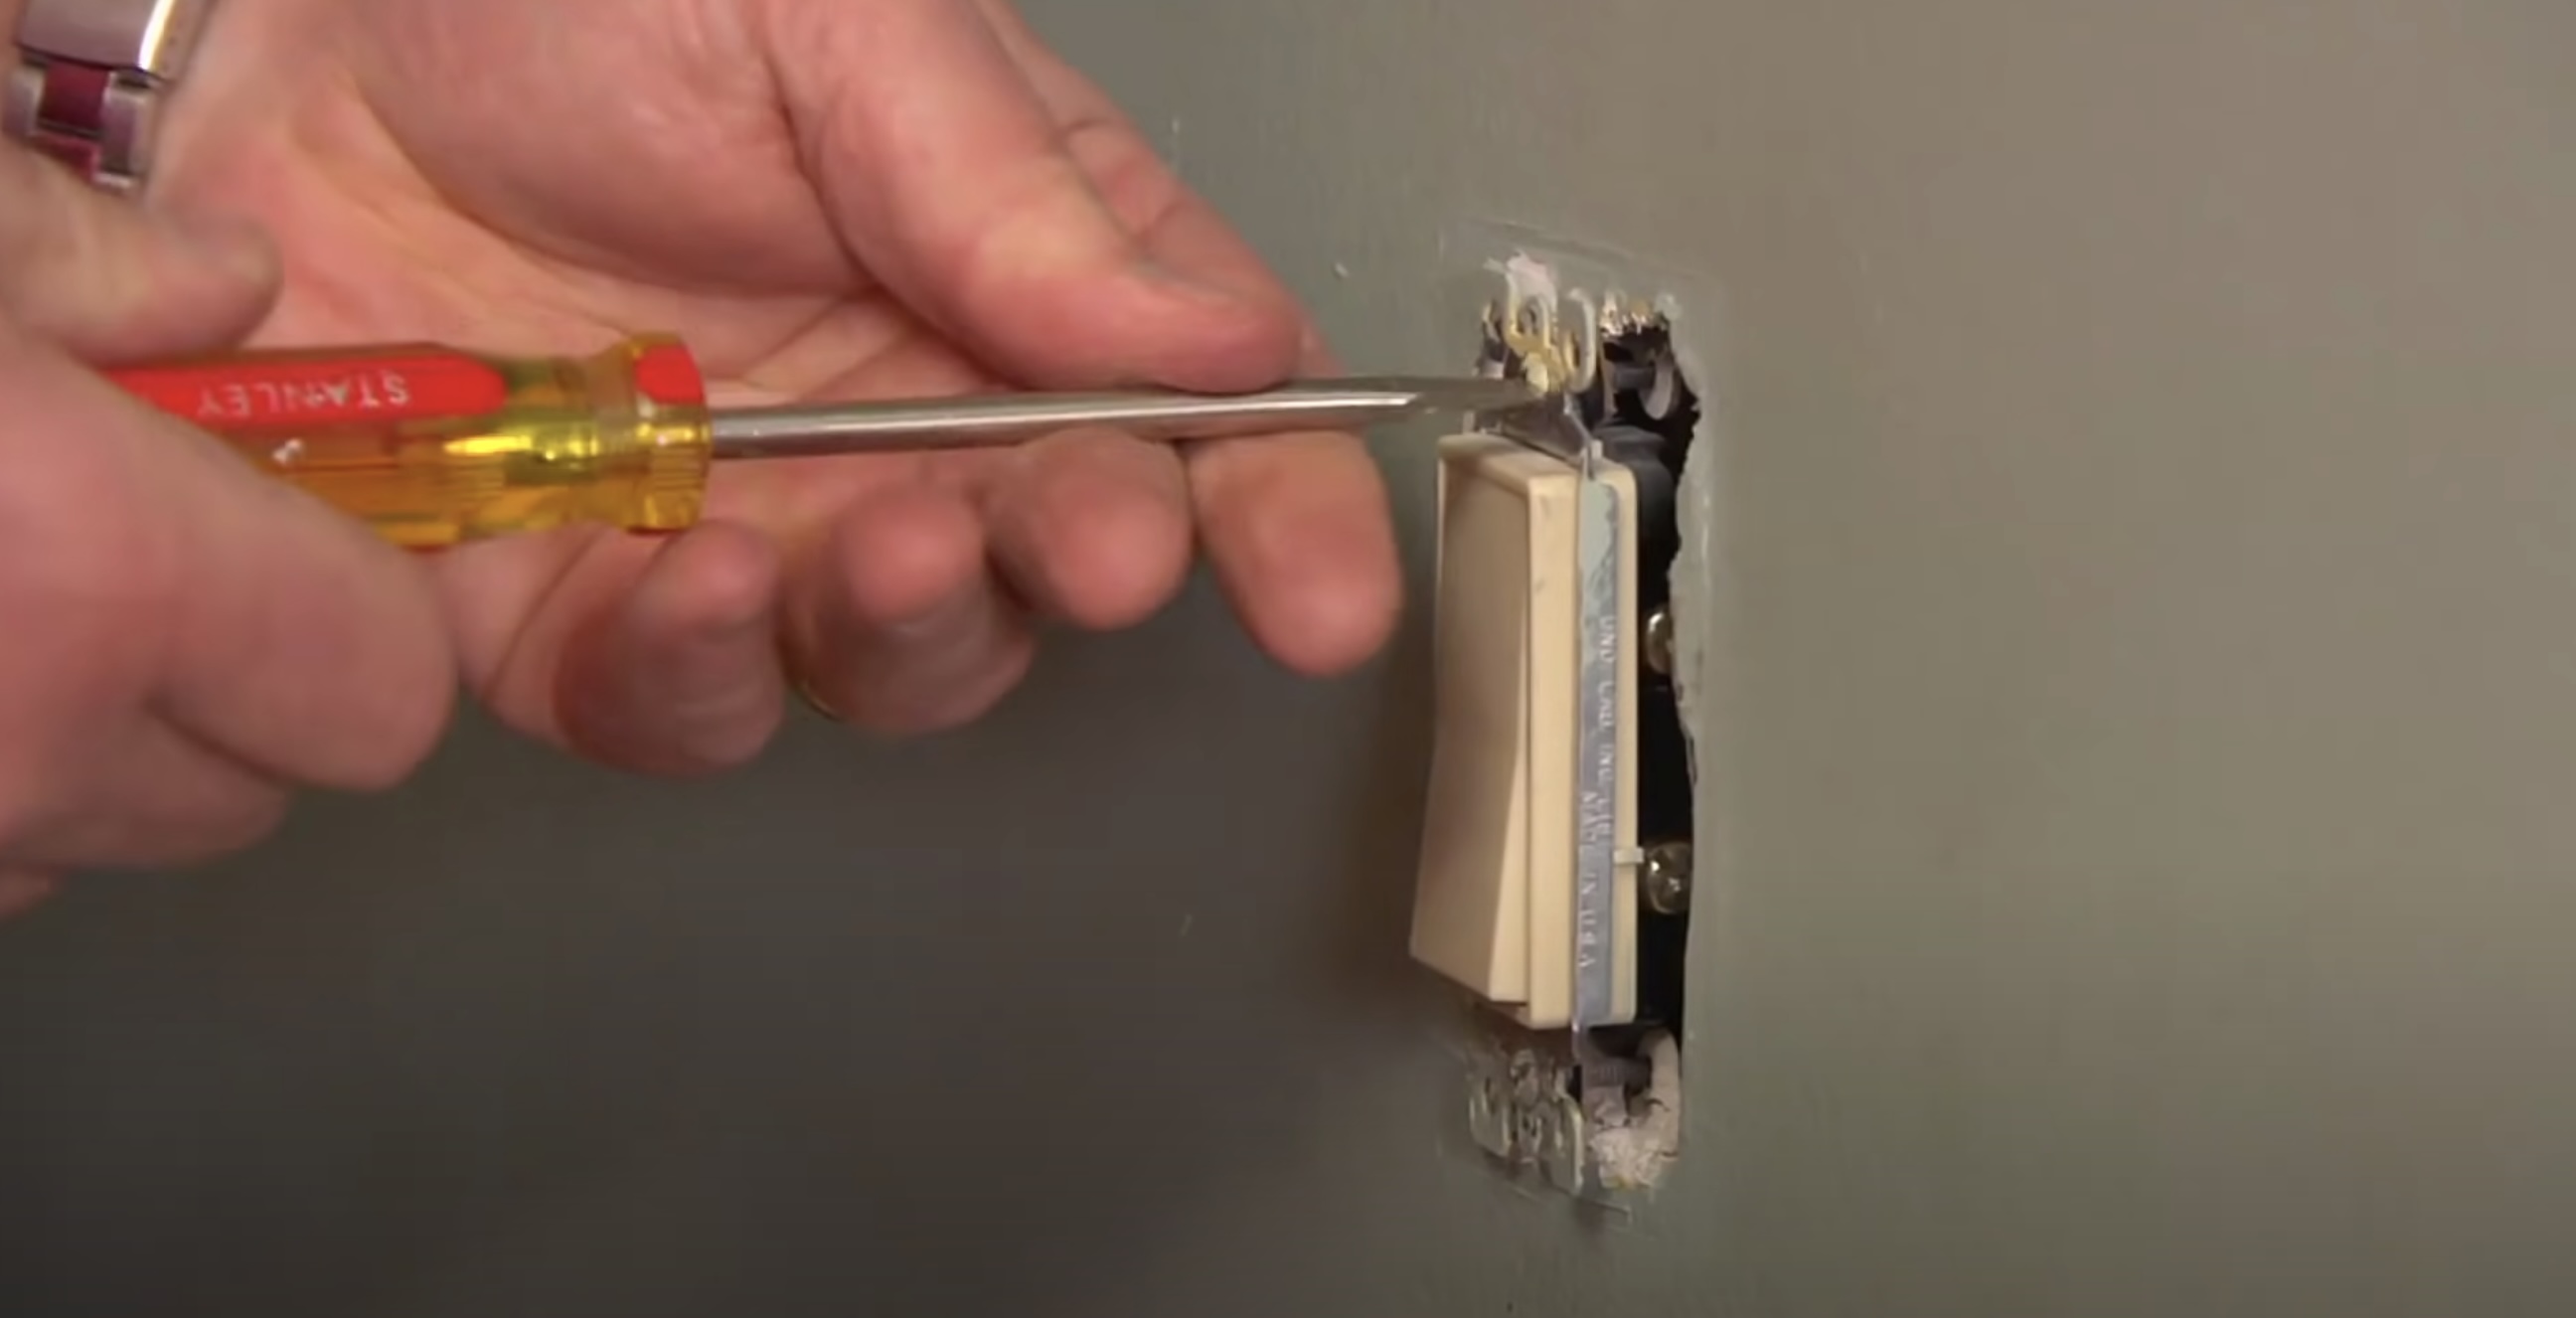
Remove the Old Switch
- Unscrew Wall Plate: Remove the screws holding the wall plate in place.
- Remove Old Switch: Pull out the old switch from the wall box.
- Inspect Wiring: Take a closer look at the wiring inside the junction box.
Wiring the Dimmer
- Connect Green Wire (Ground): Attach the green wire from the dimmer to the green or bare copper wire in the wall using a wire cap.
- Attach Black Wires: Connect the black wire from the dimmer to both black wires from both sockets in the wall box. Seal with wire caps.
- Link Red Wires: Combine the red wire from both sockets in one side of dimmer switch then link it with black wire from other side of dimmer switch seal with wire cap.
- Combine White Wires: Connect all white wires together using one wire cap.
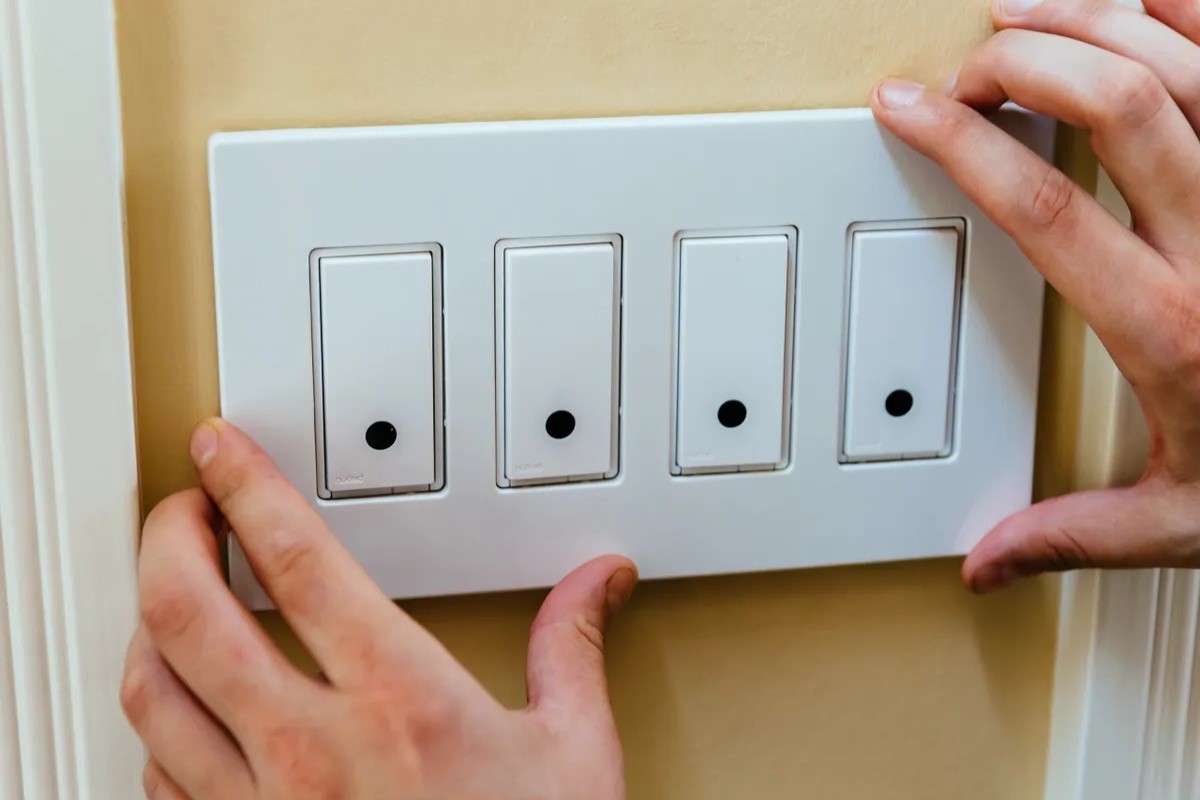
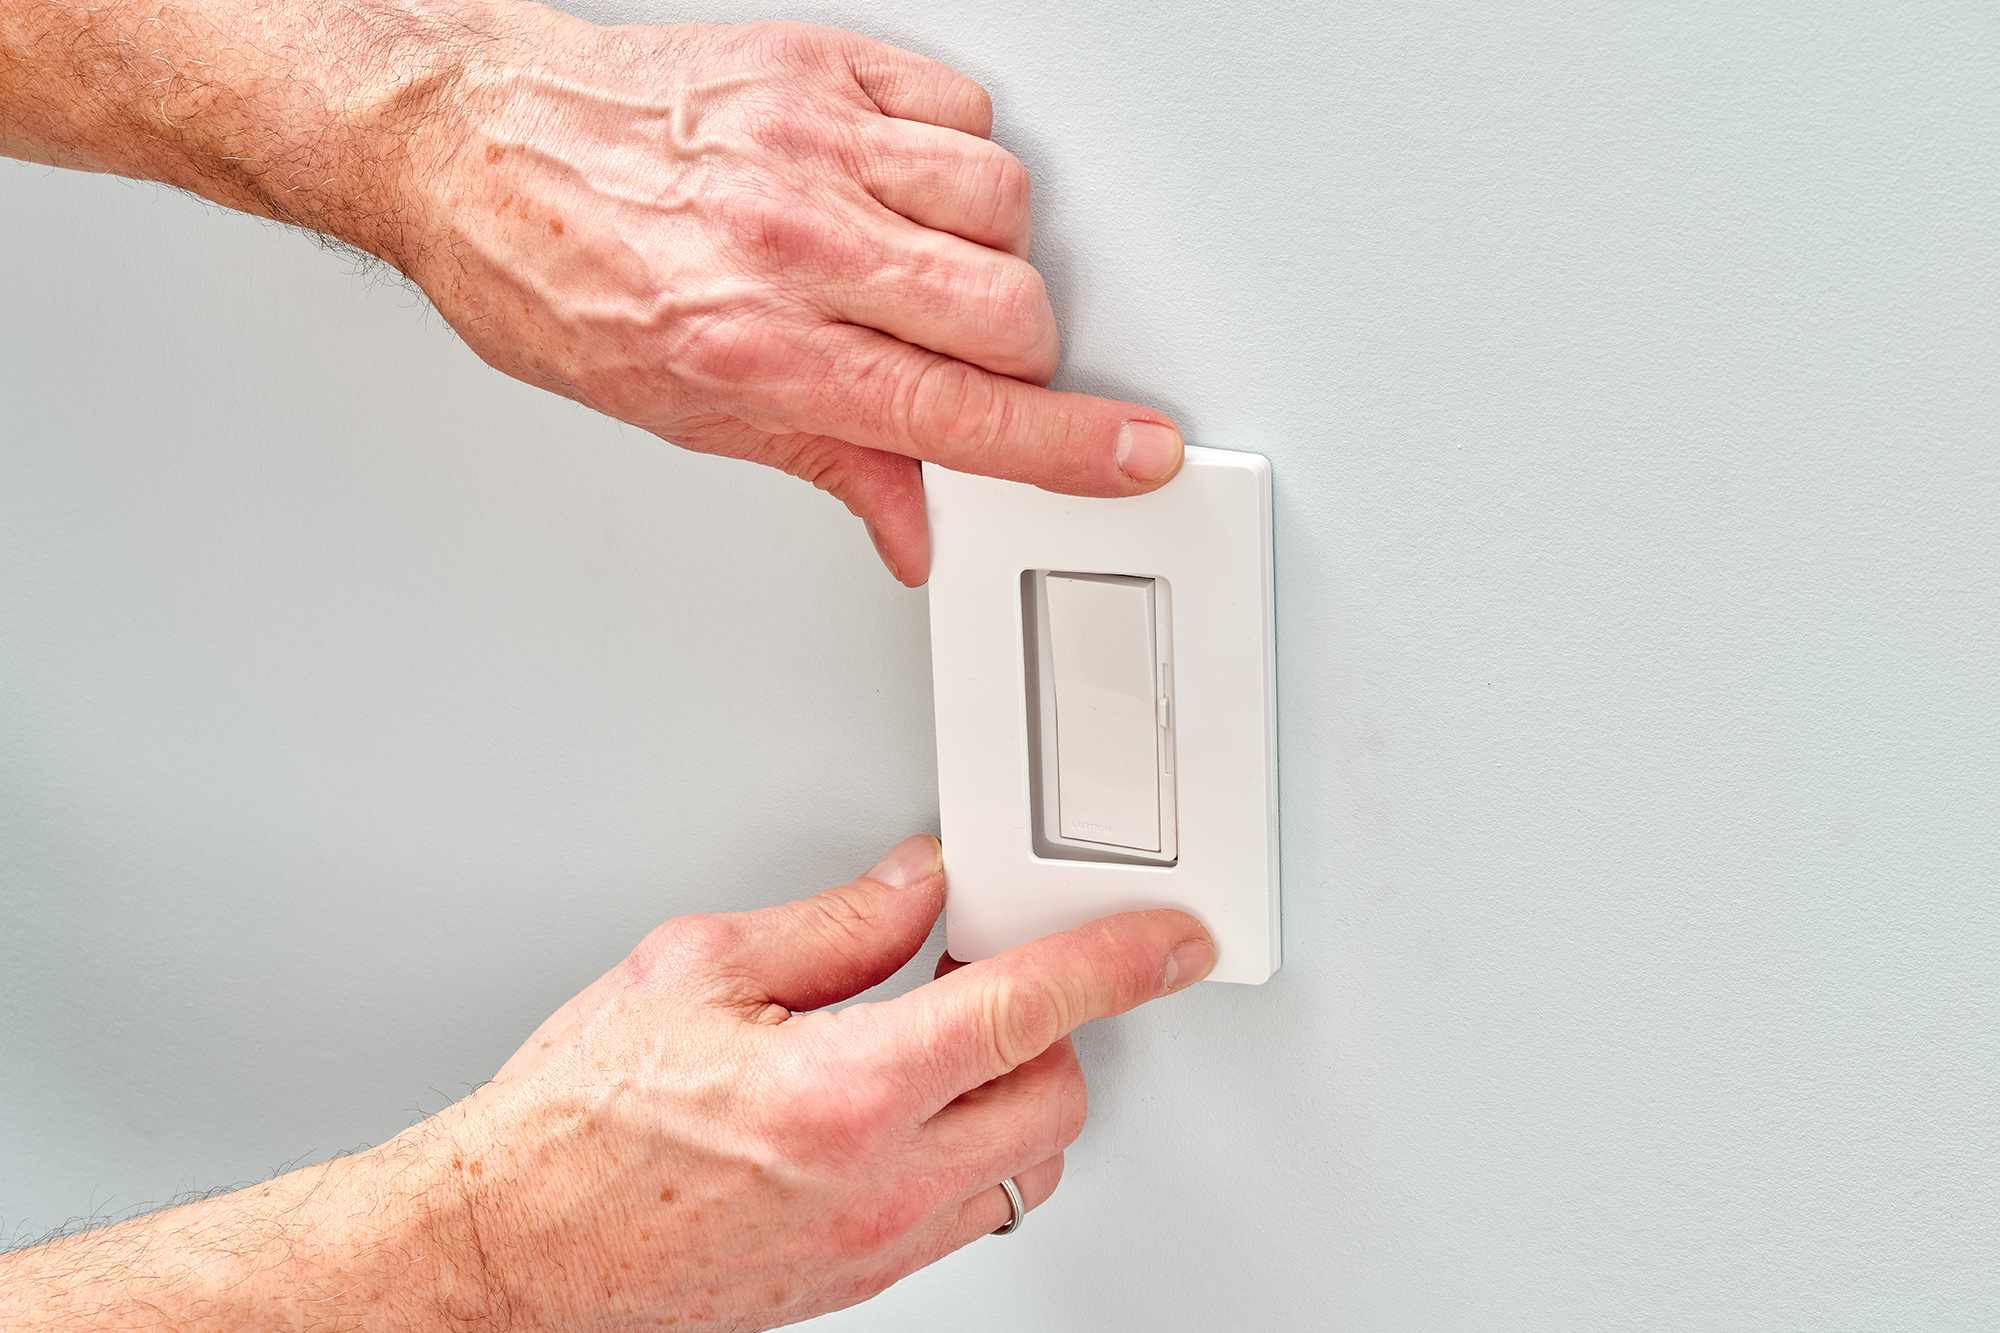
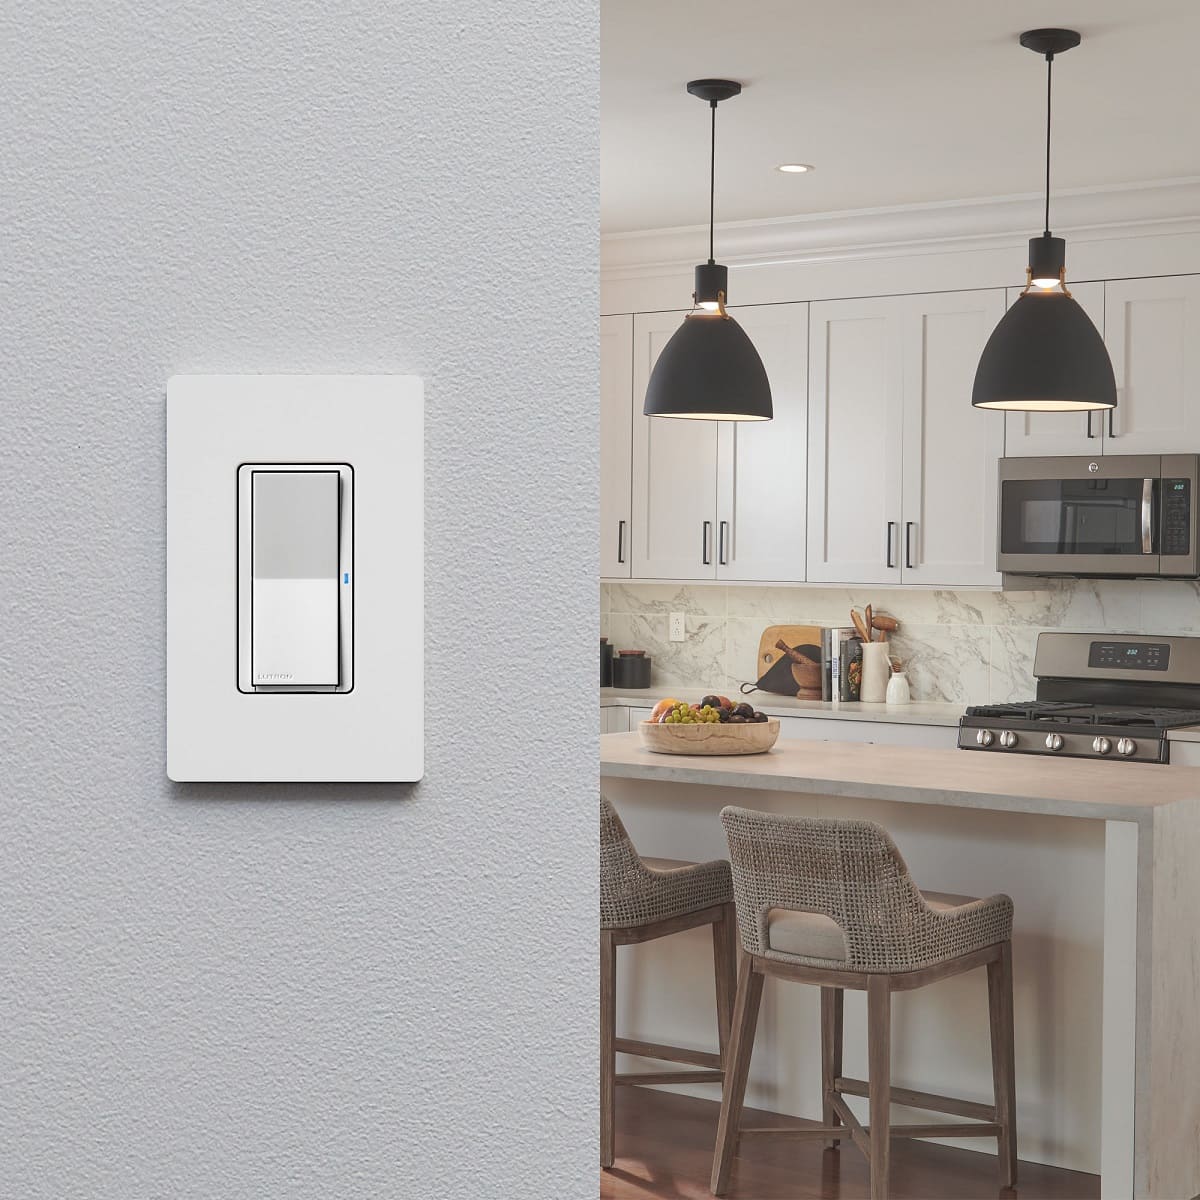
Install the Dimmer
- Mount Dimmer: Mount your new smart dimmer switch onto the wall socket and secure it with screws.
- Faceplate Installation: Attach its faceplate onto it as well securing it with screws.
Power Up
- Restore Power: Turn back on power at circuit breaker for light switch.
- Set Up Smart Features: Follow manufacturer’s instructions to connect your new dimmer switch into your smart home system like Hubspace once connected you can control it via smartphone voice commands etc.,
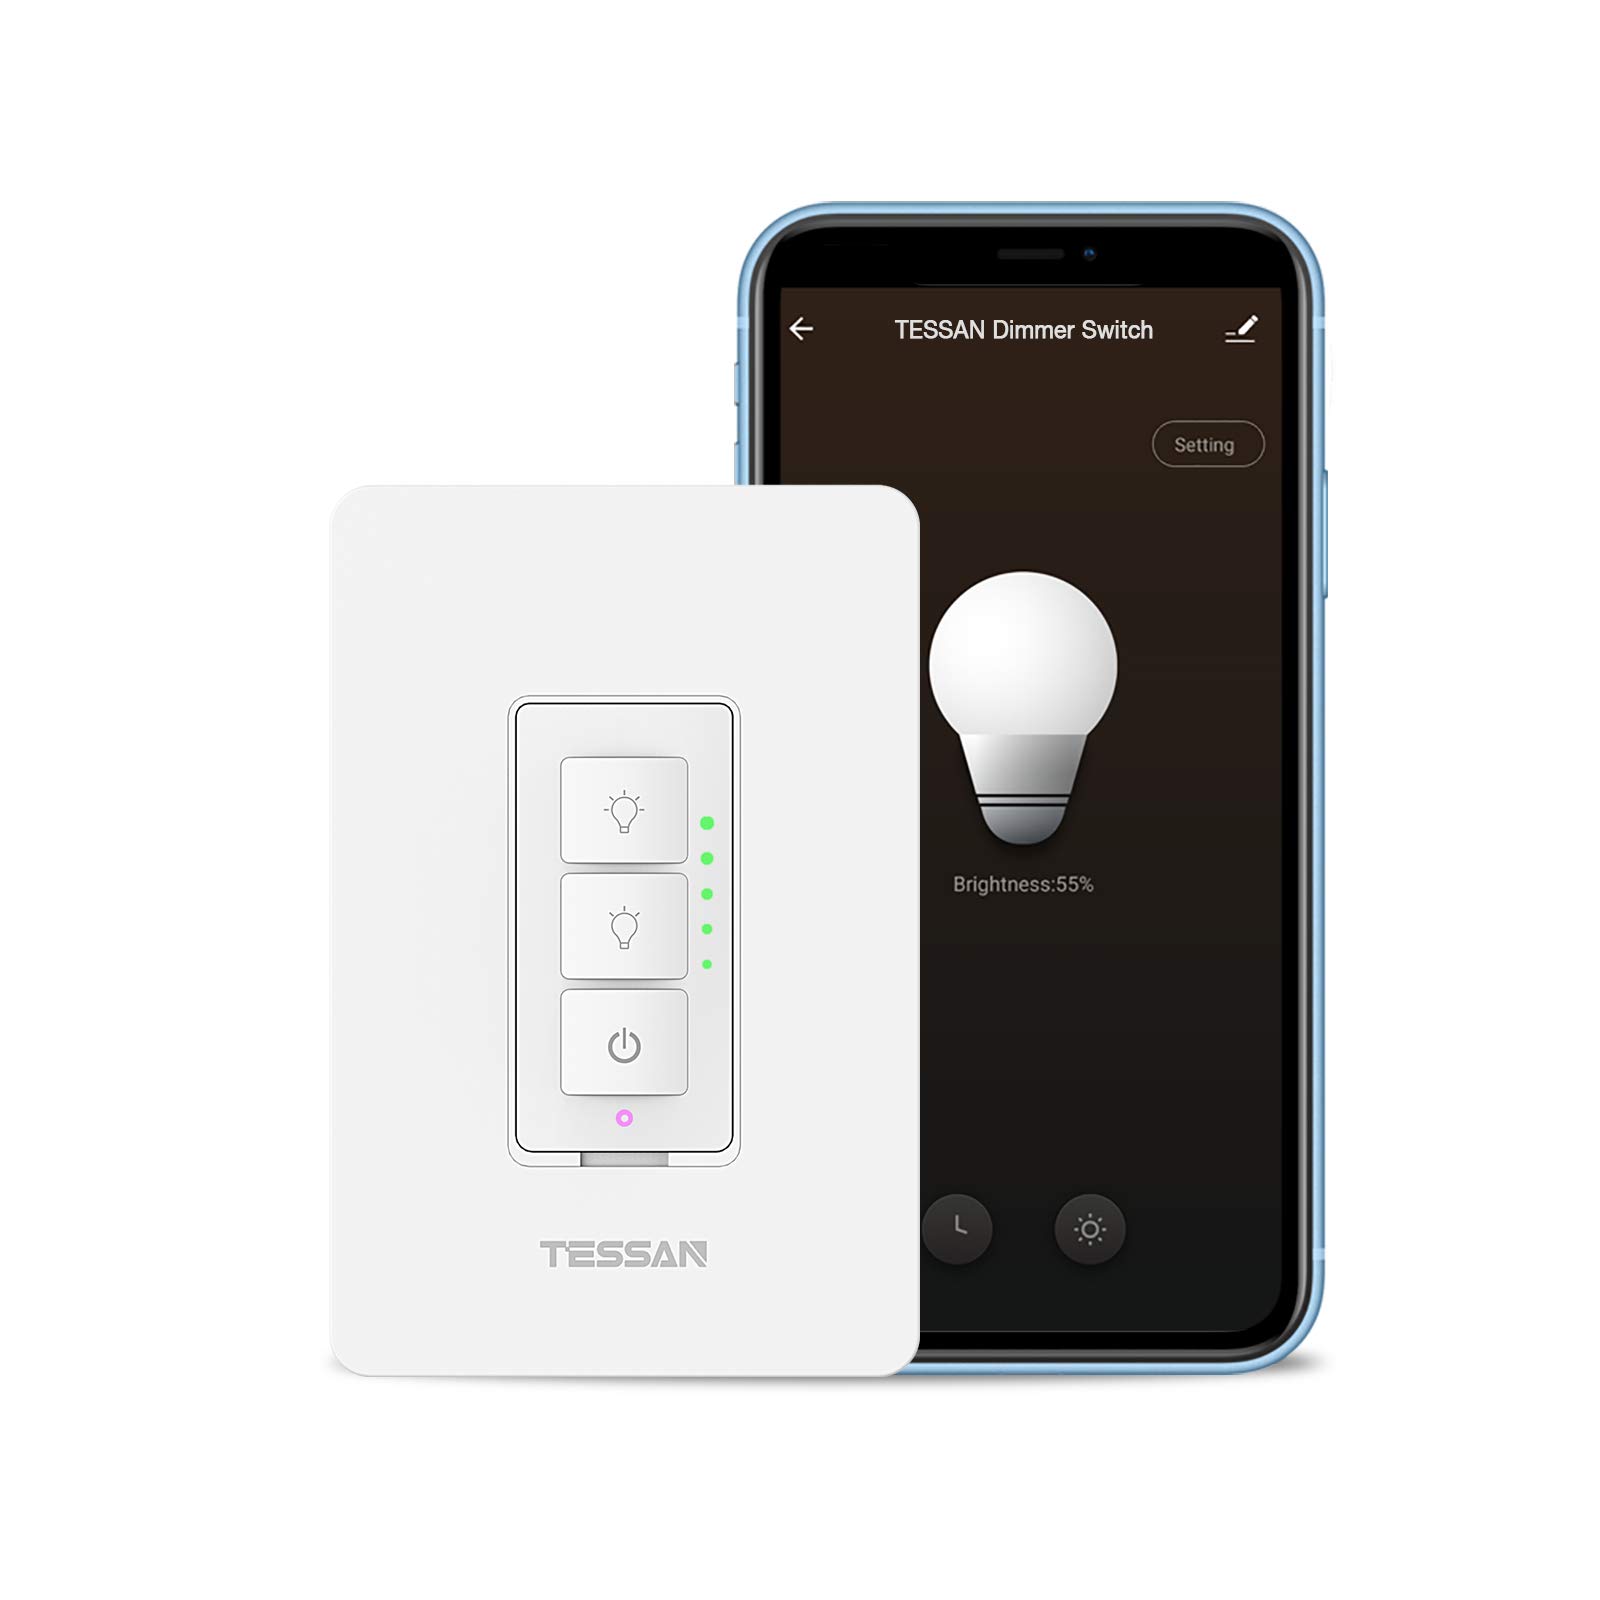
Setting Up Smart Features
Once you've installed your smart dimmer switch, it's time to set up its smart features:
- Connect to Smart Home System: Follow the manufacturer’s instructions provided in user manual or online resources specific for connecting device into hubspace or similar systems like zigbee network etc.,
- Control via Smartphone/Apps: Download appropriate app from app store google play store etc., then log into account created during purchase process then start controlling brightness levels remotely via phone/tablet/computer devices connected via internet network protocols such as wifi/bluetooth etc.,
- Voice Commands Integration: Integrate voice assistants like Amazon Alexa Google Assistant Siri etc., allowing hands-free operation through voice commands making life easier especially when multitasking tasks around house premises!
Tools and Materials
Here’s a list of tools/materials required during installation process:
- Electrical Pliers
- Screwdriver Sets (Phillips & Flathead)
- Voltage Tester
- Wire Stripper (Optional)
- Smart Dimmer Switch With Wire Caps
- Smart Home System Components (Hubspace/Zigbee Network Devices)
Troubleshooting Common Issues
While installing smart dimmer switches may seem straightforward many users encounter common issues during setup phase here are some tips troubleshooting them effectively:
- Incompatible Wires: Ensure all wires connected properly following manufacturer guidelines if unsure consult professional electrician services available nearby regions!
- Flickering Lights: If experiencing flickering lights check compatibility issues between dimmer switch type used currently installed bulbs replacing them accordingly solves problem instantly!
- No Connectivity Issues: Check internet connectivity issues affecting remote control functionality restarting router modem resolves issue quickly!
Conclusion
Smart light switch dimmers offer numerous benefits ranging from energy efficiency convenience control compatibility safety features making them essential component modern smart homes today By following step-by-step guide outlined above anyone can successfully install their own smart dimmer switch enhancing ambiance living spaces while contributing sustainable environment simultaneously Whether upgrading existing lighting systems or starting fresh project smart dimmer switches undoubtedly provide unparalleled value investment long-term future endeavors alike!
Additional Tips & Recommendations
- Start Small: Begin with installing smart dimmer switches main rooms gradually expand coverage other areas house over time ensuring smooth transition process minimizing disruptions daily routines!
- Customization Options: Explore various customization options available different models brands ensuring best suited preferences needs specific requirements unique environments encountered daily basis!
- Regular Maintenance: Regularly inspecting checking functionality ensures optimal performance longevity lifespan devices minimizing potential risks associated malfunctions failures occurring unexpectedly!
By embracing smart technology revolutionizing way manage lighting homes today tomorrow alike
Was this page helpful?
At Storables.com, we guarantee accurate and reliable information. Our content, validated by Expert Board Contributors, is crafted following stringent Editorial Policies. We're committed to providing you with well-researched, expert-backed insights for all your informational needs.
0 thoughts on “Smart Light Switch Dimmer Installation for Mood Lighting Control”