Articles
How To Install An LED Dimmer Switch
Modified: February 24, 2024
Learn how to install an LED dimmer switch in this step-by-step guide. Our articles provide detailed instructions and tips to help you with your DIY projects.
(Many of the links in this article redirect to a specific reviewed product. Your purchase of these products through affiliate links helps to generate commission for Storables.com, at no extra cost. Learn more)
Introduction
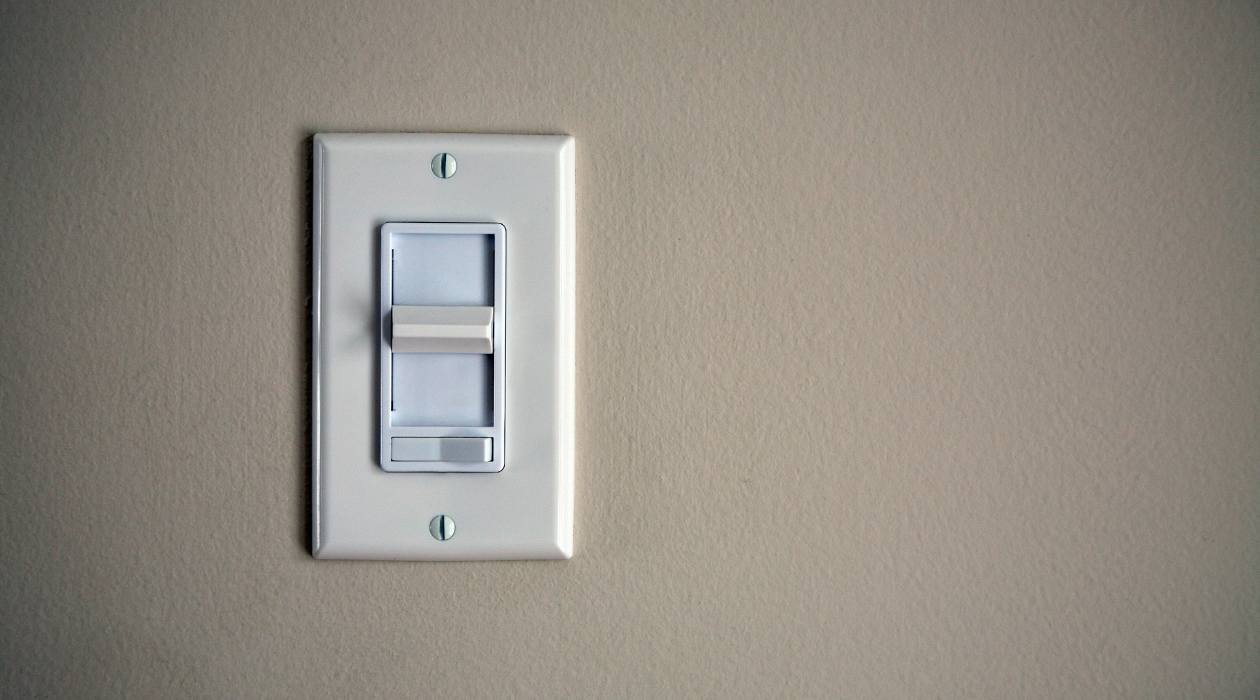
Welcome to our comprehensive guide on how to install an LED dimmer switch. LED dimmer switches are a fantastic addition to any home, allowing you to set the perfect ambiance in a room by adjusting the brightness of your LED lights. Whether you’re looking to create a cozy atmosphere in your living room or add a touch of romance to your bedroom, installing an LED dimmer switch can completely transform the lighting in your space.
In this guide, we’ll walk you through the step-by-step process of installing an LED dimmer switch. But first, let’s go over some basic information to ensure you have everything you need for a successful installation.
Key Takeaways:
- Safety first! Always turn off the power supply and gather the necessary tools before installing an LED dimmer switch. Following the step-by-step process and checking wiring compatibility ensures a successful and safe installation.
- Test the dimmer switch thoroughly and troubleshoot common issues to ensure proper functionality. Enjoy the flexibility and ambiance that adjustable lighting brings to your space, and remember to seek professional assistance if needed.
Read more: Installing A Chandelier And Dimmer Switch
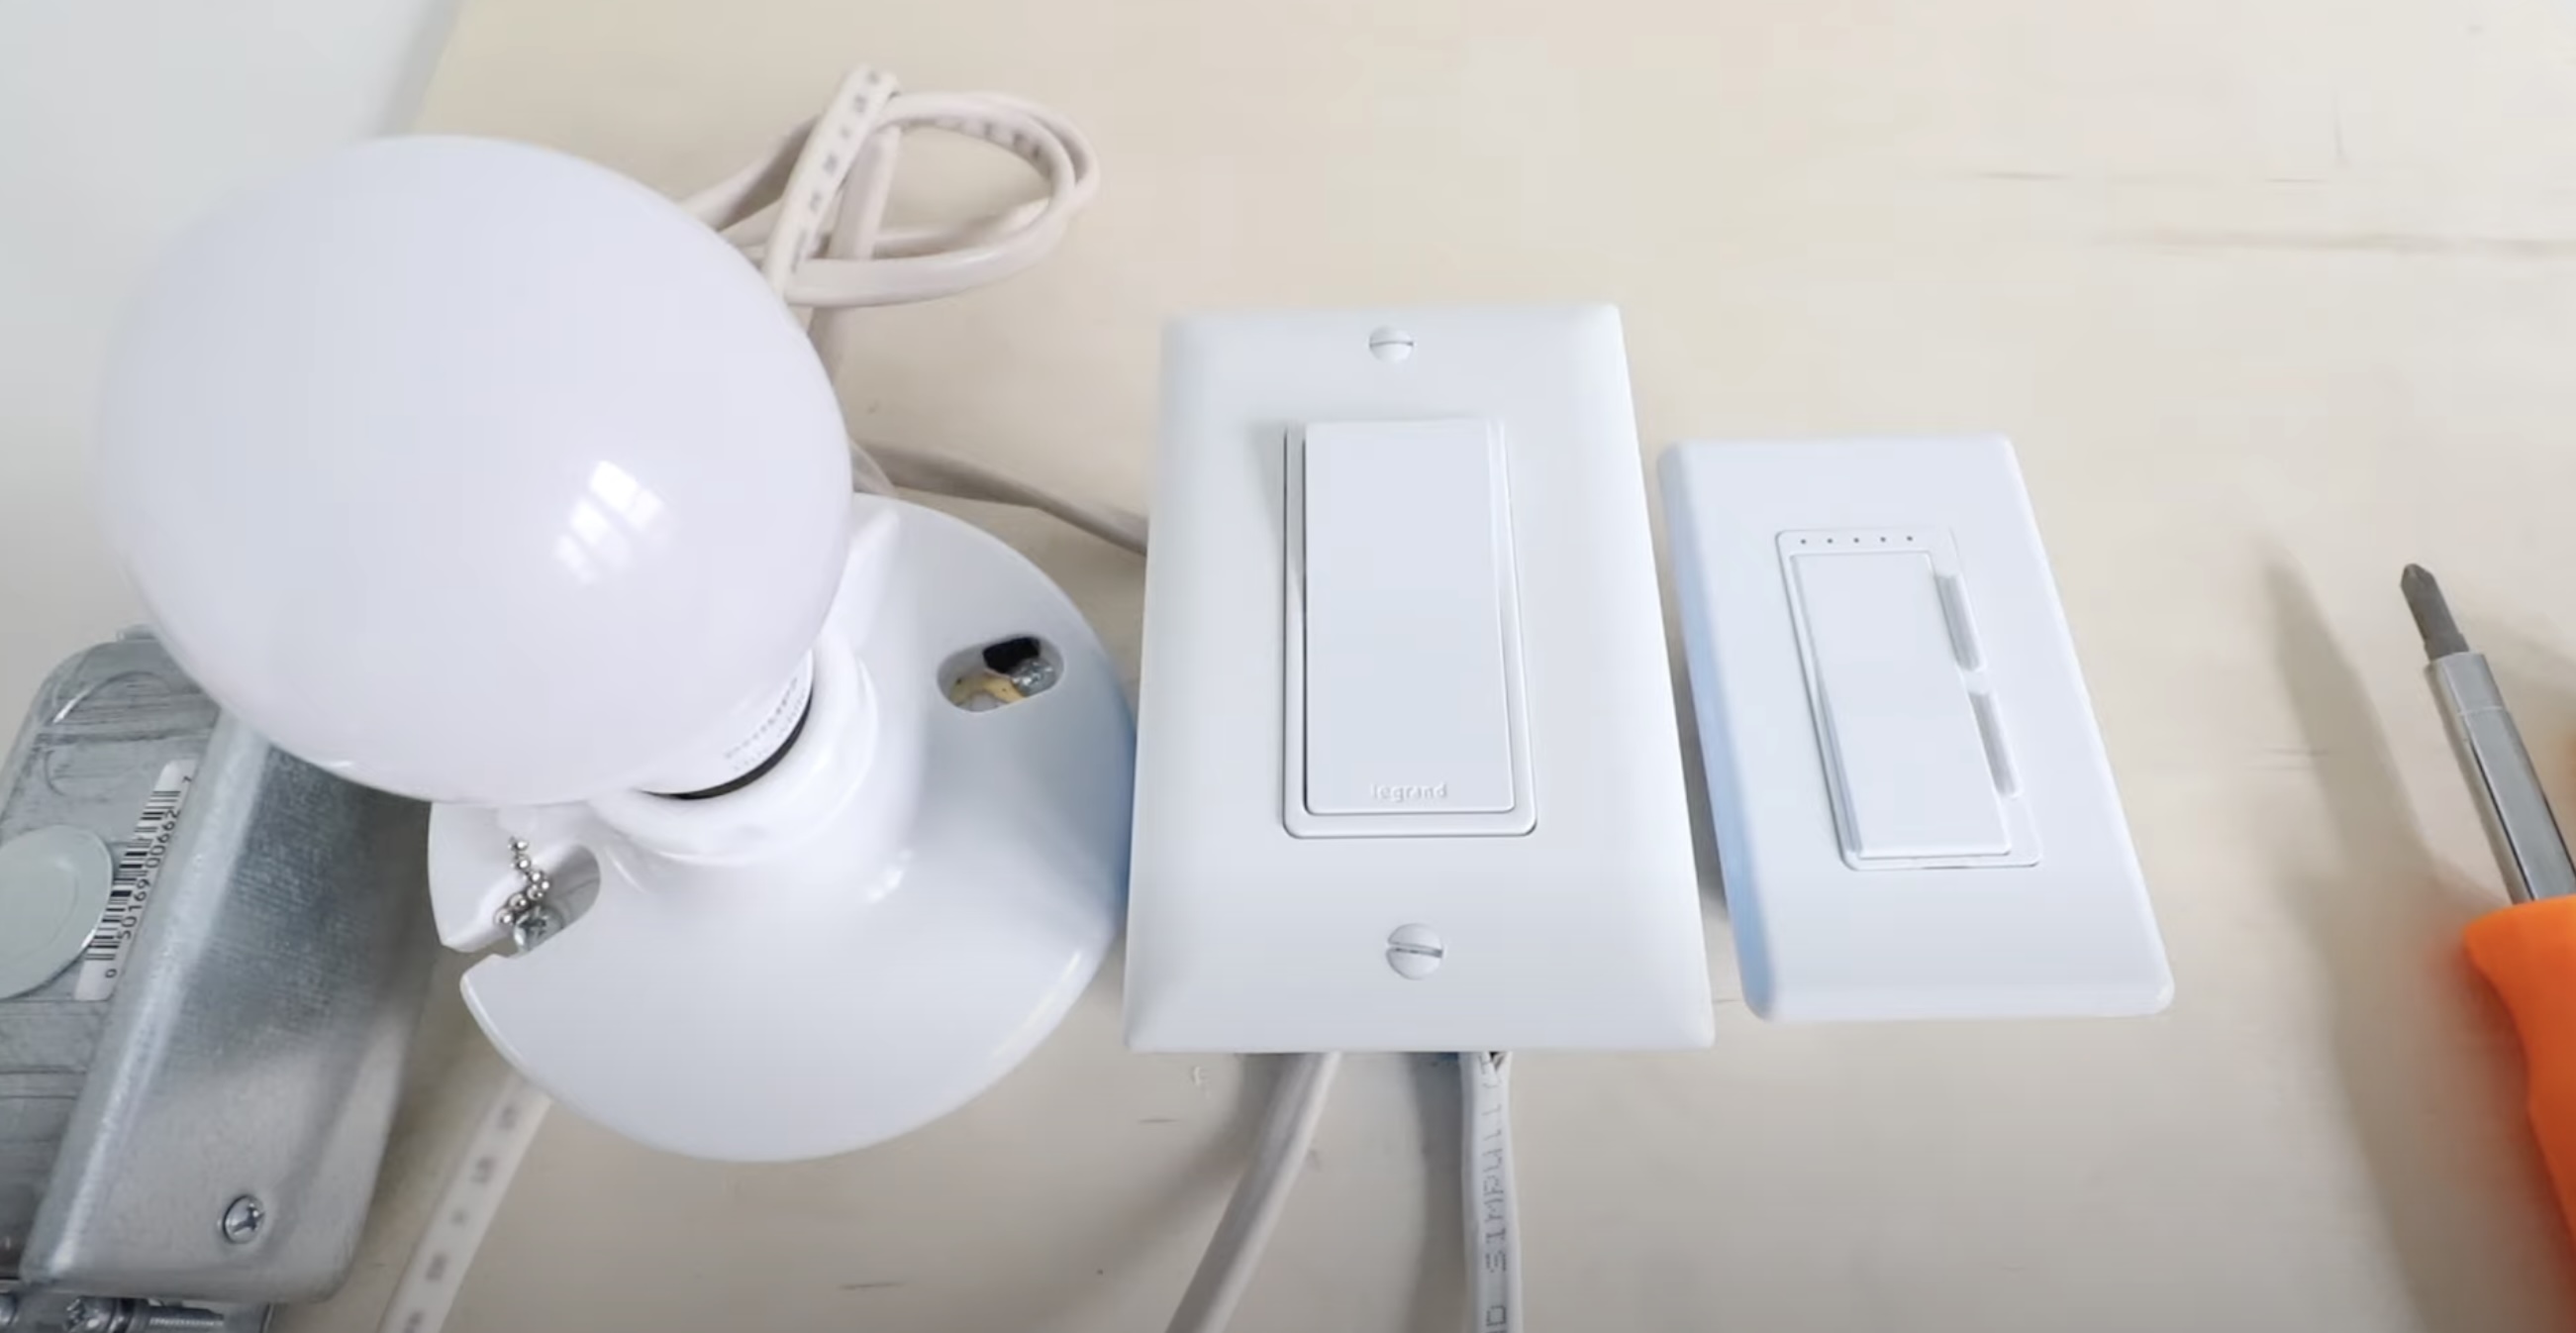
Step 1: Gather the necessary tools and materials
Before you begin the installation process, it’s important to gather all the necessary tools and materials. Here’s a list of what you’ll need:
- A screwdriver (we recommend both a flathead and a Phillips head screwdriver)
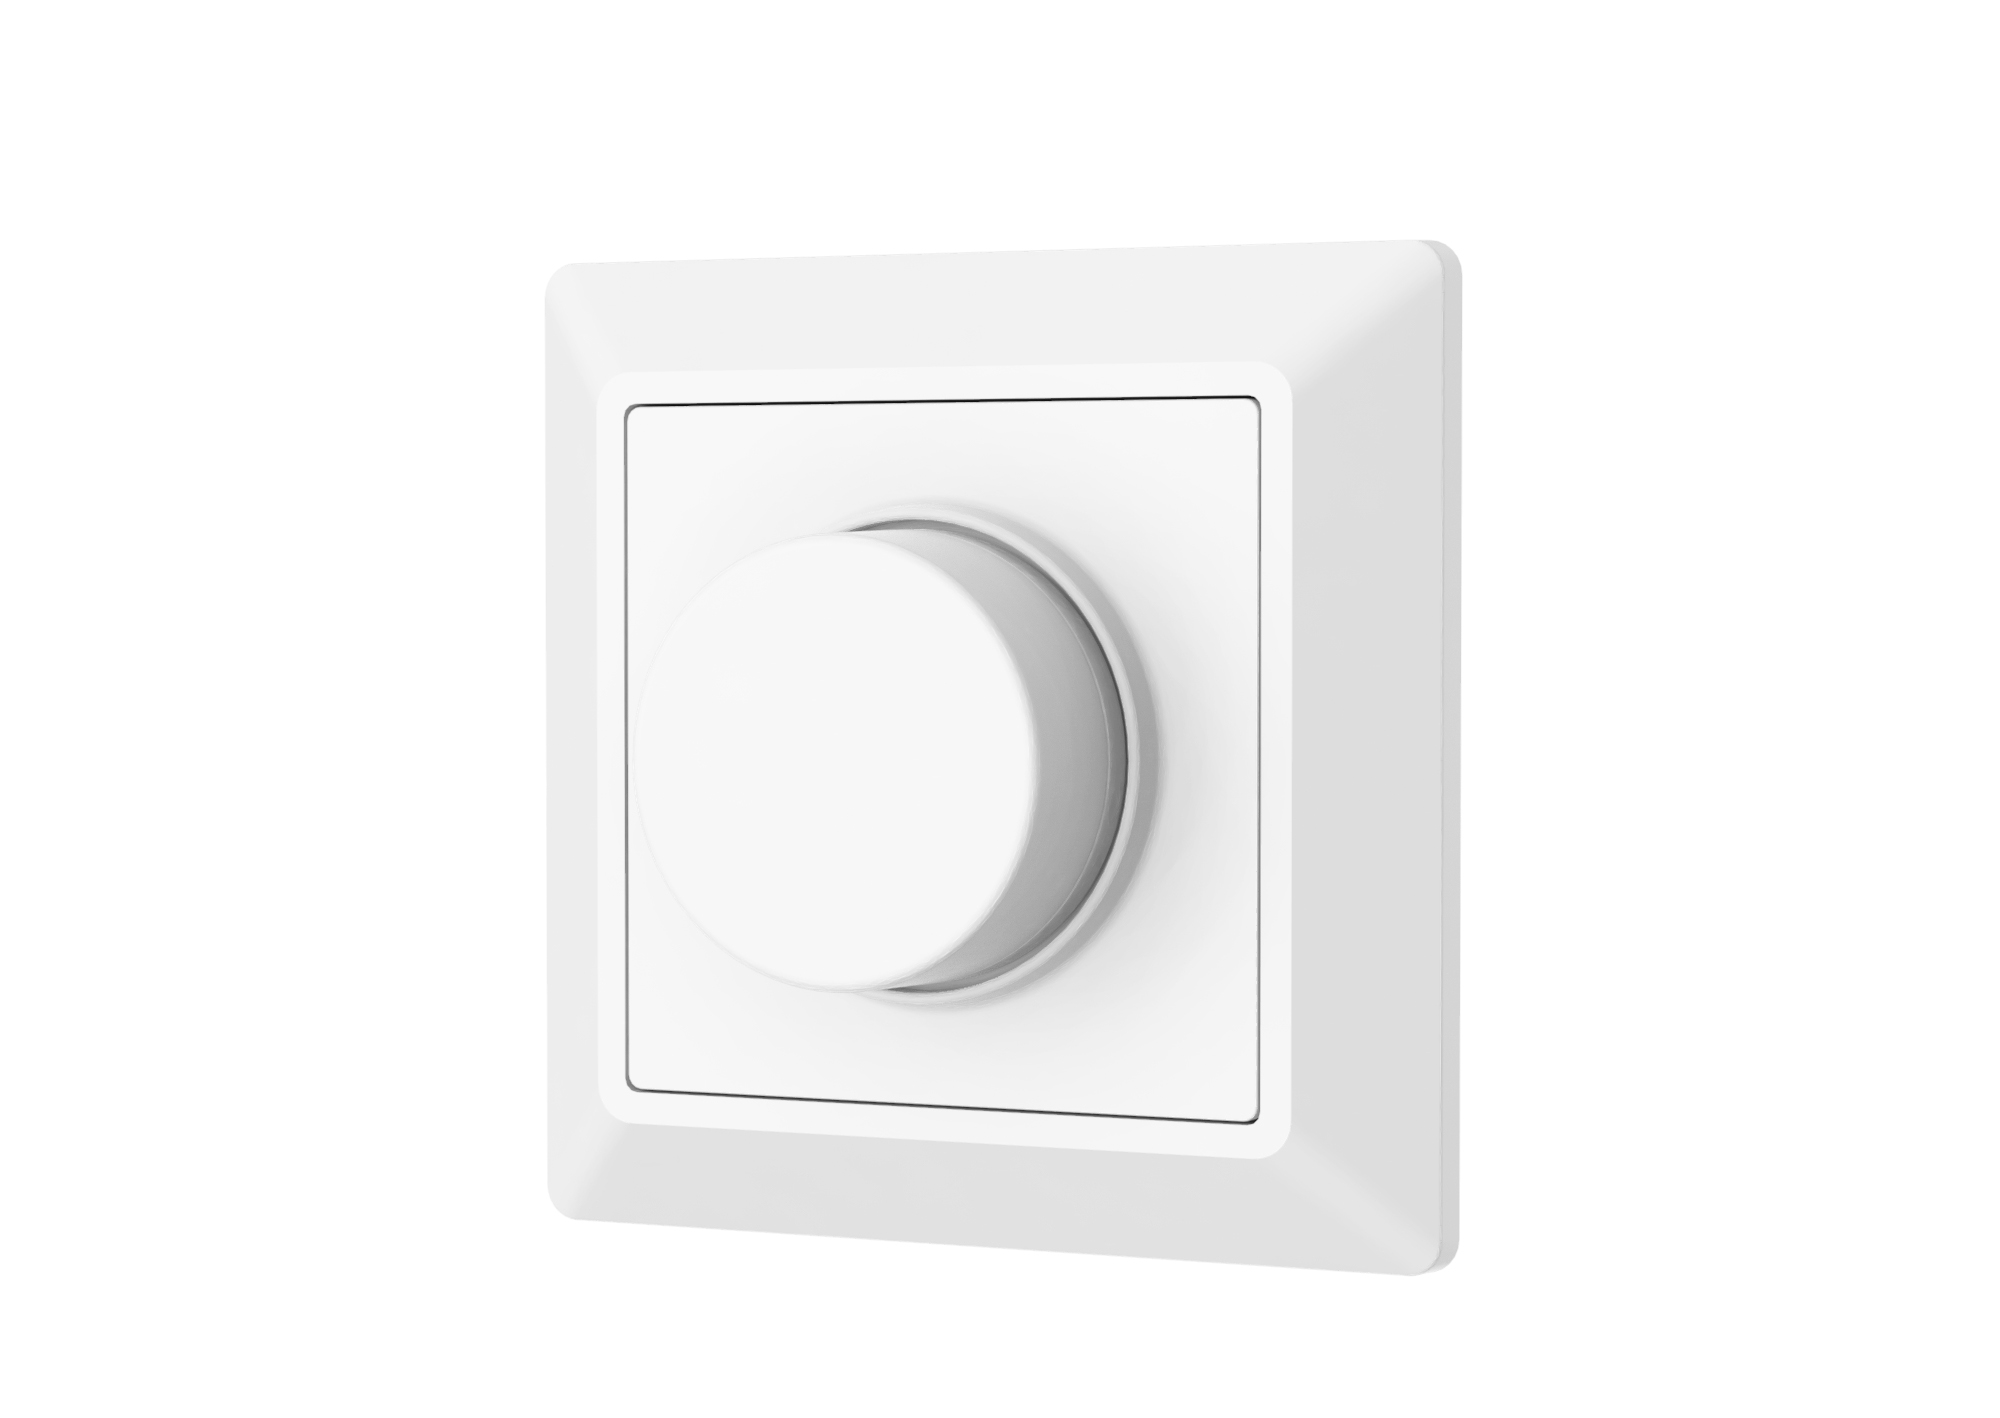
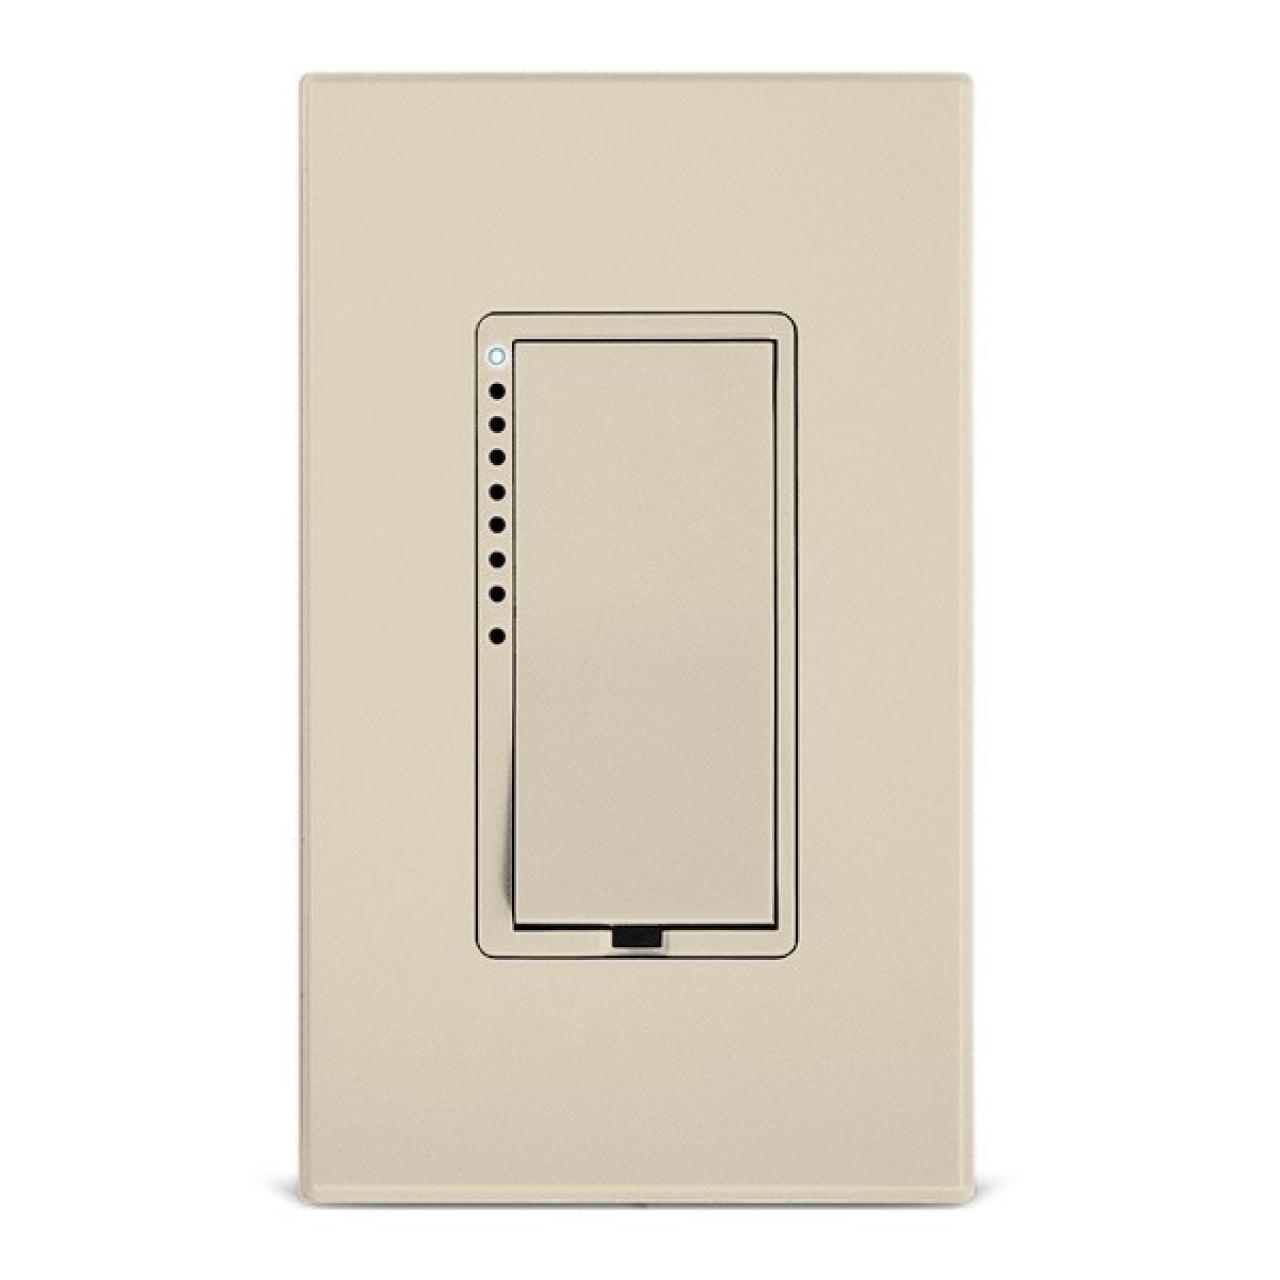
- An LED dimmer switch
- An electrical tester (to ensure the power is off before starting)
- Wire connectors
- Electrical tape
- A voltage tester
- A wire stripper
- A wire cutter
Make sure you have everything on this list before you begin the installation process. Having all the necessary tools and materials readily available will make the installation much smoother.
Step 2: Turn off the power supply
Safety should always be your top priority when working with electrical installations. Before starting any work, it’s crucial to turn off the power supply to the area where you’ll be installing the LED dimmer switch.
To turn off the power supply, locate your electrical panel or circuit breaker box. Open the panel door, and you’ll see a series of switches or breakers. Look for the one corresponding to the room or area where you’ll be installing the dimmer switch.
Switch the breaker or flip the switch to the “off” position. This will cut off the electricity supply to the designated area. To ensure the power is truly off, you can use an electrical tester. Simply touch the tester to the wires or terminals to confirm that no power is flowing.
Once you’ve confirmed that the power supply is off, it’s safe to proceed with the installation. However, it’s always a good idea to double-check the power before working on any electrical components.
Remember, electricity can be dangerous, so it’s crucial to take the necessary precautions. If you’re unsure about any steps or don’t feel confident working with electricity, it’s best to consult a professional electrician.
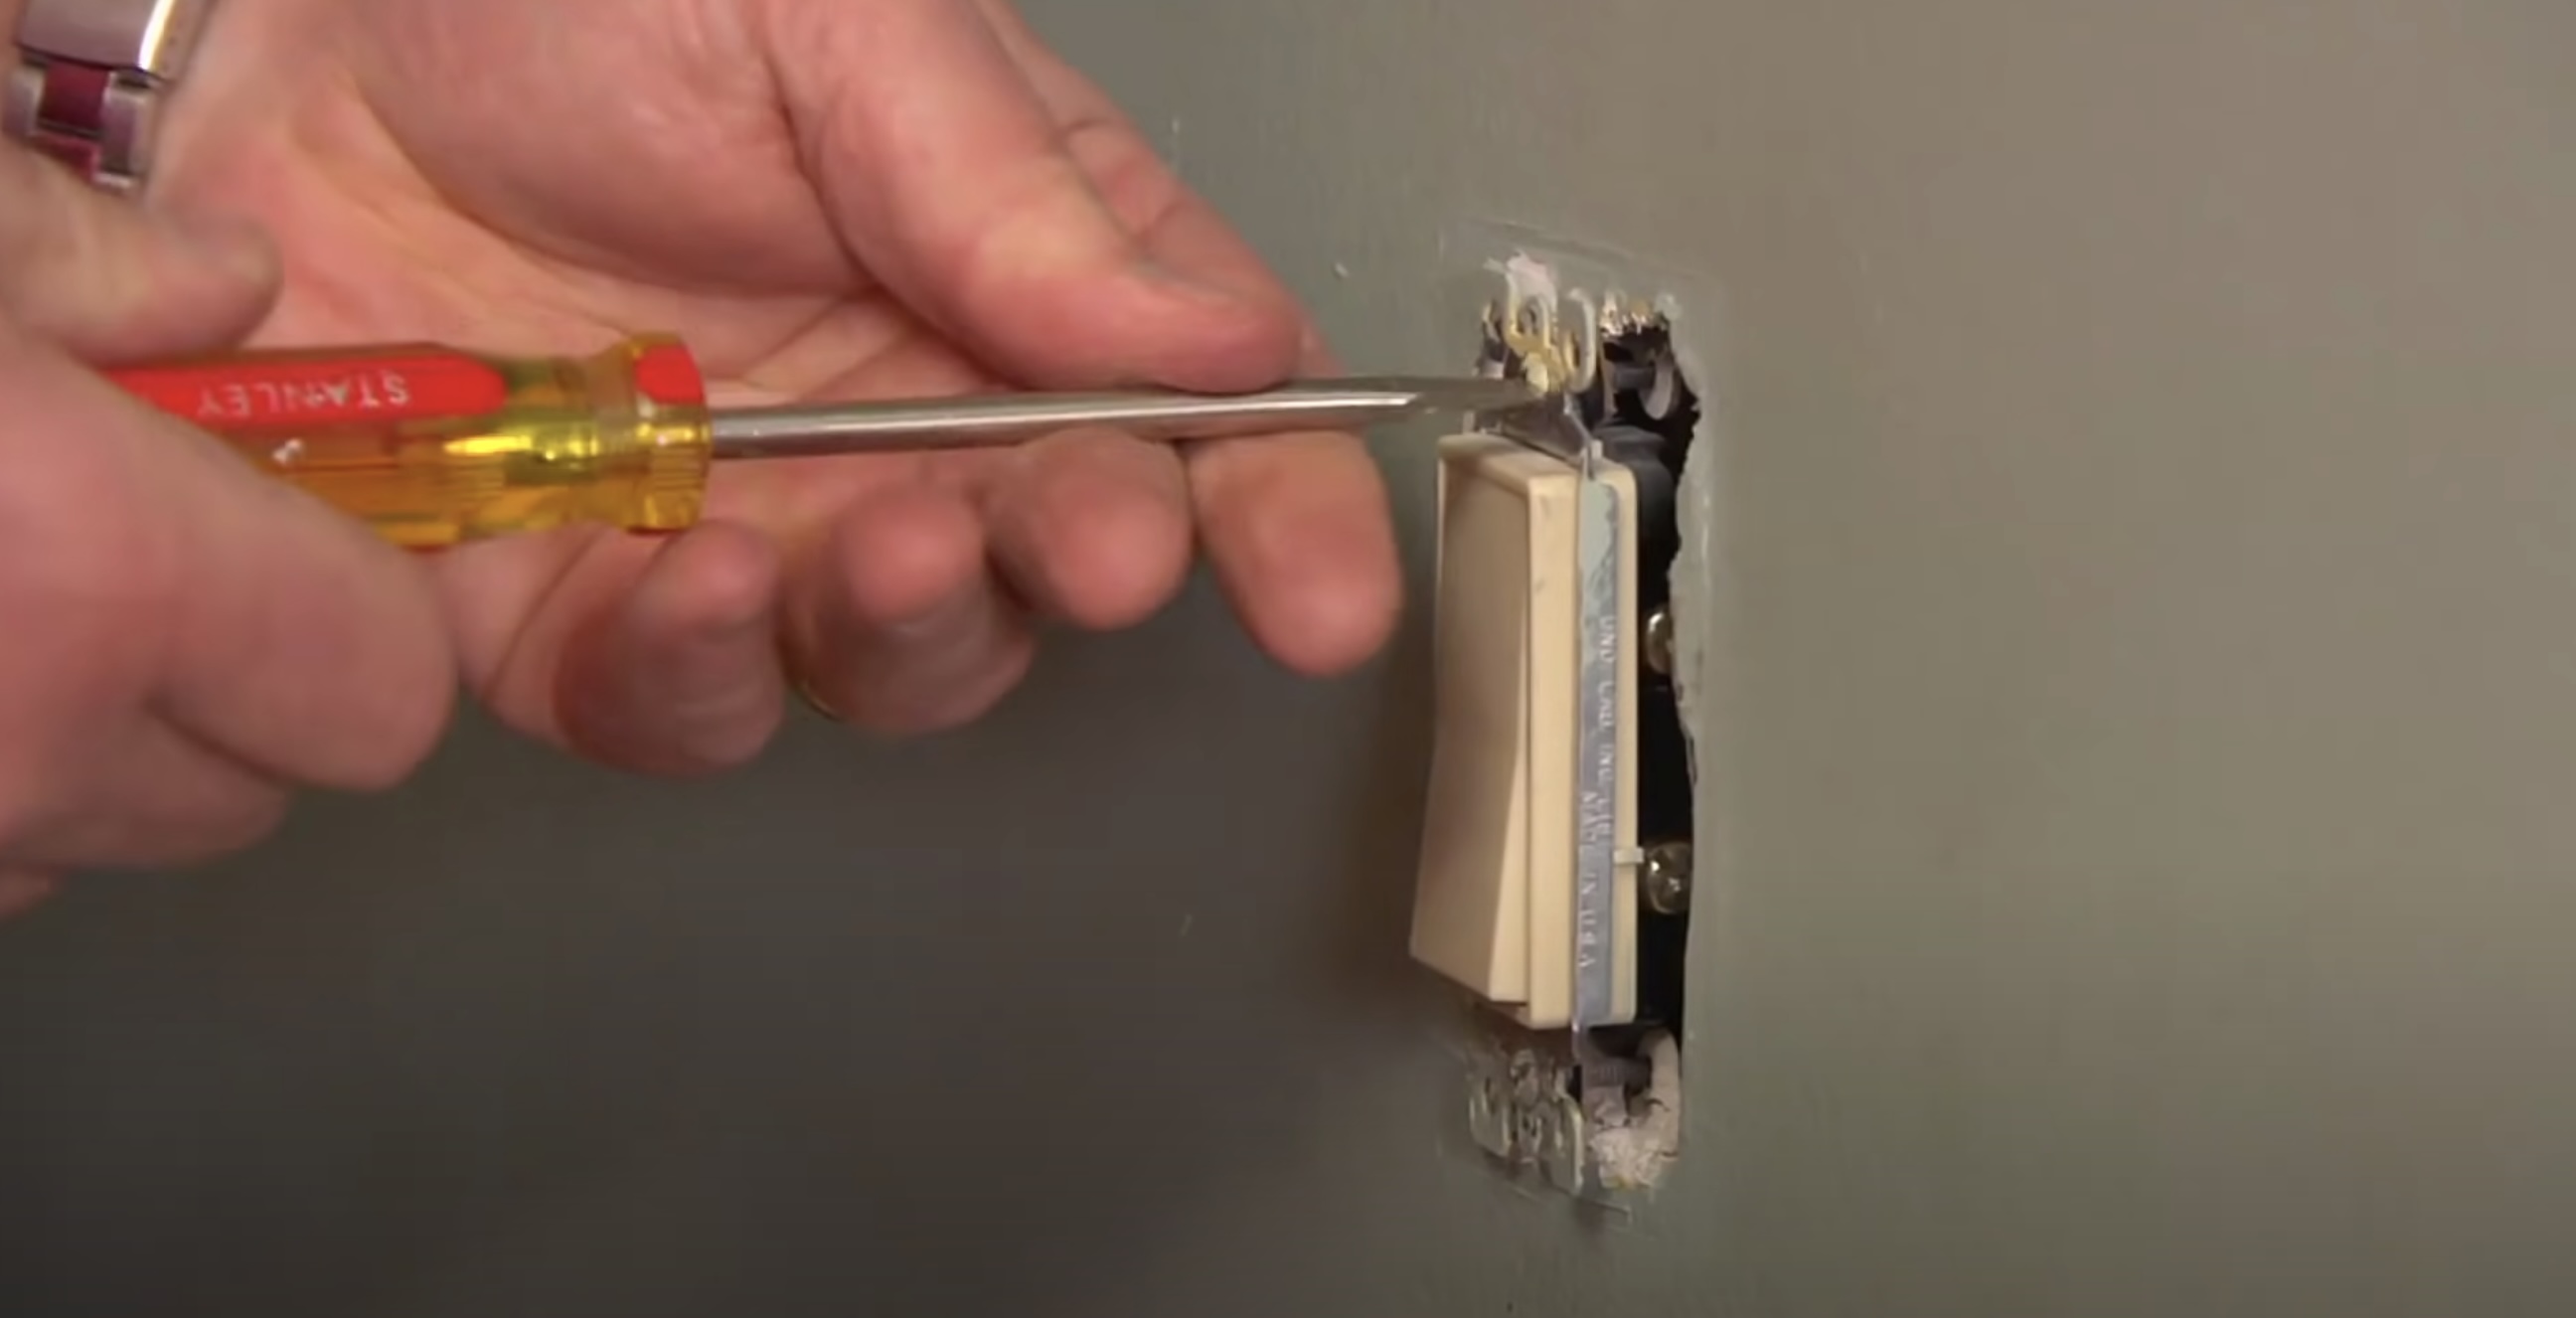
Step 3: Remove the existing switch
Now that you’ve turned off the power supply, it’s time to remove the existing switch. This step is relatively straightforward, but it’s essential to do it carefully.
- Use a screwdriver to remove the screws holding the switch cover plate in place. Set the plate aside.
- Next, remove the screws securing the switch to the electrical box. Gently pull the switch out from the box.
- Once the switch is free from the box, carefully disconnect the wires. Remember to take note of how the wires are connected before disconnecting them. This will make it easier when connecting the new dimmer switch.
- If the wires have wire nuts, use a wire cutter to remove them. Then, untwist the wires to separate them.
- Once the wires are disconnected, remove the old switch from the box.
It’s important to handle the wires with care and avoid pulling or yanking them forcefully. Doing so can damage the wires or create a hazardous situation.
After removing the old switch, take a moment to inspect the electrical box. Ensure it’s in good condition with no signs of damage or wear. If you notice any issues, it’s best to consult a professional electrician before proceeding.
With the old switch removed, you’re one step closer to installing your new LED dimmer switch!
Step 4: Check the wiring compatibility
Before proceeding with the installation of your new LED dimmer switch, it’s crucial to check the wiring compatibility. Different dimmer switches have specific wiring requirements, so it’s essential to ensure that your existing wiring is compatible with the new switch.
Take a look at your existing wiring and identify the type of switch you have. You may have one of the following common wiring configurations:
- Single-Pole: This is the most common type of switch configuration, where a single switch controls the lights in a room.
- Three-Way: In a three-way switch configuration, two switches control the lights, allowing you to turn them on or off from different locations.
- Multi-Location: A multi-location switch configuration involves more than two switches controlling the lights. This setup is commonly used in large rooms or hallways.
Once you’ve identified the type of switch configuration you have, check the documentation or product specifications of the new dimmer switch. Ensure that it is compatible with your existing wiring configuration. It’s crucial to choose a dimmer switch that supports the number of switches in your setup, whether it’s single-pole, three-way, or multi-location.
If you’re unsure about your wiring configuration or need assistance determining compatibility, it’s best to consult a licensed electrician. They can provide professional guidance and ensure that the dimmer switch you choose is compatible with your existing wiring.
By checking the wiring compatibility beforehand, you can avoid any potential issues during the installation process and ensure a smooth and successful installation.
Read more: How To Install A Smart Dimmer Switch
Step 5: Connect the dimmer switch
Now that you’ve checked the wiring compatibility, it’s time to connect the dimmer switch. Follow these steps to ensure a proper connection:
- Start by carefully reading the manufacturer’s instructions that came with your dimmer switch. Different switches may have slightly different wiring methods, so it’s vital to familiarize yourself with the specific instructions provided.
- Begin by connecting the ground wire. The ground wire is usually bare or green and is essential for safety purposes. Connect the ground wire from the dimmer switch to the ground wire in the electrical box. This is typically done by twisting the wires together and securing them with a wire connector.
- Now it’s time to connect the two remaining wires: the load wire and the line wire. The load wire carries power from the switch to the light fixture, while the line wire brings power from the electrical panel to the switch.
- Using a wire stripper, strip about ¾ inch of insulation from the ends of the load and line wires.
- Twist the exposed ends of the load wire from the dimmer switch to the load wire in the electrical box. Secure them together with a wire connector.
- Repeat the same process for the line wires, connecting them securely with a wire connector.
- After connecting the wires, it’s essential to ensure they are tightly secured. Give each wire a gentle tug to make sure they are firmly connected.
- Once all the connections are made, carefully tuck the wires into the electrical box, making sure they are not pinched or twisted.
Remember to follow the manufacturer’s instructions for your specific dimmer switch. Additionally, double-check that the wires are connected to the correct terminals on the switch, as specified in the instructions.
By properly connecting the dimmer switch, you’re setting the stage for the final installation steps. Take your time and ensure that all connections are secure and properly aligned.
When installing an LED dimmer switch, make sure to turn off the power at the circuit breaker before beginning the installation. This will ensure your safety while working with electrical wiring.
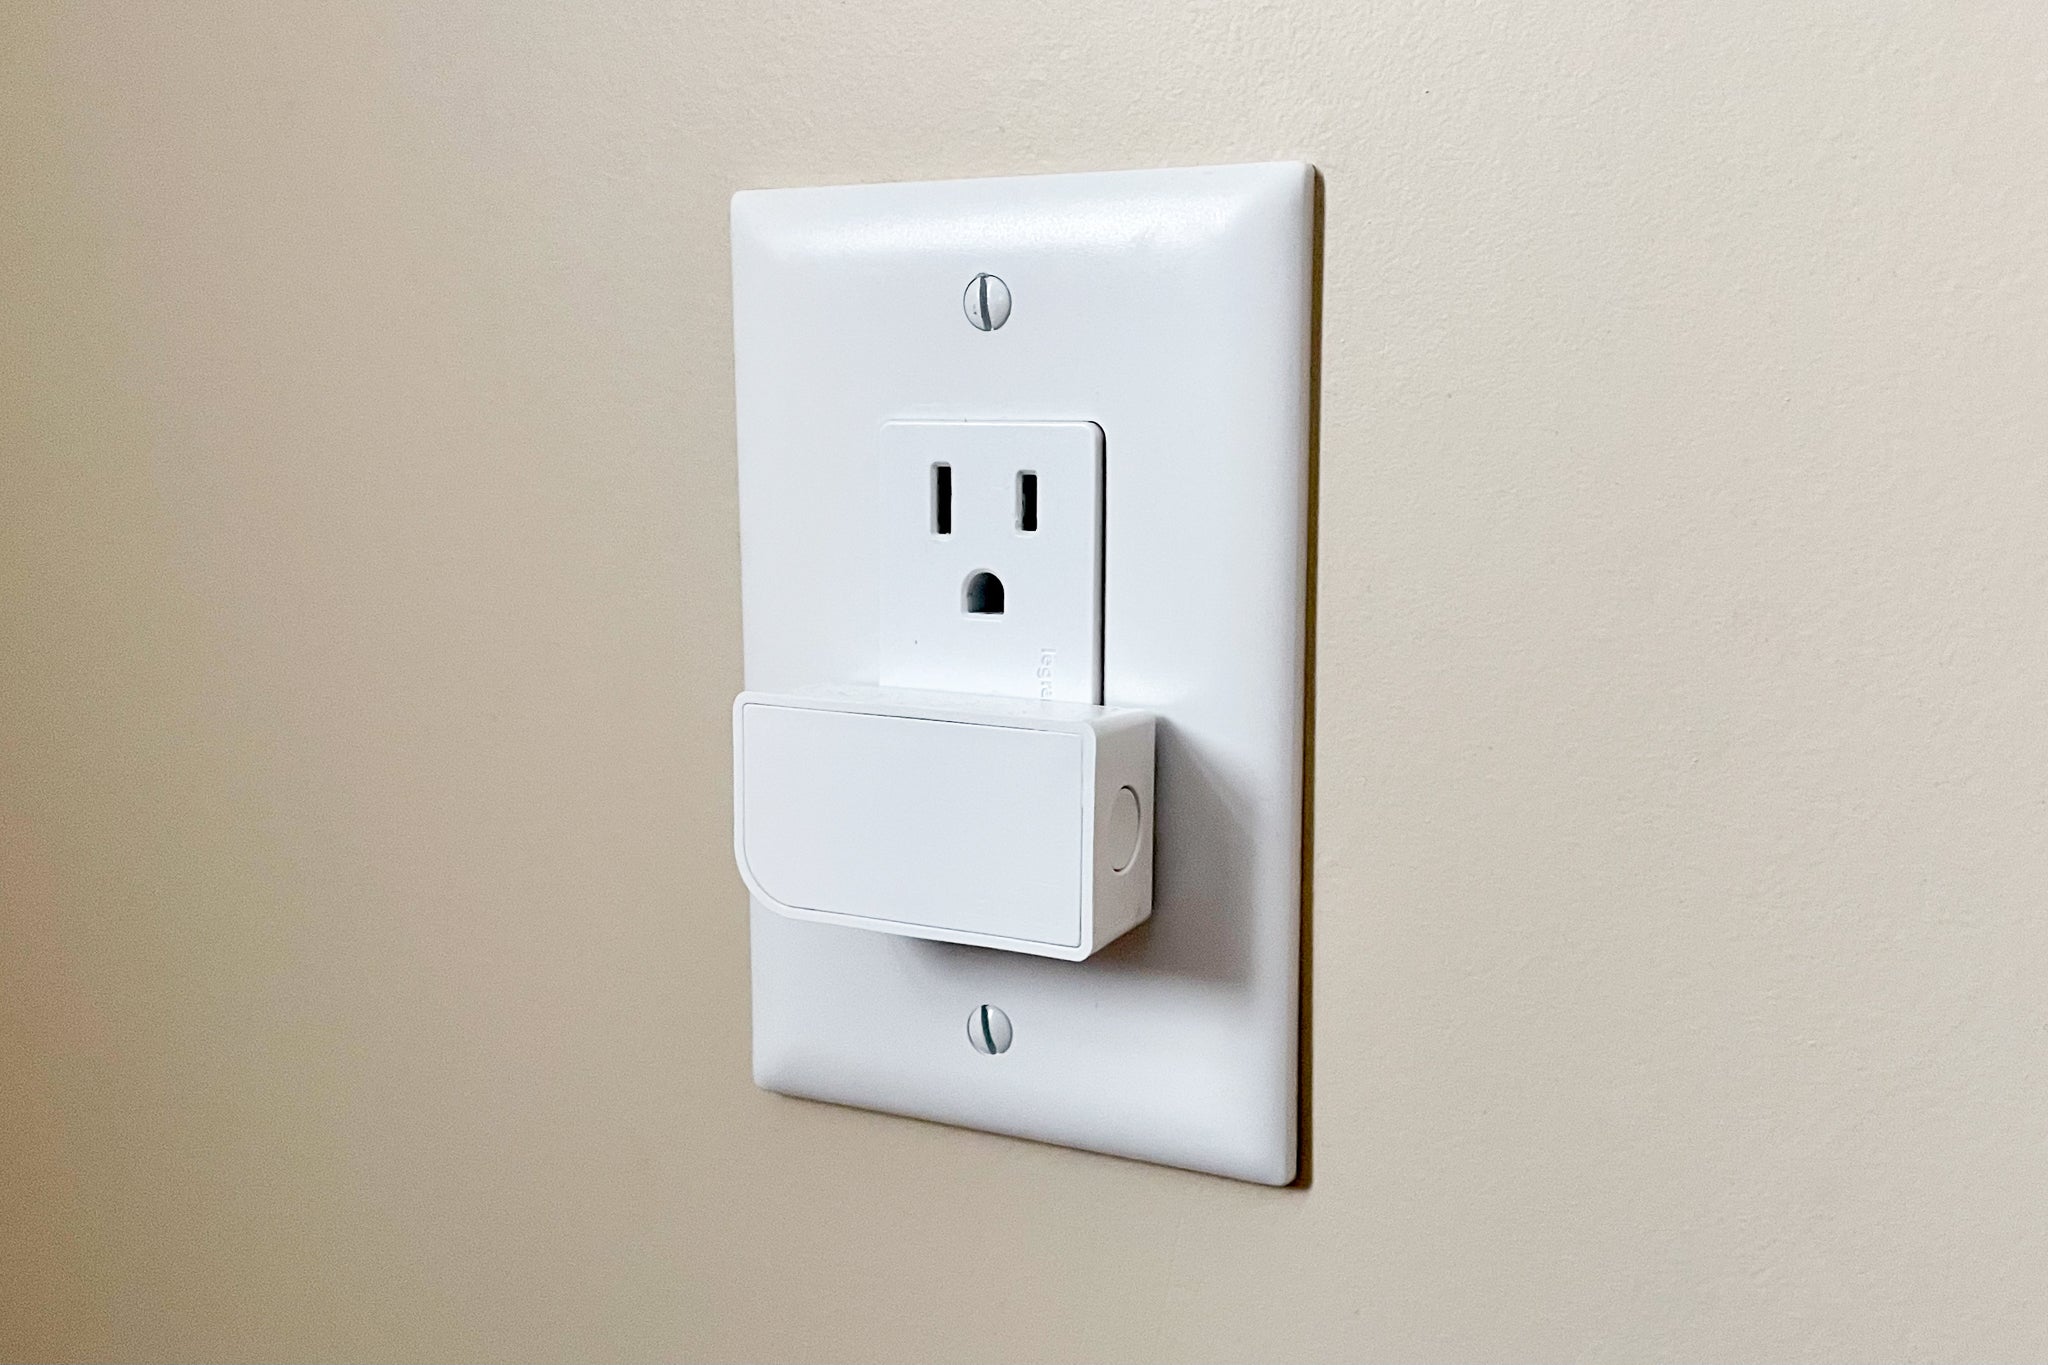
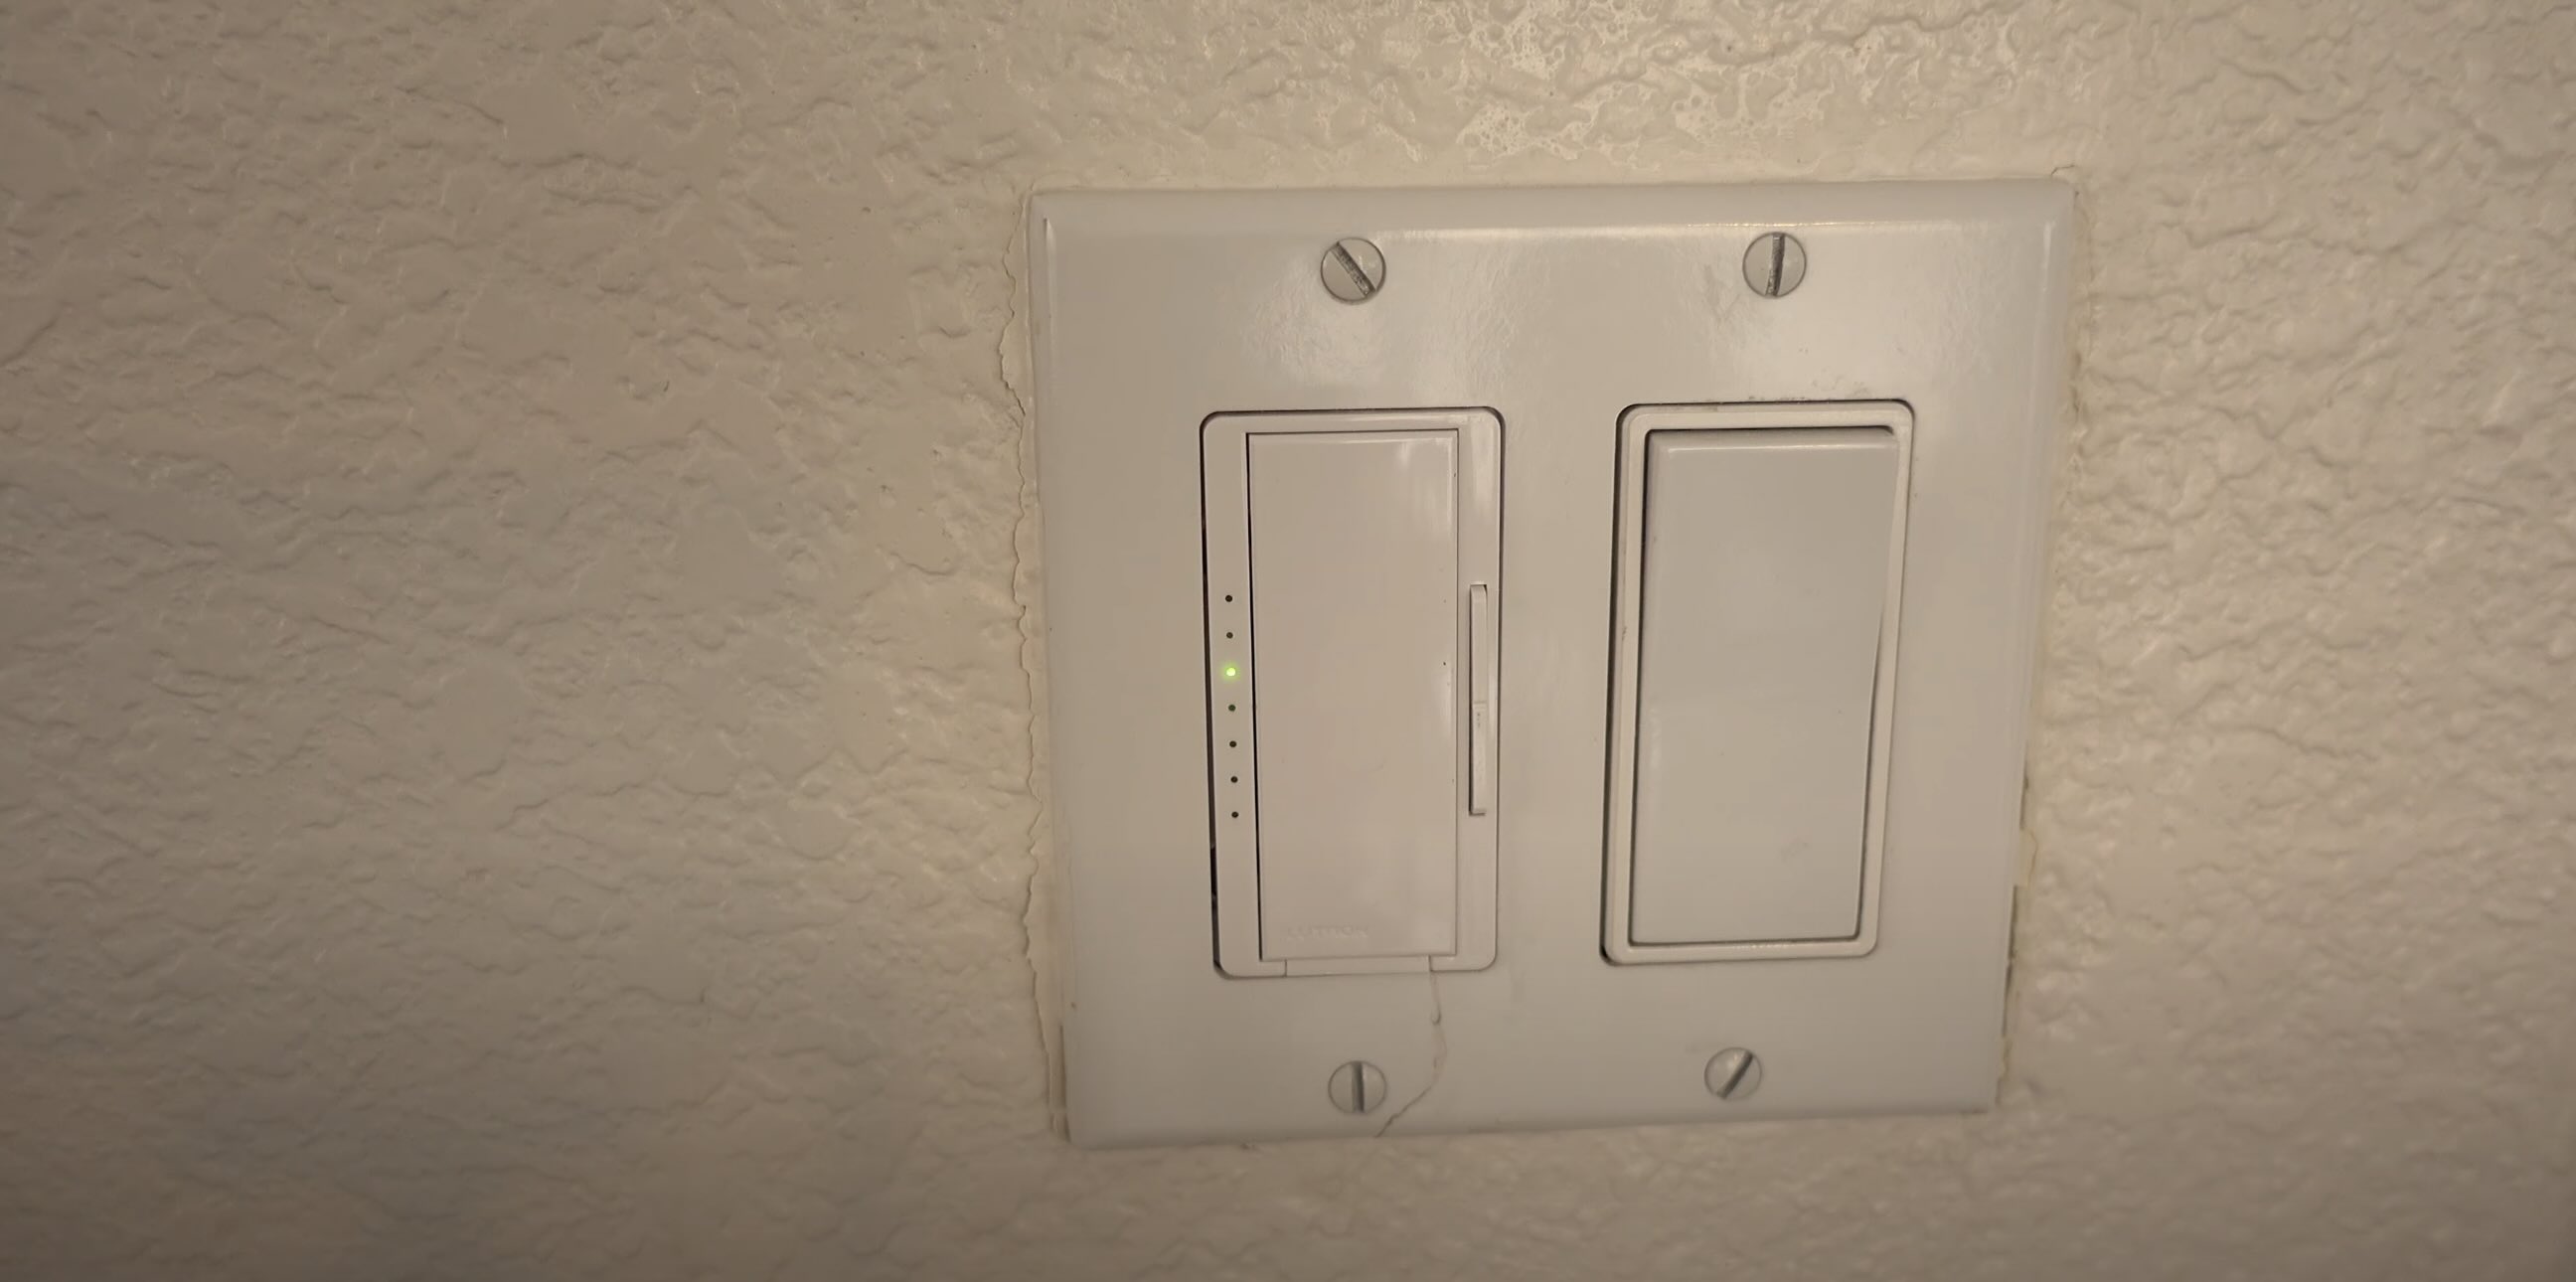
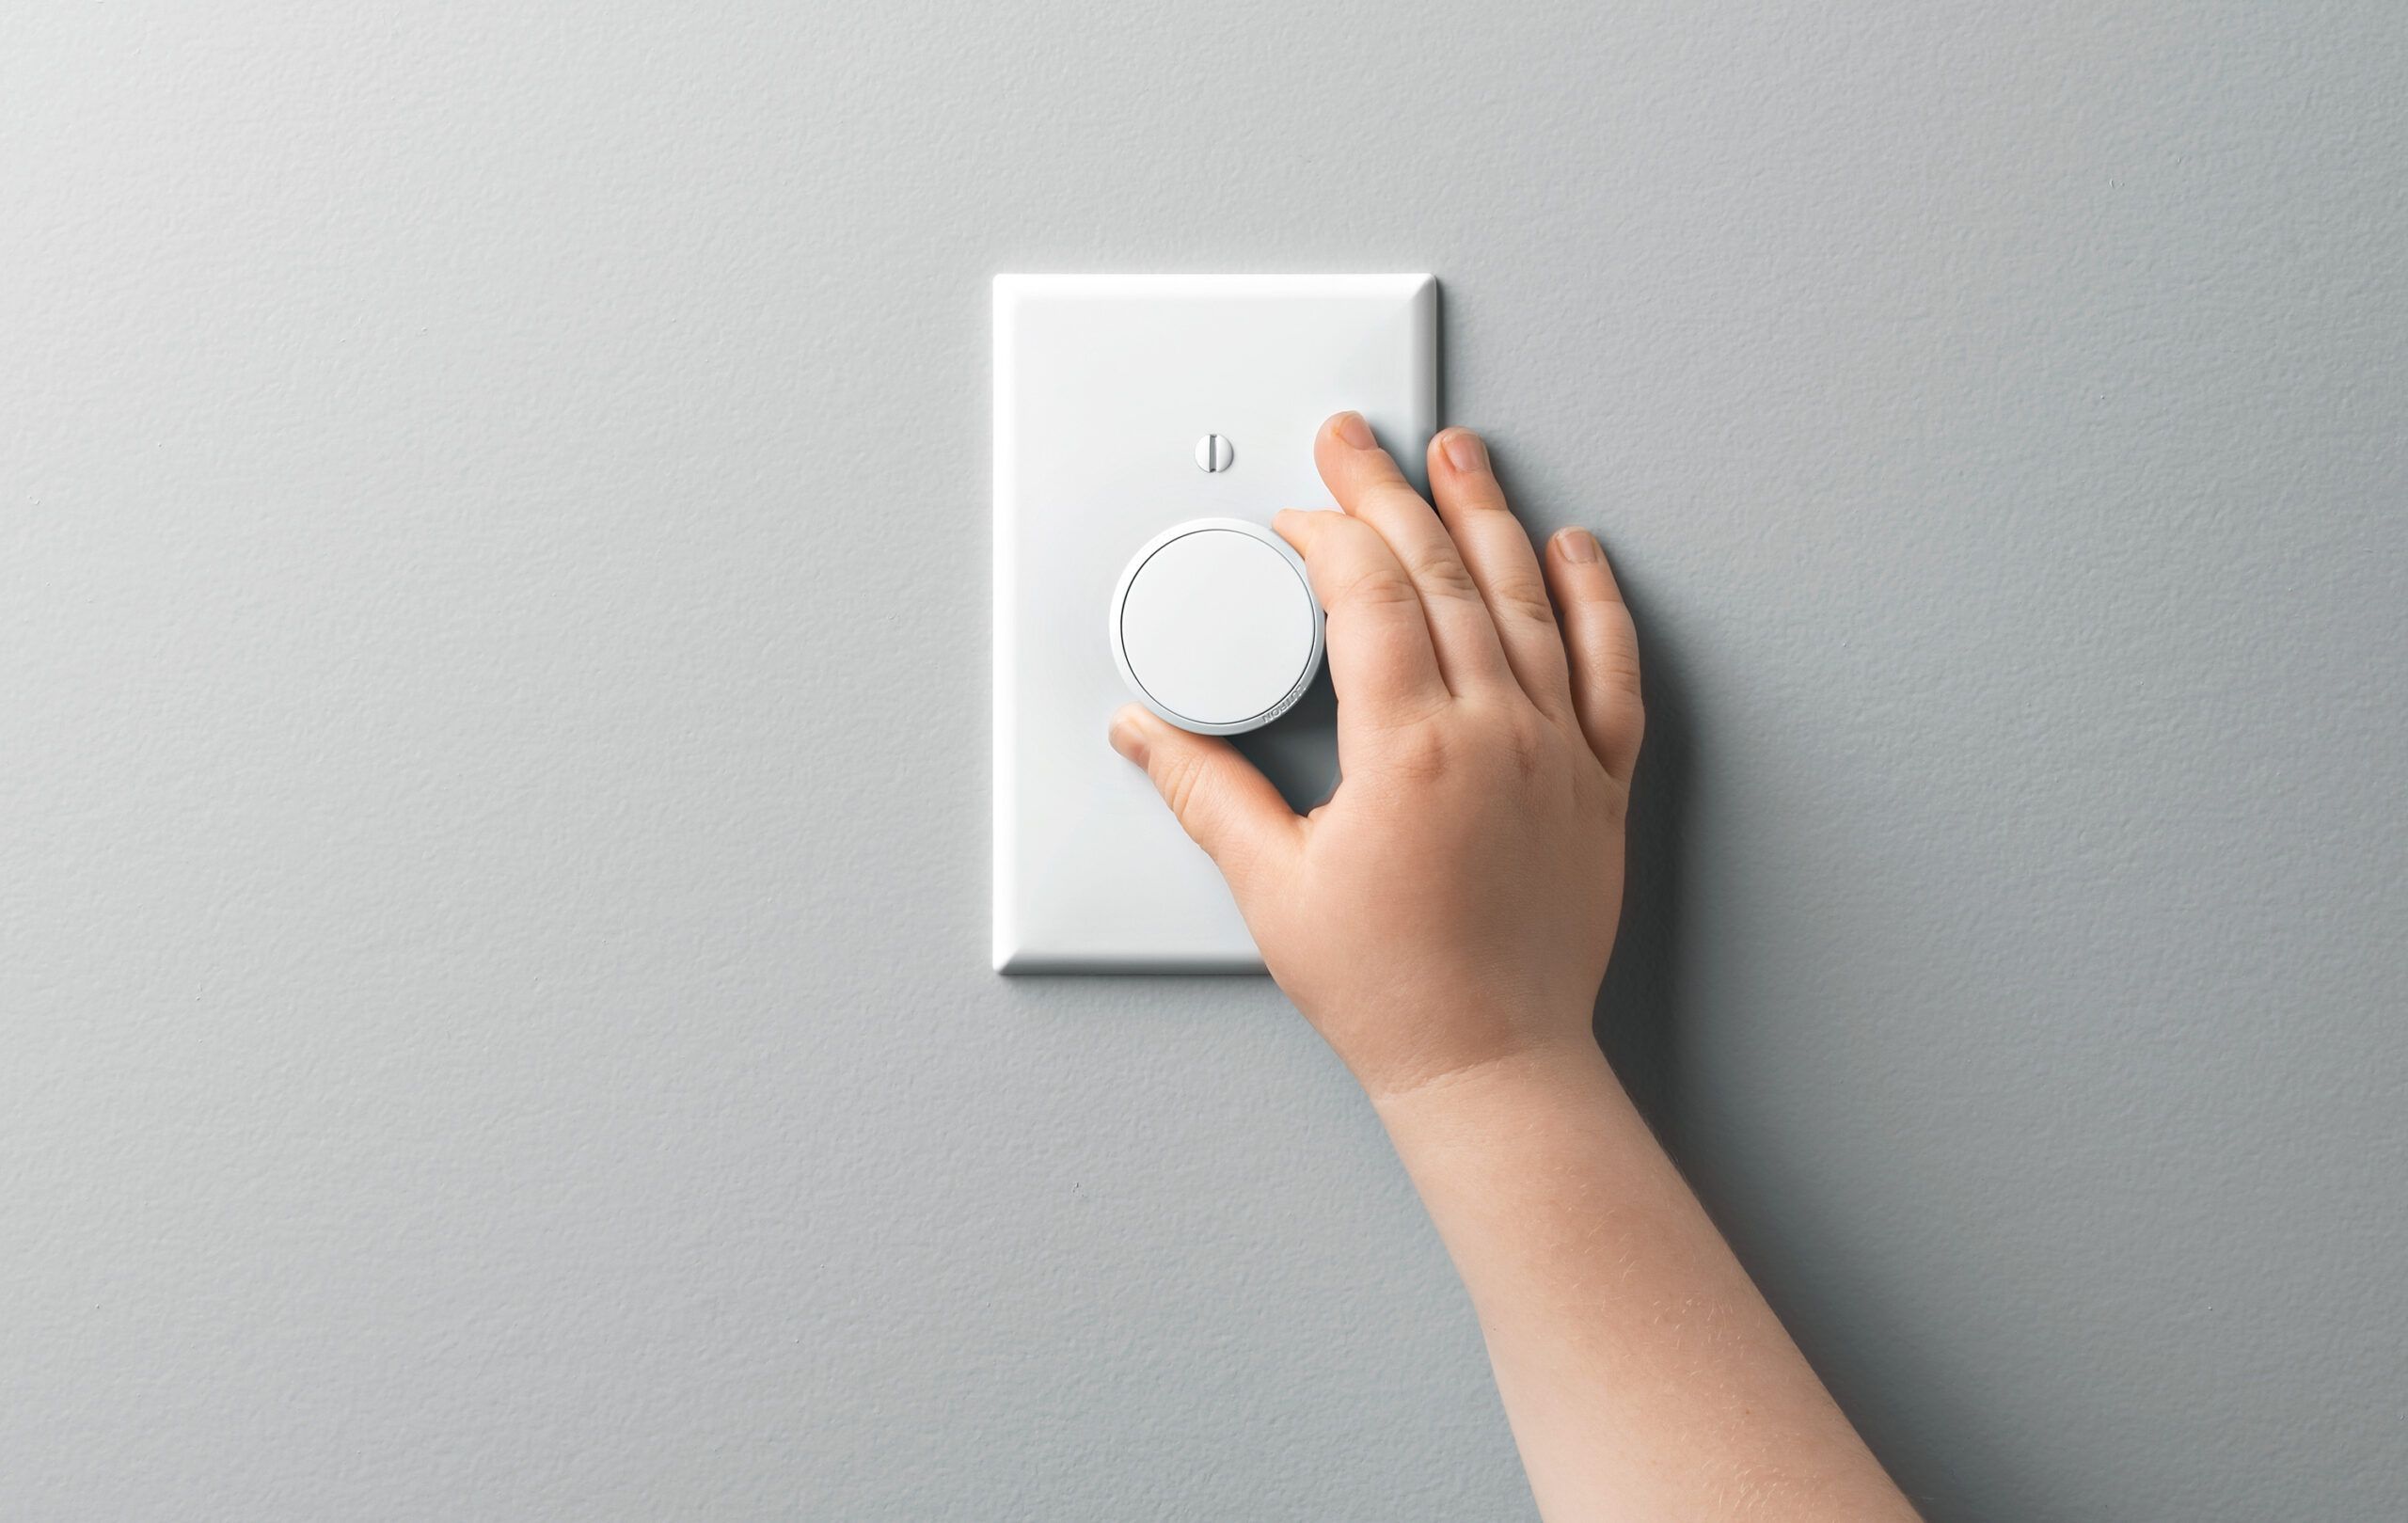
Step 6: Install the dimmer switch into the wall
With the dimmer switch properly connected, it’s time to install it into the wall. Follow the steps below for a successful installation:
- Start by carefully positioning the dimmer switch in the electrical box. Ensure that the wires are neatly tucked inside the box and that the switch is aligned properly.
- Using the provided screws, secure the dimmer switch to the electrical box. Tighten the screws enough to hold the switch firmly in place but be cautious not to overtighten and damage the switch or the box.
- Once the switch is securely mounted, attach the switch cover plate. Line up the screw holes on the plate with the screw holes on the switch and use screws to secure it in place.
- Give the switch cover plate a gentle tug to ensure it is firmly attached.
During this step, it’s important to double-check that the switch is level and aligned correctly. A properly aligned switch will not only ensure a neat appearance but also facilitate smooth operation.
Take your time during installation to ensure everything is in place and securely fastened. Avoid rushing this step, as it’s crucial to have a stable and well-installed dimmer switch.
Remember that every dimmer switch may have specific installation requirements. Consult the manufacturer’s instructions to ensure you follow any additional steps or precautions provided.
Once the dimmer switch is installed, you’re almost ready to enjoy the benefits of adjustable lighting in your space.
Step 7: Test the dimmer switch
After installing the dimmer switch, it’s crucial to test its functionality before finalizing the installation. Follow these steps to test the dimmer switch:
- Make sure the power supply is still turned off at the electrical panel to prevent any electrical hazards during testing.
- Flip the power supply back on at the electrical panel.
- Return to the room where you installed the dimmer switch.
- Turn on the switch by flipping it to the “on” position.
- Gradually adjust the dimmer switch to different brightness levels. Observe how the connected LED lights respond to the adjustments.
- Ensure that the dimmer switch smoothly increases or decreases the brightness of the lights without any flickering or humming noises.
If you notice any issues during the testing process, such as flickering lights or strange noises, it may indicate a wiring problem or incompatibility with the LED lights. In such cases, it’s best to consult a professional electrician to resolve the issue.
It’s important to test the dimmer switch thoroughly to ensure it functions as expected. Additionally, check for any signs of overheating, such as excessive heat emitted from the switch or an unpleasant smell. If you notice any of these warning signs, turn off the power supply immediately and seek professional assistance.
By testing the dimmer switch, you can ensure that it works properly and meets your lighting needs before proceeding with the final steps.
Step 8: Turn on the power supply
With the dimmer switch tested and confirmed to be functioning correctly, it’s time to turn on the power supply and finalize the installation. Follow these steps to safely restore the power:
- Ensure that all connections are secure and properly installed.
- Confirm that the dimmer switch is properly mounted in the electrical box and the switch cover plate is securely attached.
- Double-check that there are no exposed wires or loose connections.
- After confirming everything is in order, return to the electrical panel or circuit breaker box.
- Locate the breaker or switch that controls the power supply to the room or area where you installed the dimmer switch.
- Flip the breaker or switch back to the “on” position, restoring power to the area.
Once the power supply is turned on, you should be able to operate the LED lights connected to the dimmer switch using the switch’s controls. Enjoy the flexibility of adjusting the brightness to suit your desired ambiance!
If you notice any issues or encounter any problems after turning on the power supply, such as lights not turning on or the dimmer switch malfunctioning, immediately turn the power supply off and consult a qualified electrician.
Remember, electrical work can be dangerous, and improper installations can lead to serious hazards. If you are unsure or uncomfortable performing any step of the installation, it’s always best to seek professional assistance.
Once the power supply is back on, you have successfully completed the installation of your LED dimmer switch!
Read more: How To Install A Legrand Dimmer Switch
Step 9: Troubleshooting common issues
While the installation of an LED dimmer switch is generally straightforward, there might be some common issues that can arise. Here are a few troubleshooting tips for addressing these problems:
- Flickering lights: If you notice flickering lights when using the dimmer switch, it could be due to incompatible LED bulbs or incorrect wiring. Make sure you are using LED bulbs specifically labeled as dimmable. Additionally, recheck the wiring connections and ensure there are no loose or damaged wires.
- Dimmer switch not working: If the dimmer switch doesn’t seem to be working at all, first check that the power supply is turned on and that the switch is properly connected. If everything appears to be in order, verify that the dimmer switch is compatible with your lighting setup. If necessary, consult a professional electrician to assess and resolve the issue.
- Humming noise: If you hear a humming noise coming from the dimmer switch, it could be caused by incompatible dimmer switch and LED bulb combinations or a loose connection. Ensure that you are using dimmer switches designed for LED lights, and double-check all wiring connections to eliminate any loose contacts. If the problem persists, consult an electrician for further assistance.
- Overheating: If the dimmer switch becomes excessively hot during normal operation, it can be a sign of overload or insufficient ventilation. Check the maximum load capacity of the dimmer switch and ensure that it is not being exceeded. Additionally, ensure that the switch is installed in a properly ventilated electrical box. If the overheating continues, consult a professional electrician to assess the situation and make any necessary adjustments to prevent potential hazards.
If you encounter any other issues during or after the installation, it is always prudent to seek advice from a qualified electrician. Electrical work can be complex, and professional assistance will help ensure a safe and functional installation of your LED dimmer switch.
By troubleshooting common issues, you can resolve any problems that may arise and enjoy the benefits of adjustable lighting in your space.
Conclusion
Congratulations on successfully installing your LED dimmer switch! By following each step of this comprehensive guide, you have transformed the lighting in your space, giving you the ability to create the perfect atmosphere for any occasion.
Throughout the installation process, we covered the necessary tools and materials, turning off the power supply, removing the existing switch, checking the wiring compatibility, connecting the dimmer switch, installing it into the wall, testing its functionality, and finally, turning on the power supply. We also provided troubleshooting tips to help you address common issues that may arise.
Remember, safety should always be a priority when working with electrical installations. If you are unsure or uncomfortable with any step of the process, it’s best to consult a qualified electrician who can professionally assess and assist you.
Enjoy the flexibility and ambiance that your new LED dimmer switch brings to your lighting setup. Whether you want to create a cozy atmosphere for a movie night or set a romantic mood for a dinner date, the adjustable brightness will allow you to achieve the lighting effect you desire.
Thank you for choosing our guide to help you with the installation. We hope this comprehensive article has been informative and helpful. If you have any further questions or need assistance, feel free to reach out to us.
Wishing you many enjoyable and well-lit moments in your newly dimmed space!
Frequently Asked Questions about How To Install An LED Dimmer Switch
Was this page helpful?
At Storables.com, we guarantee accurate and reliable information. Our content, validated by Expert Board Contributors, is crafted following stringent Editorial Policies. We're committed to providing you with well-researched, expert-backed insights for all your informational needs.

0 thoughts on “How To Install An LED Dimmer Switch”