Articles
How To Install A Legrand Dimmer Switch
Modified: August 27, 2024
Learn how to install a Legrand dimmer switch with our step-by-step guide. Find articles and resources to help you complete your home lighting project.
(Many of the links in this article redirect to a specific reviewed product. Your purchase of these products through affiliate links helps to generate commission for Storables.com, at no extra cost. Learn more)
Introduction
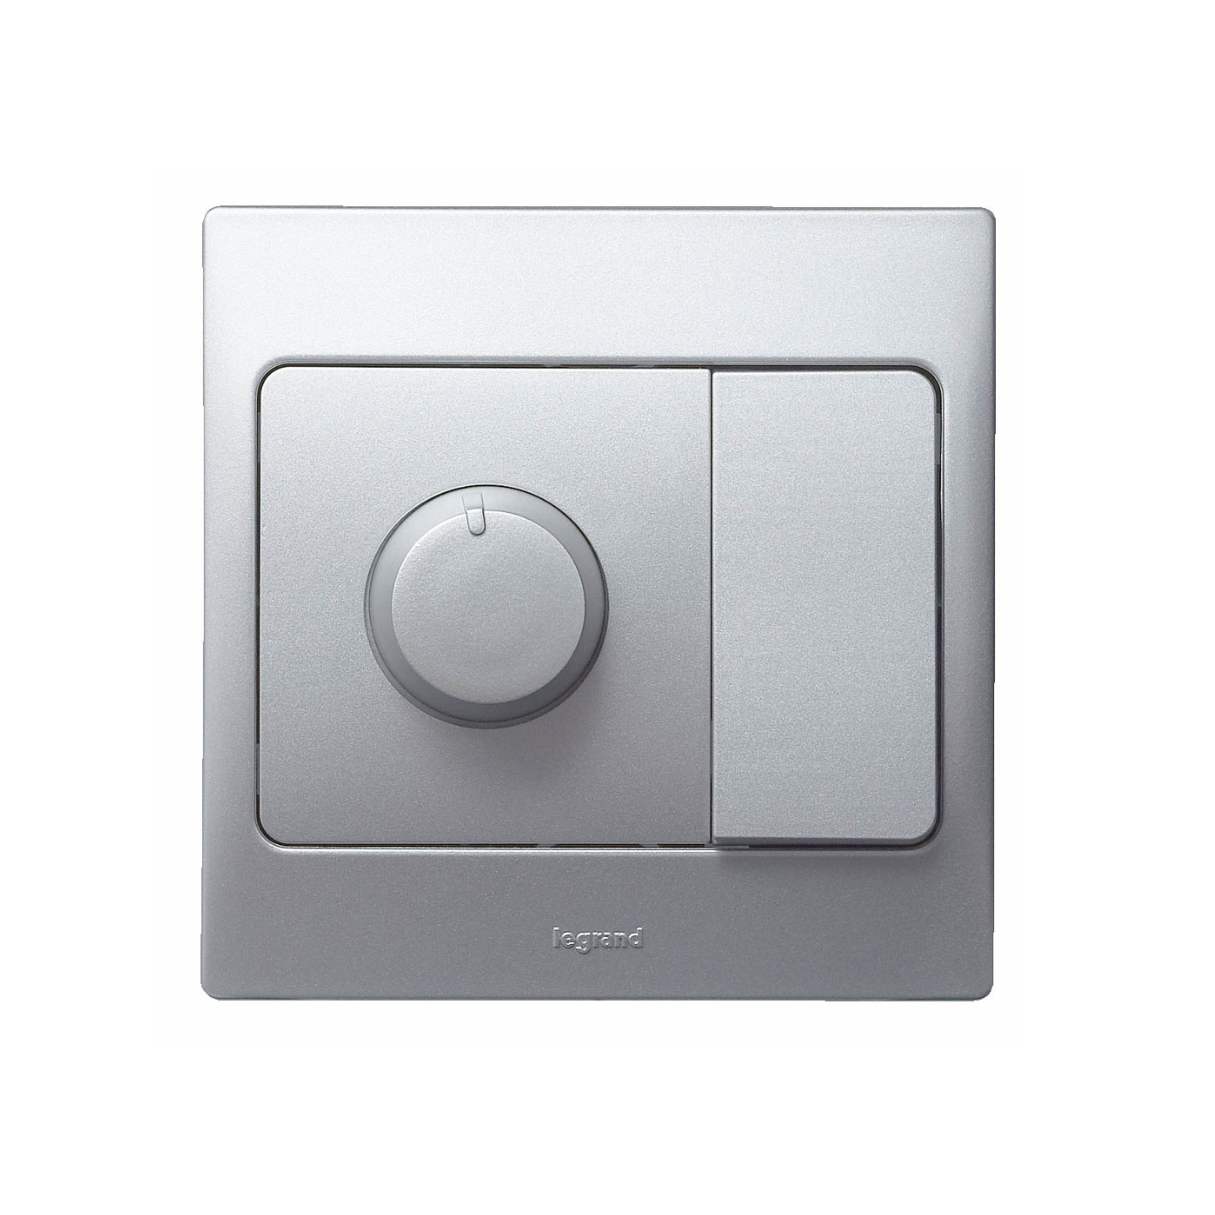
Welcome to this comprehensive guide on how to install a Legrand dimmer switch. If you’re tired of the harsh and bright lighting in your home, a dimmer switch can help create a more relaxed and inviting atmosphere. Legrand dimmer switches are known for their high-quality and user-friendly design, making them a popular choice for homeowners looking to upgrade their lighting control.
In this guide, we’ll walk you through the step-by-step process of installing a Legrand dimmer switch. Whether you’re a seasoned DIY enthusiast or a complete beginner, you’ll find all the information you need to successfully complete this project.
Before we dive into the installation process, let’s quickly go over some important safety precautions. When working with electrical components, it’s crucial to prioritize your safety and the safety of others. Make sure to switch off the power at the circuit breaker before starting any work. Additionally, if you’re not familiar with electrical work or unsure about any step, it’s always best to consult a qualified electrician.
Now that we have the necessary safety precautions out of the way, let’s move on to gathering the tools and materials you’ll need for the installation.
Key Takeaways:
- Upgrade your home’s lighting control with a Legrand dimmer switch for a more comfortable and inviting atmosphere. Prioritize safety, gather tools, prepare wires, and follow step-by-step installation for a successful upgrade.
- Enjoy the flexibility of adjusting brightness and creating the perfect ambiance with a Legrand dimmer switch. Save energy, extend light bulb lifespan, and enhance your home’s overall feel.
Read more: Installing A Chandelier And Dimmer Switch
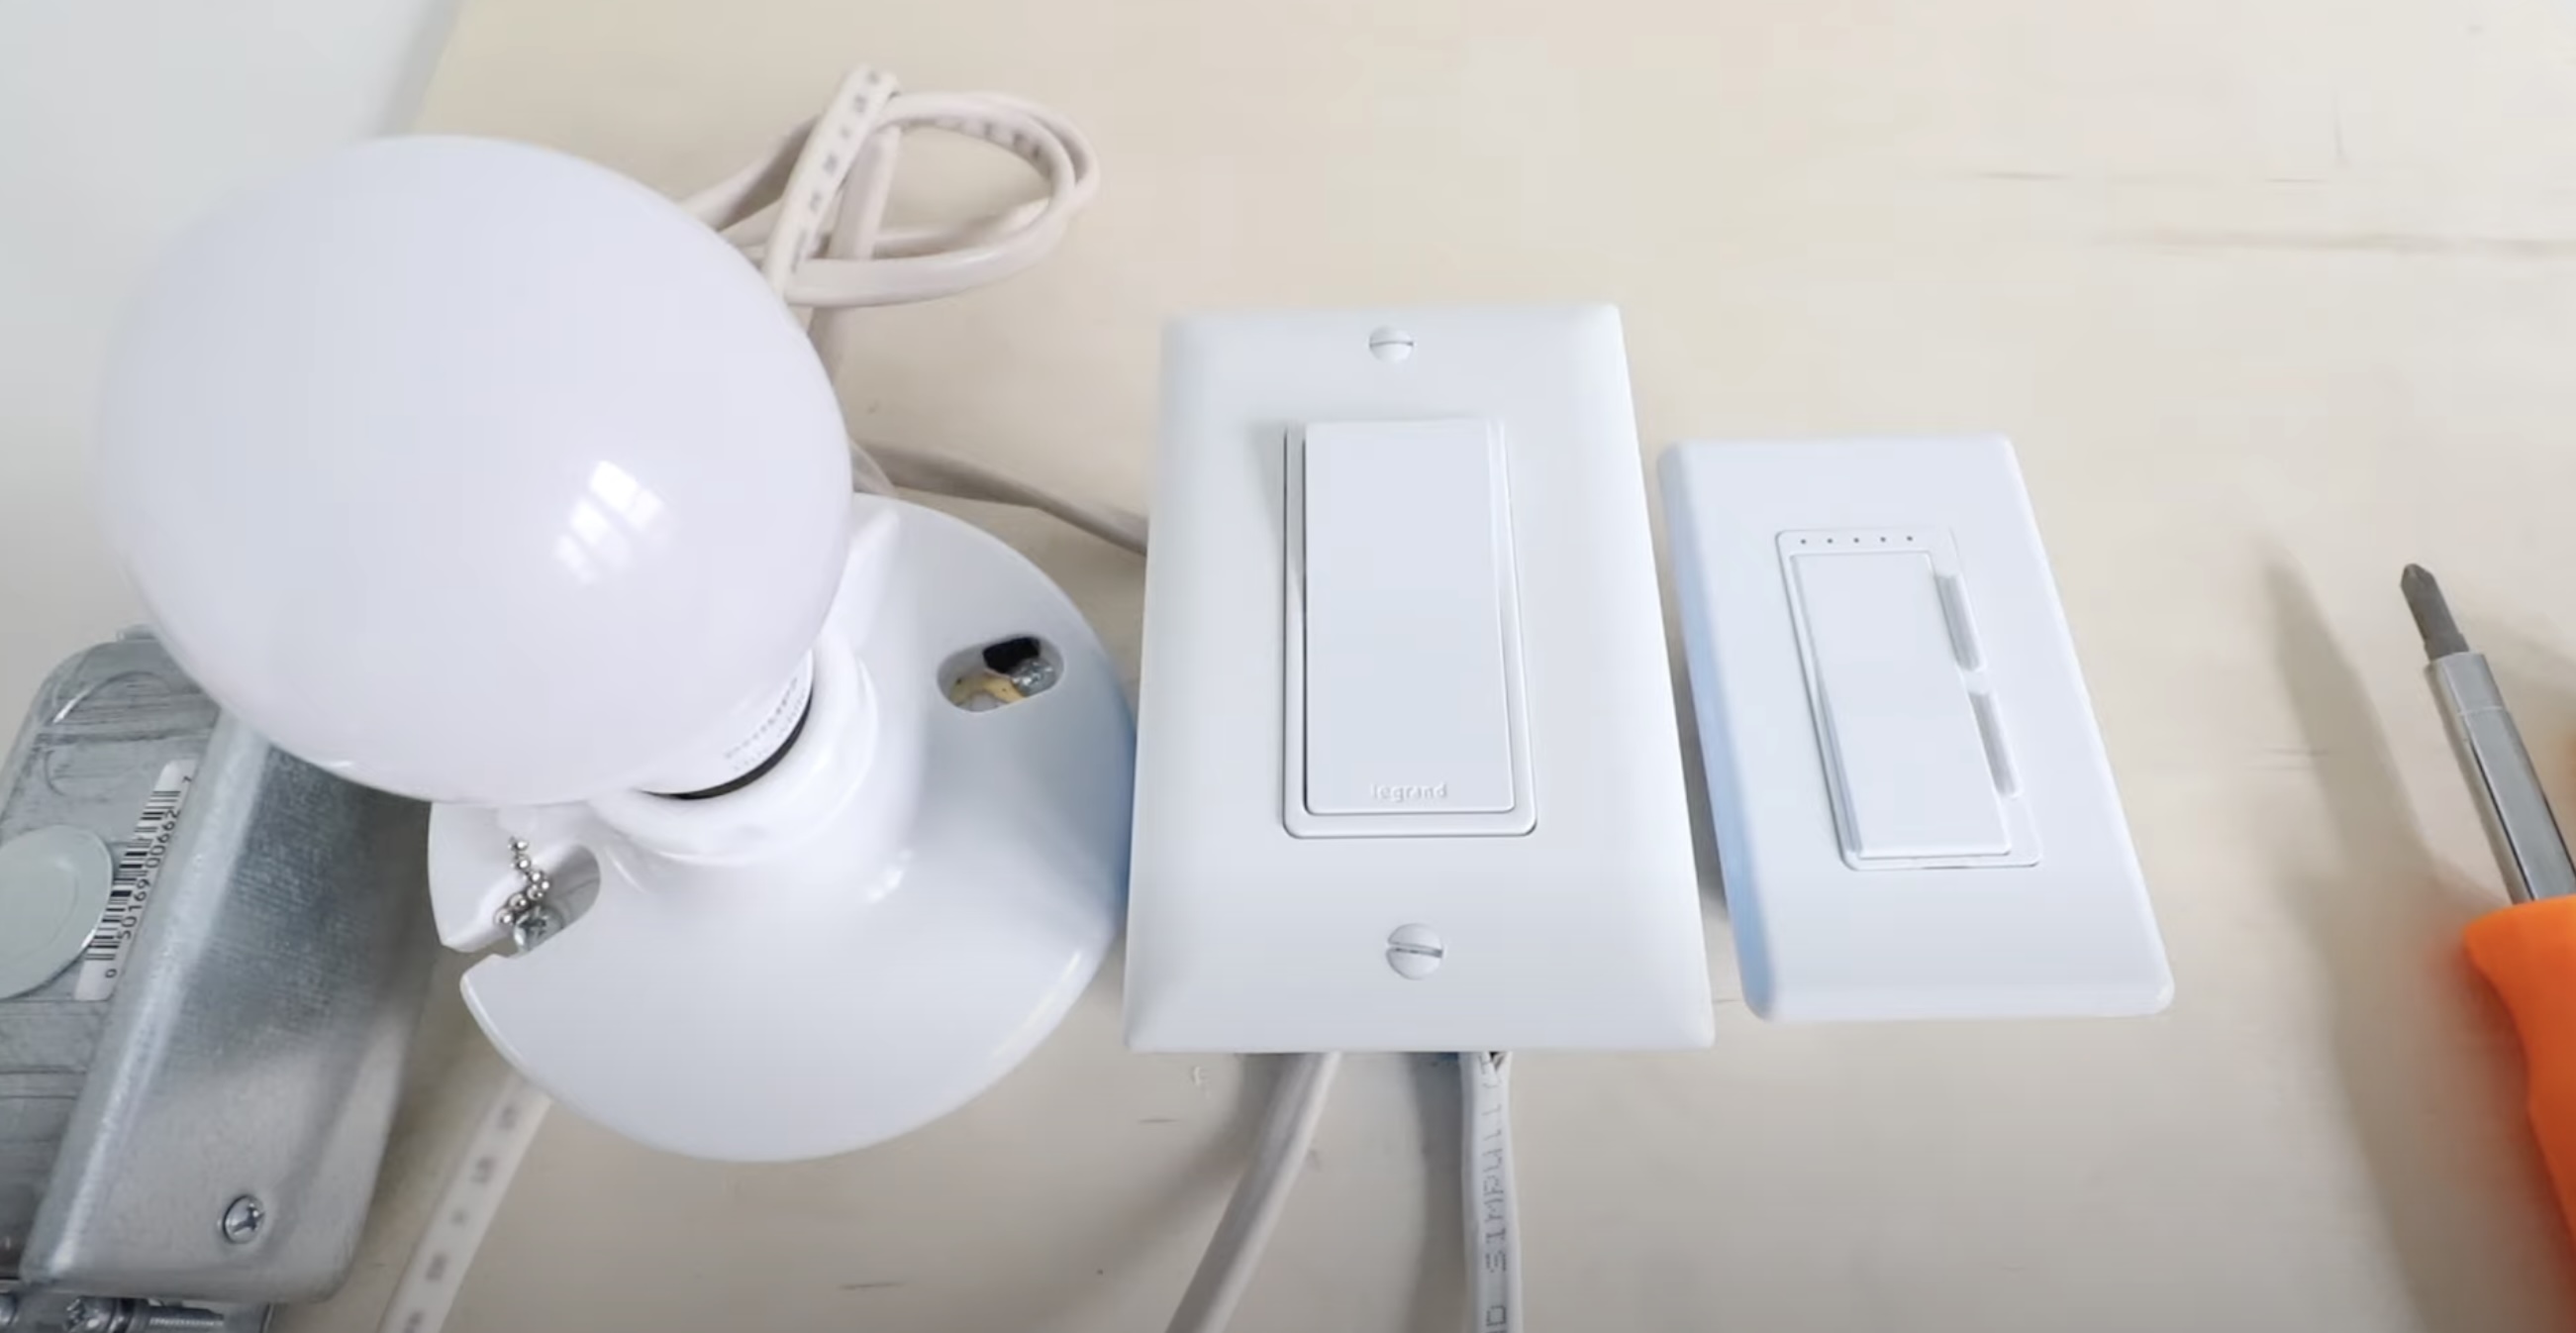
Step 1: Gather the necessary tools and materials
Before you begin installing the Legrand dimmer switch, it’s important to make sure you have all the tools and materials required for the job. This will ensure that the installation process goes smoothly and reduces the chances of any delays or complications. Here’s a list of the tools and materials you’ll need:
- Flat-head screwdriver: This will be used to remove the old switch and secure the new dimmer switch.
- Wire stripper: You’ll need this tool to strip the insulation off the wires and make proper connections.
- Needle-nose pliers: These pliers come in handy for bending and shaping wires during the installation process.
- Voltage tester: This tool is essential for ensuring that the power is switched off before starting any work.
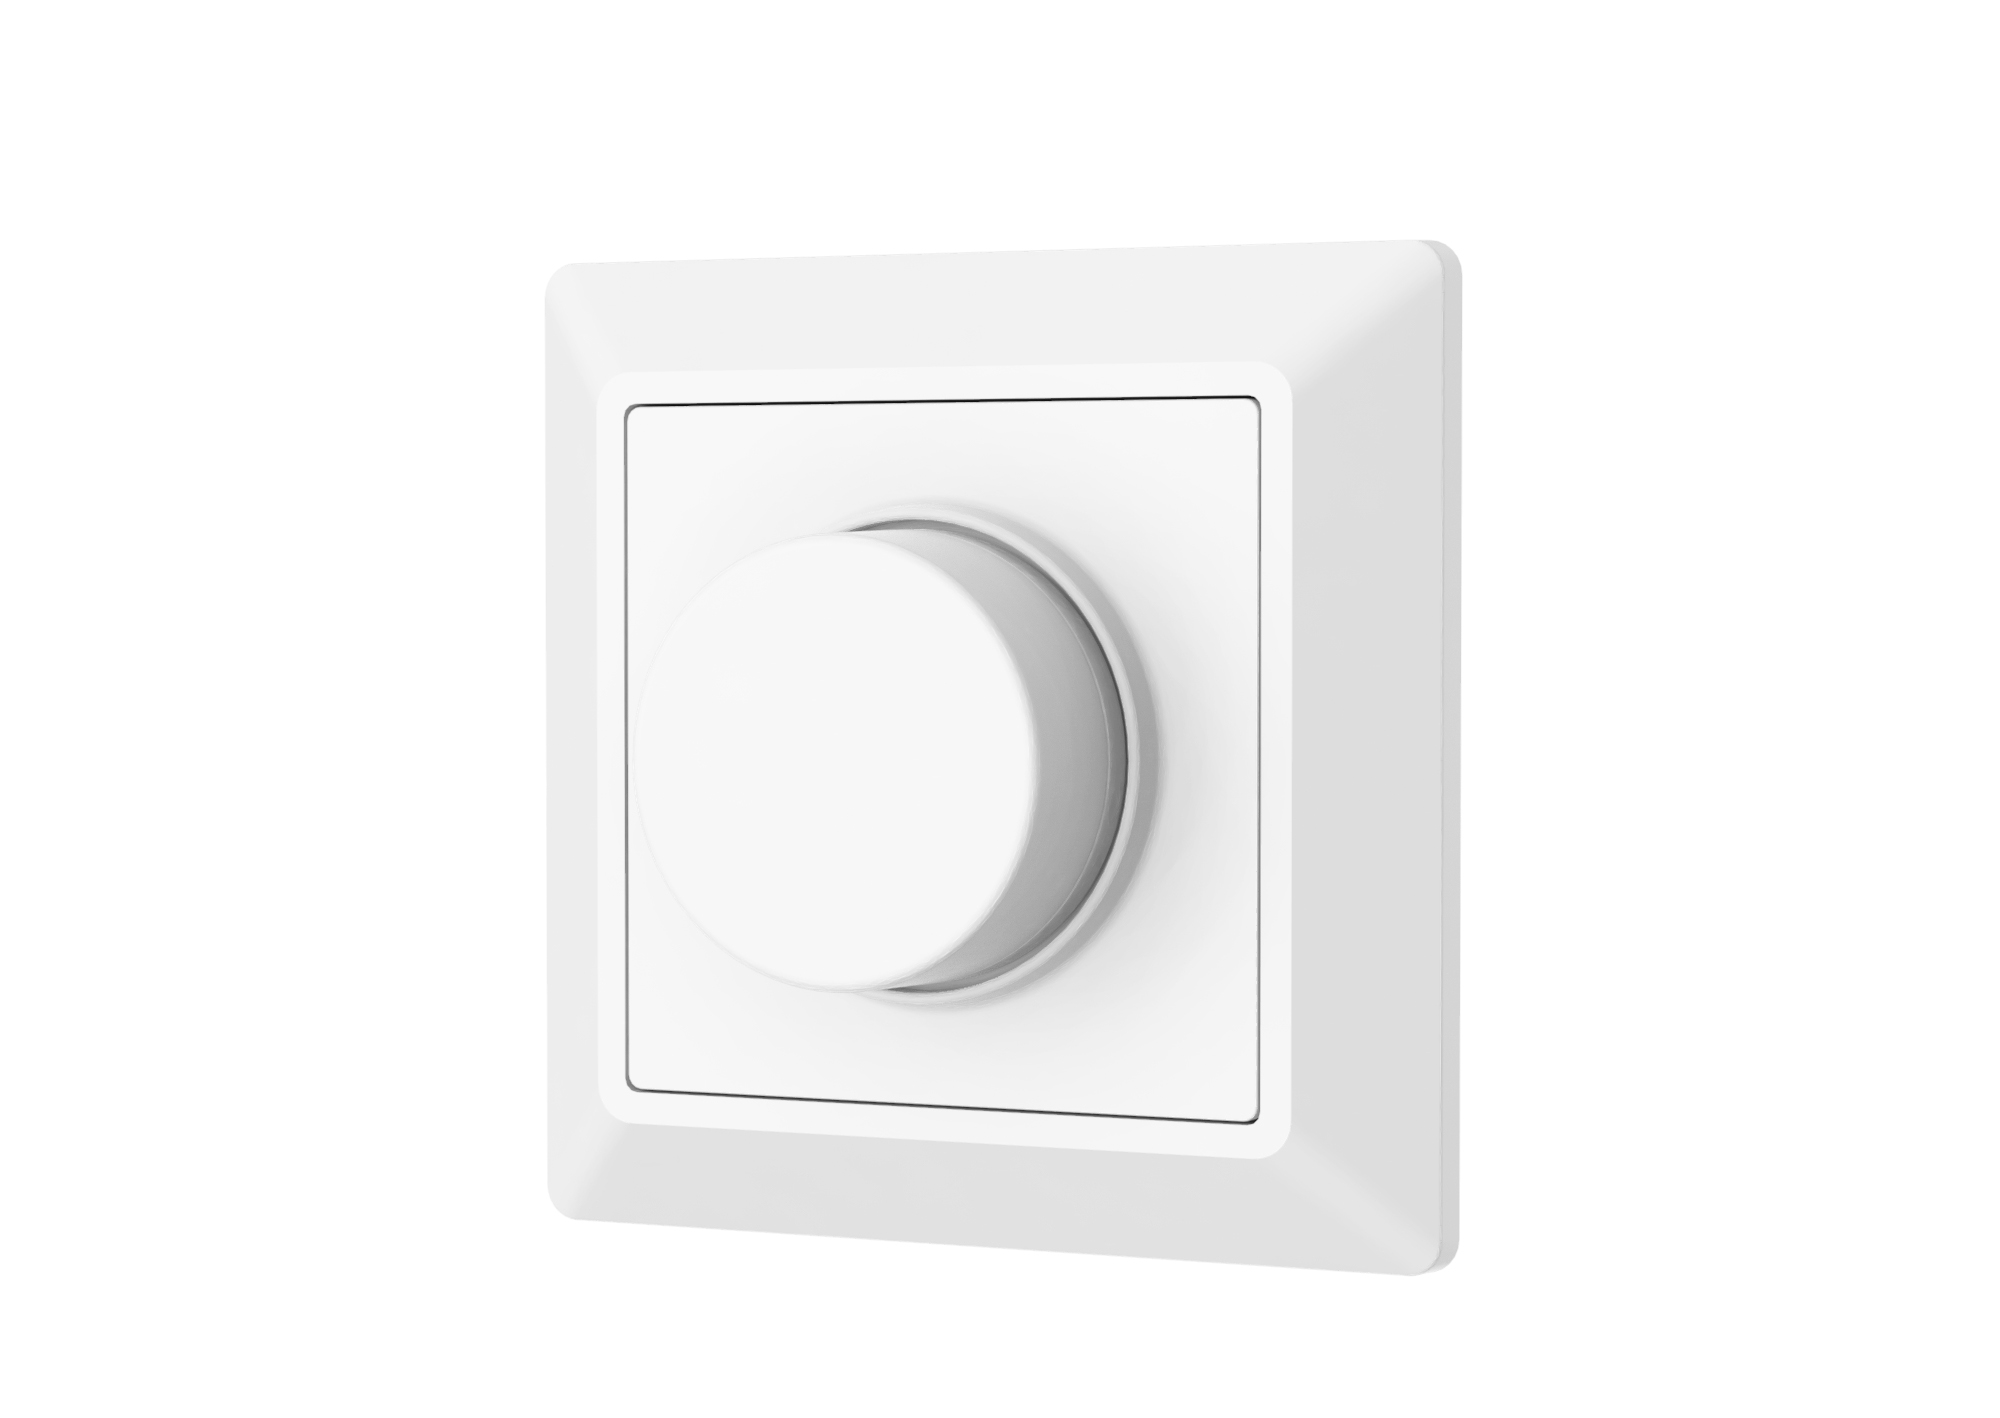
- Legrand dimmer switch: Choose a model that suits your needs and is compatible with your existing wiring.
- Wire nuts: These connectors are used to secure and join wires together.
- Electrical tape: It’s always wise to have electrical tape on hand to insulate and protect wire connections.
Once you’ve gathered all the necessary tools and materials, you’re ready to move on to the next step, which involves turning off the power.
Step 2: Turn off the power
Before you start working on the installation of the Legrand dimmer switch, it is absolutely crucial to turn off the power to avoid any electrical accidents. Here’s how you can do it:
- Locate the circuit breaker panel in your home. It is usually located in the basement, utility room, or garage.
- Open the circuit breaker panel cover. You may need to use a screwdriver to remove the cover.
- Look for the breaker that controls the power supply to the room where you’ll be installing the dimmer switch. Most circuit breaker panels have labels indicating which breaker controls each area of the house. If the panel is not labeled, you might need to switch off the main breaker to cut off the power supply to the entire house.
- Once you have identified the correct breaker, switch it to the “off” position. You can do this by pushing the lever or flipping the switch depending on your circuit breaker panel type.
- To ensure that the power is completely off, test the room’s circuits using a voltage tester. Insert the voltage tester into the switch box where the old switch was located and confirm that there is no power detected. Double-check by testing nearby outlets and light switches.
Once you have confirmed that the power is turned off, you can proceed with the installation process safely. Remember, electrical work can be dangerous, so it’s important to exercise caution and take the necessary safety precautions throughout the installation.
Now that the power is switched off, it’s time to remove the old switch. This will be covered in the next step.
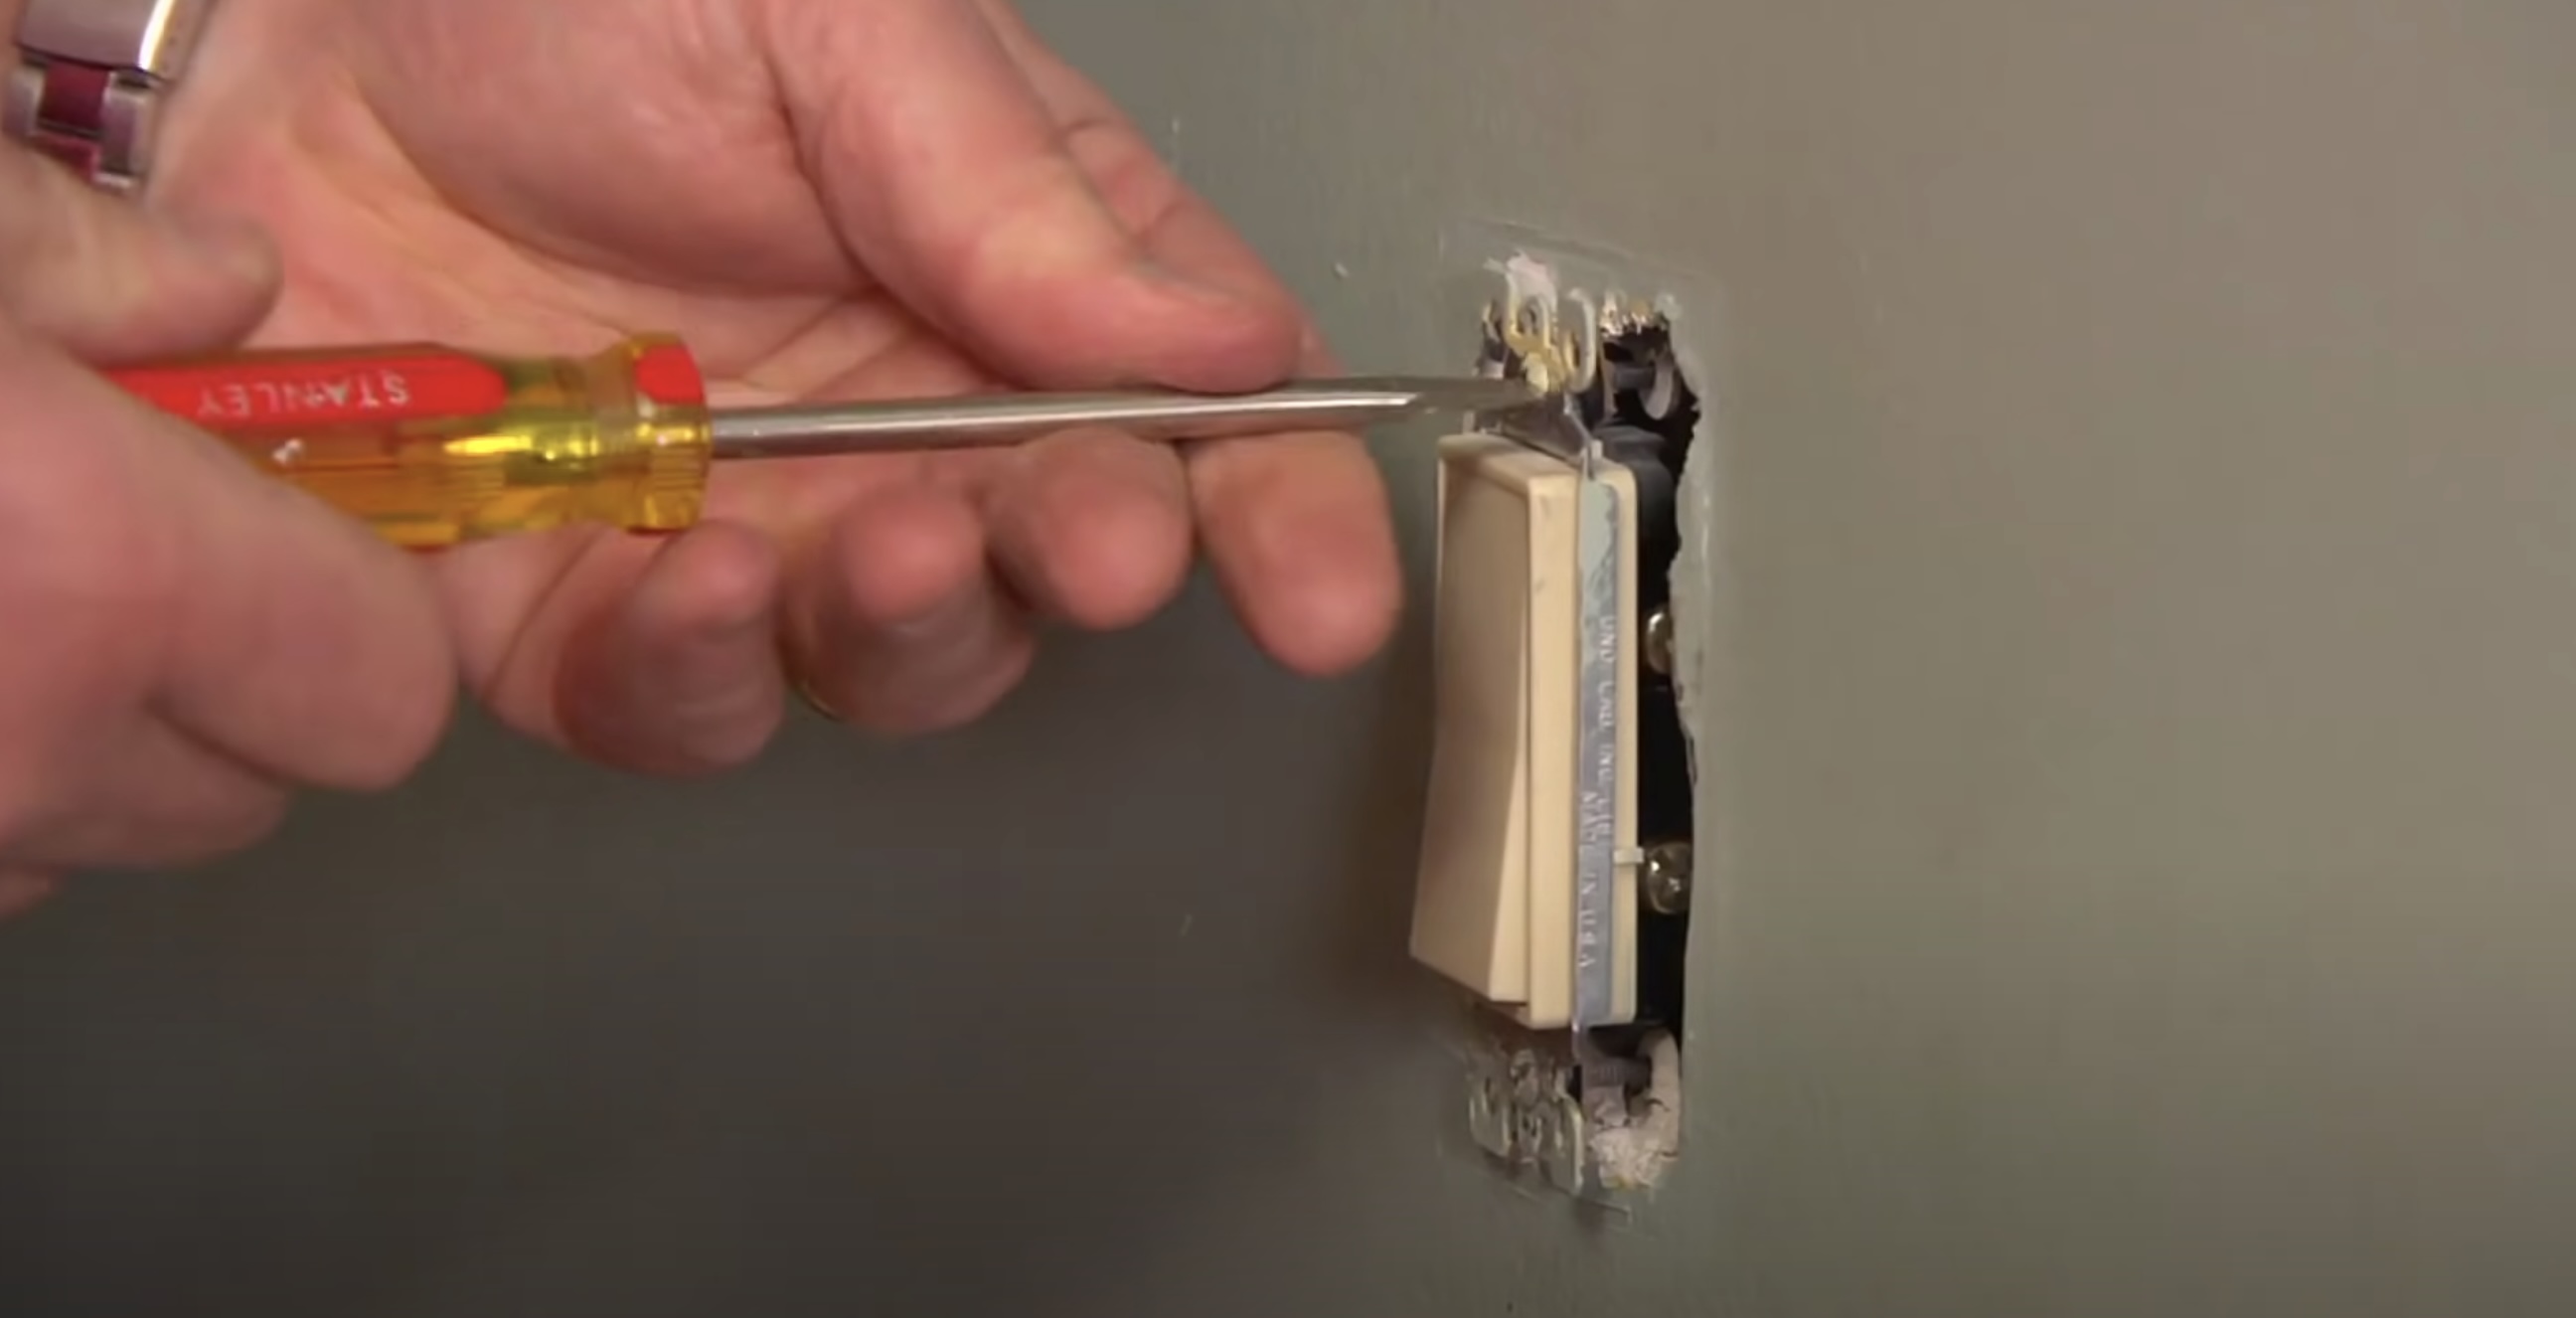
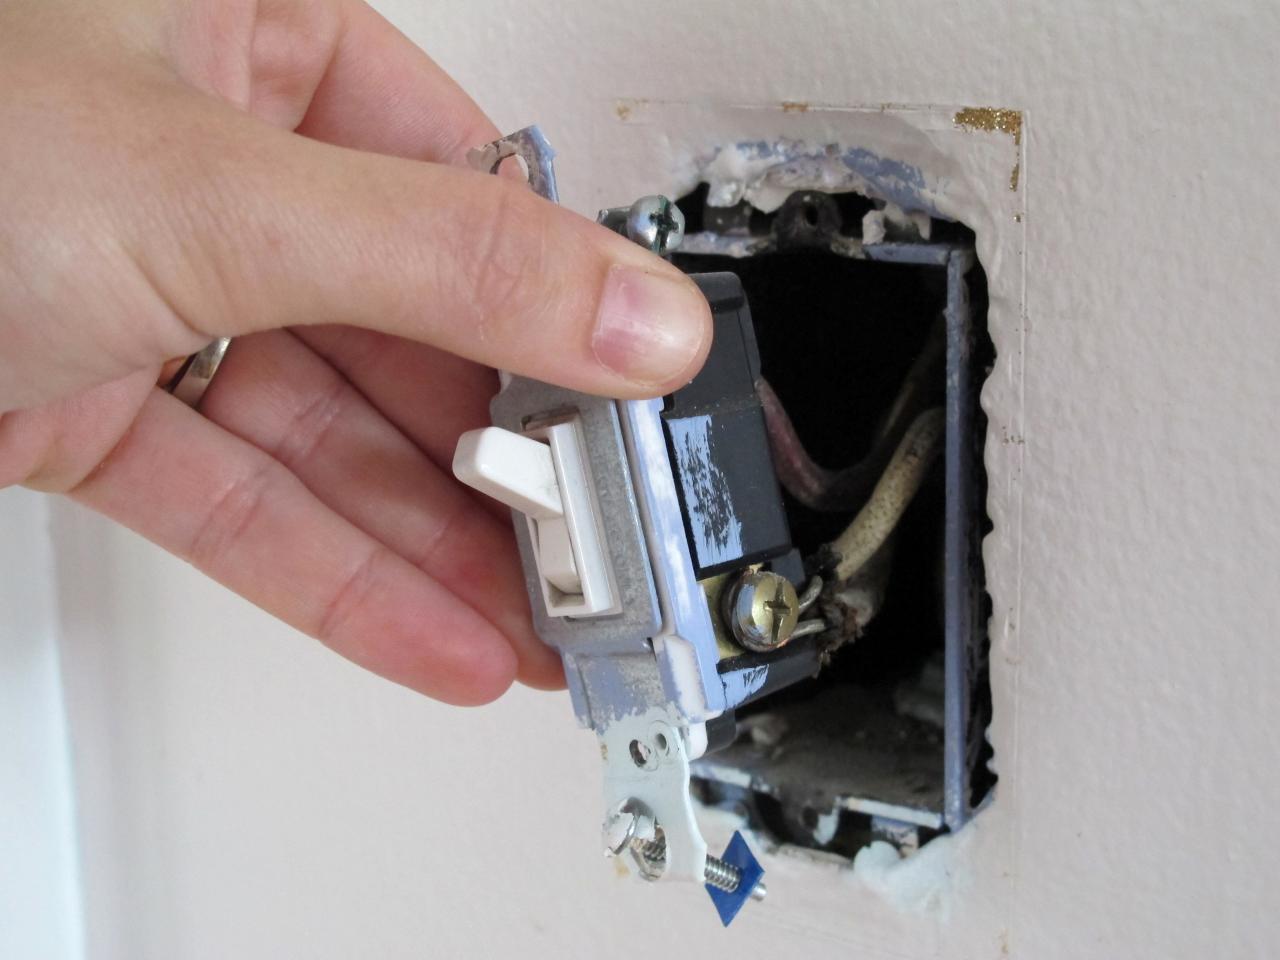
Step 3: Remove the old switch
Now that the power is turned off, it’s time to remove the old switch before installing the Legrand dimmer switch. Follow these steps to safely remove the old switch:
- Using a flat-head screwdriver, unscrew the cover plate of the old switch. Set the cover plate aside.
- Next, remove the screws that secure the old switch to the electrical box. There are typically two screws, one at the top and one at the bottom of the switch.
- Gently pull the old switch out of the electrical box, being careful not to damage the wires or surrounding components.
- Once the old switch is removed, take a moment to inspect the wiring. Pay attention to the colors of the wires and note their positions.
- If necessary, use a voltage tester to confirm that there is no electricity flowing through the wires. This is an important safety step before proceeding.
After you have successfully removed the old switch and ensured that the power is off, it’s time to prepare the wires for connecting the Legrand dimmer switch. This will be covered in the next step.
Step 4: Prepare the wires
Now that the old switch has been removed, it’s time to prepare the wires for connecting the Legrand dimmer switch. Proper preparation of the wires is essential for a secure and reliable connection. Here’s what you need to do:
- Start by examining the wires coming out of the electrical box. Identify the following wires:
- Black (Hot) Wire: This wire carries the electric current from the circuit breaker to the switch.
- White (Neutral) Wire: This wire completes the electrical circuit and should be connected to the dimmer switch.
- Green (Ground) Wire: This wire provides a path for electrical current to safely ground in case of a short circuit.
- If you notice any damaged or frayed wires, it’s important to replace them before proceeding with the installation.
- Using a wire stripper, carefully strip about 1/2 inch of insulation from the end of each wire.
- If your dimmer switch has pre-attached leads, you can skip this step. Otherwise, you will need to remove about 1/2 inch of insulation from the ends of the leads.
- After stripping the wires, twist the exposed strands to form clean and tight connections. This will ensure a strong connection between the wires and the dimmer switch.
- For added safety and to prevent any exposed wires from coming into contact with each other, wrap each wire connection with electrical tape.
Once you have prepared the wires, you are ready to connect the Legrand dimmer switch. This will be covered in the next step.
When installing a Legrand dimmer switch, make sure to turn off the power at the circuit breaker before beginning the installation. This will ensure your safety while working with electrical components.
Read more: How To Install A Smart Dimmer Switch
Step 5: Connect the dimmer switch
With the wires prepared, it’s time to connect the Legrand dimmer switch to the existing wiring. Follow these steps to ensure a secure and proper connection:
- Start by identifying the different screw terminals on the dimmer switch. These are typically labeled with letters or symbols that indicate their function.
- Connect the black (hot) wire from the electrical box to the terminal on the dimmer switch labeled “Hot” or “Line”.
- Connect the white (neutral) wire from the electrical box to the terminal on the dimmer switch labeled “Neutral” or “Load”. If your dimmer switch does not have a specific terminal for the neutral wire, consult the manufacturer’s instructions for guidance on connecting the neutral wire.
- If there is a green (ground) wire in the electrical box, connect it to the grounding screw on the dimmer switch. If your dimmer switch does not have a grounding screw, consult the manufacturer’s instructions for guidance on grounding the switch.
- Double-check that all the connections are secure and tight. Ensure that there are no loose wires or exposed copper showing.
- If your dimmer switch has pre-attached leads, simply connect the corresponding wires from the electrical box to the matching colored leads on the dimmer switch.
- If your dimmer switch requires wire nuts for connection, twist the exposed wires together and secure them with the appropriate size wire nut.
- Once the connections are made, gently push the wires back into the electrical box, being careful not to pinch or damage any wires.
With the dimmer switch connections in place, it’s time to attach the switch to the wall. This will be covered in the next step.
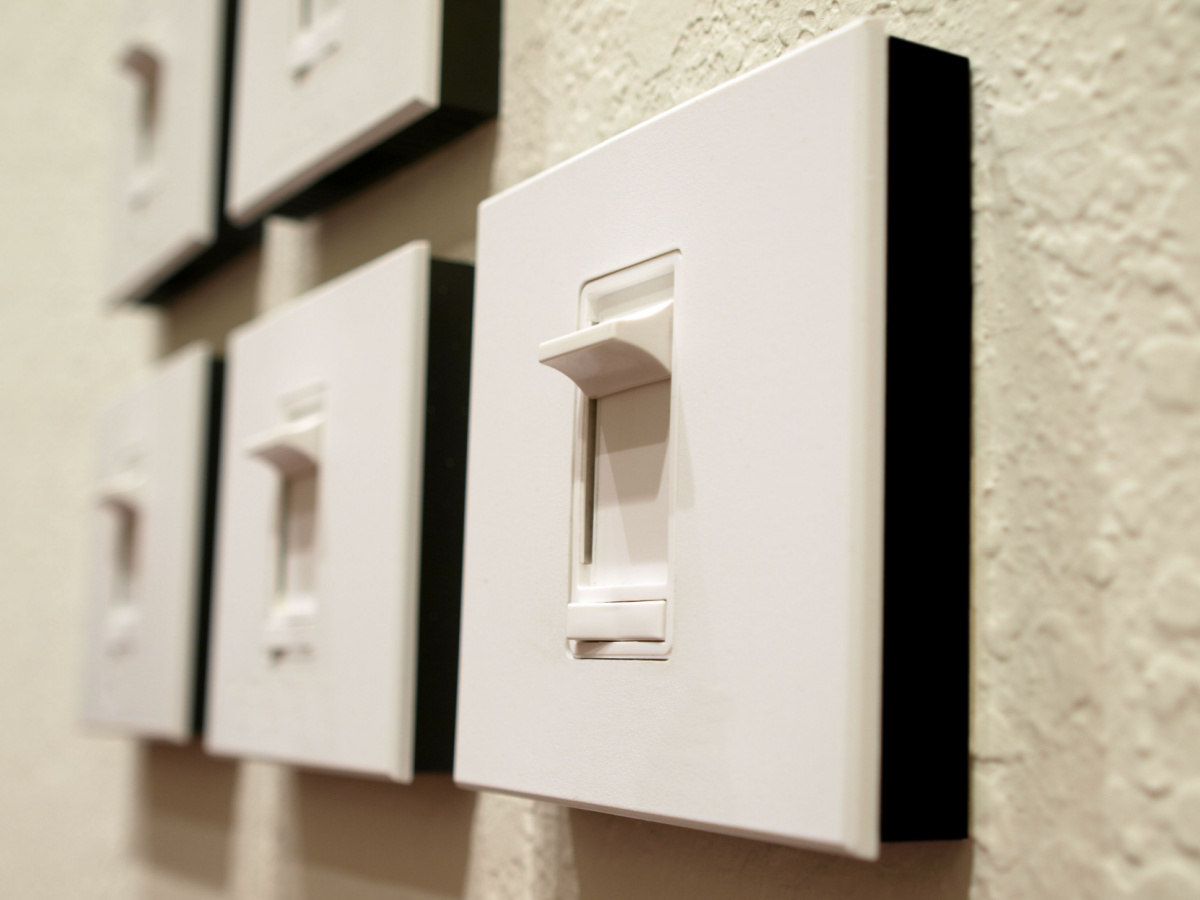
Step 6: Attach the dimmer switch to the wall
Now that you have successfully connected the Legrand dimmer switch to the existing wiring, it’s time to securely attach the switch to the wall. Follow these steps to ensure a proper installation:
- Position the dimmer switch in the desired location on the wall. Make sure it is aligned with the electrical box and sits flush against the wall surface.
- Insert the mounting screws provided with the dimmer switch into the screw holes on the switch plate. Using a screwdriver, gently tighten the screws to secure the switch to the wall.
- Check that the switch is level and properly aligned. Make any adjustments as necessary.
- Once the switch is securely attached to the wall, carefully snap the switch cover plate onto the switch. Align the screw holes on the cover plate with the corresponding holes on the switch and insert the cover plate screws.
- Tighten the cover plate screws gently using a screwdriver. Be careful not to overtighten and risk damaging the switch or cover plate.
With the dimmer switch securely attached to the wall, it’s time to restore the power and test the switch. This will be covered in the next step.
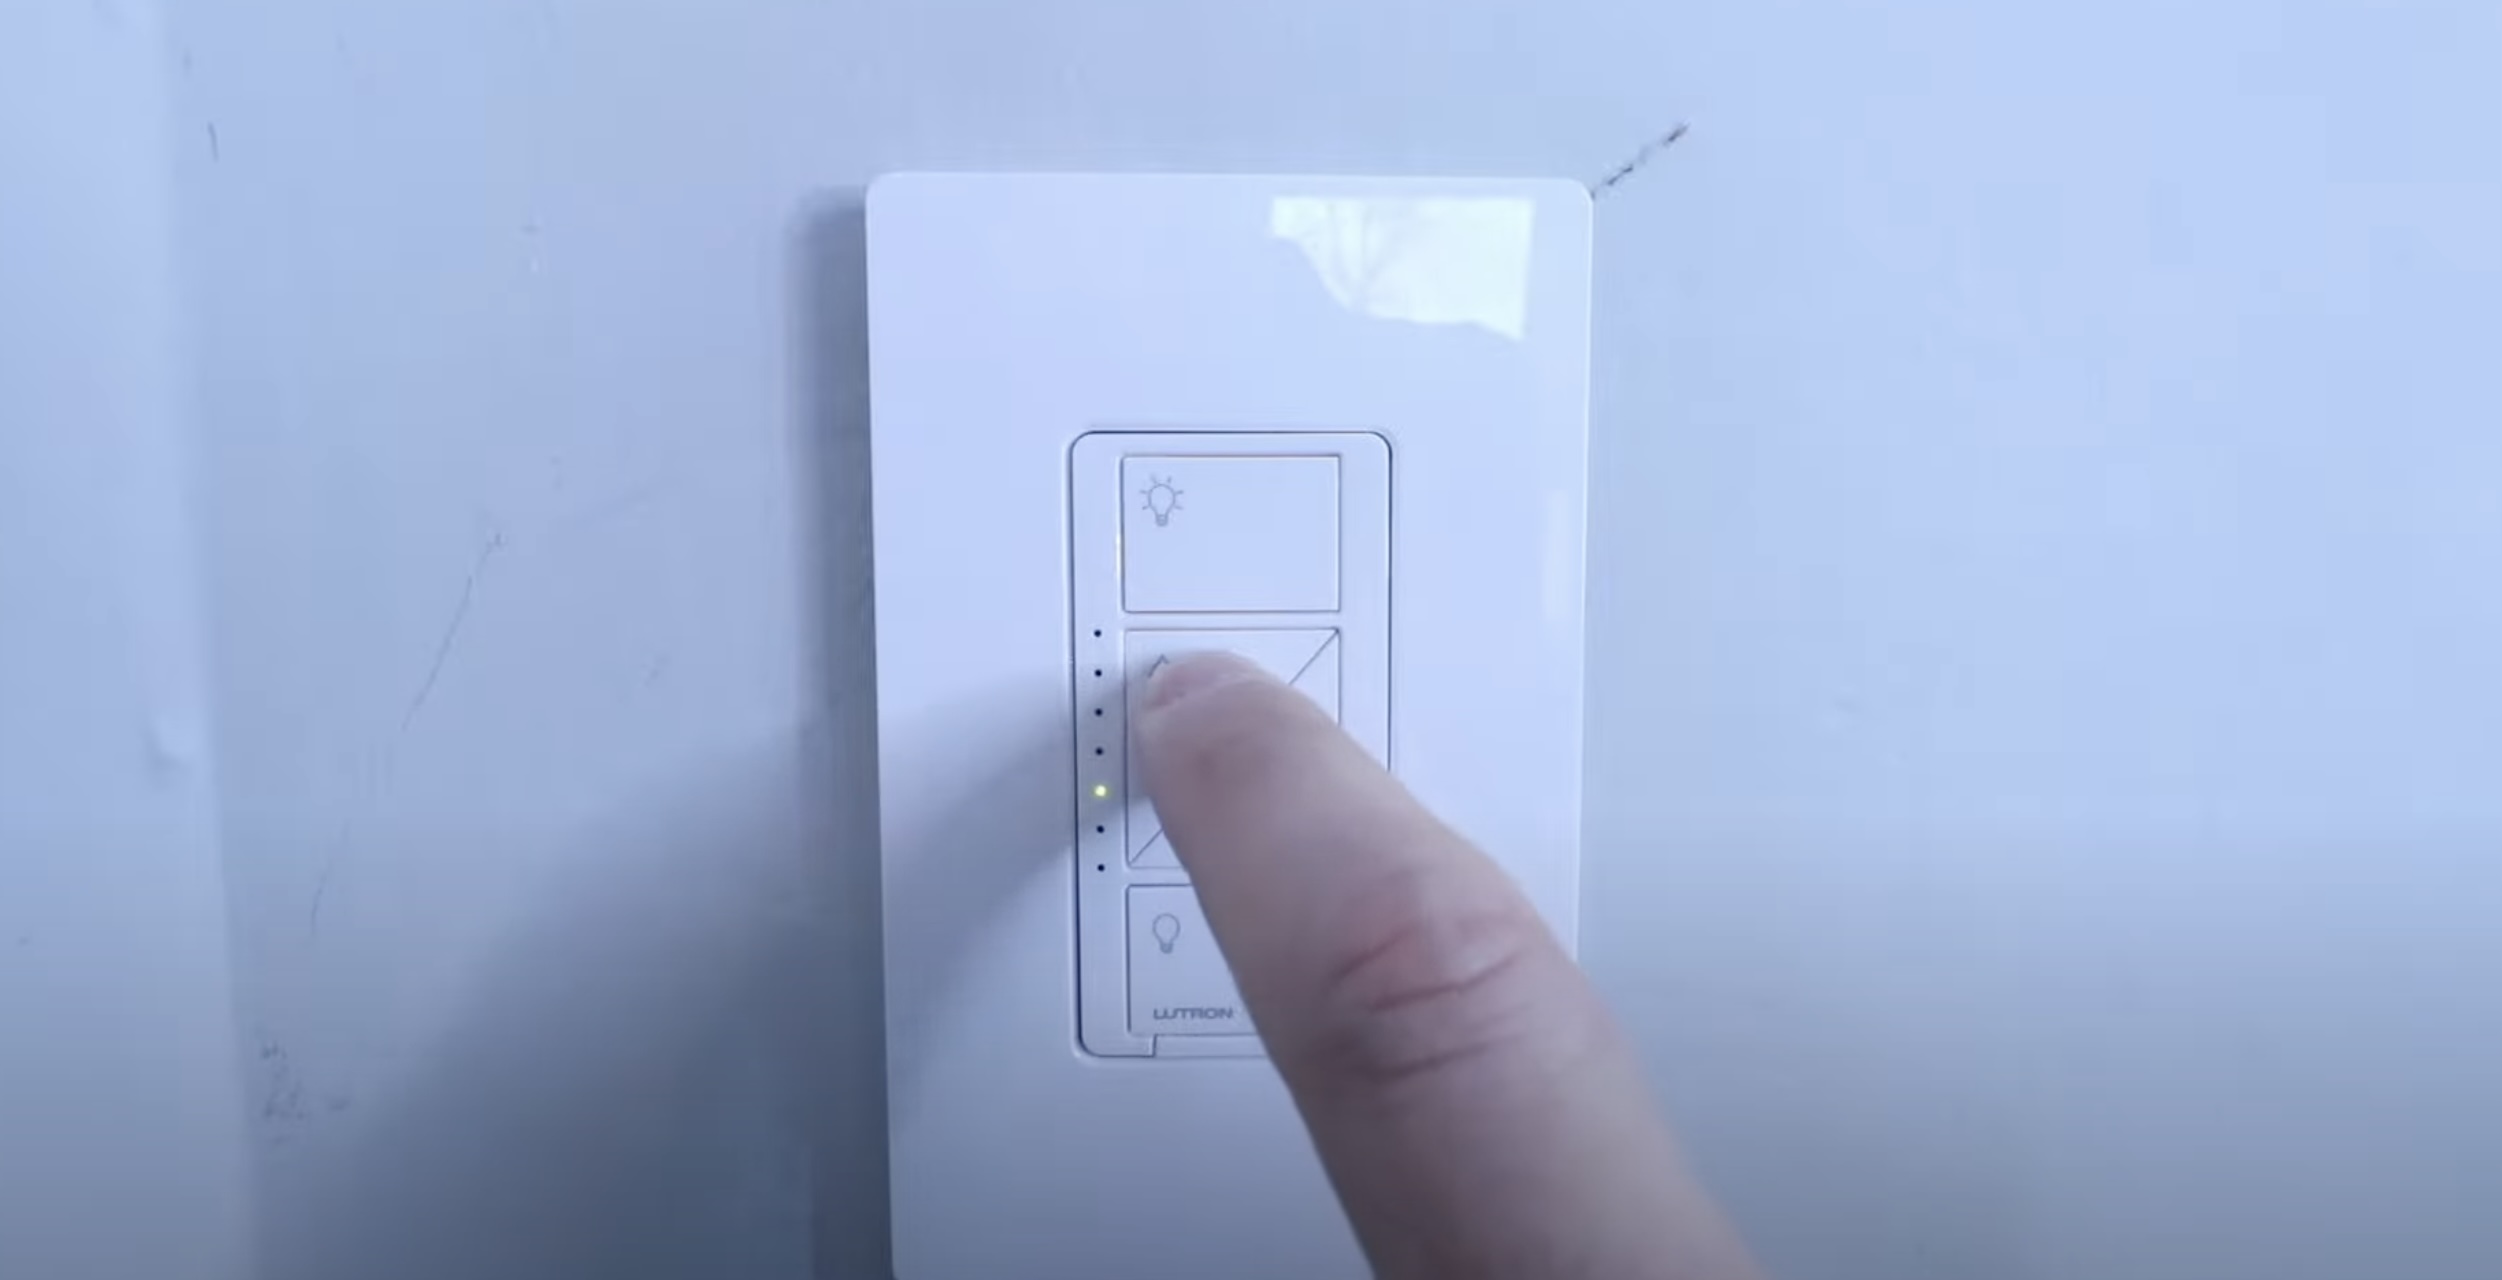
Step 7: Restore the power and test the switch
Now that the Legrand dimmer switch is installed and securely attached to the wall, it’s time to restore the power and test the switch to ensure everything is working properly. Follow these steps:
- Return to the circuit breaker panel and locate the breaker that controls the power supply to the room where the dimmer switch was installed.
- Switch the breaker back to the “on” position.
- Return to the room and test the dimmer switch by flipping it on and off. You should notice that the light gradually dims and brightens depending on the position of the switch.
- If the dimmer switch is not functioning properly, double-check the connections, ensuring all wires are securely connected. It’s also worth checking the manufacturer’s instructions to verify that the dimmer switch is compatible with your existing wiring.
- If everything is working as expected, you can now enjoy the benefits of your new Legrand dimmer switch! Adjust the lighting to create the desired ambiance and save energy while extending the lifespan of your light bulbs.
It’s always a good idea to periodically check the dimmer switch and the connections to make sure they remain secure. If you experience any issues or notice any abnormalities, consult a qualified electrician to assess and address the situation.
Congratulations on successfully installing a Legrand dimmer switch! You’ve taken a step toward enhancing your home’s lighting control and creating a more comfortable and energy-efficient space.
Before we conclude, let’s recap the installation steps:
- Gather the necessary tools and materials
- Turn off the power
- Remove the old switch
- Prepare the wires
- Connect the dimmer switch
- Attach the dimmer switch to the wall
- Restore the power and test the switch
We hope this guide has been helpful in guiding you through the installation process of a Legrand dimmer switch. Enjoy your newly installed dimmer switch and the flexibility it provides in controlling your home’s lighting!
Conclusion
Installing a Legrand dimmer switch is a fantastic way to upgrade your home’s lighting control and create a more comfortable and inviting atmosphere. By following the steps outlined in this guide, you can successfully install the dimmer switch and enjoy the benefits it offers.
Remember to prioritize safety throughout the installation process. Always turn off the power at the circuit breaker before starting any work and consult a qualified electrician if you have any concerns or doubts about the installation.
Gathering the necessary tools and materials, turning off the power, removing the old switch, preparing the wires, connecting the dimmer switch, attaching it to the wall, and restoring power and testing the switch are the key steps to ensure a successful installation.
With a Legrand dimmer switch in place, you’ll have the ability to adjust the brightness of your lights and set the ideal ambiance for any occasion. Not only does this enhance the overall feel of your space, but it also helps save energy and extends the lifespan of your light bulbs.
If you encounter any issues or have questions during the installation, it’s always a good idea to refer to the manufacturer’s instructions or seek assistance from a professional electrician.
Congratulations on completing the installation of your Legrand dimmer switch! Enjoy the improved lighting control and the inviting atmosphere it brings to your home.
Thank you for choosing Legrand and for utilizing this comprehensive guide. We hope it has been helpful in your dimmer switch installation journey!
Frequently Asked Questions about How To Install A Legrand Dimmer Switch
Was this page helpful?
At Storables.com, we guarantee accurate and reliable information. Our content, validated by Expert Board Contributors, is crafted following stringent Editorial Policies. We're committed to providing you with well-researched, expert-backed insights for all your informational needs.


0 thoughts on “How To Install A Legrand Dimmer Switch”