Home>Renovation & DIY>DIY Projects & Ideas>DIY Projects: How To Charge A Battery

DIY Projects & Ideas
DIY Projects: How To Charge A Battery
Modified: January 4, 2024
Learn how to charge a battery with our easy DIY projects and ideas. Get step-by-step instructions for charging various types of batteries at home. Start your DIY project today!
(Many of the links in this article redirect to a specific reviewed product. Your purchase of these products through affiliate links helps to generate commission for Storables.com, at no extra cost. Learn more)
Introduction
Welcome to the exciting world of DIY projects! Whether you are a seasoned DIY enthusiast or just starting out, learning how to charge a battery is a valuable skill that can come in handy for a wide range of projects. From reviving old car batteries to powering up your favorite gadgets, knowing how to properly charge a battery can save you time and money while keeping your devices running smoothly.
In this comprehensive guide, we will delve into the intricacies of battery charging, providing you with the knowledge and confidence to tackle this essential task with ease. So, grab your tools and let’s dive into the fascinating realm of battery charging!
Key Takeaways:
- Master the art of battery charging by understanding the principles, assembling the right tools, and following a step-by-step process for safe and effective charging.
- Prioritize safety by working in a well-ventilated area, wearing protective gear, choosing the right charger, and monitoring the charging process closely.
Read more: How To Cut Shirts For DIY Projects
Understanding Battery Charging
Before diving into the practical aspects of charging a battery, it’s essential to understand the basic principles behind this process. Batteries, whether they are used in cars, electronic devices, or renewable energy systems, store electrical energy in the form of chemical energy. When a battery is connected to a charger, an electrical current is passed through it, causing a chemical reaction that reverses the discharge process, effectively restoring the battery’s energy levels.
There are several types of batteries, each with its unique charging requirements. Lead-acid batteries, commonly found in cars and other vehicles, require a different charging method than lithium-ion batteries, which are prevalent in electronic devices. Understanding the specific needs of the battery you are working with is crucial to ensure safe and efficient charging.
Furthermore, the charging process involves multiple stages, including bulk charging, absorption charging, and float charging. Each stage serves a distinct purpose, from rapidly replenishing the battery’s charge to maintaining it at optimal levels without overcharging. By familiarizing yourself with these stages, you can tailor the charging process to suit the requirements of the battery, prolonging its lifespan and maximizing its performance.
Additionally, factors such as voltage, current, and temperature play critical roles in the charging process. Overlooking these factors can lead to undercharging, overcharging, or even damage to the battery. Therefore, it’s essential to adhere to the manufacturer’s specifications and recommended charging parameters for the specific battery you are working with.
By gaining a solid understanding of battery charging principles, you can approach the task with confidence and precision, ensuring that your batteries are charged effectively and safely for optimal performance.
Tools and Materials Required
Before embarking on a battery charging project, it’s essential to gather the necessary tools and materials to ensure a smooth and efficient process. The specific requirements may vary depending on the type of battery and the charging method being utilized. Here’s a comprehensive list of tools and materials commonly needed for charging various types of batteries:
Tools:
- Battery charger: Select a charger that is compatible with the type and voltage of the battery you are working with. Different chargers are designed for specific battery chemistries and voltages, so it's crucial to choose the right one for your application.
- Multimeter: This essential tool allows you to measure the voltage and current of the battery, providing valuable insights into its charging status and overall health.
- Safety goggles and gloves: Protect your eyes and hands from potential splashes or spills during the charging process.
- Clean cloth and battery cleaning solution: If the battery terminals are corroded or dirty, a clean cloth and specialized cleaning solution can be used to remove any buildup, ensuring a secure connection during charging.
- Terminal cleaning tool: For automotive batteries, a terminal cleaning tool can help remove corrosion and ensure a solid connection between the battery terminals and the charger.
- Wrench or pliers: These tools may be necessary for disconnecting the battery from a vehicle or electronic device before charging.
Materials:
- Baking soda and water: A solution of baking soda and water can be used to neutralize and clean any acid spills or corrosion on lead-acid batteries.
- Distilled water: Some types of lead-acid batteries, such as wet-cell automotive batteries, may require the addition of distilled water to maintain proper electrolyte levels during charging.
- Charging cables: Ensure you have the appropriate cables to connect the battery to the charger, with insulated clamps or connectors to prevent accidental short circuits.
- Protective covering: Depending on the charging location and environmental factors, a protective covering such as a tarp or plastic sheet may be needed to shield the charging area from elements like rain or excessive sunlight.
By assembling these tools and materials before beginning the battery charging process, you can approach the task with confidence, knowing that you have everything you need to charge your battery safely and effectively.
Read more: How To Build Custom Cedar Shutters
Steps to Charge a Battery
Charging a battery involves a series of carefully executed steps to ensure the process is safe, effective, and tailored to the specific requirements of the battery being charged. Whether you are working with a car battery, a rechargeable household battery, or a portable power bank, following these steps will help you navigate the charging process with confidence:
Step 1: Prepare the Charging Area
Before connecting the battery to the charger, ensure that the charging area is well-ventilated and free from any potential sources of ignition. If working with a lead-acid battery, take precautions to prevent exposure to corrosive fumes, and consider wearing protective eyewear and gloves.
Step 2: Select the Appropriate Charger
Choose a battery charger that is compatible with the type and voltage of the battery you are charging. Different battery chemistries, such as lead-acid, lithium-ion, and nickel-metal hydride, require specific charging methods to prevent damage and promote optimal performance.
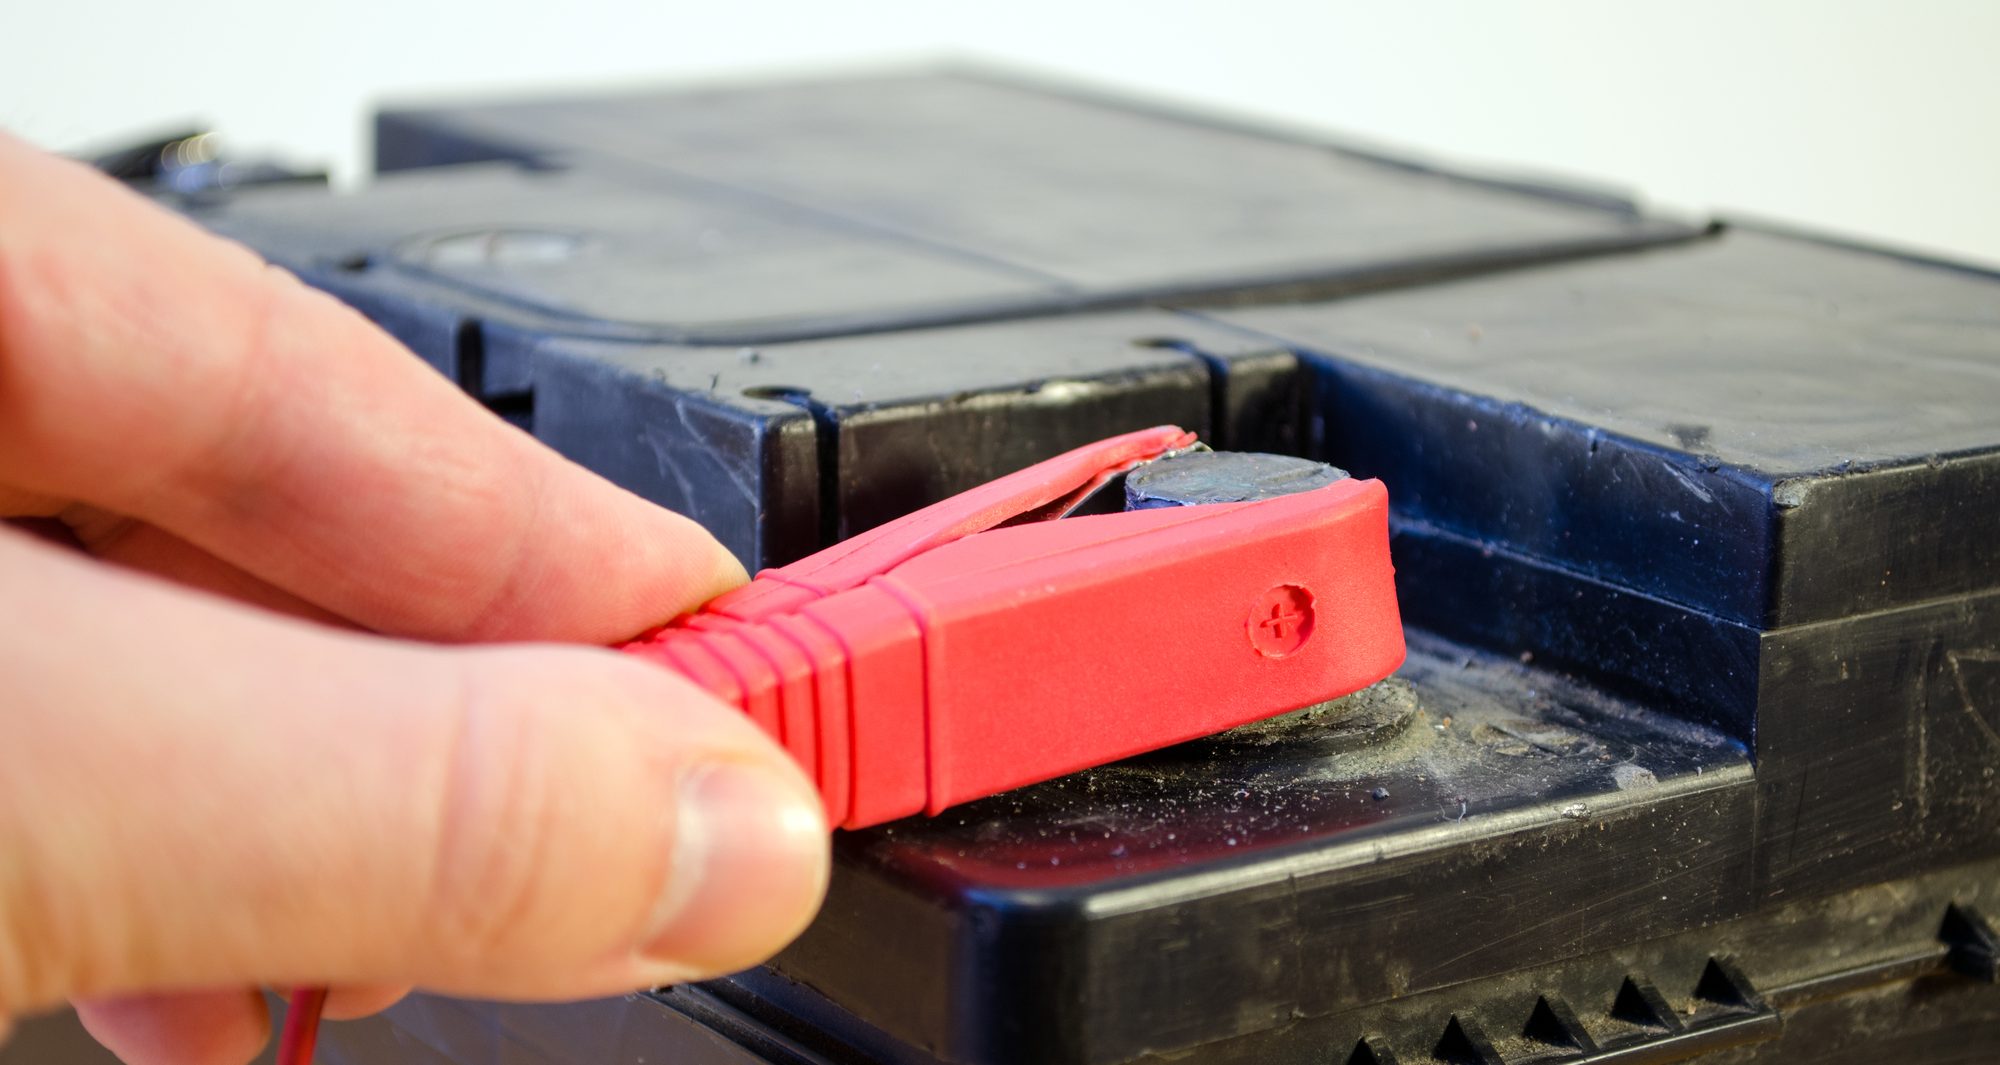
Step 3: Connect the Charger
Ensure that the charger is unplugged before making any connections. If the battery is still connected to a vehicle or device, disconnect it before proceeding. Connect the positive (red) charger clamp to the positive terminal of the battery and the negative (black) clamp to the negative terminal. If using a portable power bank or rechargeable battery, follow the manufacturer’s instructions for connecting the charger.
Step 4: Set the Charging Parameters
Refer to the battery manufacturer’s specifications or the charger’s manual to determine the appropriate charging parameters, including voltage and current settings. Adjust the charger settings accordingly to match the requirements of the battery being charged. Some modern chargers may automatically detect and set the optimal charging parameters for the connected battery.
Step 5: Initiate the Charging Process
Once the charger is properly connected and the settings are adjusted, plug in the charger to initiate the charging process. Monitor the charger and the battery closely during this time, ensuring that the charging process is proceeding as expected and that there are no signs of overheating or other issues.
Step 6: Monitor the Charging Progress
Use a multimeter to periodically check the voltage and current levels of the battery throughout the charging process. This will provide valuable insights into the battery’s status and help ensure that it is charging at the proper rate. Additionally, keep an eye out for any unusual odors, excessive heat, or other signs of potential problems.
Step 7: Complete the Charging Process
When the battery reaches the appropriate charge level, as indicated by the charger or the multimeter readings, carefully disconnect the charger from the battery, following the manufacturer’s recommended procedures. Ensure that the charger is turned off and unplugged before removing the clamps or connectors from the battery terminals.
By following these steps and paying close attention to the specific requirements of the battery and charger, you can successfully charge a wide range of batteries, from automotive and marine batteries to household and portable electronic devices. Remember to always prioritize safety and precision throughout the charging process to achieve the best results.
Read more: How To Use Stucco Siding And Its Benefits
Safety Precautions
When it comes to working with batteries and chargers, prioritizing safety is paramount to prevent accidents and ensure a smooth charging process. By adhering to essential safety precautions, you can minimize risks and protect yourself, your surroundings, and the integrity of the batteries being charged. Here are some crucial safety measures to keep in mind:
1. Ventilation and Environment
Always charge batteries in a well-ventilated area to prevent the accumulation of potentially harmful gases, especially when working with lead-acid batteries. If charging indoors, ensure that the space is adequately ventilated to disperse any fumes that may be emitted during the charging process.
2. Protective Gear
Wear appropriate protective gear, including safety goggles and gloves, to shield your eyes and hands from corrosive materials and potential splashes during battery maintenance and charging. Additionally, avoid wearing loose clothing or jewelry that could come into contact with the battery or charger terminals.
3. Charger Selection
Choose a charger that is specifically designed for the type and voltage of the battery you are working with. Using an incompatible charger can lead to overcharging, overheating, or other safety hazards. Always refer to the battery manufacturer’s specifications to select the appropriate charger for the task.
Read more: How To Build A Trellis
4. Proper Connections
Ensure that the charger clamps or connectors are securely attached to the battery terminals, with the positive (red) clamp connected to the positive terminal and the negative (black) clamp connected to the negative terminal. Avoid creating short circuits by keeping the clamps or connectors away from each other and any metal surfaces.
5. Monitoring and Supervision
Regularly monitor the charging process to ensure that the battery and charger are functioning as expected. Keep an eye out for any signs of overheating, unusual odors, or sparking, and be prepared to intervene if any issues arise. Additionally, never leave batteries unattended while they are being charged.
6. Handling and Storage
Handle batteries with care, avoiding rough handling or dropping, which can lead to leaks or damage. When not in use, store batteries and chargers in a dry, cool environment away from direct sunlight and extreme temperatures. Proper storage helps maintain the integrity of the batteries and prolongs their lifespan.
7. Emergency Preparedness
Be prepared for emergencies by having a fire extinguisher, baking soda, and a suitable acid spill kit on hand, especially when working with lead-acid batteries. In the event of a spill or fire, knowing how to respond quickly and effectively can prevent accidents from escalating.
By following these safety precautions and remaining vigilant throughout the battery charging process, you can ensure a secure and efficient experience while safeguarding yourself and the batteries from potential hazards. Prioritizing safety not only protects you and your surroundings but also contributes to the longevity and performance of the batteries you are charging.
Conclusion
Congratulations on mastering the art of battery charging! By delving into the intricacies of this essential DIY skill, you’ve equipped yourself with the knowledge and expertise to confidently charge a wide range of batteries, from car batteries to portable electronic devices. Understanding the principles of battery charging, assembling the necessary tools and materials, and following the step-by-step process are key components of a successful and safe charging experience.
As you venture into the world of DIY projects and maintenance tasks, the ability to charge batteries effectively will undoubtedly serve you well, saving you time and money while ensuring that your devices and vehicles remain powered and ready for action. Whether you’re reviving an old car battery, maintaining a backup power supply, or simply keeping your favorite gadgets charged and operational, the skills you’ve acquired in this guide will prove invaluable.
Remember, safety should always be a top priority when working with batteries and chargers. By adhering to essential safety precautions and remaining vigilant throughout the charging process, you can mitigate risks and create a secure environment for yourself and the batteries in your care.
So, the next time you encounter a battery in need of a power boost, you can approach the task with confidence, armed with the knowledge and expertise to charge it effectively and safely. With your newfound skills, you’re well-equipped to take on a wide array of DIY projects and tackle the world of battery maintenance with ease.
Now, go forth and put your newfound expertise to good use, knowing that you have the power to keep your batteries charged and your devices running smoothly. Happy charging!
Frequently Asked Questions about DIY Projects: How To Charge A Battery
Was this page helpful?
At Storables.com, we guarantee accurate and reliable information. Our content, validated by Expert Board Contributors, is crafted following stringent Editorial Policies. We're committed to providing you with well-researched, expert-backed insights for all your informational needs.


0 thoughts on “DIY Projects: How To Charge A Battery”