Home>Home Appliances>Lighting Appliances>How To Wire A Dimmer Switch To A Ceiling Light
Lighting Appliances
How To Wire A Dimmer Switch To A Ceiling Light
Modified: August 27, 2024
Learn how to wire a dimmer switch to a ceiling light for improved lighting control and ambiance. Get step-by-step instructions and tips for your lighting appliances.
(Many of the links in this article redirect to a specific reviewed product. Your purchase of these products through affiliate links helps to generate commission for Storables.com, at no extra cost. Learn more)
Introduction
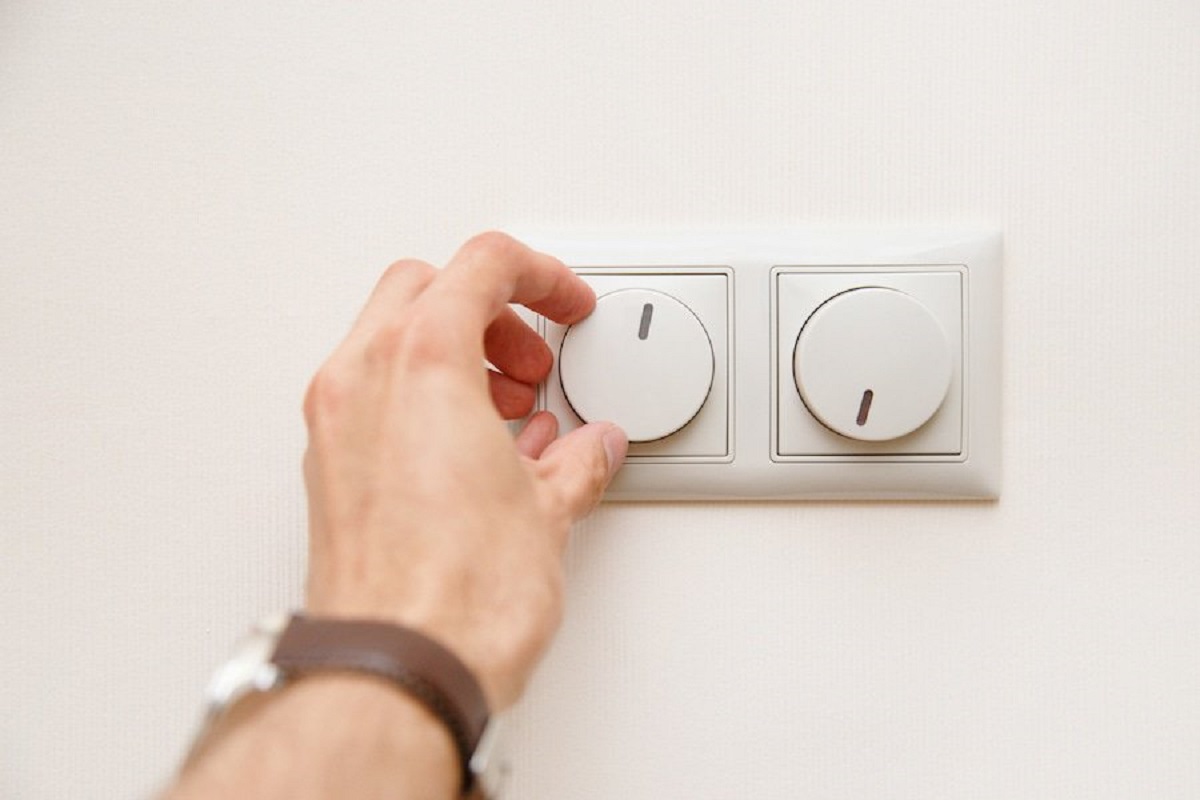
Installing a dimmer switch for a ceiling light can significantly enhance the ambiance and functionality of a room. By allowing you to adjust the brightness to suit different activities and moods, a dimmer switch offers a simple yet effective way to customize the lighting in your living space. Whether you're looking to create a cozy atmosphere for a movie night or bright illumination for reading or working, a dimmer switch provides the flexibility to tailor the lighting to your specific needs.
In this comprehensive guide, we will walk you through the step-by-step process of wiring a dimmer switch to a ceiling light. Even if you're not a seasoned DIY enthusiast, you can successfully complete this project with the right tools, materials, and guidance. By following these instructions, you'll gain the confidence to tackle this electrical task and enjoy the benefits of adjustable lighting in your home.
Before diving into the installation process, it's essential to familiarize yourself with the tools and materials required for this project. Additionally, it's crucial to prioritize safety by turning off the power to the light fixture and taking necessary precautions throughout the installation. With a clear understanding of the steps involved and a commitment to safety, you'll be well-equipped to embark on this rewarding home improvement endeavor.
So, let's gather our tools and materials and get ready to transform the way you illuminate your living space. With a dimmer switch in place, you'll have the power to create the perfect lighting ambiance for any occasion, adding a touch of versatility and sophistication to your home.
Key Takeaways:
- Enhance your home’s ambiance and functionality by installing a dimmer switch for your ceiling light. With the ability to adjust brightness for different activities and moods, you can create a customized lighting experience that suits your needs.
- Prioritize safety and follow the step-by-step guide to wire a dimmer switch to your ceiling light. By gathering the right tools, turning off the power, and making precise connections, you can enjoy the benefits of adjustable lighting in your home.
Read more: How To Wire A Ceiling Light To A Switch
Step 1: Gather the necessary tools and materials
Before embarking on the installation of a dimmer switch for your ceiling light, it's essential to gather the required tools and materials. By ensuring that you have everything you need at the outset, you can streamline the installation process and minimize interruptions. Here's a comprehensive list of the tools and materials you'll need for this project:
Tools:
- Screwdriver Set: A set of screwdrivers, including flathead and Phillips head varieties, will be essential for removing the existing switch and securing the dimmer switch in place.
- Wire Cutter/Stripper: This tool will enable you to cut and strip the wires as needed during the installation process.
- Voltage Tester: Prior to beginning any electrical work, it's crucial to have a voltage tester on hand to ensure that the power is safely turned off.
- Needle-Nose Pliers: These pliers will come in handy for bending and securing wires during the installation of the dimmer switch.
Materials:
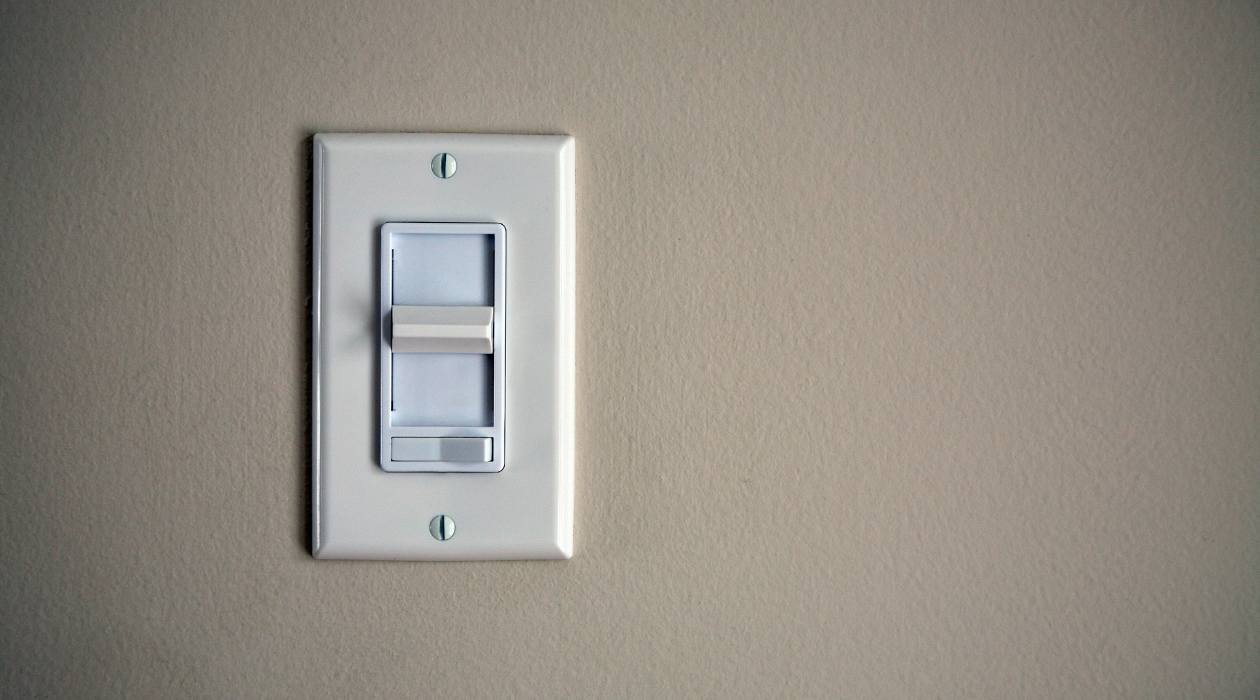
- Dimmer Switch: Select a high-quality dimmer switch that is compatible with your ceiling light fixture. Consider factors such as the type of bulb (LED, incandescent, etc.) and the wattage when choosing the dimmer switch.
- Wire Nuts: These small, twist-on connectors are essential for securely connecting the wires during the installation process.
- Electrical Tape: Use electrical tape to insulate and secure wire connections, providing an added layer of safety.
- Optional: Wire Labels: If you're working with multiple wires and connections, using wire labels can help you keep track of which wires correspond to specific functions.
By ensuring that you have these tools and materials readily available, you'll be well-prepared to proceed with the installation of the dimmer switch. With safety as a top priority, double-check that you have all the necessary items before beginning the project. This proactive approach will set the stage for a smooth and successful installation process, allowing you to enjoy the benefits of adjustable lighting in your home.
Step 2: Turn off the power
Before proceeding with any electrical work, it is absolutely crucial to ensure that the power to the light fixture is completely turned off. This step is non-negotiable and is essential for your safety. Failing to cut off the power supply can result in serious injury or damage to the electrical components. Therefore, it is imperative to follow these steps to safely turn off the power:
-
Locate the Circuit Breaker Panel: Begin by identifying the circuit breaker panel in your home. This panel contains a series of switches, each corresponding to a different electrical circuit in the house.
-
Identify the Correct Circuit: Once you have located the circuit breaker panel, you need to identify the circuit that powers the ceiling light you will be working on. This may require some trial and error, as some homes have circuits labeled more clearly than others.
-
Switch Off the Circuit: Once you have identified the correct circuit, switch it off by flipping the corresponding breaker to the "off" position. To ensure that the power is truly off, you can test the light switch to confirm that the light does not turn on.
-
Use a Voltage Tester: Even after switching off the circuit, it is essential to use a voltage tester to verify that there is no electrical current running to the light fixture. This extra precaution provides added assurance that it is safe to proceed with the installation.
By diligently following these steps to turn off the power, you are taking a critical measure to ensure your safety throughout the installation process. It is important to approach electrical work with the utmost caution and respect for the potential risks involved. Once you have confirmed that the power is off, you can proceed with confidence to the next steps of the dimmer switch installation, knowing that you have prioritized safety at every stage of the process.
Read more: How To Wire In A Dimmer Switch
Step 3: Remove the existing switch
With the power safely turned off, you can now proceed to remove the existing switch. This step involves carefully disconnecting the wires from the old switch and preparing the electrical box for the installation of the dimmer switch. Here's a detailed guide on how to remove the existing switch:
-
Remove the Switch Cover Plate: Using a screwdriver, carefully unscrew and remove the cover plate of the existing switch. Set the cover plate and screws aside for reassembly later.
-
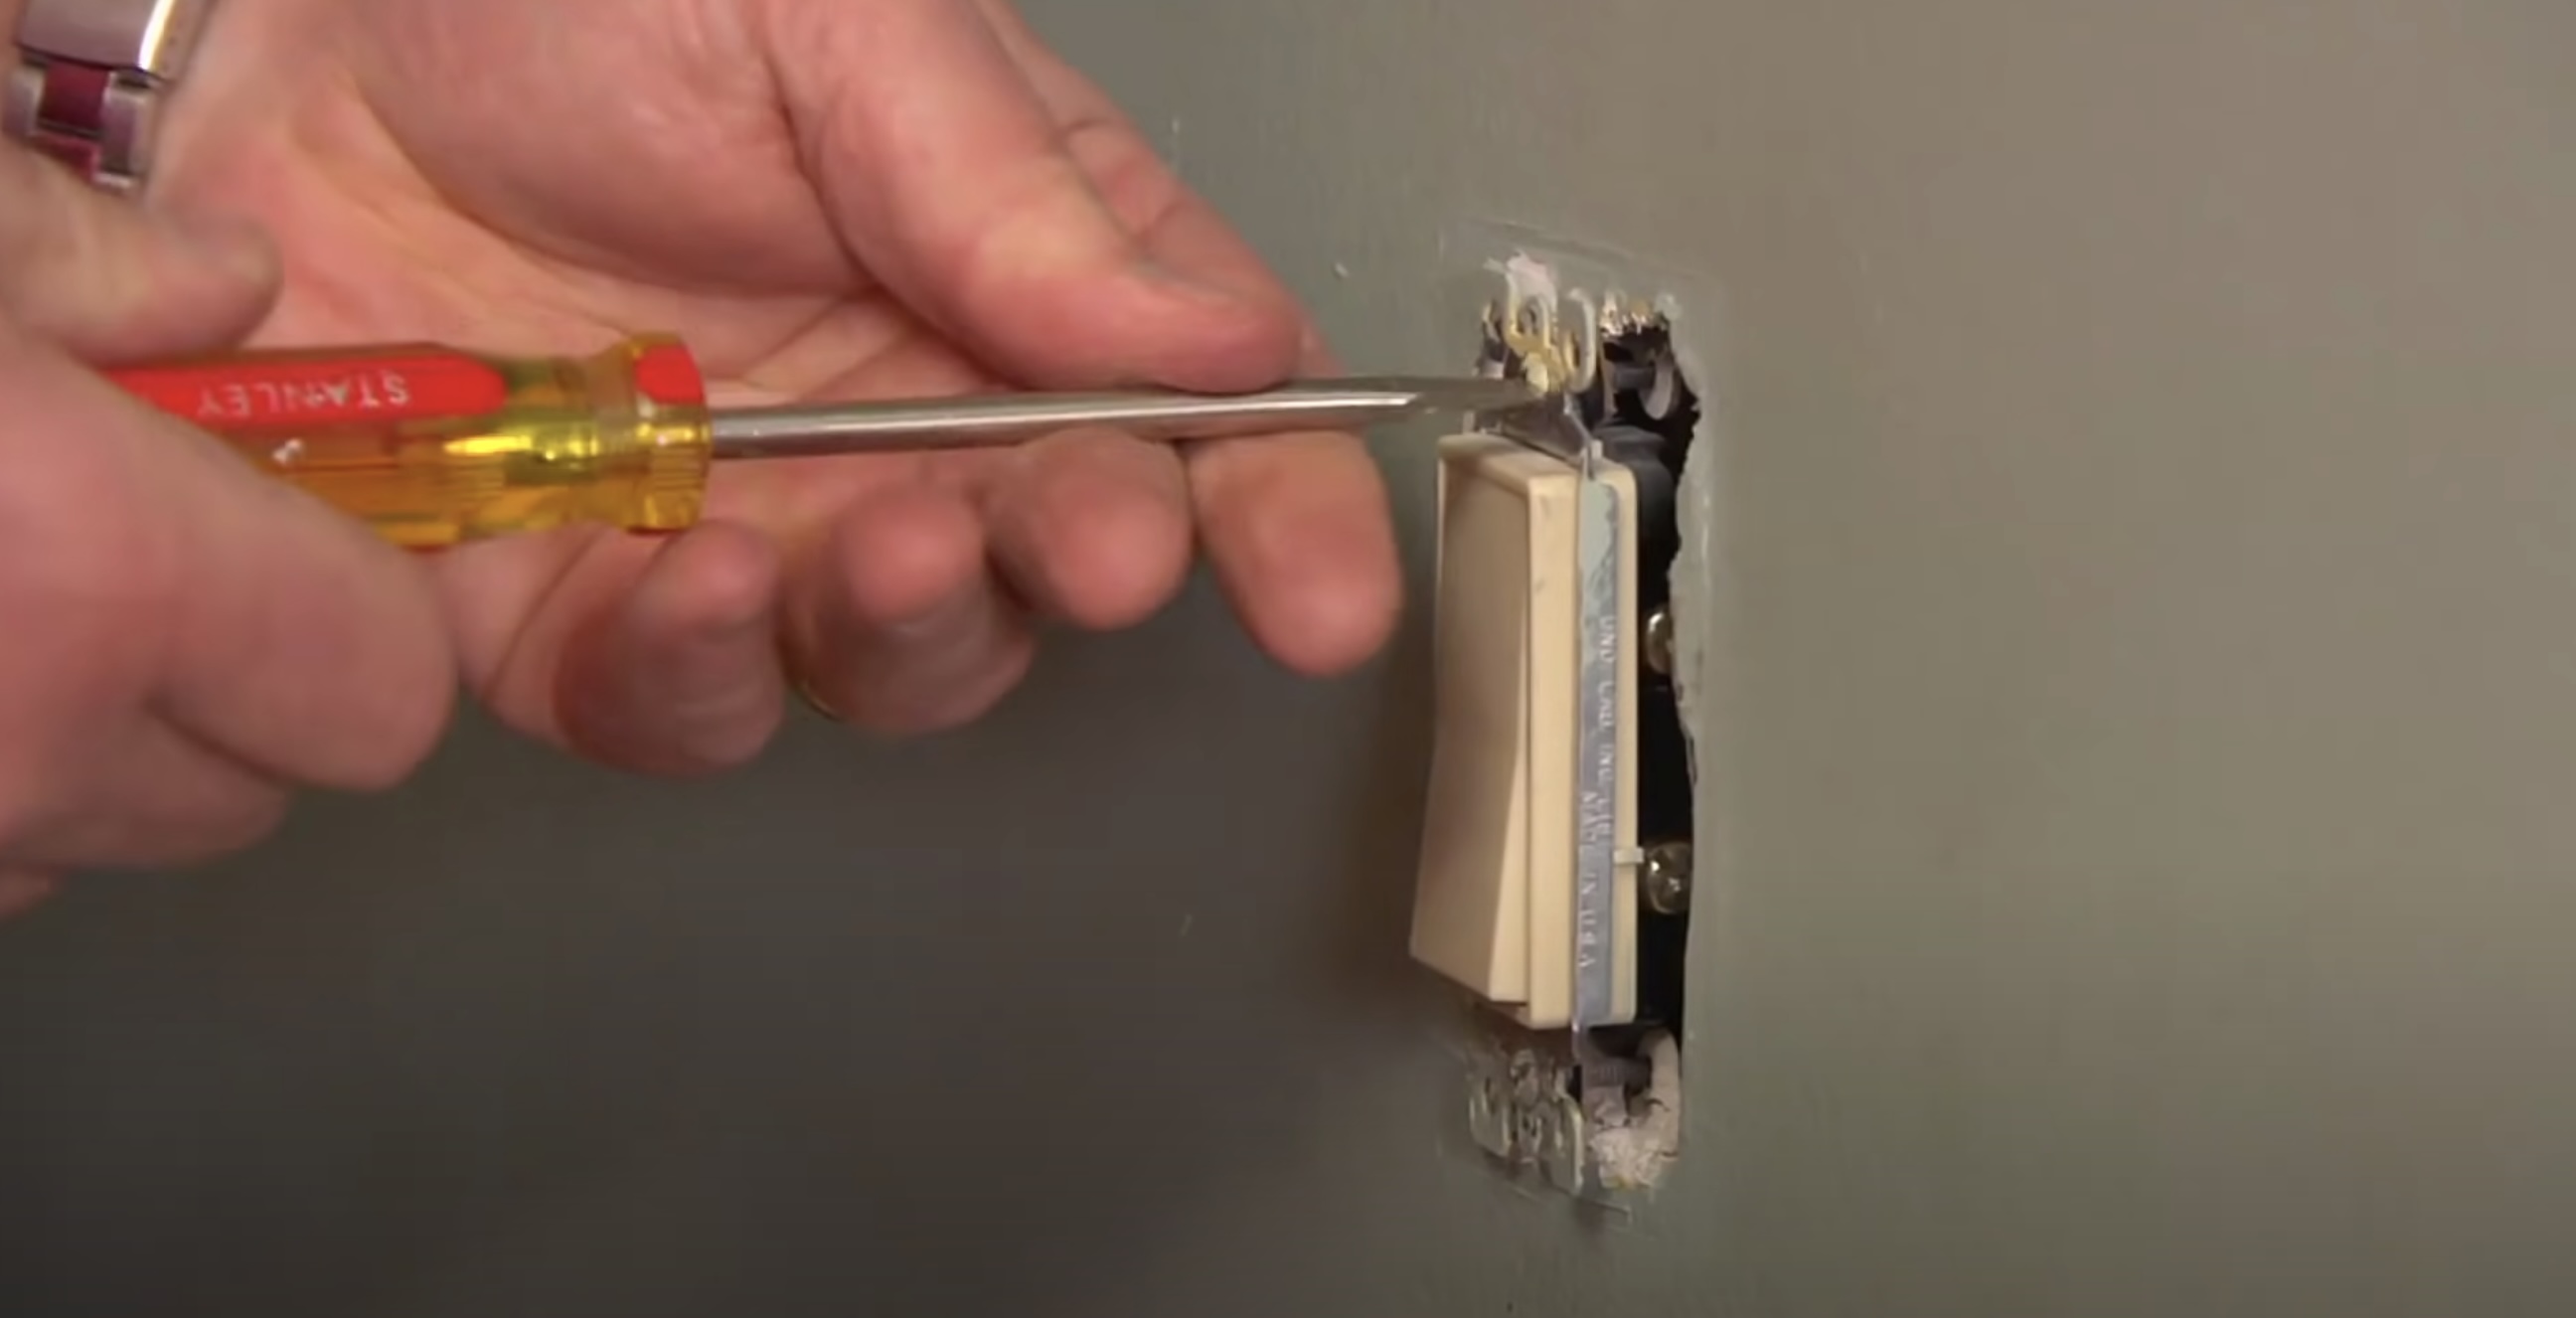
Unscrew the Switch: Once the cover plate is removed, use a screwdriver to loosen the screws holding the switch in place. Gently pull the switch out of the electrical box, being mindful of the wires connected to it.
-
Identify the Wiring: Take note of the wires connected to the existing switch. You should see three wires: a black (hot) wire, a white (neutral) wire, and a green or bare copper (ground) wire. In some cases, there may be additional wires, such as a red wire for a three-way switch configuration.
-
Disconnect the Wires: Using a screwdriver, carefully loosen the terminal screws to release the wires from the switch. As you disconnect each wire, it's helpful to use wire labels or make a note of the wire's location and function to ensure correct reconnection later.
-
Inspect the Wires: After disconnecting the wires, inspect them for any signs of damage or wear. If you notice any frayed insulation or exposed wire, it's important to address these issues before proceeding with the installation of the dimmer switch.
-
Secure the Wires: Once the wires are disconnected from the existing switch, use wire nuts to cap the exposed ends of the wires. This precautionary measure helps prevent accidental contact with live wires while you prepare to install the dimmer switch.
By carefully following these steps to remove the existing switch, you are effectively preparing the electrical box for the installation of the dimmer switch. Taking the time to disconnect and secure the wires with precision sets the stage for a smooth transition to the next phase of the installation process. With the existing switch removed and the wires safely managed, you are ready to proceed to the next step of wiring the dimmer switch to the ceiling light.
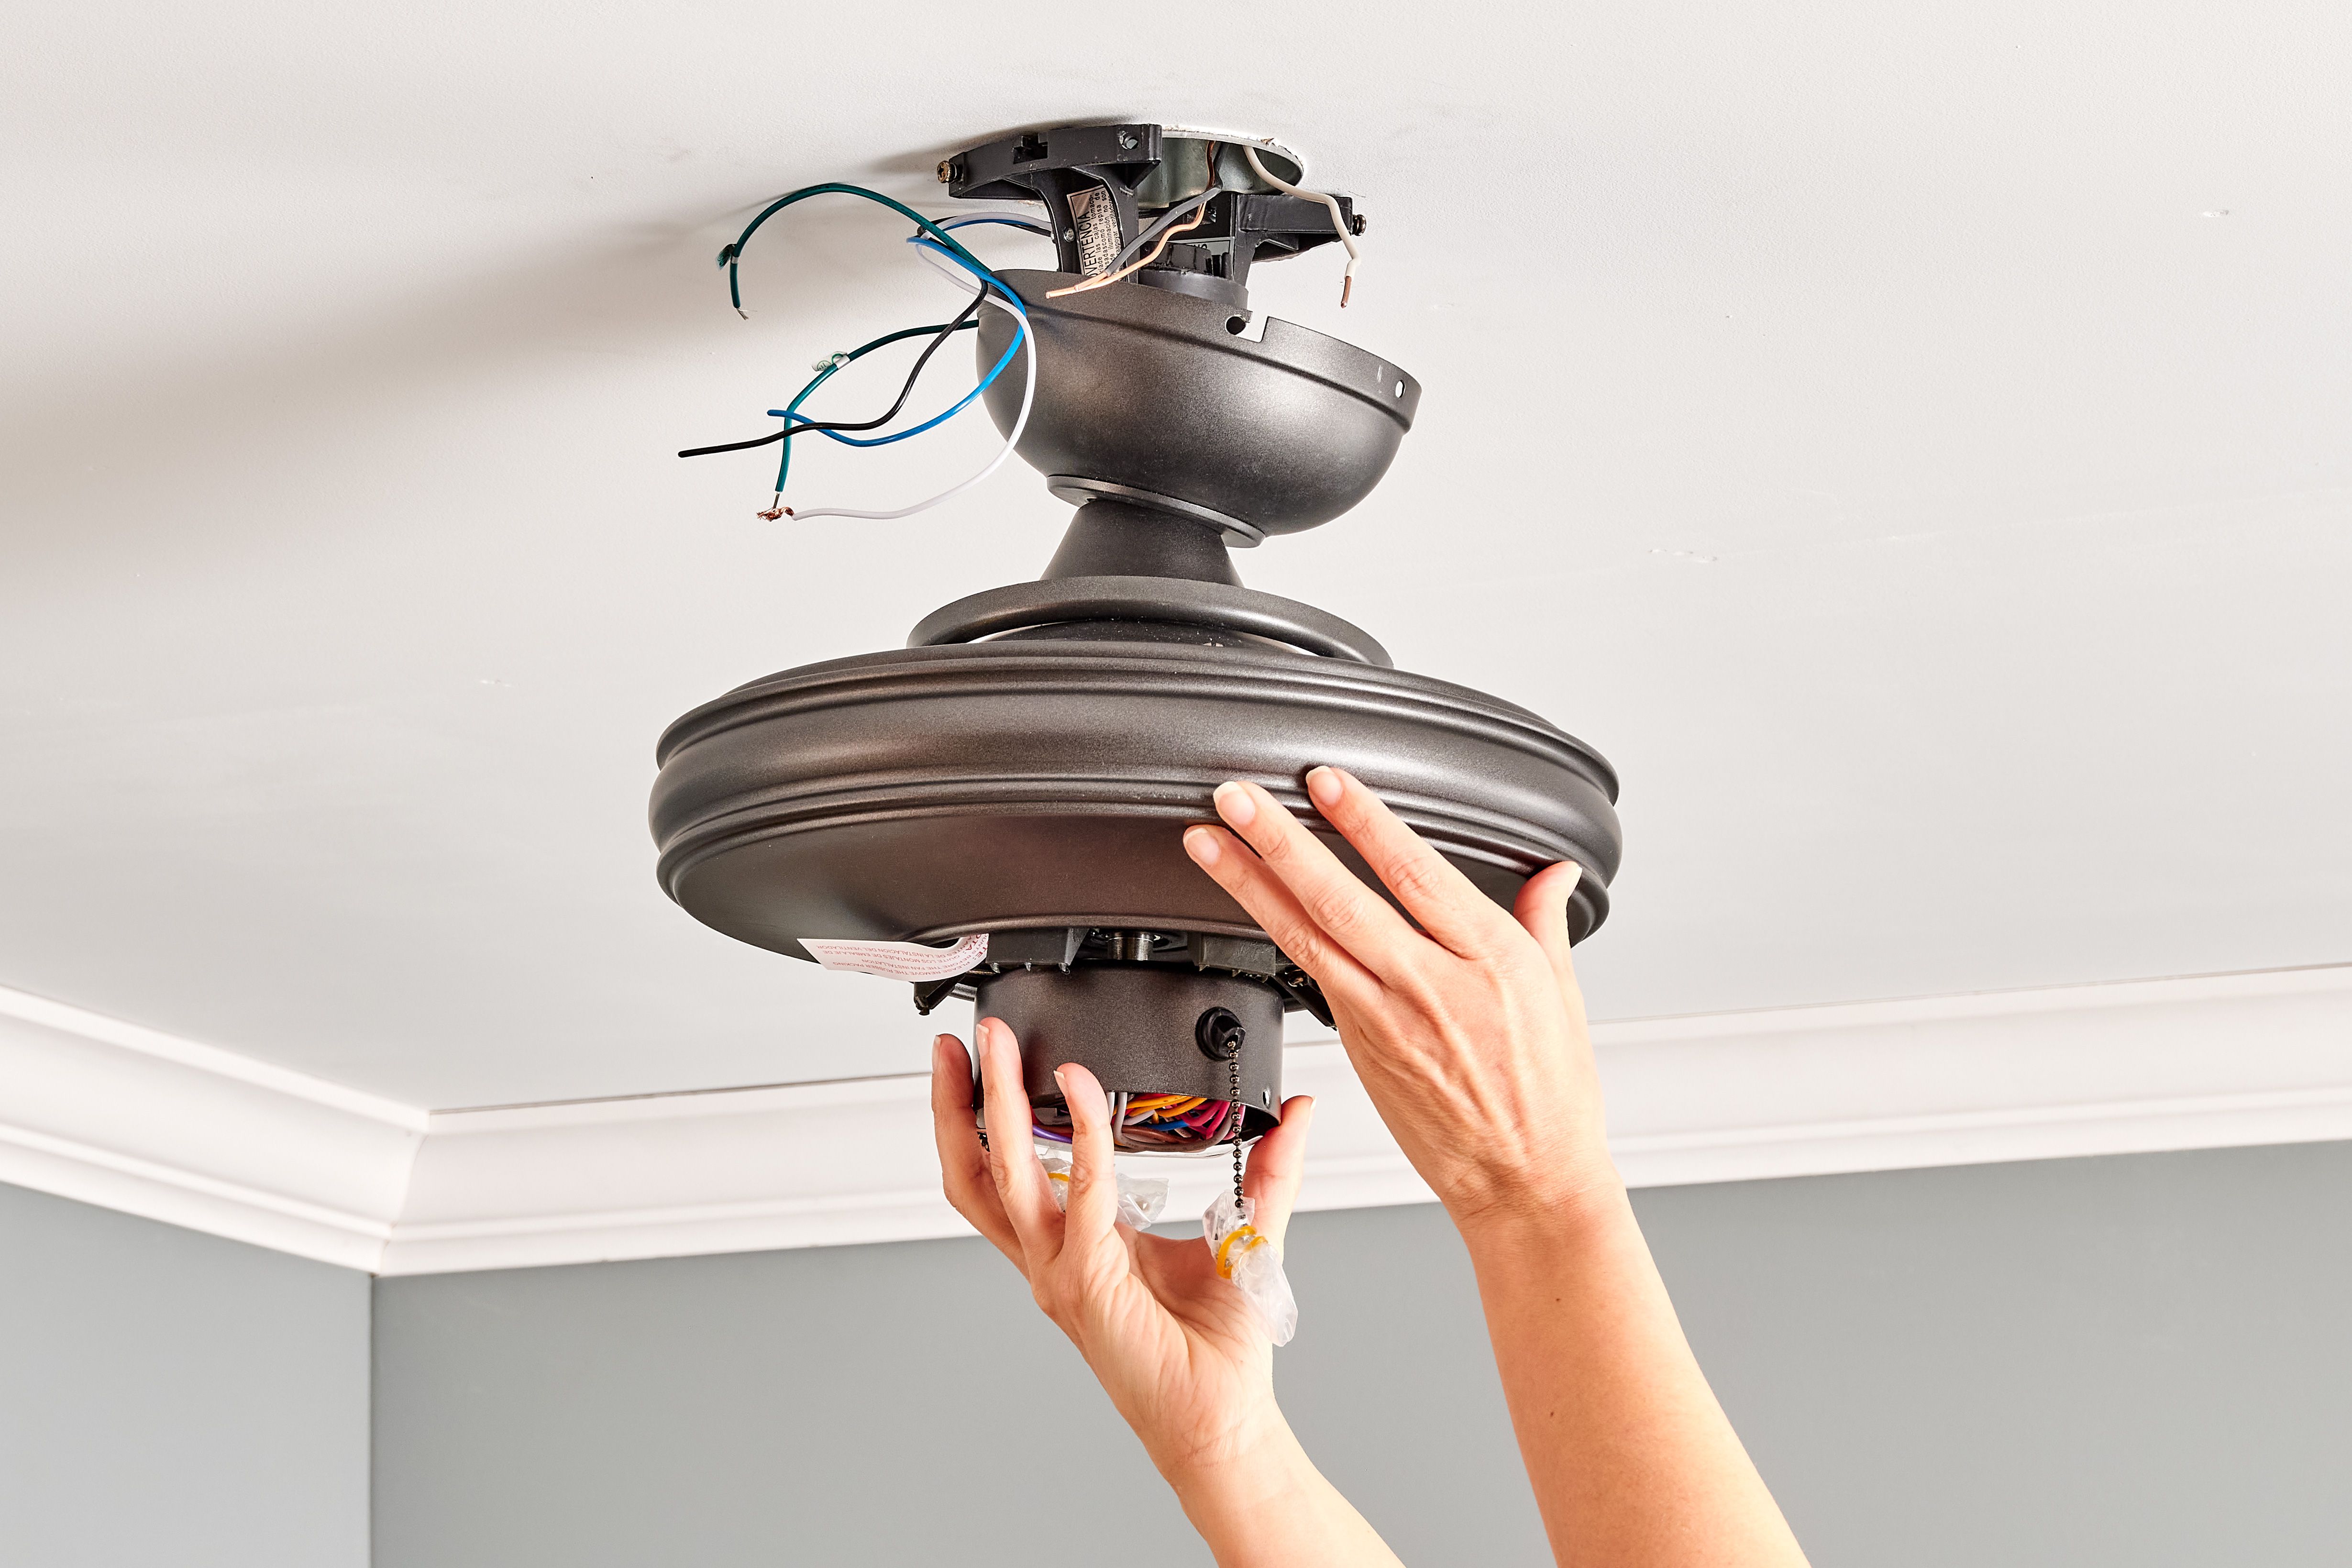
Step 4: Identify the wires
Identifying the wires is a crucial step in the process of wiring a dimmer switch to a ceiling light. Understanding the function of each wire and ensuring proper connections is essential for the safe and effective installation of the dimmer switch. Here's a detailed guide on how to identify and differentiate the wires:
-
Black (Hot) Wire: The black wire is the "hot" wire, carrying the electrical current from the power source to the light fixture. It is typically connected to the brass or dark-colored screw terminal on the existing switch. During the identification process, it's important to verify that the black wire is indeed the hot wire by using a voltage tester. This wire will be connected to the dimmer switch to supply power to the lighting fixture.
-
White (Neutral) Wire: The white wire serves as the neutral conductor, providing a return path for the electrical current. In most cases, the white wire is connected directly to the light fixture and is not typically connected to the existing switch. However, it's important to identify and locate the white wire to ensure that it is properly accounted for during the installation of the dimmer switch.
-
Green or Bare Copper (Ground) Wire: The green or bare copper wire is the ground wire, designed to provide a safe path for electrical current in the event of a fault. This wire is essential for grounding the electrical system and ensuring safety. It is typically connected to the green screw terminal on the existing switch or the electrical box. Identifying and confirming the presence of the ground wire is crucial for maintaining the safety and integrity of the electrical circuit.
-
Additional Wires: Depending on the wiring configuration and the specific requirements of the light fixture, there may be additional wires present, such as a red wire for a three-way switch setup or extra wires for multi-circuit installations. It's important to carefully identify and differentiate these additional wires to ensure that they are properly accounted for during the installation of the dimmer switch.
By meticulously identifying and understanding the function of each wire, you are laying the groundwork for a successful and safe installation of the dimmer switch. Taking the time to differentiate the wires and verify their functions is a critical aspect of the installation process, ensuring that the connections are made accurately and in accordance with the electrical standards. With a clear understanding of the wires involved, you are ready to proceed to the next step of connecting the dimmer switch to the ceiling light.
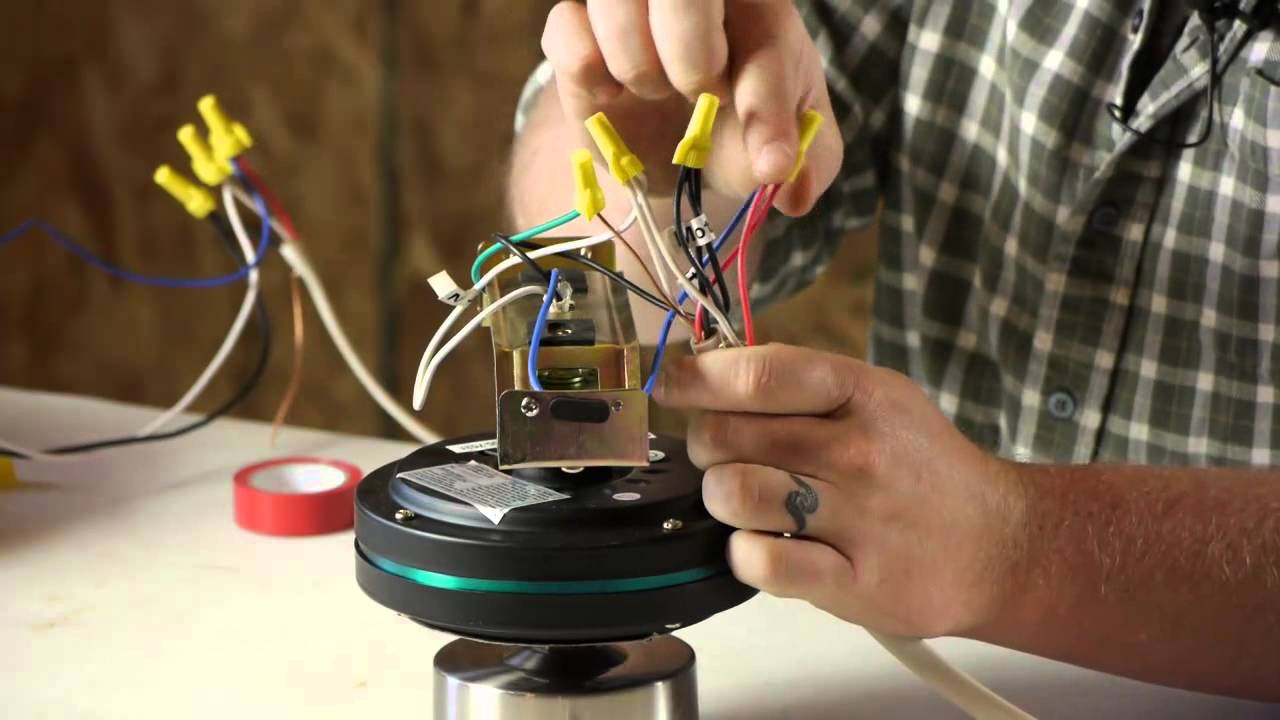
Step 5: Connect the dimmer switch
With a clear understanding of the wires and their respective functions, you are now ready to connect the dimmer switch to the ceiling light. This step involves making precise and secure connections to ensure the safe and effective operation of the dimmer switch. Here's a detailed guide on how to connect the dimmer switch:
-
Prepare the Dimmer Switch: Before making any connections, ensure that the dimmer switch is in the "off" position. This precautionary measure helps prevent accidental activation of the switch during the installation process.
-
Connect the Black (Hot) Wire: Begin by connecting the black (hot) wire from the electrical box to the dimmer switch. Typically, the black wire is connected to the black or dark-colored screw terminal on the dimmer switch. Use a wire nut to secure the connection, ensuring that the wire is firmly attached to the terminal.
-
Connect the White (Neutral) Wire: If the dimmer switch requires a neutral connection, carefully connect the white (neutral) wire from the electrical box to the designated neutral terminal on the dimmer switch. This terminal is often labeled as "N" or "W" to indicate the neutral connection. Secure the connection with a wire nut to ensure proper contact.
-
Connect the Green or Bare Copper (Ground) Wire: The green or bare copper ground wire should be connected to the ground terminal on the dimmer switch. This terminal is typically labeled with the ground symbol or the letters "GR" to indicate the ground connection. Ensure that the ground wire is securely fastened to the terminal to provide a safe path for electrical current.
-
Double-Check the Connections: Once all the wires are connected to the dimmer switch, double-check each connection to ensure that it is secure and properly seated. Tug gently on each wire to confirm that it is firmly attached to the respective terminal on the dimmer switch.
-
Insulate the Connections: After confirming the integrity of the connections, use electrical tape to insulate the wire nuts and secure the wires to the dimmer switch. This additional layer of insulation helps protect the connections and prevents accidental contact with live wires.
By following these steps to connect the dimmer switch, you are establishing the essential electrical connections required for the safe and effective operation of the dimmer switch. Taking the time to make precise and secure connections ensures that the dimmer switch functions as intended, providing you with the flexibility to adjust the lighting to suit your preferences. With the dimmer switch securely connected, you are ready to proceed to the next step of installing the dimmer switch in the electrical box.
When wiring a dimmer switch to a ceiling light, always turn off the power at the circuit breaker before starting. Follow the manufacturer’s instructions and use the right tools for a safe and successful installation.
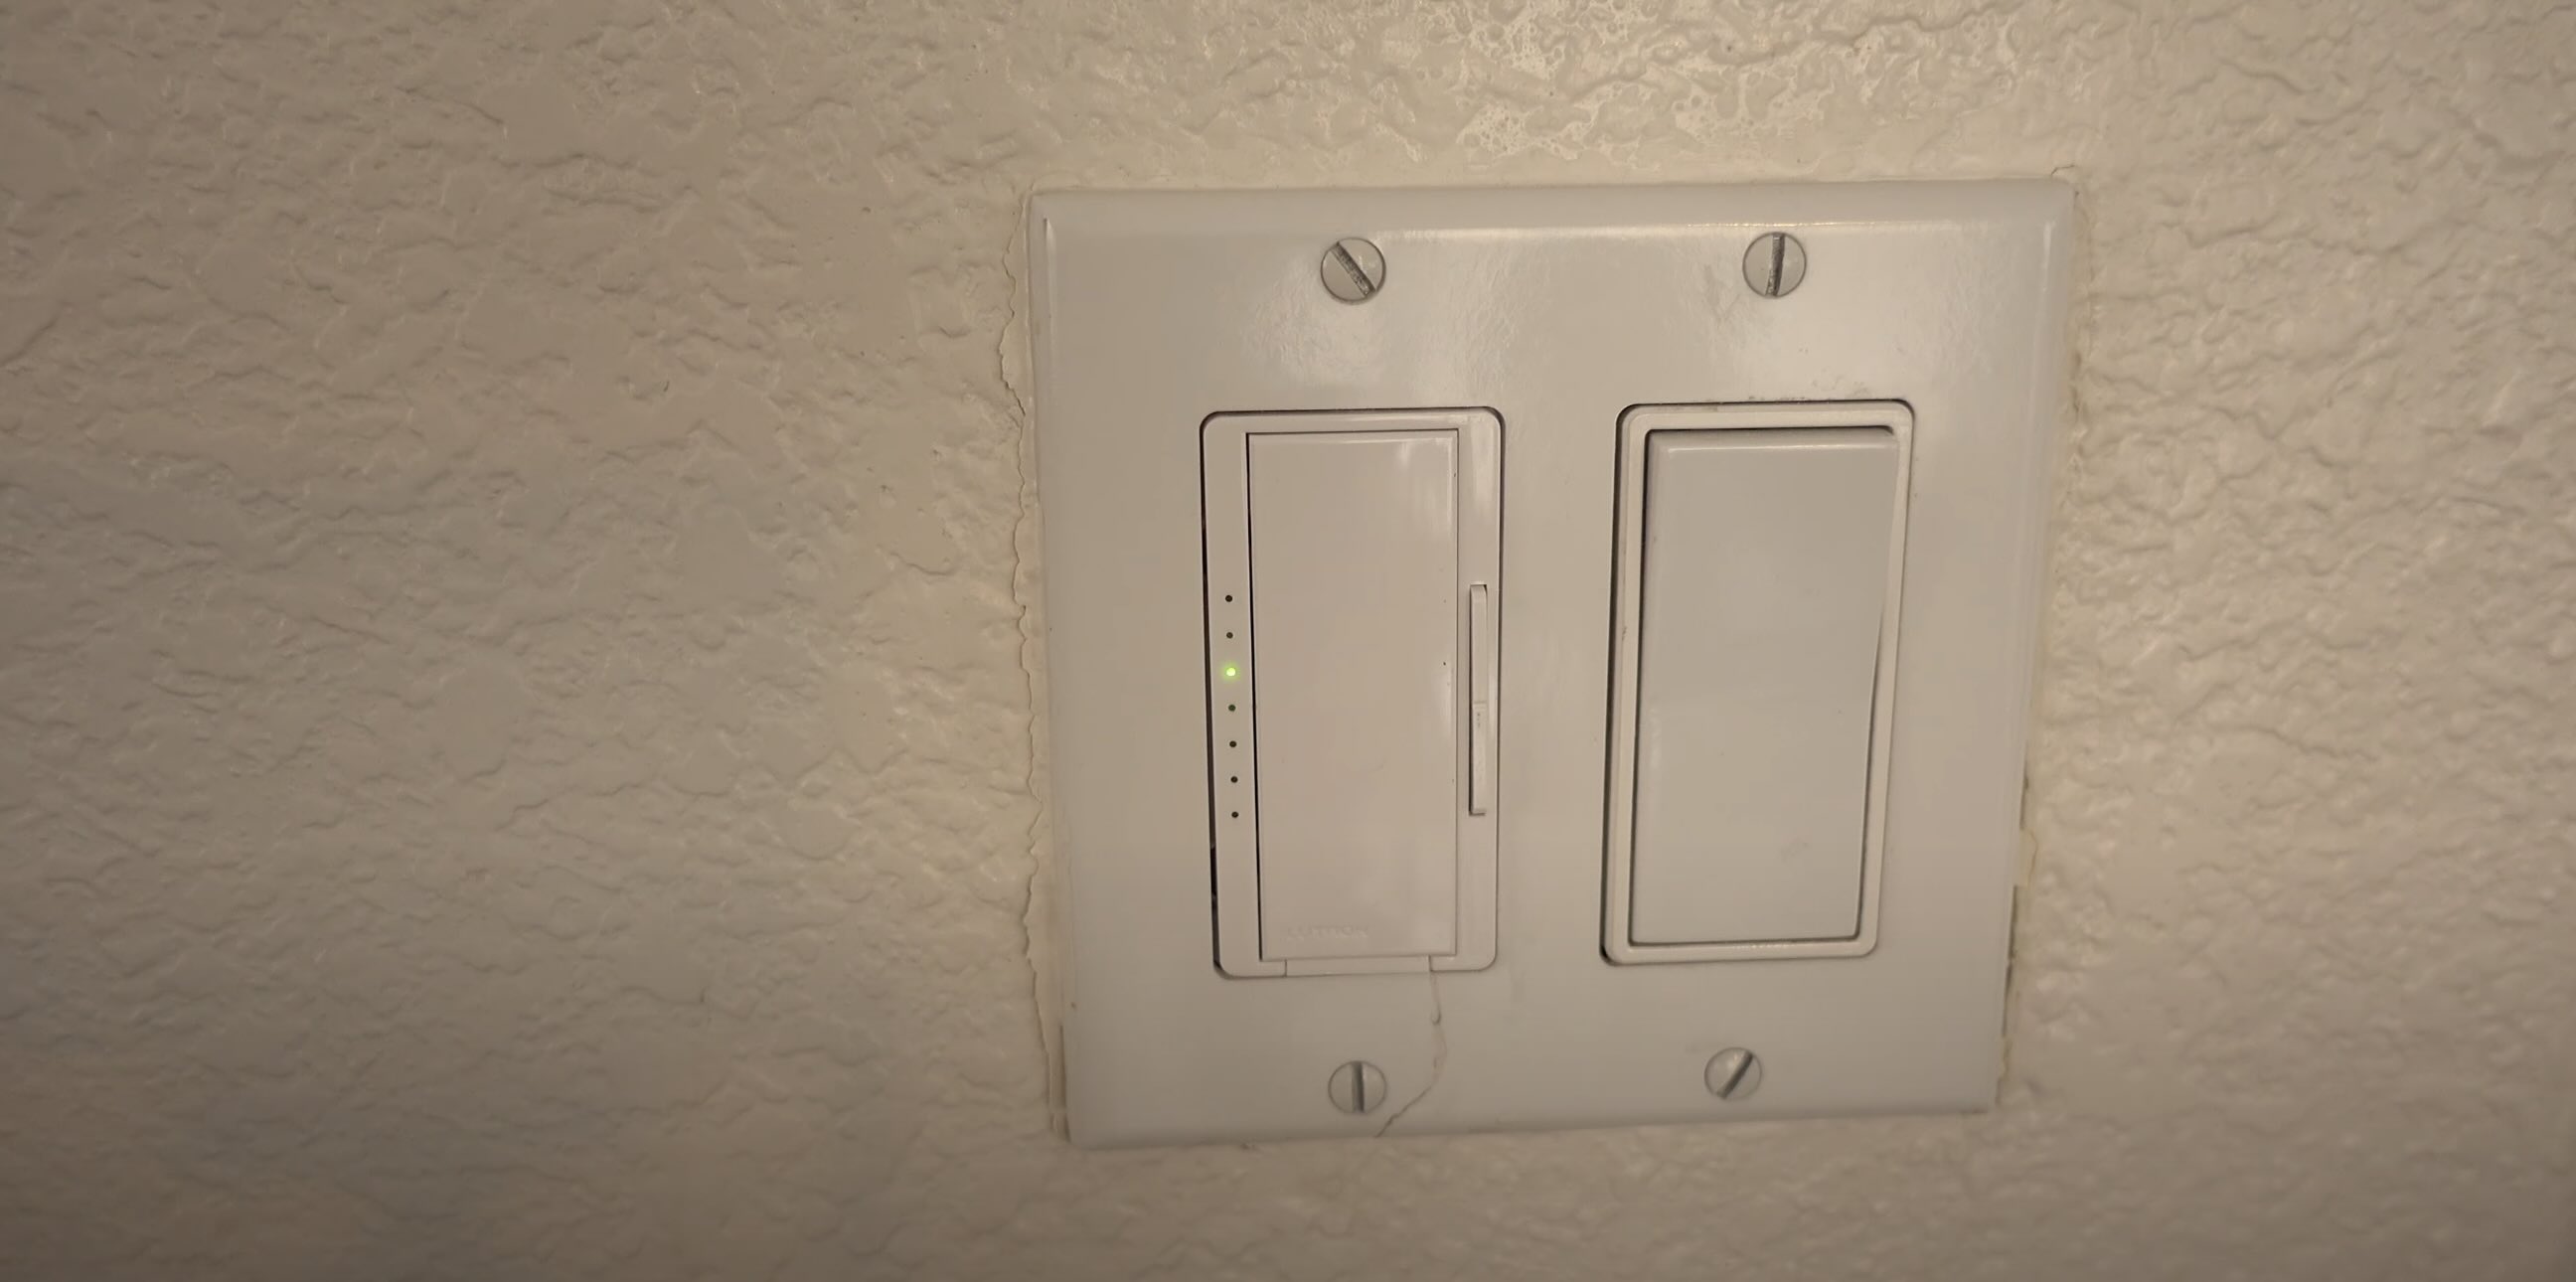
Step 6: Install the dimmer switch
With the electrical connections securely in place, you are now ready to install the dimmer switch in the electrical box. This step involves carefully positioning the dimmer switch, securing it in place, and ensuring that all components are properly aligned for safe and reliable operation. Here's a detailed guide on how to install the dimmer switch:
-
Position the Dimmer Switch: Gently tuck the connected wires into the electrical box, ensuring that they are neatly arranged to allow space for the dimmer switch. Position the dimmer switch in the electrical box, taking care to align it properly with the screw terminals and ensuring that it sits flush against the wall.
-
Secure the Dimmer Switch: Using the provided screws or the ones from the previous switch, secure the dimmer switch to the electrical box. Tighten the screws firmly to ensure that the dimmer switch is stable and does not wobble or shift when operated. Properly securing the dimmer switch is essential for its long-term functionality and safety.
-
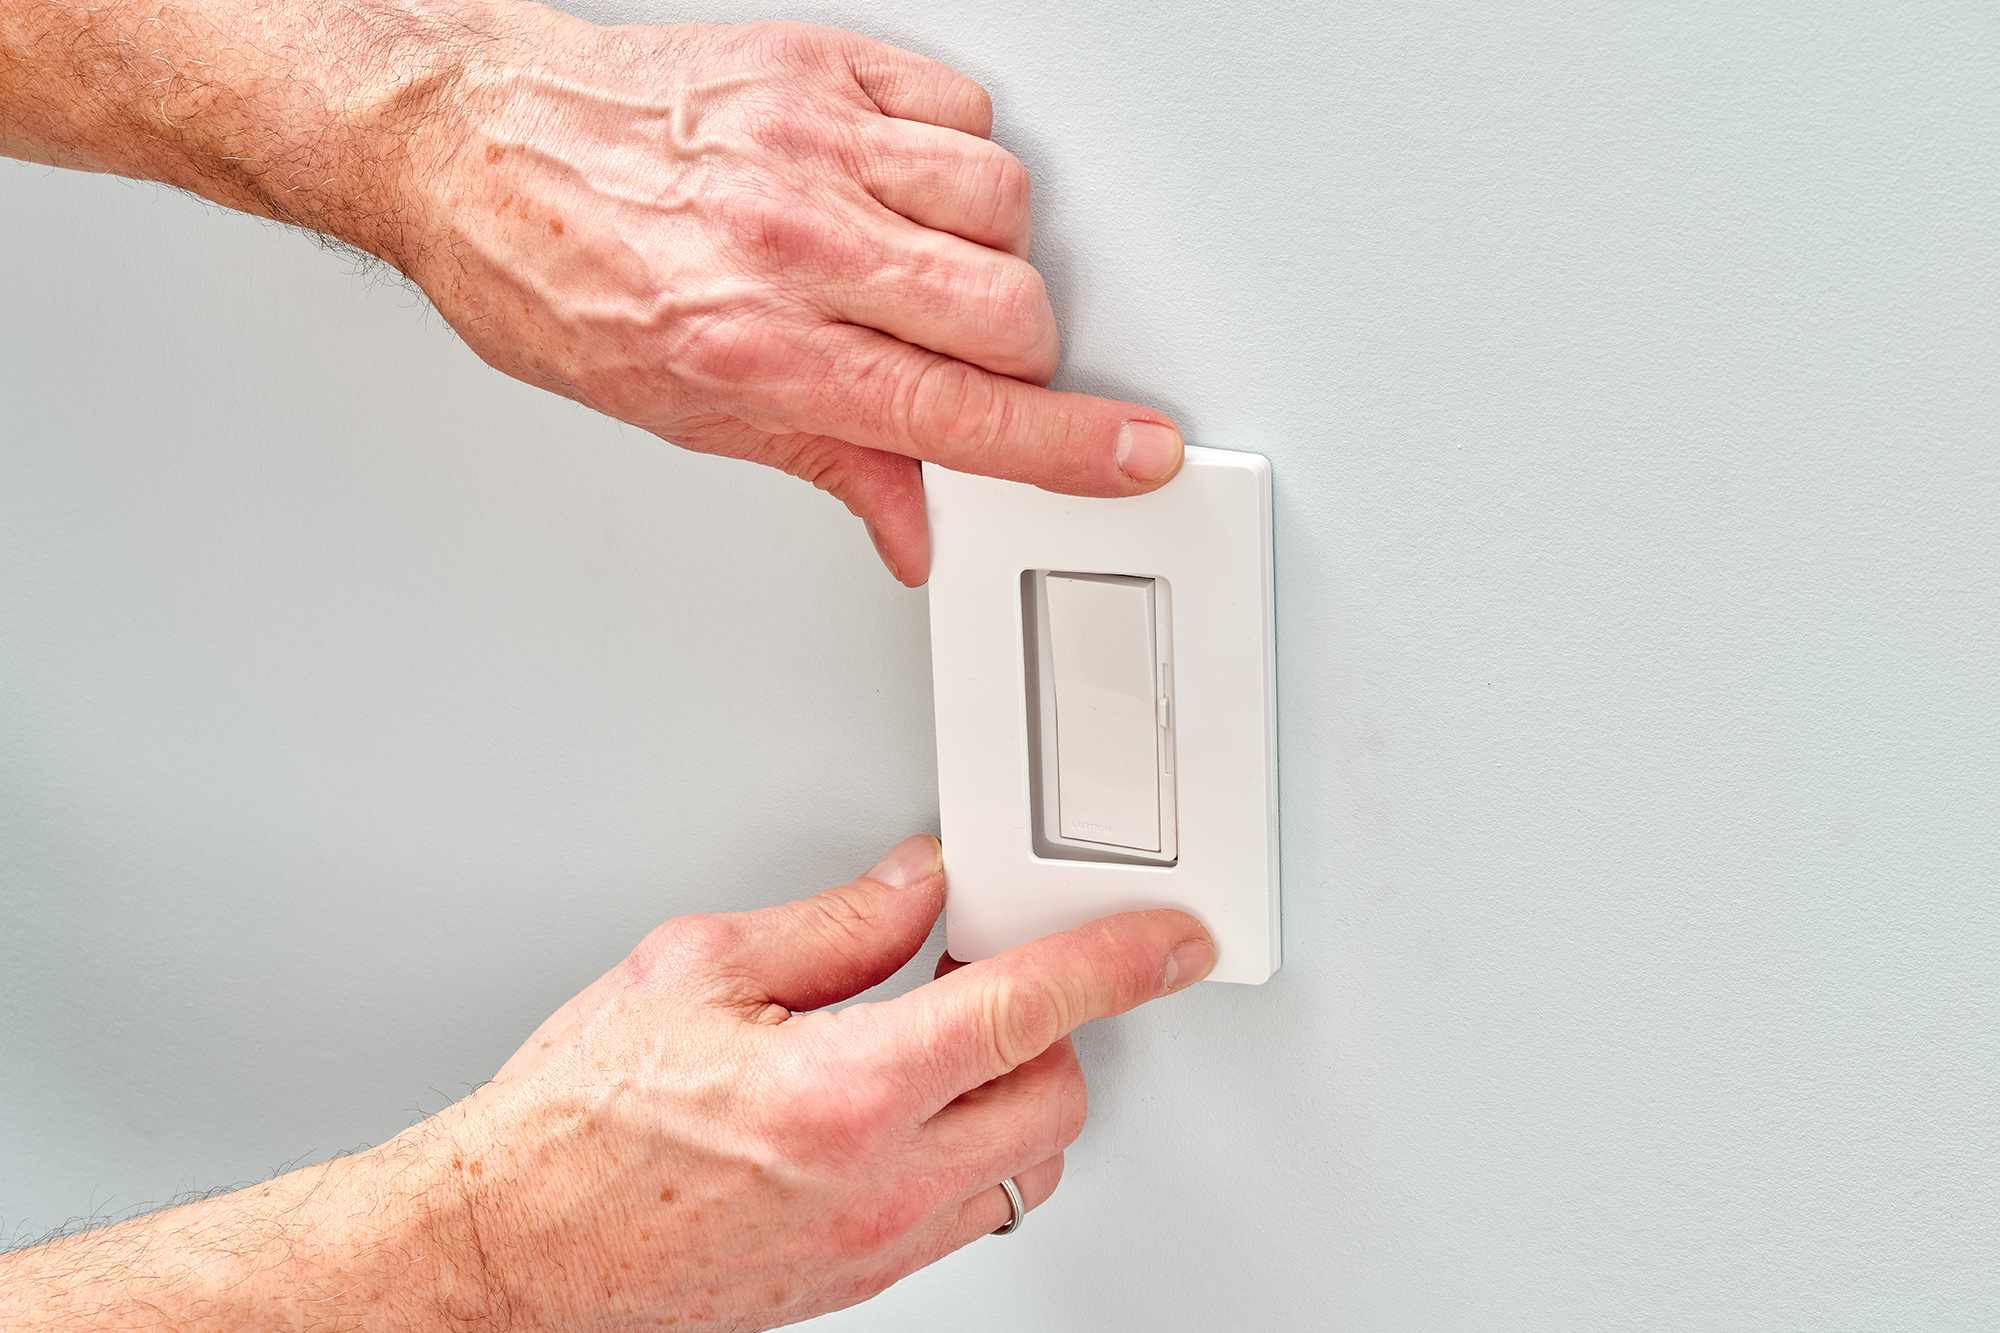
Attach the Cover Plate: Once the dimmer switch is securely installed, attach the cover plate by aligning it with the screw holes on the switch and the electrical box. Use the provided screws to fasten the cover plate in place, ensuring that it sits evenly and conceals the inner components of the dimmer switch.
-
Test the Dimmer Switch: Before fully completing the installation, it's important to conduct a preliminary test of the dimmer switch. Turn the power back on at the circuit breaker panel and carefully test the dimmer switch by adjusting the brightness of the ceiling light. Verify that the dimmer switch functions smoothly and that the light responds appropriately to the adjustments.
-
Adjust the Trim and Settings (If Applicable): Some dimmer switches feature adjustable trim settings that allow you to customize the minimum and maximum brightness levels. If your dimmer switch offers these settings, refer to the manufacturer's instructions to adjust the trim to your desired levels. This step allows you to fine-tune the dimming range to suit your preferences.
-
Finalize the Installation: Once you have confirmed that the dimmer switch is functioning correctly and the cover plate is securely in place, finalize the installation by ensuring that all components are properly aligned and that there are no exposed wires or loose connections. Take a moment to review the installation and make any necessary adjustments to ensure a clean and professional finish.
By following these steps to install the dimmer switch, you are completing the crucial phase of the installation process, bringing the project to its final stages. With the dimmer switch securely installed and tested, you are now ready to enjoy the benefits of adjustable lighting in your living space, adding a touch of versatility and sophistication to your home.
Read more: How To Wire A Dimmer Switch With 4 Wires
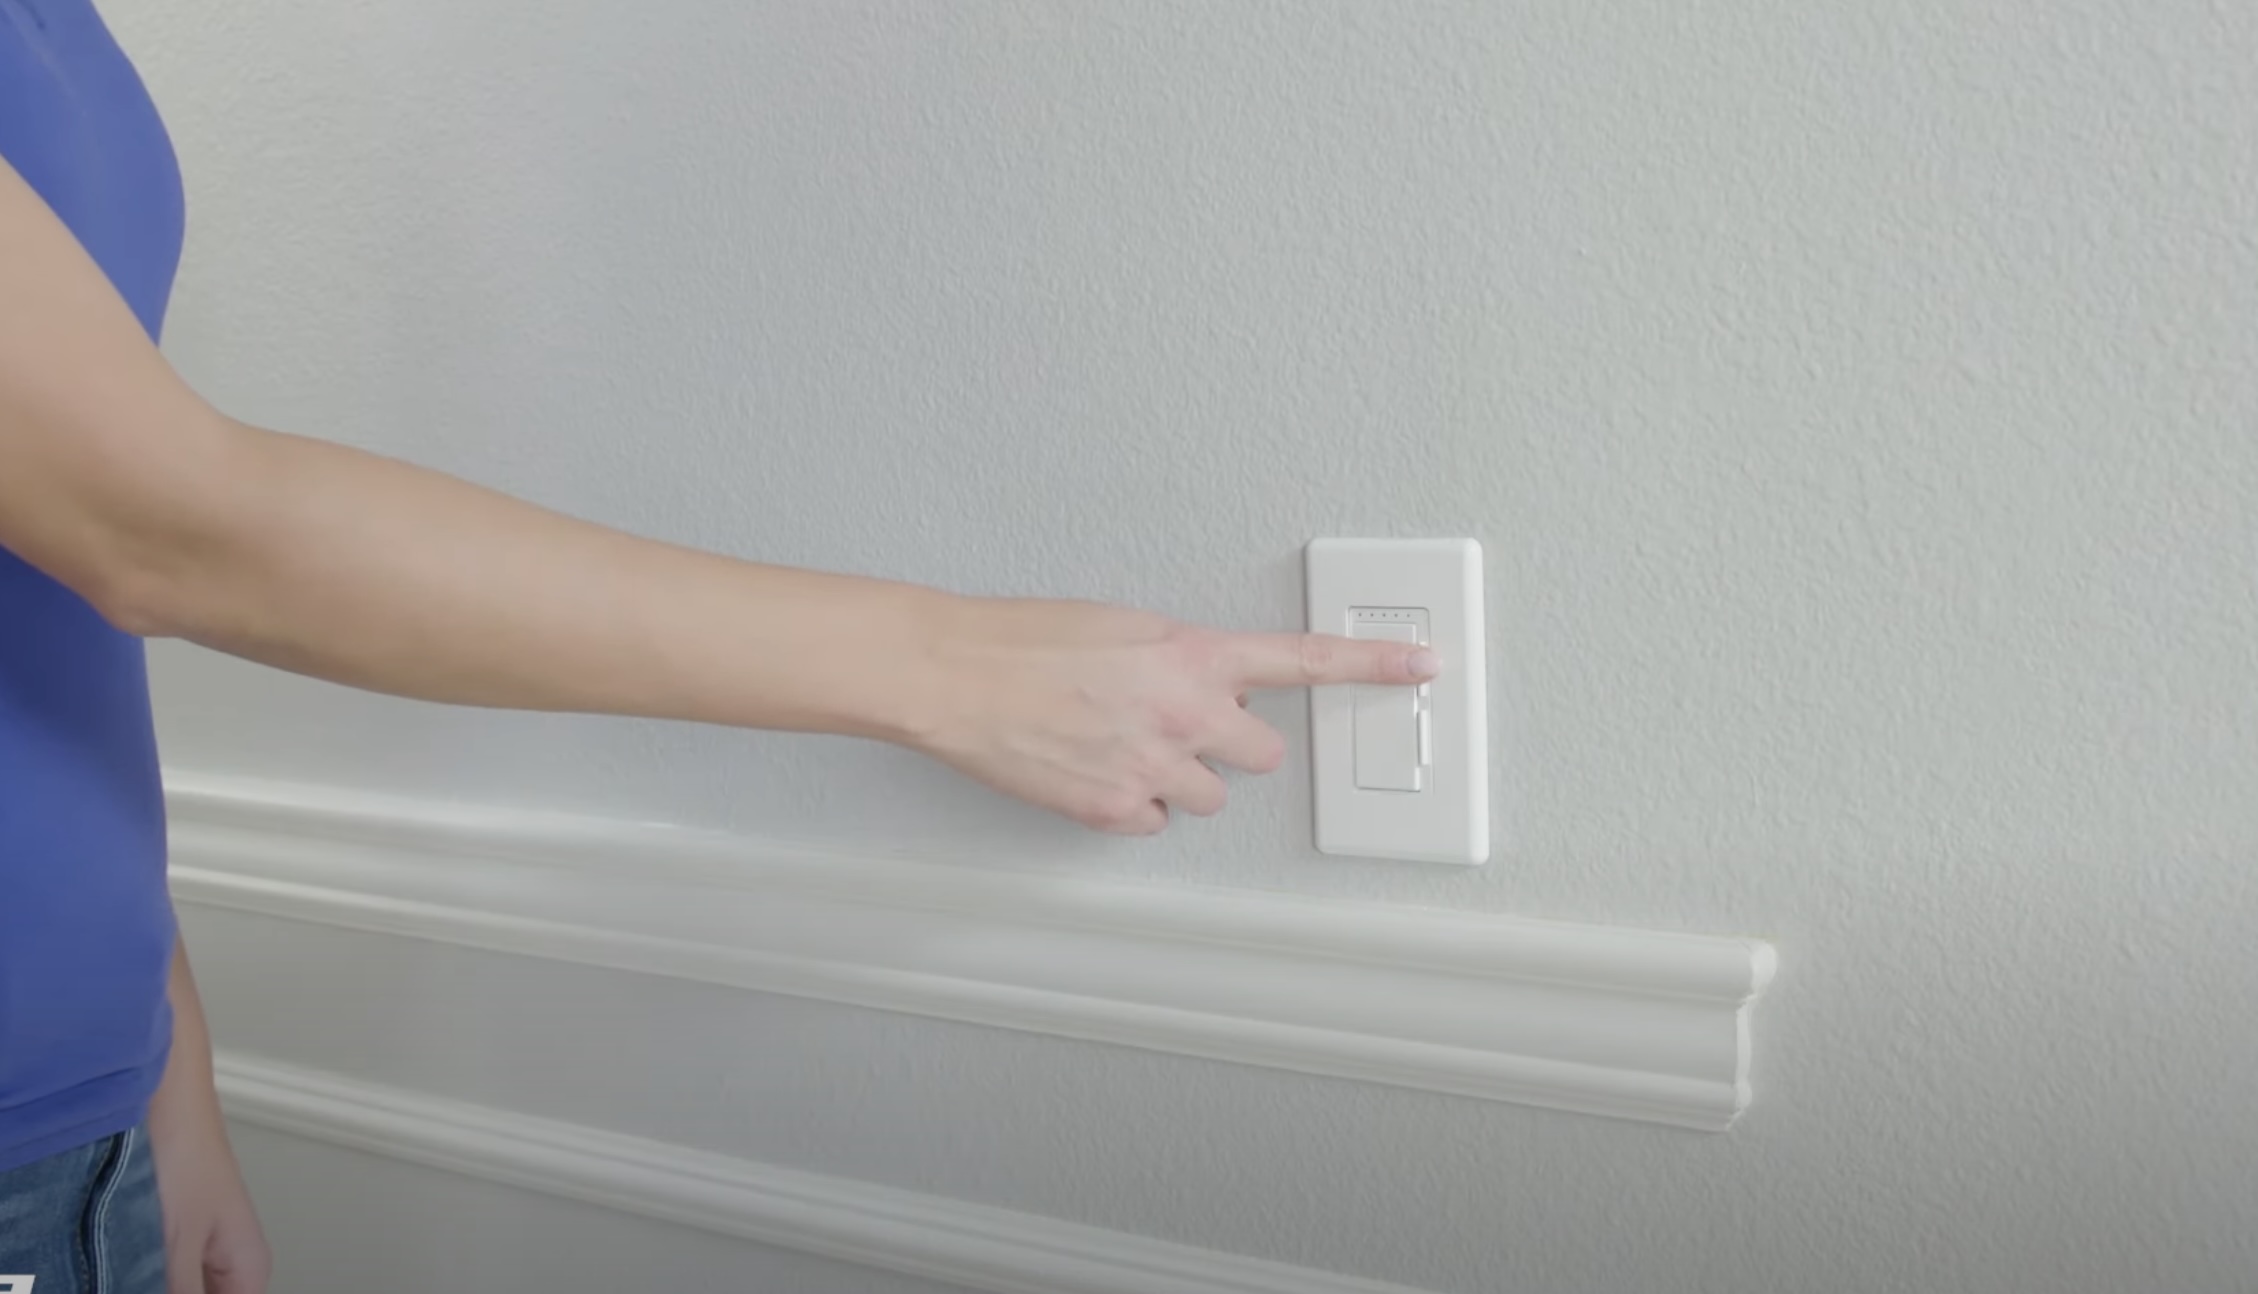
Step 7: Test the dimmer switch
With the dimmer switch securely installed, it's time to conduct a comprehensive test to ensure that it functions as intended and provides the desired level of control over the ceiling light. Testing the dimmer switch is a critical step that allows you to verify its performance, responsiveness, and compatibility with the light fixture. Here's a detailed guide on how to test the dimmer switch:
-
Power On: Begin by turning the power back on at the circuit breaker panel. Once the power is restored, proceed to the location of the dimmer switch and ensure that the light fixture is in the "on" position.
-
Adjust Brightness: With the light turned on, use the dimmer switch to adjust the brightness levels. Slowly move the dimmer switch from the lowest setting to the highest setting, observing the corresponding changes in the brightness of the ceiling light. This step allows you to gauge the dimmer switch's ability to smoothly and accurately control the light output.
-
Smooth Operation: As you adjust the dimmer switch, pay attention to the smoothness of the dimming action. A high-quality dimmer switch should provide seamless and gradual adjustments, allowing you to fine-tune the brightness to your preferences without abrupt jumps or flickering.
-
Check for Flickering or Buzzing: While testing the dimmer switch, be attentive to any signs of flickering or buzzing from the light fixture. These issues can indicate compatibility issues between the dimmer switch and the light fixture, or they may point to the need for adjustments in the dimmer switch settings.
-
Evaluate Dimming Range: Assess the dimming range of the dimmer switch by adjusting the light output to various levels. Verify that the dimmer switch offers a wide and consistent range of brightness settings, allowing you to achieve both subtle ambiance and ample illumination as needed.
-
Compatibility with Bulb Type: If the dimmer switch is designed for specific bulb types, such as LED or incandescent, ensure that it is compatible with the bulbs installed in the ceiling light fixture. Verify that the dimmer switch effectively controls the brightness of the bulbs without causing flickering or other irregularities.
-
Fine-Tune Settings (If Applicable): If the dimmer switch features adjustable settings, such as fade rates or minimum brightness adjustments, take the opportunity to fine-tune these settings to your preferences. Refer to the manufacturer's instructions for guidance on customizing the dimmer switch settings.
By meticulously testing the dimmer switch, you can confirm its functionality and address any potential issues before finalizing the installation. This thorough evaluation ensures that the dimmer switch meets your expectations and delivers the desired level of control over the ceiling light, allowing you to create the perfect lighting ambiance for any occasion.
Conclusion
In conclusion, the installation of a dimmer switch to a ceiling light offers a transformative upgrade to the lighting capabilities of any room. By following the step-by-step process outlined in this guide, you have gained the knowledge and confidence to embark on this rewarding home improvement project. From gathering the necessary tools and materials to meticulously testing the dimmer switch, each step has been carefully designed to ensure a safe, effective, and seamless installation process.
As you reflect on the journey of wiring a dimmer switch to your ceiling light, it's important to recognize the significant impact this upgrade can have on your living space. The ability to adjust the brightness of the lighting to suit different activities and moods empowers you to create a customized ambiance that enhances comfort, functionality, and aesthetics. Whether you're seeking a cozy glow for a relaxing evening or bright illumination for focused tasks, the dimmer switch puts the power of lighting control in your hands.
Furthermore, the installation process serves as an opportunity to engage with the electrical components of your home, fostering a deeper understanding of the systems that contribute to its functionality. By prioritizing safety, meticulous wiring, and thorough testing, you have not only enhanced the lighting capabilities of your space but also demonstrated a commitment to responsible DIY practices.
As you bask in the enhanced ambiance created by your newly installed dimmer switch, take a moment to appreciate the versatility and sophistication it brings to your home. The seamless integration of adjustable lighting not only elevates the visual appeal of your living space but also enhances the overall experience of everyday activities.
In essence, the installation of a dimmer switch represents a harmonious blend of practicality and aesthetics, offering a simple yet impactful way to customize the lighting in your home. With the knowledge and skills acquired through this guide, you are well-equipped to embark on future DIY projects and continue enhancing your living space with confidence and creativity. Embrace the newfound flexibility and ambiance control provided by your dimmer switch, and revel in the transformative power of adjustable lighting.
Frequently Asked Questions about How To Wire A Dimmer Switch To A Ceiling Light
Was this page helpful?
At Storables.com, we guarantee accurate and reliable information. Our content, validated by Expert Board Contributors, is crafted following stringent Editorial Policies. We're committed to providing you with well-researched, expert-backed insights for all your informational needs.


0 thoughts on “How To Wire A Dimmer Switch To A Ceiling Light”