Articles
Installing A Chandelier And Dimmer Switch
Modified: October 19, 2024
Learn how to install a chandelier and dimmer switch with our comprehensive articles, featuring step-by-step instructions and tips for a seamless installation process.
(Many of the links in this article redirect to a specific reviewed product. Your purchase of these products through affiliate links helps to generate commission for Storables.com, at no extra cost. Learn more)
Introduction
Installing a chandelier can add a touch of elegance and sophistication to any space. Whether you’re upgrading the lighting in your dining room or adding a statement piece to your foyer, a chandelier can instantly transform the ambiance of a room. However, installing a chandelier can be a daunting task for beginners, as it involves electrical work and careful handling of delicate components. In this article, we will guide you through the process of installing a chandelier and a dimmer switch, ensuring that you have the necessary tools, knowledge, and safety precautions to complete the installation successfully.
Key Takeaways:
- Elevate your space with elegance by installing a chandelier and dimmer switch, following safety precautions, proper assembly, secure mounting, and precise wiring for a stunning lighting transformation.
- Prioritize safety, gather essential tools, and follow step-by-step instructions to successfully install a chandelier and dimmer switch, creating the perfect ambiance for any occasion.
Read more: How To Install A Smart Dimmer Switch
Safety Precautions
Before beginning any electrical work, it is crucial to prioritize safety. Here are some important safety precautions to keep in mind when installing a chandelier and dimmer switch:
- Turn off the power: Before starting the installation process, ensure that the power to the area where you will be working is turned off. Locate the circuit breaker or fuse box and switch off the appropriate circuit. Use a voltage tester to double-check that the power is off before proceeding.
- Protective gear: Wear safety glasses and gloves to protect yourself from any potential accidents or injuries.
- Secure the area: Clear the area around where you will be working. Remove any furniture, rugs, or obstacles that may hinder your movement or pose a tripping hazard.
- Use a ladder or scaffold: If the chandelier needs to be installed at a high ceiling, use a stable ladder or scaffold to safely reach the installation point. Ensure that the ladder or scaffold is secure and positioned on a level surface.
- Work with a partner: Installing a chandelier can be challenging, especially when dealing with heavy and delicate parts. It is advisable to have someone assist you during the installation process to ensure stability and safety.
- Follow manufacturer’s instructions: Each chandelier and dimmer switch may have specific installation instructions provided by the manufacturer. It is essential to read and follow these instructions carefully to avoid any mistakes or potential hazards.
- Turn off the power when making adjustments: If you need to make any adjustments or changes to the chandelier or dimmer switch after the installation, remember to turn off the power to ensure your safety.
- Consult a professional: If you are uncertain about any aspect of the installation process or feel uncomfortable handling electrical work, it is always best to consult a licensed electrician who can provide expert assistance.
By adhering to these safety precautions, you can minimize the risk of accidents and injuries and ensure a smooth and secure installation process.
Tools and Equipment Needed
Before you begin installing a chandelier and dimmer switch, gather the necessary tools and equipment to ensure a smooth and efficient installation process. Here’s a list of the essential items you will need:
- Chandelier: Choose a chandelier that fits your design aesthetic and the size of the room. Ensure that it comes with all the necessary components, including the mounting hardware and wiring.
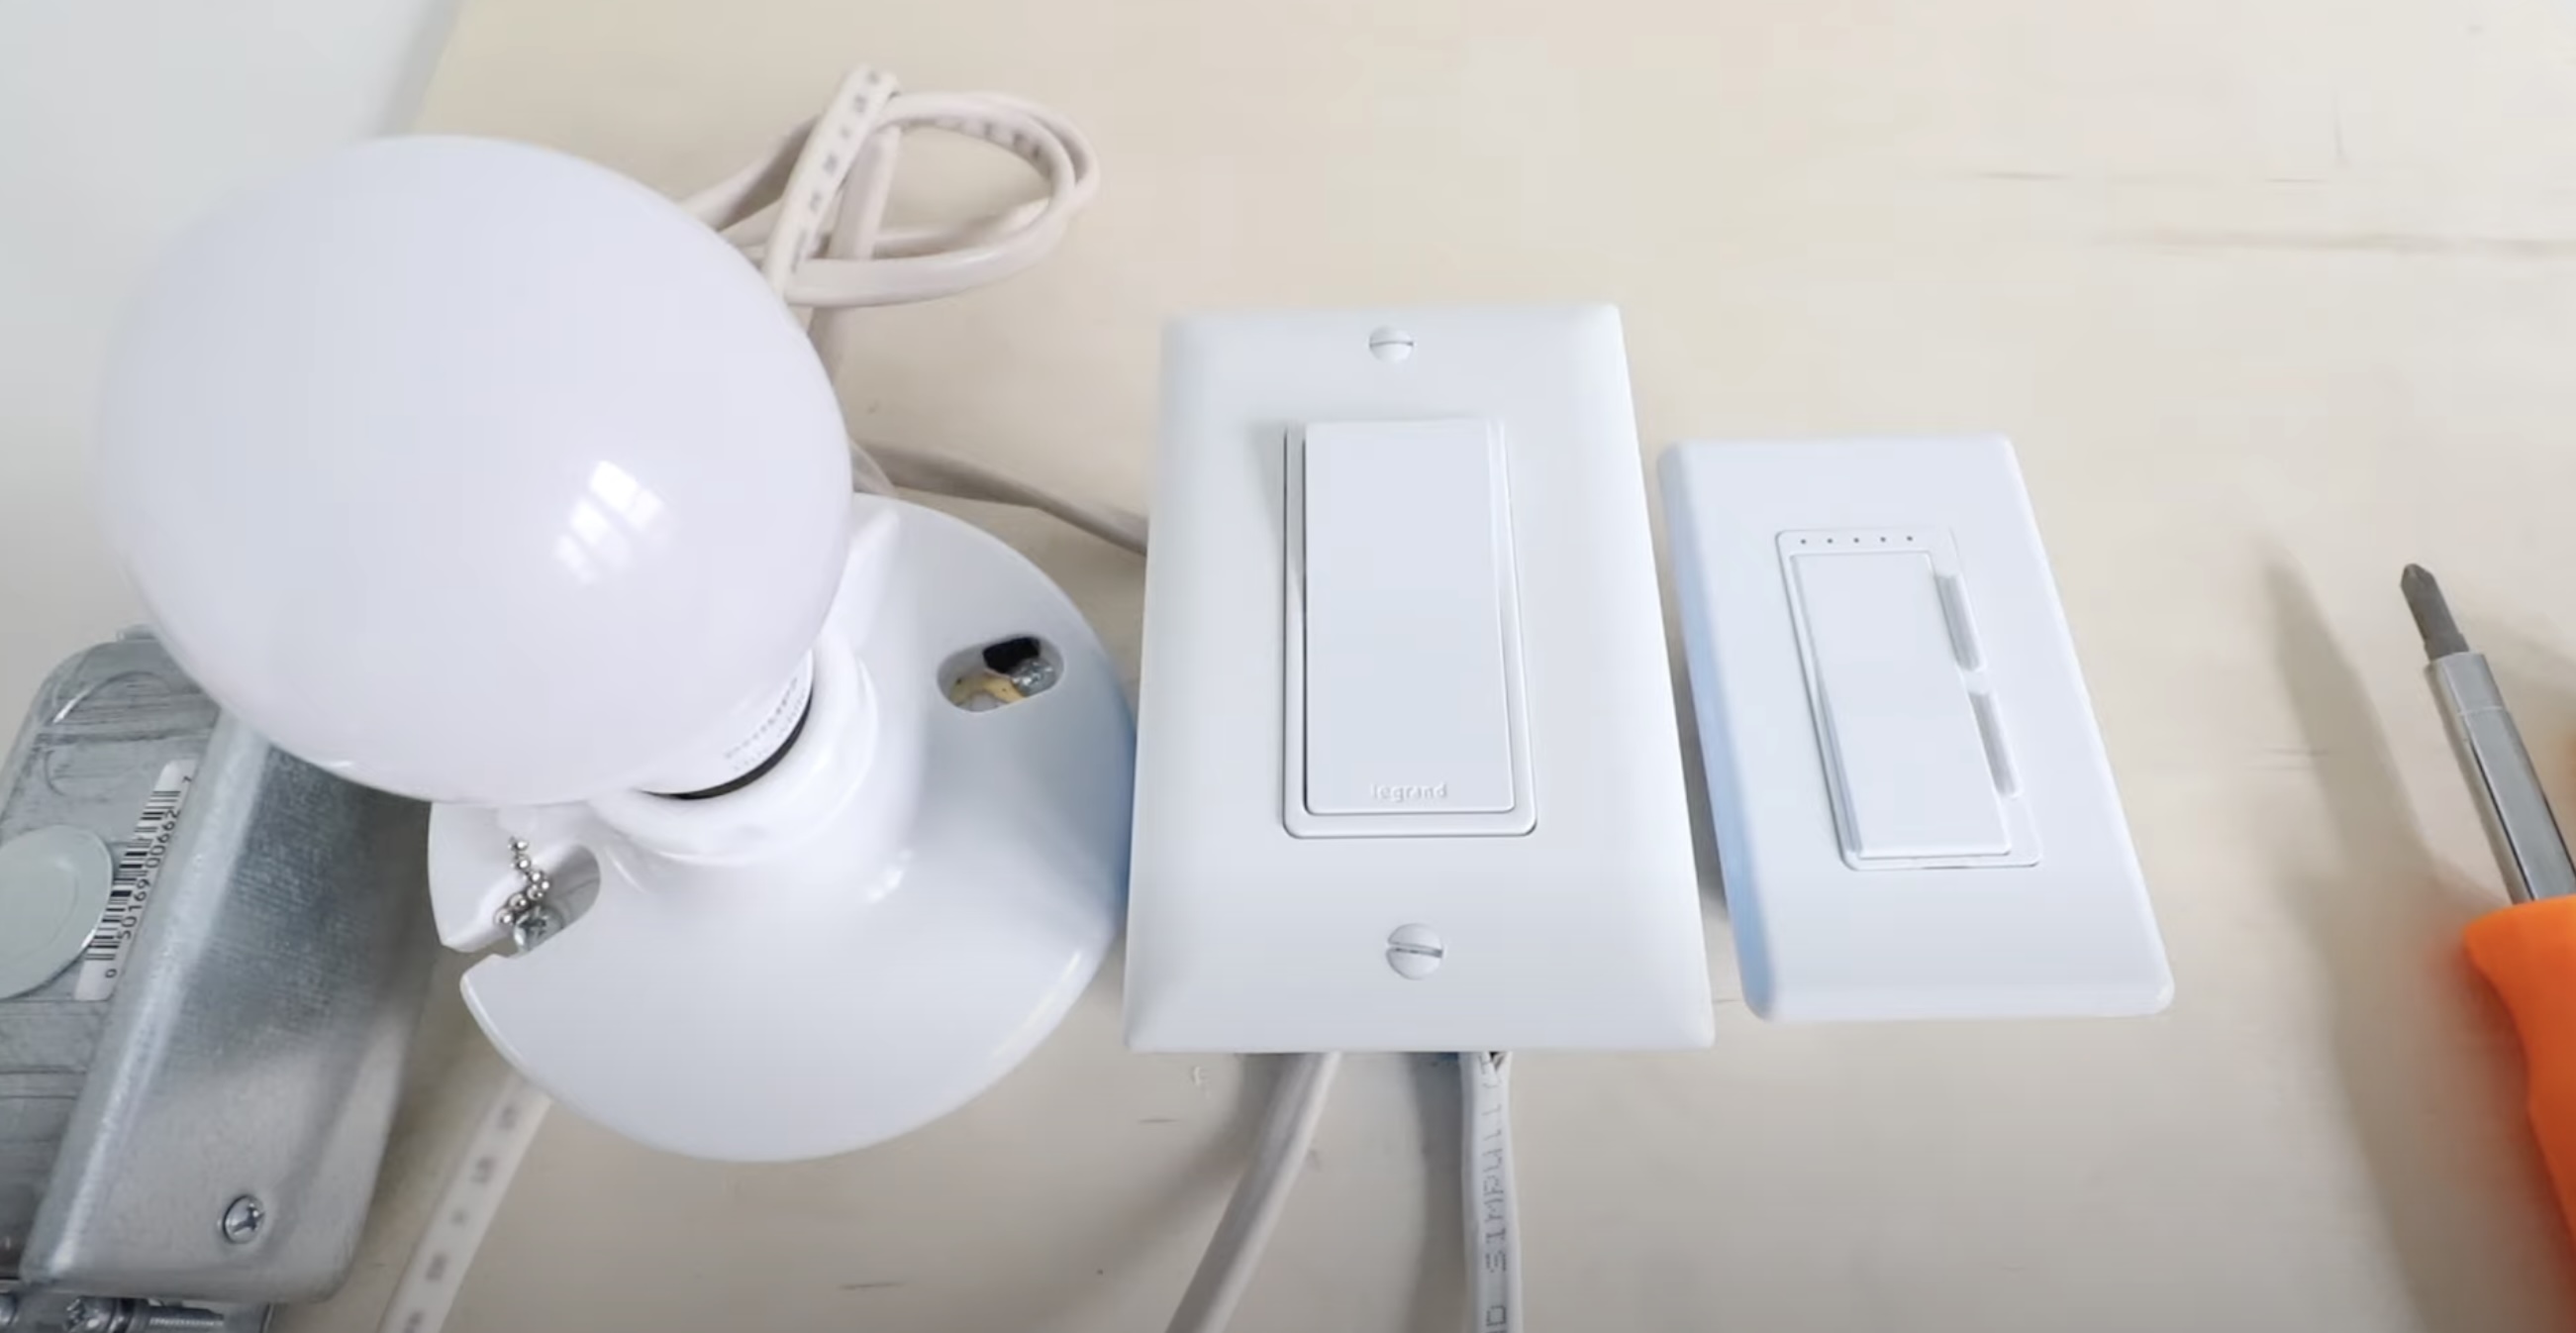
- Dimmer switch: Opt for a dimmer switch that is compatible with the chandelier and provides the desired level of control over the lighting intensity.
- Electric screwdriver or drill: An electric screwdriver or drill with appropriate screwdriver bits will make the installation process faster and more convenient.
- Wire strippers: Use wire strippers to remove the insulation from the electrical wires for proper connection.
- Wire connectors: Choose wire connectors that are suitable for the electrical wires being used. These connectors will securely join the chandelier and dimmer switch wires.
- Voltage tester: A voltage tester is essential for confirming that the power to the installation area is turned off before beginning any work.
- Wire nuts: Wire nuts are used to connect multiple electrical wires together. Choose the right size wire nuts for a secure and reliable connection.
- Pliers: Pliers will come in handy for bending and securing wires, as well as tightening screws and nuts.
- Ladder or scaffold: Depending on the height at which the chandelier will be installed, you may need a ladder or scaffold to reach the installation point.
- Level: Ensure that the chandelier is installed level by using a level tool. This will help maintain the overall balance and aesthetic appeal of the fixture.
- Ceiling medallion (optional): If desired, you can add a decorative ceiling medallion to enhance the appearance of the chandelier installation.
With these tools and equipment readily available, you will be well-prepared for a successful chandelier and dimmer switch installation. Remember to use caution and follow proper safety measures while using these tools.
Step 1: Preparing the Area
Before you start the actual installation process, it is important to prepare the area where the chandelier will be mounted. This step ensures a clean and organized workspace and helps facilitate a smooth installation. Follow these steps to prepare the area:
- Clear the space: Remove any furniture, decorations, or other items from the area where the chandelier will be installed. This will allow you to move freely and ensure that the chandelier is the main focal point of the space.
- Turn off the power: Ensure that the power to the area is turned off at the circuit breaker or fuse box. This will prevent any accidents or electrical shocks during the installation process.
- Plan the chandelier placement: Measure the desired height at which you want the chandelier to hang from the ceiling. Take into consideration the ceiling height and the size of the chandelier. Mark the location where the mounting bracket will be installed using a pencil or tape.
- Install a ceiling medallion (optional): If you want to add a decorative touch to your chandelier installation, you can install a ceiling medallion. Place it at the center of the marked location and secure it to the ceiling using adhesive or screws.
- Inspect the electrical box: Take a moment to inspect the electrical box in the ceiling to ensure that it is secure and in good condition. If you notice any issues, such as loose wiring or damage, it is best to consult a licensed electrician for repair or replacement.
- Prepare the necessary tools and equipment: Gather all the tools and equipment needed for the installation, as mentioned in the previous section. Having everything prepared beforehand will save you time and make the installation process more efficient.
By preparing the area properly, you set the foundation for a successful chandelier installation. Taking the time to clear the space, plan the placement, and gather the necessary tools will make the subsequent steps easier to follow. Stay tuned for the next step— assembling the chandelier!
Step 2: Assembling the Chandelier
Once you have prepared the area for installation, the next step is to assemble the chandelier. This step involves unpacking the chandelier components and ensuring that all the necessary parts are included. Follow these steps to assemble the chandelier:
- Unpack the chandelier: Carefully remove the chandelier from its packaging, taking care not to damage any fragile parts. Lay out all the components on a flat and clean surface.
- Read the instructions: Read the manufacturer’s instructions carefully to understand how the chandelier is to be assembled. Ensure that you have all the necessary parts and that they are in good condition.
- Attach the arms or branches: Begin by attaching the arms or branches of the chandelier to the center column or body. Follow the instructions provided for the specific chandelier model. Use the provided screws or nuts to secure the arms in place.
- Install the light bulbs or candle covers: Depending on the chandelier design, you can now install the light bulbs or candle covers. Ensure that the bulbs or covers are compatible with the chandelier and fit securely.
- Attach the crystals or decorative elements: If your chandelier includes crystals or other decorative elements, carefully attach them according to the manufacturer’s instructions. Use any hooks or connectors provided to secure the crystals in place.
- Tighten all connections: Once all the components are in place, use a screwdriver or pliers to ensure that all connections are secure. Check that every screw, nut, or bolt is tightened properly, but be careful not to overtighten and damage the parts.
Assembling the chandelier correctly is essential to ensure stability and proper functioning once it is mounted. Take your time to follow the manufacturer’s instructions and double-check all connections before proceeding to the next step.
In the next step, we will guide you through mounting the chandelier and preparing for the electrical wiring. So stay tuned for more instructions on installing your chandelier!
Read more: How To Install An LED Dimmer Switch
Step 3: Mounting the Chandelier
After successfully assembling the chandelier, you’re now ready to mount it in its designated location. Proper mounting will ensure that the chandelier is securely held to the ceiling and provide a stable foundation for the rest of the installation process. Follow these steps to mount the chandelier:
- Locate the mounting bracket: The chandelier should come with a mounting bracket designed to secure it to the ceiling. Locate the mounting bracket and ensure that it is in good condition.
- Position the mounting bracket: Hold the mounting bracket against the ceiling at the marked location. Ensure that it is centered and level. Use a pencil or marker to outline the screw holes on the ceiling.
- Pre-drill the holes: To make it easier to install the screws, use a drill to pre-drill the holes at the marked locations. Be sure to use the appropriate drill bit for your ceiling material.
- Secure the mounting bracket: Place the mounting bracket over the pre-drilled holes and insert the provided screws through the bracket into the ceiling. Use a screwdriver or drill to tighten the screws securely. Double-check that the bracket is level as you tighten the screws.
- Attach the chandelier: Depending on the design of the chandelier, it might have a hook or loop at the top for hanging. Using a sturdy chain or suspension system, hang the chandelier from the mounting bracket. Ensure that it is properly secured and that the weight is evenly distributed.
- Test the stability: Gently shake the chandelier to ensure that it is stable and securely mounted. If it wobbles or feels loose, double-check the mounting bracket and connections to ensure that everything is properly tightened and secure.
Once the chandelier is mounted, you have successfully completed this step of the installation process. In the next step, we will guide you through the process of wiring the chandelier, connecting it to the electrical supply, and installing the dimmer switch. So stay tuned for more instructions on completing your chandelier installation!
When installing a chandelier and dimmer switch, always turn off the power at the circuit breaker before beginning any work. This will ensure your safety while working with electrical components.
Step 4: Wiring the Chandelier
Now that the chandelier is securely mounted, it’s time to proceed with wiring it to the electrical supply. Proper wiring is essential to ensure that the chandelier functions safely and efficiently. Follow these steps to wire the chandelier:
- Turn off the power: As a safety precaution, ensure that the power to the installation area is turned off at the circuit breaker or fuse box.
- Examine the chandelier’s wiring: Take a close look at the wiring of the chandelier. You will typically find a group of wires extending from the chandelier, including a neutral wire (usually white), a hot wire (typically black or red), and a ground wire (usually green or bare copper).
- Strip the wire ends: Using a wire stripper, carefully remove about 1/2 inch of insulation from the ends of the chandelier’s wires. Take care not to damage or nick the actual wires while stripping the insulation.
- Identify the electrical supply wires: Identify the wires coming from the electrical supply in the ceiling. These wires will typically be color-coded or marked. The hot wire is usually black or red, the neutral wire is white, and the ground wire is green or bare copper.
- Connect the wires: Match and connect the corresponding wires from the chandelier to the electrical supply wires. Twist the exposed ends of the wires together in a clockwise direction and secure them with wire nuts. Connect the hot wire to the hot wire, neutral to neutral, and ground to ground. Ensure that the connections are tight and secure.
- Insulate the connections: Once the wires are connected, carefully tuck them back into the electrical box. Ensure that there are no exposed wires or loose connections. If needed, use electrical tape to further secure and insulate the wire connections.
With the chandelier properly wired, you have completed this step of the installation process. Ensure that all connections are tight and secure before moving on to the next step. In the following step, we will guide you through installing the dimmer switch to control the chandelier’s lighting intensity. So stay tuned for more instructions on completing your chandelier installation!
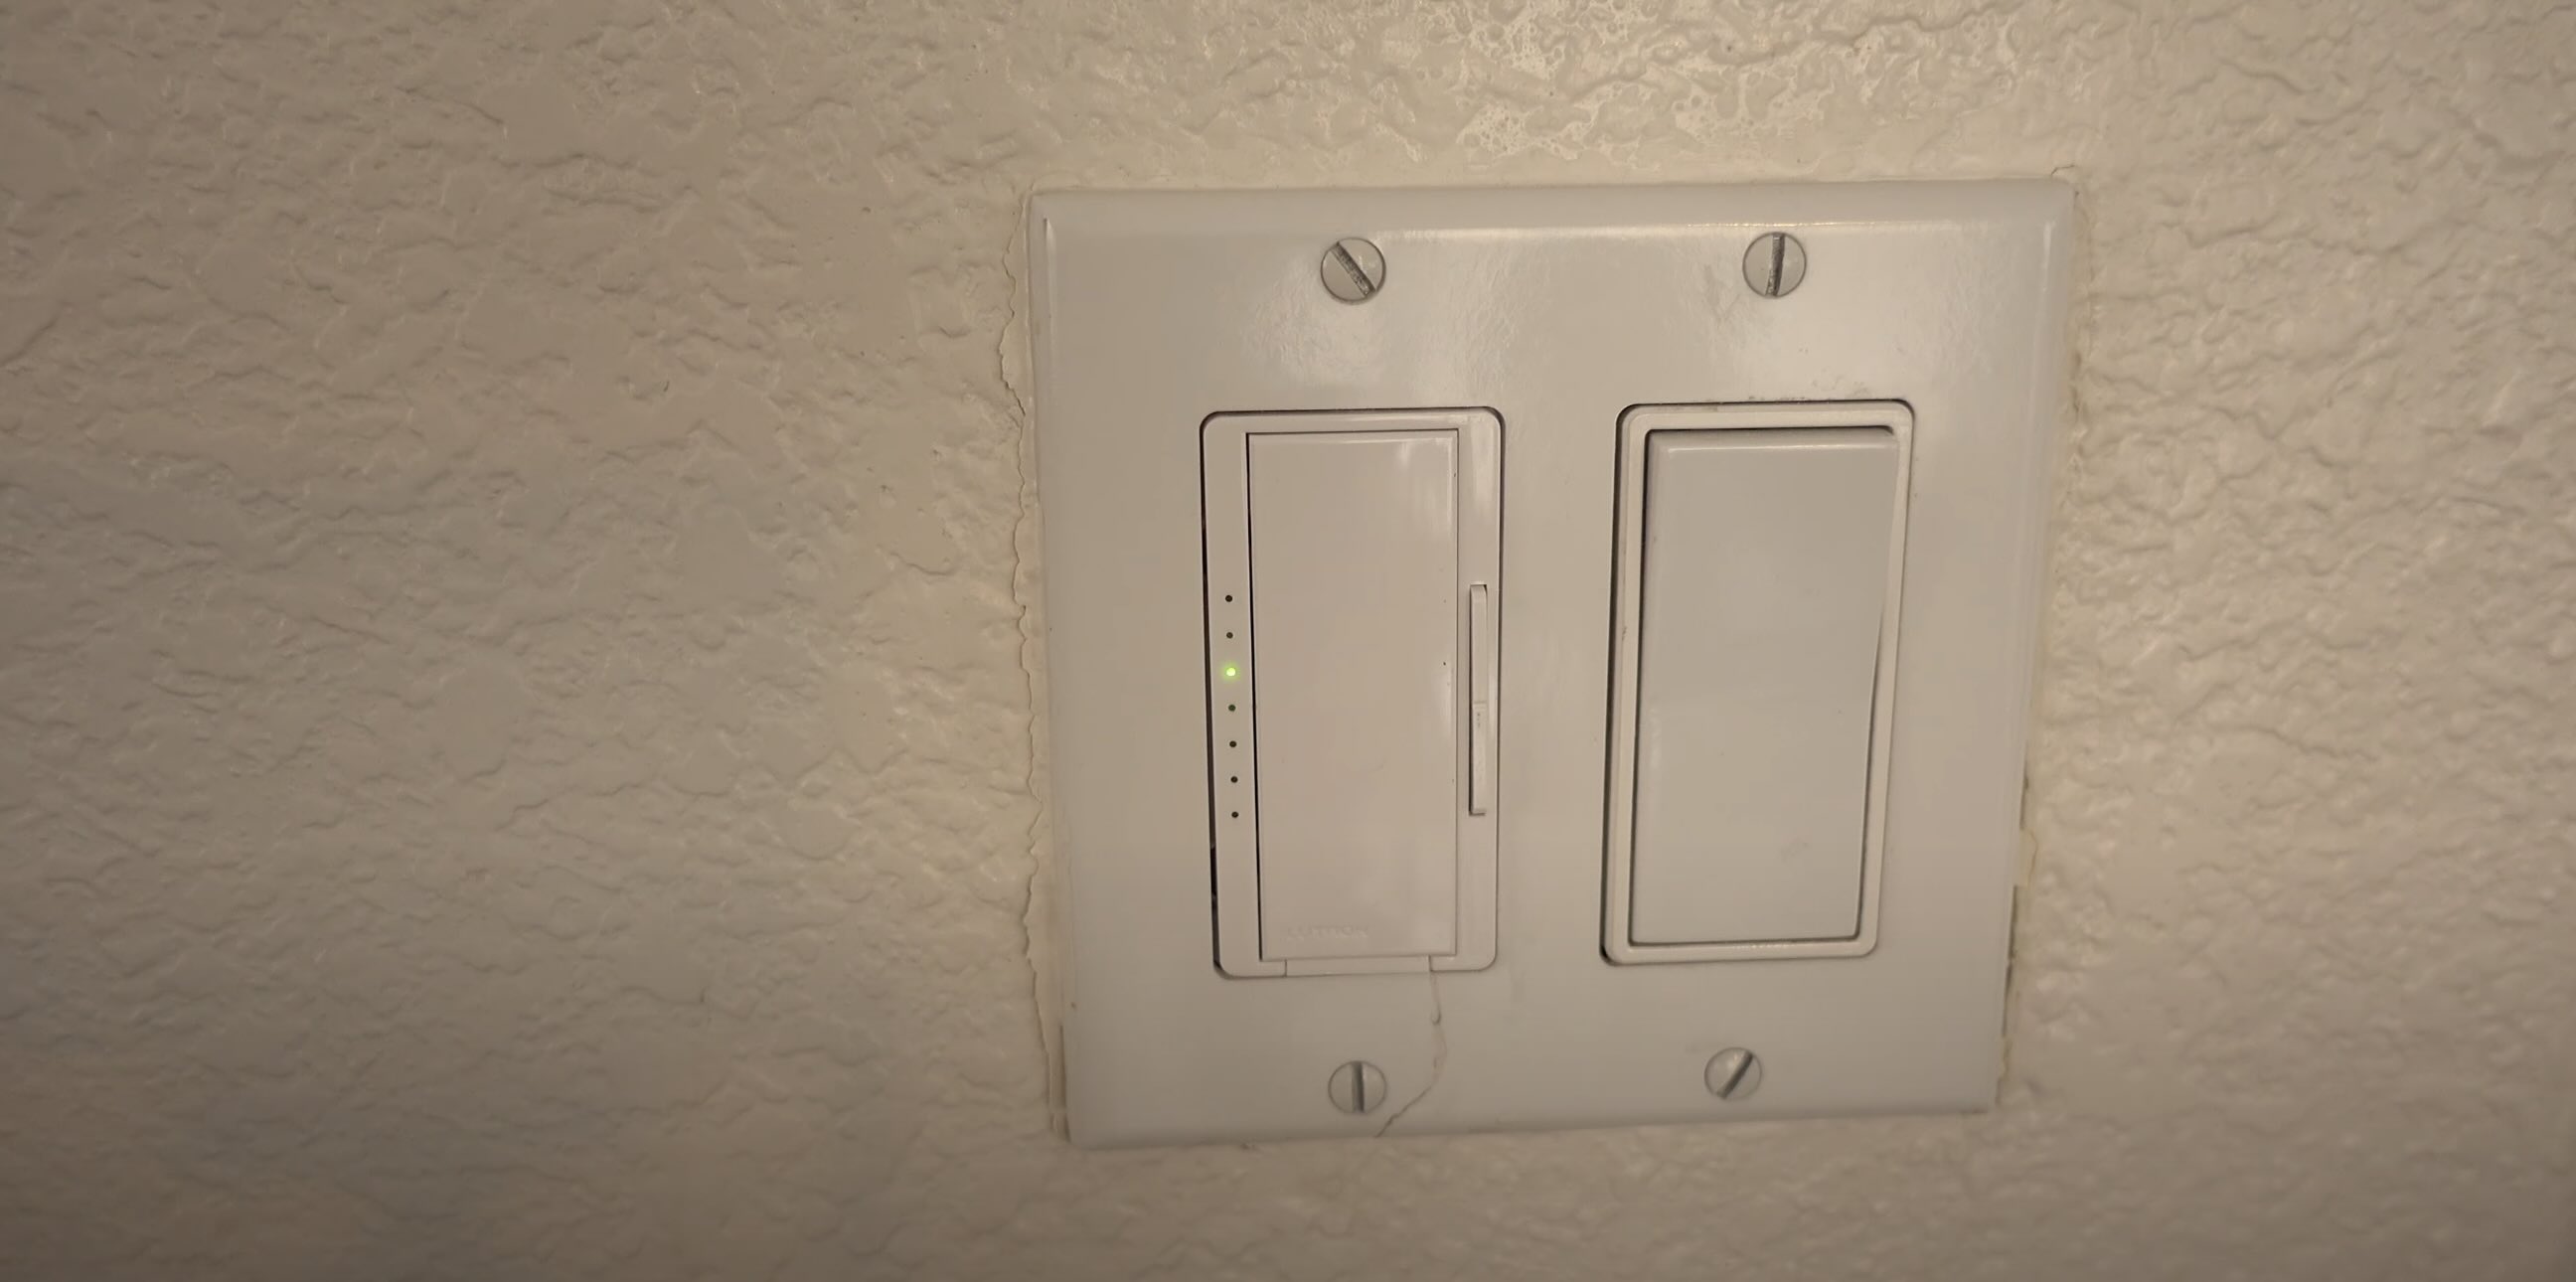
Step 5: Installing the Dimmer Switch
Installing a dimmer switch allows you to control the lighting intensity of your chandelier, creating the perfect ambiance for any occasion. Follow these steps to install the dimmer switch:
- Turn off the power: As a safety precaution, turn off the power to the area where the dimmer switch will be installed at the circuit breaker or fuse box.
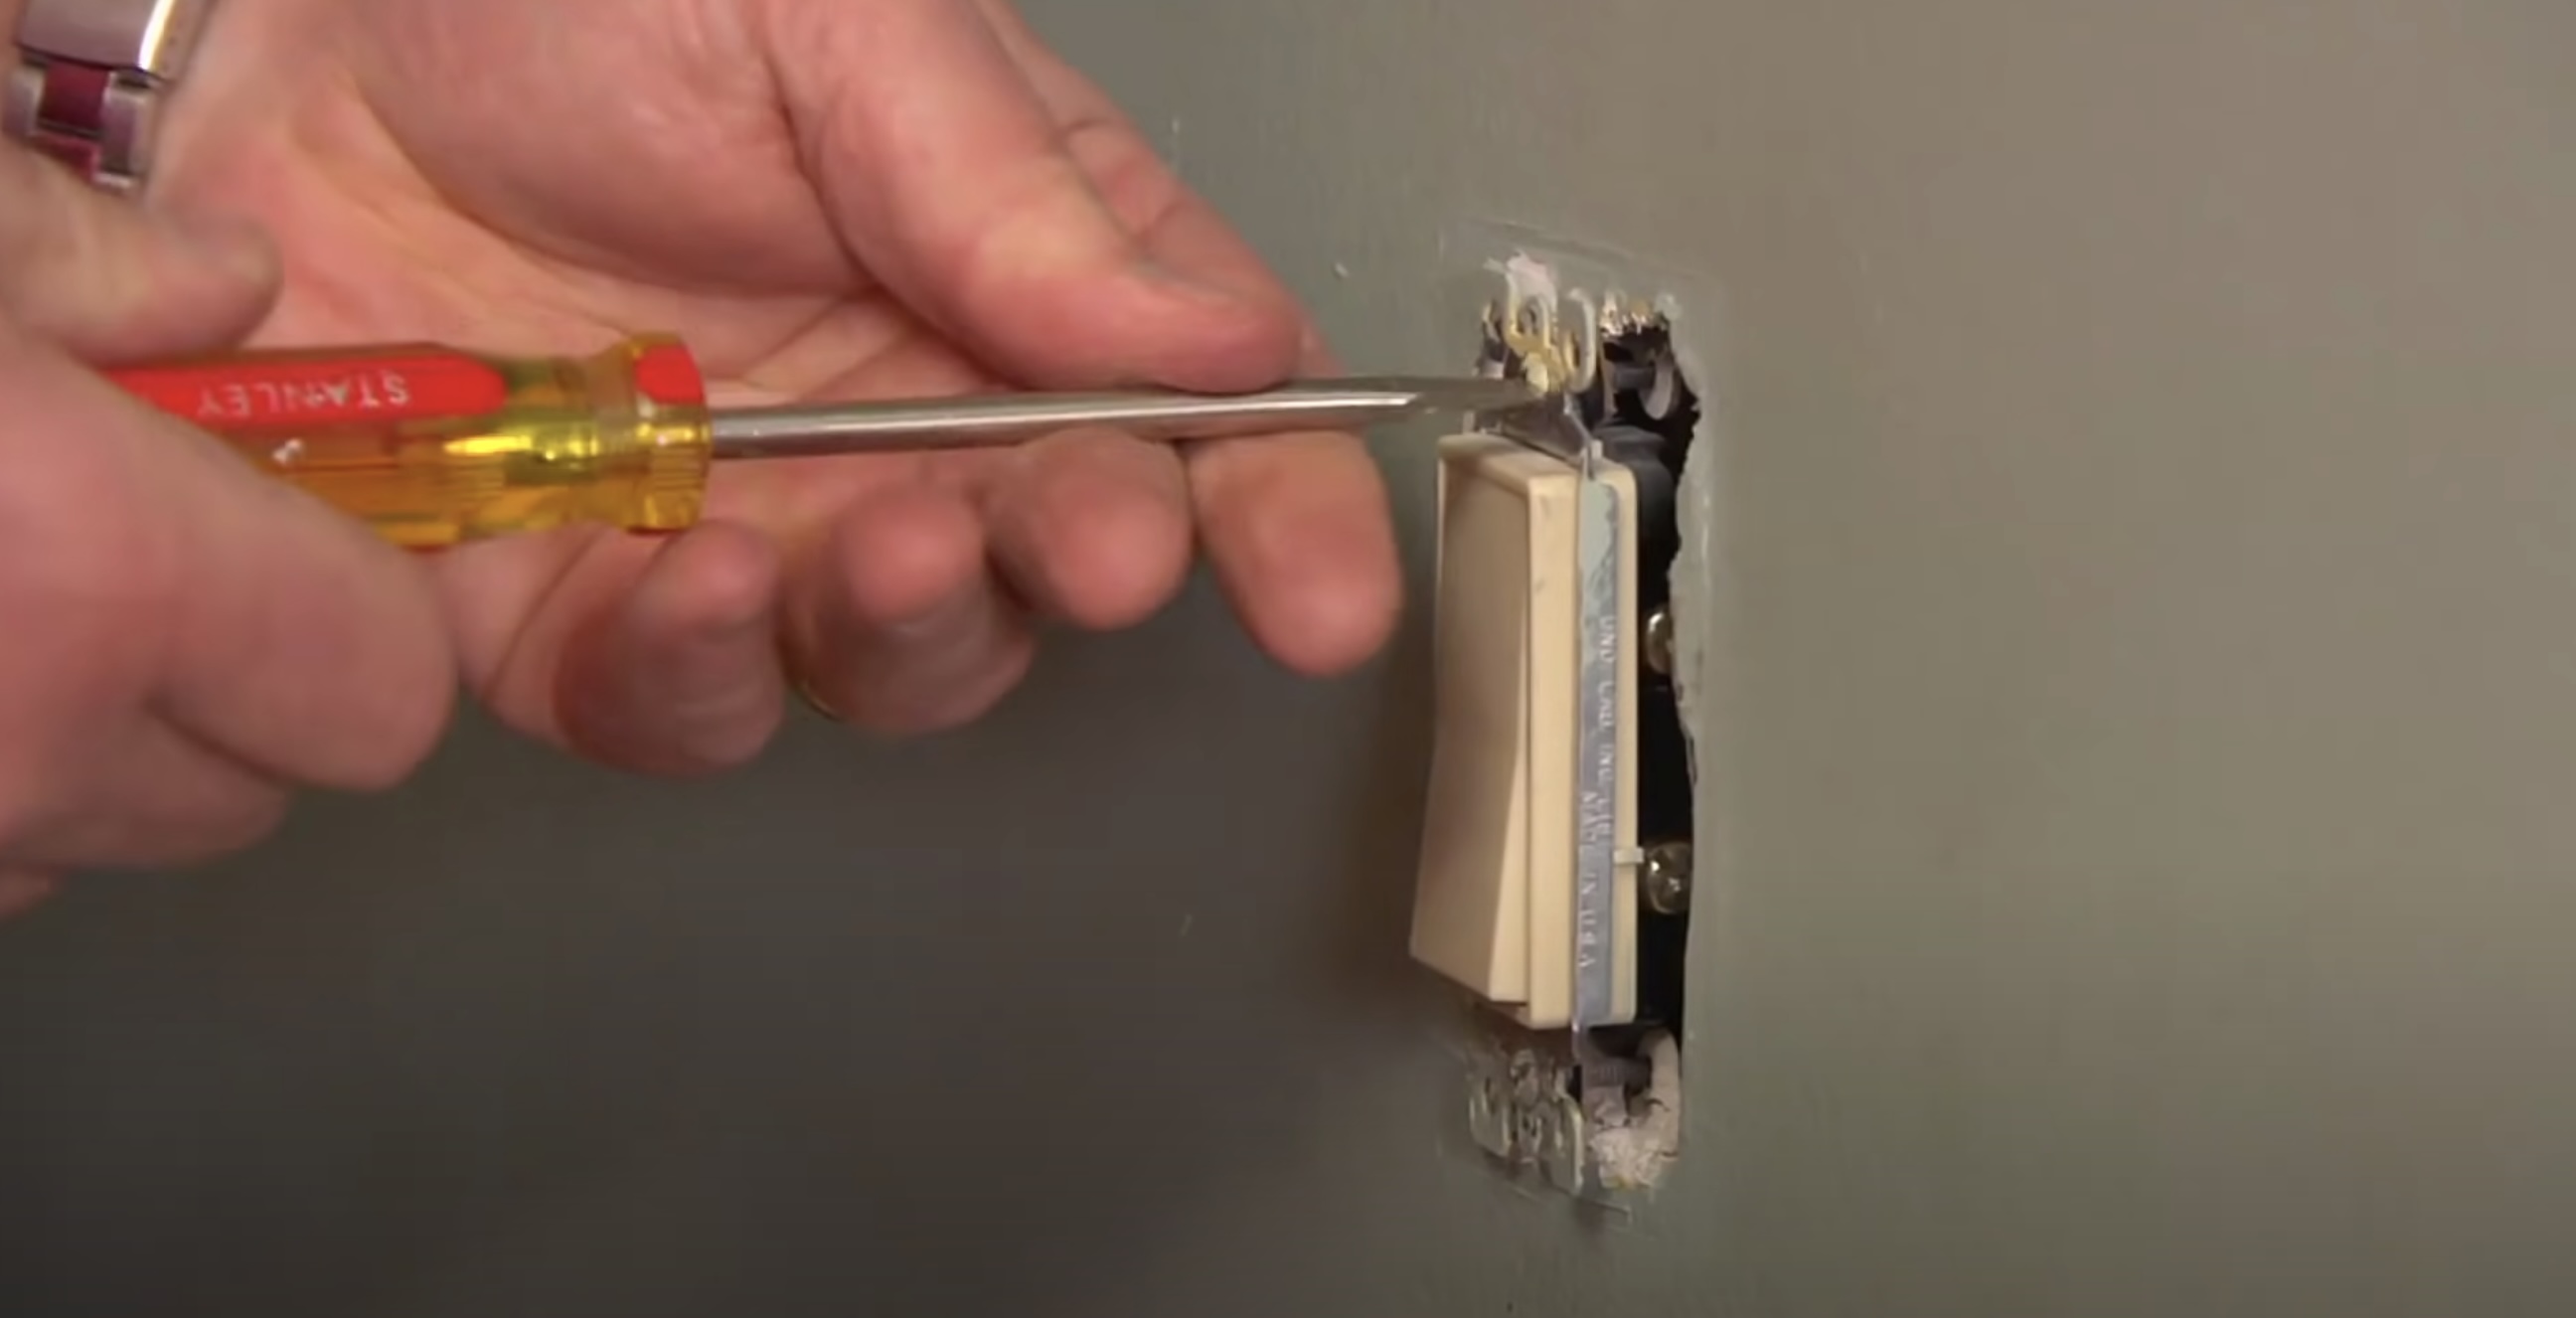
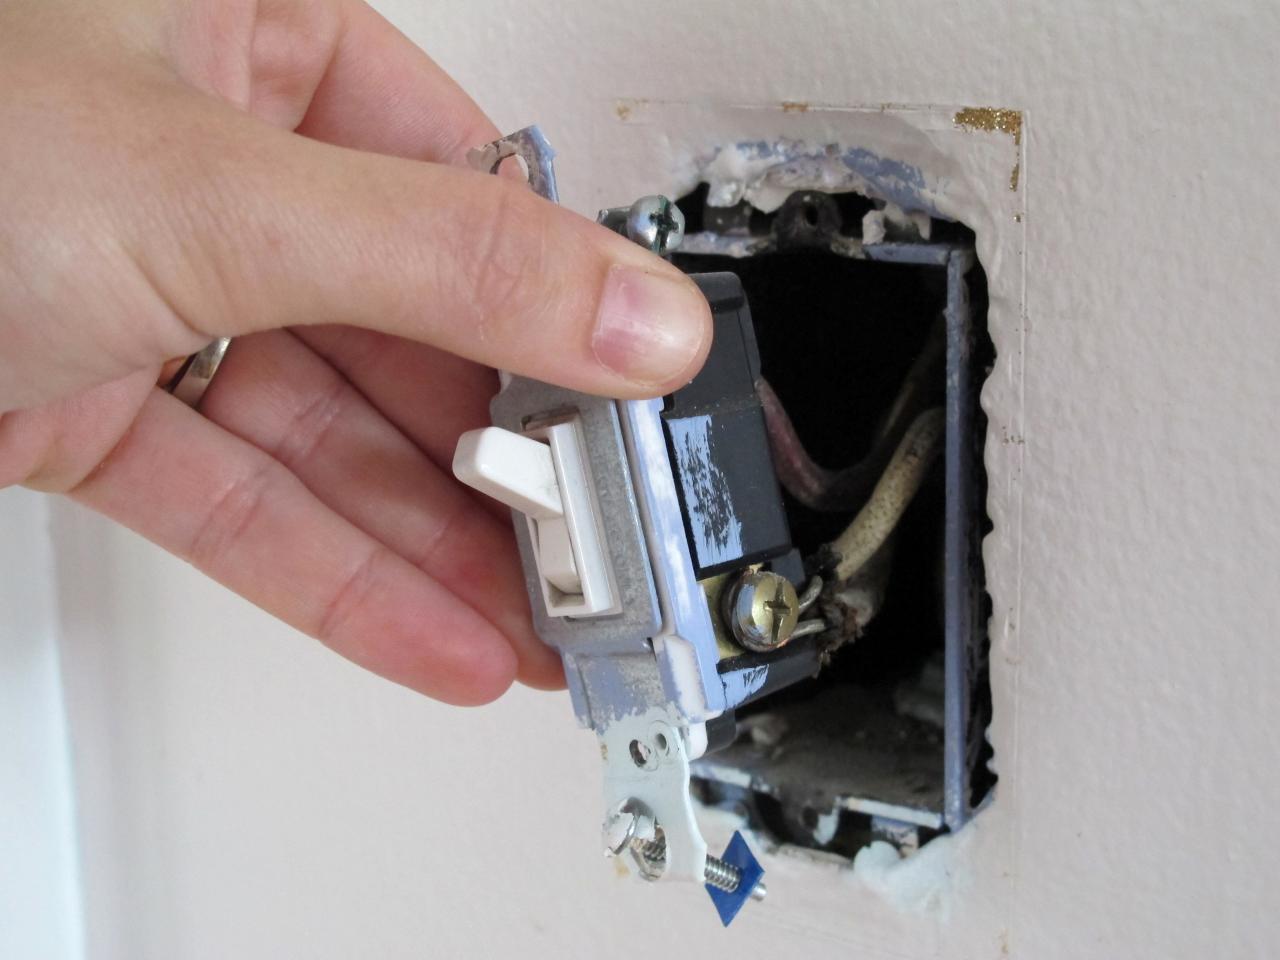
- Remove the existing switch: If there is a standard switch in place, use a screwdriver to remove the switch cover plate and unscrew the switch from the electrical box. Carefully disconnect the wires from the switch, noting their positions.
- Prepare the dimmer switch: If necessary, read the manufacturer’s instructions for preparing the dimmer switch for installation. Typically, this involves removing any mounting brackets or screws that may be attached to the switch.
- Connect the wires: Connect the dimmer switch wires to the corresponding wires in the electrical box. Typically, a dimmer switch will have two wires: a hot wire (usually black) and a neutral wire (usually white or gray). Connect the hot wire to the hot wire in the electrical box and the neutral wire to the neutral wire. If there is a ground wire, connect it as well.
- Secure the dimmer switch: Carefully tuck the wires into the electrical box and mount the dimmer switch onto the box using the provided screws or mounting brackets. Ensure that the switch is aligned properly and securely attached to the electrical box.
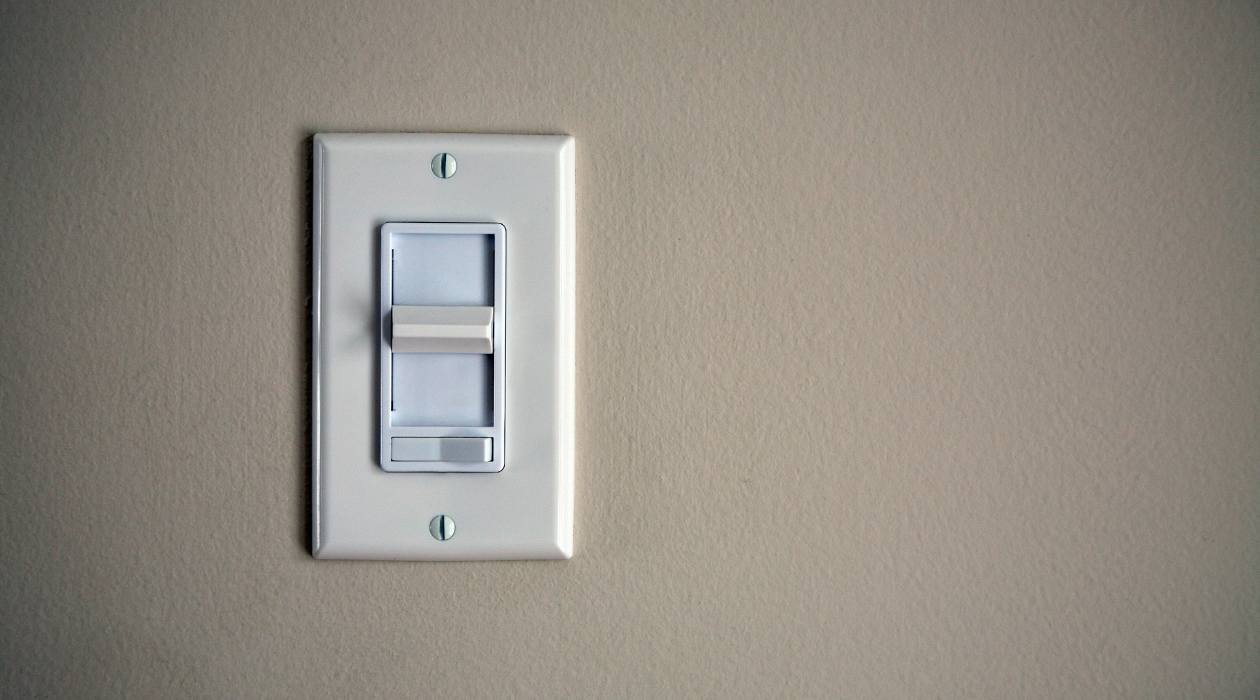
- Attach the switch cover plate: Once the dimmer switch is securely installed, attach the switch cover plate using the provided screws. Ensure that it is aligned properly and tightened securely.
With the dimmer switch successfully installed, you have completed this step of the installation process. Remember to turn the power back on at the circuit breaker or fuse box to test the switch and chandelier’s functionality. In the next step, we will guide you through testing and making any final adjustments to ensure a successful chandelier installation. So, stay tuned for more instructions on completing your chandelier installation!
Step 6: Testing and Final Adjustments
After completing the installation of the chandelier and dimmer switch, it’s time to test the functionality and make any final adjustments to ensure everything is working correctly. Follow these steps to test and make final adjustments:
- Turn on the power: At the circuit breaker or fuse box, turn the power back on for the area where the chandelier and dimmer switch are installed.
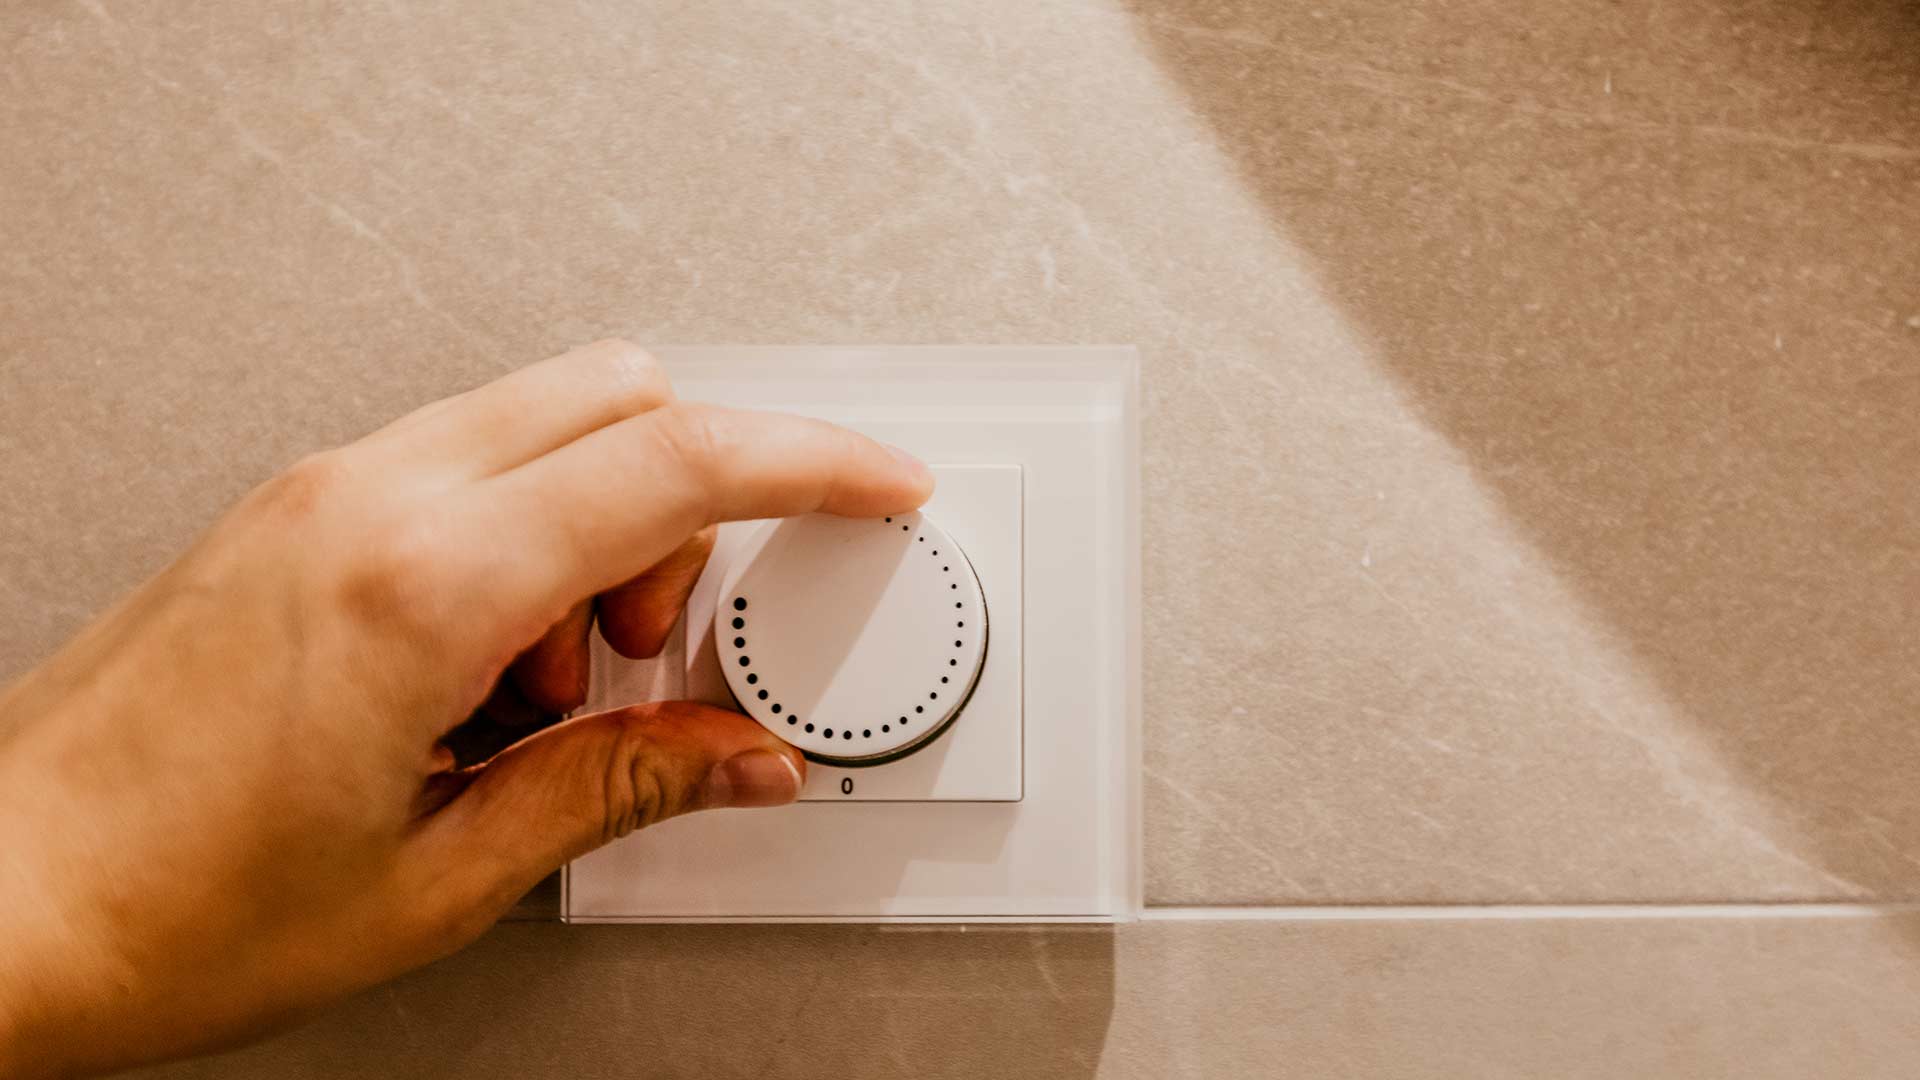
- Test the chandelier: Flip the switch on the dimmer switch to ensure that the chandelier lights up. Gradually adjust the dimmer switch to different levels to test the range of lighting intensity. Ensure that the dimmer switch is smoothly controlling the brightness without any flickering or issues.
- Check for any loose connections: Inspect the chandelier and dimmer switch for any loose connections or screws. Tighten any loose screws or connections to ensure stability and safety.
- Make any necessary adjustments: If the chandelier is not hanging straight or is tilted, use a level tool to adjust it. Make any necessary adjustments to ensure that the chandelier is properly balanced and aligned.
- Finalize the installation: Once you are satisfied with the functionality and appearance of the chandelier, replace any remaining covers or decorative elements as needed.
Congratulations! You have successfully installed a chandelier and dimmer switch. Enjoy the enhanced ambiance and beauty that your chandelier brings to your space. Remember to periodically check the chandelier and dimmer switch for any maintenance or updates needed to ensure ongoing functionality and safety.
Thank you for following this step-by-step guide. We hope it has been helpful in your chandelier installation process. Should you have any additional questions or concerns, don’t hesitate to consult a licensed electrician or professional for further assistance.
Read more: How To Install A Legrand Dimmer Switch
Conclusion
Installing a chandelier and dimmer switch can elevate the ambiance and style of any room. Through careful preparation, proper wiring, and precise installation, you can enjoy the beauty and functionality of a chandelier in your space. Remember to prioritize safety at every step of the process by following necessary precautions and consulting professionals when needed.
By gathering the right tools and equipment, preparing the area, assembling the chandelier, mounting it securely, wiring it correctly, and installing the dimmer switch, you have successfully completed a comprehensive chandelier installation. The final step of testing and making necessary adjustments ensures that your chandelier functions smoothly and adds the desired aesthetic touch to your room.
With the installation complete, take a moment to appreciate the beauty and elegance that your chandelier brings to your space. Enjoy the versatility of the dimmer switch, which allows you to create the perfect lighting atmosphere for different occasions and moods. Remember to periodically inspect and maintain your chandelier and dimmer switch to ensure their ongoing functionality and safety.
Thank you for following this step-by-step guide. We hope it has provided you with the knowledge and confidence to successfully install a chandelier and dimmer switch. Should you have any further questions or need additional guidance, don’t hesitate to consult professionals or experts in the field. Happy chandelier installation!
Additional Tips and Considerations
As you proceed with your chandelier installation, keep in mind these additional tips and considerations to ensure a successful and hassle-free process:
- Read the manufacturer’s instructions: Each chandelier and dimmer switch may have specific installation instructions provided by the manufacturer. It is crucial to carefully read and follow these instructions to ensure proper installation and avoid any potential issues.
- Proper weight support: Ensure that the ceiling can support the weight of the chandelier. If you are uncertain, consult a professional to assess the ceiling’s structural integrity and provide guidance.
- Hire a professional if needed: If you are uncomfortable or inexperienced with electrical work, it is wise to hire a licensed electrician to install the chandelier and dimmer switch for you. This ensures safety and proper installations.
- Consider the height: When determining the height at which to install the chandelier, consider the ceiling height and the size of the chandelier. There should be ample space between the chandelier and the floor or table beneath it.
- Choose the right dimmer switch: Ensure that the dimmer switch you select is compatible with the chandelier’s lighting type, such as incandescent, LED, or CFL. Consult the manufacturer’s specifications or seek professional advice if unsure.
- Regular cleaning and maintenance: Over time, the chandelier may accumulate dust and require cleaning. Follow the manufacturer’s instructions for cleaning and maintenance to keep it looking its best.
- Keep spare parts and documentation: It’s always a good idea to keep spare parts and any documentation provided with the chandelier and dimmer switch, such as warranties and installation receipts, for future reference or possible repairs.
- Consider energy efficiency: If energy efficiency is a priority for you, consider choosing energy-saving light bulbs and dimmer switches that are compatible with LED bulbs.
By keeping these tips in mind and being diligent throughout the installation process, you can ensure a successful chandelier installation that brings beauty, ambiance, and functionality to your living space. Enjoy the enhanced lighting experience and the stunning focal point that your chandelier provides.
Frequently Asked Questions about Installing A Chandelier And Dimmer Switch
Was this page helpful?
At Storables.com, we guarantee accurate and reliable information. Our content, validated by Expert Board Contributors, is crafted following stringent Editorial Policies. We're committed to providing you with well-researched, expert-backed insights for all your informational needs.


0 thoughts on “Installing A Chandelier And Dimmer Switch”