Home>Furniture>Bedroom Furniture>How To Wash A Mattress Protector

Bedroom Furniture
How To Wash A Mattress Protector
Modified: August 27, 2024
Want to know how to wash a mattress protector? Follow these simple steps to keep your bedroom furniture clean and fresh.
(Many of the links in this article redirect to a specific reviewed product. Your purchase of these products through affiliate links helps to generate commission for Storables.com, at no extra cost. Learn more)
Introduction
Welcome to the ultimate guide on how to wash a mattress protector! Mattress protectors play a crucial role in keeping our beds clean and hygienic. They act as a barrier between us and our mattresses, safeguarding them against spills, stains, dirt, dust mites, and allergens.
Over time, mattress protectors can accumulate sweat, body oils, and other forms of buildup, making it essential to give them a thorough cleaning. Washing your mattress protector regularly not only helps maintain its longevity but also ensures a clean sleeping environment. In this article, we will walk you through a step-by-step process to effectively wash your mattress protector, keeping it fresh and sanitary for years to come.
Before we dive into the cleaning process, let’s first discuss why it is important to wash your mattress protector regularly.
Key Takeaways:
- Regularly washing your mattress protector is crucial for maintaining a clean and hygienic sleeping environment, eliminating allergens, dust mites, and stains to promote better overall hygiene and a healthier sleep environment.
- Following the care instructions, spot cleaning promptly, and implementing additional tips such as rotating your mattress and using pillow protectors can optimize the cleanliness and longevity of your mattress protector, ensuring a cleaner, fresher, and more comfortable bed for many nights to come.
Read more: How To Choose A Mattress
Why Should You Wash Your Mattress Protector?
1. Hygiene: Our bodies shed dead skin cells, sweat, and oils while we sleep. Without a proper mattress protector, these substances can penetrate your mattress, creating a breeding ground for bacteria, dust mites, and allergens. Regularly washing your mattress protector helps eliminate these contaminants, promoting a cleaner and healthier sleeping environment.
2. Stain Removal: Accidents happen, and spills or bodily fluids can penetrate through your sheets and stain your mattress protector. Washing it promptly prevents these stains from becoming permanent and keeps your mattress protector looking fresh and clean.
3. Odor Control: Over time, a mattress protector can develop an unpleasant odor due to sweat and body odors being absorbed into the fabric. Washing it regularly helps remove these odors, leaving your mattress protector smelling fresh.
4. Prolonging the Life of Your Mattress: By keeping your mattress protector clean, you are also protecting your mattress. The buildup of sweat, oils, and other debris can degrade the quality and longevity of your mattress over time. Properly washing your mattress protector helps to extend the life of both the protector and the mattress.
Now that we understand the importance of washing our mattress protectors, let’s move on to the preparation steps you need to take before starting the cleaning process.
Key Takeaways:
- Regularly washing your mattress protector is crucial for maintaining a clean and hygienic sleeping environment, eliminating allergens, dust mites, and stains to promote better overall hygiene and a healthier sleep environment.
- Following the care instructions, spot cleaning promptly, and implementing additional tips such as rotating your mattress and using pillow protectors can optimize the cleanliness and longevity of your mattress protector, ensuring a cleaner, fresher, and more comfortable bed for many nights to come.
Read more: How To Choose A Mattress
Why Should You Wash Your Mattress Protector?
1. Hygiene: Our bodies shed dead skin cells, sweat, and oils while we sleep. Without a proper mattress protector, these substances can penetrate your mattress, creating a breeding ground for bacteria, dust mites, and allergens. Regularly washing your mattress protector helps eliminate these contaminants, promoting a cleaner and healthier sleeping environment.
2. Stain Removal: Accidents happen, and spills or bodily fluids can penetrate through your sheets and stain your mattress protector. Washing it promptly prevents these stains from becoming permanent and keeps your mattress protector looking fresh and clean.
3. Odor Control: Over time, a mattress protector can develop an unpleasant odor due to sweat and body odors being absorbed into the fabric. Washing it regularly helps remove these odors, leaving your mattress protector smelling fresh.
4. Prolonging the Life of Your Mattress: By keeping your mattress protector clean, you are also protecting your mattress. The buildup of sweat, oils, and other debris can degrade the quality and longevity of your mattress over time. Properly washing your mattress protector helps to extend the life of both the protector and the mattress.
Now that we have explored the significance of washing your mattress protector, let’s move on to the step-by-step process of cleaning it effectively.
Preparation
Before you begin the process of washing your mattress protector, it’s important to gather all the necessary supplies and prepare your mattress for the cleaning. Here’s what you’ll need and the steps to follow:
1. Gather Supplies:
- Laundry detergent: Choose a mild, hypoallergenic detergent suitable for delicate fabrics.
- Stain remover (if necessary): Opt for a stain remover compatible with your mattress protector’s fabric.
- Washing machine: Ensure that your washing machine is big enough to accommodate the size of your mattress protector.
- Dryer or clothesline: Decide whether you will be air-drying your mattress protector or using a dryer.
- Additional cleaning tools: Depending on the type of stains or fabric, you may need a soft brush or sponge.
2. Strip the Bed:
Remove all sheets, pillows, and any other bedding items from your mattress, including the mattress protector itself. This will give you a clean surface to work with and allow you to thoroughly clean the mattress protector.
3. Inspect for Stains:
Take a close look at your mattress protector and identify any visible stains or spots. Pre-treating these stains before washing can help improve the chances of complete removal.
4. Check the Care Instructions:
Refer to the care label on your mattress protector for specific instructions on how to wash it. This label will provide you with valuable information about the fabric type, recommended water temperature, and any special care requirements.
By following these preparation steps, you’ll be ready to tackle the cleaning process with ease and ensure the best possible results. Now, let’s move on to the first step: removing the mattress protector.
Step 1: Removing the Mattress Protector
Before you can start washing your mattress protector, you’ll need to remove it from your mattress. Follow these steps to safely and efficiently remove the protector:
1. Prepare the Workspace:
Clear a space near your bed where you can lay the mattress protector flat. Ensure that the area is clean and free from any potential contaminants.
2. Lift the Mattress:
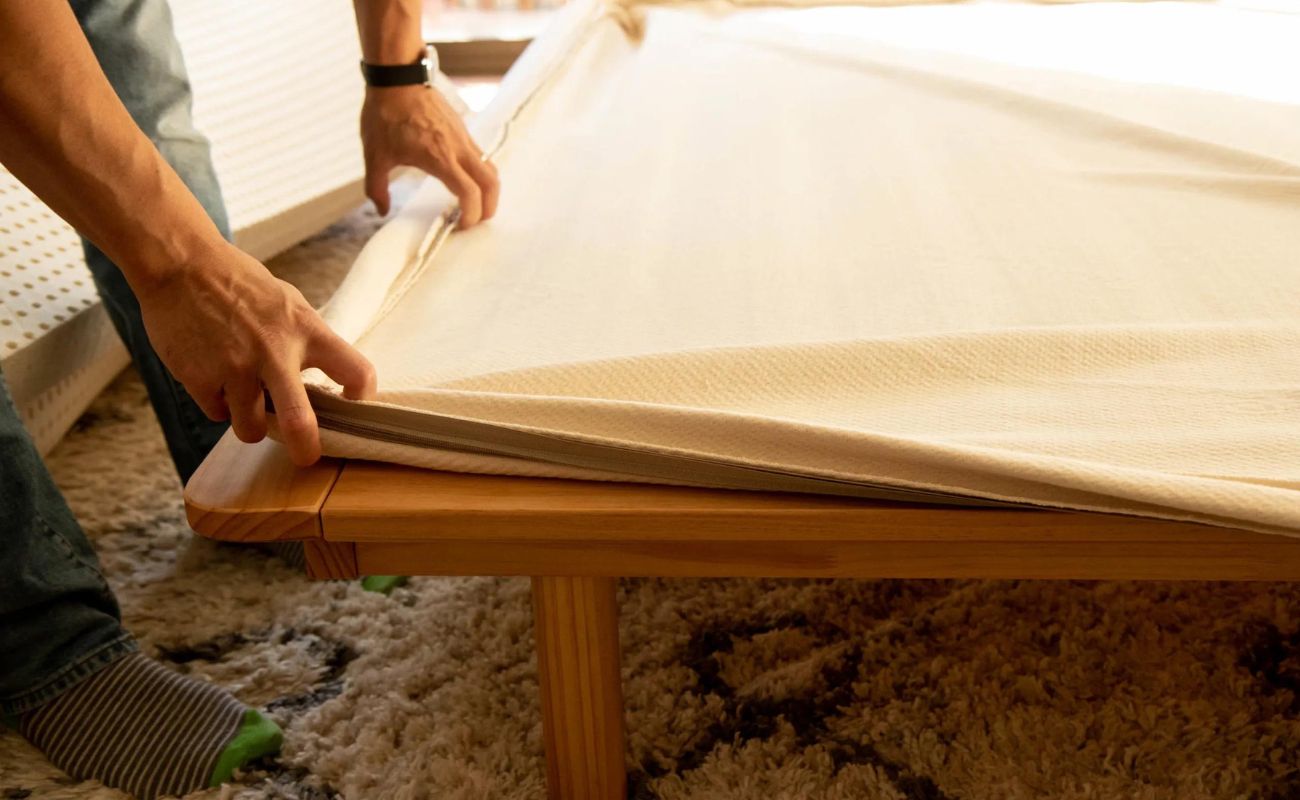
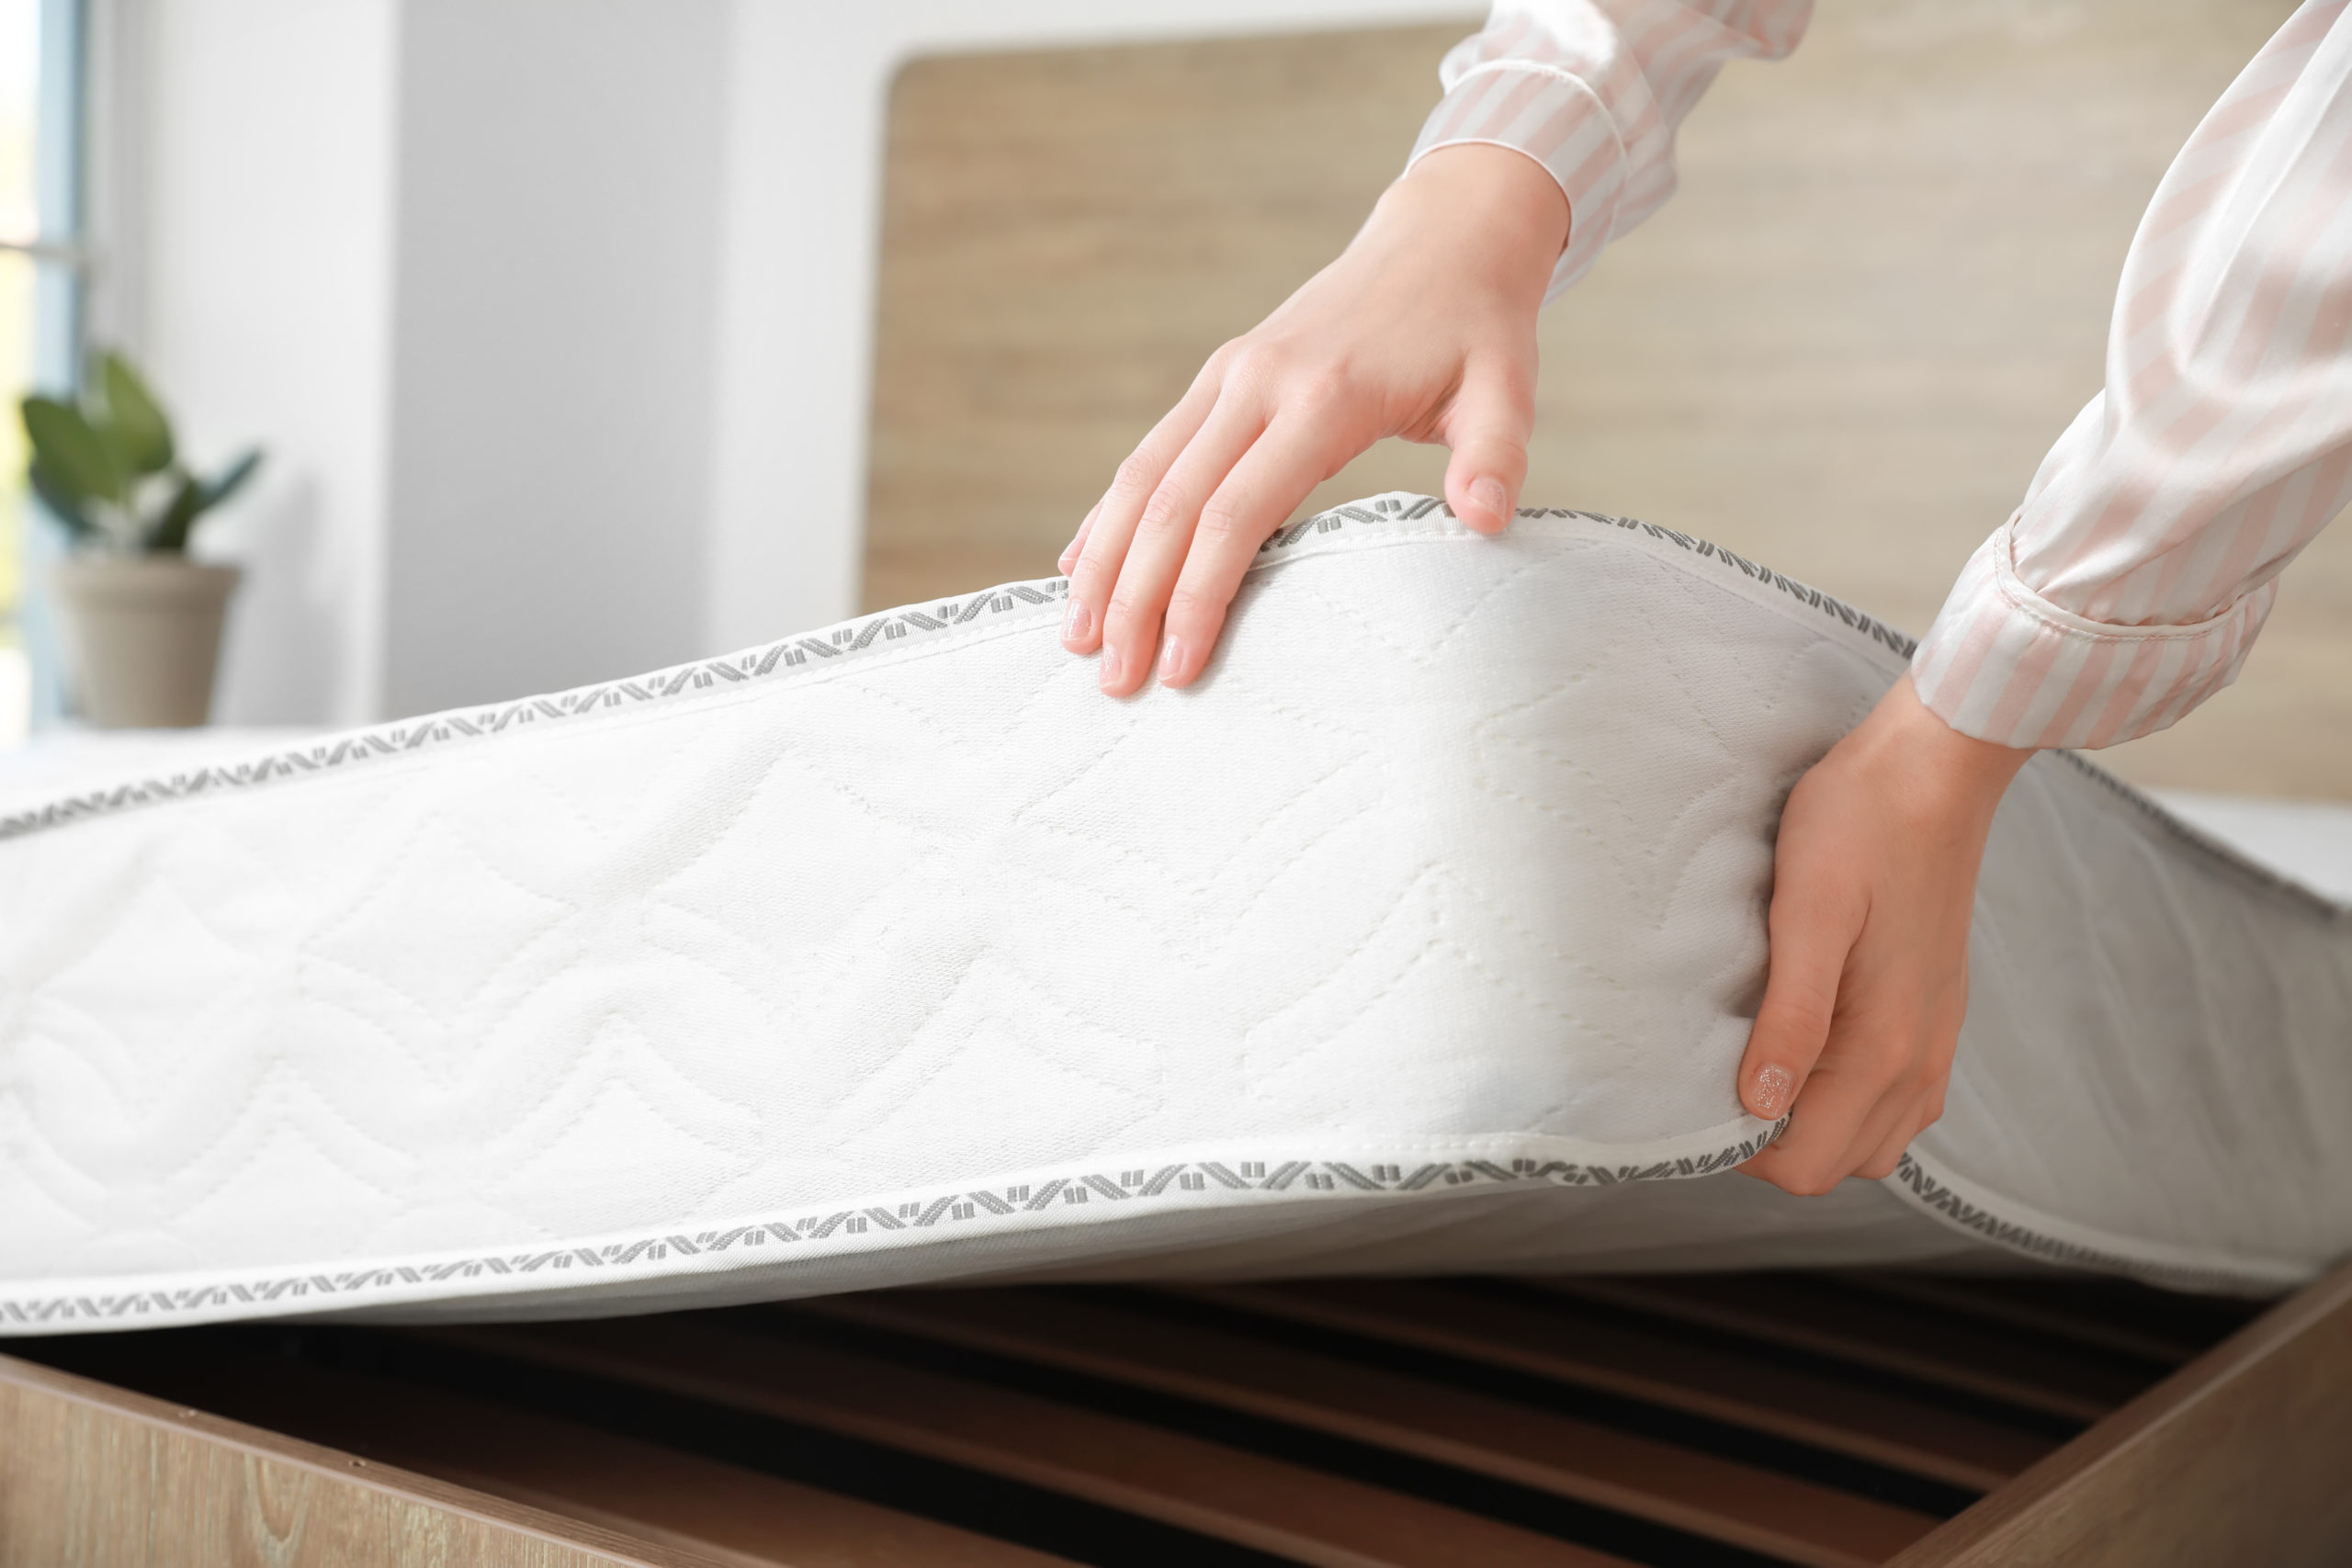
Gently lift one end of the mattress and slide your hand between the mattress and the protector. Slowly pull the mattress protector towards you, keeping it flat against the mattress to prevent it from folding or bunching up.
3. Remove the Mattress Protector:
Continue pulling the mattress protector gently until it is completely off the mattress. Be careful not to tug too hard or use excessive force, as this can damage the fabric or the elastic edges.
4. Fold and Set Aside:
Once the mattress protector is removed, fold it carefully to avoid wrinkling or damaging the fabric. Set it aside in a clean and dry area until you are ready to begin the washing process.
By following these steps, you can safely and efficiently remove your mattress protector, setting the foundation for a thorough and successful cleaning. Now, let’s move on to step two: checking the care instructions.
Read more: How To Fluff A Mattress
Step 2: Checking the Care Instructions
Before proceeding with washing your mattress protector, it’s essential to check the care instructions provided by the manufacturer. These instructions will guide you on the appropriate washing method and any specific considerations for your particular mattress protector. Follow these steps to ensure proper care:
1. Find the Care Label:
Look for the care label on your mattress protector. It is usually located on the back or underside of the protector. The care label will provide important information such as the recommended water temperature, washing machine settings, and any special care instructions.
2. Read the Instructions:
Take the time to read and understand the care instructions thoroughly. Pay attention to any specific temperature settings, detergent recommendations, and whether the mattress protector can be tumble-dried or if air-drying is required.
3. Note any Special Considerations:
Check if there are any specific considerations or precautions mentioned on the care label. For example, some mattress protectors may require a gentle wash cycle or avoid using bleach or fabric softeners.
4. Consider the Fabric:
Different fabrics may have different care requirements. If your mattress protector is made from a delicate or specialty fabric, such as bamboo or silk, you may need to take extra precautions or follow specific guidelines for washing and drying.
By checking and following the care instructions provided, you can ensure that you are treating your mattress protector with the appropriate care it needs. Now that you’ve familiarized yourself with the care instructions, let’s move on to step three: pre-treating stains (if applicable).
Step 3: Pre-Treating Stains (if applicable)
If you notice any visible stains on your mattress protector, it’s a good idea to pre-treat them before washing to increase the chances of stain removal. Follow these steps to effectively pre-treat stains:
1. Identify the Stains:
Inspect your mattress protector closely and identify any visible stains. Common stains can include spills, body fluids, or other types of residue.
2. Act Quickly:
The sooner you can treat a stain, the better the chances of complete removal. Try to address the stains as soon as you notice them to prevent them from setting into the fabric.
3. Choose the Right Stain Remover:
Select a stain remover that is suitable for the type of stain and fabric of your mattress protector. Read the label on the stain remover and ensure it is compatible with the fabric. Some common stain removers include hydrogen peroxide, vinegar, or enzyme-based cleaners.
4. Apply the Stain Remover:
Follow the instructions on the stain remover product and apply it directly to the stained areas of the mattress protector. Use a cloth or sponge to gently blot or rub the stain remover into the fabric. Avoid scrubbing too vigorously, as this can damage the fabric fibers.
5. Let the Stain Remover Set:
Allow the stain remover to sit on the stains for the recommended duration. This will give it time to break down and lift the stain from the fabric.
6. Rinse or Blot the Stain:
After the recommended time, rinse or blot the stained area with clean water to remove the stain remover residue. Be sure to use a clean cloth or sponge for this step.
By pre-treating stains on your mattress protector, you maximize the chances of complete stain removal during the washing process. With the stains treated, you are now ready to move on to step four: choosing the right washing method.
When washing a mattress protector, use a gentle cycle with cold water and a mild detergent. Avoid using bleach or fabric softener, and tumble dry on low heat or air dry to maintain the protector’s waterproof and protective properties.
Step 4: Choosing the Right Washing Method
Choosing the appropriate washing method for your mattress protector is crucial to ensure effective and safe cleaning. The washing method will depend on the fabric and care instructions provided by the manufacturer. Follow these guidelines to select the right washing method:
1. Machine Washing:
Most mattress protectors can be safely washed in a washing machine. Check the care instructions to determine if machine washing is recommended. If so, follow these steps:
- Set the washing machine to the appropriate temperature and cycle as specified on the care label.
- Use a mild, hypoallergenic detergent, and avoid using bleach or fabric softeners unless stated otherwise.
- Place the mattress protector in the washing machine, making sure not to overcrowd it.
- After the cycle is complete, remove the mattress protector promptly to prevent wrinkles or mildew.
2. Hand Washing:
For delicate or specialty fabrics that are not suitable for machine washing, hand washing may be the preferred method. Follow these steps:
- Fill a basin or sink with cool or lukewarm water and add a mild detergent.
- Gently agitate the water to create suds. Submerge the mattress protector and swish it around to ensure thorough cleaning.
- Allow the mattress protector to soak for the recommended time, as mentioned on the care label.
- Rinse the mattress protector under running water until the water runs clear, ensuring all detergent residue is removed.
3. Dry Cleaning:
Some mattress protectors may require professional dry cleaning. Check the care instructions to determine if this is recommended. If so, take the mattress protector to a reputable dry cleaner and inform them of any stains or special care requirements.
It’s important to note that not all mattress protectors can be washed in the same way. Always refer to the care label for specific instructions regarding washing methods and water temperature. By choosing the right washing method, you can ensure that your mattress protector is cleaned effectively without causing any damage. Now, let’s move on to step five: machine washing the mattress protector.
Step 5: Machine Washing the Mattress Protector
Machine washing your mattress protector is a convenient and efficient way to clean it. Follow these steps to ensure a successful machine wash:
1. Prepare the Washing Machine:
Set your washing machine to the appropriate settings specified on the care label of your mattress protector. Select a gentle or delicate cycle to avoid damaging the fabric.
2. Load the Mattress Protector:
Place the mattress protector into the washing machine, ensuring that it is evenly distributed. Avoid overloading the machine, as this can prevent proper cleaning and rinsing.
3. Add Detergent:
Measure the recommended amount of mild detergent according to the instructions on the detergent packaging. Avoid using harsh chemicals, bleach, or fabric softeners unless specified otherwise.
4. Start the Wash Cycle:
Begin the washing machine cycle and let it run its course. It’s best to use a cold or lukewarm water temperature to prevent shrinkage or damage to the fabric.
5. Extra Rinse (if necessary):
If your washing machine has an extra rinse cycle option, consider using it to ensure all detergent residue is thoroughly removed.
6. Wait for the Cycle to Complete:
Once the cycle is finished, remove the mattress protector from the washing machine promptly. Do not leave it sitting in the machine for extended periods, as this can lead to wrinkles or mildew.
Now that your mattress protector is clean, it’s time to move on to step six: drying the mattress protector.
Read more: How To Dry A Mattress
Step 6: Drying the Mattress Protector
Properly drying your mattress protector is crucial to ensure that it retains its shape and functionality. Here’s how to effectively dry your mattress protector:
1. Check the Care Label:
Refer to the care label on your mattress protector for specific drying instructions. It will indicate whether the protector can be machine dried, air-dried, or if any other precautions need to be taken.
2. Machine Drying:
If the care label indicates that machine drying is safe, follow these steps:
- Set your dryer to a low heat or delicate setting to prevent excessive heat exposure, which can damage the fabric.
- Place the mattress protector in the dryer, along with a couple of clean, dry towels or dryer balls. These will help to fluff the protector and promote even drying.
- Allow the dryer to run its cycle until the mattress protector is completely dry. Avoid overdrying, as it can lead to shrinkage or damage to the fabric.
3. Air-Drying:
If air-drying is recommended for your mattress protector, follow these steps:
- Lay the mattress protector flat on a clean, dry surface, such as a clothesline or drying rack.
- Avoid direct sunlight, as it can cause fading or discoloration, especially for colored mattress protectors.
- Allow the mattress protector to air-dry completely, flipping it over halfway through the drying process to ensure both sides are thoroughly dried.
4. Final Check:
After drying, inspect the mattress protector to ensure it is completely dry before re-installing it on your mattress.
By following the appropriate drying method for your mattress protector, you can ensure that it maintains its quality and longevity. Now that your mattress protector is dry, it’s time to move on to step seven: re-installing the mattress protector.
Step 7: Re-Installing the Mattress Protector
After properly cleaning and drying your mattress protector, it’s time to re-install it onto your mattress. Follow these steps to ensure a proper and secure re-installation:
1. Prepare the Workspace:
Clear your bed of any dirt, debris, or dust to create a clean surface for the re-installation of the mattress protector.
2. Unfold the Mattress Protector:
Take the clean and dry mattress protector and unfold it carefully, making sure it lies flat and without any wrinkles.
3. Position the Mattress Protector:
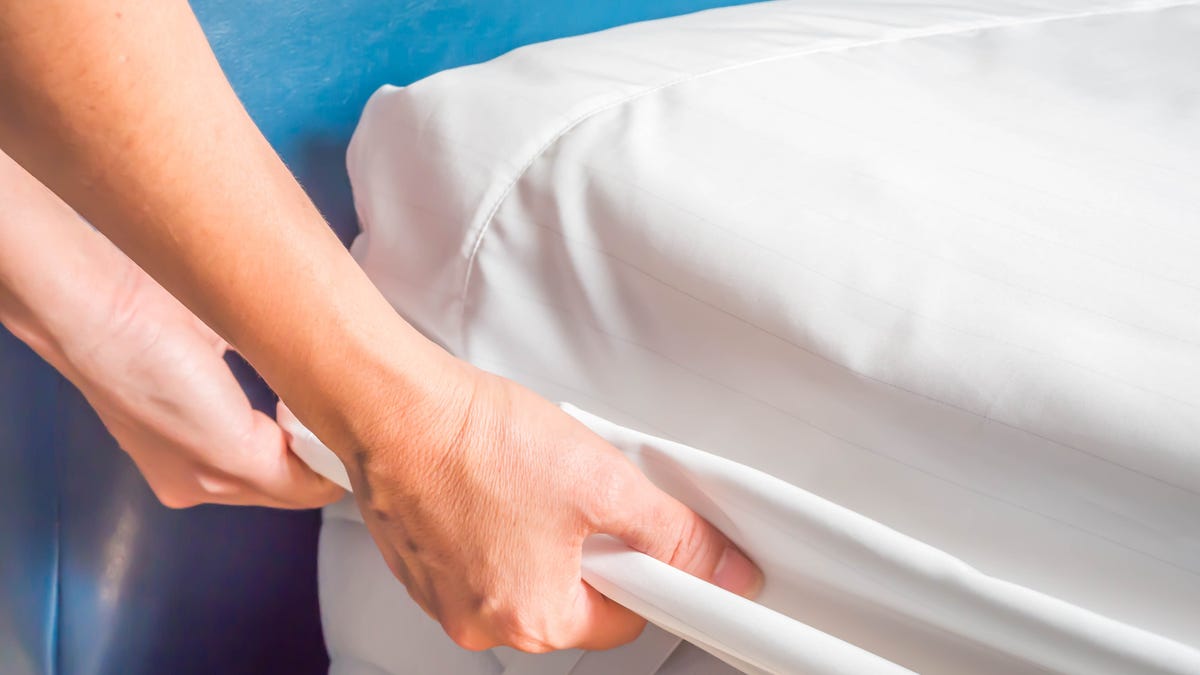
Place the mattress protector over your mattress, aligning it properly with the corners. Ensure that it covers the entire surface of the mattress and hangs evenly on all sides.
4. Smooth and Secure:
Gently smooth out any wrinkles or air pockets on the mattress protector, ensuring a snug fit. If your mattress protector has elastic corners or straps, secure them tightly to prevent shifting during sleep.
5. Add Additional Bedding:
Once the mattress protector is securely in place, you can add your sheets, pillowcases, and any other bedding accessories to complete your bed setup.
By re-installing your mattress protector correctly, you can enjoy the benefits of a clean and protected sleep surface. Remember to follow any additional care instructions provided by the manufacturer for maintenance and future cleanings.
Additional Tips and Considerations:
- It’s recommended to wash your mattress protector every 1-2 months, or more frequently if necessary, to maintain optimal cleanliness.
- Avoid using high heat settings, harsh chemicals, or bleach when washing or drying your mattress protector, as these can damage the fabric.
- If you have a waterproof mattress protector, ensure that it is completely dry before re-installing it to prevent any moisture from being trapped between the protector and the mattress.
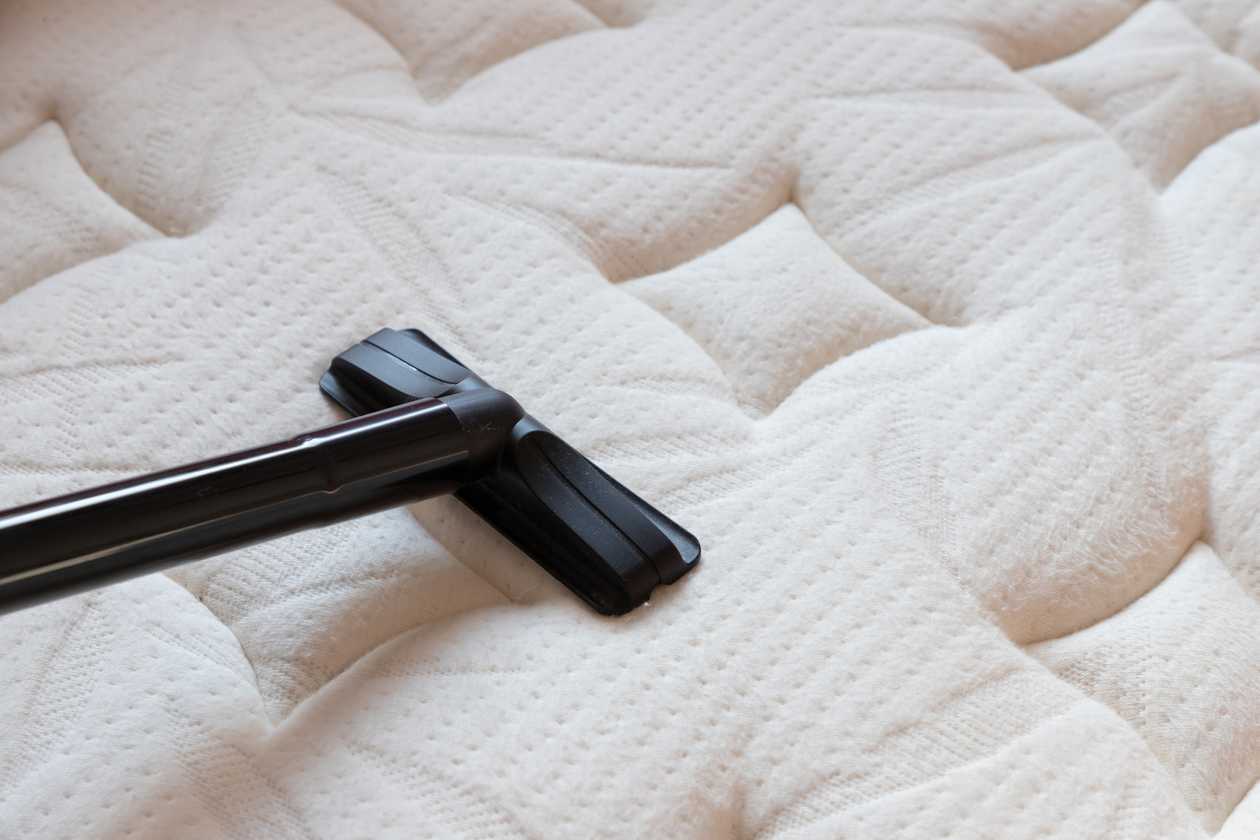
- Regularly vacuum your mattress to remove any dust or debris that may have settled on the surface, even with a mattress protector in place.
Now that you’ve completed the seven-step process of washing and re-installing your mattress protector, you can enjoy a clean and hygienic sleeping environment. Regularly cleaning your mattress protector will help preserve its quality and extend its lifespan, ensuring you have a comfortable and protected bed for years to come.
Stay clean and sleep soundly!
Additional Tips and Considerations
In addition to the step-by-step process outlined above, here are some additional tips and considerations to keep in mind when washing and maintaining your mattress protector:
1. Spot Clean as Needed:
For minor spills or stains, spot cleaning can be a quick and effective solution. Use a gentle detergent or stain remover and a clean cloth to gently blot the affected area. Be sure to follow up with a thorough washing if necessary.
2. Treat Stains Promptly:
The sooner you address stains on your mattress protector, the easier it will be to remove them. Prompt action can help prevent stains from setting and becoming more challenging to eliminate.
3. Air Out the Mattress Protector:
Every once in a while, take the opportunity to air out your mattress protector. Remove it from the bed and hang it somewhere with good air circulation, like a clothesline or balcony. This can help eliminate any lingering odors and freshen up the protector.
4. Rotate the Mattress:
While you have the mattress protector off, take the opportunity to rotate your mattress. This can help prevent uneven wear and extend the lifespan of your mattress.
5. Consider Using Pillow Protectors:
To maintain overall cleanliness and protect against allergens, consider using pillow protectors in addition to a mattress protector. Pillow protectors can be easily removed and washed regularly to keep your sleeping environment clean and hygienic.
6. Follow Manufacturer’s Recommendations:
Always adhere to the care instructions provided by the manufacturer of your mattress protector. They are specifically designed to ensure proper cleaning and maintenance, so it’s important to follow them to avoid damaging the protector.
7. Have a Spare Mattress Protector:
Consider investing in an extra mattress protector to use while one is being washed. This ensures that your mattress is consistently protected while you clean and maintain your mattress protector.
By keeping these additional tips and considerations in mind, you can enhance the cleanliness and longevity of your mattress protector. Regular maintenance and proper care will help you enjoy a comfortable and hygienic sleeping environment for years to come.
Happy cleaning and sound sleeping!
Conclusion
Cleaning and maintaining your mattress protector is essential for ensuring a clean and hygienic sleeping environment. By following the step-by-step process outlined in this guide, you can effectively wash and care for your mattress protector, prolonging its lifespan and providing you with a fresh and comfortable bed to sleep on.
Regularly washing your mattress protector helps eliminate allergens, dust mites, and stains that can accumulate over time. This not only improves the cleanliness of your sleeping surface but also promotes better overall hygiene and a healthier sleep environment.
Remember to check the care instructions provided by the manufacturer for specific guidelines on washing and drying your mattress protector. Different fabrics may require different care methods, so it’s important to follow these instructions to prevent any damage to the fabric.
In addition, stay proactive by spot cleaning and pre-treating stains promptly. This can greatly enhance the chances of stain removal and minimize the need for extensive washing in the future.
By implementing the additional tips and considerations provided, such as rotating your mattress, using pillow protectors, and having a spare mattress protector, you can further optimize the cleanliness and longevity of your mattress protector.
Remember, a clean mattress protector not only safeguards your mattress but also contributes to a healthier sleep environment, providing you with the peace of mind and comfort you deserve.
So, roll up your sleeves, gather your supplies, and give your mattress protector the care it deserves. By incorporating regular washing and maintenance into your routine, you can enjoy a cleaner, fresher, and more comfortable bed for many nights to come.
Happy washing and sleeping!
Frequently Asked Questions about How To Wash A Mattress Protector
Was this page helpful?
At Storables.com, we guarantee accurate and reliable information. Our content, validated by Expert Board Contributors, is crafted following stringent Editorial Policies. We're committed to providing you with well-researched, expert-backed insights for all your informational needs.
