Home>Articles>How To Clean Hardwood Floor After Removing Carpet
Articles
How To Clean Hardwood Floor After Removing Carpet
Modified: October 18, 2024
Learn how to clean your hardwood floors after removing carpet with these helpful articles. Proven tips and tricks to keep your floors looking beautiful and damage-free.
(Many of the links in this article redirect to a specific reviewed product. Your purchase of these products through affiliate links helps to generate commission for Storables.com, at no extra cost. Learn more)
Introduction
When you decide to remove carpeting from your home and reveal the beautiful hardwood floor underneath, it’s important to properly clean and care for it to maintain its natural shine and longevity. Cleaning hardwood floors after removing carpet requires specific steps and techniques to ensure that it is thoroughly cleaned and ready to be enjoyed.
In this article, we will guide you through the process of cleaning hardwood floors after removing carpet, providing you with helpful tips and recommendations to achieve outstanding results.
Removing carpet can be a messy task, and it’s common for remnants of the carpet and padding to be left behind. Whether it’s carpet fibers, adhesive residue, or dust, it’s crucial to eliminate this debris before beginning the cleaning process.
Once the room is clear, and the hardwood floor is exposed, you can prepare it for cleaning by removing any furniture or obstacles. This will give you ample space to work and prevent any damage to your belongings during the cleaning process.
Next, gather all the necessary cleaning supplies. Having the right tools on hand will make the task more efficient and effective. Ensure you have a broom or vacuum cleaner, a microfiber mop or cloth, a hardwood cleaner or a homemade solution, a bucket, and a damp cloth or mop.
Now, let’s dive into the step-by-step process of cleaning your hardwood floor after removing carpet.
Key Takeaways:
- Properly cleaning hardwood floors after removing carpet involves thorough debris removal, using the right cleaning supplies, and gentle yet effective cleaning techniques to maintain the floor’s natural beauty and longevity.
- Attention to detail, proper tools, and techniques are essential for cleaning hardwood floors after removing carpet. From debris removal to thorough cleaning and drying, these steps ensure a sparkling and well-maintained hardwood floor.
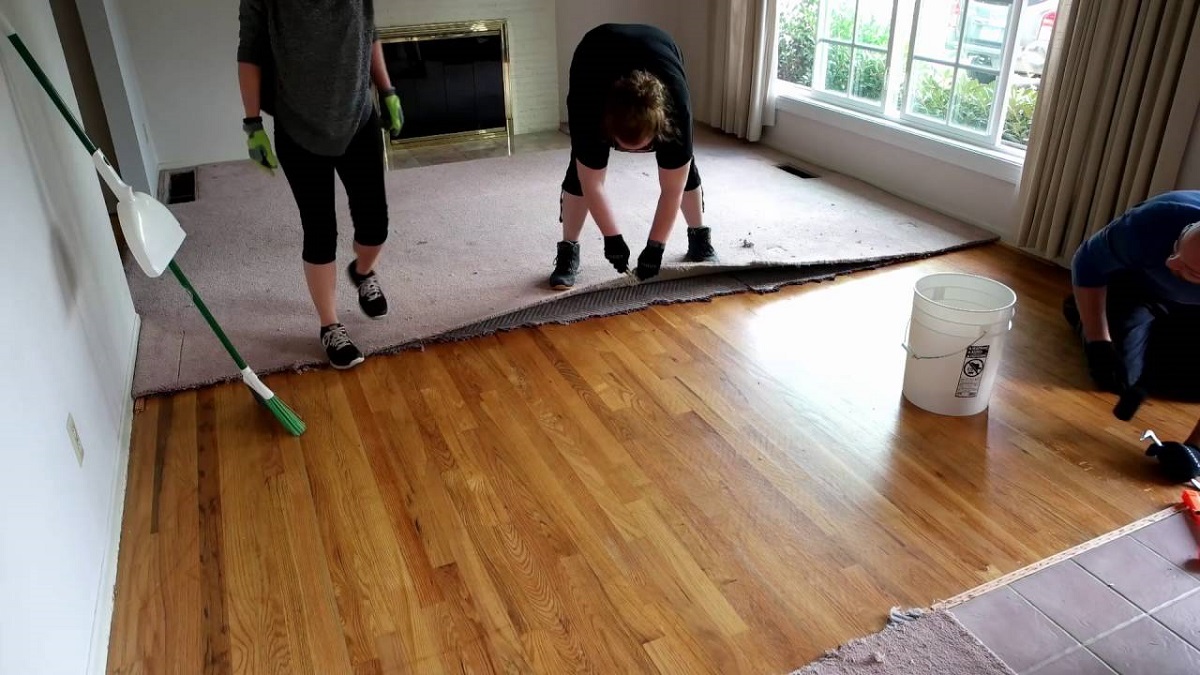
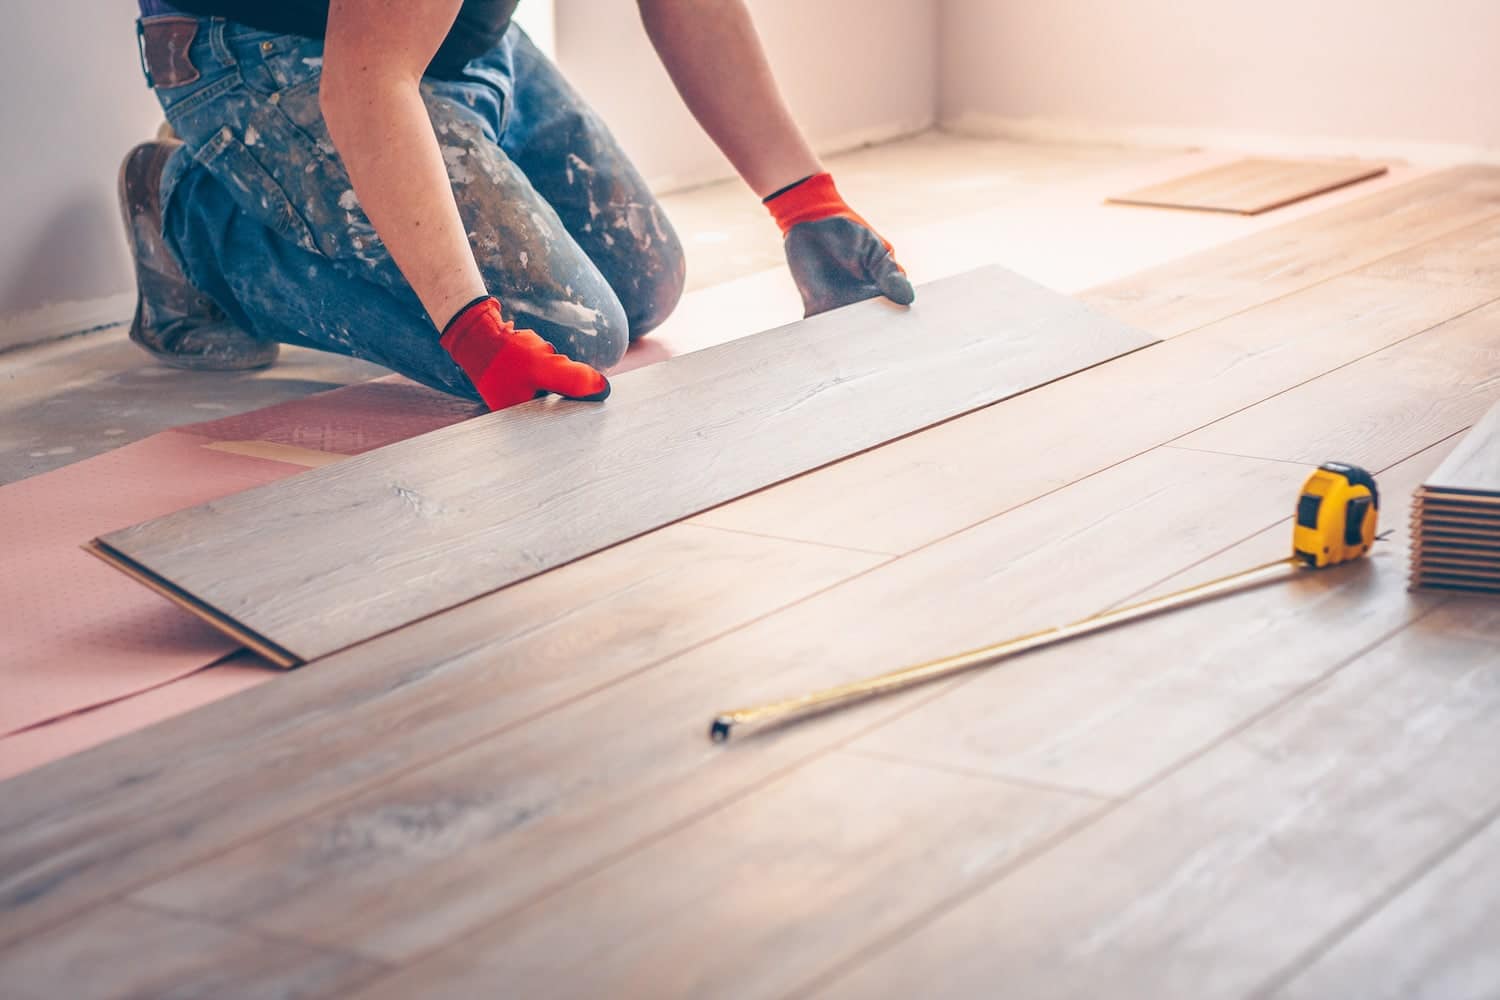
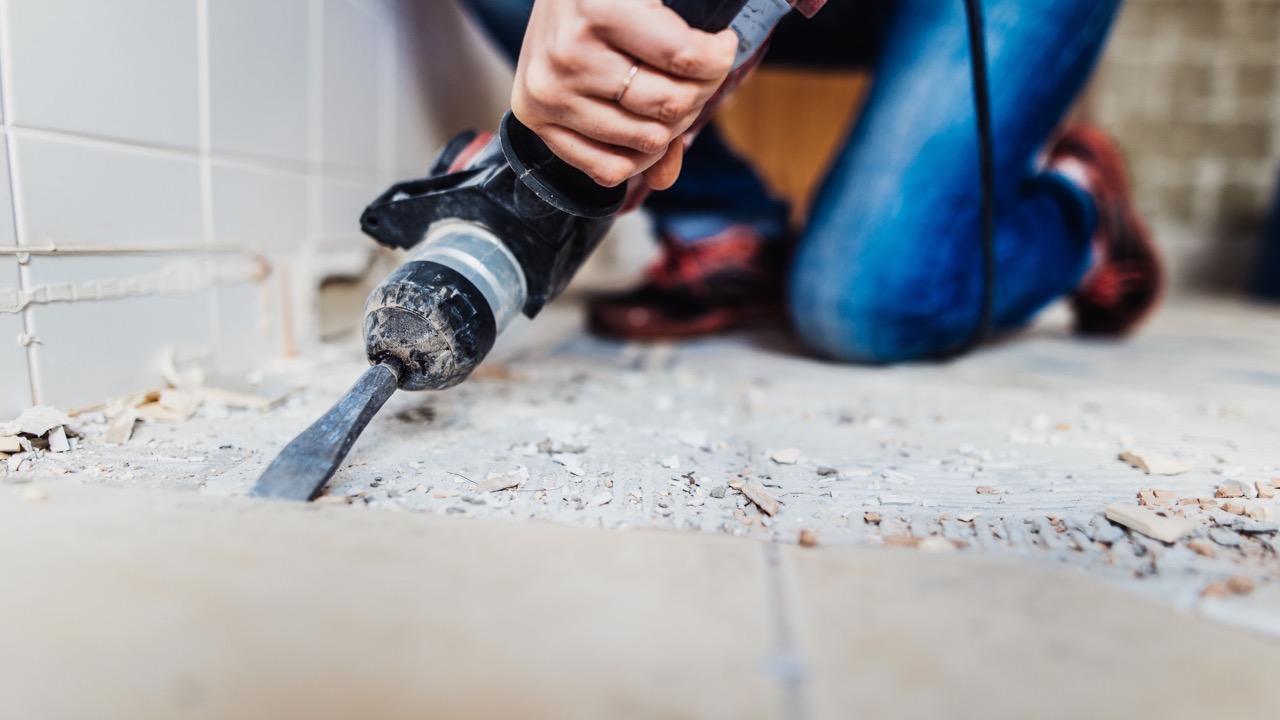
Step 1: Remove any remaining carpet and padding
Before you can start cleaning your hardwood floor, it’s essential to remove any remaining carpet and padding. Even after major removal, there might still be small pieces or stubborn remnants that need to be addressed. Here’s how you can tackle this task:
- Inspect the floor: Begin by thoroughly inspecting the floor to identify any areas where carpet and padding are still present. Look for edges that may have been tucked beneath baseboards or any stubborn sections that were difficult to remove.
- Loosen the carpet edges: Using pliers or a pair of sturdy gloves, grip the edge of the carpet firmly and slowly pull it upwards to loosen it. Work your way along the edges, pulling away any remaining carpet as you go.
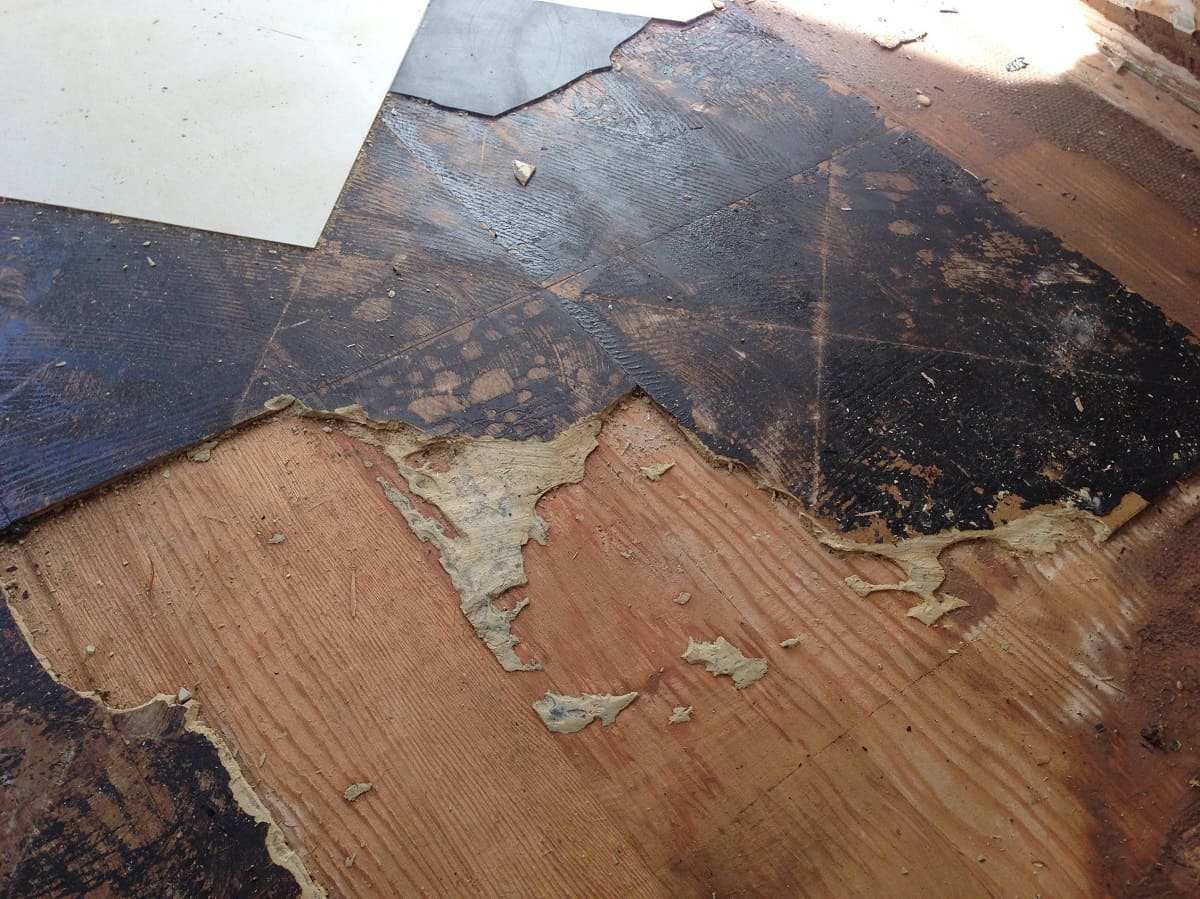
- Remove the padding: After removing the carpet, you may find that there is padding left on the hardwood floor. Depending on the padding type, you can use a scraper or putty knife to gently scrape it off. Be careful not to scratch the floor surface.
- Dispose of the carpet and padding: Once the carpet and padding have been removed, it’s important to dispose of them properly. Roll up the carpet and padding tightly, securing them with duct tape or twine, and contact your local waste management facility for disposal instructions.
By taking the time to remove any remaining carpet and padding, you’re ensuring a smooth and clean surface for the next steps of the cleaning process. This will also prevent any potential damage or staining on your hardwood floor.
Step 2: Clear the room and prepare the hardwood floor
In order to effectively clean your hardwood floor, it’s important to clear the room of any furniture, rugs, or other objects that may obstruct the cleaning process. This step will not only make it easier to navigate the space, but it will also protect your belongings from any potential damage.
- Remove furniture: Start by moving all furniture out of the room. Lift and carry the furniture to prevent scratching or dragging on the hardwood floor. If you have heavy furniture that is difficult to move, consider using furniture sliders or asking a friend for assistance. Place the furniture in a safe area where it will not be in the way during the cleaning process.
- Clear the room of rugs and mats: Take up any rugs or mats that may be on the hardwood floor. These can trap dirt and debris, making it more difficult to clean the floor thoroughly. Shake them outside or vacuum them separately to remove any loose dirt or particles.
- Inspect the floor for any remaining debris: After removing furniture and rugs, inspect the hardwood floor for any remaining debris or dirt. Pay attention to corners, edges, and any hard-to-reach areas. Use a broom or vacuum cleaner to sweep or suck up any loose dirt or particles.
- Protect the floor: To avoid any accidental spills or damage during the cleaning process, consider laying down protective sheets or tarps on the floor. This will provide an extra layer of protection and give you peace of mind as you proceed with cleaning.
Clearing the room and preparing the hardwood floor is a necessary step in achieving a thorough and effective cleaning. By removing furniture, rugs, and any potential obstacles, you create a clean canvas to work on and ensure that every inch of the floor is properly cleaned.
Step 3: Gather the necessary cleaning supplies
Before you begin cleaning your hardwood floor, it’s essential to gather all the necessary cleaning supplies. Having the right tools and products on hand will make the task easier and more efficient. Here are the essential items you’ll need for this step:
- Broom or vacuum cleaner: A broom or vacuum cleaner with a soft-bristle attachment is crucial for removing loose debris and dirt from the floor surface. Opt for a broom with fine bristles or a vacuum cleaner with a hardwood floor setting to ensure that the floor is properly cleaned without scratching.
- Microfiber mop or cloth: A microfiber mop or cloth is ideal for cleaning hardwood floors as they are gentle, highly absorbent, and effective at trapping dust and dirt particles. Microfiber materials are designed to pick up and retain debris without leaving scratches or streaks.
- Hardwood cleaner or homemade solution: There are various hardwood floor cleaners available on the market that are specifically formulated to clean and protect wood surfaces. Alternatively, you can make your own cleaning solution by combining equal parts warm water and vinegar or using a mild dish soap diluted in water.
- Bucket: A bucket will be needed to mix the cleaning solution and for dipping the mop or cloth during the cleaning process. Choose a bucket with a comfortable handle and a size that is suitable for your cleaning needs.
- Damp cloth or mop: After cleaning the floor with the cleaning solution, a damp cloth or mop is essential for wiping down the floor and removing any excess moisture or residue. Make sure the cloth or mop is slightly damp, not soaking wet, to prevent water damage to the hardwood floor.
By gathering these essential cleaning supplies, you are ensuring that you have everything you need to effectively clean and maintain your hardwood floor. With the right tools and products in hand, you’ll be ready to proceed to the next steps and achieve a sparkling clean floor.
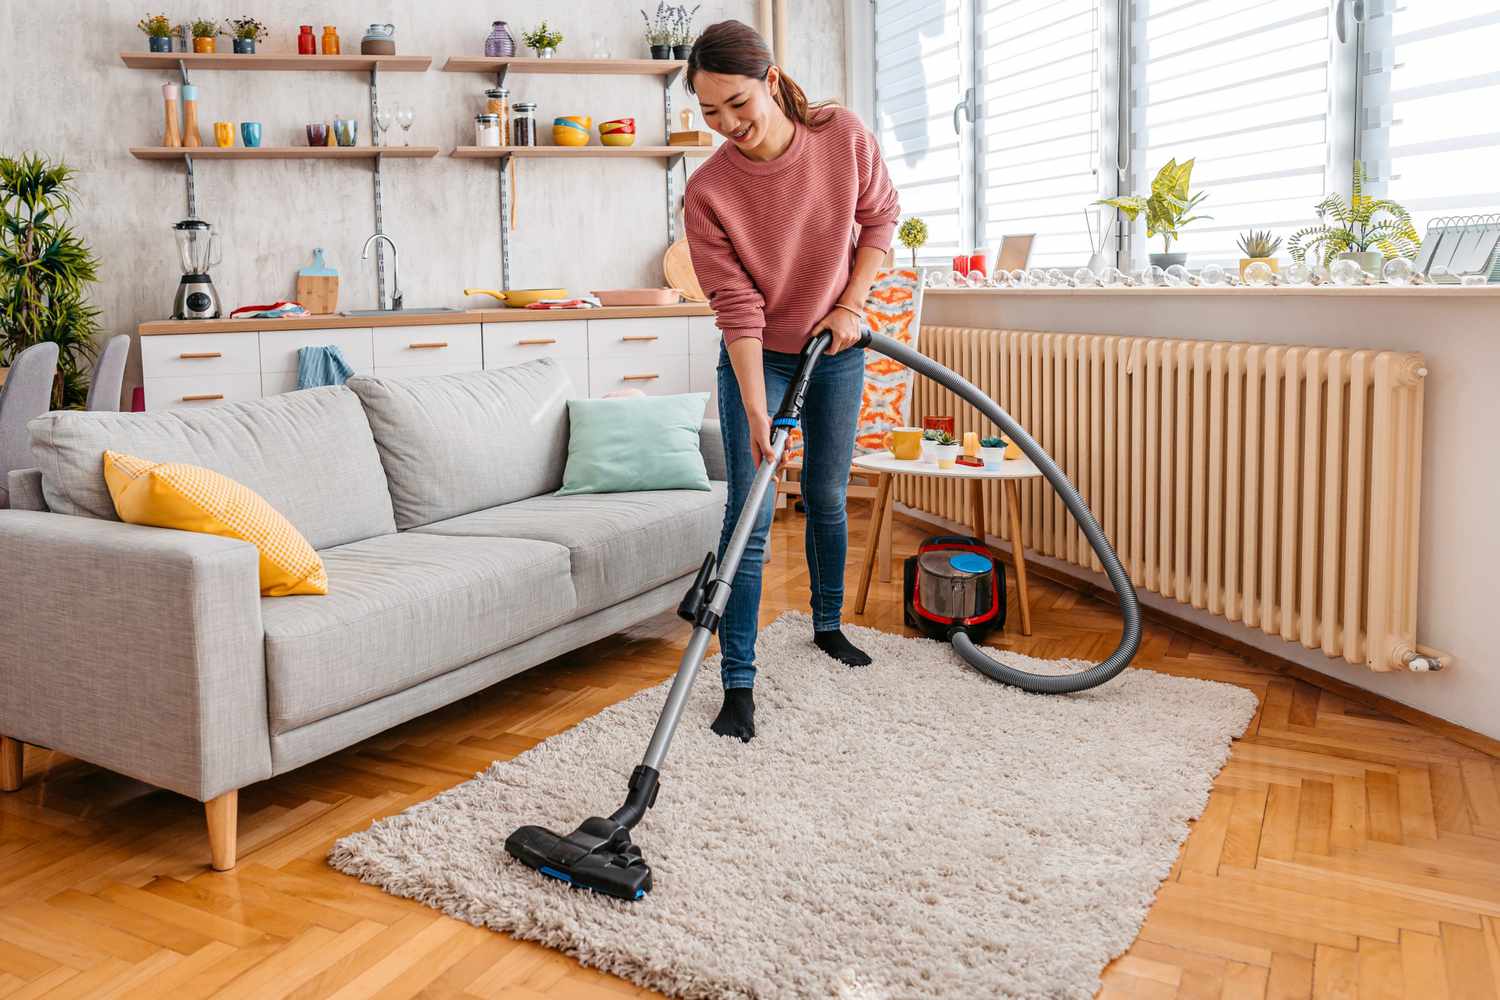
Step 4: Sweep or vacuum the hardwood floor
Before diving into the actual cleaning process, it’s important to remove any loose dirt, dust, and debris from the hardwood floor. This will ensure that the cleaning solution can penetrate the surface and effectively remove any grime or stains. Here’s how you can sweep or vacuum your hardwood floor:
- Select the appropriate tool: Choose between a broom or a vacuum cleaner, depending on your preference and the condition of your hardwood floor. If you opt for a broom, make sure it has soft bristles to prevent scratching the floor. If you decide to use a vacuum cleaner, select a model with a hardwood floor setting or a brush attachment specifically designed for wood surfaces.
- Start at one end of the room: Begin sweeping or vacuuming at one end of the room and work your way towards the exit. This will prevent you from stepping on the already cleaned areas and redistributing dust and dirt.
- Use slow and deliberate motions: When sweeping or vacuuming, make sure to use slow and deliberate motions to effectively pick up any debris. Sweep in long, smooth strokes or vacuum in straight lines, ensuring to cover the entire surface area of the floor.
- Pay attention to corners and hard-to-reach areas: Don’t forget to pay special attention to corners, edges, and any hard-to-reach areas where dirt and dust tend to accumulate. Use a smaller brush or attachment to ensure a thorough cleaning.
- Repeat if necessary: If you notice any remaining debris or missed spots, feel free to go over the floor again with the broom or vacuum cleaner until the surface is free of dirt and dust.
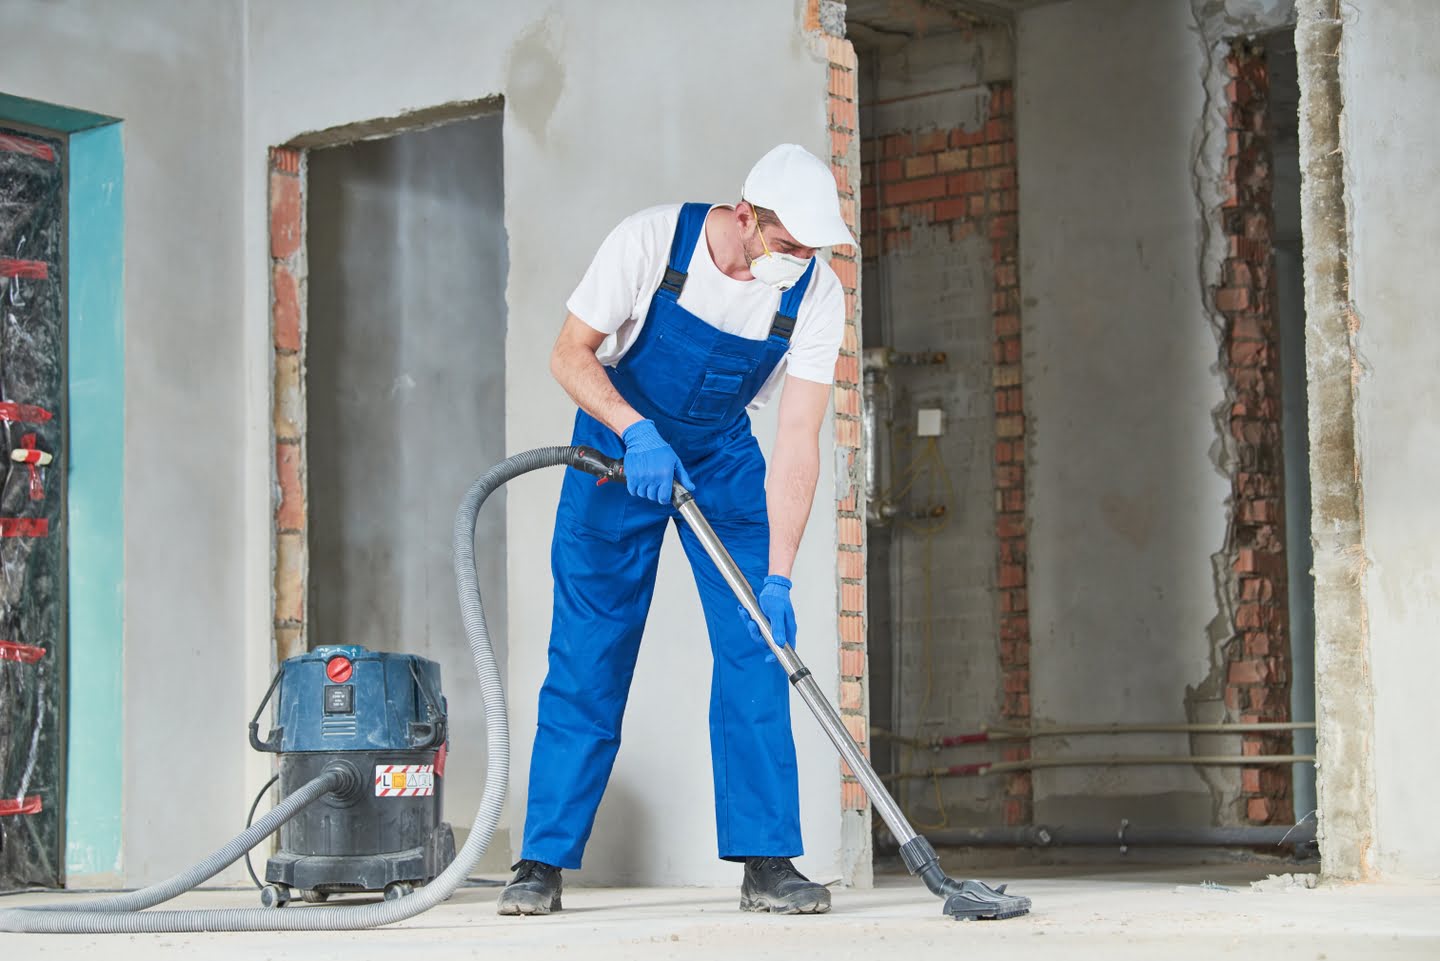
By sweeping or vacuuming your hardwood floor before applying any cleaning solution, you are effectively removing loose dirt and debris. This prepares the floor for the next steps of the cleaning process, ensuring a more effective and thorough cleaning overall.
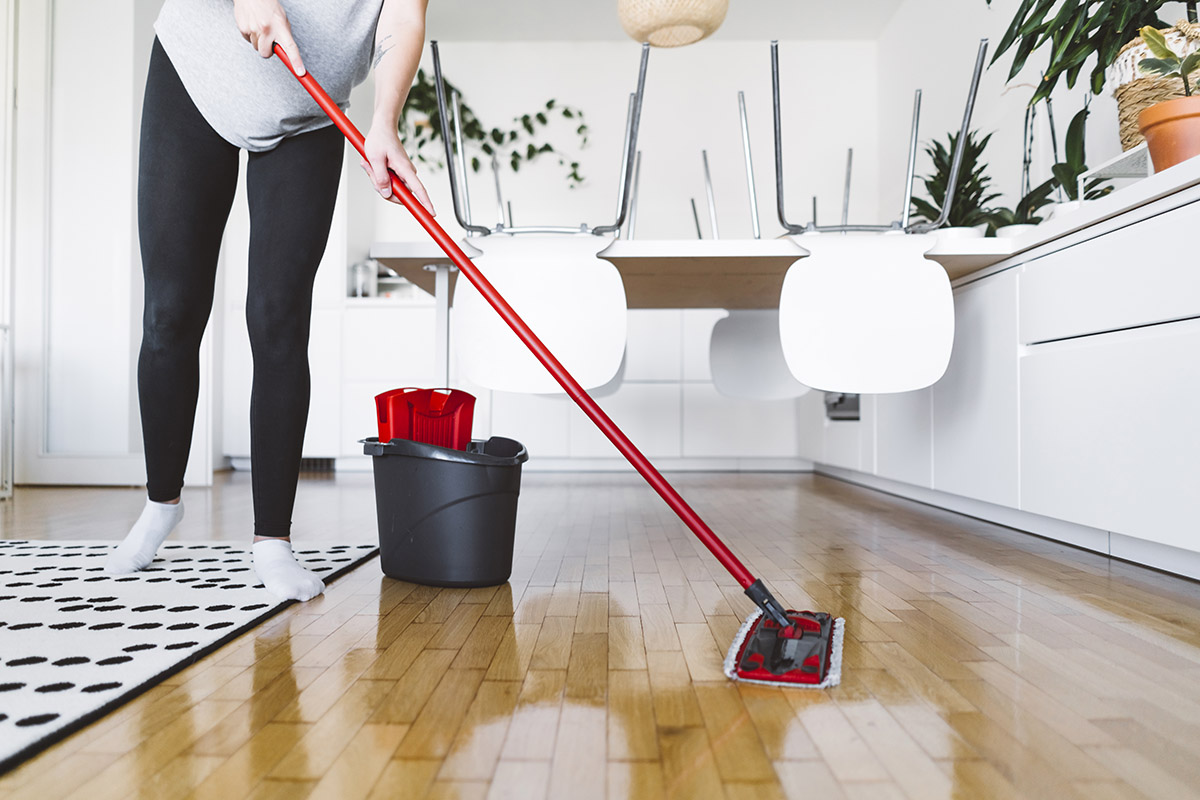
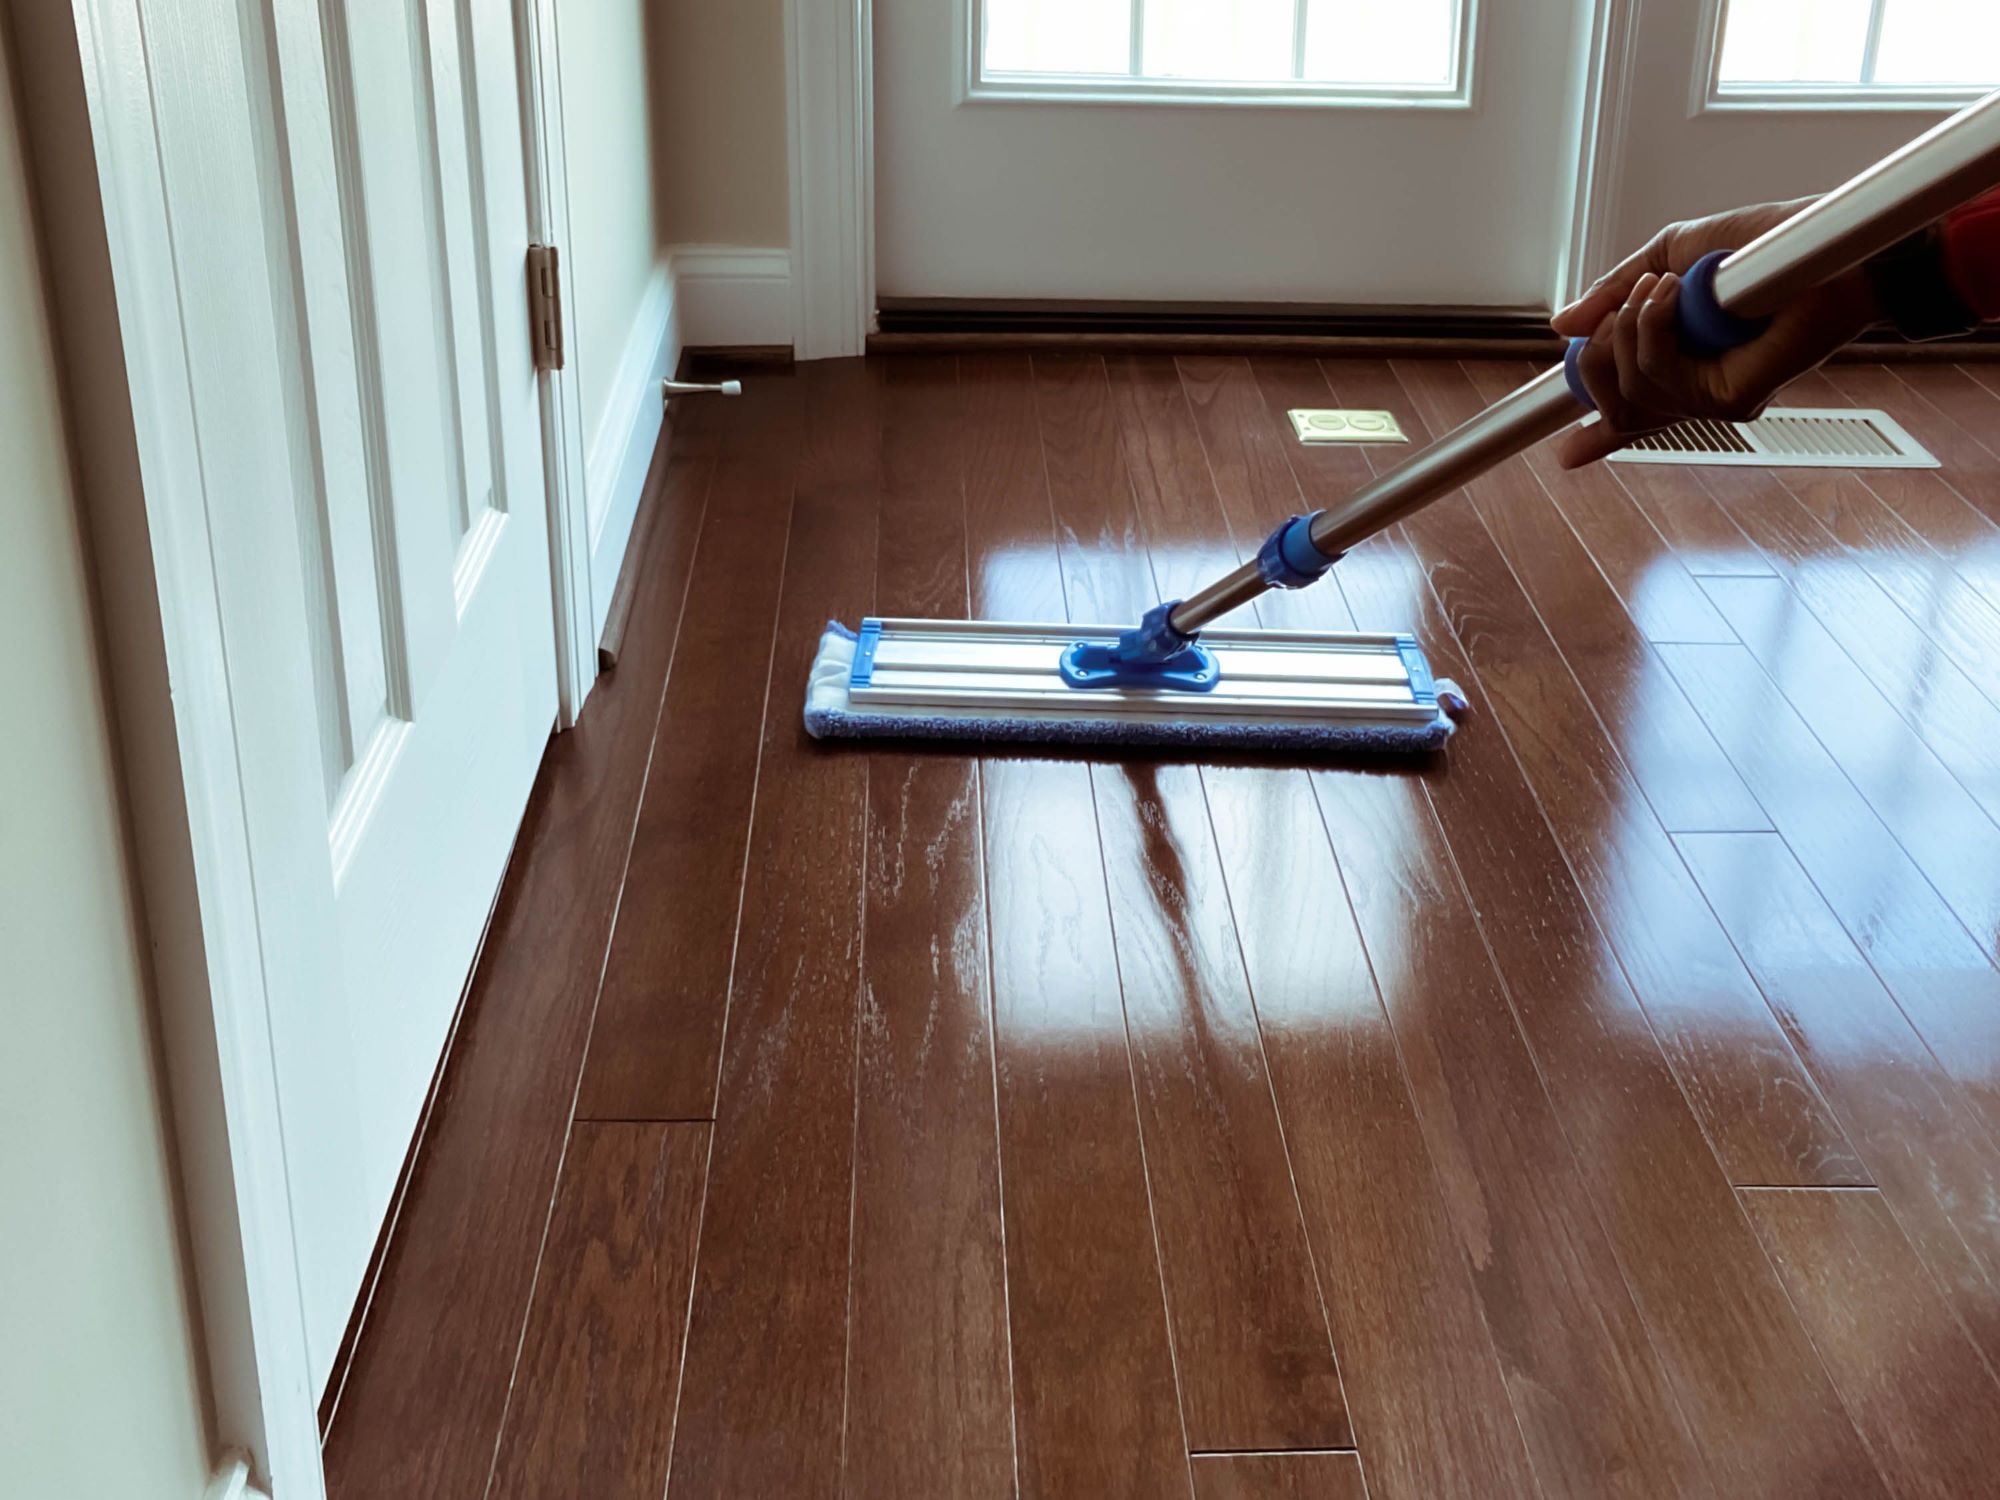
Use a vacuum with a soft brush attachment to remove any debris and dirt from the hardwood floor. Then, use a hardwood floor cleaner and a microfiber mop to thoroughly clean the surface, following the manufacturer’s instructions.
Step 5: Use a microfiber mop or cloth to remove any remaining debris
After you have swept or vacuumed the hardwood floor to remove loose dirt and debris, it’s time to further eliminate any remaining particles using a microfiber mop or cloth. This step ensures a cleaner surface for the subsequent cleaning process. Here’s how you can use a microfiber mop or cloth to remove any remaining debris:
- Prepare the microfiber mop or cloth: If you’re using a microfiber mop, make sure it is clean and free of any dirt or debris. If you’re using a microfiber cloth, dampen it slightly with water or a cleaning solution. Wrapping the cloth around a mop head or attaching it to a mop device can make the process easier.
- Gently mop the floor: Starting from one end of the room, gently mop the hardwood floor in a smooth, back-and-forth motion. Be mindful of using light pressure to avoid scratching the surface. Ensure that the microfiber mop or cloth reaches all areas, including corners and edges. If necessary, change or rinse the mop or cloth if it becomes dirty or saturated.
- Pay attention to stubborn spots: If you encounter stubborn debris or stains, apply a bit of extra pressure and make a few extra passes with the microfiber mop or cloth. This will help to dislodge and remove any remaining particles.
- Inspect the floor: Once you have completed mopping, take a moment to inspect the floor. Look for any areas that may still have debris or require further cleaning. If needed, go over these spots again with the microfiber mop or cloth.
- Dispose of debris and clean the mop or cloth: After finishing the mopping process, dispose of any collected debris in a garbage bag. If you’re using a reusable microfiber mop or cloth, rinse it thoroughly and allow it to air dry before using it again.
Using a microfiber mop or cloth to remove any remaining debris from your hardwood floor ensures a much cleaner surface, free of loose particles. This step prepares the floor for the next stage of the cleaning process, promoting a sparkling and pristine finish.
Step 6: Use a hardwood cleaner or homemade solution to clean the floor
Now that you’ve swept, vacuumed, and removed any remaining debris from your hardwood floor, it’s time to give it a thorough cleaning using a hardwood cleaner or a homemade solution. This step ensures that any dirt, grime, or stains are effectively lifted from the floor’s surface. Here’s how you can clean your hardwood floor:
- Read and follow the instructions: If you’re using a commercial hardwood cleaner, carefully read and follow the instructions provided on the label. Different cleaners may have specific dilution ratios or application methods, so it’s essential to adhere to the manufacturer’s guidelines.
- Prepare the cleaning solution: If you prefer to make a homemade solution, you can combine equal parts warm water and vinegar or use a mild dish soap diluted in water. Mix the ingredients in a bucket, ensuring that they are well-blended.
- Apply the cleaner: Dip a microfiber mop or cloth into the hardwood cleaner or homemade solution, wringing out any excess liquid. Start at one end of the room and work your way toward the exit, applying the cleaner to the floor in small sections.
- Use gentle motions: As you clean, use gentle back-and-forth motions or circular motions to work the cleaner into the hardwood floor. Avoid excessive scrubbing or applying too much pressure, as this can potentially damage the floor’s surface.
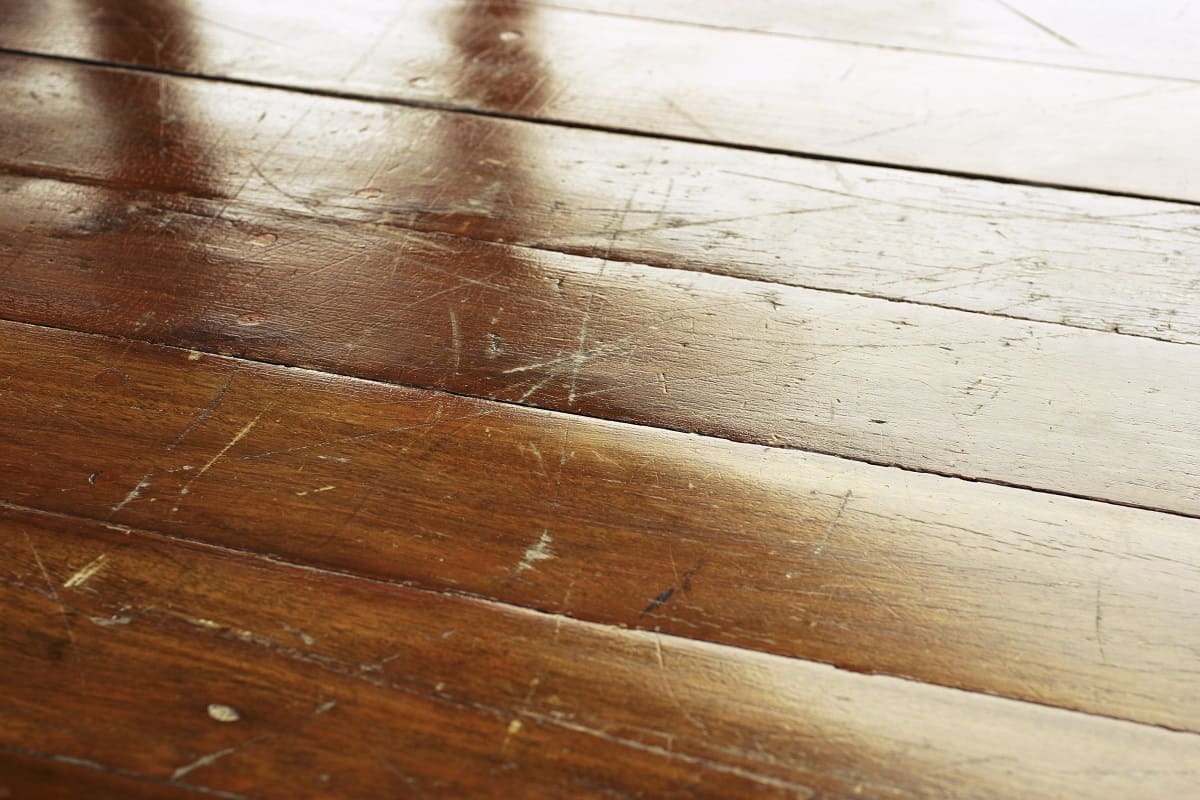
- Pay attention to stains or high-traffic areas: For stubborn stains or areas with heavy foot traffic, you may need to focus extra attention and repeat the cleaning process. Apply a small amount of cleaner directly to the stain, allowing it to sit for a few minutes before gently scrubbing with a soft brush or cloth.
- Continue cleaning the entire floor: Repeat the process of applying the cleaner and gently mopping or wiping the floor until the entire surface has been cleaned. Be sure to overlap each section slightly to ensure thorough coverage.
By using a hardwood cleaner or a homemade solution specifically formulated for wood floors, you can effectively remove dirt, grime, and stains without causing any damage. This step will leave your hardwood floor looking refreshed and revitalized.
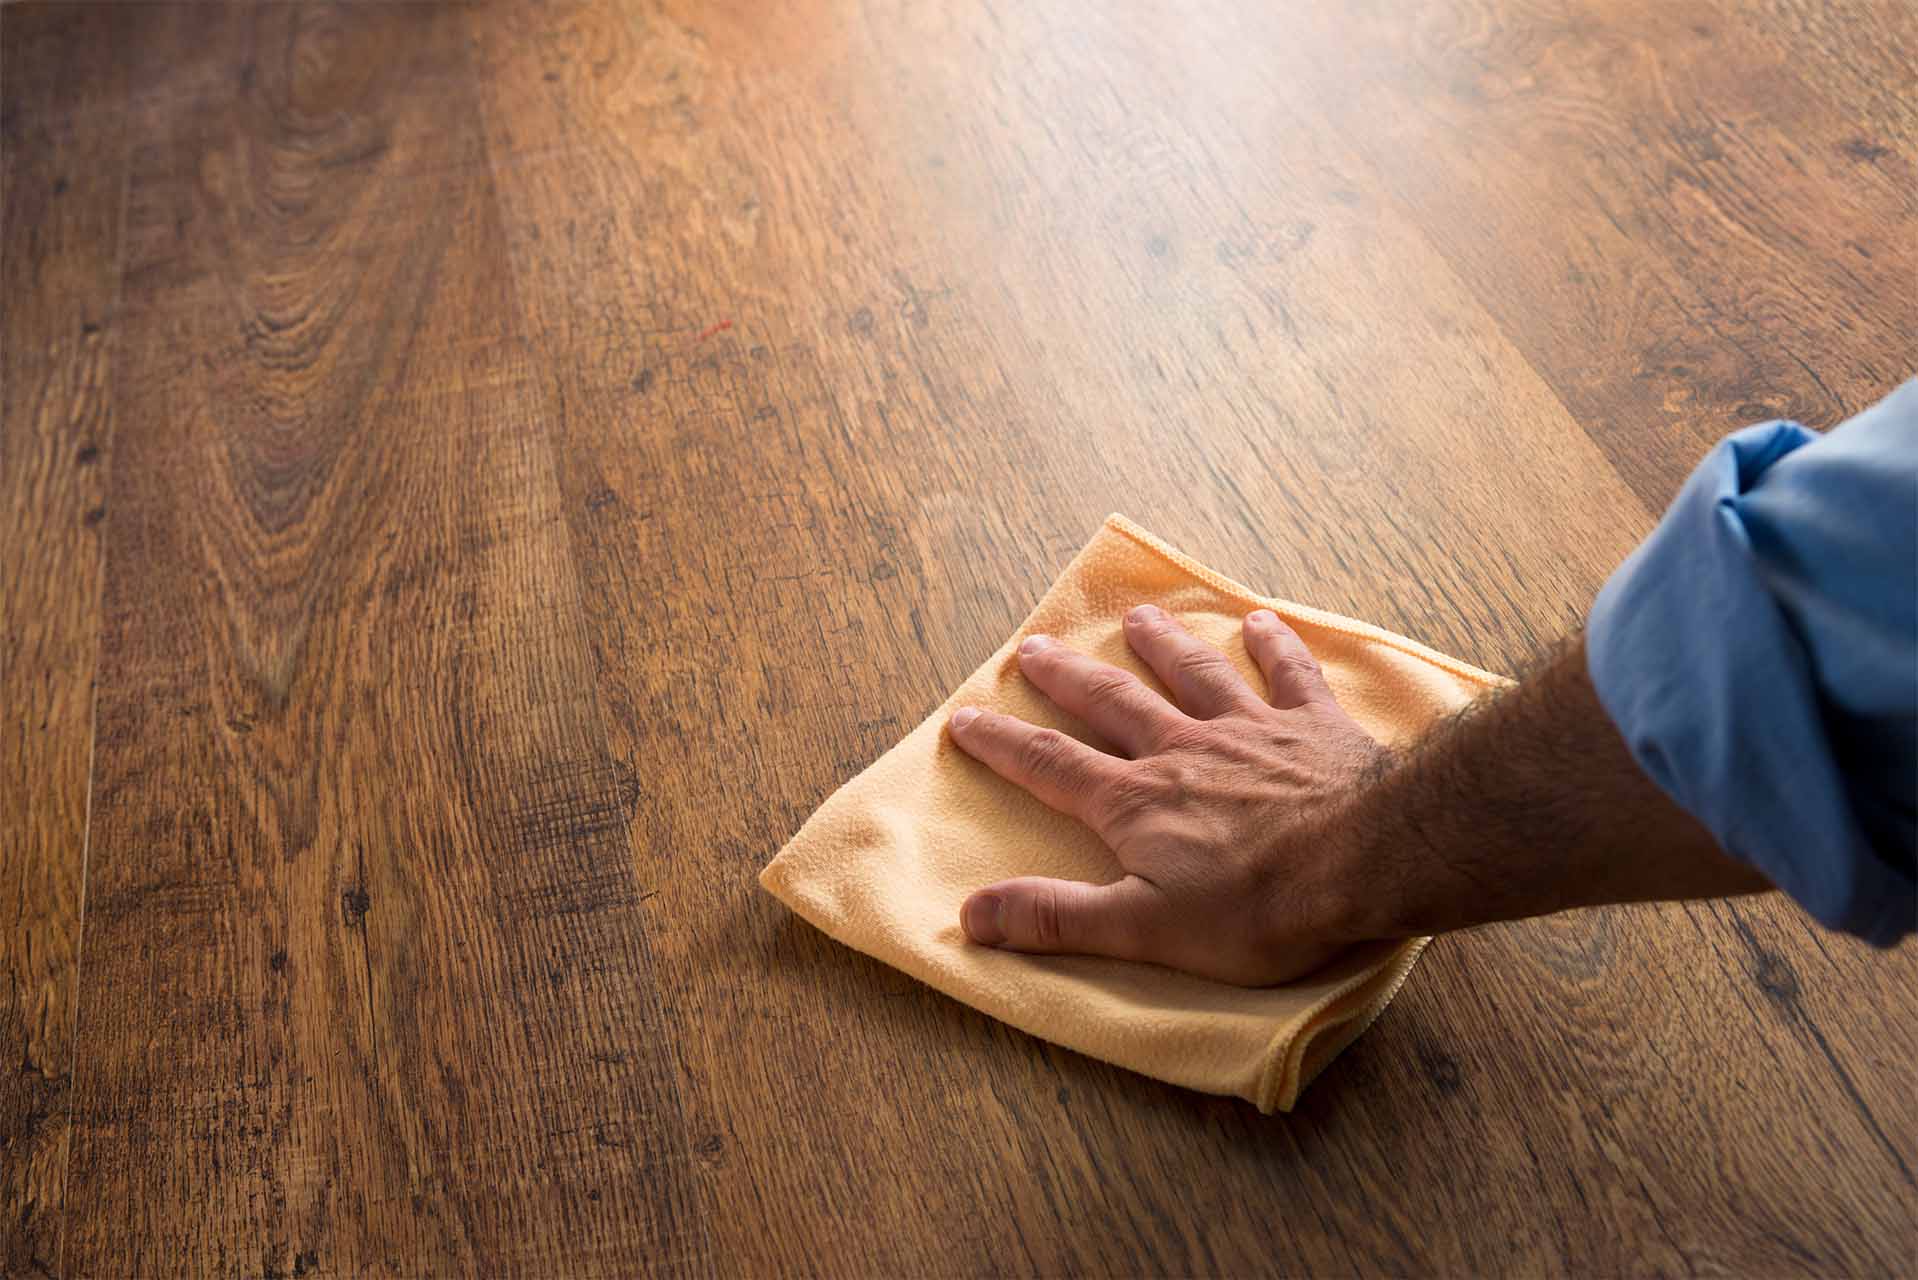
Step 7: Wipe down the floor with a damp cloth or mop
After cleaning your hardwood floor with a hardwood cleaner or a homemade solution, it’s important to wipe down the floor to remove any residual cleaner or moisture. This step ensures that the floor is left clean, streak-free, and ready to shine. Here’s how you can wipe down your hardwood floor:
- Prepare a damp cloth or mop: Dampen a clean cloth or mop with water or a mixture of water and a small amount of hardwood cleaner. Ensure that the cloth or mop is not soaking wet, as excessive moisture can damage the wood.
- Start at one end of the room: Begin wiping down the floor at one end of the room and work your way toward the exit. This prevents you from stepping on the cleaned areas and ensures a more efficient process.
- Use gentle and even strokes: Employ gentle and even strokes as you wipe down the floor. Make sure to cover the entire surface area, including corners and edges. Avoid applying excessive pressure, as this can cause streaks or damage to the wood.
- Replace or rinse the cloth or mop as needed: If the cloth or mop becomes dirty or saturated with moisture, replace it with a clean one or rinse it thoroughly. This prevents the spread of dirt or excess water, ensuring a more effective wiping down process.
- Pay extra attention to any remaining spots: If you notice any remaining spots or streaks, focus on those areas and gently wipe them again with a damp cloth or mop. This will help to remove any lingering residue and ensure a clean and polished look.
- Allow the floor to air dry: After wiping down the entire floor, allow it to air dry completely. Avoid walking on the freshly cleaned floor until it is completely dry to prevent any footprints or smudging.
By wiping down the floor with a damp cloth or mop, you’re eliminating any leftover cleaner or moisture, leaving your hardwood floor clean, streak-free, and ready to impress. This step adds the final touch to your cleaning process, enhancing the overall appearance of your beautiful hardwood floor.
Step 8: Dry the floor thoroughly
After wiping down your hardwood floor with a damp cloth or mop, it’s crucial to ensure that it is dried thoroughly. Excess moisture can be detrimental to wood flooring, leading to warping or damage. By following these steps, you can ensure that your hardwood floor is properly dried:
- Allow time for air drying: Give the floor enough time to air dry naturally. Open windows or doors to encourage air circulation in the room, as proper ventilation aids in the drying process.
- Use fans or air movers: Utilize fans or air movers to facilitate faster drying by increasing air circulation. Position them strategically in the room, directing the airflow towards the floor surface.
- Focus on high-moisture areas: Pay extra attention to areas that may retain more moisture, such as near sinks or windows. Use a dry cloth or mop to absorb any remaining moisture in these areas.
- Check for any residual dampness: Run your hand across the surface of the hardwood floor to check for any lingering dampness. If you detect any moisture, continue the drying process until the floor feels completely dry to the touch.
- Avoid stepping on the floor prematurely: Refrain from walking on the hardwood floor until it is completely dry. This will prevent any footprints, smudges, or accidental damage caused by wet shoes.
- Reinstall furniture and rugs: Once the floor is thoroughly dry, you can safely move the furniture and rugs back into the room. Ensure that the items are dry as well to prevent moisture from being trapped beneath them.
Properly drying your hardwood floor is essential for maintaining its beauty and preserving its integrity. By following these steps and allowing sufficient time for drying, you’re ensuring that your hardwood floor remains in excellent condition for years to come.
Conclusion
Cleaning hardwood floors after removing carpet requires attention to detail and the use of proper techniques and tools. By following these steps, you can effectively clean and maintain the natural beauty of your hardwood floor.
Begin by removing any remaining carpet and padding, ensuring that the floor is clear and ready for cleaning. Then, gather the necessary cleaning supplies, including a broom or vacuum cleaner, a microfiber mop or cloth, a hardwood cleaner or homemade solution, a bucket, and a damp cloth or mop. With these tools in hand, you’re ready to begin the cleaning process.
Sweep or vacuum the floor to remove loose dirt and debris, followed by using a microfiber mop or cloth to eliminate any remaining particles. Next, apply a hardwood cleaner or homemade solution to thoroughly clean the floor, paying attention to stubborn stains or high-traffic areas.
Once the floor has been cleaned, wipe down the surface with a damp cloth or mop to remove any residual cleaner or moisture. Finally, ensure that the floor is dried thoroughly before repositioning furniture and rugs in the room.
By following these steps and taking proper care of your hardwood floor, you can prolong its lifespan, maintain its natural shine, and create a welcoming atmosphere in your home. Remember, regular cleaning and maintenance are key to preserving the beauty and integrity of your hardwood floor for years to come.
Frequently Asked Questions about How To Clean Hardwood Floor After Removing Carpet
Was this page helpful?
At Storables.com, we guarantee accurate and reliable information. Our content, validated by Expert Board Contributors, is crafted following stringent Editorial Policies. We're committed to providing you with well-researched, expert-backed insights for all your informational needs.


0 thoughts on “How To Clean Hardwood Floor After Removing Carpet”