Home>Interior Design>How To Attach Acoustic Panels To The Wall
Interior Design
How To Attach Acoustic Panels To The Wall
Modified: March 16, 2024
Learn how to easily attach acoustic panels to your walls for better soundproofing and interior design. Enhance the aesthetics of your space while reducing noise.
(Many of the links in this article redirect to a specific reviewed product. Your purchase of these products through affiliate links helps to generate commission for Storables.com, at no extra cost. Learn more)
Introduction
Welcome to our comprehensive guide on how to attach acoustic panels to the wall. Whether you’re a music enthusiast, a podcaster, or simply someone looking to improve the sound quality in your space, acoustic panels are an excellent solution. Not only do they absorb sound and reduce echo, but they also add an aesthetic touch to your interior design.
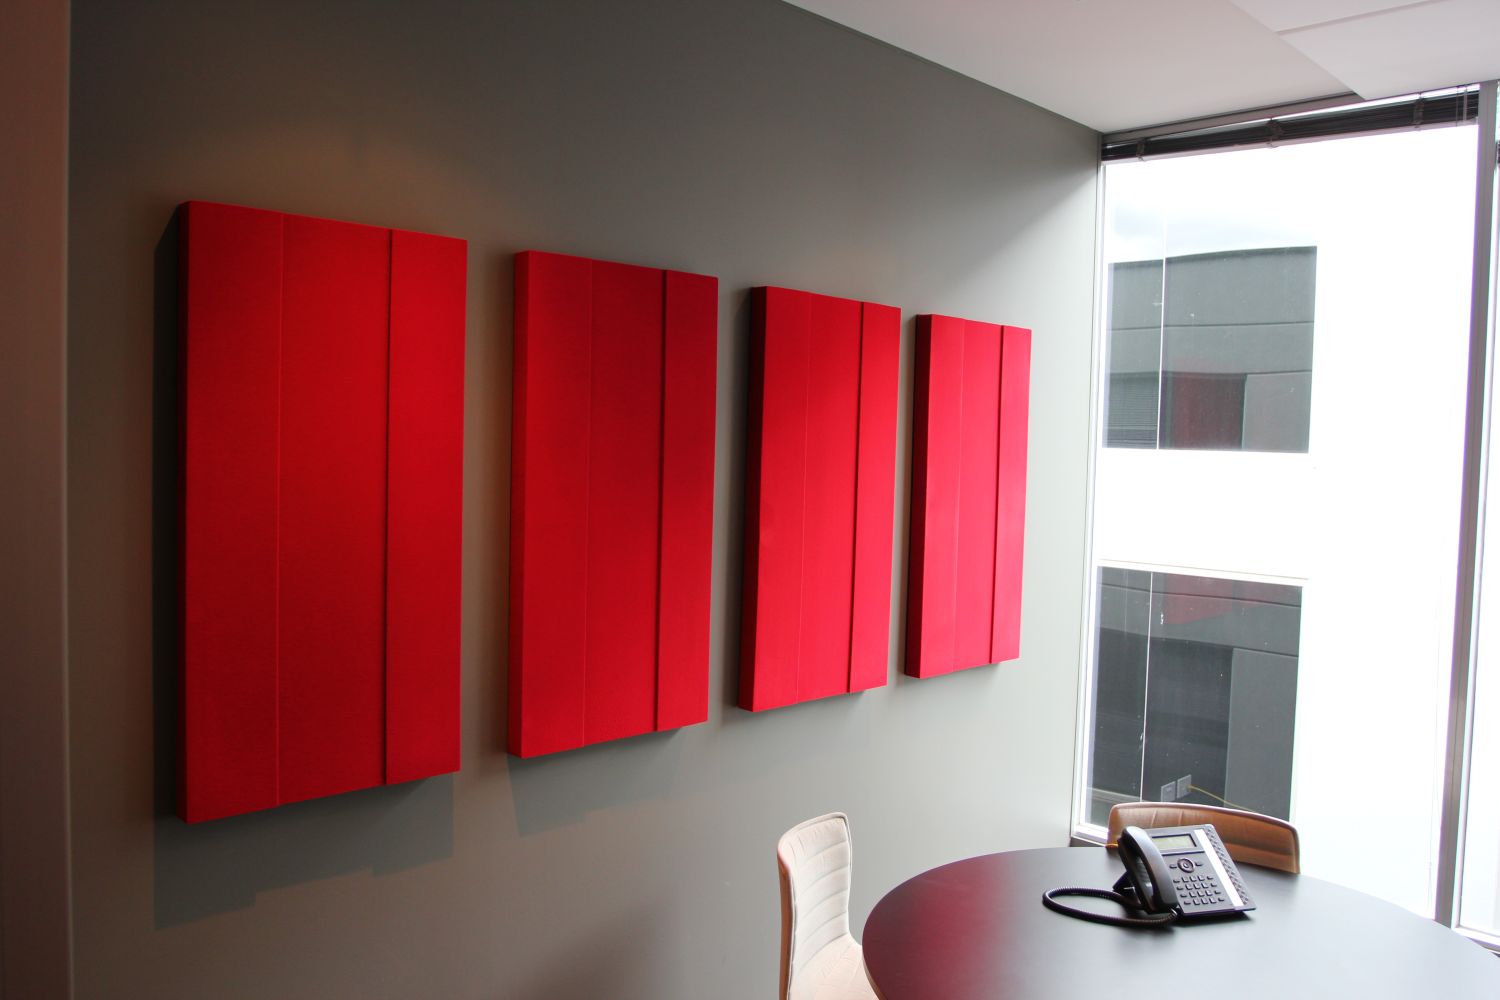
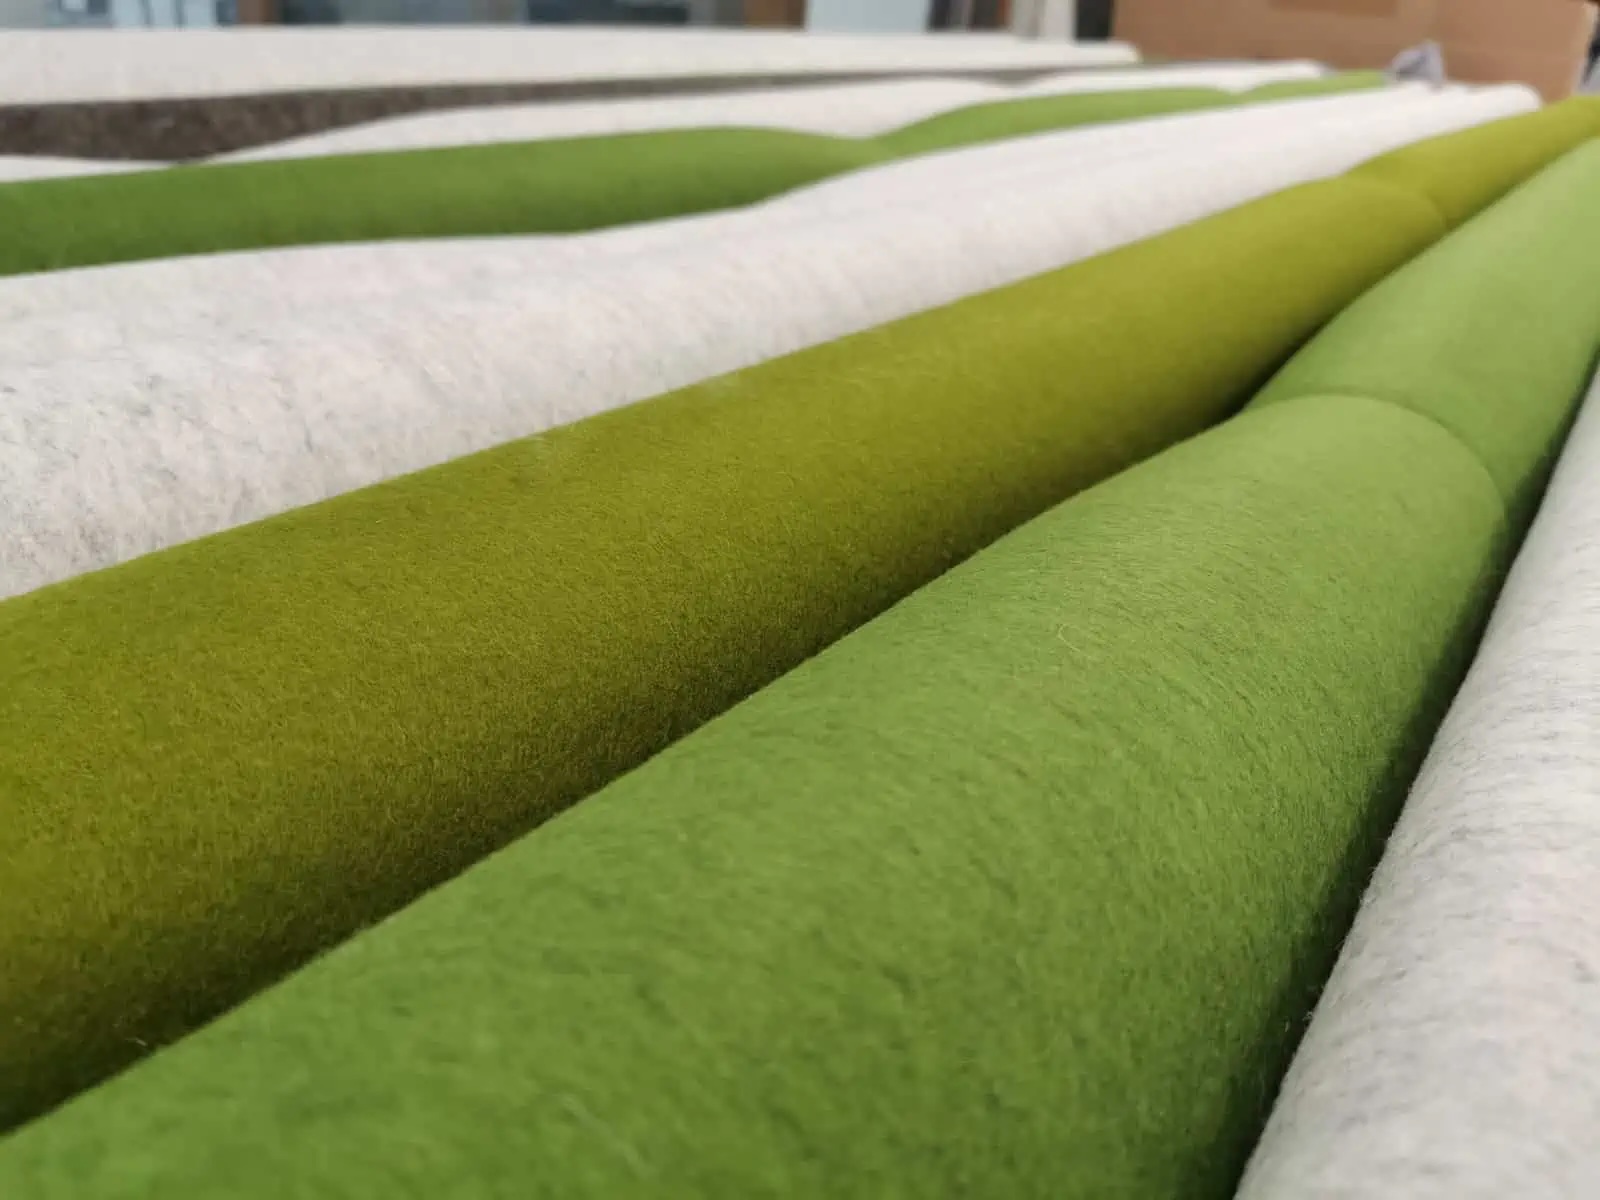
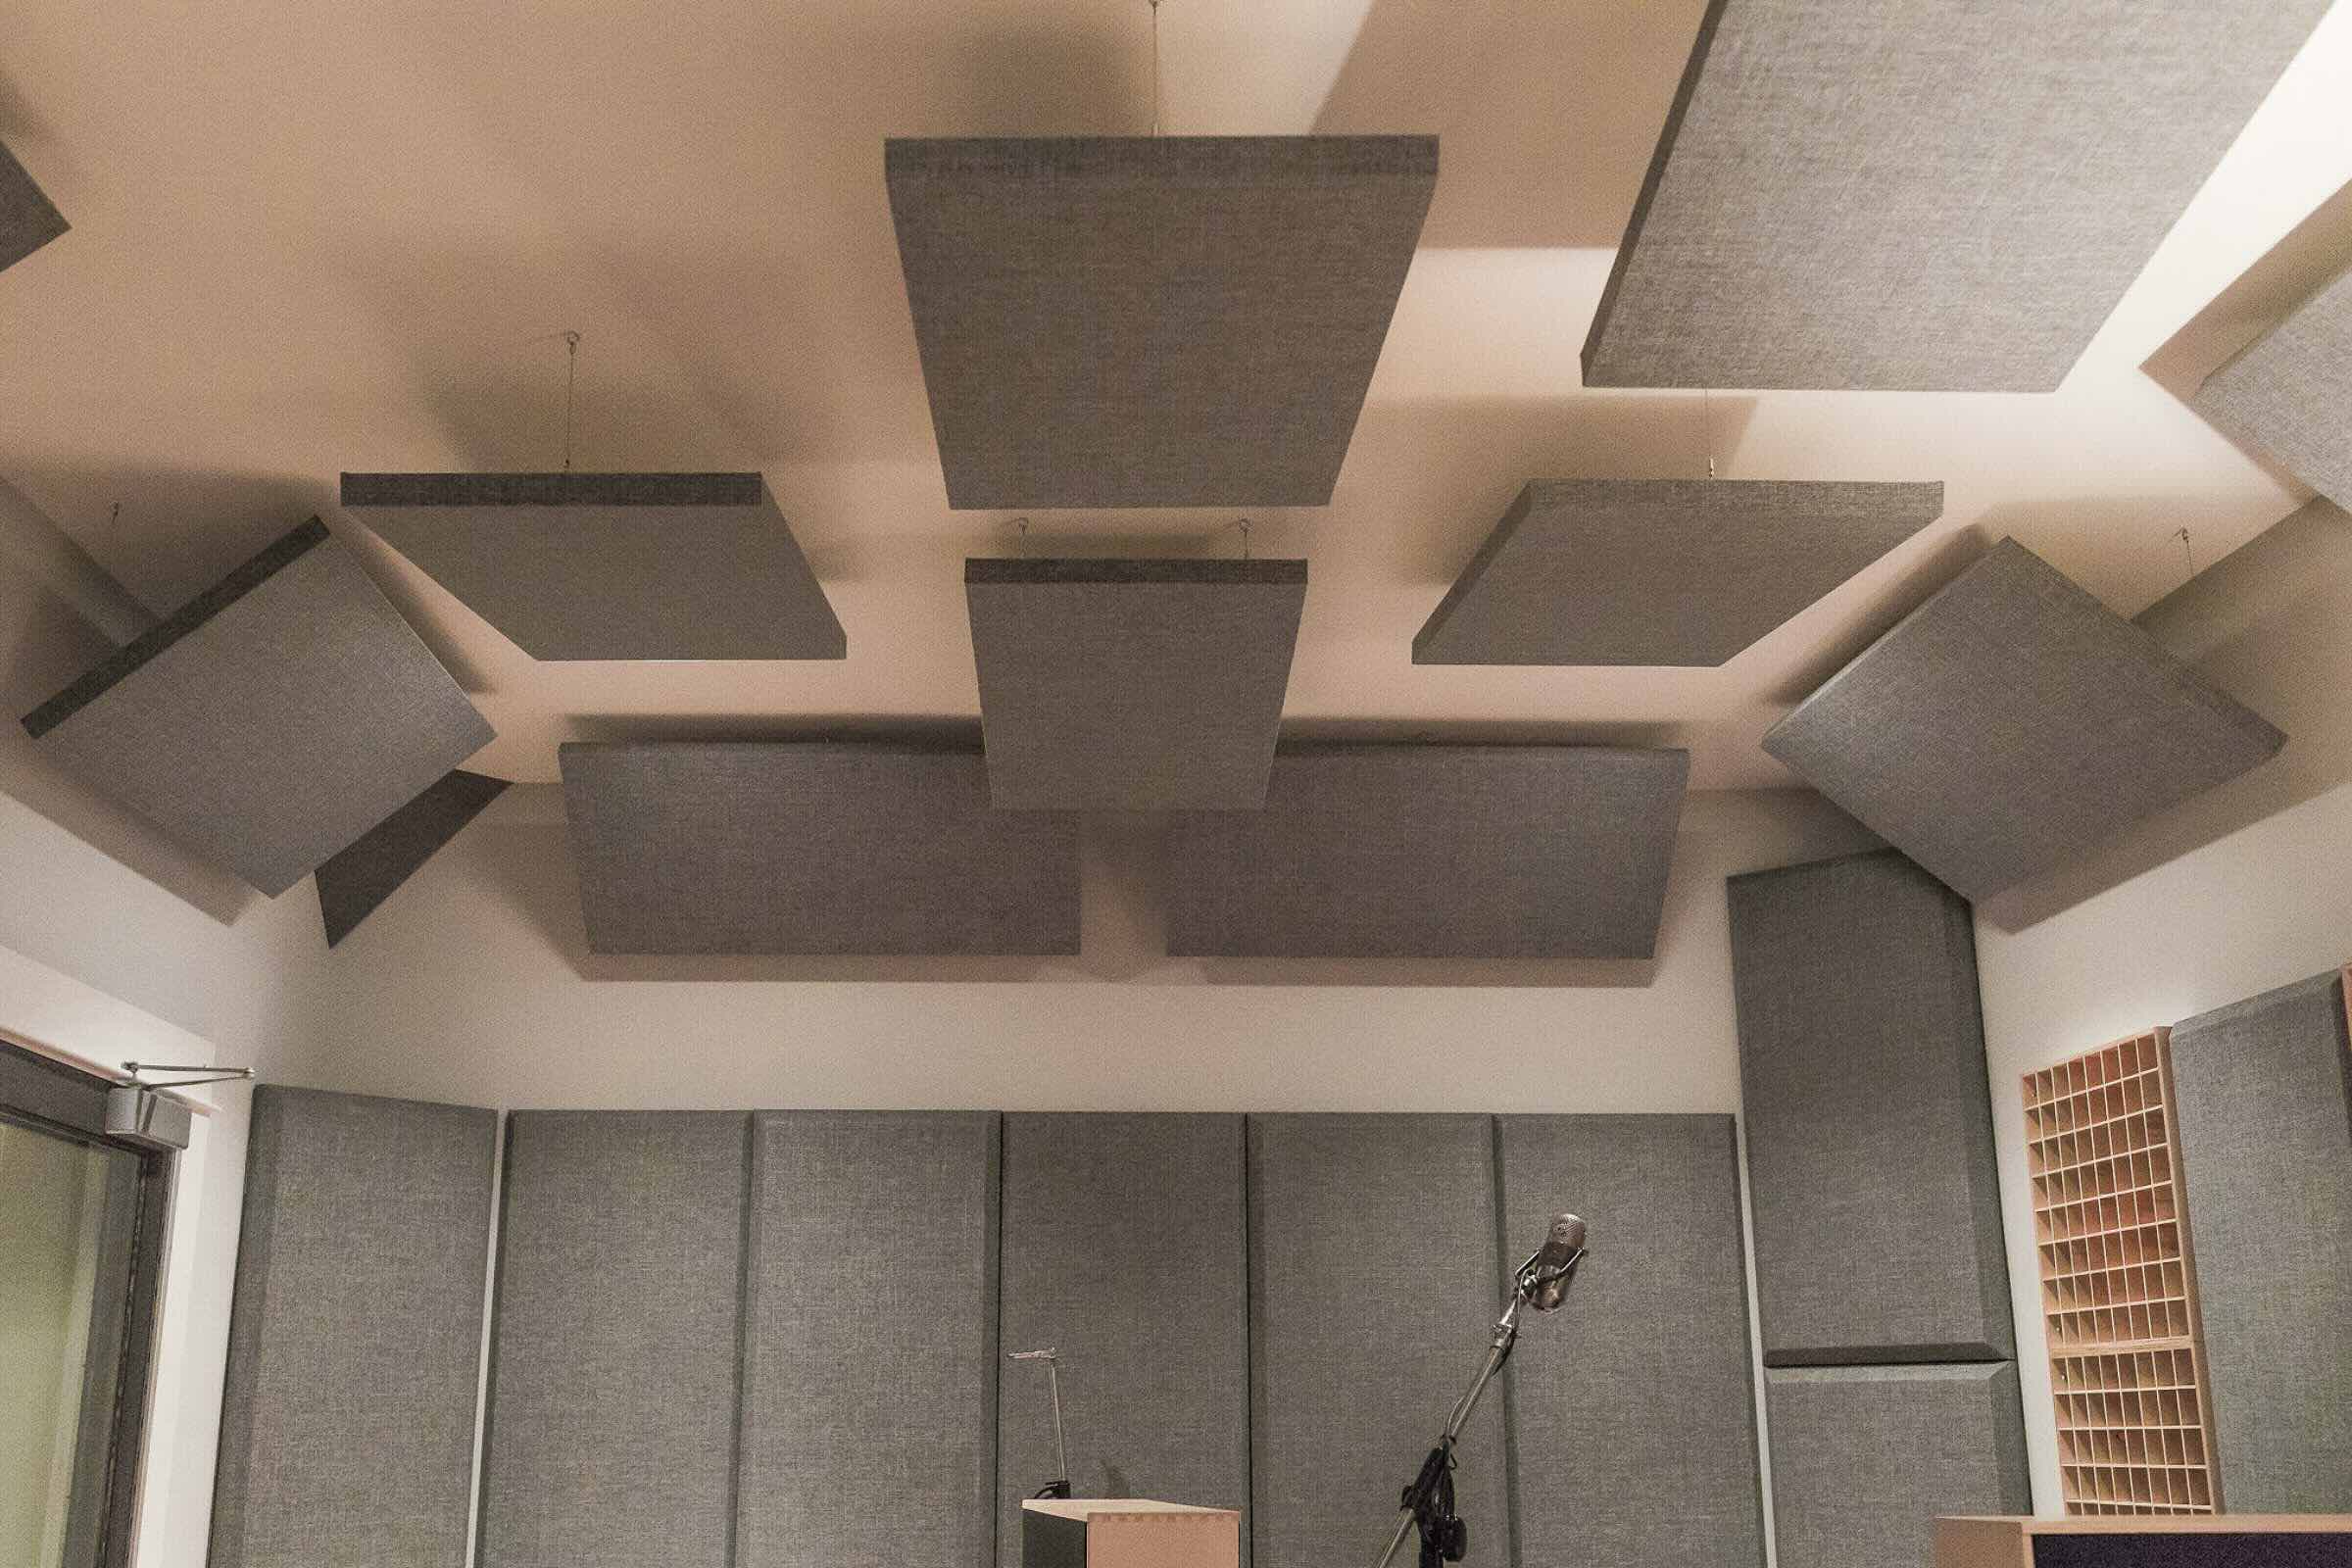
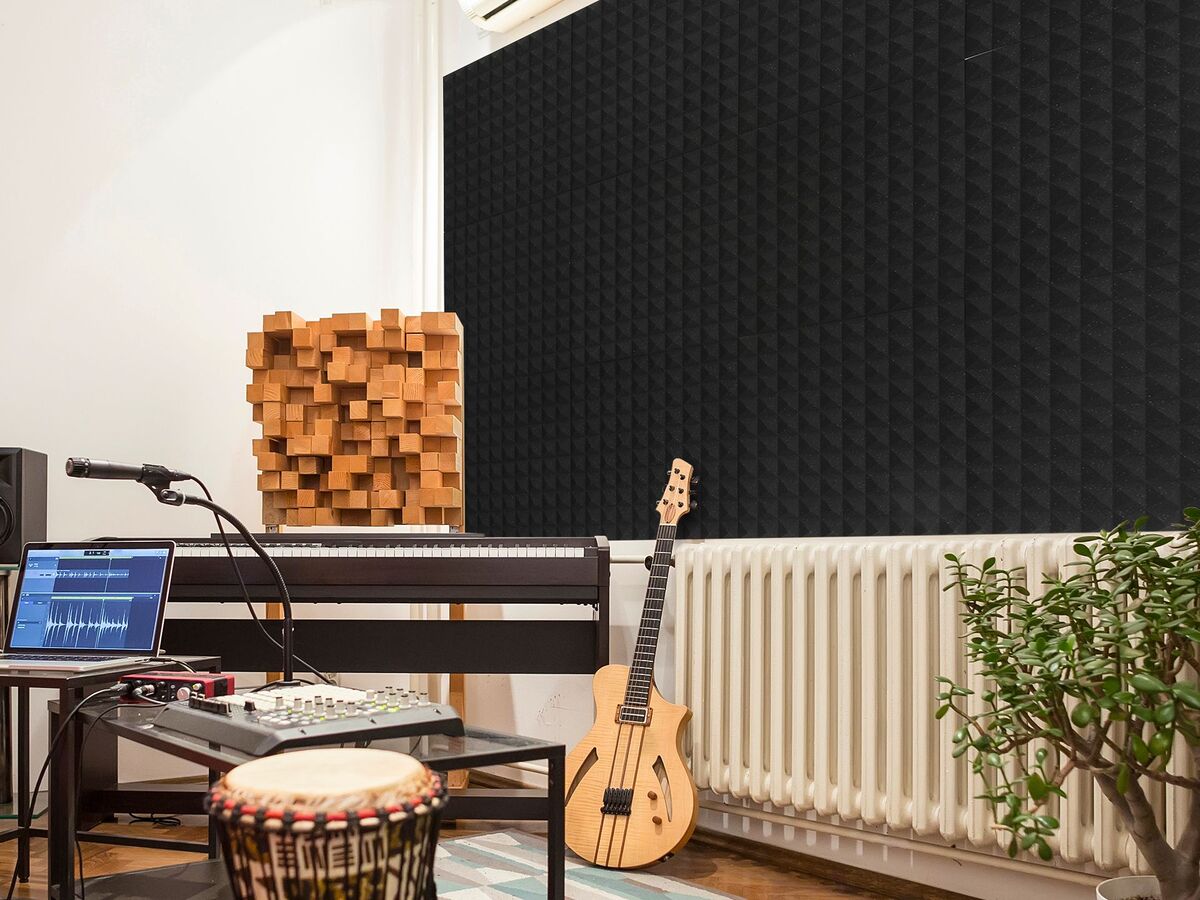
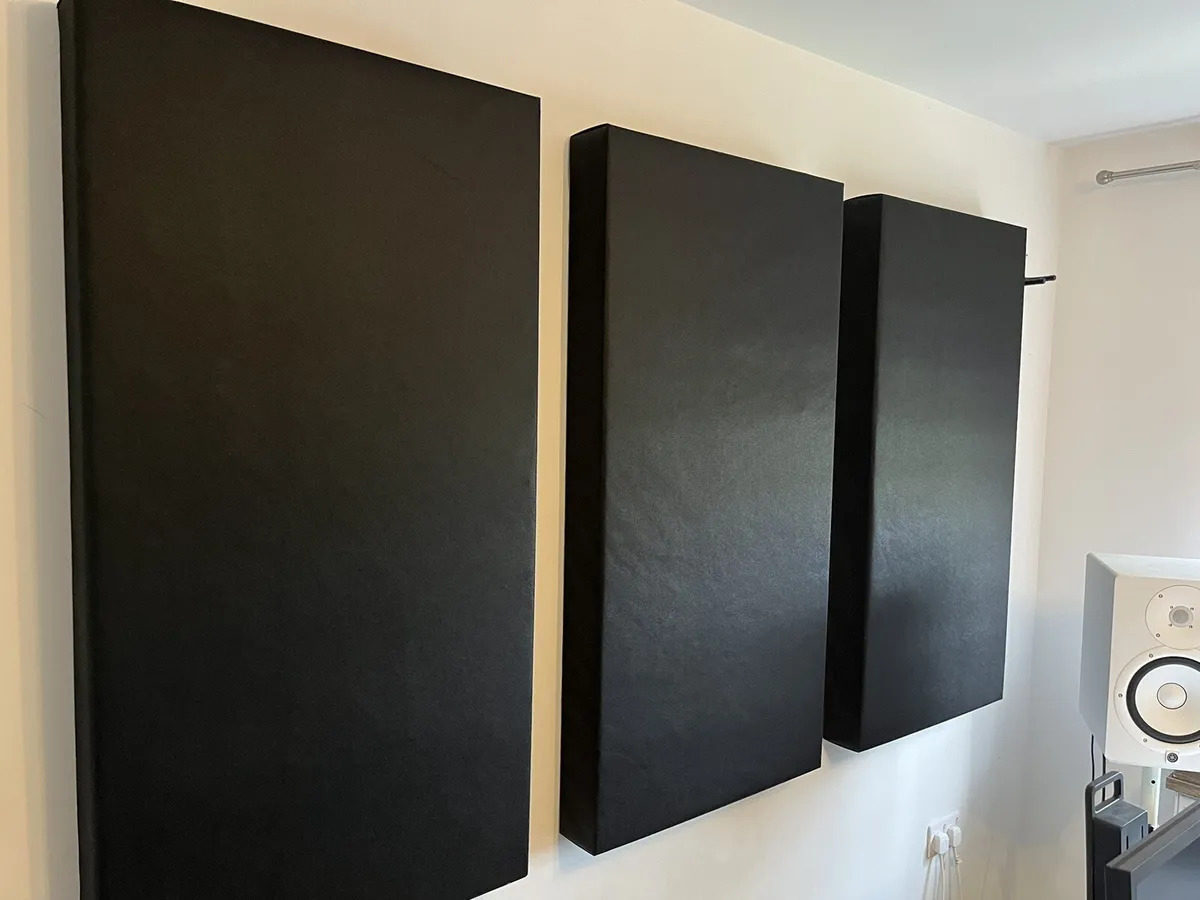
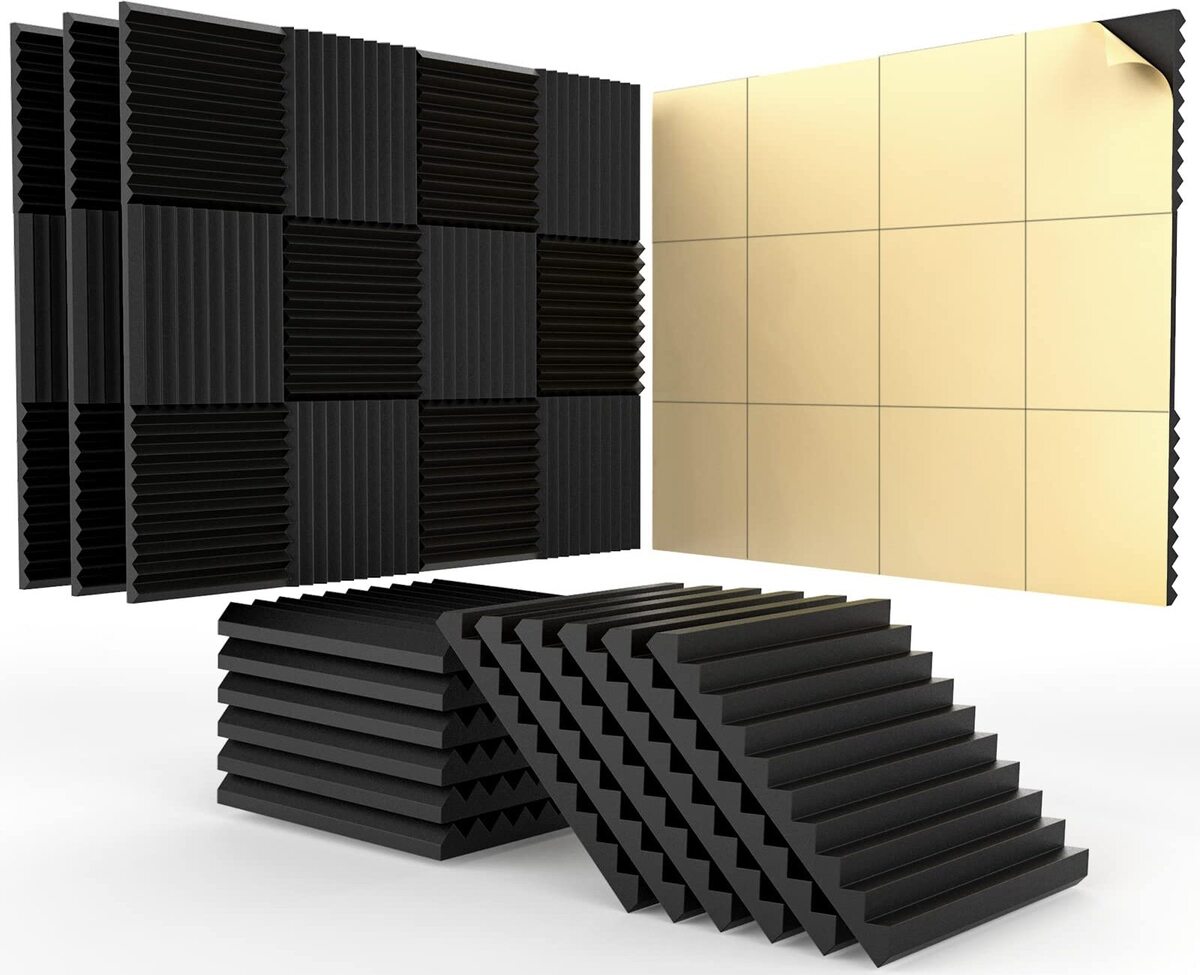
Before we delve into the step-by-step process, let’s take a moment to understand what acoustic panels are and how they work. Acoustic panels are specially designed sound-absorbing materials that are used to control and improve the acoustics of a room. They are commonly made from materials like foam, fabric, or wood, and come in various shapes, sizes, and styles to suit different needs and preferences.
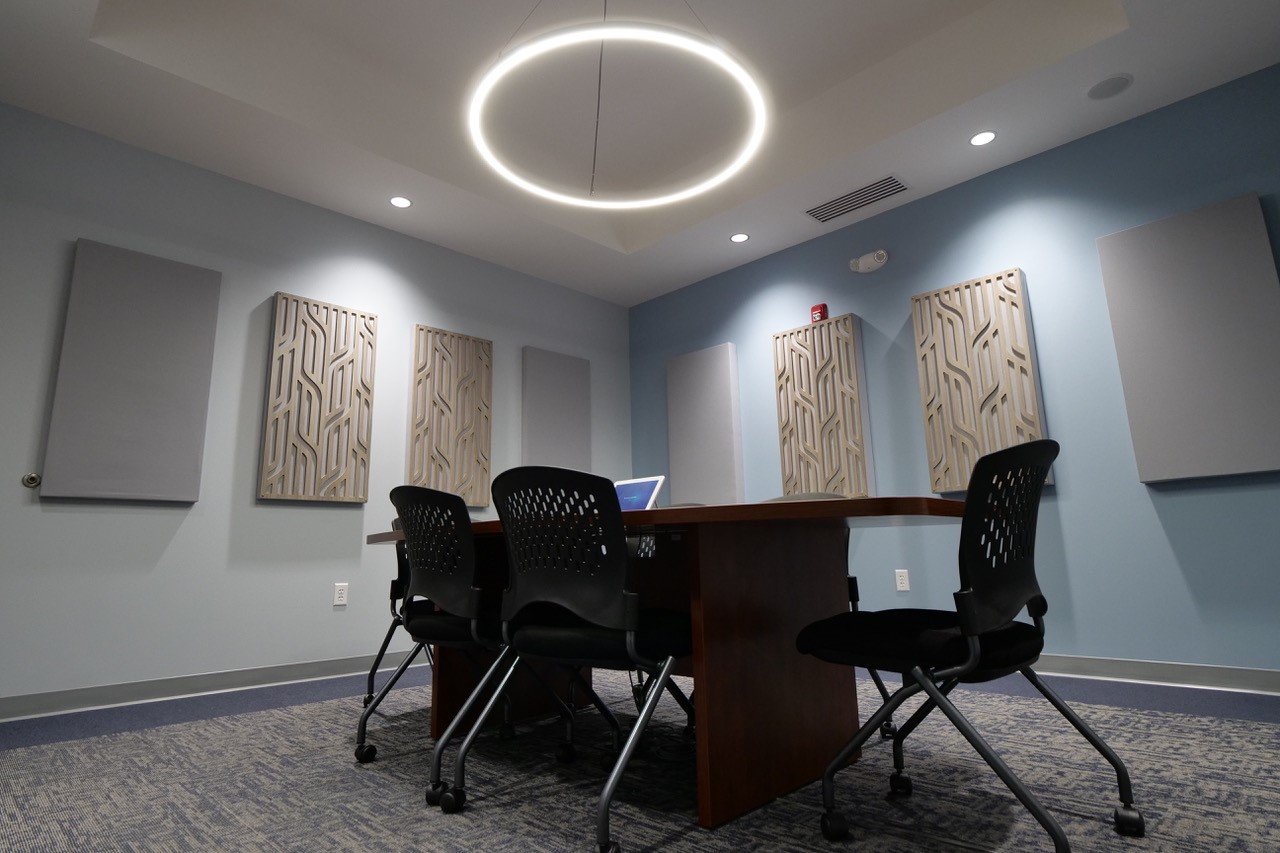
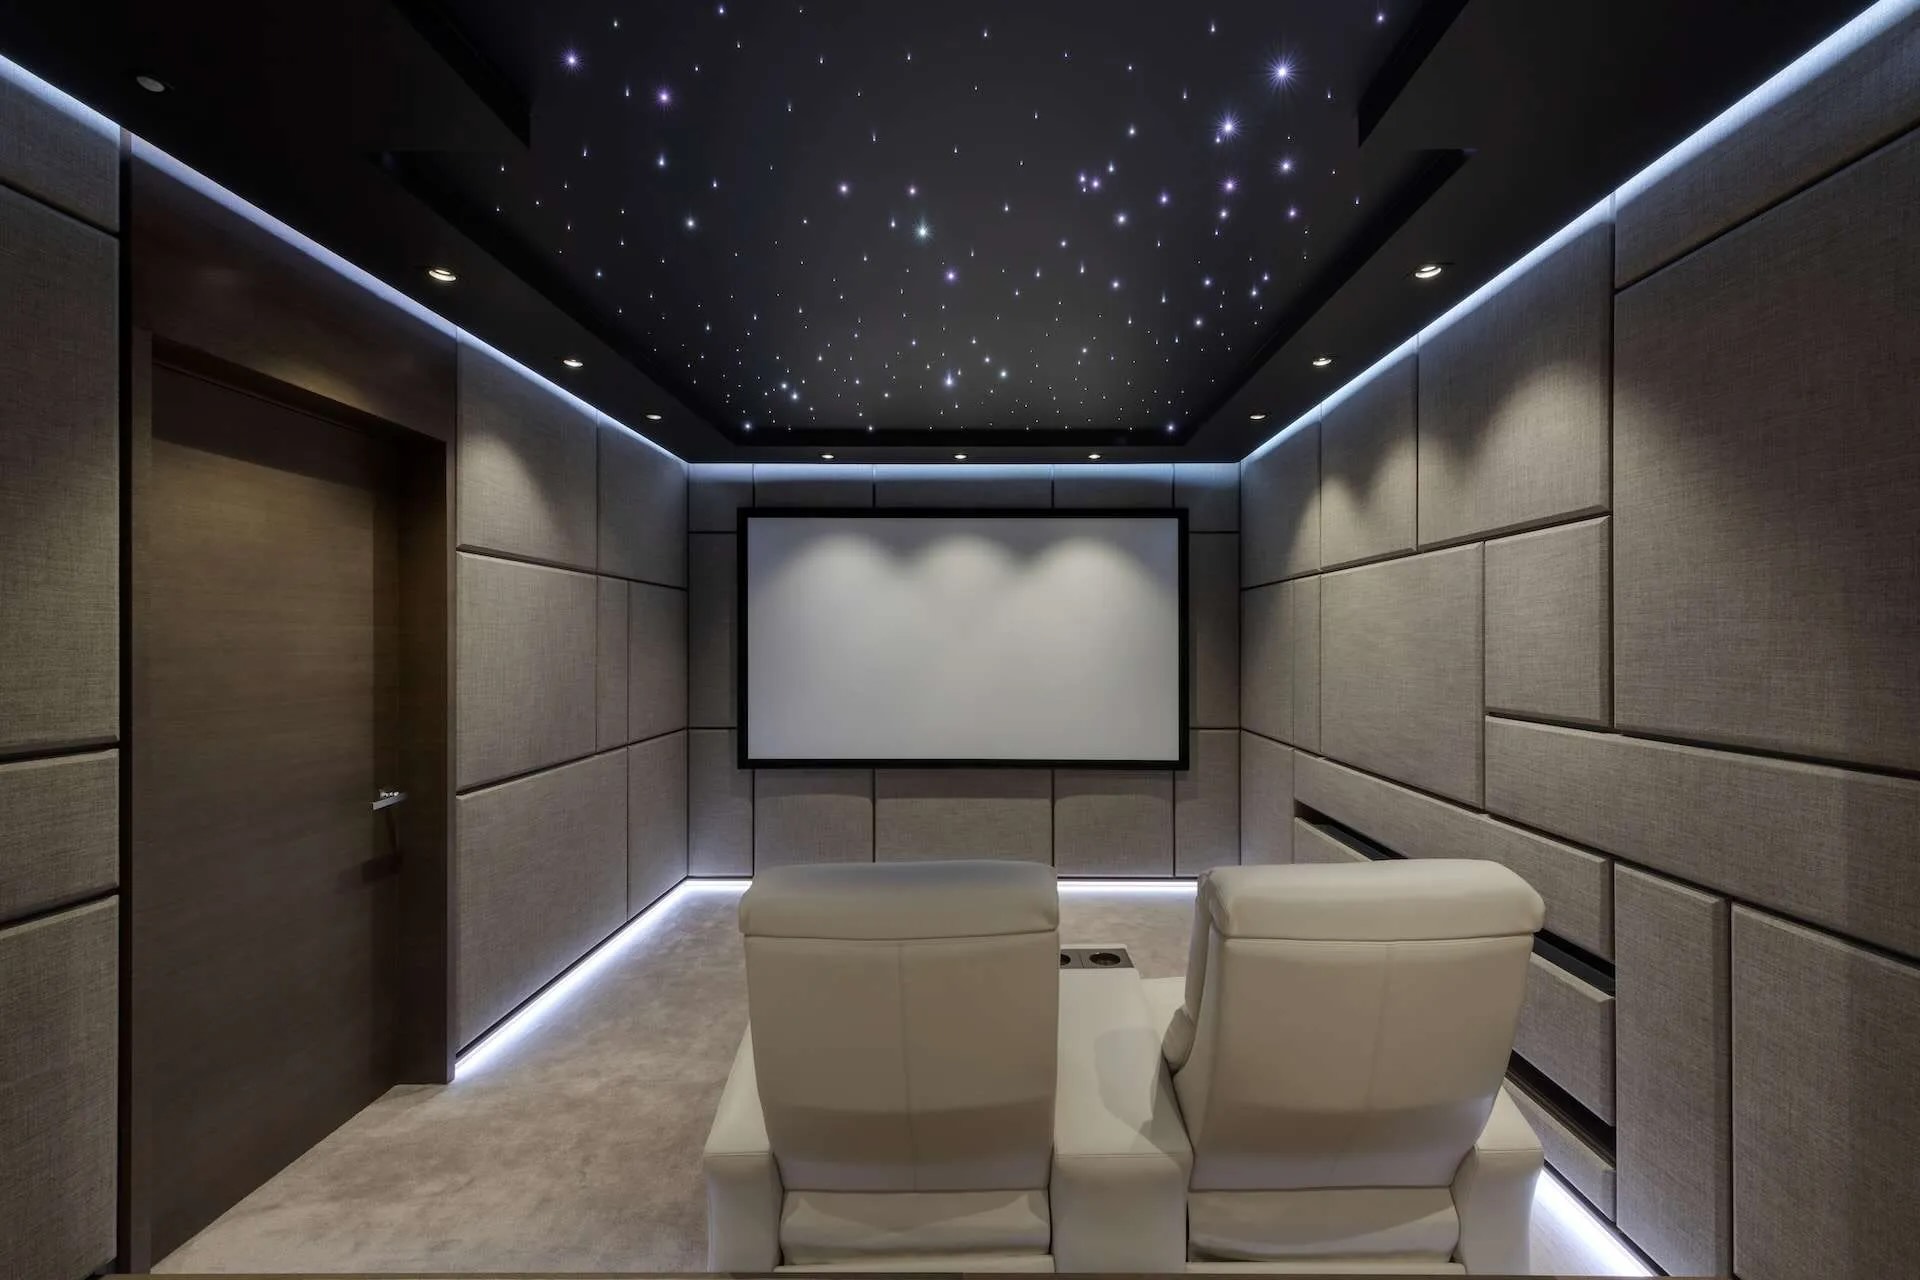
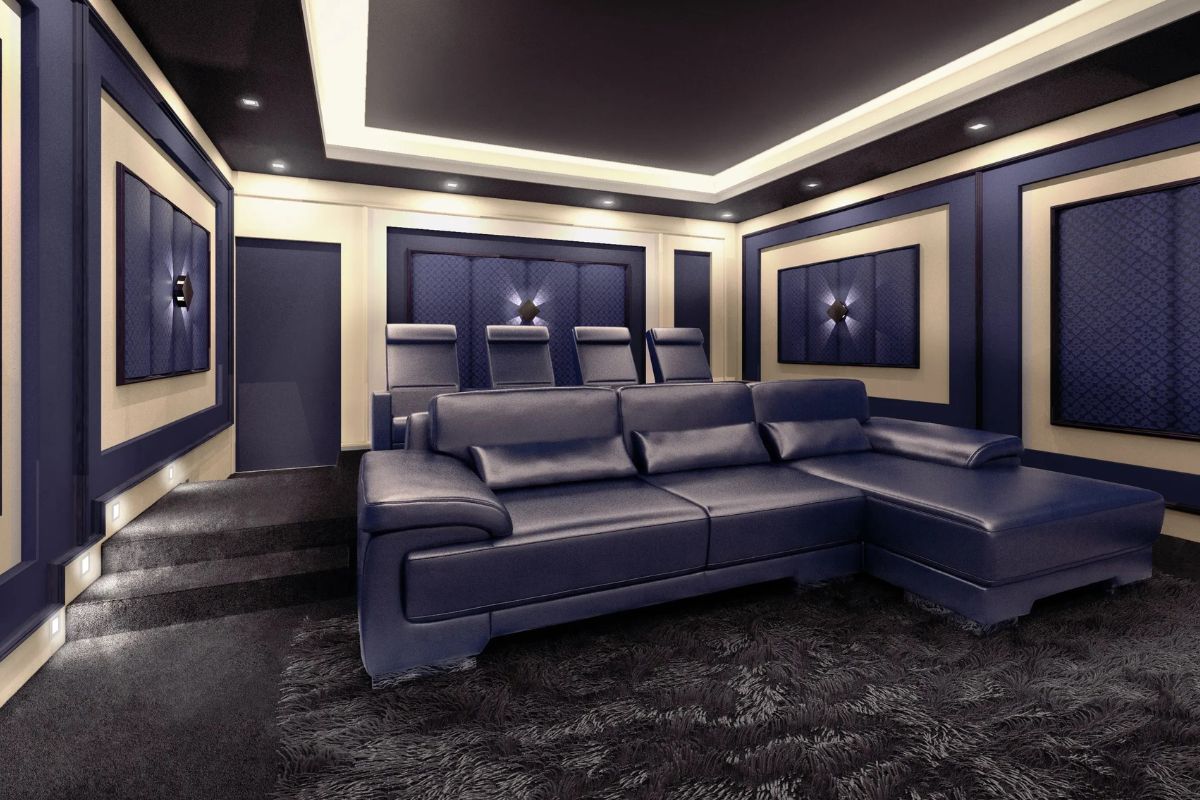
When properly installed, acoustic panels can significantly reduce unwanted reverberation and echo in a room, resulting in a more balanced and pleasing sound environment. They are commonly used in recording studios, home theaters, conference rooms, offices, and even residential spaces.
Now, let’s get started on the steps you need to follow in order to attach your acoustic panels to the wall. But before we do, let’s gather the materials you’ll need for this project.
Key Takeaways:
- Enhance sound and aesthetics: Attaching acoustic panels to the wall improves sound quality and adds a stylish touch to your space. Follow the steps for a balanced and pleasing acoustic environment.
- Careful planning and patience: Measure, prepare, apply adhesive, position, secure, and allow curing time for successful acoustic panel installation. Enjoy improved sound absorption and aesthetics in your space.
Read more: What Are Acoustic Panels
Materials Needed
Before you begin, make sure you have the following materials on hand:
- Acoustic panels: These can be purchased from audio equipment stores or online retailers. Choose panels that suit your space and desired aesthetic.
- Mounting adhesive: Look for a strong adhesive specifically designed for attaching acoustic panels to walls. You can find this at hardware stores or online.
- Tape measure: You’ll need this to measure the wall and determine the placement of the panels.
- Pencil: Use a pencil to mark the positions where the panels will be attached.
- Level: This will ensure that the panels are aligned correctly.
- Painter’s tape: This can be used to temporarily hold the panels in place as the adhesive cures.
- Clean cloth: Use a cloth to wipe away any dust or debris from the wall before attaching the panels.
- Optional: If your acoustic panels are not pre-fabricated with mounting hardware, you may need additional materials such as brackets, screws, and anchors.
Once you have gathered all the necessary materials, you are ready to begin the installation process. Follow the steps below to attach your acoustic panels to the wall.
Step 1: Measure and Mark Placement
The first step in attaching acoustic panels to the wall is to measure and mark the placement of the panels. This will ensure that they are evenly spaced and properly positioned.
- Start by measuring the dimensions of your wall. Use a tape measure to determine the width and height of the area where you want to install the acoustic panels.
- Consider the size and quantity of your panels. Depending on the size and design of your panels, you may decide to cover the entire wall or create a specific pattern or arrangement. Keep these factors in mind as you plan your placement.
- Next, use a pencil to mark the positions where the panels will be attached. Make sure to measure and mark both the horizontal and vertical positions of each panel.
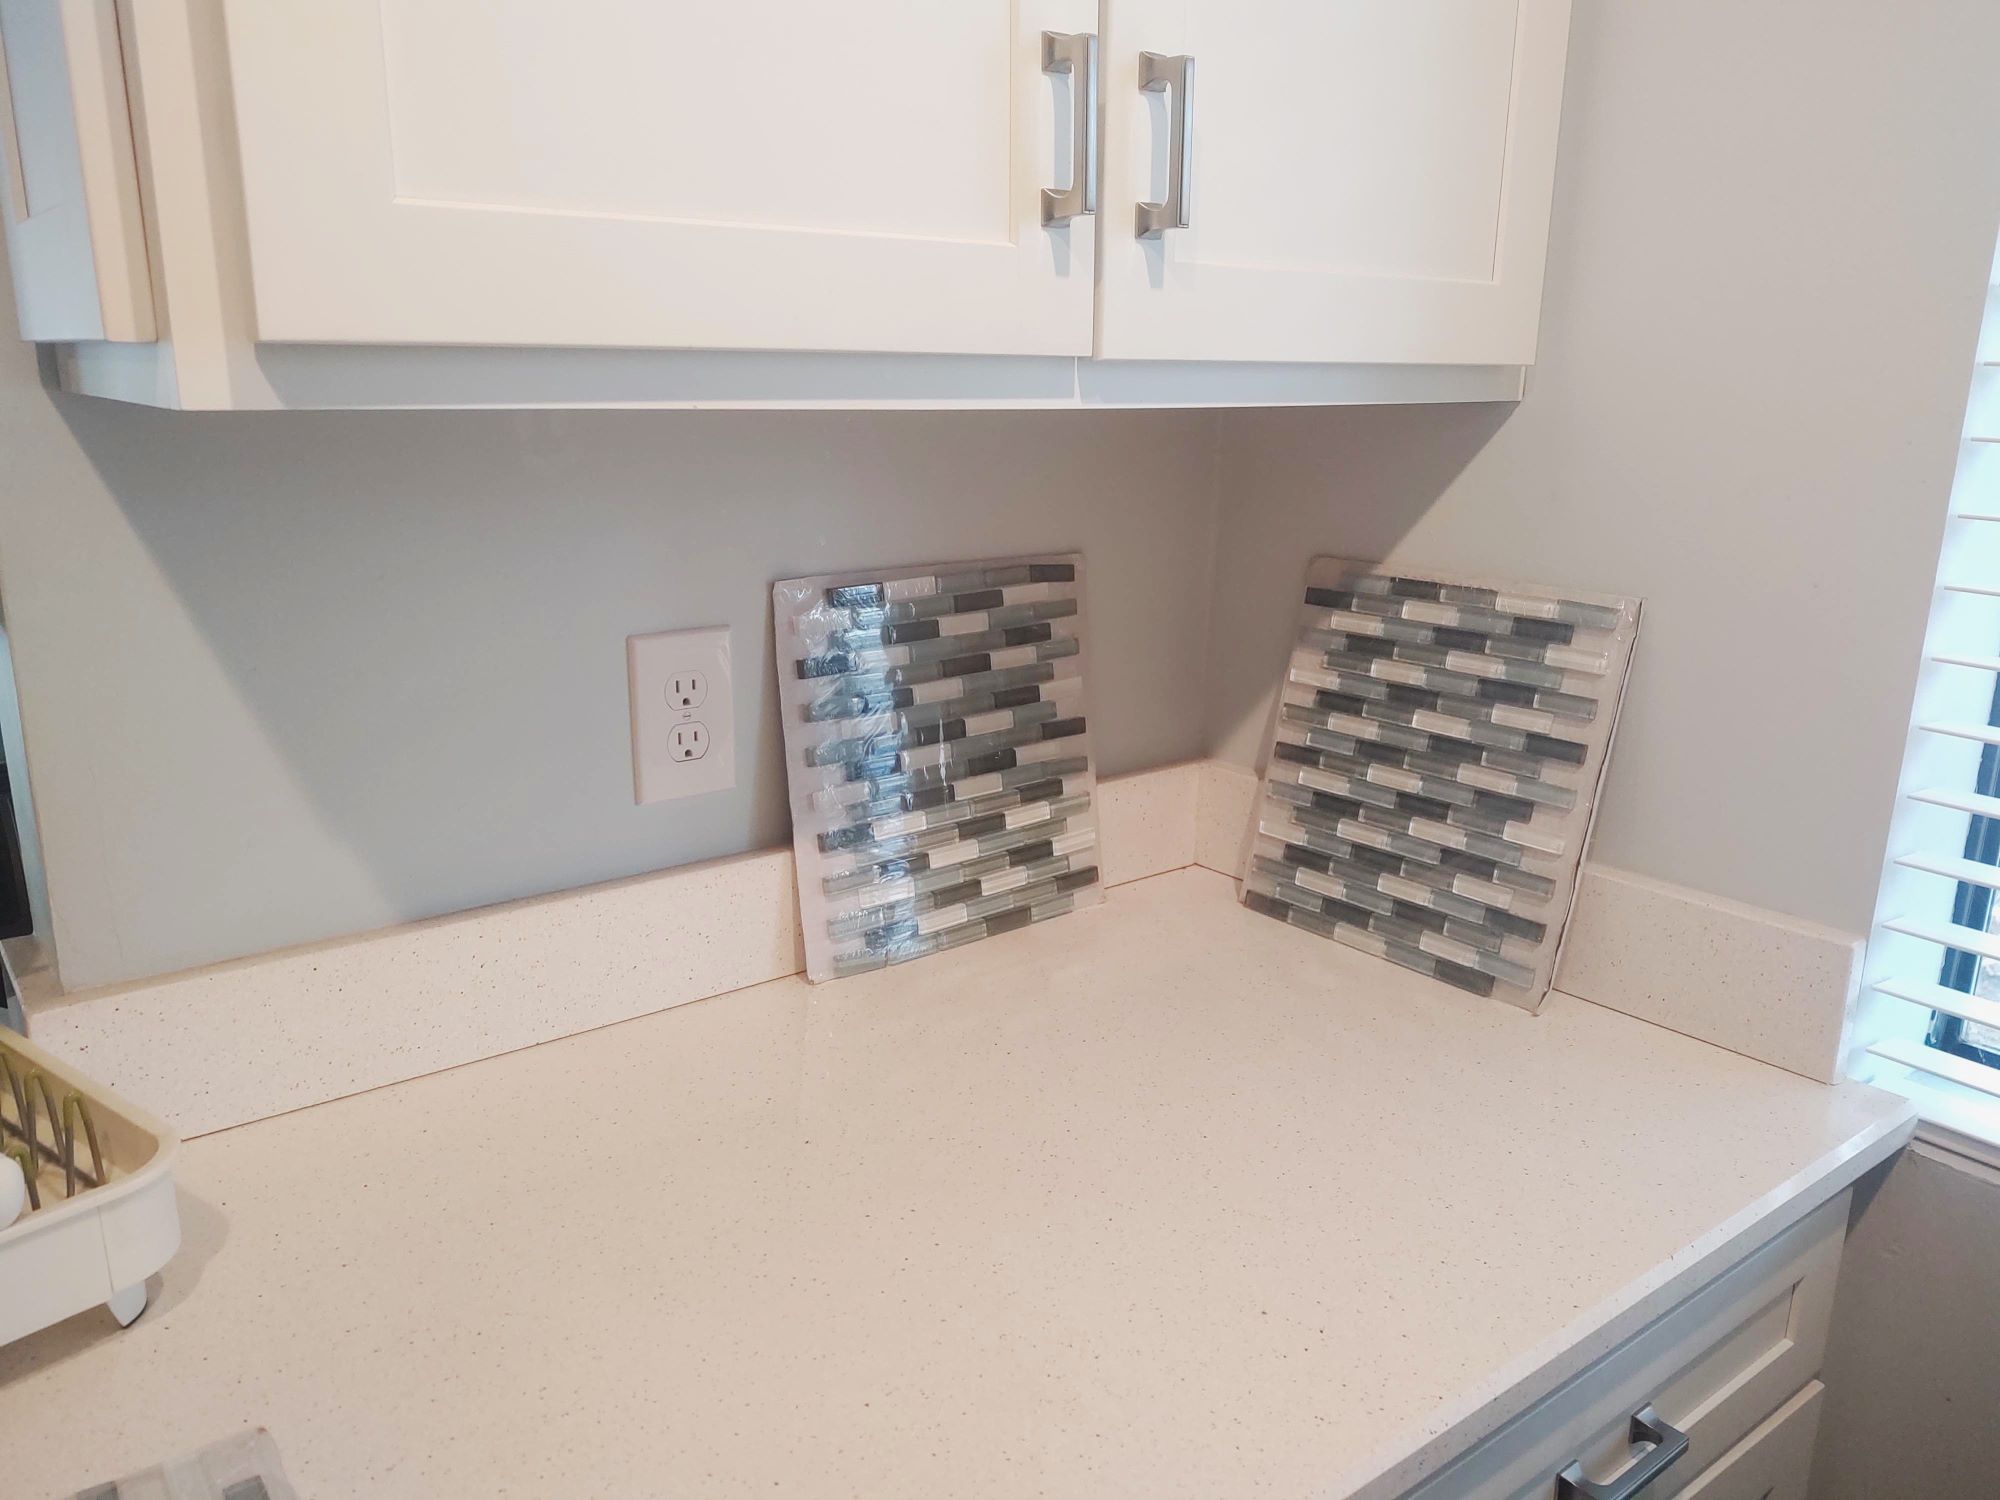
- Take into account any electrical outlets, switches, or other fixtures on the wall. You may need to adjust the placement of the panels to accommodate these features.
- Use a level to ensure that the marked positions are straight and aligned. This will help to create a professional and visually pleasing installation.
Once you have measured and marked the placement of the panels, you can move on to the next step: preparing the acoustic panels for installation.
Step 2: Prepare the Acoustic Panels
Once you have measured and marked the placement of the acoustic panels, it’s time to prepare them for installation. Proper preparation ensures a smooth and secure attachment to the wall.
- If your acoustic panels came with mounting hardware, carefully follow the manufacturer’s instructions to attach the hardware to the panels. This may involve screwing in brackets or hooks.
- If your panels do not have pre-installed hardware, you may need to attach brackets or other mounting accessories to the back of each panel. Make sure to use screws and anchors that are appropriate for the weight and size of the panels.
- Set aside the prepared panels and double-check that all mounting hardware is securely attached. This will save you time during the installation process.
Preparing the acoustic panels beforehand ensures that you can easily and confidently attach them to the wall once the adhesive is applied. With your panels ready, let’s move on to the next step: applying the mounting adhesive.
Step 3: Apply Mounting Adhesive
Now that you have prepared the acoustic panels, it’s time to apply the mounting adhesive. This adhesive will securely attach the panels to the wall, ensuring a long-lasting and stable installation.
- First, read and follow the manufacturer’s instructions for the mounting adhesive. Different adhesives may have specific application methods or drying times, so it’s important to understand the guidelines.
- Using the recommended adhesive applicator, apply a generous amount of adhesive to the back of each panel. Make sure to cover the entire surface area that will come into contact with the wall.
- Avoid applying the adhesive too close to the edges of the panels, as this may cause excess adhesive to seep out when the panels are pressed against the wall.
- If you are working with multiple panels, apply the adhesive to one panel at a time to ensure that it doesn’t dry out before installation.
It’s important to note that different adhesive types require different drying times. Follow the manufacturer’s instructions regarding the recommended curing period. In some cases, you may need to wait for the adhesive to set for a specific amount of time before moving on to the next step.
With the adhesive applied to the panels, you’re ready to move on to the next step: positioning the acoustic panels on the wall.
Use a combination of adhesive strips and screws to attach acoustic panels to the wall. This will ensure a secure and long-lasting installation.
Read more: How To Build Acoustic Panels
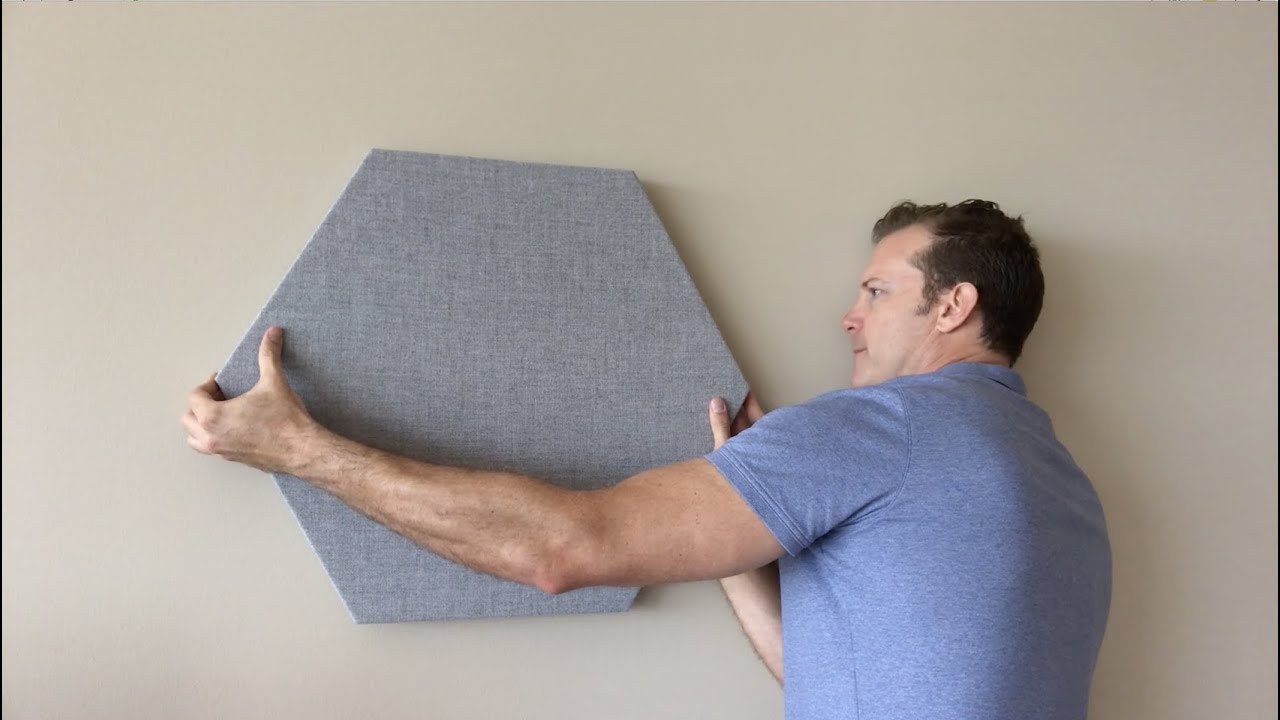
Step 4: Position the Acoustic Panels
With the mounting adhesive applied to the back of the acoustic panels, it’s time to position them on the wall. This step requires careful planning and precision to ensure that the panels are aligned correctly and create the desired aesthetic.
- Starting with the first panel, gently position it against the wall, aligning it with the marked positions from Step 1. Take your time to ensure that the panel is level and straight.
- If you are working with multiple panels, it’s essential to maintain consistent spacing between them. Consider using a spacer or measuring tape to ensure even spacing.
- Press firmly on the panel to secure it to the wall, making sure that the adhesive bonds properly.
- Repeat the process for each panel, following the marked positions and maintaining the desired spacing between them.
- Periodically step back to assess the overall placement and alignment of the panels. Make any necessary adjustments before moving on to the next step.
Keep in mind that some mounting adhesives may have a short window of adjustment before they set. Once the adhesive has cured, it may be difficult to reposition the panels without damaging the adhesive or the panels themselves. Take your time during the positioning process to ensure accurate placement.
With the acoustic panels positioned on the wall, you can move on to the next step: securing the panels.
Step 5: Secure the Panels
Now that you have positioned the acoustic panels on the wall, it’s time to ensure they are securely attached. This step will provide additional stability and prevent any accidental displacement of the panels.
- If your panels have pre-installed mounting hardware, such as brackets or hooks, verify that they are properly secured to the wall. Tighten any screws or adjust as needed to ensure a secure fit.
- For panels without pre-installed hardware, you can use painter’s tape to temporarily hold the panels in place while the adhesive fully cures. This will prevent the panels from shifting or falling during the drying process.
- Alternatively, you may choose to apply additional adhesive or use other means of securing the panels, such as adhesive strips or brackets. Ensure that whichever method you choose is appropriate for the weight and size of the panels.
- Double-check the alignment and spacing of the panels to ensure they still meet your desired aesthetic. Make any necessary adjustments before the adhesive fully dries.
Securing the panels will provide peace of mind, knowing that they are safely attached to the wall and will remain in place. Remember to follow the manufacturer’s instructions for the curing time of the adhesive, as this will ensure optimal bonding before moving on to the next step.
With the panels securely in place, it’s time to allow the adhesive to cure fully before enjoying the benefits of improved acoustics in your space.
Step 6: Allow Adhesive to Cure
After securing the acoustic panels to the wall, it is important to allow the adhesive to fully cure. This step ensures a strong and long-lasting bond between the panels and the wall, providing stability and preventing any potential damage or detachment.
- Refer to the instructions provided by the adhesive manufacturer for the recommended curing time. This duration can vary depending on the specific adhesive used.
- Avoid touching or applying any pressure to the panels during the curing process. This will allow the adhesive to set undisturbed and ensure optimal bonding.
- Keep in mind that environmental factors, such as temperature and humidity, can impact the curing time. Ensure that the room is well-ventilated and maintain the recommended temperature range for the adhesive to cure properly.
- Once the curing time has passed, carefully remove any painter’s tape or temporary supports that were used to hold the panels in place.
- Inspect the panels to ensure that they are securely attached and that the adhesive has fully cured. Gently test the panels to ensure they are stable and do not show any signs of loosening or shifting.
By allowing the adhesive to cure completely, you can have confidence that your acoustic panels are securely attached and ready to enhance the sound quality and aesthetic appeal of your space.
Congratulations! You have successfully attached and secured your acoustic panels to the wall. Now, sit back, relax, and enjoy the enhanced acoustics in your room.
Conclusion
Attaching acoustic panels to the wall is a straightforward process that can greatly improve the sound quality and aesthetics of your space. With the right materials and proper installation techniques, you can enjoy a more balanced and appealing acoustic environment.
In this comprehensive guide, we covered the step-by-step process of attaching acoustic panels to the wall. We started with measuring and marking the placement of the panels, ensuring accuracy and alignment. Then, we prepared the panels by attaching any necessary mounting hardware.
Applying the mounting adhesive was the next crucial step, ensuring a strong bond between the panels and the wall. We emphasized the importance of following the manufacturer’s instructions for the adhesive application and curing time.
Positioning the acoustic panels on the wall required careful planning, making sure they were level and properly spaced. Securing the panels, whether through pre-installed hardware or additional means, enhanced their stability and longevity.
Lastly, we stressed the significance of allowing the adhesive to fully cure before enjoying the benefits of your newly installed acoustic panels.
Now that you have successfully attached your acoustic panels, take a moment to appreciate the improved sound absorption and aesthetic enhancement they provide. Whether you’re creating a home studio, setting up a home theater, or simply looking to reduce echoing in a room, acoustic panels are a valuable addition to any space.
Remember, the key to a successful installation is careful planning, precise execution, and patience during the curing process. By following these steps and guidelines, you can create a room with optimal sound quality and an aesthetically pleasing ambiance.
So go ahead, enjoy your enhanced acoustics and immerse yourself in the amazing sound experience that your newly installed acoustic panels provide!
Frequently Asked Questions about How To Attach Acoustic Panels To The Wall
Was this page helpful?
At Storables.com, we guarantee accurate and reliable information. Our content, validated by Expert Board Contributors, is crafted following stringent Editorial Policies. We're committed to providing you with well-researched, expert-backed insights for all your informational needs.


0 thoughts on “How To Attach Acoustic Panels To The Wall”