Home>Renovation & DIY>Home Renovation Guides>How To Attach Backsplash To Wall
Home Renovation Guides
How To Attach Backsplash To Wall
Modified: August 26, 2024
Learn how to properly attach a backsplash to the wall with our comprehensive home renovation guide. Get expert tips and step-by-step instructions for a successful DIY project.
(Many of the links in this article redirect to a specific reviewed product. Your purchase of these products through affiliate links helps to generate commission for Storables.com, at no extra cost. Learn more)
Introduction
When it comes to renovating your kitchen or bathroom, adding a backsplash can be a game-changer. Not only does it protect your walls from spills and splatters, but it also serves as a focal point, adding personality and style to the space. Whether you're a seasoned DIY enthusiast or a novice looking to tackle your first home improvement project, attaching a backsplash to the wall is a task that can be accomplished with the right guidance and a bit of patience.
In this comprehensive guide, we will walk you through the step-by-step process of attaching a backsplash to your wall. From gathering the necessary materials to grouting the tiles and sealing the backsplash, we've got you covered. By the end of this guide, you'll have the knowledge and confidence to embark on this rewarding home improvement endeavor.
So, roll up your sleeves, gather your tools, and let's dive into the world of backsplash installation. Whether you're aiming for a sleek and modern look with subway tiles or a rustic charm with mosaic patterns, this guide will equip you with the skills to bring your vision to life. Let's get started on transforming your space with a stunning backsplash that not only enhances the aesthetics but also adds a practical element to your kitchen or bathroom.
Key Takeaways:
- Transform your kitchen or bathroom with a stunning backsplash that protects walls and adds style. Follow the step-by-step guide to expertly install tiles, grout, and seal for a rewarding DIY project.
- Gather essential materials and prepare the wall before attaching a backsplash. Carefully apply adhesive, install tiles, grout, and seal for a durable and visually appealing kitchen or bathroom upgrade.
Read more: How To Attach Marble Backsplash
Step 1: Gather the necessary materials
Before diving into the process of attaching a backsplash to your wall, it's crucial to gather all the essential materials and tools. Having everything at hand will streamline the installation process and ensure a smooth and efficient workflow. Here's a comprehensive list of the items you'll need:
-
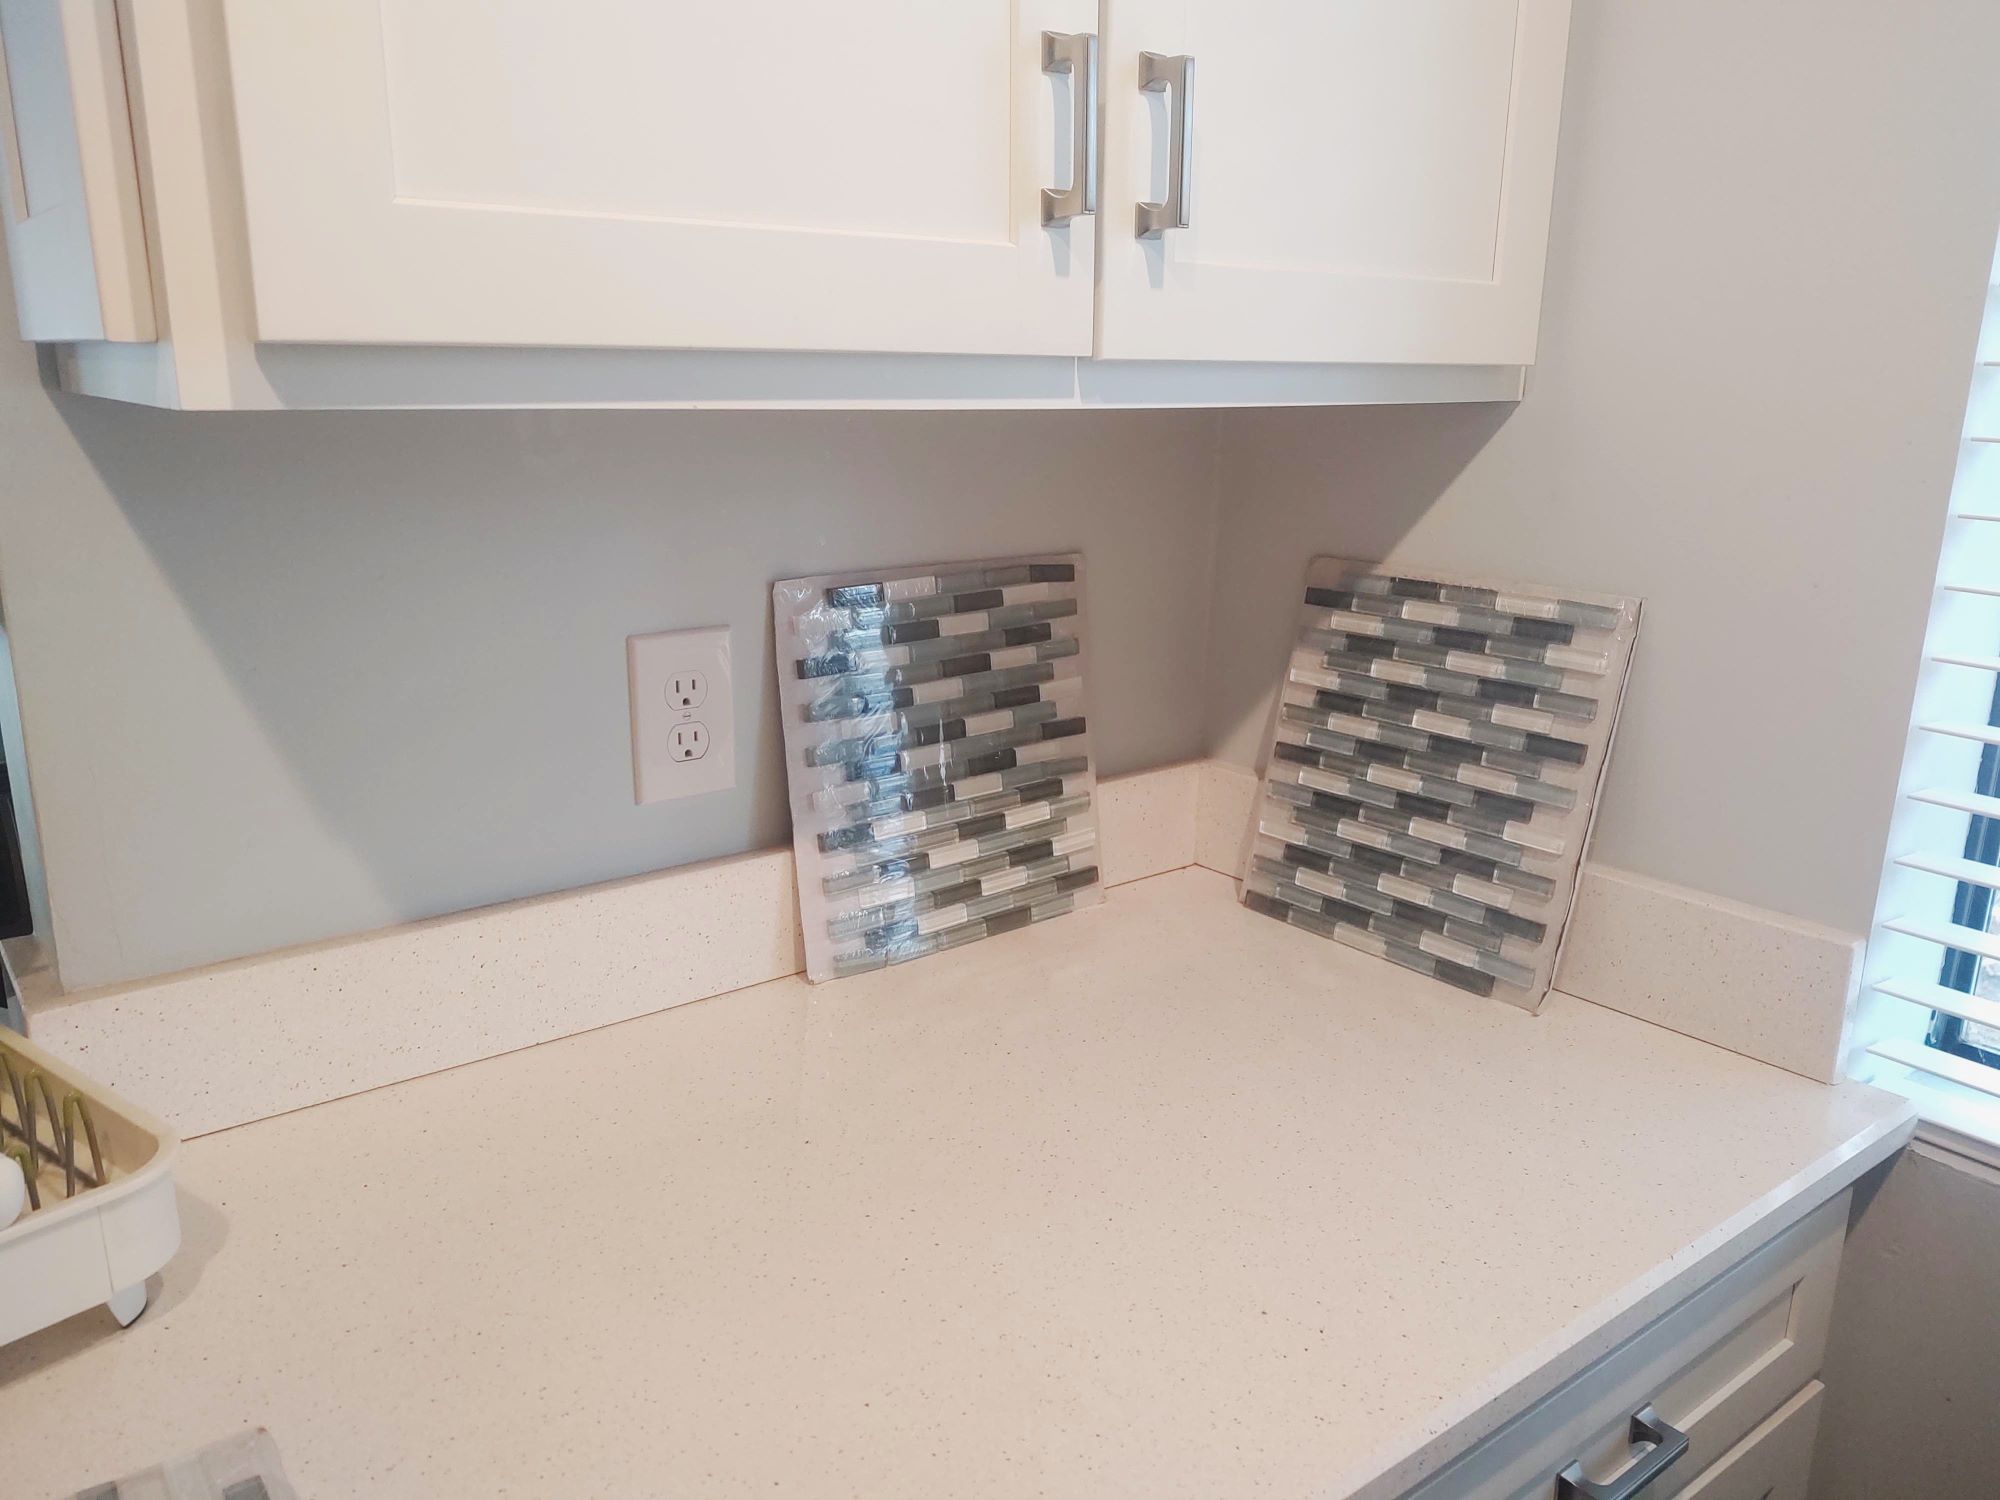
Backsplash Tiles: Select the type of tiles that best complement your space. Whether you opt for classic ceramic tiles, sleek glass tiles, or natural stone tiles, ensure that you have enough to cover the designated area, accounting for any cuts or wastage.
-
Adhesive: Choose a high-quality adhesive or thin-set mortar specifically designed for backsplash installation. The adhesive should be suitable for the type of tiles you've selected and the wall surface.
-
Grout: Select a grout color that enhances the overall aesthetic of your backsplash. Ensure that the grout is appropriate for the tile material and the desired spacing between the tiles.
-
Tile Spacers: These small, cross-shaped plastic pieces are essential for maintaining consistent spacing between the tiles during installation, ensuring a professional-looking result.
-
Tile Cutter or Wet Saw: Depending on the complexity of your backsplash design, you may need a tile cutter or a wet saw to make precise cuts, especially around outlets and corners.
-
Notched Trowel: This tool is used to spread the adhesive evenly on the wall, providing a solid base for the tiles.
-
Grout Float: A grout float is essential for applying grout to the tiles and ensuring that the gaps are completely filled.
-
Level: To ensure that your backsplash is installed perfectly straight, a level is indispensable for checking the alignment of the tiles during the installation process.
-
Sponge and Bucket: These are necessary for cleaning excess grout from the tiles during the grouting process.
-
Tile Sealer: Depending on the type of tiles you've chosen, a suitable tile sealer may be required to protect the tiles and grout from stains and moisture.
-
Protective Gear: Don't forget to prioritize safety by wearing goggles, gloves, and a dust mask, especially when cutting tiles or working with adhesives and grout.
By gathering these essential materials and tools, you'll be well-prepared to embark on the exciting journey of attaching a beautiful and functional backsplash to your wall. With everything in place, you're ready to move on to the next step and bring your vision to life.
Step 2: Prepare the wall surface
Before diving into the actual installation of the backsplash, it's crucial to ensure that the wall surface is properly prepared. This step lays the foundation for a successful and long-lasting backsplash installation. Here's a detailed breakdown of the essential tasks involved in preparing the wall surface:
Clean the Wall:
Begin by thoroughly cleaning the wall where the backsplash will be installed. Remove any grease, dirt, or residues using a mild detergent and water. It's important to ensure that the wall is free from any substances that could hinder the adhesion of the tiles and the adhesive.
Check for Smoothness and Stability:
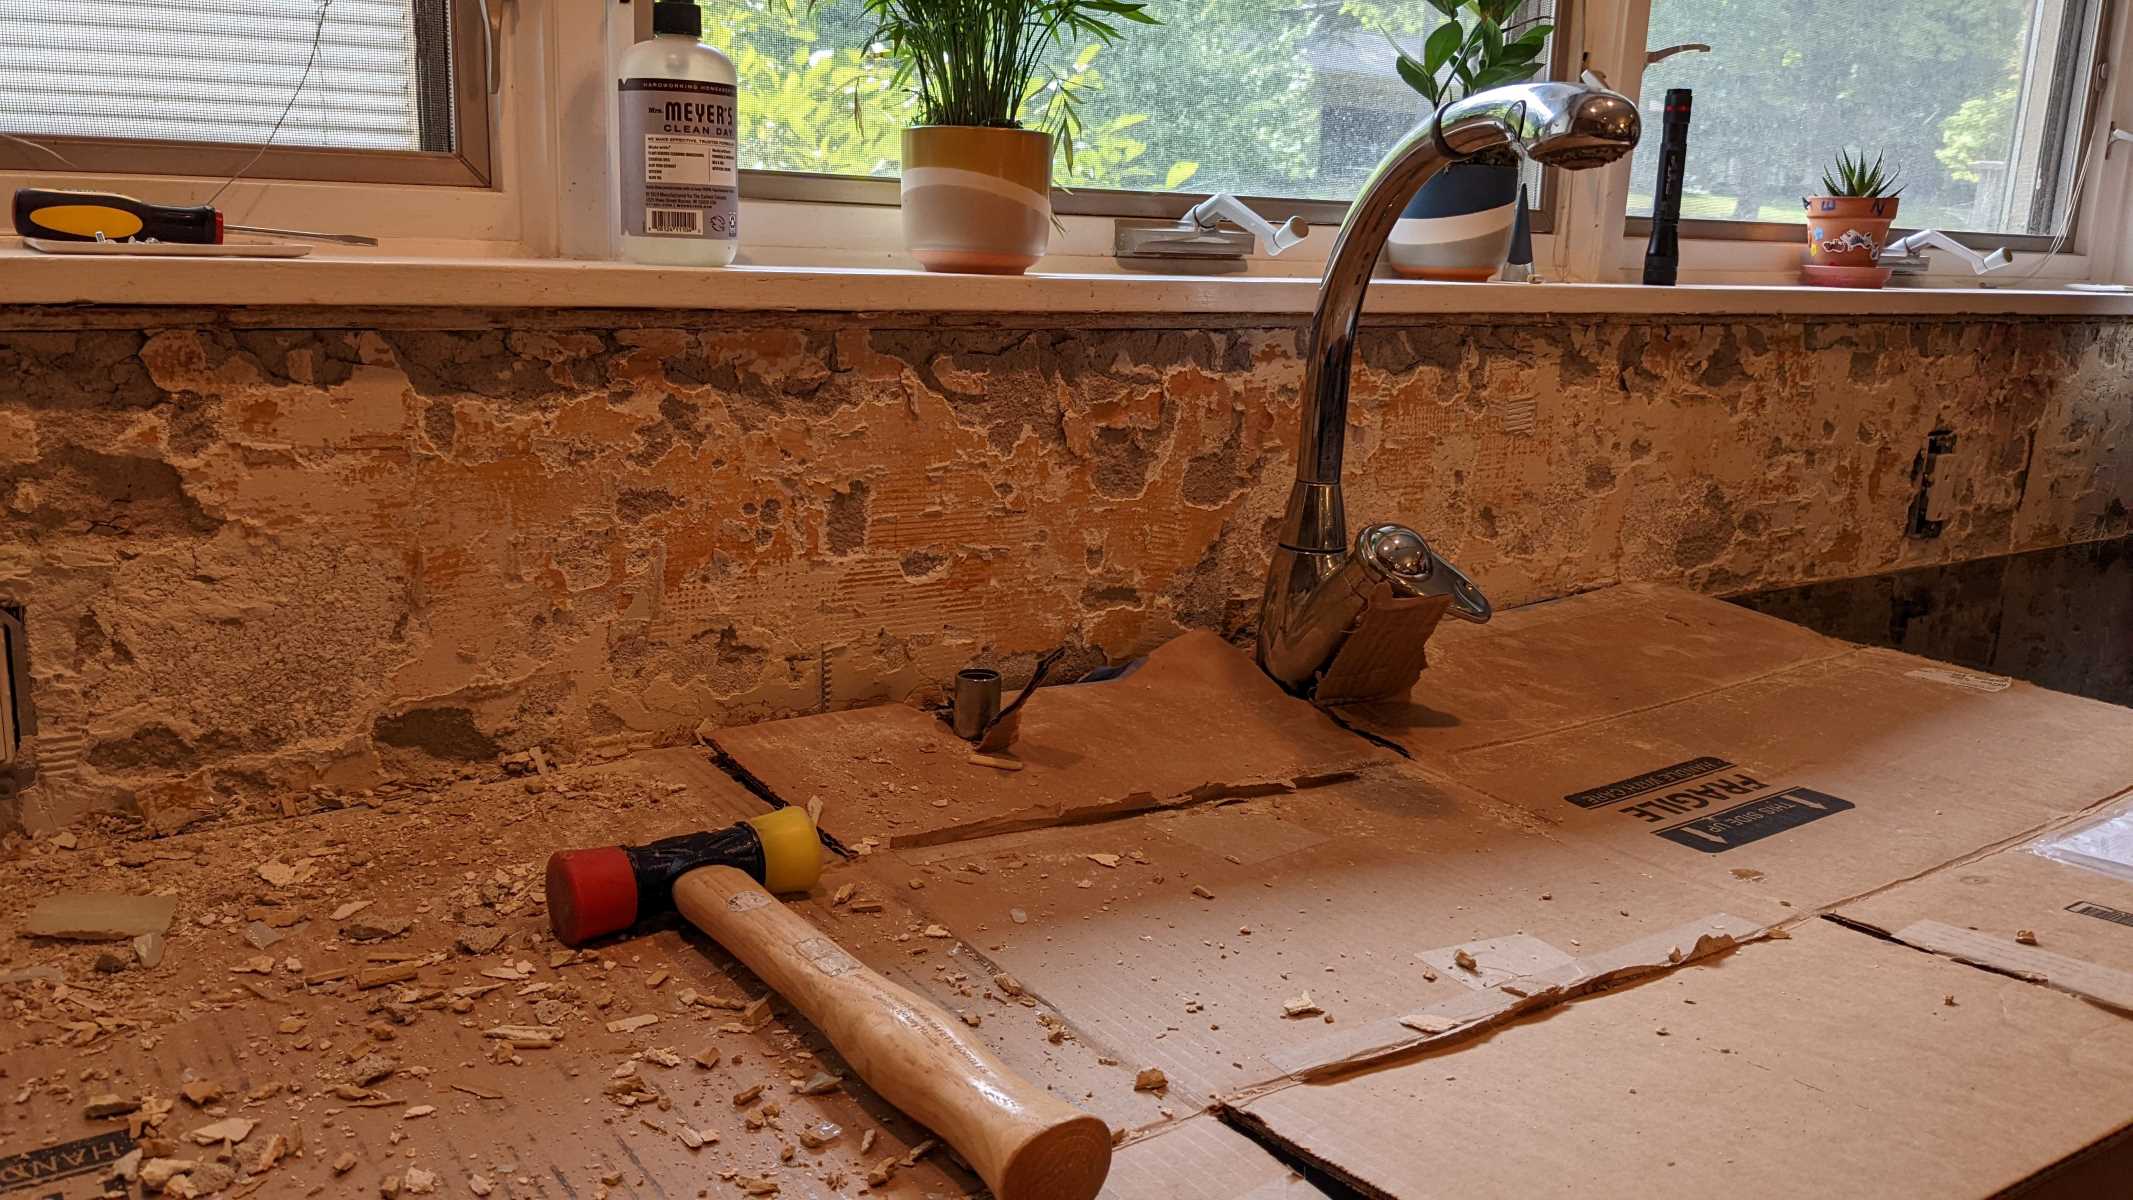
Inspect the wall surface for any imperfections, bumps, or irregularities. Use a sanding block or sandpaper to smooth out any rough areas, ensuring that the wall is even and stable. Additionally, check for loose or damaged areas, and repair any drywall or plaster as needed to create a solid and uniform surface for the backsplash.
Read more: How To Attach Backsplash To Vanity
Protect Adjacent Surfaces:
To prevent any accidental damage or mess during the installation process, it's advisable to protect adjacent surfaces such as countertops and cabinets. Use painter's tape and a drop cloth to cover and safeguard these areas, minimizing the risk of adhesive or grout coming into contact with unintended surfaces.
Determine the Layout:
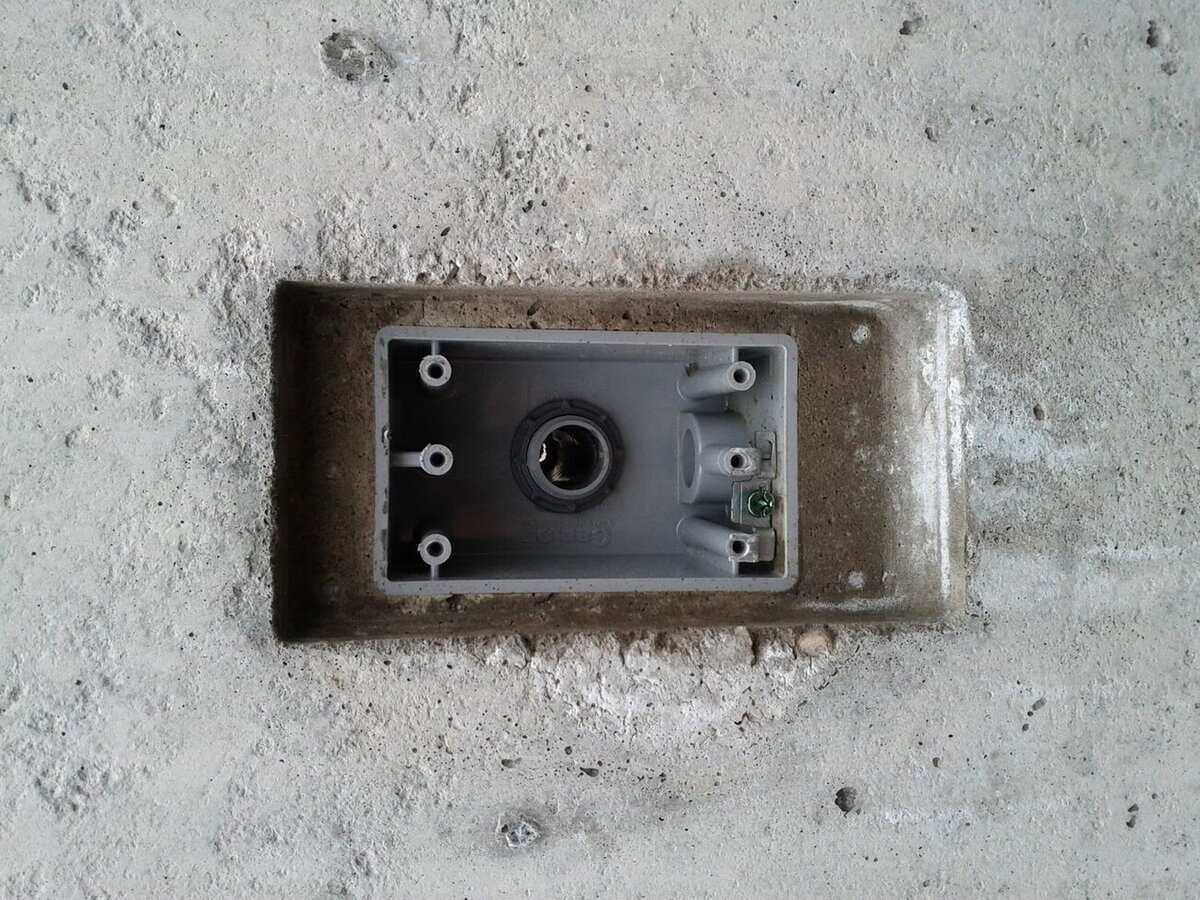
Before applying the adhesive, plan the layout of the tiles on the wall. This includes determining the starting point, establishing the tile arrangement, and marking any areas that require special attention, such as outlets or corners. Taking the time to visualize and plan the layout will ensure a cohesive and visually appealing result.
Prime the Wall (If Necessary):
In some cases, especially when dealing with highly absorbent or uneven surfaces, applying a primer may be beneficial. A high-quality primer can enhance the adhesion of the adhesive and promote a strong bond between the wall and the tiles. Follow the manufacturer's instructions for the specific primer being used, and allow sufficient drying time before proceeding with the installation.
By meticulously preparing the wall surface, you're setting the stage for a seamless and professional backsplash installation. This crucial step not only ensures the structural integrity of the installation but also paves the way for a visually stunning and long-lasting addition to your kitchen or bathroom. With the wall surface properly prepped, you're now ready to move on to the next exciting phase of attaching the backsplash tiles.
Step 3: Apply adhesive to the wall
With the wall surface meticulously prepared, it's time to apply the adhesive that will securely bond the backsplash tiles to the wall. This crucial step requires precision and attention to detail to ensure a strong and durable foundation for the tiles. Here's a comprehensive guide on how to effectively apply adhesive to the wall for your backsplash installation:
-
Select the Right Adhesive: Depending on the type of tiles and the wall surface, choose a high-quality adhesive or thin-set mortar that is specifically formulated for backsplash installation. It's essential to follow the manufacturer's recommendations and ensure that the adhesive is suitable for both the tiles and the wall material.
-
Mix the Adhesive: If you're using a powdered thin-set mortar, carefully mix it with water in a clean bucket according to the manufacturer's instructions. Use a drill with a mixing paddle attachment to achieve a smooth and lump-free consistency. Allow the adhesive to set for the specified time to activate its bonding properties.
-
Apply the Adhesive: Using a notched trowel, spread the adhesive evenly onto the wall surface, covering a manageable area where the tiles will be installed. Hold the trowel at a 45-degree angle to create uniform ridges in the adhesive, ensuring proper coverage and a strong bond with the tiles. Work in small sections to prevent the adhesive from drying out before the tiles are placed.
-
Maintain Consistent Thickness: As you apply the adhesive, strive to maintain a consistent thickness across the entire area. This uniformity is crucial for ensuring that the tiles adhere securely and that the finished surface is level and visually appealing.
-
Work in Sections: It's advisable to work in manageable sections, especially if you're installing a large backsplash. By focusing on one area at a time, you can maintain control over the adhesive application and prevent it from drying out before the tiles are set in place.
-
Avoid Excess Adhesive: While it's important to achieve full coverage with the adhesive, be mindful of excess buildup that could seep through the grout lines when the tiles are pressed into place. Use the notched trowel to create an even layer of adhesive without excessive thickness.
By following these detailed steps, you'll effectively apply the adhesive to the wall, creating a solid and reliable foundation for your backsplash tiles. This meticulous process sets the stage for the next exciting phase of the installation, where you'll bring your vision to life by placing and securing the tiles in position. With the adhesive expertly applied, you're well on your way to achieving a stunning and professionally installed backsplash in your kitchen or bathroom.
Read more: How To Attach Wood To Stucco Wall
Step 4: Install the backsplash tiles
With the adhesive expertly applied to the wall, it's time to embark on the exciting phase of installing the backsplash tiles. This step requires precision, attention to detail, and a keen eye for achieving a visually stunning and cohesive result. Here's a comprehensive guide on how to effectively install the backsplash tiles, bringing your vision to life with each carefully placed piece.
-
Begin at the Starting Point: Start at the predetermined starting point on the wall, typically at the bottom of the backsplash area or at the center if the design calls for it. Placing the first tile accurately sets the foundation for the entire installation.
-
Press the Tiles into Place: Carefully press each tile into the adhesive, ensuring a firm and level placement. Use a slight twisting motion as you set the tiles to help secure them in position and achieve optimal contact with the adhesive.
-
Maintain Consistent Spacing: Use tile spacers to maintain uniform spacing between the tiles, ensuring a professional and visually appealing result. The spacers help create even grout lines and contribute to the overall symmetry of the backsplash.
-
Make Necessary Cuts: As you progress with the installation, you may encounter areas that require custom cuts to fit around outlets, switches, or corners. Use a tile cutter or wet saw to make precise cuts, ensuring a seamless and tailored fit for each tile.
-
Check for Alignment and Level: Periodically use a level to ensure that the tiles are aligned and perfectly level as you proceed with the installation. Making adjustments as you go will result in a flawless and visually pleasing backsplash.
-
Wipe Off Excess Adhesive: As you install the tiles, periodically check for any adhesive that may seep through the grout lines. Use a damp cloth to gently wipe off any excess adhesive before it dries, maintaining the cleanliness of the installation.
-
Step Back and Assess: Periodically step back to assess the overall progress and visual impact of the installed tiles. This vantage point allows you to identify any adjustments needed to maintain a cohesive and balanced appearance.
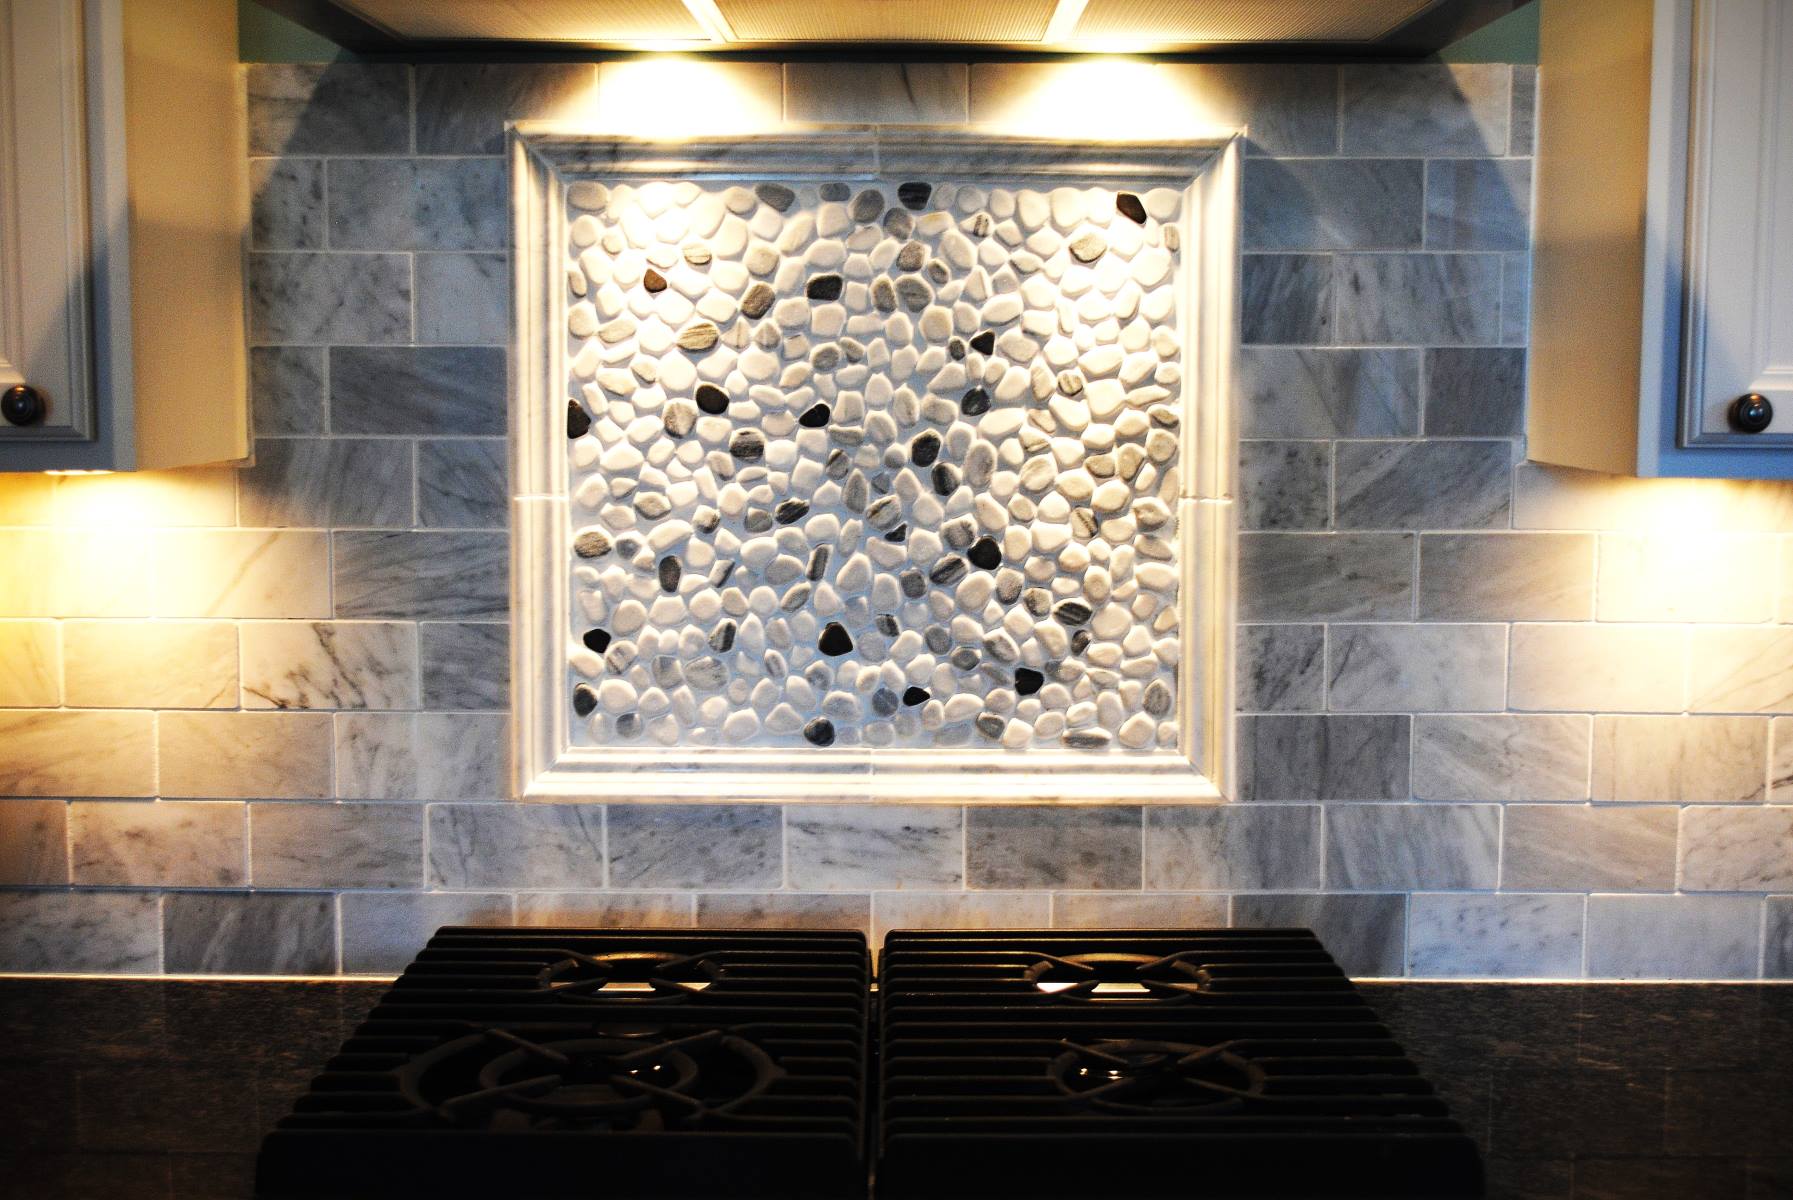
By meticulously following these steps, you'll effectively install the backsplash tiles, transforming the wall into a stunning focal point in your kitchen or bathroom. Each tile placed with care contributes to the overall aesthetic and functionality of the backsplash, bringing your vision to life with precision and artistry. With the tiles securely in place, you're now ready to proceed to the next phase of the installation, where you'll enhance the durability and visual appeal of the backsplash through the grouting process.
Step 5: Grout the tiles
Grouting the tiles is a pivotal step that not only enhances the visual appeal of the backsplash but also ensures the stability and longevity of the installation. The grout serves to fill the spaces between the tiles, creating a cohesive surface while providing essential support and protection. Here's a detailed guide on how to expertly grout the tiles, elevating the overall aesthetic and functionality of your backsplash.
Select the Right Grout
Begin by selecting a high-quality grout that complements the color and style of your tiles. Whether you opt for a classic white grout to create a seamless look or a contrasting color to make a bold statement, ensure that the grout is suitable for the tile material and the desired spacing between the tiles.
Mix the Grout
Follow the manufacturer's instructions to mix the grout to the appropriate consistency. Use a clean bucket and a grout mixing paddle to achieve a smooth and lump-free mixture. Allow the grout to set for the specified time to activate its bonding properties.
Read more: How To Attach An IKEA Dresser To The Wall
Apply the Grout
Using a rubber grout float, apply the mixed grout diagonally across the tile surface, ensuring that the grout fills the spaces completely. Hold the float at a 45-degree angle to the tiles to work the grout into the joints effectively. Work in small sections to prevent the grout from drying out before it can be properly smoothed and cleaned.
Remove Excess Grout
After applying the grout, use the grout float to remove excess grout from the tile surface. Hold the float at a steep angle and use a sweeping motion to scrape off the excess grout while ensuring that the spaces between the tiles are uniformly filled.
Clean the Tiles
Once the excess grout is removed, use a damp sponge to gently clean the tile surface. Rinse the sponge frequently and continue to wipe the tiles in a circular motion, ensuring that any grout residue is removed without disturbing the grout lines. This process helps to reveal the true beauty of the tiles while ensuring a clean and polished finish.
Final Buffing
After allowing the grout to set for the recommended time, use a dry cloth to buff the tiles, removing any remaining haze or residue from the grouting process. This final step adds a lustrous sheen to the tiles and completes the grouting process with a professional touch.
By meticulously following these steps, you'll expertly grout the tiles, elevating the visual impact and structural integrity of your backsplash. The carefully applied grout not only enhances the overall aesthetic but also contributes to the durability and maintenance of the installation. With the tiles beautifully grouted, you're one step closer to enjoying a stunning and functional backsplash that adds character and charm to your kitchen or bathroom.
Read more: How To Attach Fence To Brick Wall
Step 6: Clean and seal the backsplash
After the meticulous process of installing and grouting the backsplash tiles, the final step involves cleaning the surface to reveal its true beauty and sealing the grout to enhance its durability and resistance to stains and moisture. This crucial phase ensures that your backsplash not only looks stunning but also remains resilient and easy to maintain for years to come.
Cleaning the Backsplash
Begin by inspecting the tiled surface for any residual grout haze or adhesive that may have dried during the installation process. Use a clean, damp sponge to gently wipe the tiles, ensuring that any remaining grout residue is removed without disturbing the grout lines. Rinse the sponge frequently and continue to clean the tiles in a circular motion, paying attention to any areas that may require extra care.
For stubborn grout haze or adhesive residue, a specialized grout haze remover or adhesive solvent can be used according to the manufacturer's instructions. These products are designed to effectively dissolve and remove any lingering residues without damaging the tiles or grout.
Once the tiles are thoroughly cleaned, use a dry, lint-free cloth to buff the surface, revealing the full luster and beauty of the installed tiles. This final touch adds a polished sheen to the backsplash, showcasing the meticulous craftsmanship and attention to detail that went into the installation process.
Sealing the Grout
To protect the grout from stains, moisture, and discoloration, it's essential to apply a high-quality grout sealer. Select a sealer that is specifically formulated for the type of grout used in your installation, whether it's sanded or unsanded grout. The sealer acts as a barrier, preventing liquids and debris from penetrating the grout and compromising its integrity.
Using a clean, dry brush or applicator, carefully apply the grout sealer to the grout lines, ensuring complete coverage and absorption. Allow the sealer to penetrate the grout for the recommended time, allowing it to create a protective shield while preserving the natural appearance of the grout.
After the initial application, gently wipe off any excess sealer from the tile surfaces using a clean cloth, ensuring that only the grout lines are treated. Depending on the specific sealer used, a second coat may be recommended for optimal protection, especially in high-traffic or moisture-prone areas.
By cleaning the backsplash tiles and sealing the grout, you're not only enhancing the visual appeal of the installation but also safeguarding its longevity and resilience. This final step adds a layer of protection and ensures that your backsplash remains a stunning and practical addition to your kitchen or bathroom, standing the test of time with grace and durability.
Conclusion
Congratulations on successfully completing the installation of your stunning new backsplash! By following the step-by-step process outlined in this comprehensive guide, you've transformed your kitchen or bathroom with a visually captivating and practical addition. As you stand back and admire the beautifully installed tiles, it's evident that your dedication and attention to detail have resulted in a remarkable transformation.
The journey of attaching a backsplash to the wall has been a rewarding one, filled with moments of creativity, precision, and accomplishment. From meticulously preparing the wall surface to expertly applying the adhesive, installing the tiles, grouting, and finally cleaning and sealing the backsplash, each step has contributed to the creation of a space that reflects your unique style and personality.
Beyond the aesthetic enhancement, your new backsplash serves as a functional element, protecting the walls from spills, splatters, and moisture while adding a touch of elegance to the room. The carefully chosen tiles, the precision of the installation, and the durability of the grout and sealer all culminate in a cohesive and enduring feature that elevates the overall ambiance of the space.
As you revel in the satisfaction of a job well done, it's important to take a moment to appreciate the skills and knowledge you've gained throughout this process. Whether you embarked on this project as a DIY enthusiast or a first-time renovator, the experience has empowered you with valuable insights into home improvement and the gratifying feeling of bringing your vision to life.
The installation of a backsplash is not merely a practical task but a creative endeavor that allows you to imprint your personal touch on your living space. The choice of tiles, the layout, and the meticulous installation process are all reflections of your unique style and preferences, making the backsplash a true expression of your individuality.
As you move forward, enjoying the enhanced beauty and functionality of your space, remember that the skills and confidence you've gained can be applied to future projects, further enriching your home and surroundings. Whether it's a backsplash, a flooring upgrade, or a complete room renovation, the knowledge and experience you've acquired will continue to serve you well in your journey as a capable and creative home improver.
So, take a moment to bask in the satisfaction of a job well done, and let the transformative power of your new backsplash inspire you to embark on future projects with enthusiasm and confidence. Your home is a canvas, and with each project, you have the opportunity to infuse it with beauty, functionality, and your unique personal touch. Cheers to your successful backsplash installation and the exciting possibilities that lie ahead!
Frequently Asked Questions about How To Attach Backsplash To Wall
Was this page helpful?
At Storables.com, we guarantee accurate and reliable information. Our content, validated by Expert Board Contributors, is crafted following stringent Editorial Policies. We're committed to providing you with well-researched, expert-backed insights for all your informational needs.


0 thoughts on “How To Attach Backsplash To Wall”